Delicate Bowls
10th Mar 2022
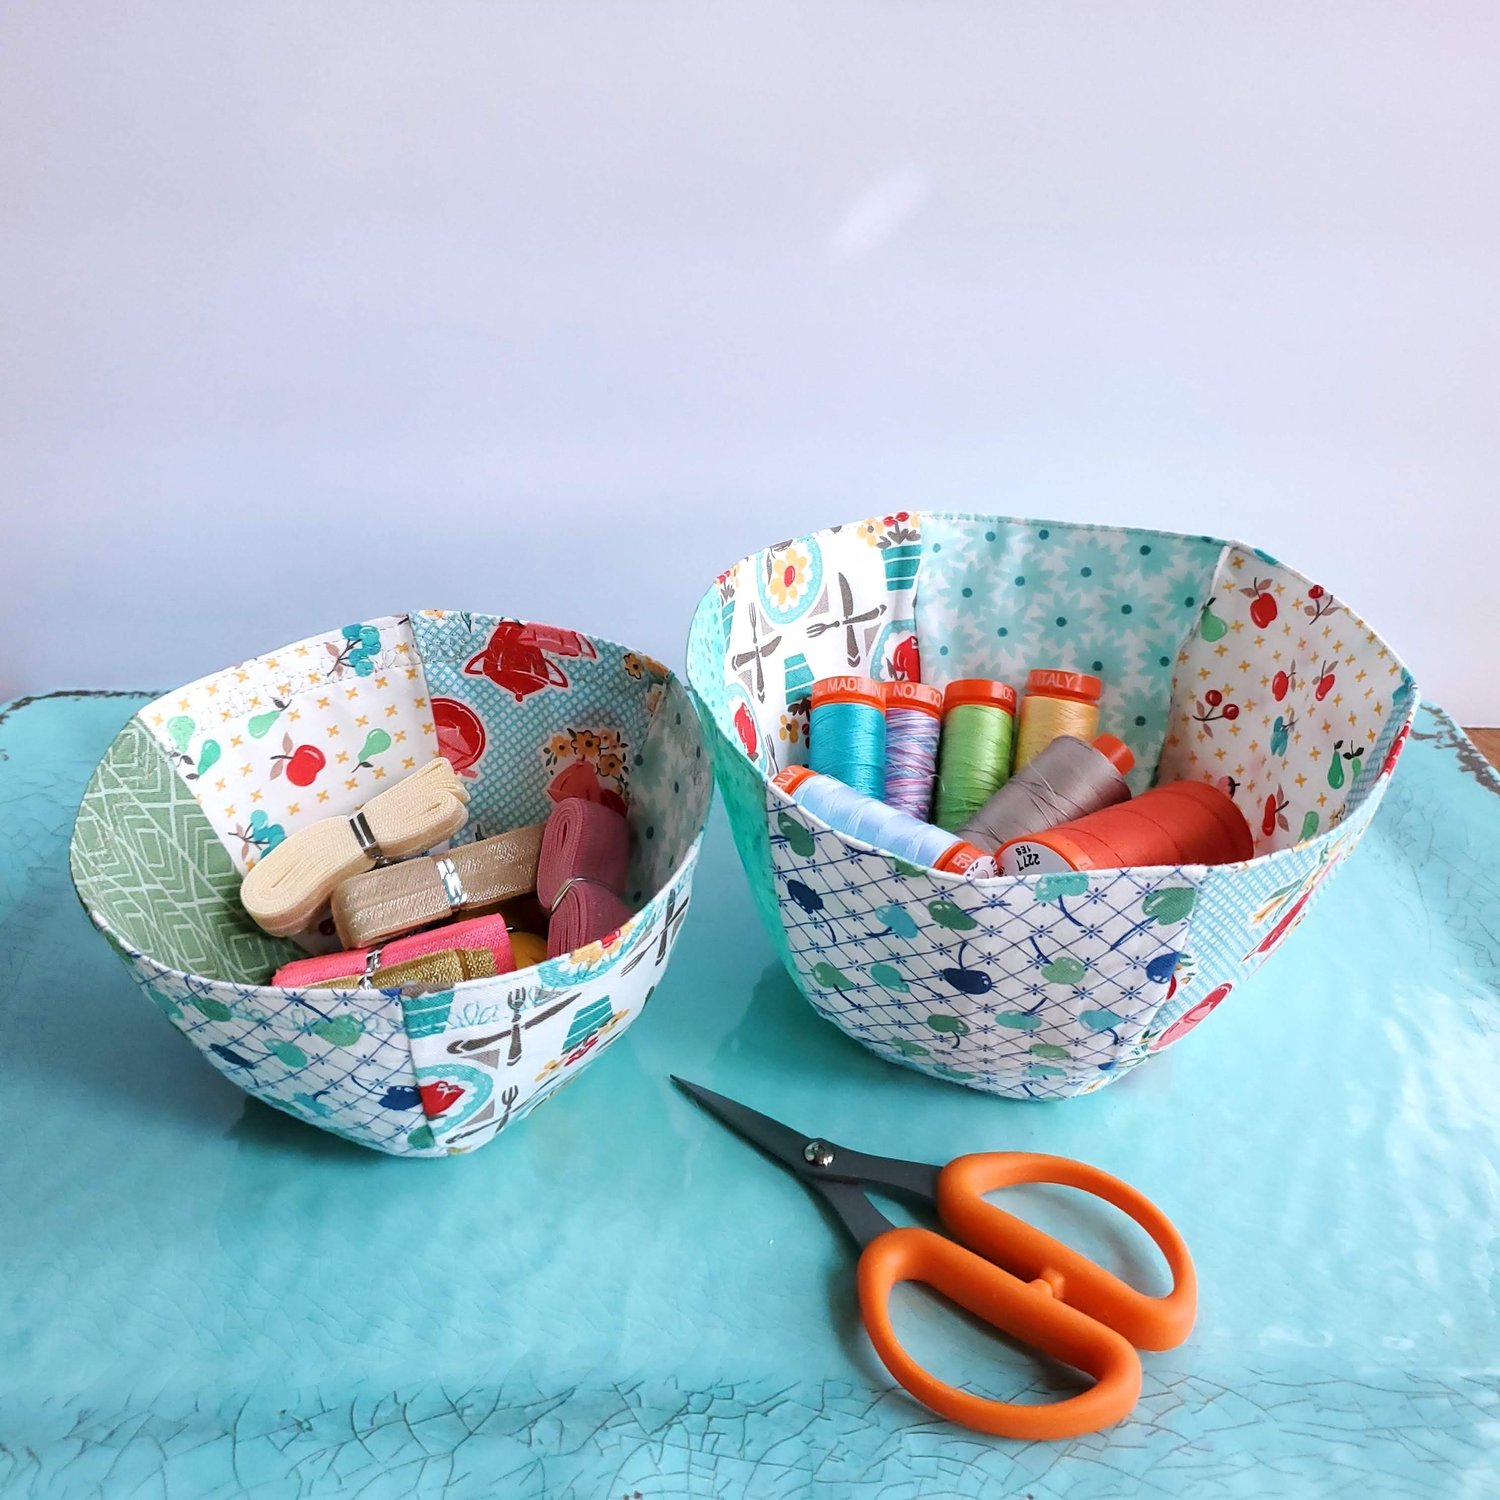
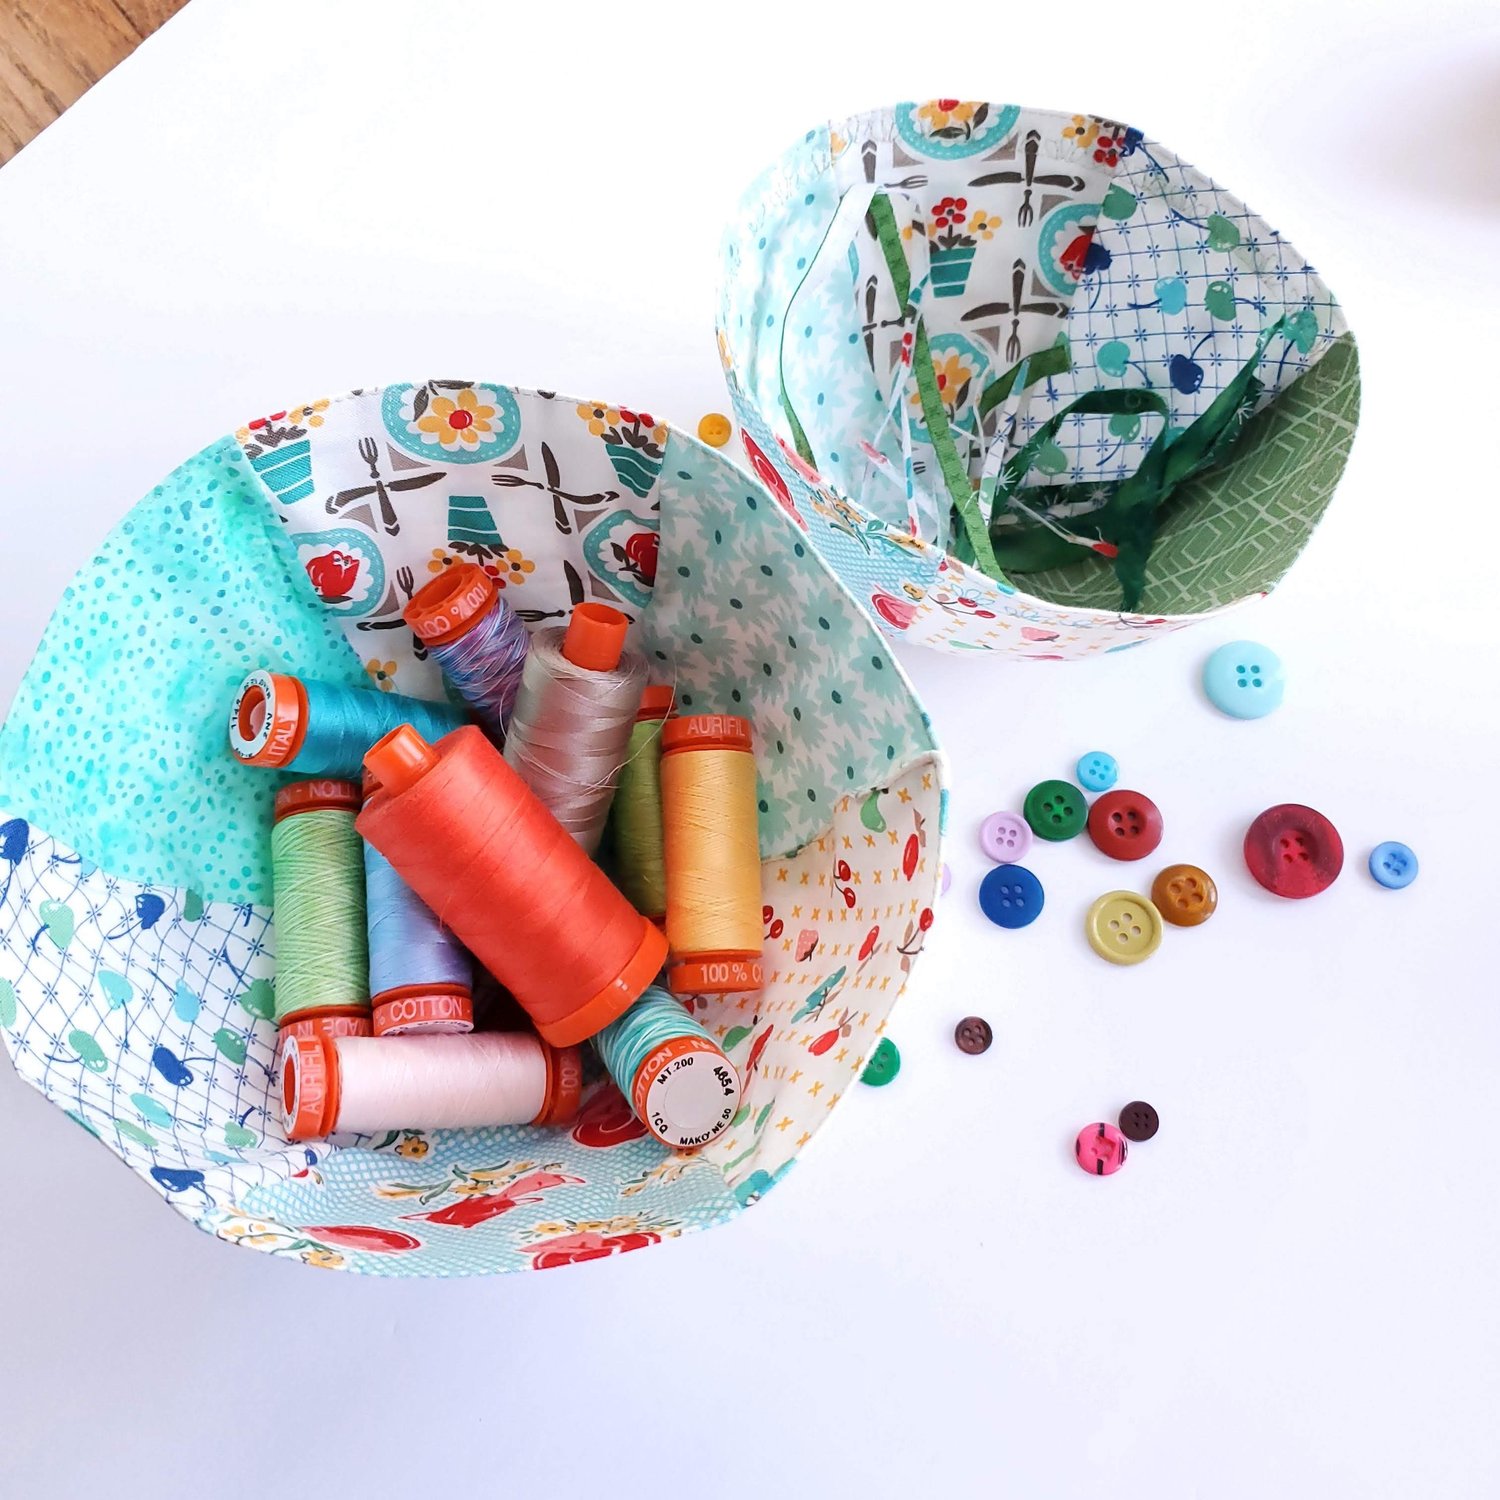
Fabric bowls are a great way to showcase your favorite fabrics while storing your everyday essential items. While perusing the Quilting section at my local library I came across a beautifully photographed book called “Hot Chocolate Sewing” by Tilda’s World filled with fun sewing and quilting projects. I loved the idea of making a functional bowl with the vintage feel of Cook Book by Lori Holt for Riley Blake designs. The pattern comes in two sizes making a 5” and 7” diameter bowl. There is also a wonderful You Tube Tutorial from Niks Days to show the complete process of sewing.
Materials Needed:
- I used an assortment of fat quarters from the Classic Mini Pop and March Java Membership
- Pellon 806 fusible interfacing or similar mid weight interfacing
- Coordinating Aurifil Thread from the Chroma Membership
To get started make a copy of the pattern from the book. There is a pattern for the fabric piece and the fusible interfacing. Carefully trace the pattern onto the six different fabrics and cut out the pieces. It is a good idea to starch the fabric before cutting the pieces.
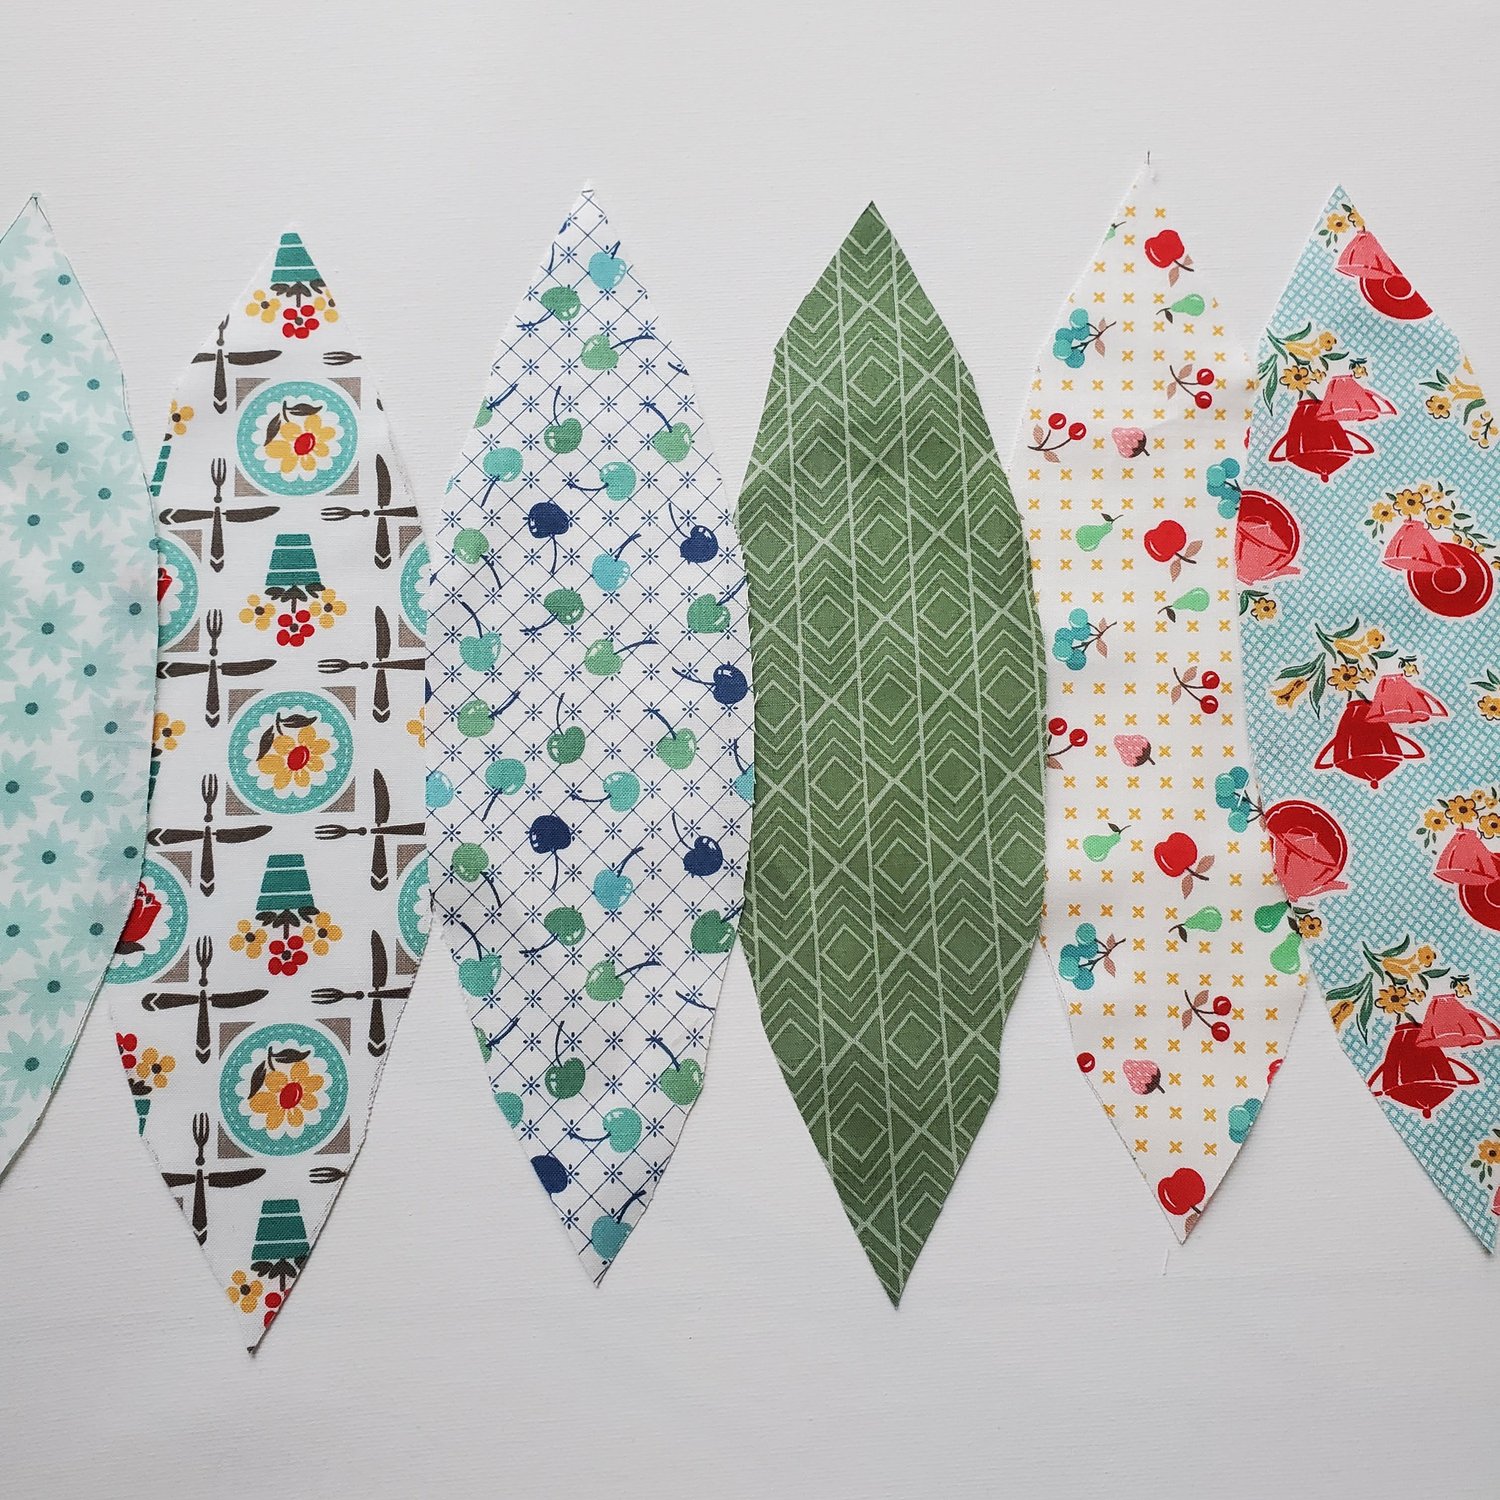
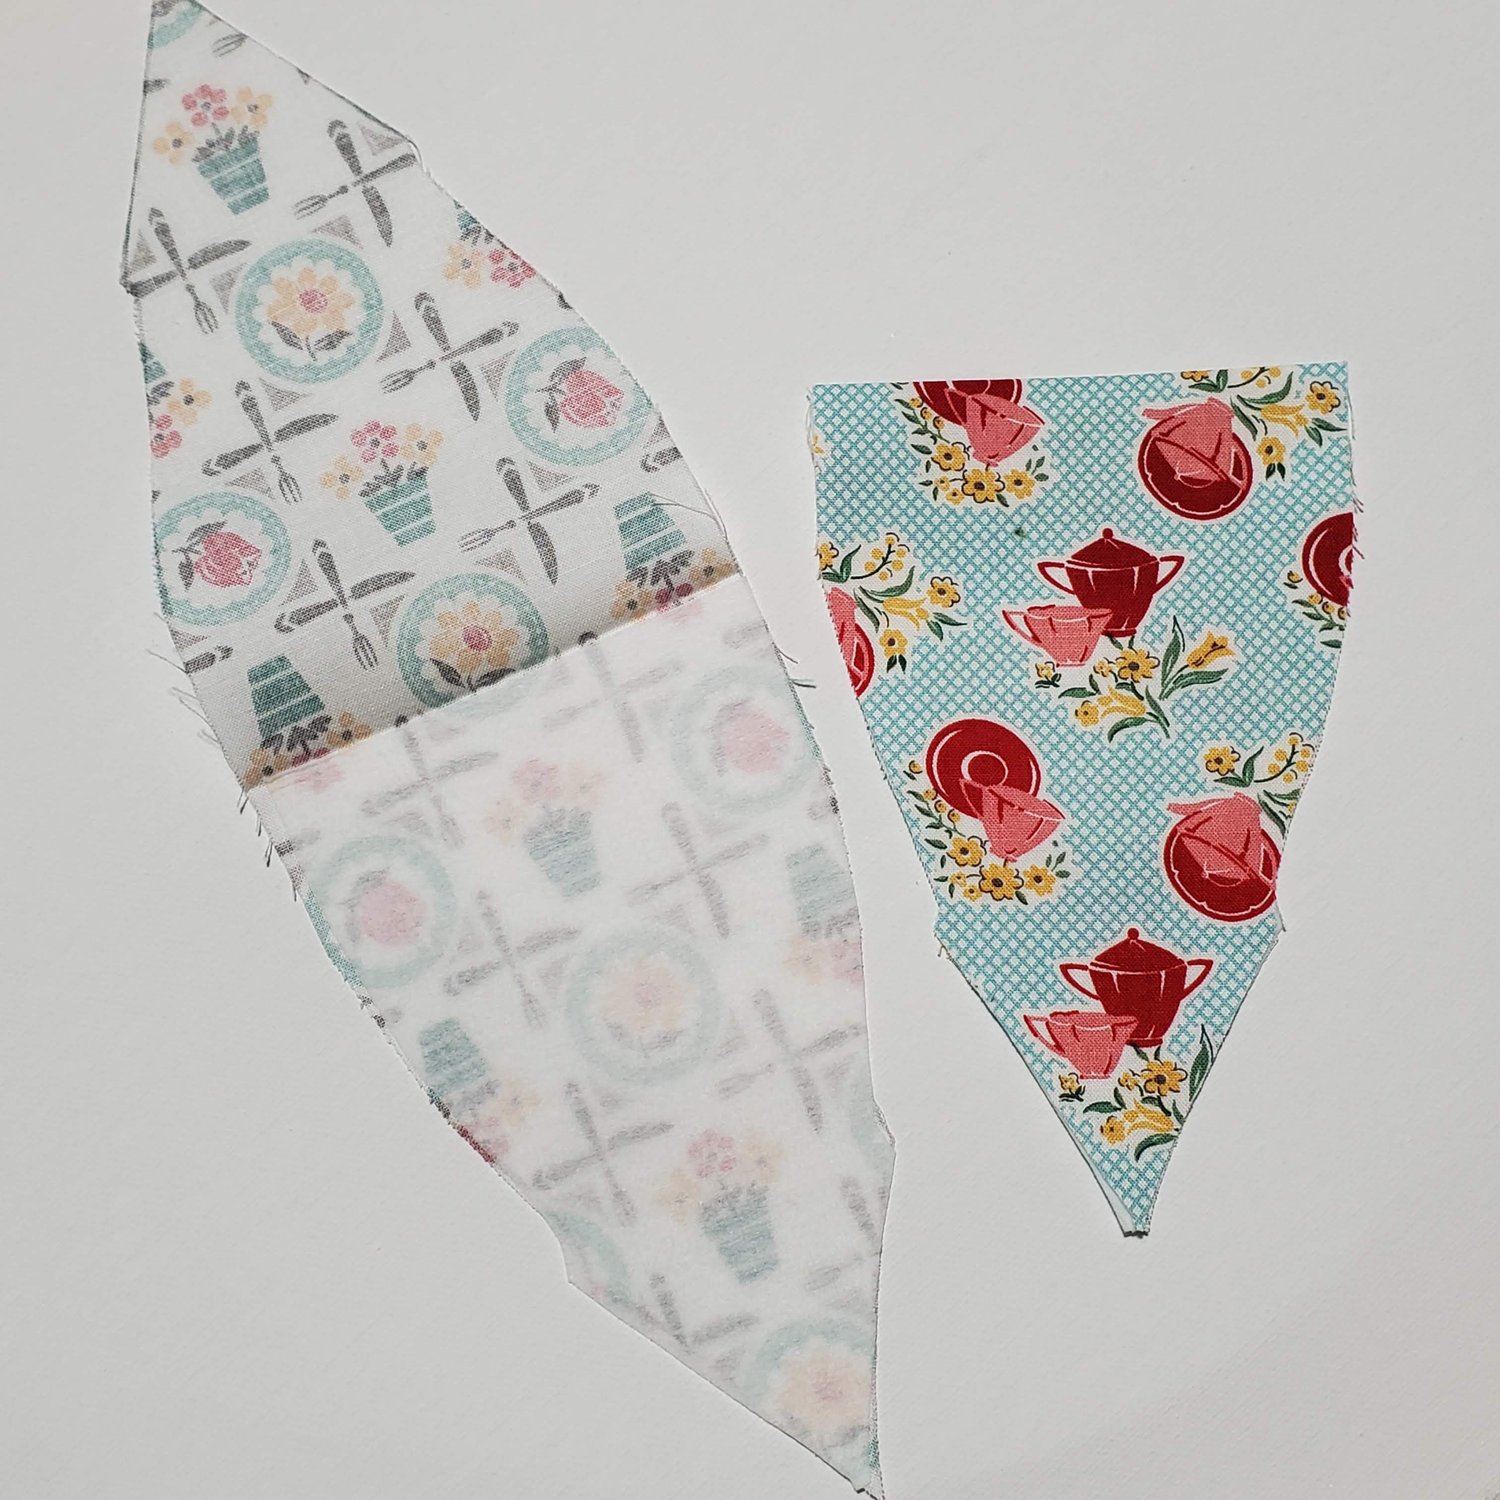
Trace and cut the interfacing pieces. I found it helpful to fold the fabric piece in half to mark the midway point to line up the interfacing before ironing in place. If you are using a directional fabric keep this in mind as you choose the end to adhere the interfacing. To protect your iron and ironing board from the fusible interfacing use a pressing cloth or Teflon sheet.
The fold will become the top edge of the finished bowl. Lay out the pieces to decide the order to sew them together. I sewed three sets of two with a ¼” seam allowance, with right sides together.
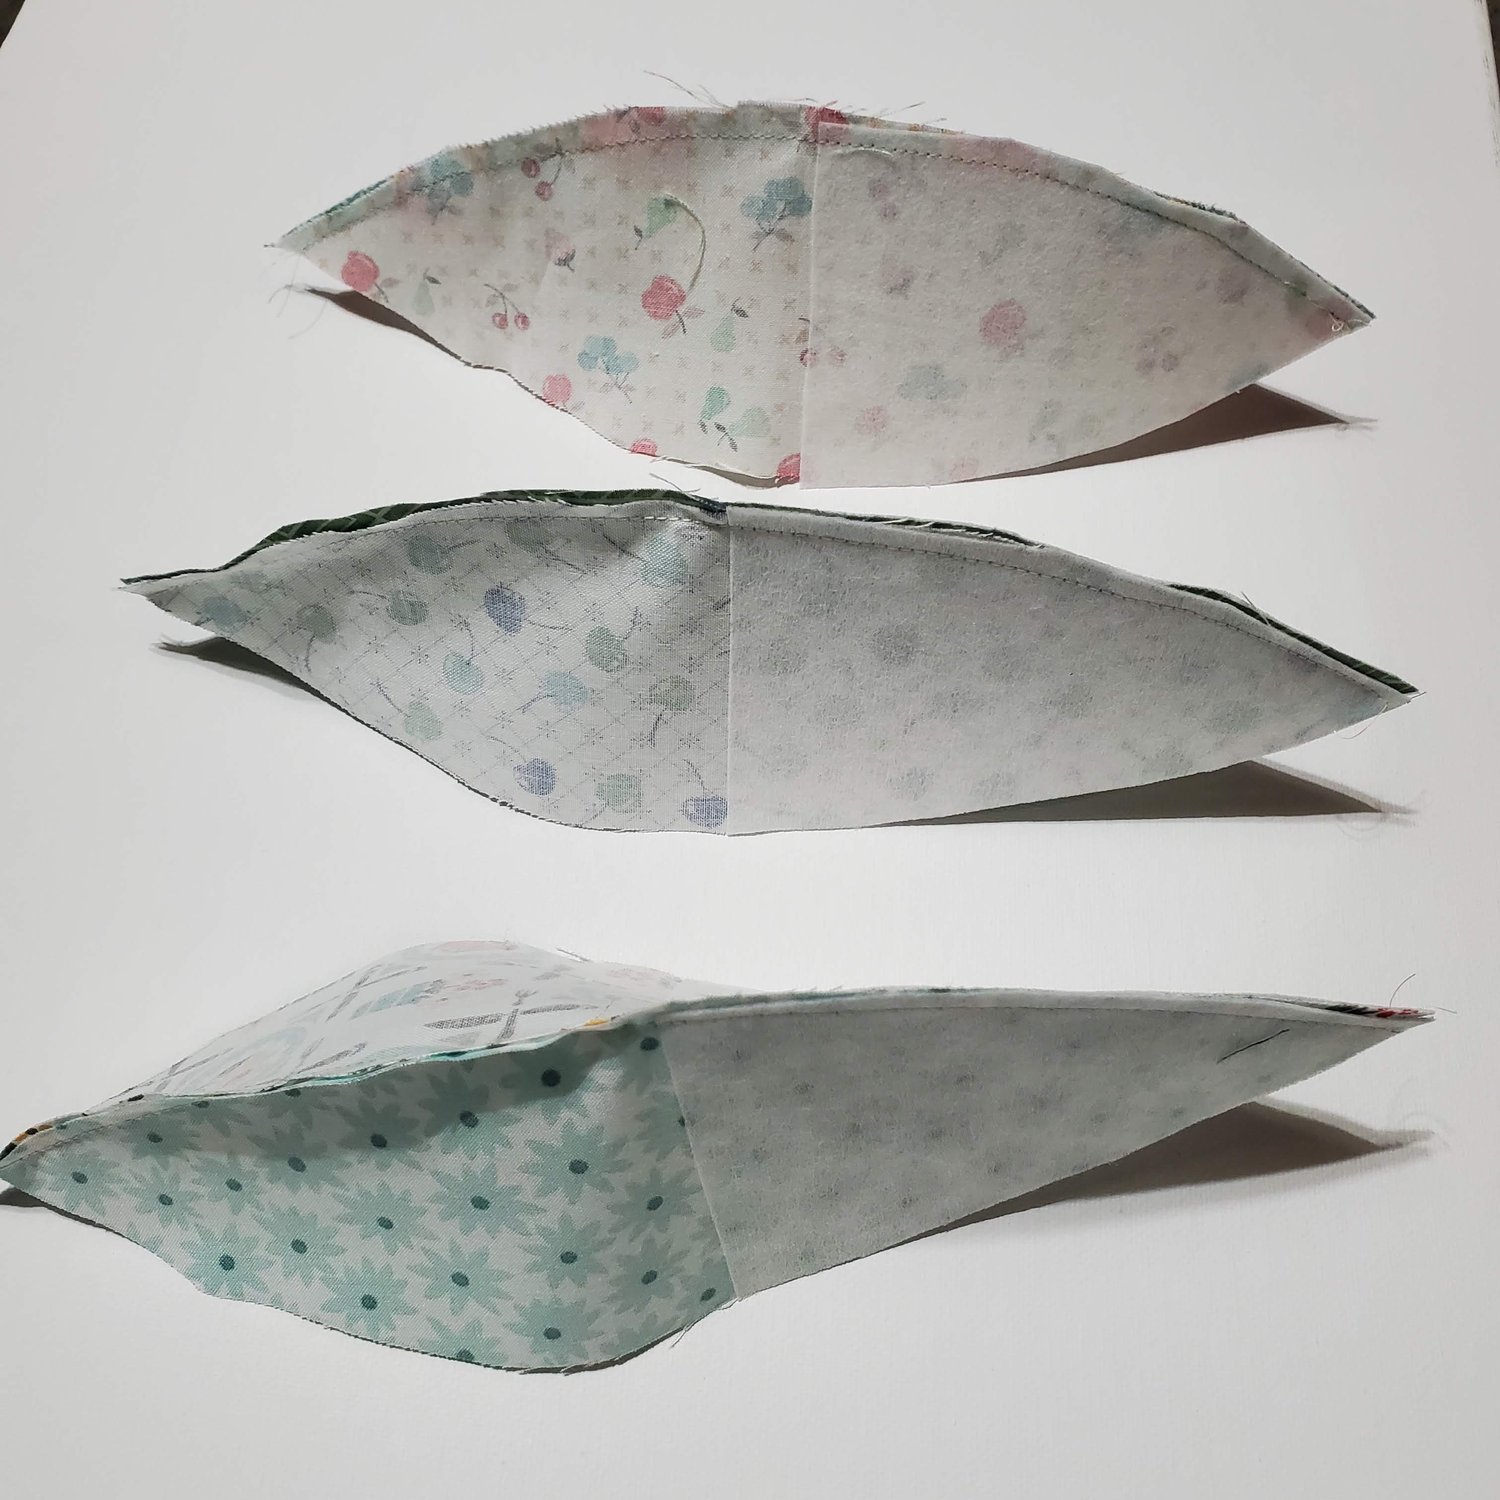
Continue to sew the sections together. When you get to the last seam you will need to leave about a 2-3” opening for turning.
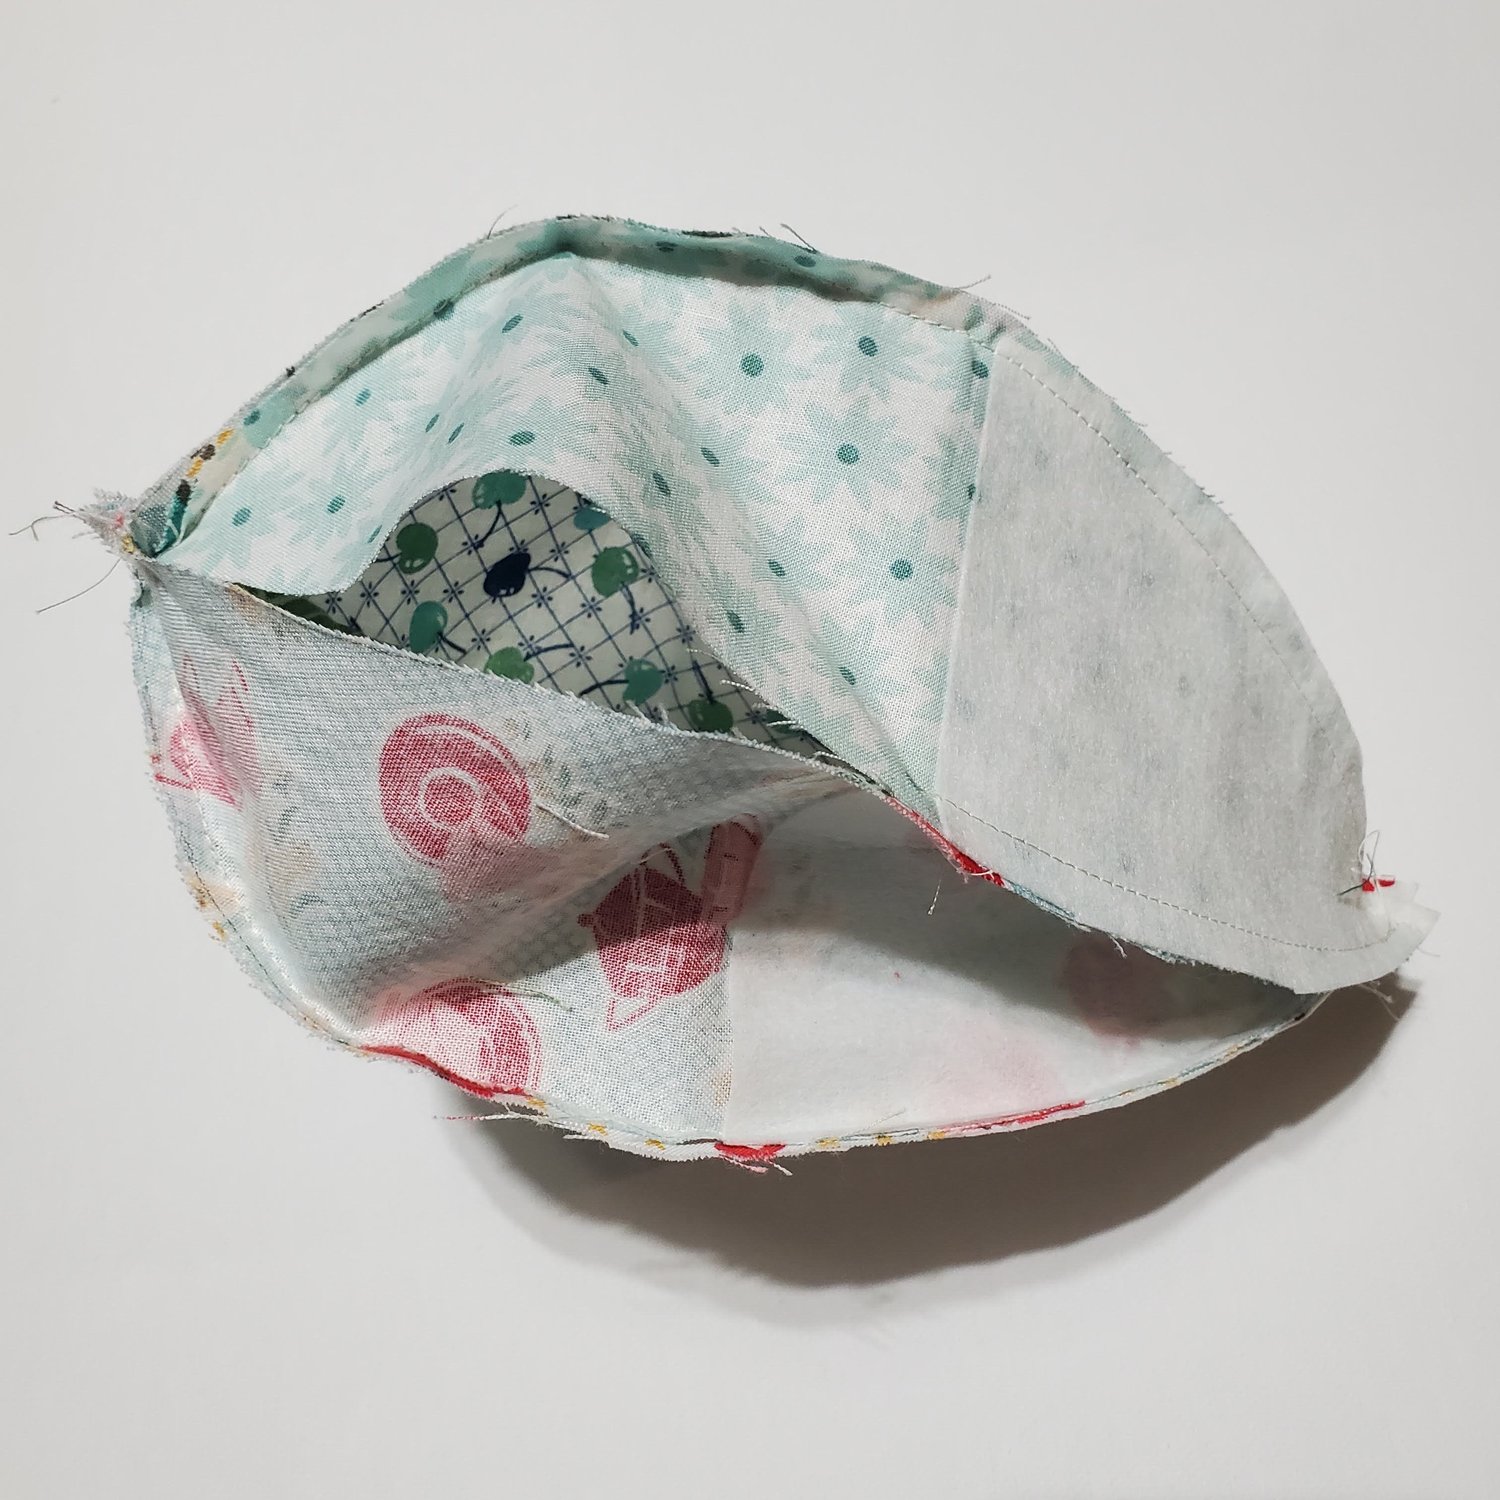
Trim the seams to ⅛” or use pinking shears to help the curves lay flat. Along the opening turn the fabric under ¼” and press to prepare for topstitching. Turn the bowl right side out pushing the seams out completely. Using a small iron press the seams. Push the fabric part inside the interfacing part to create the bowl shape aligning the folded edge to create the rim of the bowl.
With a coordinating thread carefully sew the opening (used for turning) closed by topstitching about 1/16” from the edge. If you prefer you could also sew the opening closed by hand.
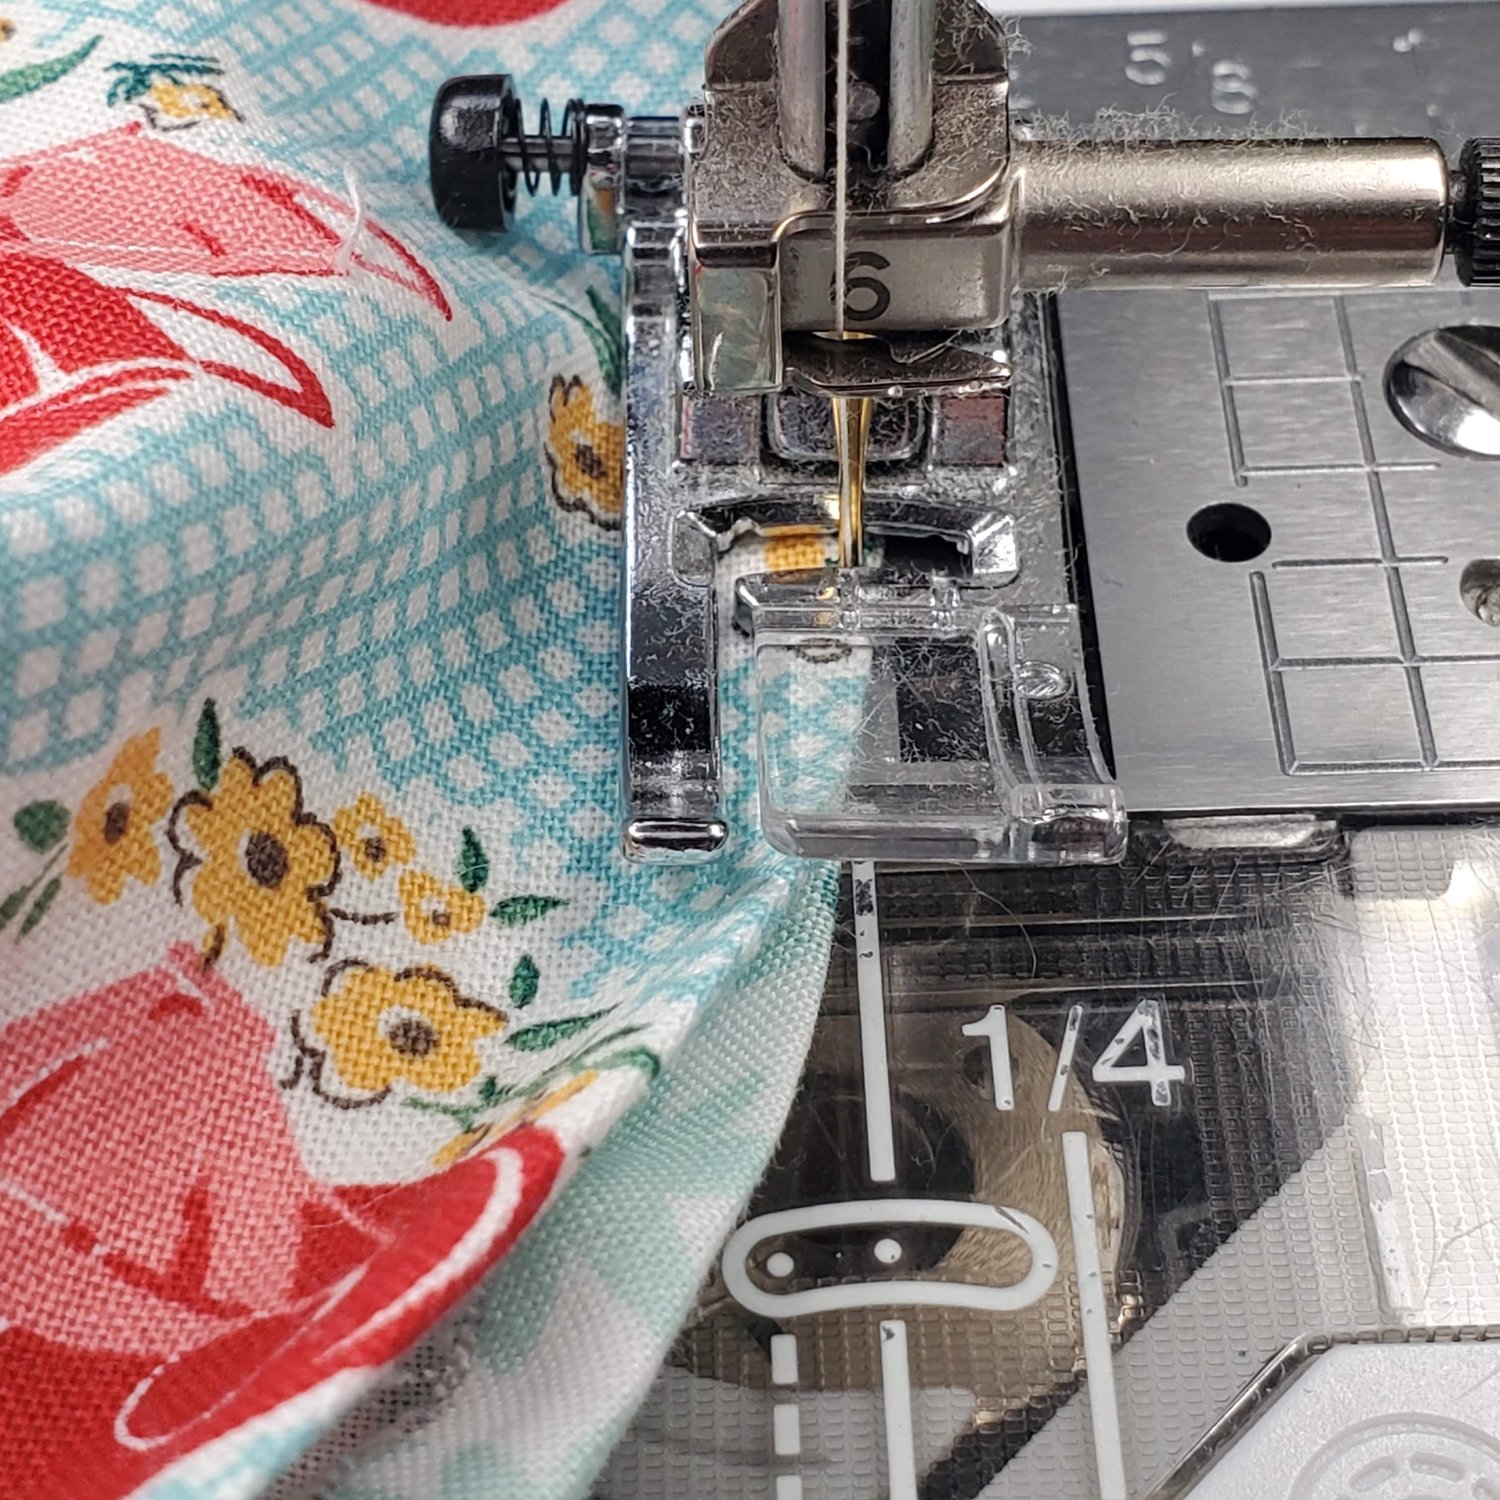
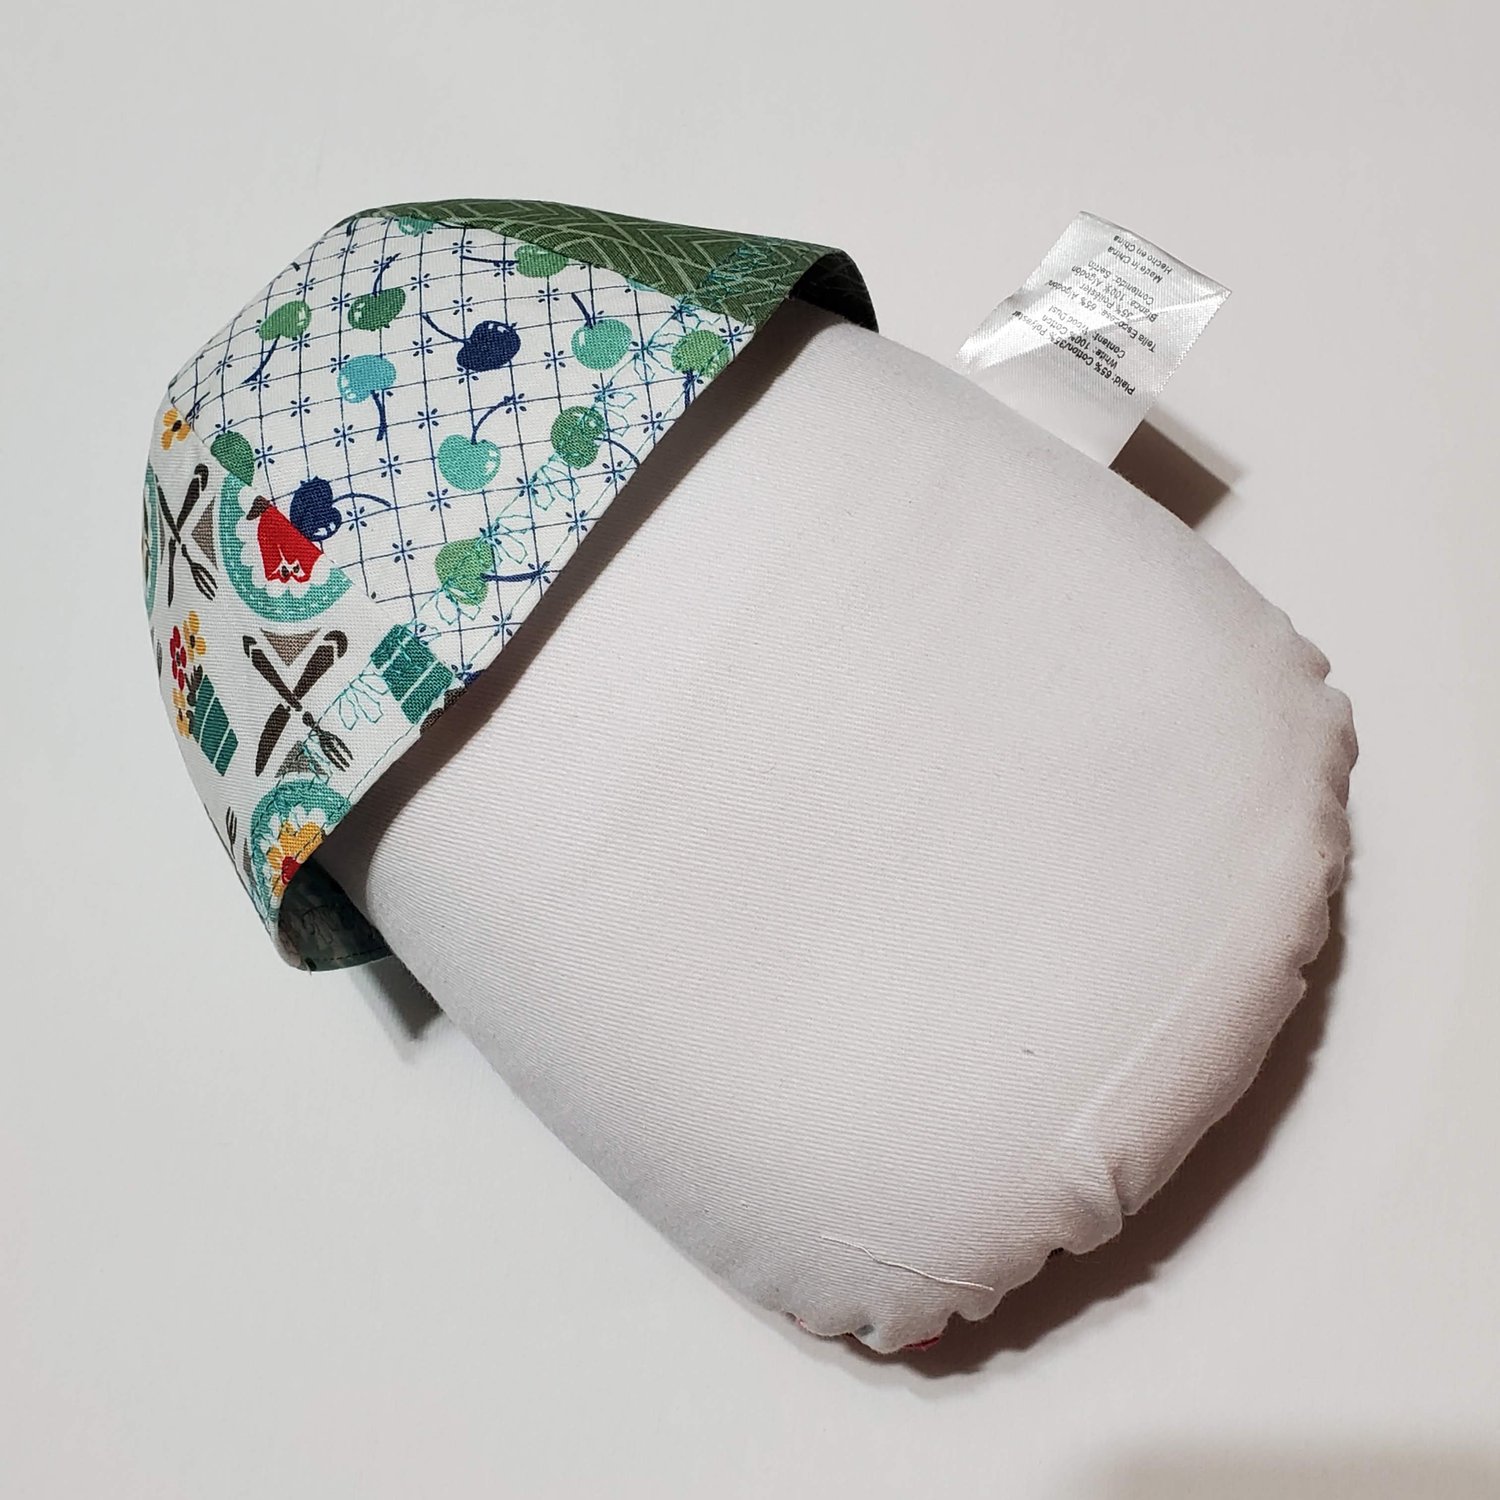
Give the bowl a press before topstitching the top edge of the bowl. It is a good idea to lengthen the stitch to 3mm. I added a decorative stitch on the smaller bowl below the topstitching. A pressing ham makes the job of ironing the bowl shape a little easier. You can also use a rolled up towel inside the bowl. Press the bottom of the bowl to create a flat surface for the bowl to rest on your table.
These bowls were a quick and easy project perfect to organize your notions in the sewing room. These would be a fun way to coordinate decorations for a party and to store small items in any room of the house.
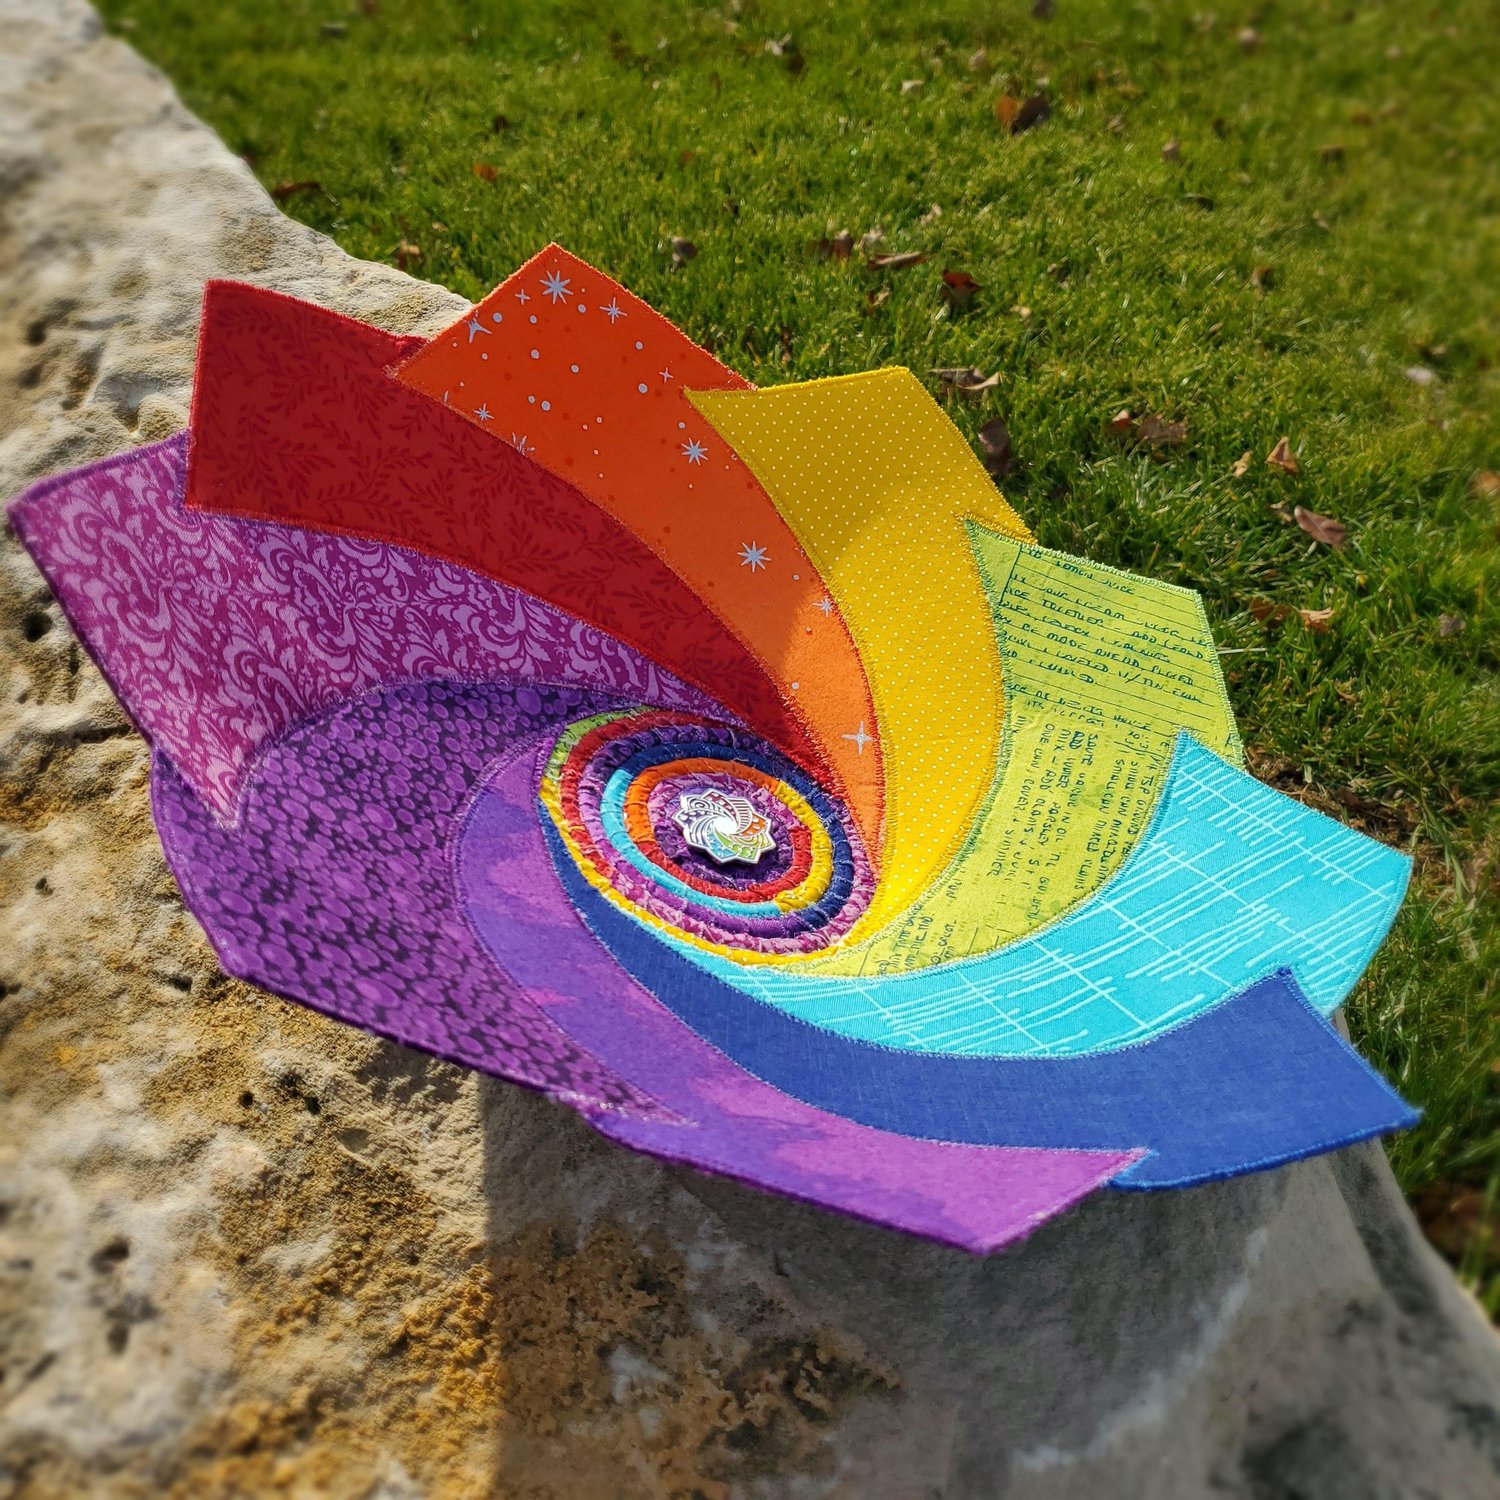
With Easter just around the corner the bowls would be a fun way to make a little basket of goodies to share. If you like the idea of fabric bowls check out this past blog detailing how to make a Fabric Bowl featuring the Cotton Cuts logo in a rainbow of colors.