Learn a New Skill - Reversible Fabric Place Mats
9th Apr 2020
Hi there, I'm Theresa! I've been with Cotton Cuts since January 2019. I’m one of the class & Girl Scout instructors at our Chesterfield, Missouri Cotton Cuts Collective shop. When I’m not teaching, I also work for our parent company, Cotton Cuts. I get to do many other things around the shop like packing beautiful fabrics or die cut pieces for our Mystery Quilt program. Every day is different! I enjoy teaching kids classes and being creative. I’m an avid sewer and quilter and total Pinterest junkie.
I have been sewing since I was a little girl. My grandmother taught me how to sew basic strip quilts. I also enjoy making costumes for the Renaissance Faire for myself and my 2 adorable dogs, Max and Teddy. When I’m not sewing, I like to cross stitch and bake.
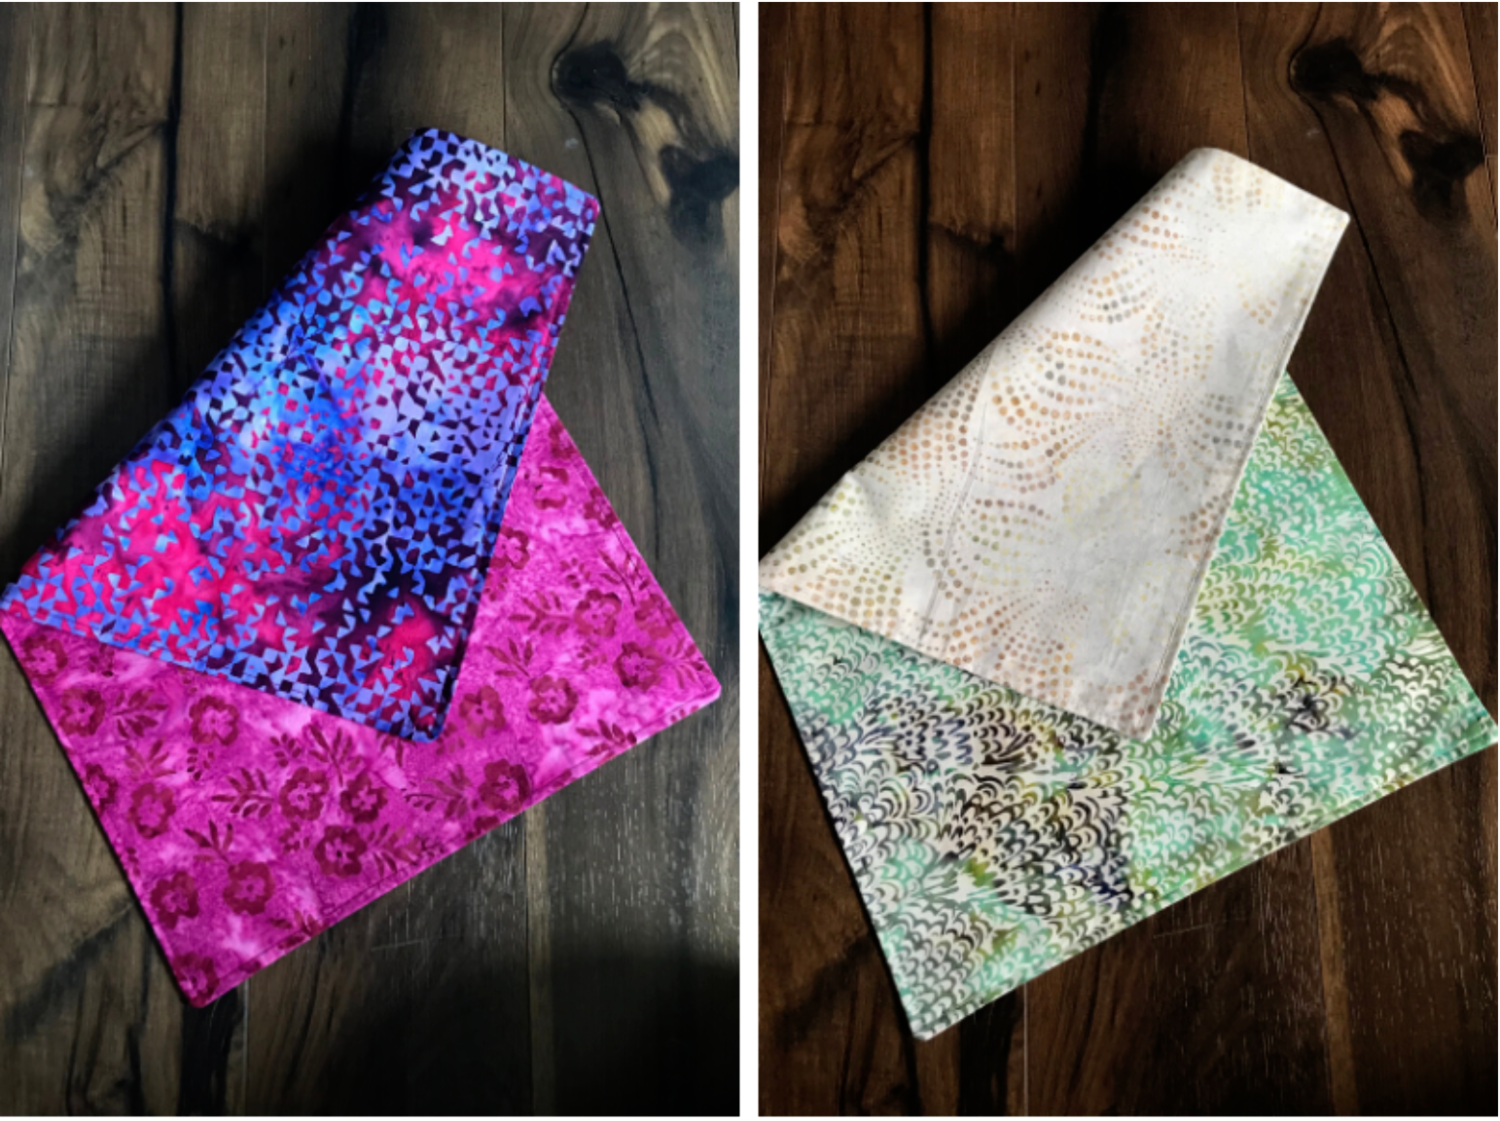
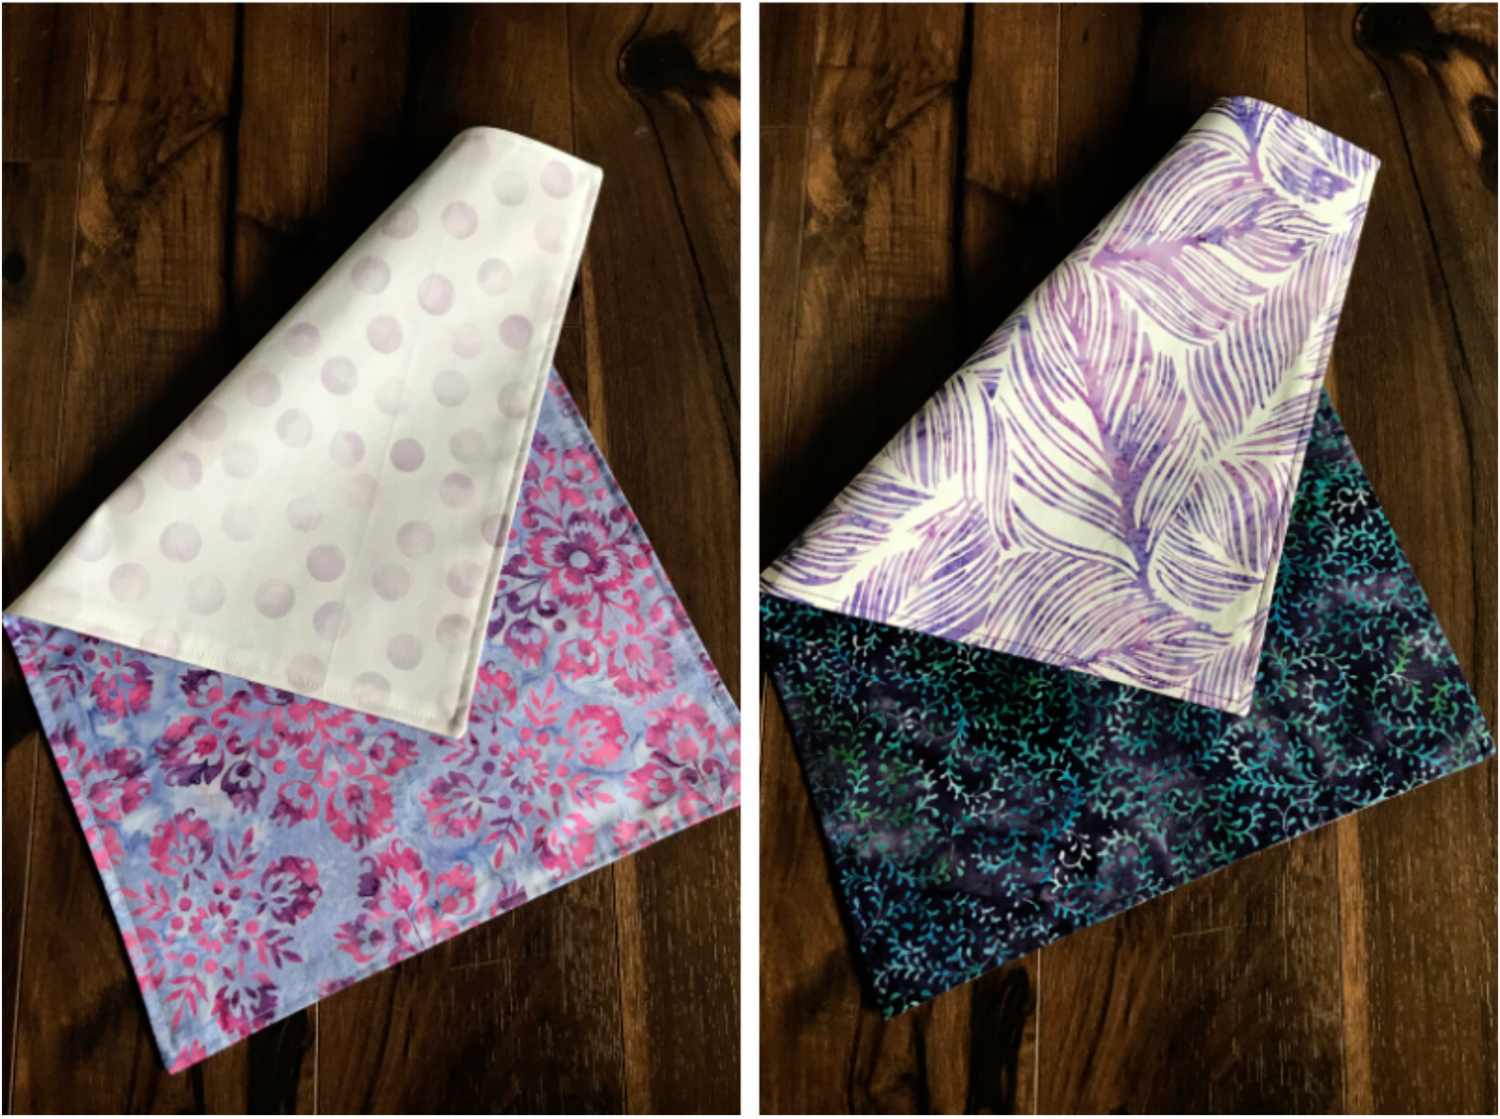
Today I'll be sharing this Reversible Place Mat tutorial with you. These super cute reversible place mats are a quick and simple project. Plus, you can customize them to your style so you can switch them out whenever you like! I am so ready for spring and warm weather, so when I saw these GORGEOUS batiks, I knew I just had to use them! I’m such a sucker for batiks. I love the watercolor look that hand-dyeing does to the fabric. These fabrics are part of the April Java bundle. Batiks are always pretty, so what better way to incorporate some springtime flair! Plus, you know, purple!! Love it!
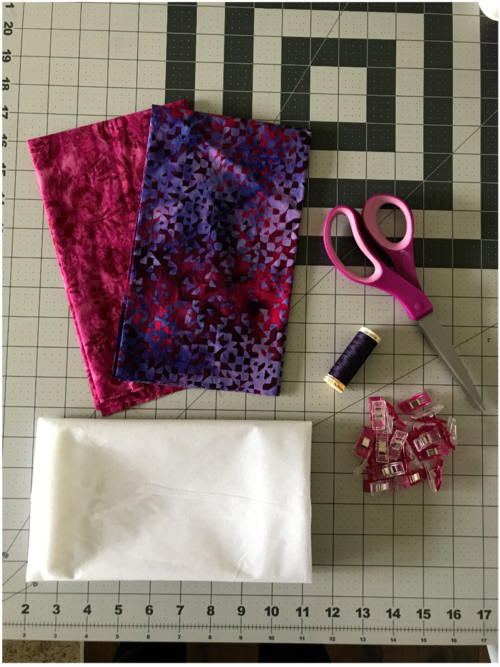
To make each placemat you’ll need:
- 2 fabric rectangles-I’m making my place mats to be finished at 12x18”, but you can adjust the size if you want them bigger or smaller *A quick note: traditional finished place mat sizes are typically either 12x18” or 14x20”
- 1 piece of light to medium-weight fusible interfacing, any brand will work
- All-purpose thread in a coordinating color
- Scissors
- Straight pins or fabric clips
- Iron
Step 1: Once you have all of your materials, you’re going to cut your fabrics and interfacing to the correct size. You want to add 1 inch in length and 1 inch in width to allow for 1/2 inch seam allowances on each side. So for a finished size of 12x18”, cut your fabrics to be 13x19”. Note - the interfacing does not need to extend to the full dimensions of your fabric, but should be big enough to extend past your finished place mat dimensions. In the photos, I had an odd sized piece that I used rather than cutting a new piece.
Step 2: Take one of your fabrics (it doesn’t matter which one) and your piece of interfacing and fuse the interfacing to the wrong side of the fabric using your iron. Please follow manufacturer instructions for this, usually printed on the paper supplied with the interfacing.

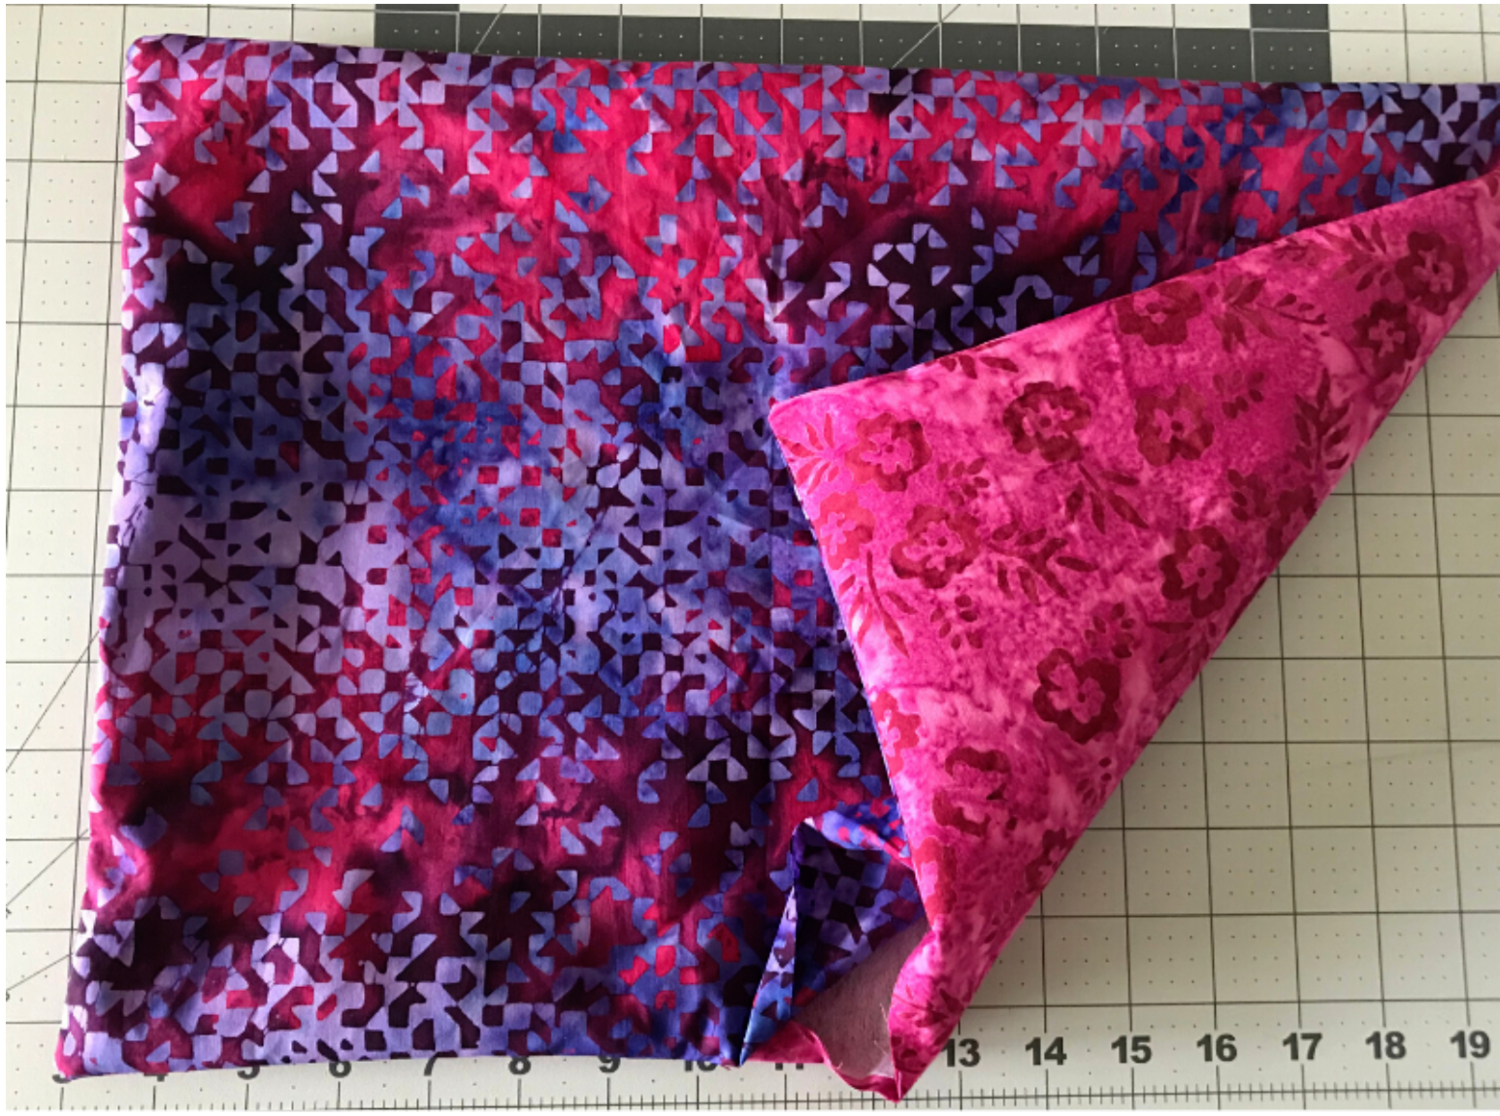
Step 3: Now take both pieces of your fabric (1 with interfacing and 1 without) and lay your fabric, one on top of the other, with the right (printed) sides of the fabric together (facing into the center). Pin or clip into place on all 4 sides. You want to leave about a 5-6” inch gap on one of the sides so that you can turn right side out once you’re finished sewing. Note, I used different color clips to show where I start and stop so I don’t lose track as I sew.


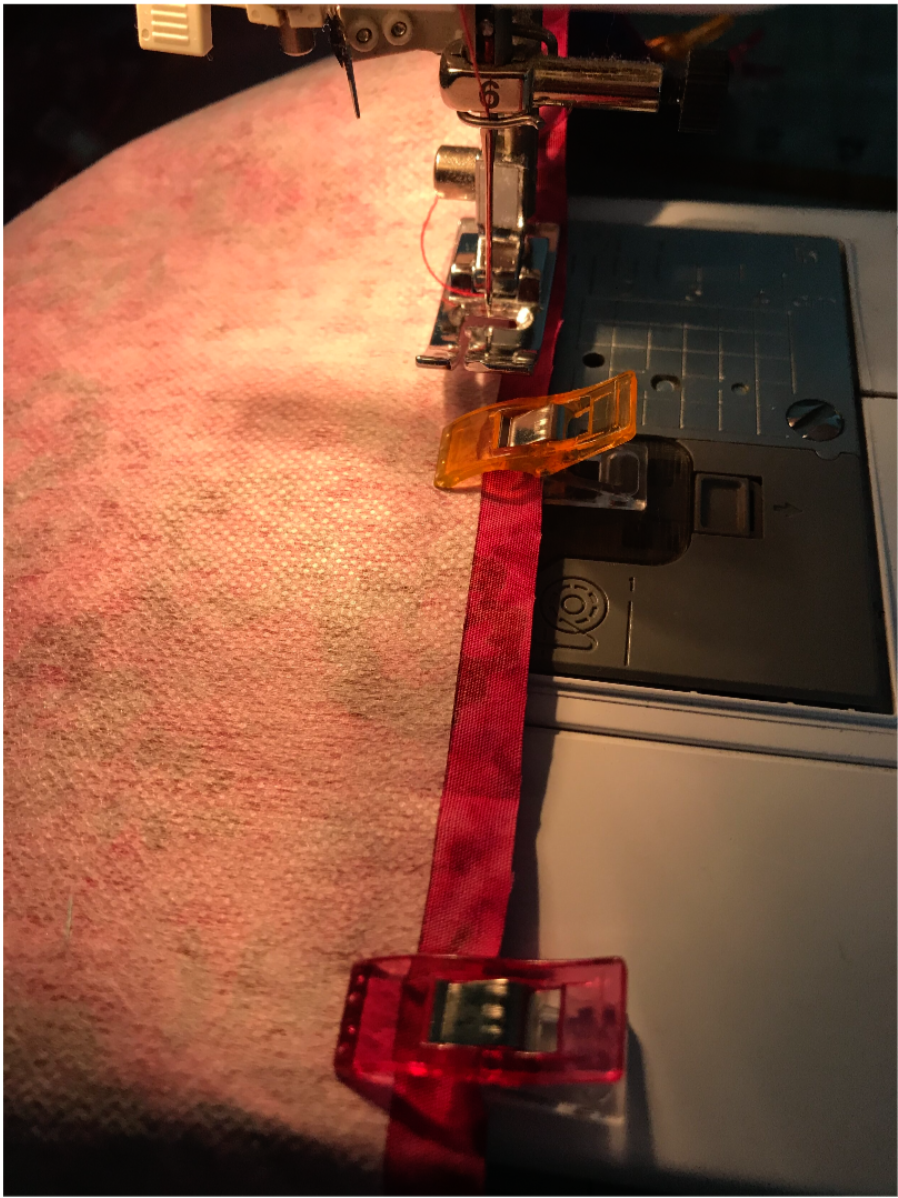
Step 4: Starting at one edge of your gap, sew around all 4 edges of your place mats using a 1/2 inch seam allowance. Make sure to back stitch at the beginning and end.
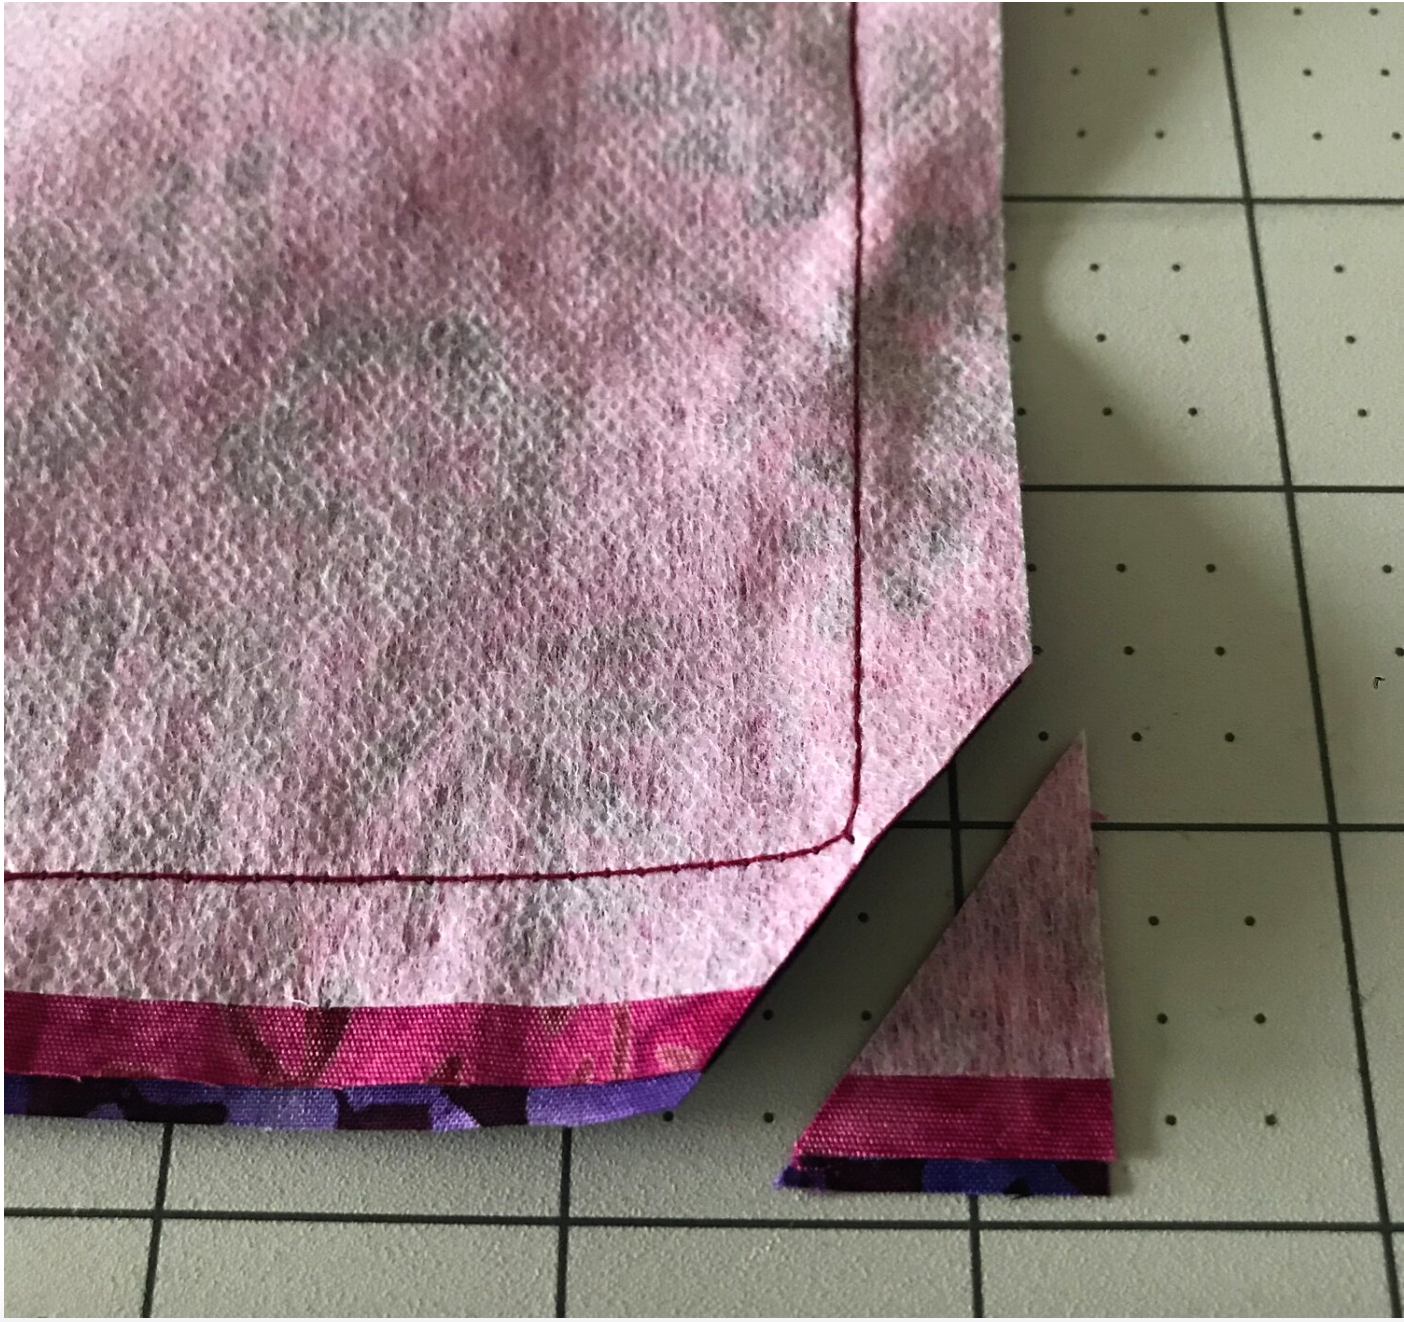
Step 5: Snip each corner of the placemat so that your corners will lie flatter when you flip your placemat right side out.
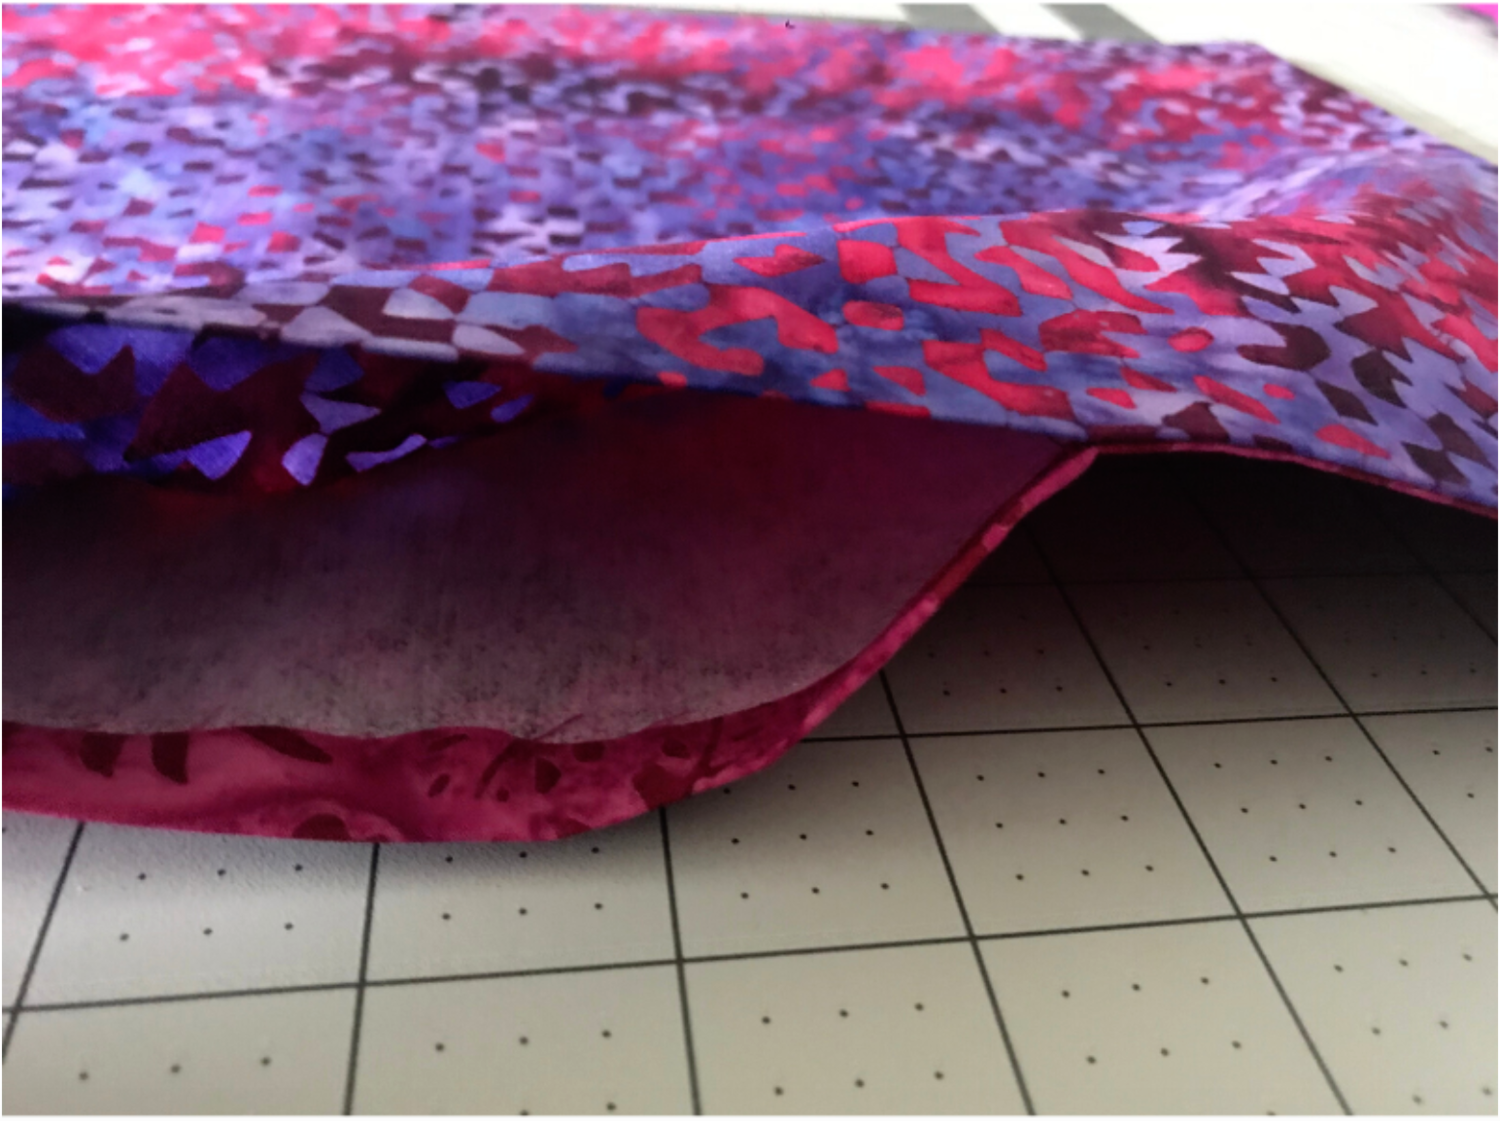
Step 6: Flip your place mat right side out. Make sure to push out all of your corners and your seams. (A pencil point or chopstick works great for this!) Iron flat making sure to pay close attention to the edges and the opening where you flipped your place mat right side out. Tuck that fabric to the inside of the place mat, even with the sewn seam.
Step 7: Sew along all 4 edges of your place mat with a coordinating colored thread, using a 1/4 inch seam allowance. This will close the hole that was left unsewn and give your place mat a more finished look.
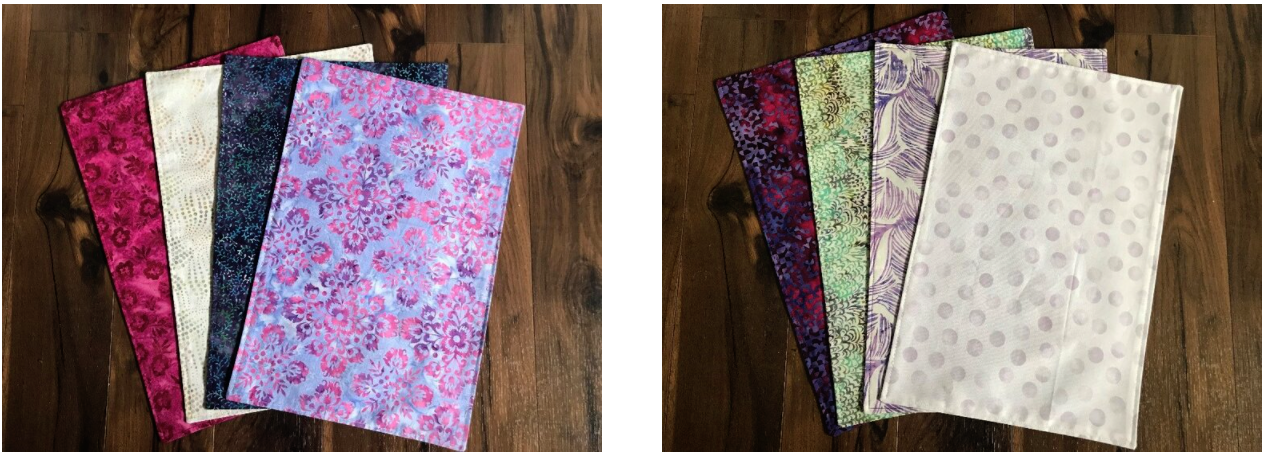
That’s it! You now have a cute place mat to make your dinner table pop! You can use different fabrics for each person or make them all to match, the choice is up to you!
This project is a great beginner project or an everyday project to spruce up your table. For this tutorial, I used the April Java bundle, but this project would also work well with our Classic or Mini Pop memberships. You can learn more about each of these memberships here: https://www.cottoncuts.com/learn-more
Thank you so much for joining me today! Happy Sewing!