

Origami Drawstring Bag with Beth Ann Williams
22nd Feb 2022
Not only is this delightful, giftable little bag useful and appealing for all ages – this tutorial is beginner-friendly and kid-friendly, too!
Note: If you are a newbie, I recommend changing the seam allowances to ½” instead of ¼”, and sewing 3” seams up the sides of the bags instead of 3 ½” seams. That will give more fudge-room if seams aren’t perfect, and your bag will turn out just great!
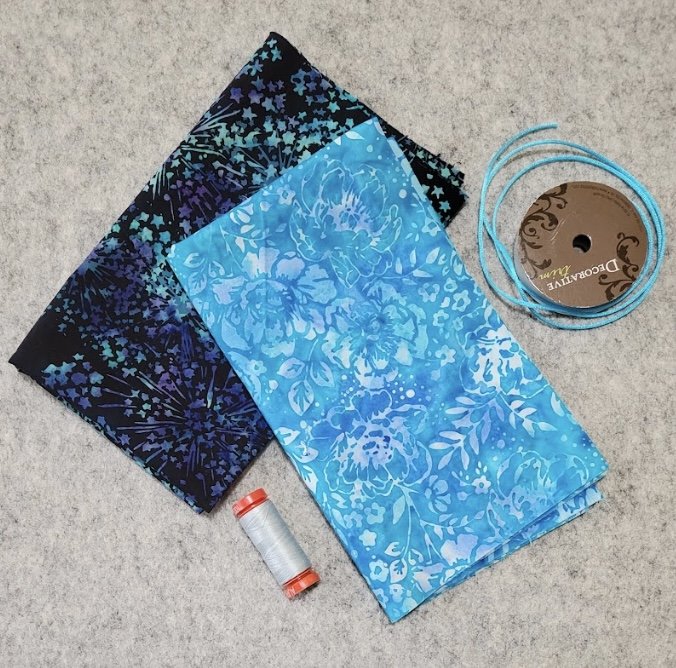
What you’ll need:
2 squares of fabric, each cut 17 ½” x 17 ½”
I used two of the fat quarters from the January Java Batiks box
60” of satin cording for the drawstrings, cut to yield two 30” lengths
A bodkin, large safety pin, or other tool to help feed the drawstrings through the casings
Coordinating thread
I used Aurifil 50 cotton
Straight pins or clips to keep the layers from shifting while you sew
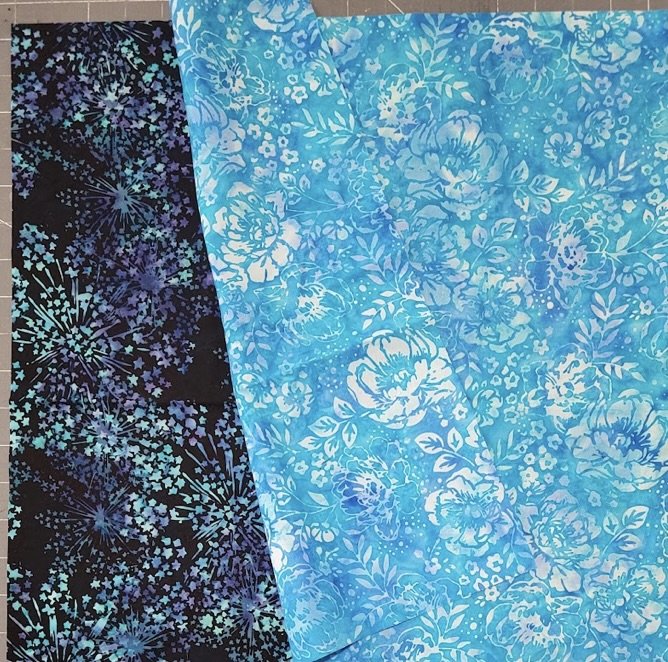
Place the two squares of fabric right sides (pretty sides) together. Note: If you are using Batik fabrics, both sides are gorgeous, and it doesn’t matter which side you designate as the “right” side.
Pin the two layers together carefully, so that they won’t shift while you sew. Use two pins to mark off a 3” section a few inches up from one corner that you will leave OPEN (the pink-headed pins in the photo).
Starting just below the opening, stitch all the way around the square with a ¼” seam allowance until you get to the other side of the opening, backstitching at the beginning and end of your stitching.
Remove the pins and turn the fabrics right side out through the opening.
Note: with just a ¼” seam allowance, I opted not to clip the corners to reduce bulk before turning my fabrics right side out. However, if you are using heavier fabric or a wider seam allowance, I would recommend doing so.
Tuck in the edges of the seam allowance along the opening so that the outer edges of the fabric are even. With a 1/8” wide seam allowance, topstitch all the way around the square, backstitching at the beginning and end. This will both close the opening and keep the edges of the fabric nice and crisp.
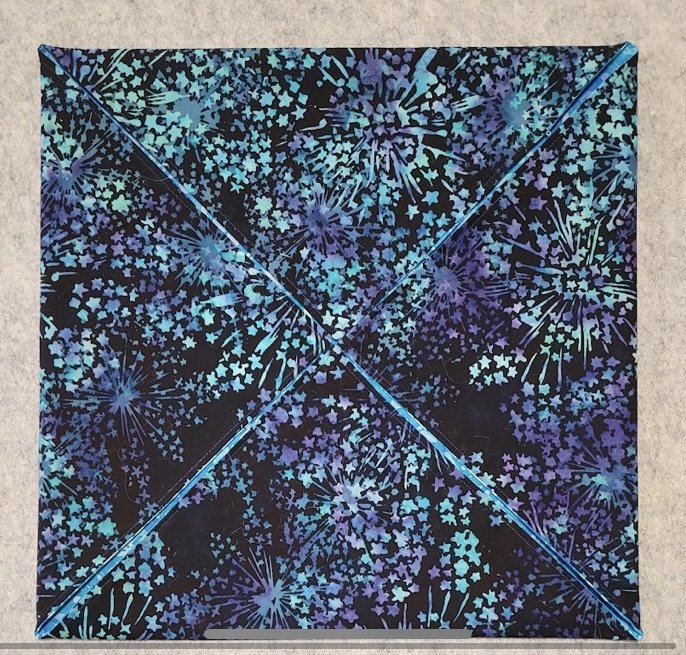
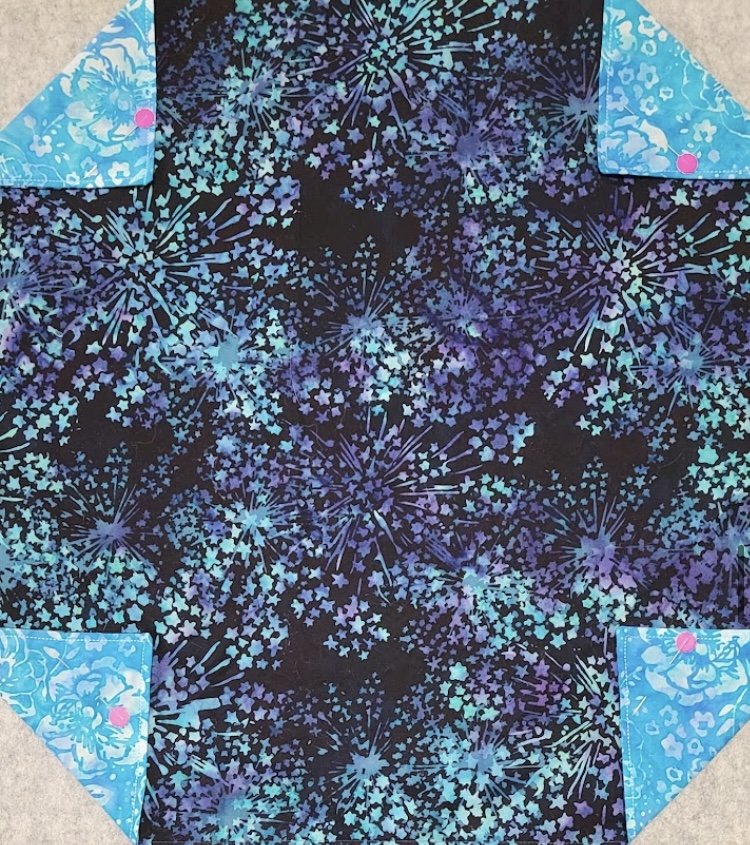
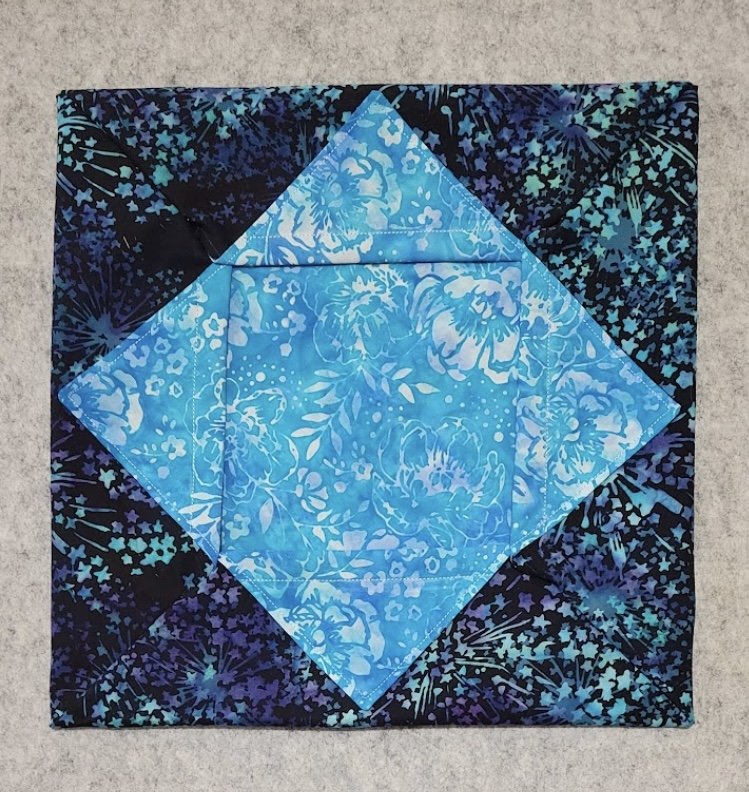
With the lining side up (in this case, the lighter fabric), fold the corners of the square in so that they meet in the middle. You should now be looking at the outer fabric.
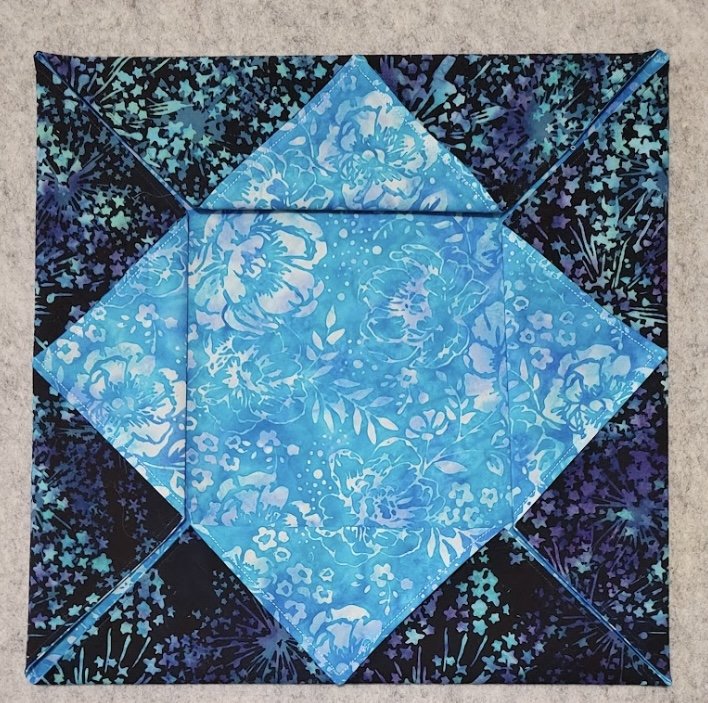
Fold the tip of each large triangle back so that the tip touches the outside edge of the square.
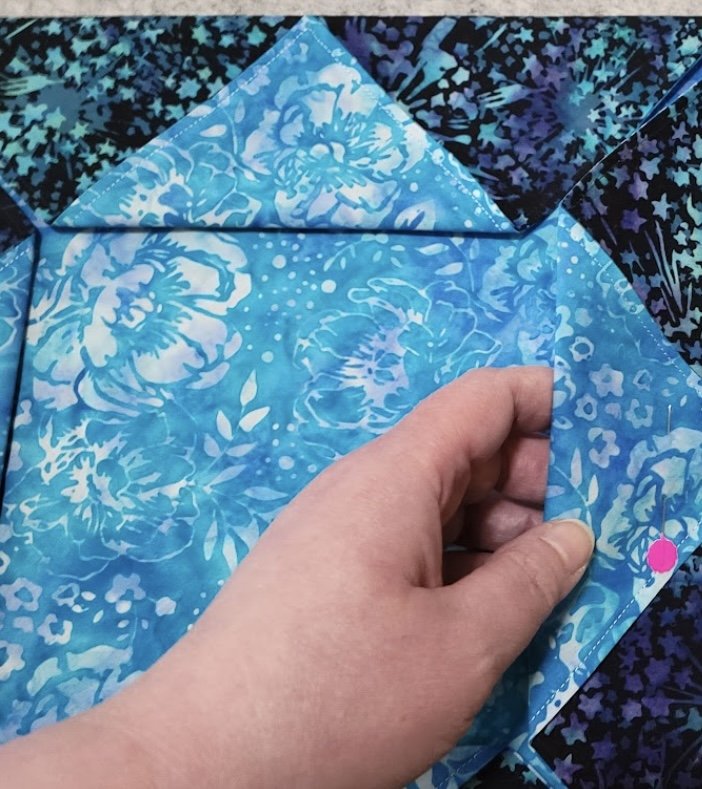
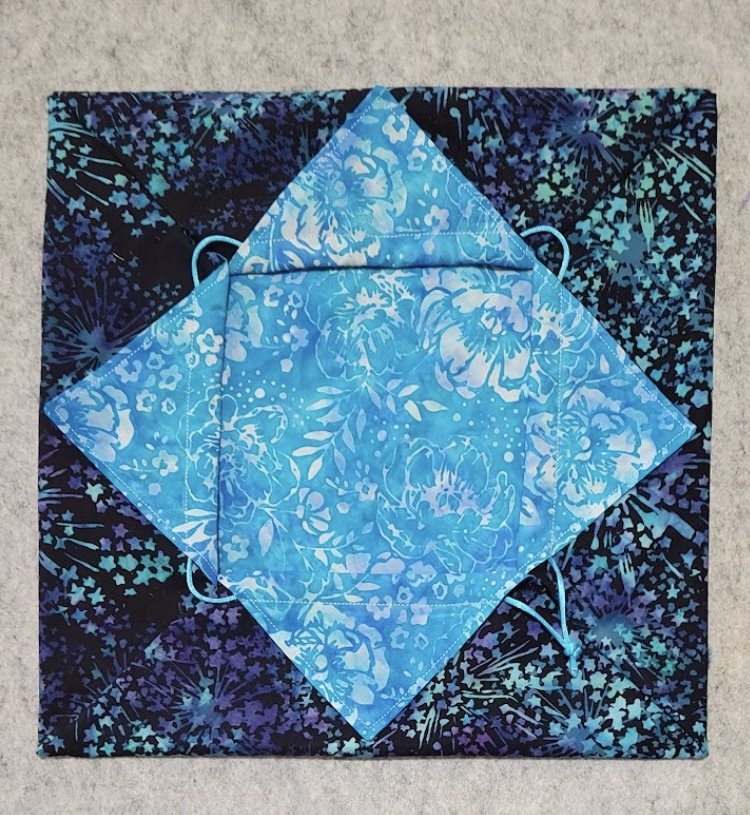
One side at a time, carefully lift each folded tip and pin to secure it – but DO NOT pin through the base layer of fabric.
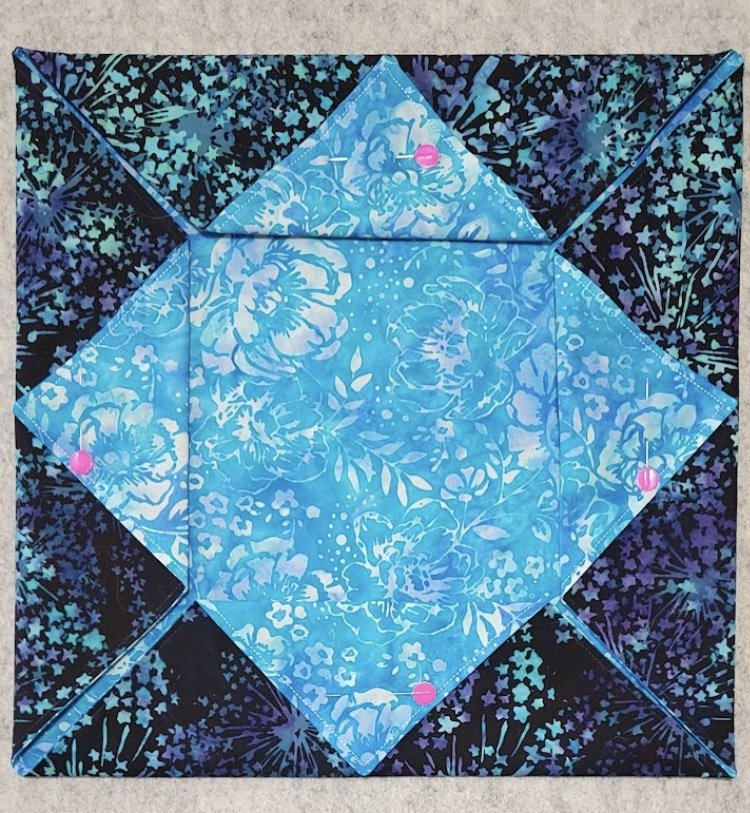
This is what it should look like now. Check to make sure that none of the pins go through to the base layer of lining fabric.
Open the square again and turn it over so that you see the pinned triangles at the corners.
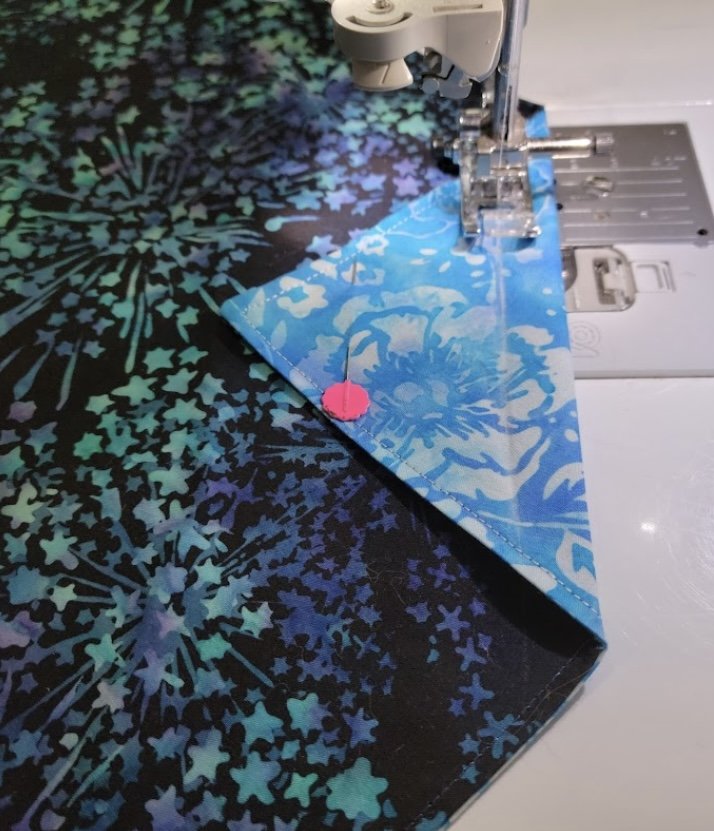
Mark (if desired) a 5/8” seam allowance across the base of each one of the folded triangles. Sew, backstitching at the beginning and end. This will form the casings for the drawstrings. Repeat for the other 3 corners. Remove any pins.
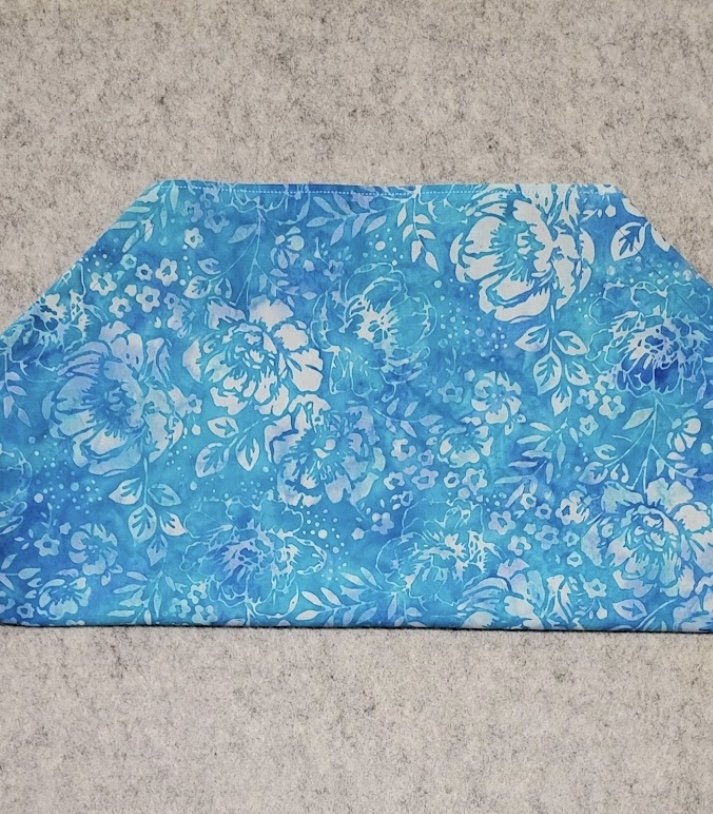
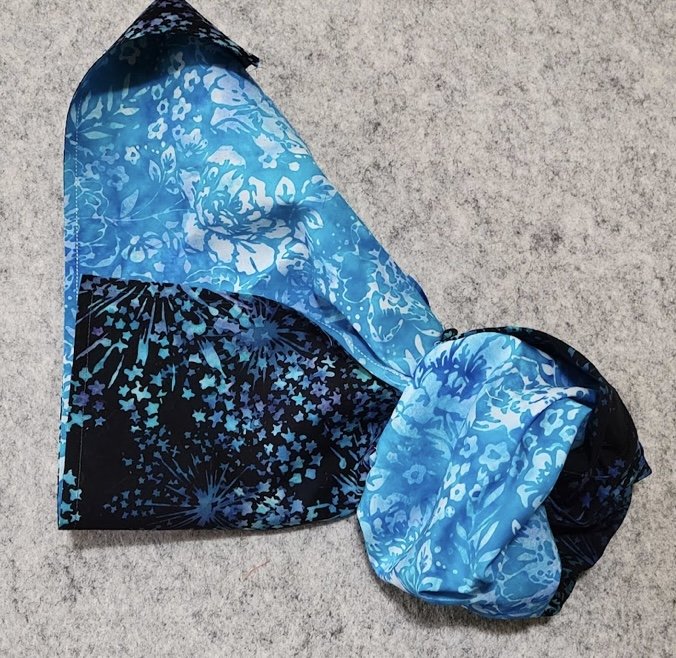
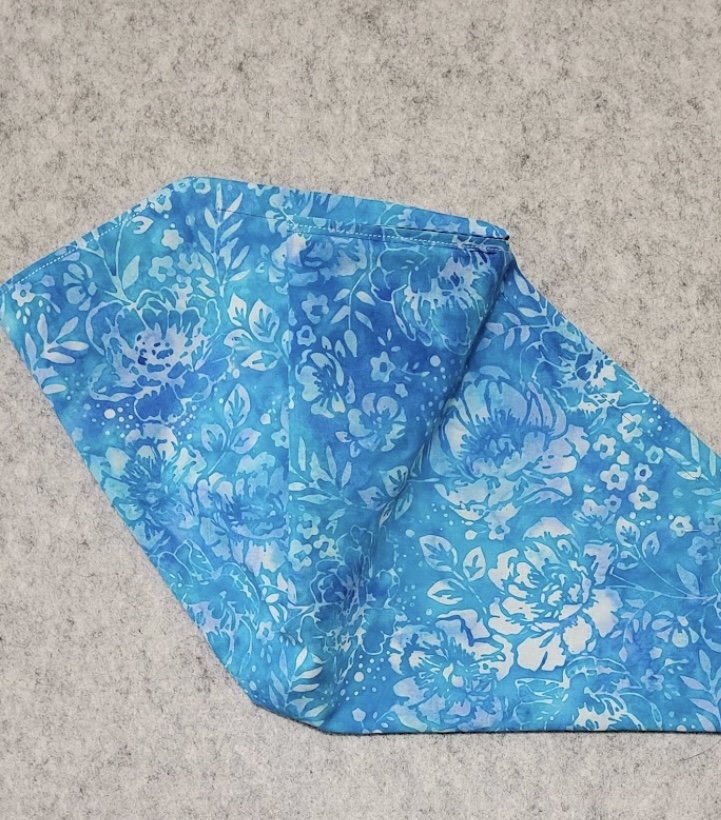
Fold the fabric in half, lining side out, carefully aligning the sides and top of the folded fabric.
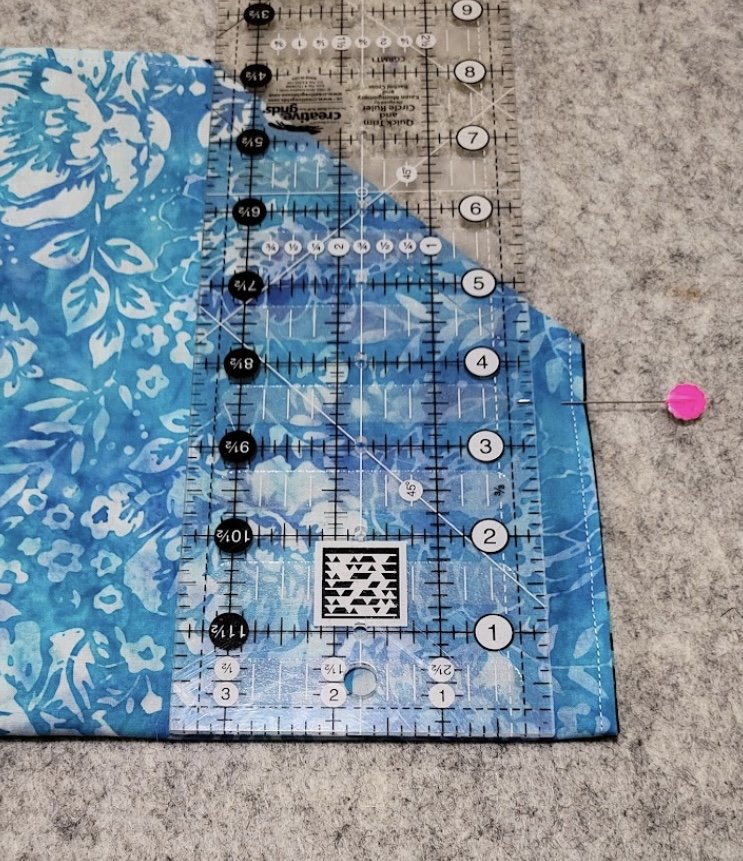
One side at a time, measure up 3 ½” from the fold and pin-mark one end of the stitching line to sew up the first side of the bag.

Sew this ¼” wide seam from the pin to the fold, backstitching at the beginning and end of the stitching.

Repeat to measure, pin-mark, and sew the opposite side of the bag in the same way.
You’ll need to refold the fabric to sew the remaining 2 sides. The entire piece of fabric won’t lay flat at this point, because the bag is already coming together, but the sides should still line up pretty easily. One at a time, measure, pin-mark, and sew just as before.

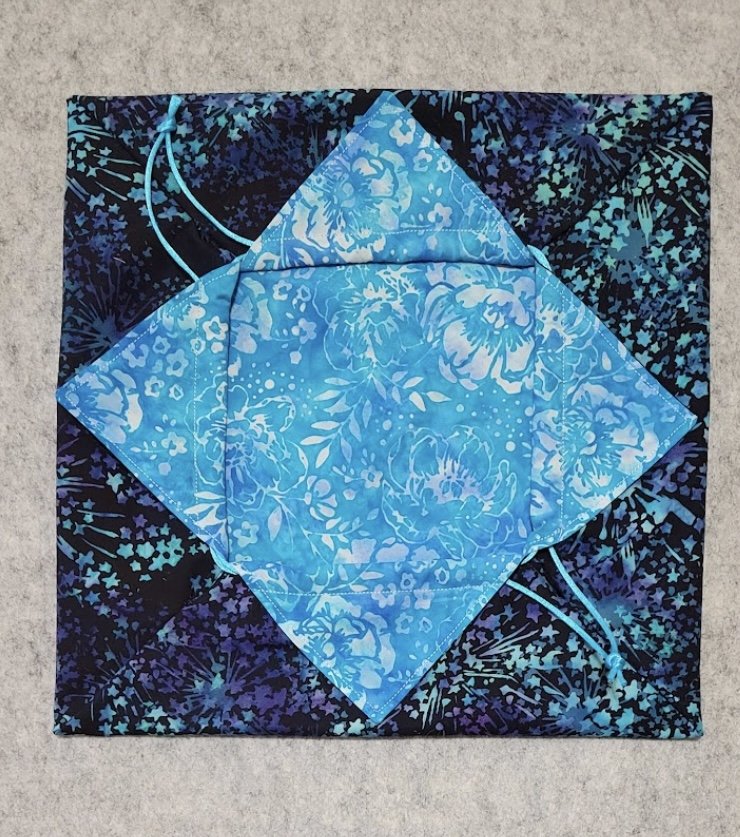
This is what it should look like after all 4 sides have been sewn.
Turn the bag right side out. You’re almost done!
Guide the first drawstring though the casings one at a time, stopping when you end up back where you started. Knot the ends of the drawstring together.
Starting at the opposite corner, do the same thing with the second drawstring.
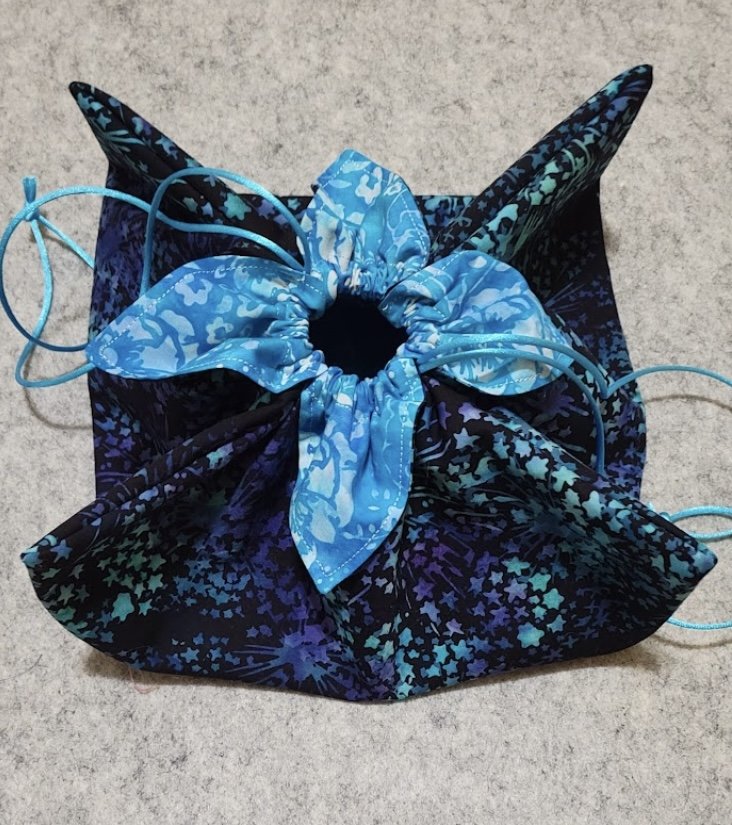
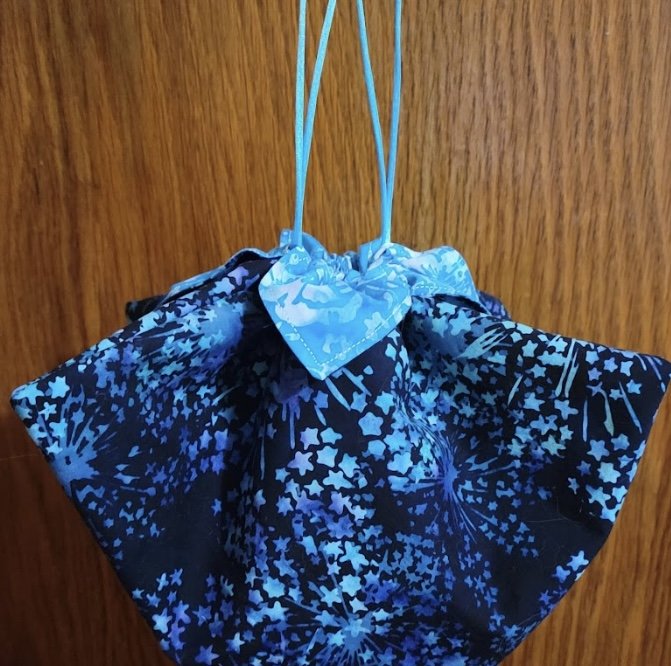
Pull the drawstrings tight to close your bag.
Enjoy your new Origami Drawstring Bag!
While these instructions and photographs are all © Beth Ann Williams, this project was inspired by the Origami Lotus Bag Tutorial shared here in 2010:
Connect with Beth Ann on Instagram at @bethann.williams
or on her blog, www.bethannwilliams.com. She’d love to see your bags!