Mummy Quilt Reveal
23rd Sep 2021
Hooray! The pieces of the quilt top are sewn together and ready for quilting! How does that make you feel? For some quilters like me that is a BIG question with endless ideas and opportunities available. How do you choose? Personally, I find it helpful to take time to look at pictures of finished quilts for inspiration for my quilting design and thread color. Aurifil Threads has an informative website to guide you through the process with before and after photos of blocks. I have learned it is very helpful to audition the thread color and quilt design on a small quilt sandwich made from the same fabric as the quilt. I like to use about a 12” square to get a feel for the design on the fabric.
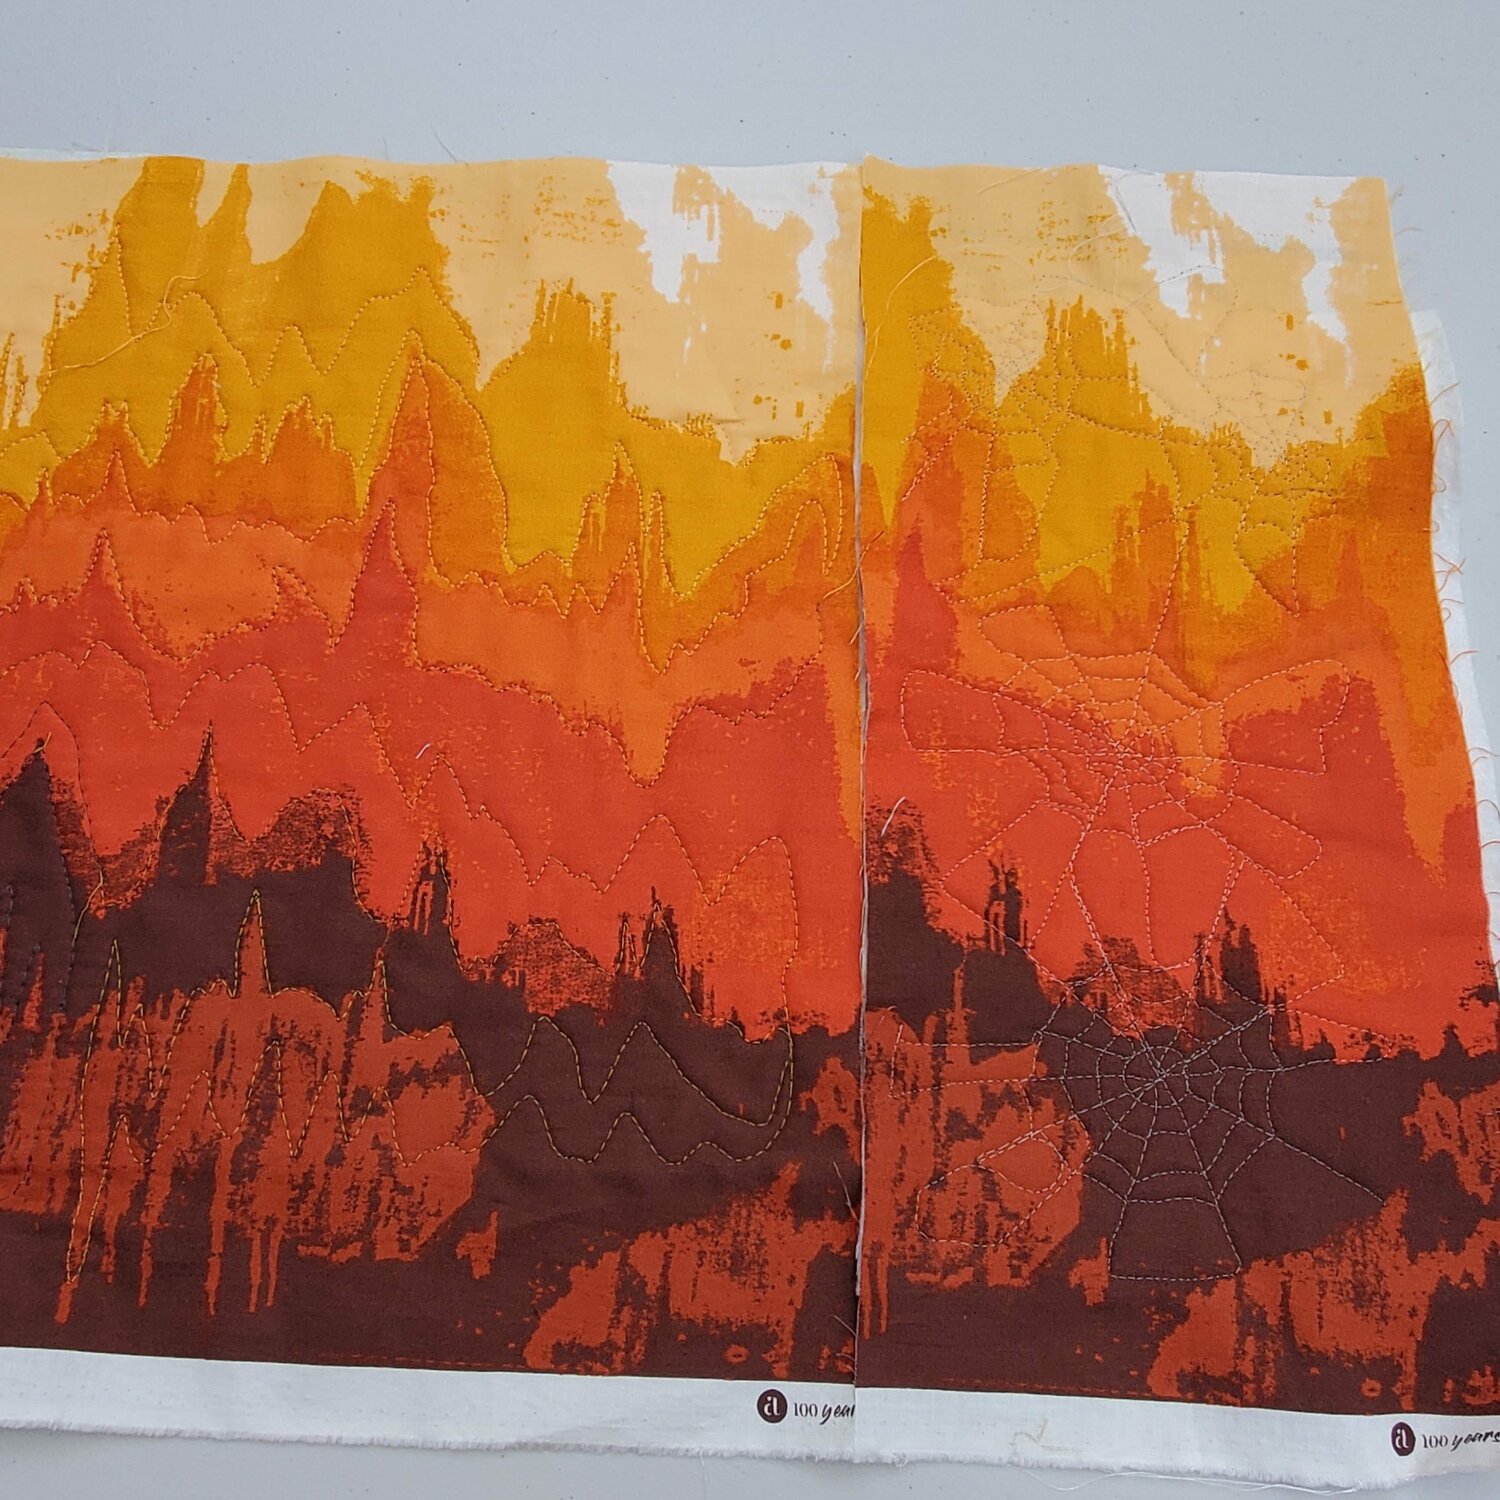
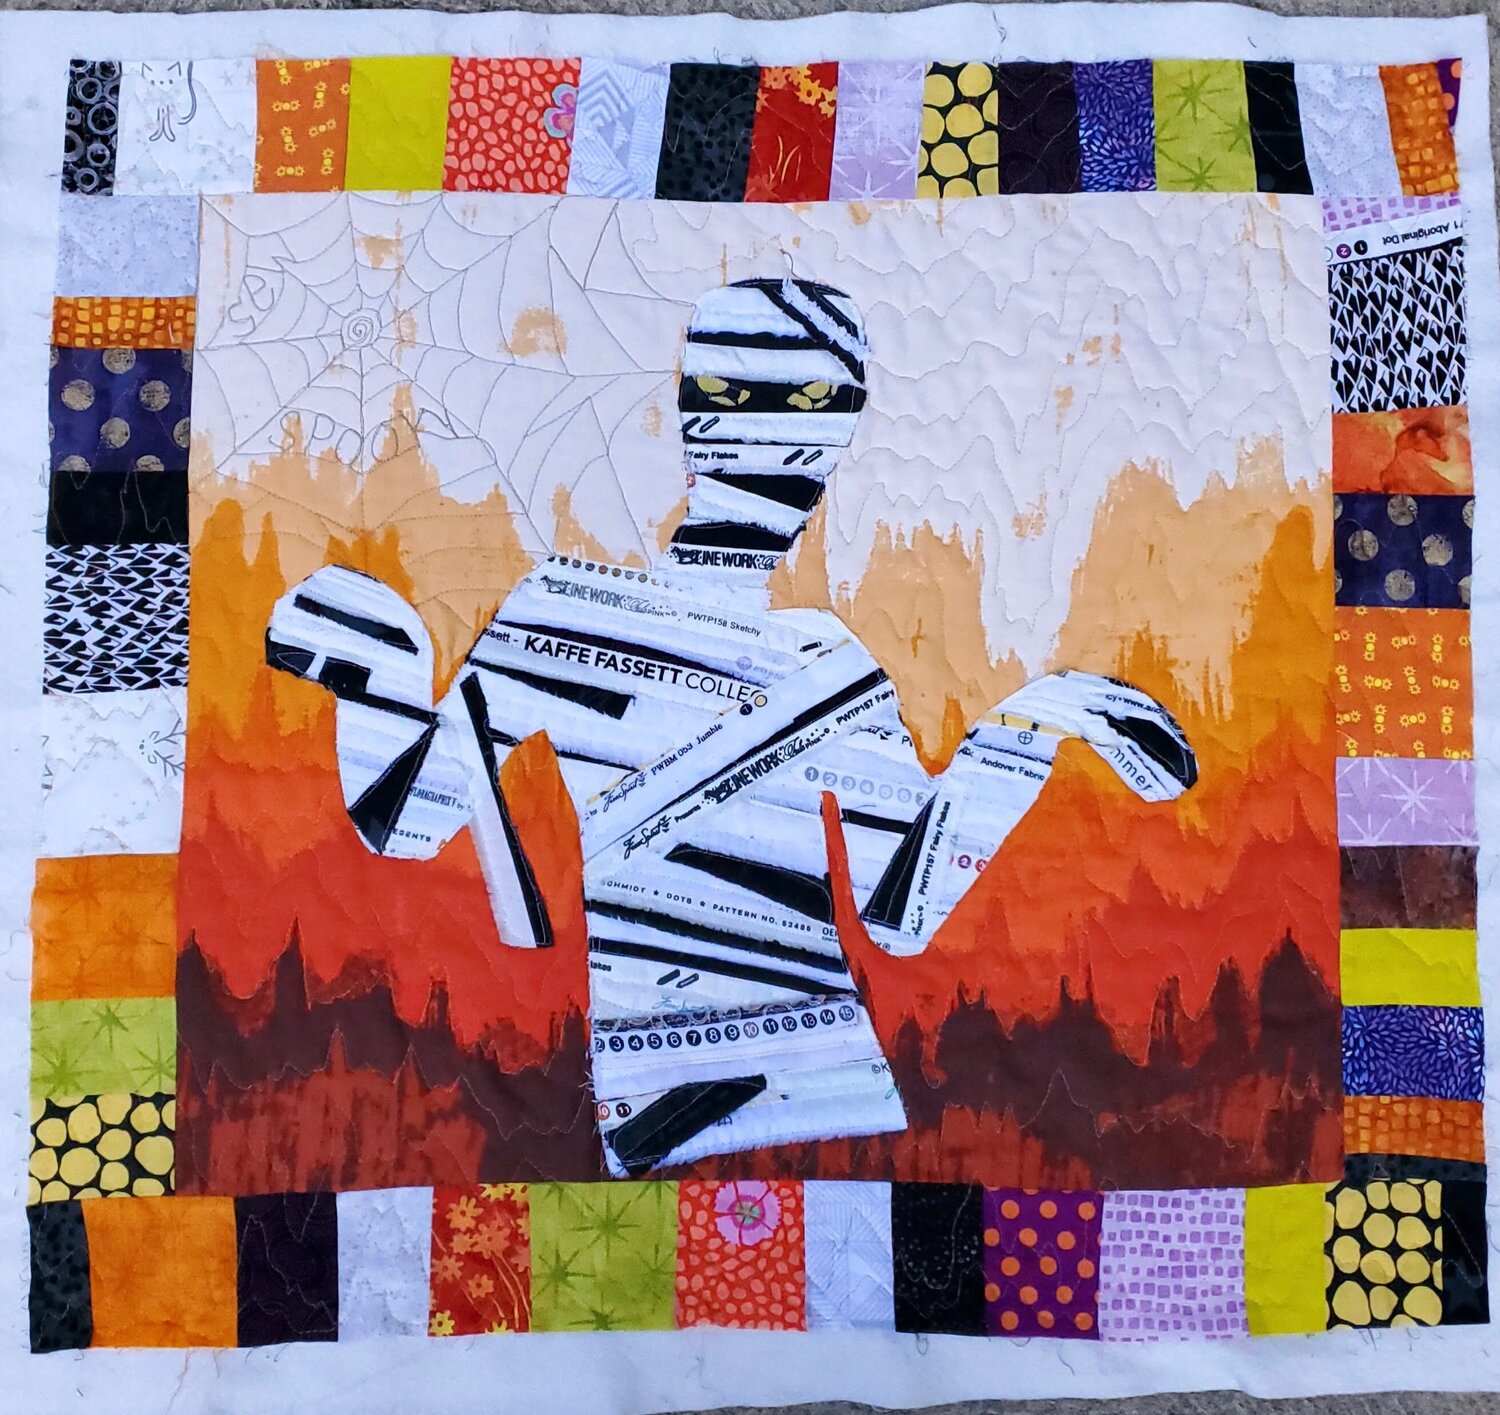
I am still a beginner when it comes to free motion quilting so I practice to gain confidence before I actually sew on my quilt top. My original quilting plan for this project was spider webs all over but when I stitched it out on the practice piece it felt like it was competing with the background fabric design. So instead I placed just one spider web in the upper left corner with a “Charlotte’s Web” inspired message.
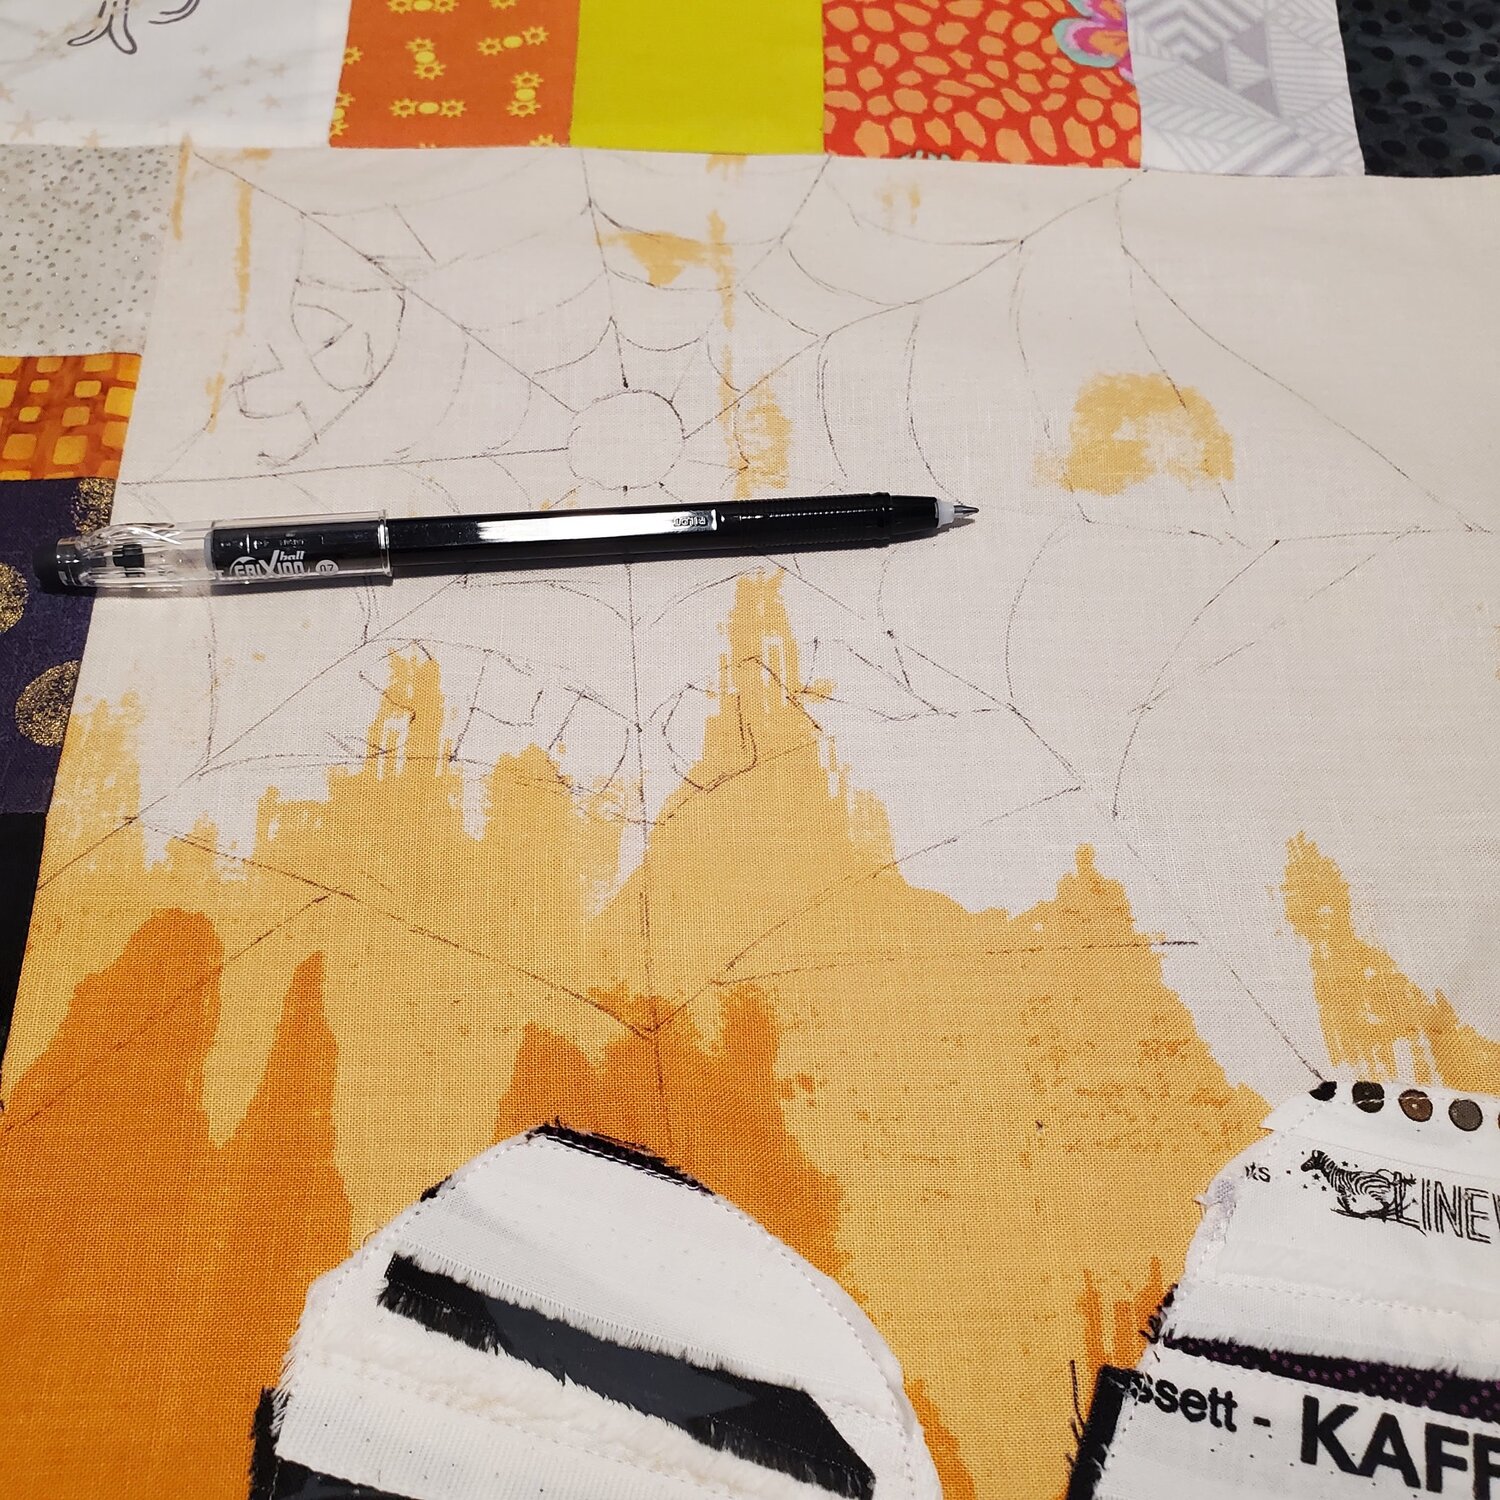
I tried several different thread colors to get the right feel for the spider web. The September Chroma membership had a great assortment of black and grey thread to audition for the spider web. I first drew it on the background with a heat erasable pen to get the position right and the words to be woven in the web. This step made it easier to free motion quilt the web exactly where I wanted it to go on the quilt.
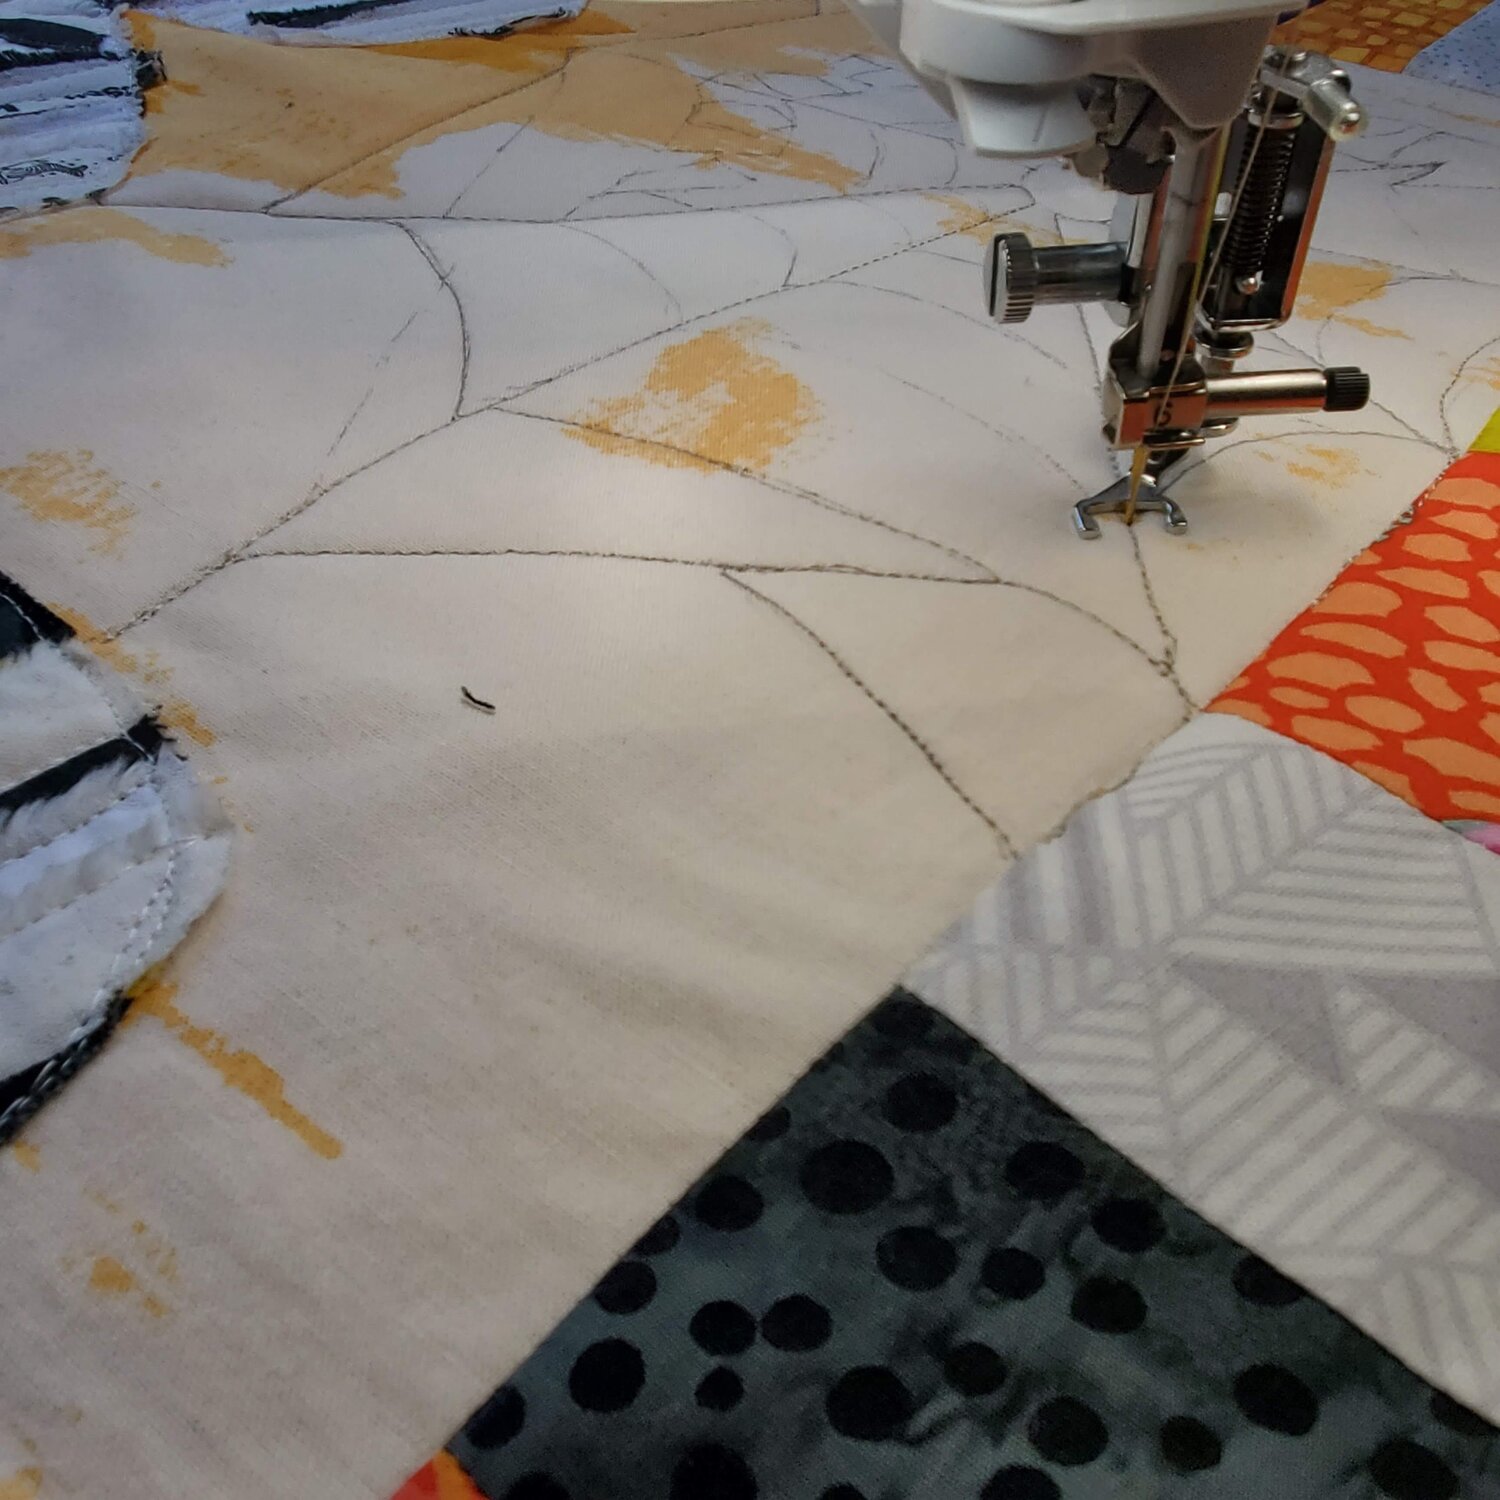
For the main feature I quilted with white Aurifil 50wt. thread along the lines of the selvage fabric pieces to reinforce the look of the mummy. To finish the remainder of the background I used a medium orange Aurifil 50 wt. thread and followed the design of the fabric, echoing in between creating jagged lines. I continued the quilting design into the borders with the jagged lines creating an all over design in the background of the quilt.
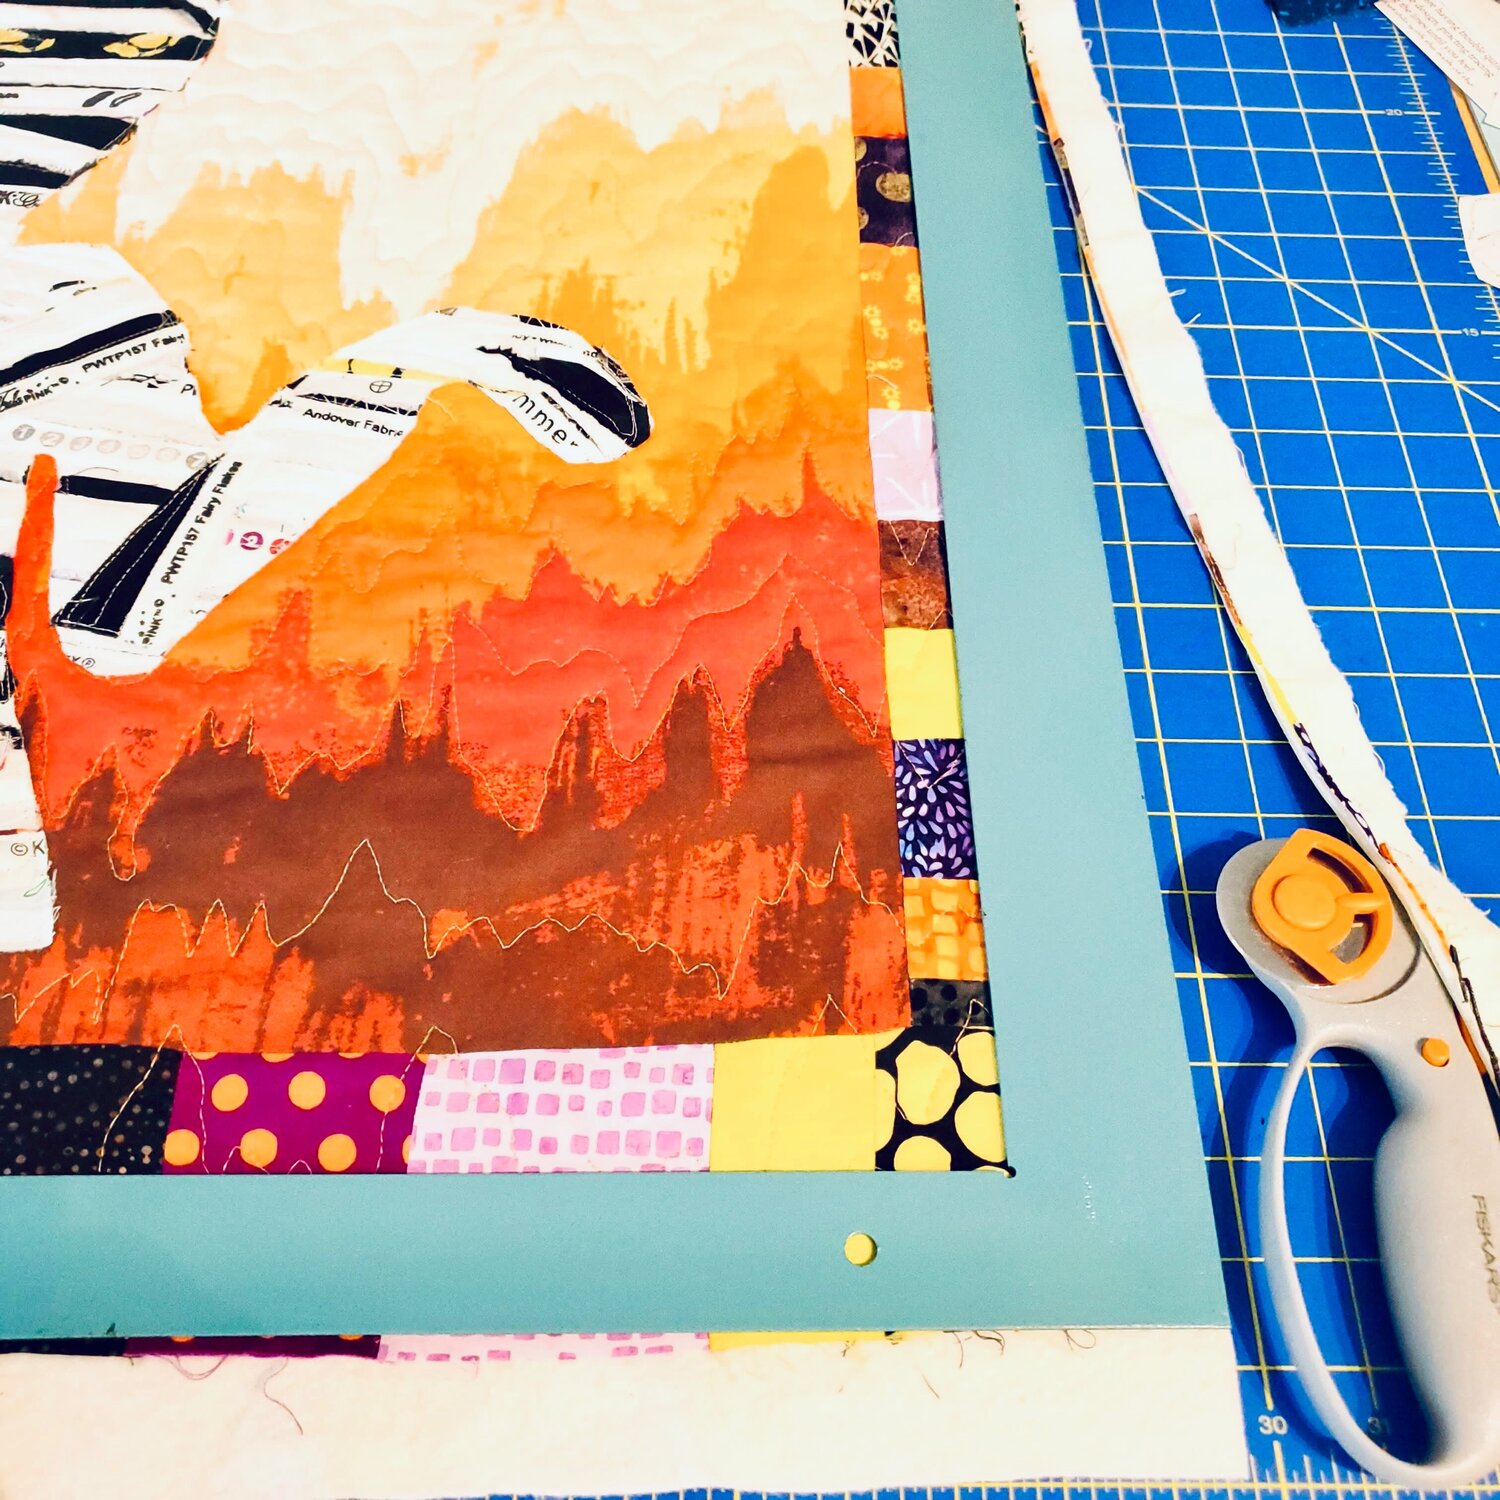
To prepare the quilt for binding, I carefully squared up the quilt top trimming the excess batting. I use a metal L shaped ruler from the hardware store to square up the top.
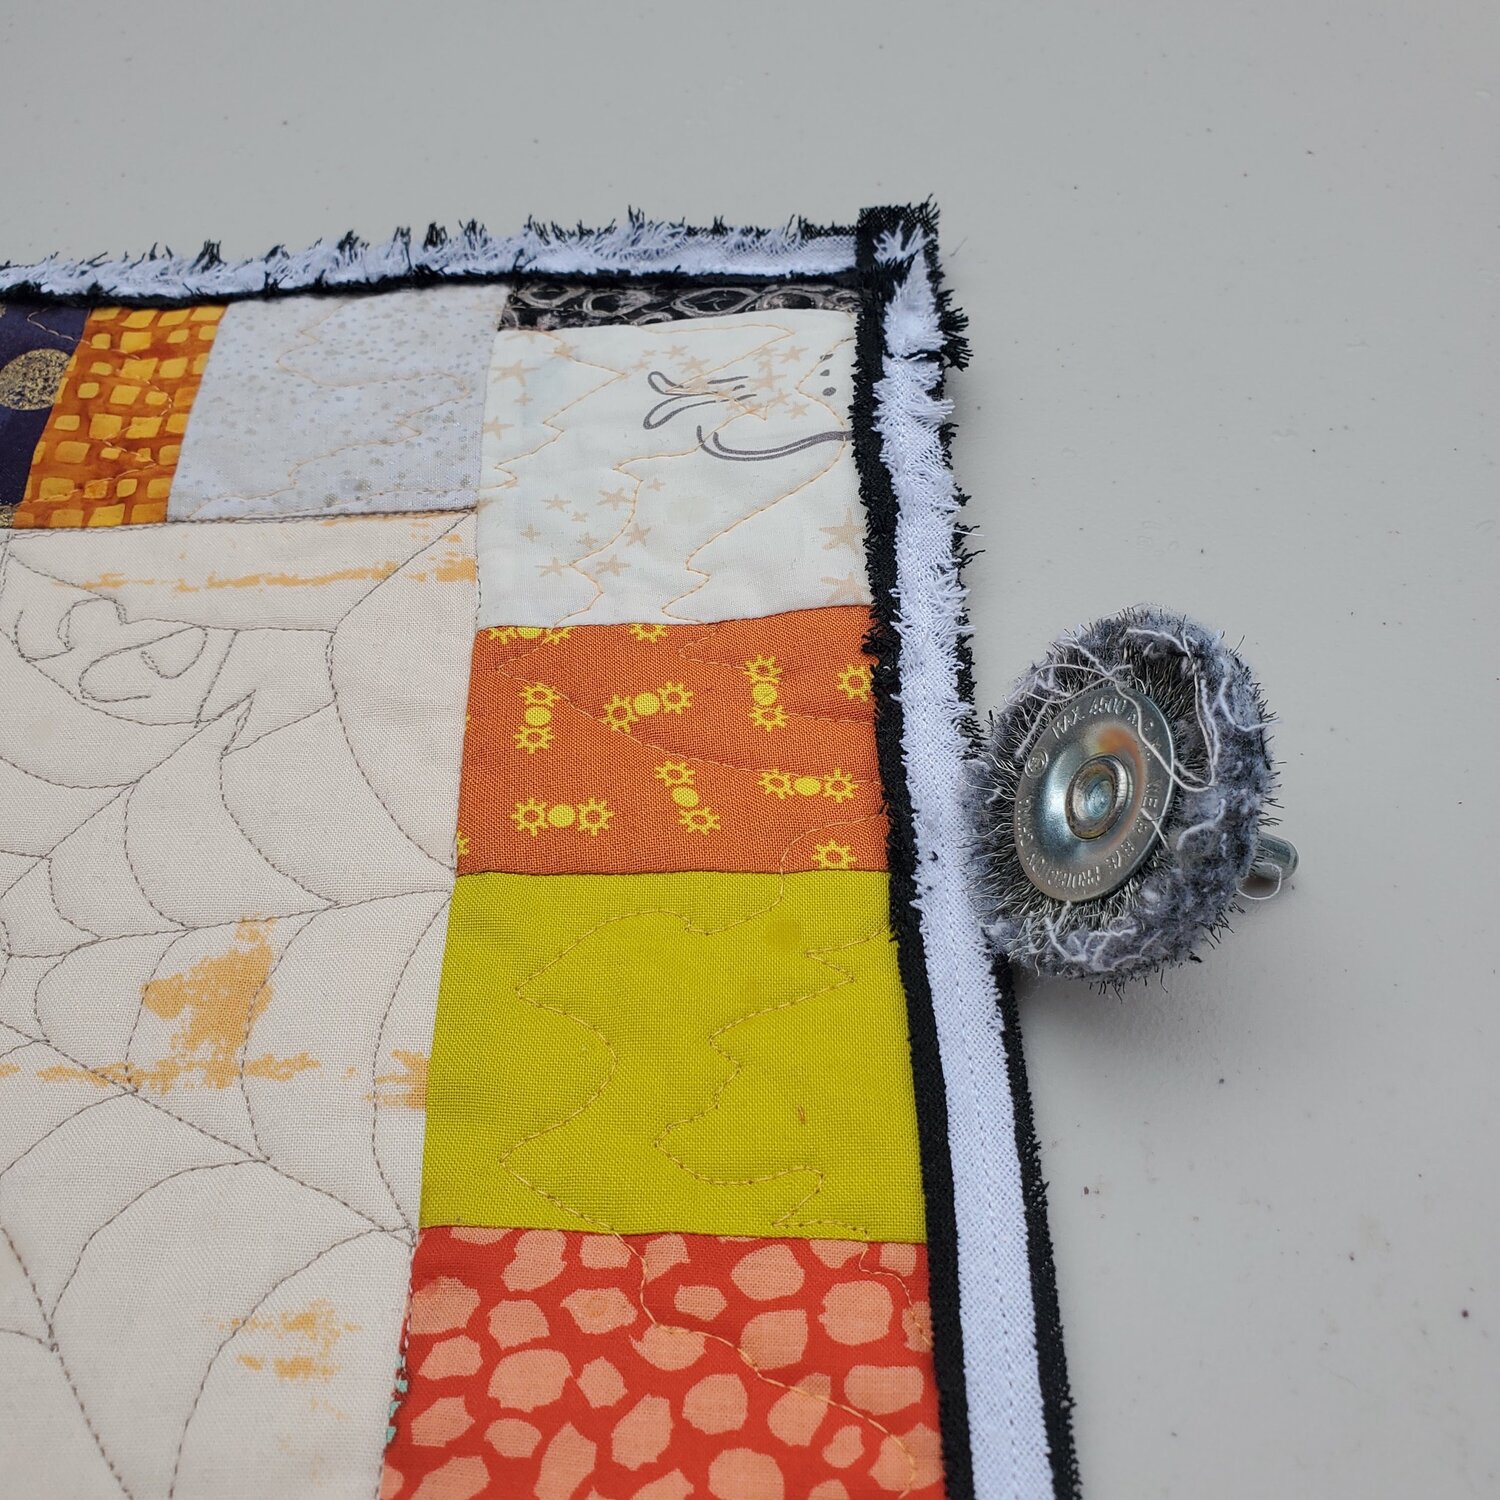
I decided to try a new and different method to bind the edges using Chenille-it. Check out how I used this fun product in a past blog to make drink Coasters. It is a really easy way to add some interest with texture fitting the mummy theme. To finish the raw edges you can use an overlock or zig zag stitch on your sewing machine or use a serger.
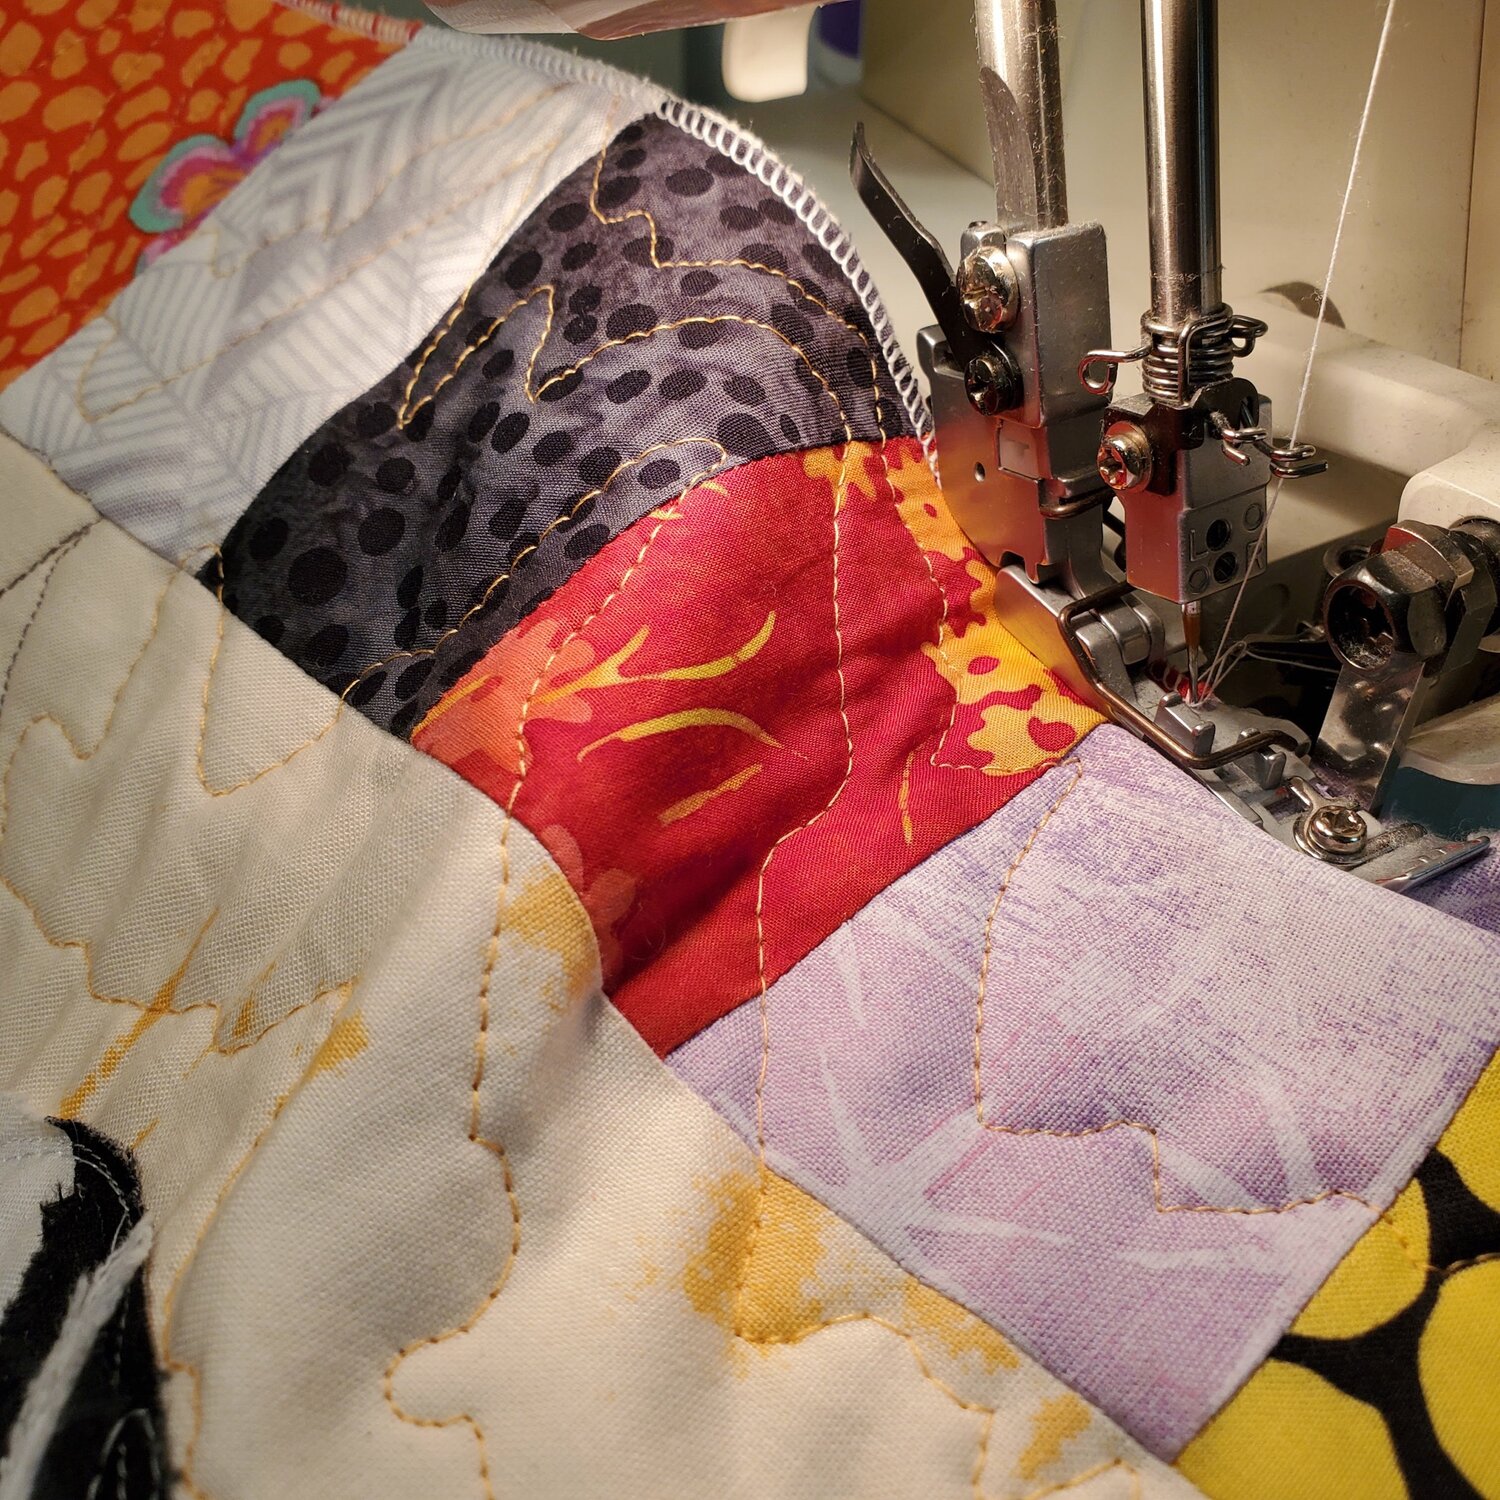
This gives the raw edges of the quilt a nice finished edge to sew the Chenille-it in place. I used a double layer with the black ⅝” wide on the bottom with a ⅜” white layer on top.
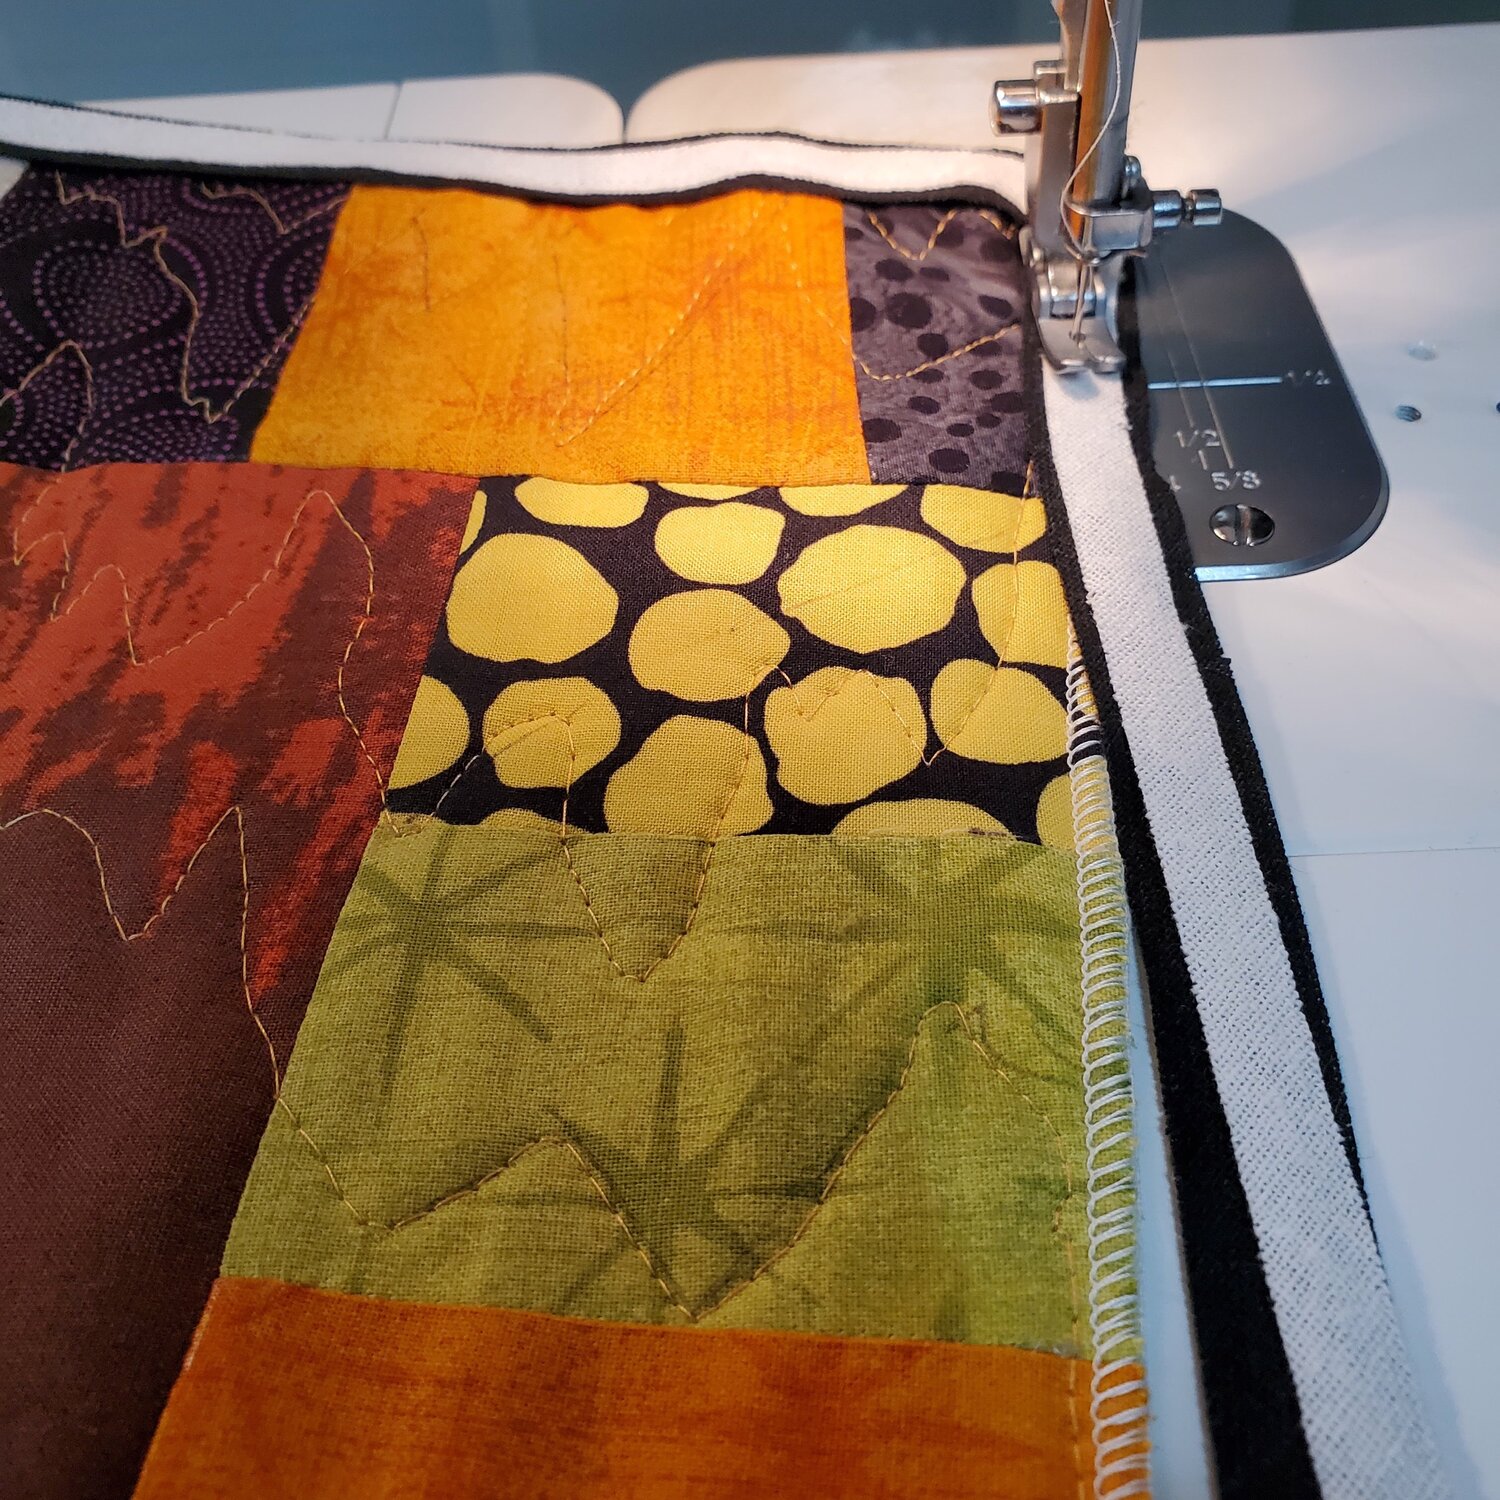
Straight stitch this in place just to the left of the overlock sewn edge. I left a little extra Chenille-it as I turned the corners. Normally to fluff the Chenille-it you just wash the quilt, but since this was a wall hanging I decided to fluff the Chenille-it using a wire brush along edges. This is a very forgiving option to bind a quilt, with all the texture it hides any small mistakes. It is also much faster to sew than traditional binding.
Since I am planning to use this as a wall hanging or table topper I only added the Chenille-it to the front edges. You can use this method on a regular quilt sewing the trim on both sides of the quilt for a unique finish.
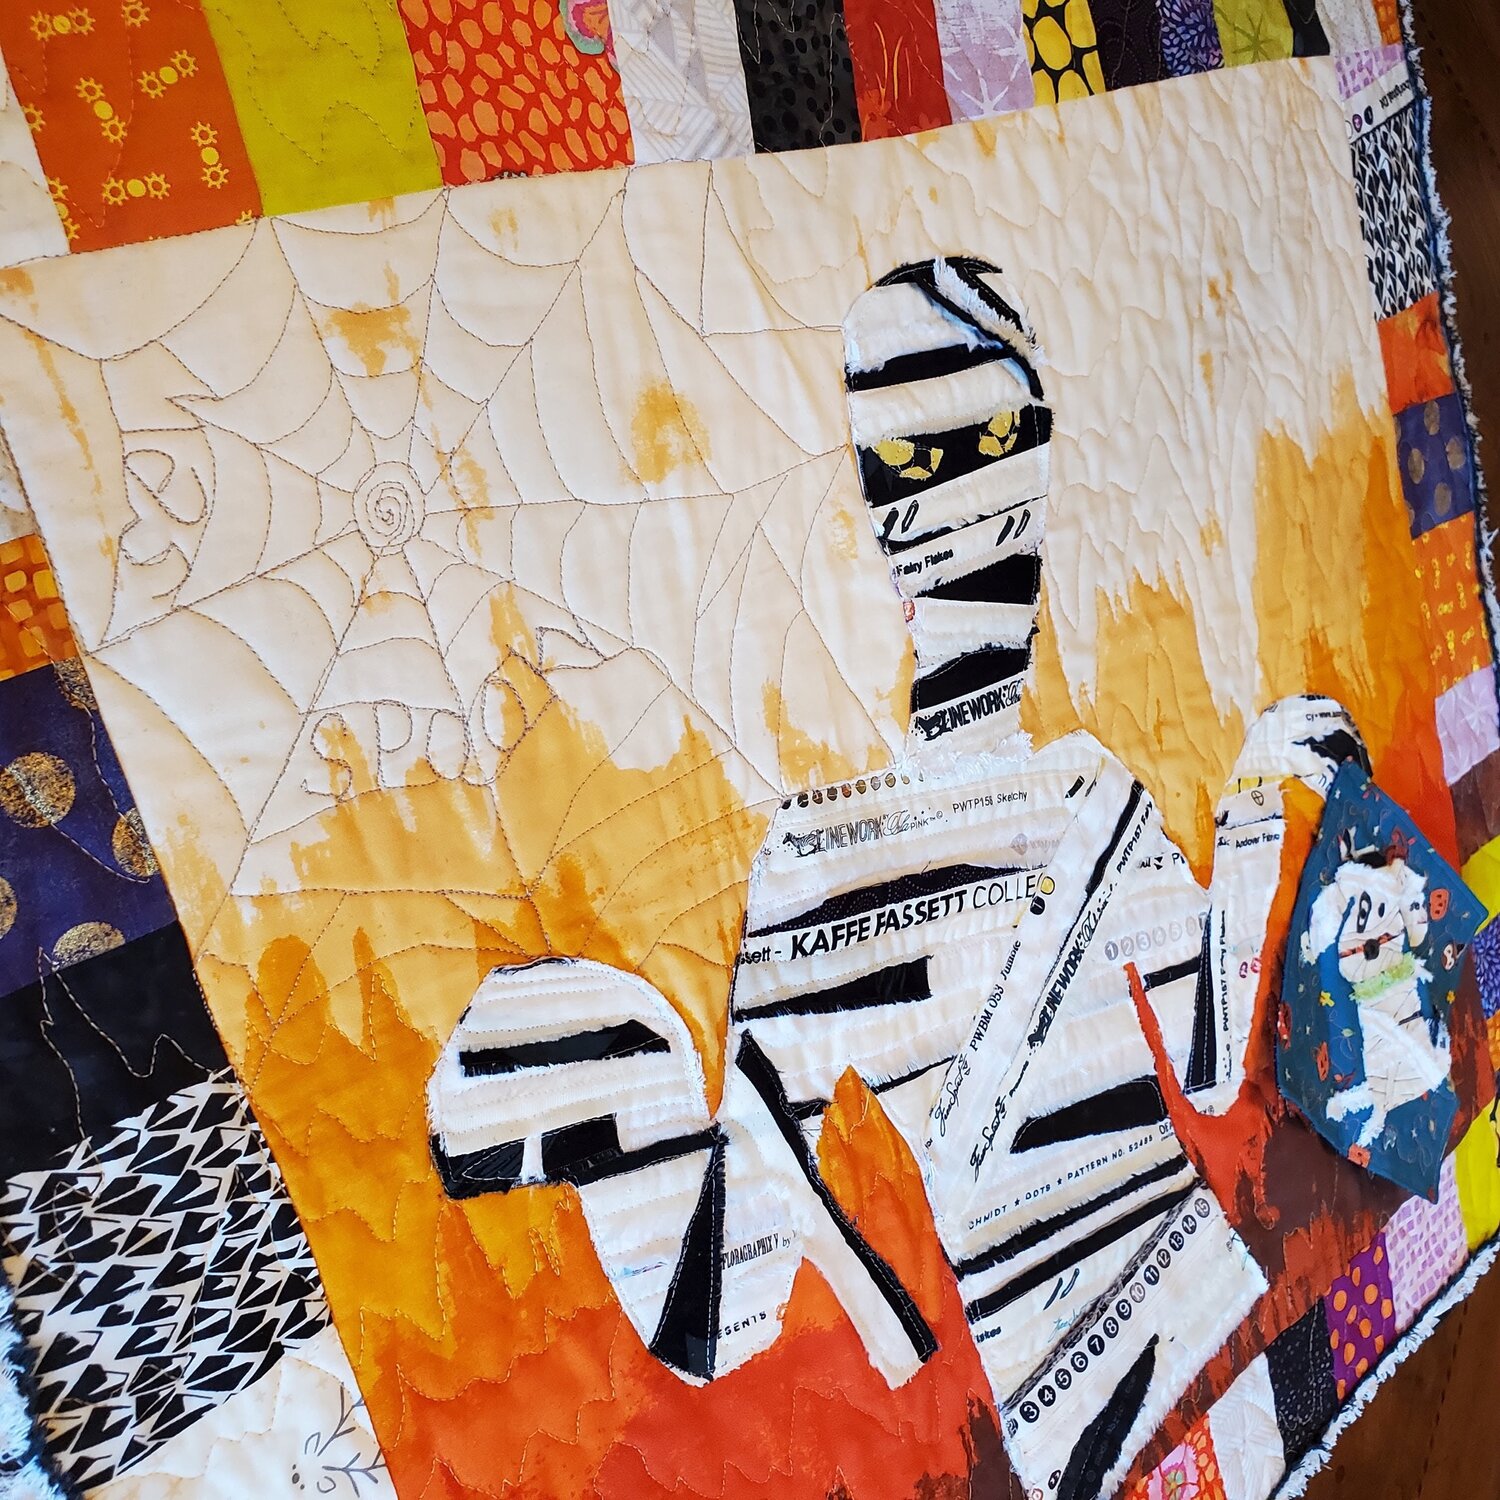
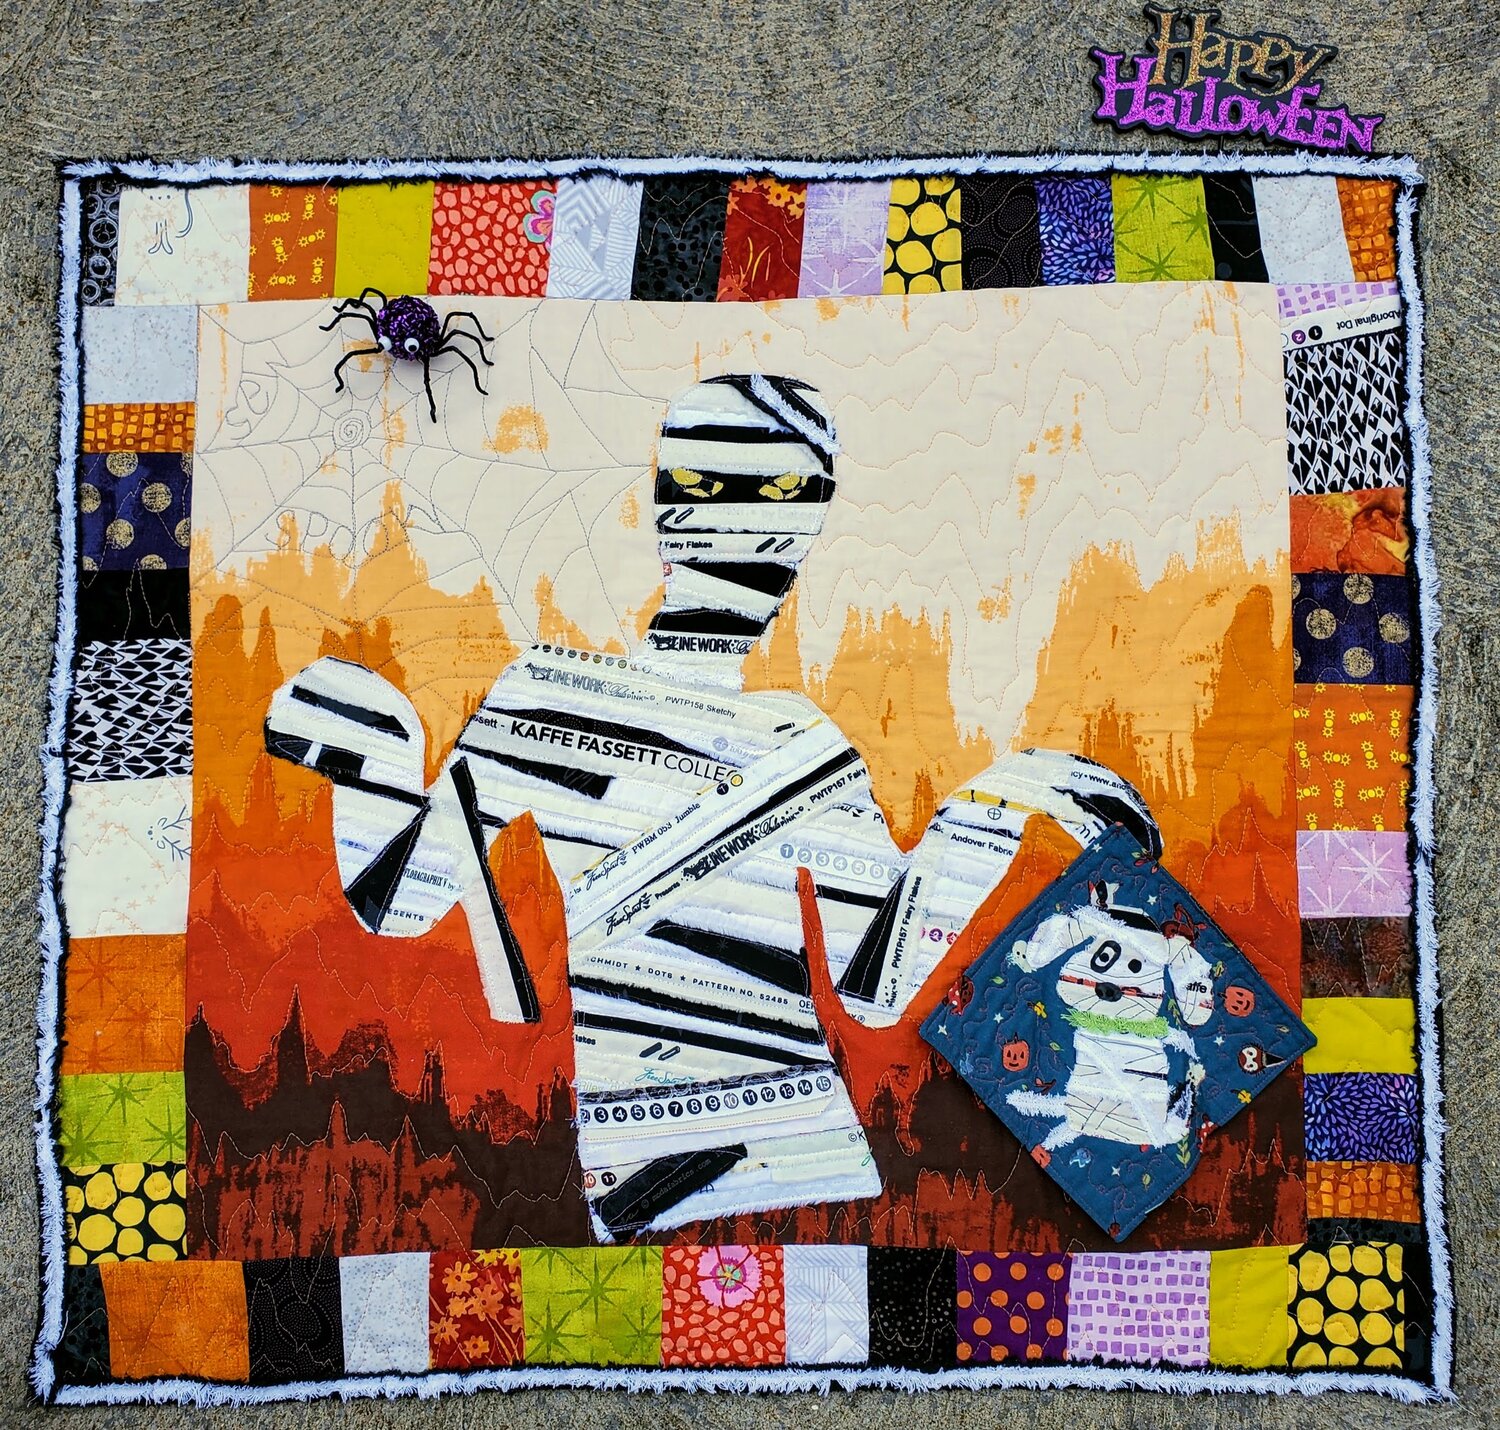
The final step was to add the mummy’s mini quilt tacked in place hanging from her hand. I heard she likes to quilt, it helps her relax and unwind! I couldn’t agree more! If you need a fresh assortment of fabric delivered to your door each month check out our Fabric Membership Options. She will be my quilting companion each October!