Fun in the Sun Accessories
3rd Jun 2021
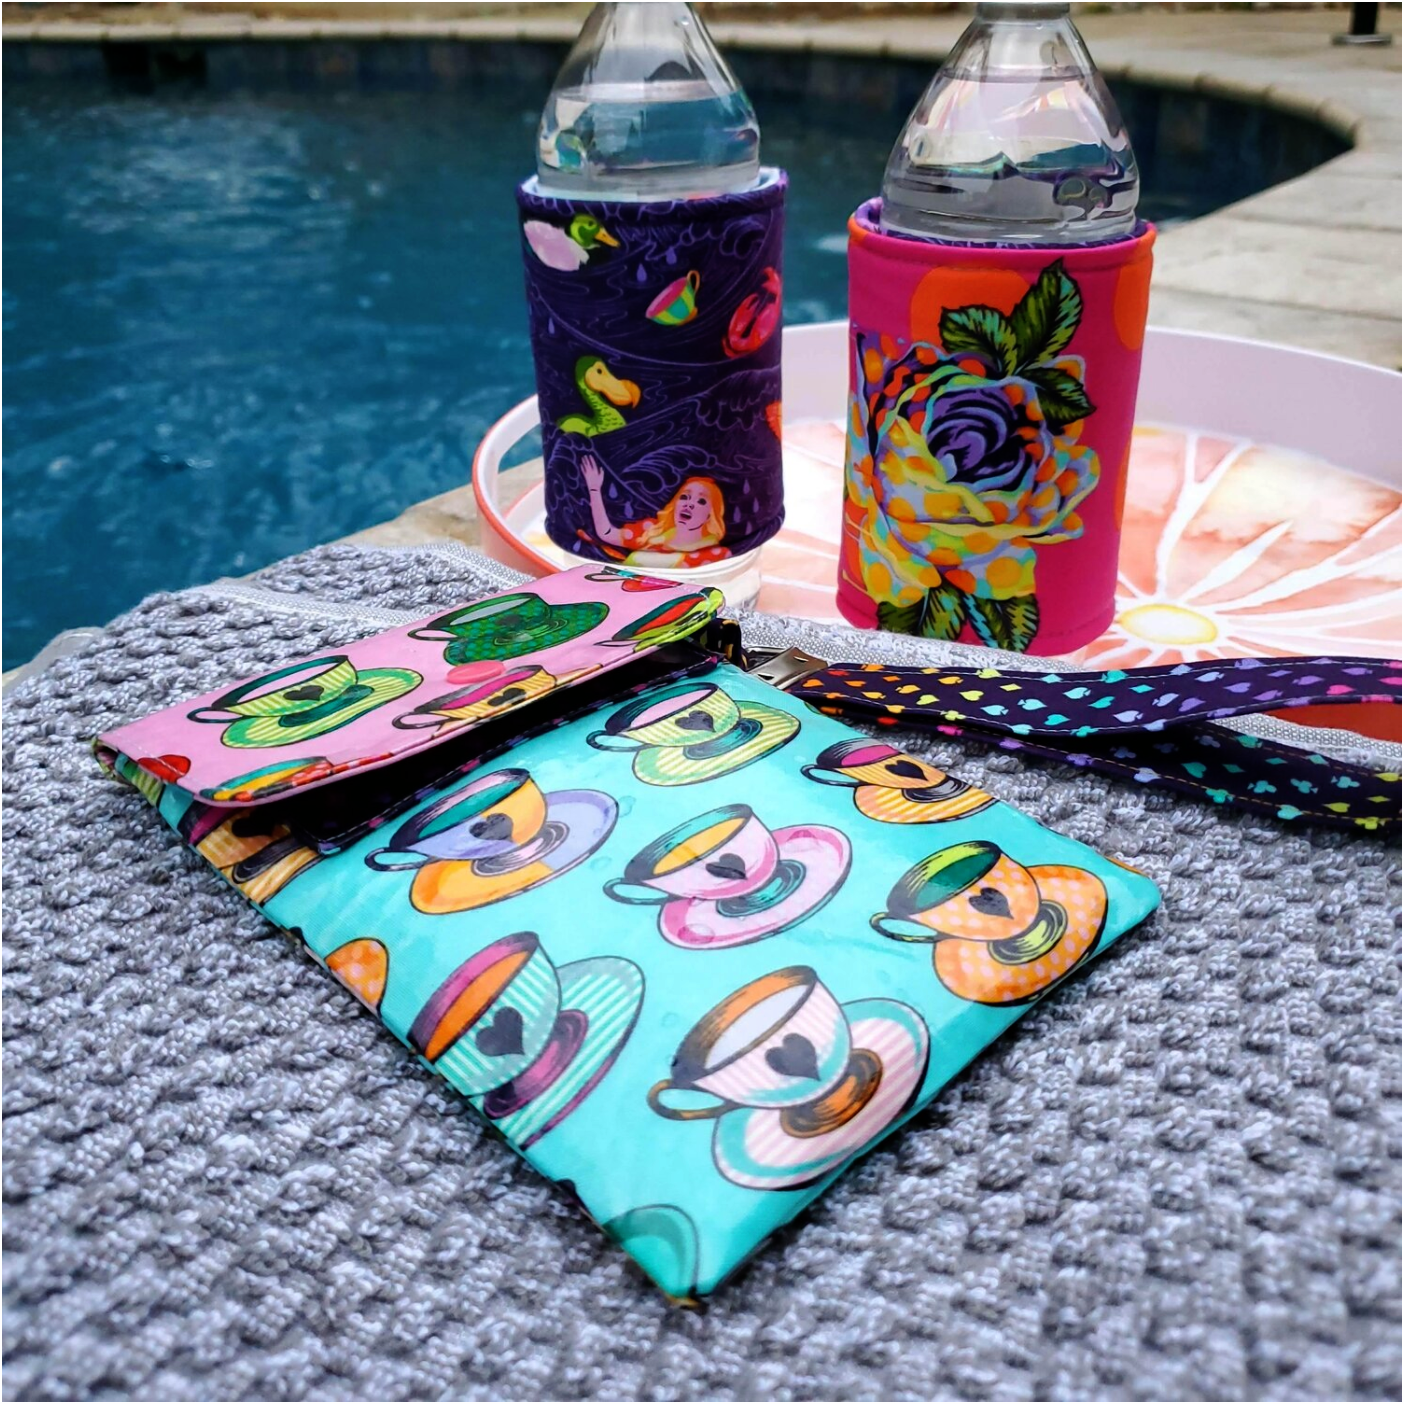
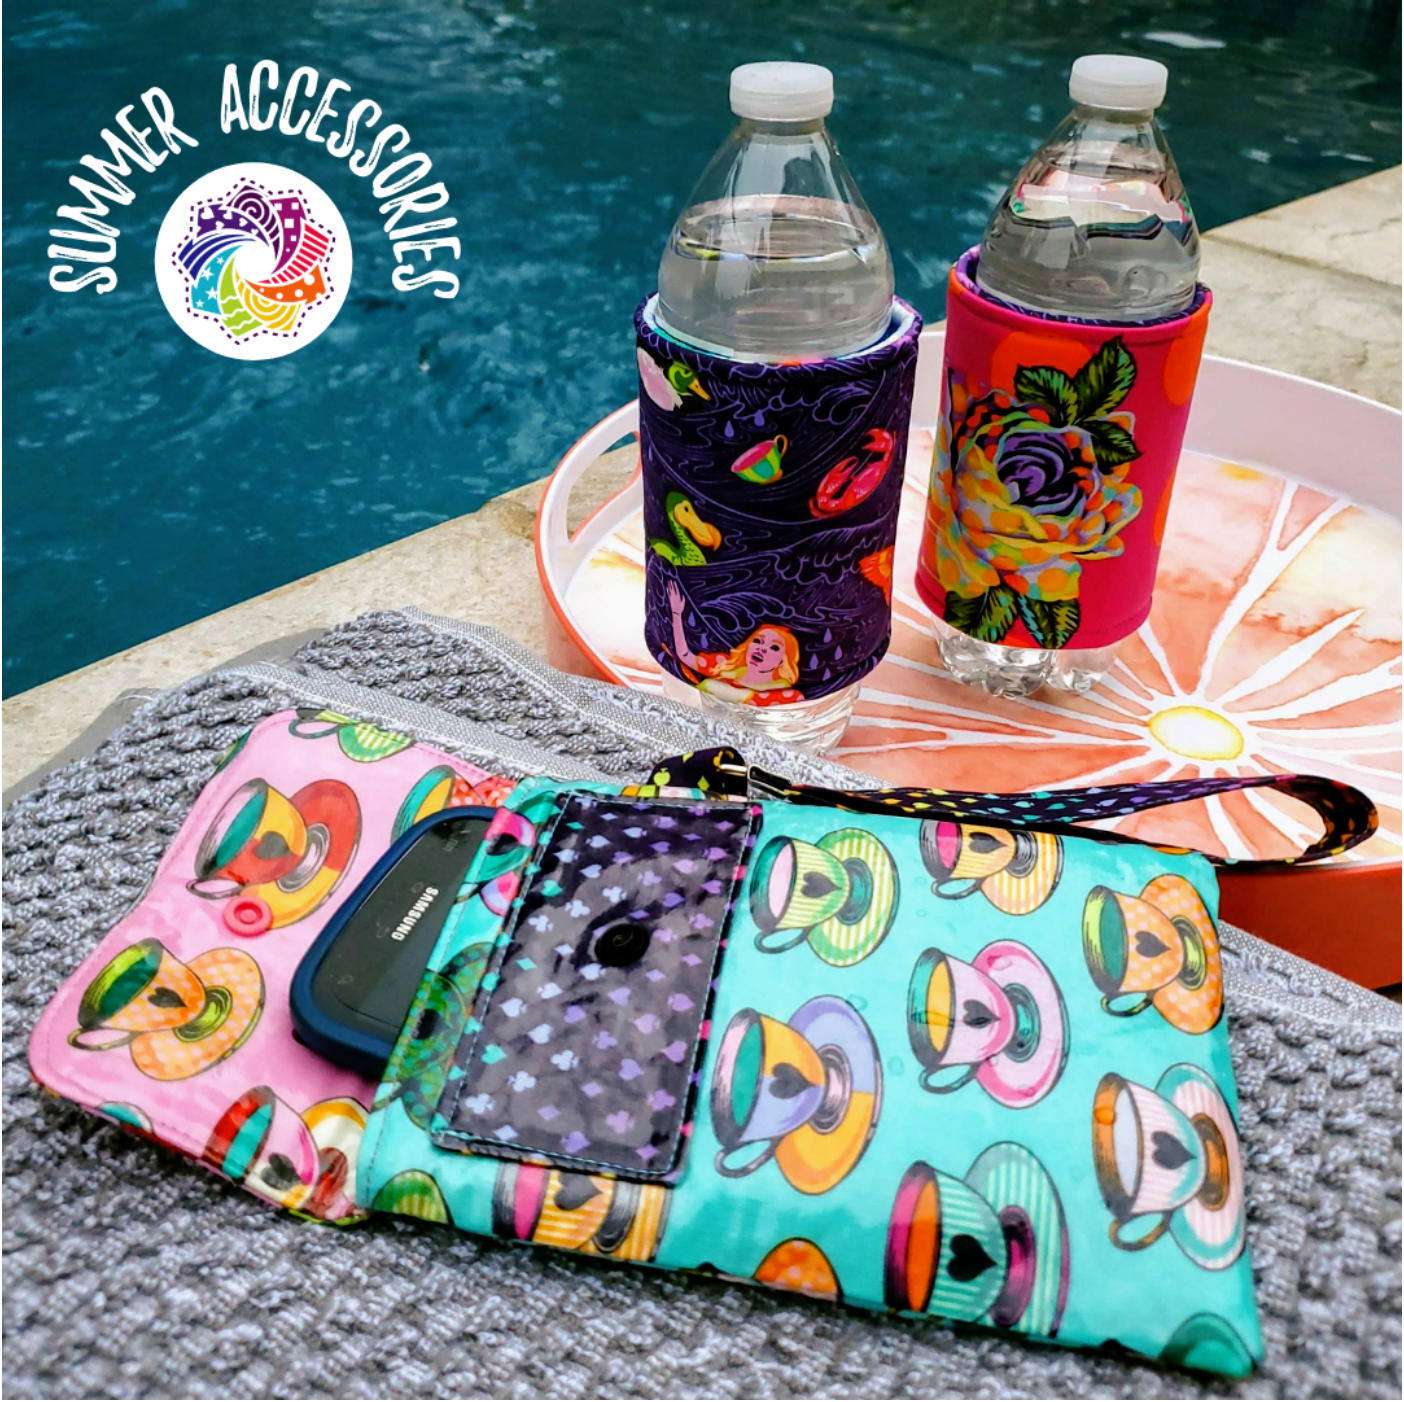
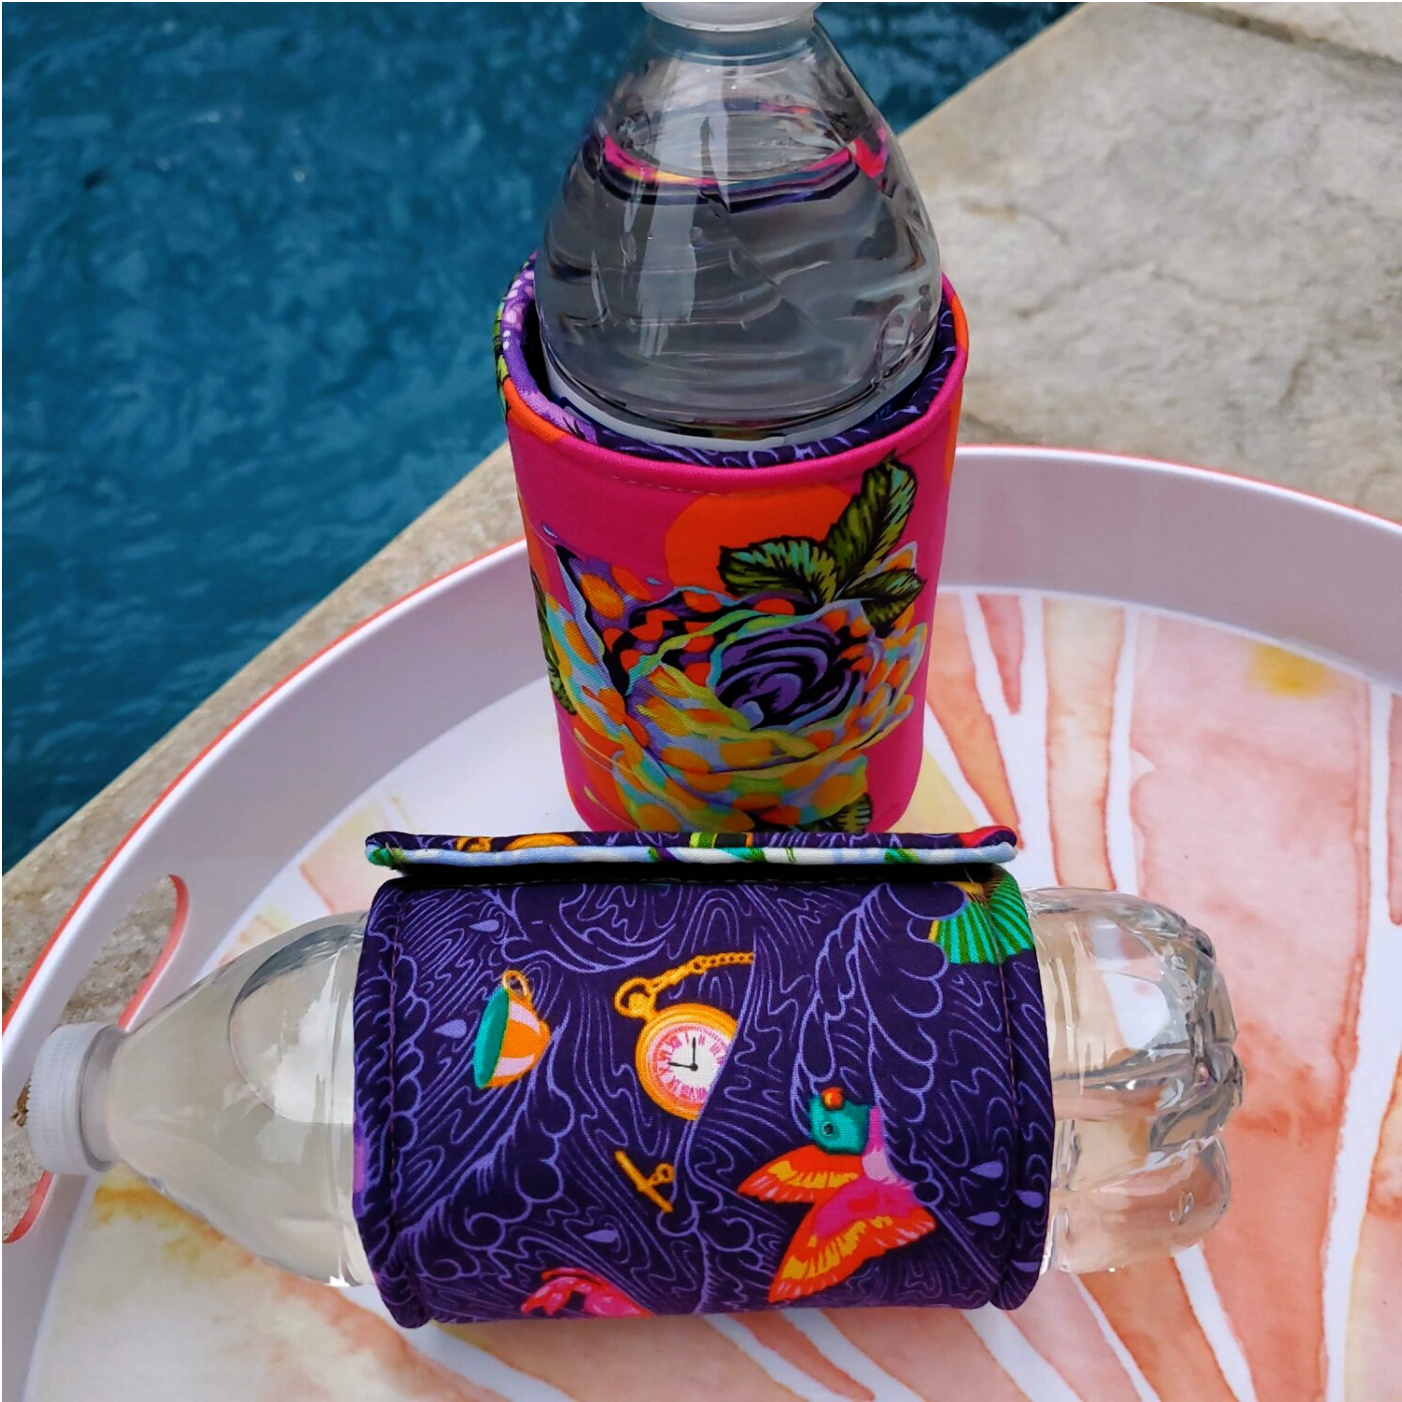
The official start of summer is just a few weeks away and these projects will have you ready for some fun in the sun. The slim wristlet phone case is fabricated with iron on vinyl to make a safe water resistant place to keep your phone protected from the sun and splashes from the pool. It allows you to carry just the essentials with a card holder to add a driver's license and a credit card or some cash. This new Tula Pink Curiouser and Curiouser fabric adds an element of fun to the insulated drink wraps. These are quick and easy to sew perfect for a summer hostess gift, birthday present or a themed backyard party.
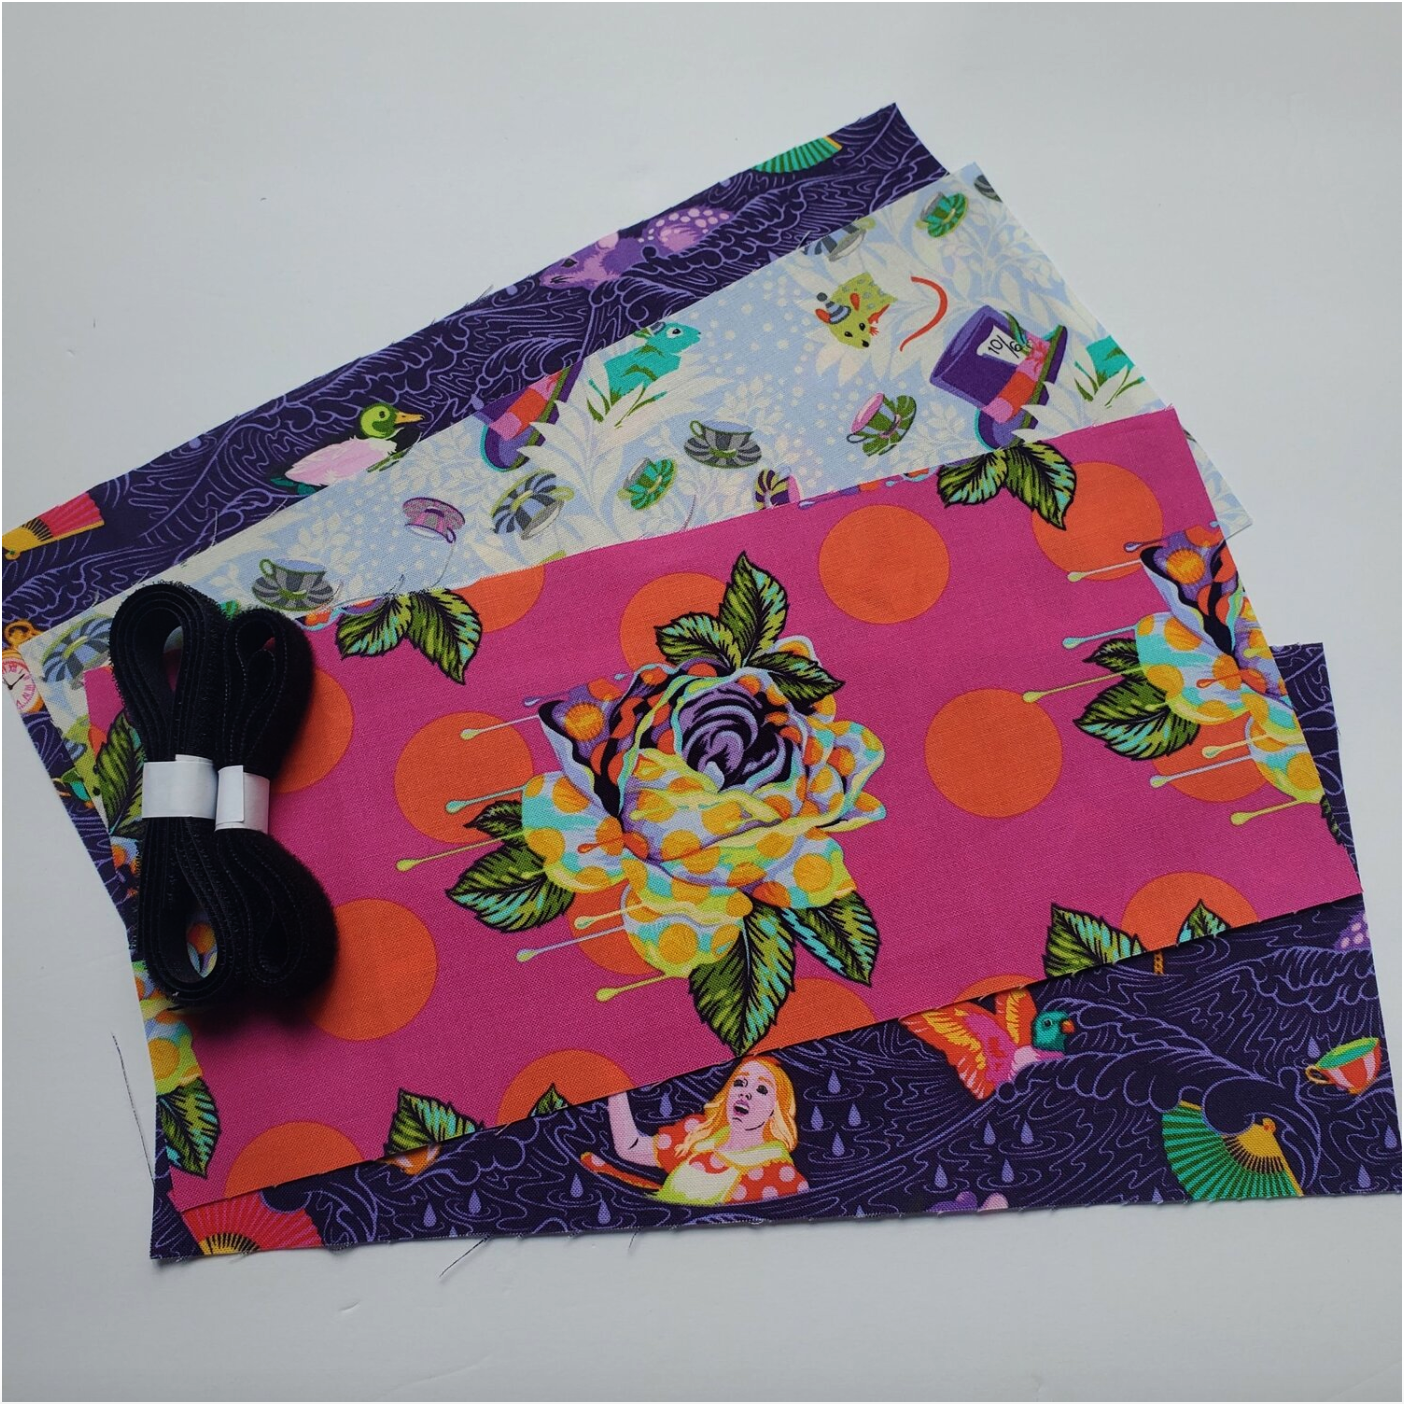
Materials needed:
Fat Quarters - Tula Pink Curiouser and Curiouser from June's Classic and Mini Pop box There’s still plenty of time to sign up before they ship on the 20th!
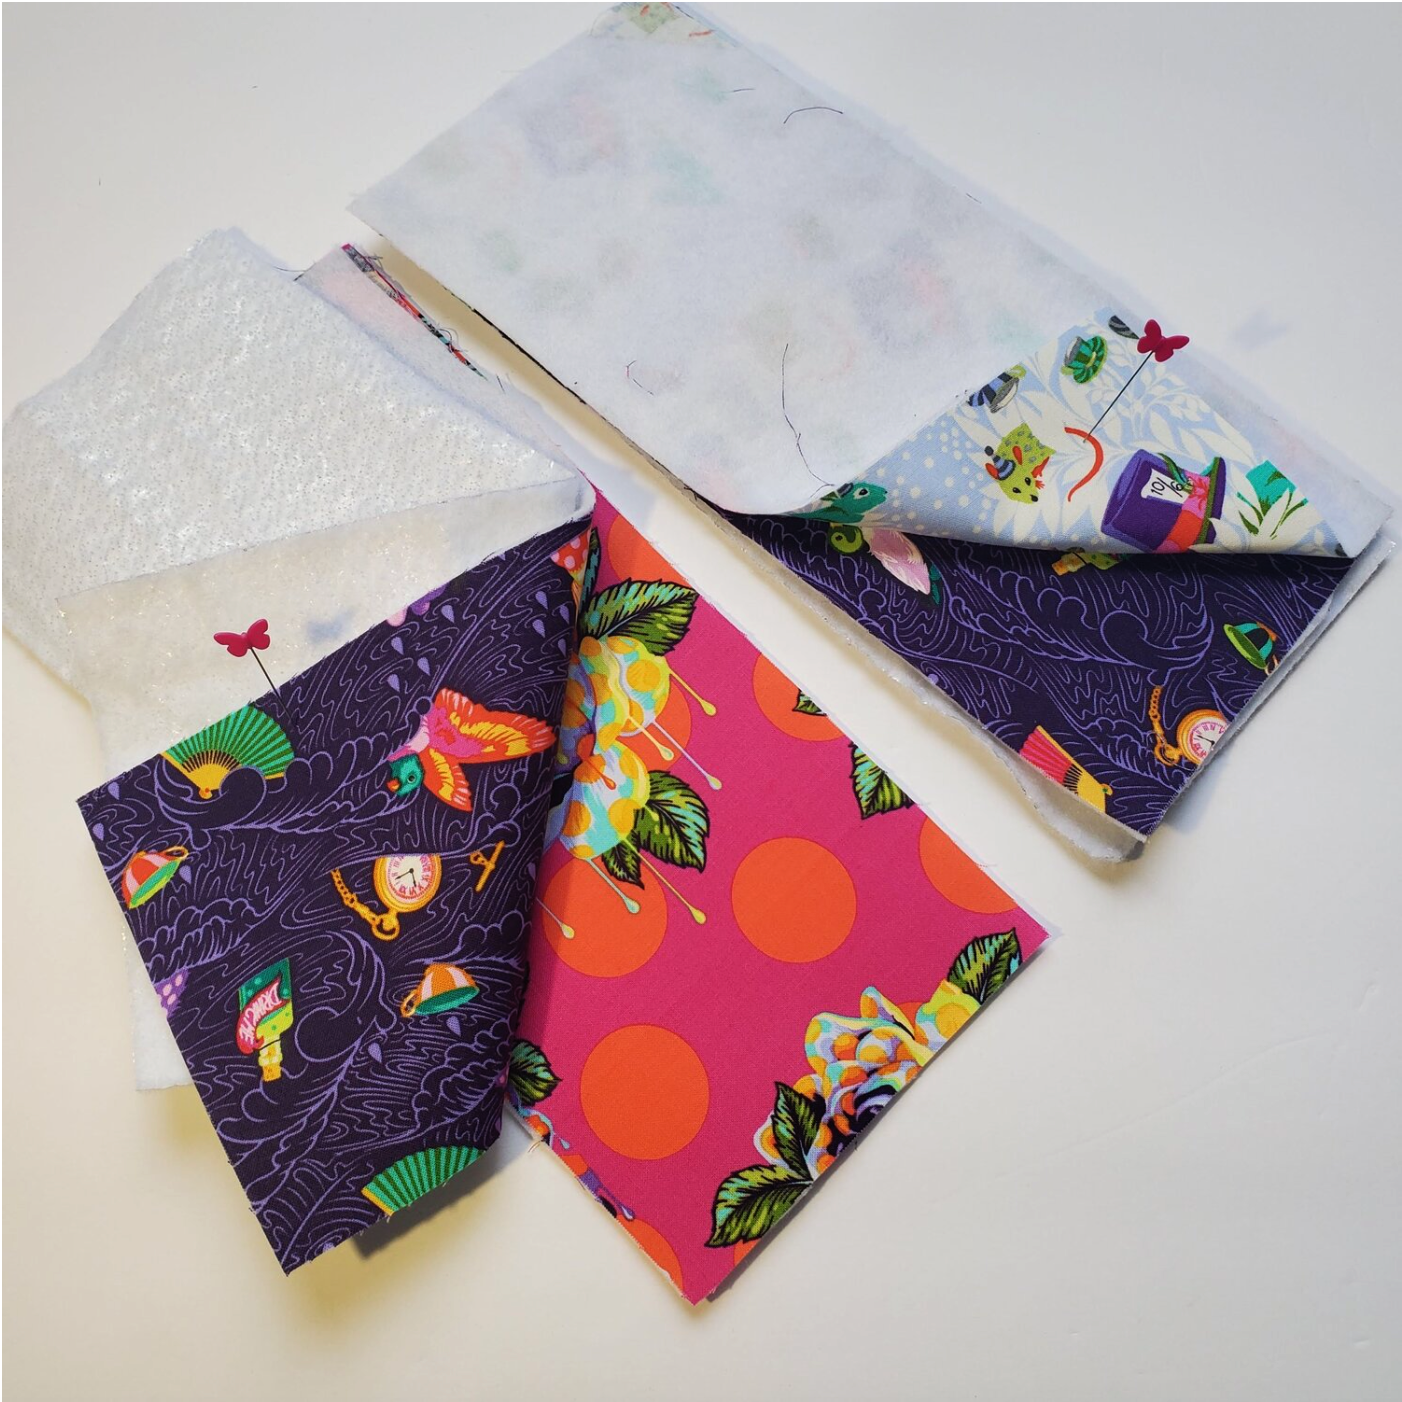
Fusible fleece
Pellon 975 Insul-Fleece
Pellon vinyl Fuse
Velcro
Coordinating Aurifil thread from the Chroma membership
Purse hardware to attach wrist strap
Snap, button or Velcro for purse closure
I was inspired to make the drink wraps from the Positively Splendid post on Pinterest. These are super easy and quick to make from fat quarters or larger scraps of fabric. You will need to cut two pieces of 11” x 5” fabric. One for lining and one for the outer fabric.
Fuse these pieces to the fusible fleece according to the product instructions. I like to use a Teflon sheet to protect my iron and surface from the adhesive. Cut the same size piece of Isul-Fleece to layer with the lining and outer fabric.
Layer right sides together and add the Isul-fleece to the top or bottom. You will sew with a ¼” seam all the way around leaving about a 3” opening on the short end. I would recommend using a denim needle and/or a walking foot to go through all the layers. Trim the seams to ⅛’ to reduce the bulk of the seams.
Turn right side out and press aligning the edges to prepare for topstitching. Turn the edges of the opening under evenly to create about a ¼” seam and press in place. Topstitch ⅛” from the edge using a longer stitch length.
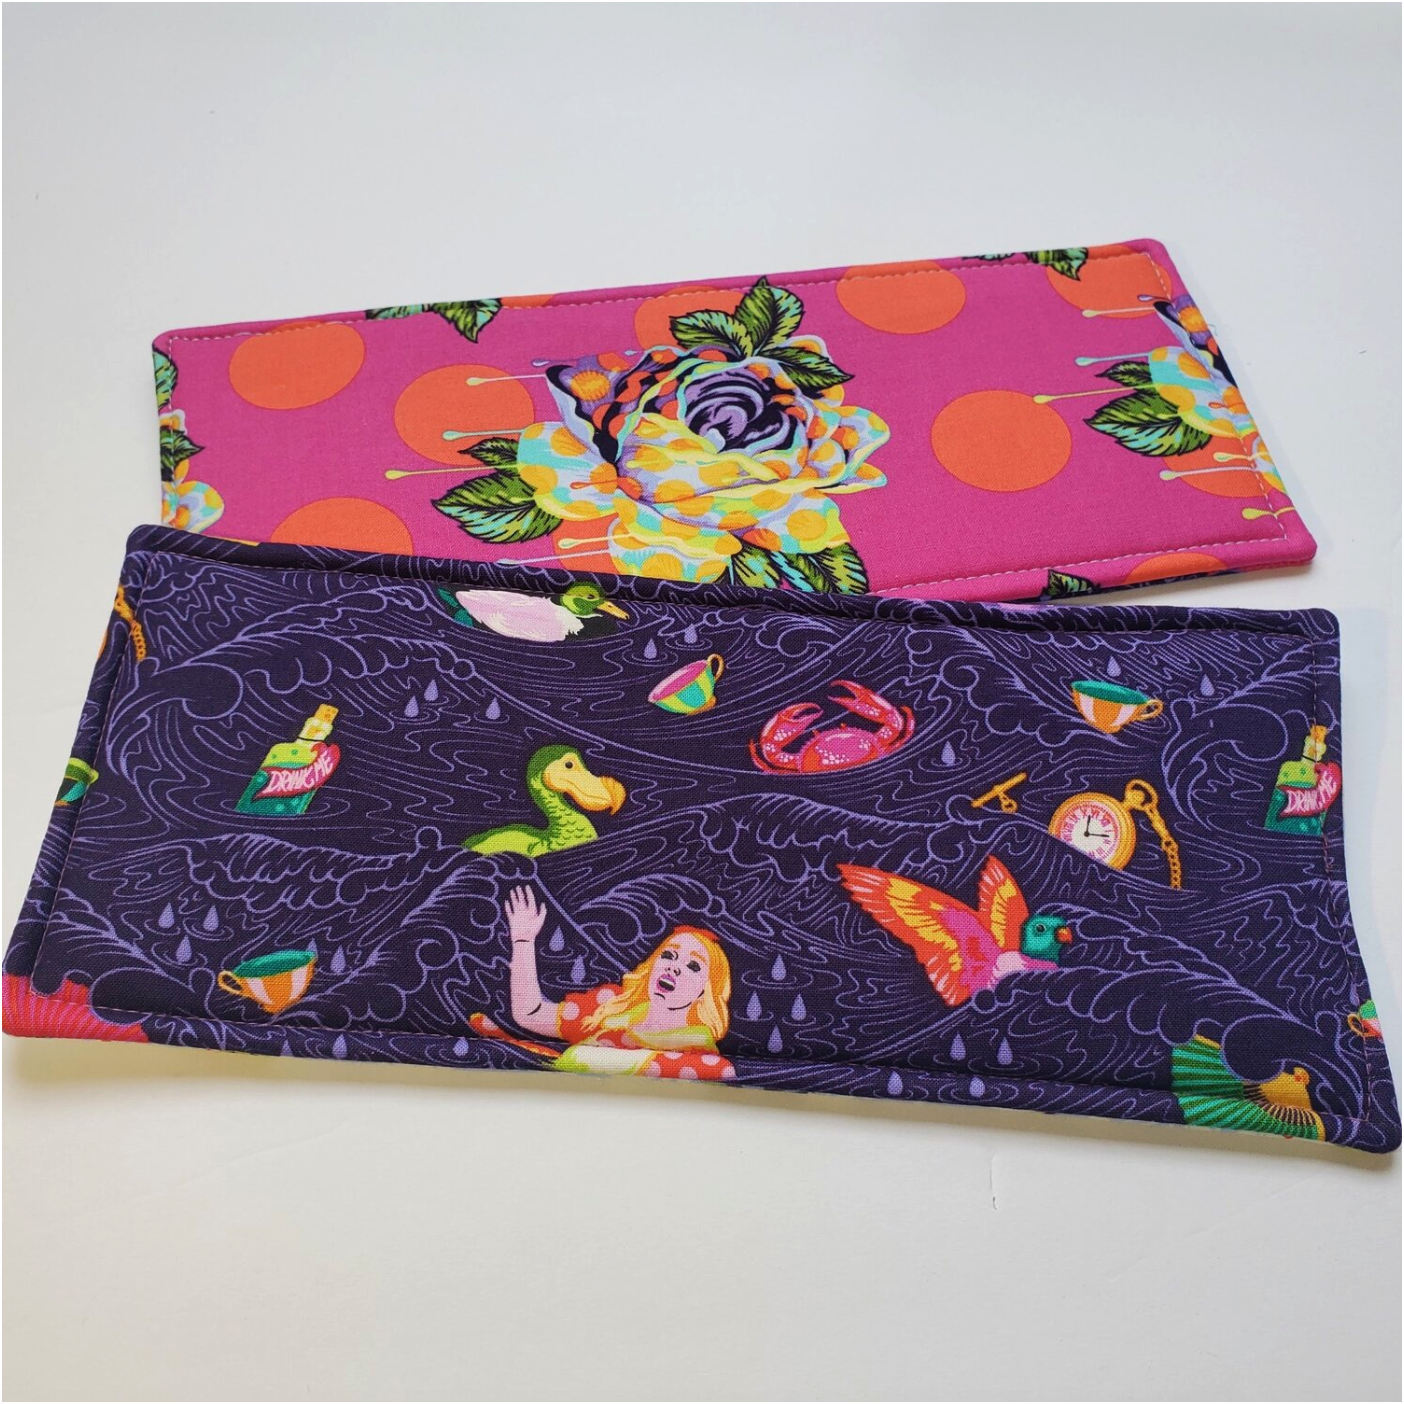
Sew the strip of Velcro to the short edges to finish the drink wraps. It would be easy to make a custom size by measuring the bottle or can and adding about 1 ½” to allow for the seam allowance and the Velcro closure. You could personalize with an embroidery monogram or a Cricut iron on design.
This wristlet can be customized to fit your phone. I was searching for a pattern and found the Therm-o-web blog had a great design with pattern pieces. I decided to make it fit my phone and added a convenient card pocket. This is my version of the customizable wristlet.
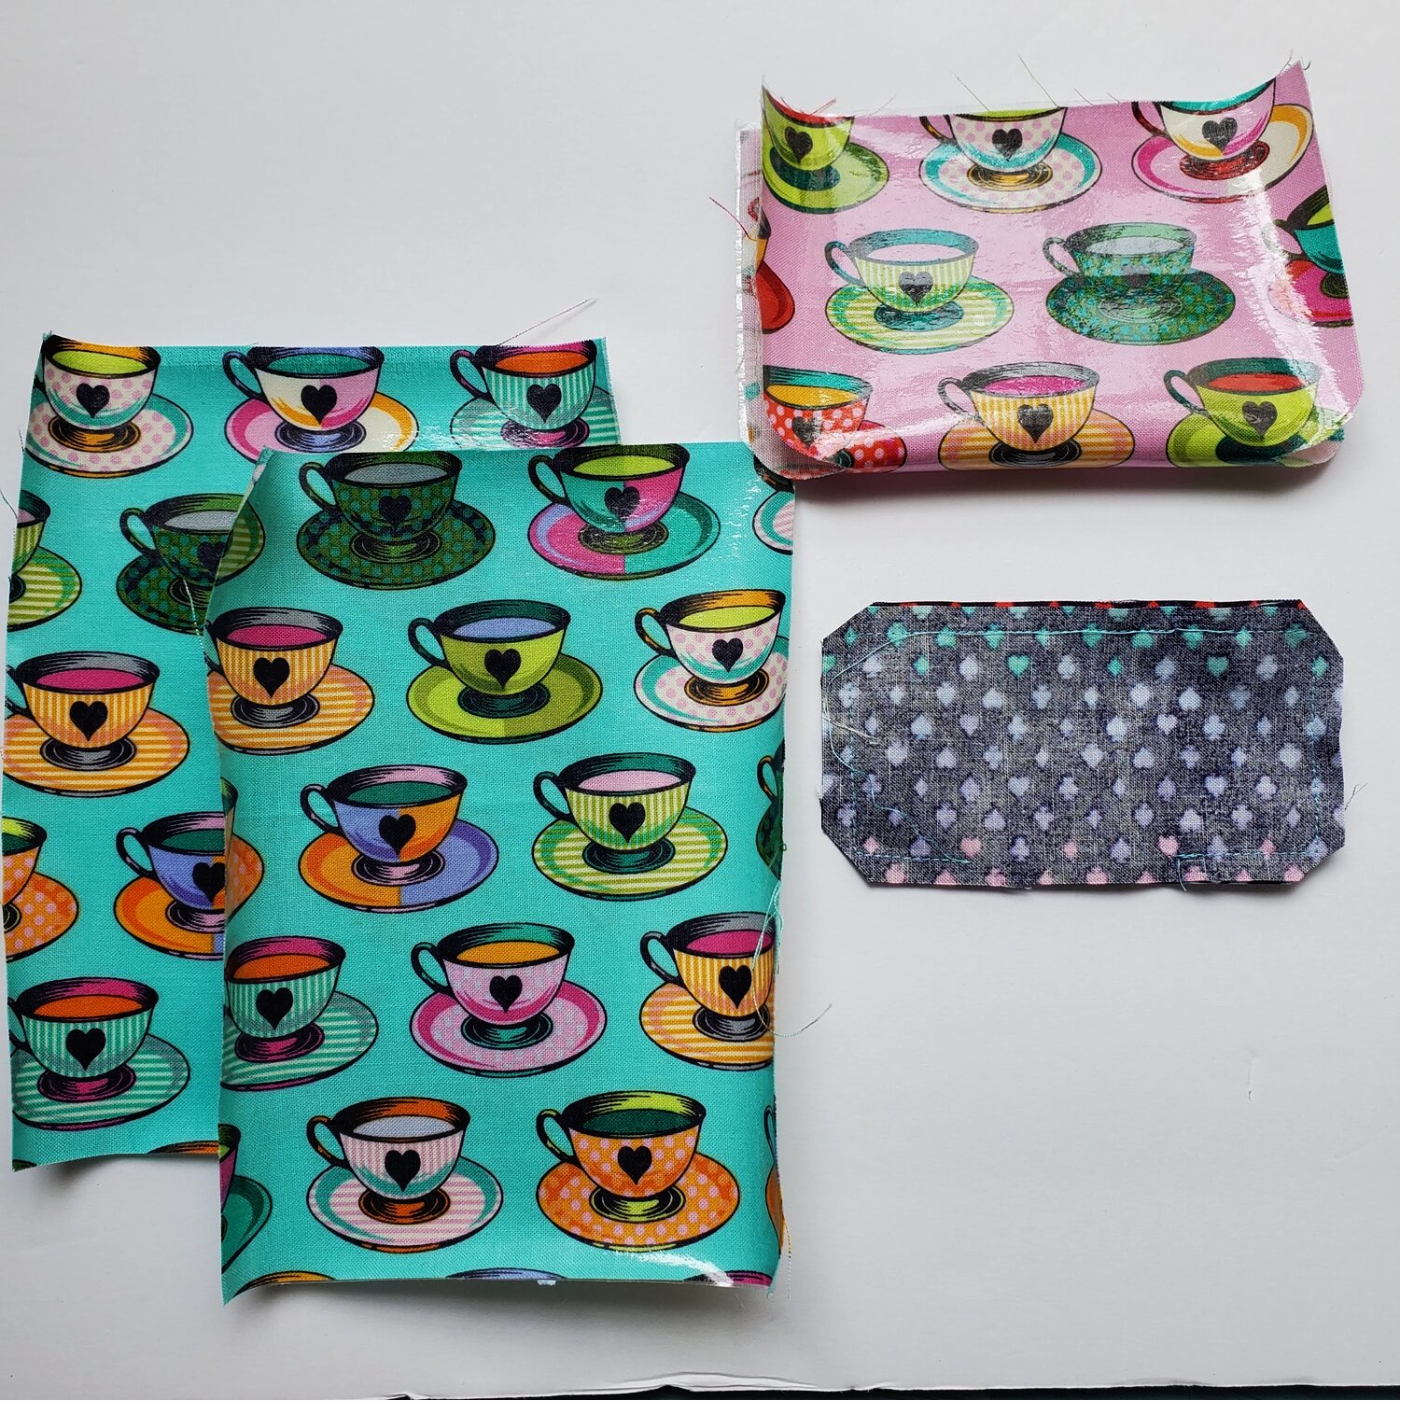
To get started cut two pieces 5.5 x 7 ¼” for the outside of the wristlet. Keep in mind the direction of the fabric design.
In a coordinating fabric cut one piece 5.5 x 7 ¼” for the flap and add a layer of fusible fleece to half of the flap on the wrong side.
In another fabric cut two 2 ½” x 4 ½” pieces for the credit card pocket.
Cut 3 pieces of vinyl fuse 5.5 x 7 ¼” and one piece 2 ½ x 4 ½”
Fuse the vinyl onto the right side of the coordinating size fabric pieces according to the product instructions. It is important to remember to always use the paper on top of the vinyl every time you press these pieces.
Fold the flap in half, I rounded the corners to soften the design. With right sides together sew around the flap leaving about a 2” opening to turn. Trim the corners.
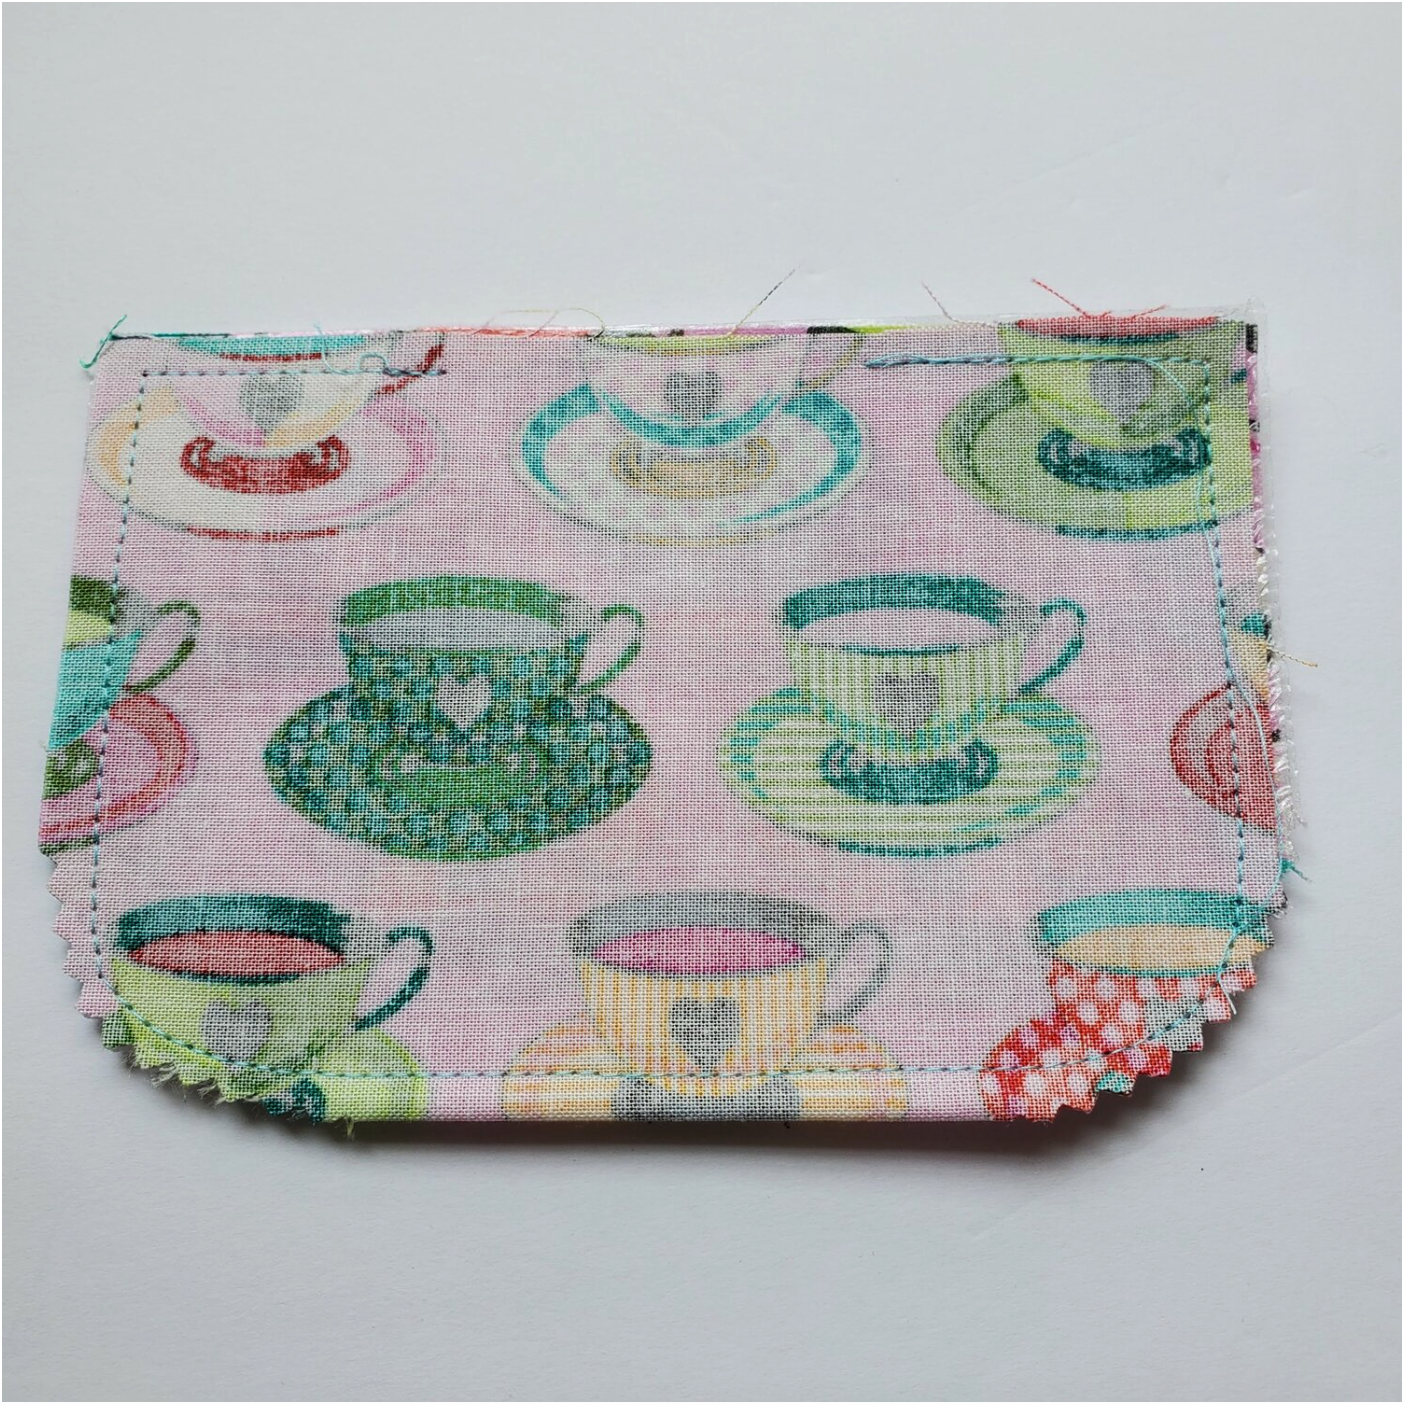
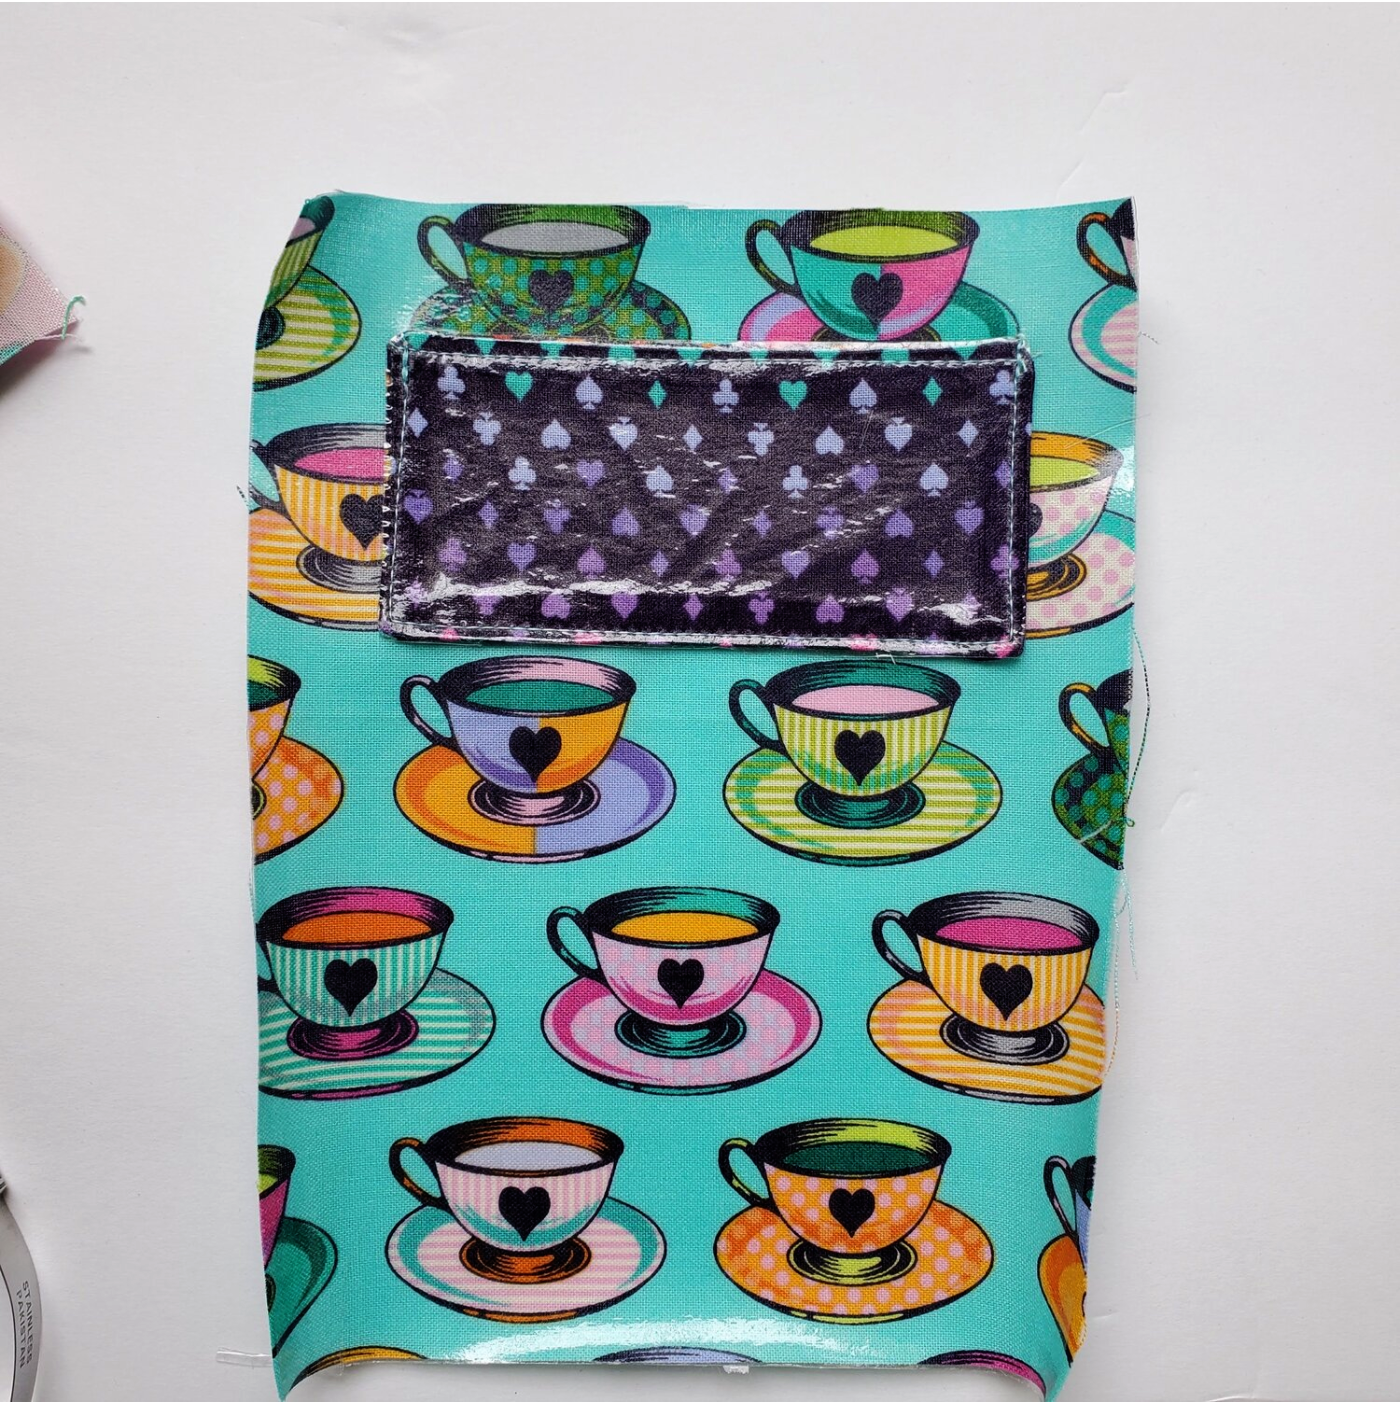
Turn the flap right sides out and press with paper in place. Topstitch ⅛” from the edge and set aside. Next, with right sides together sew around the card pocket leaving about 1 ½” opening to turn and press. Topstitch one long edge of the card pocket. Place the pocket in place about ¾” from the top and sides. Topstitch in place ⅛” from the edge around the three sides.
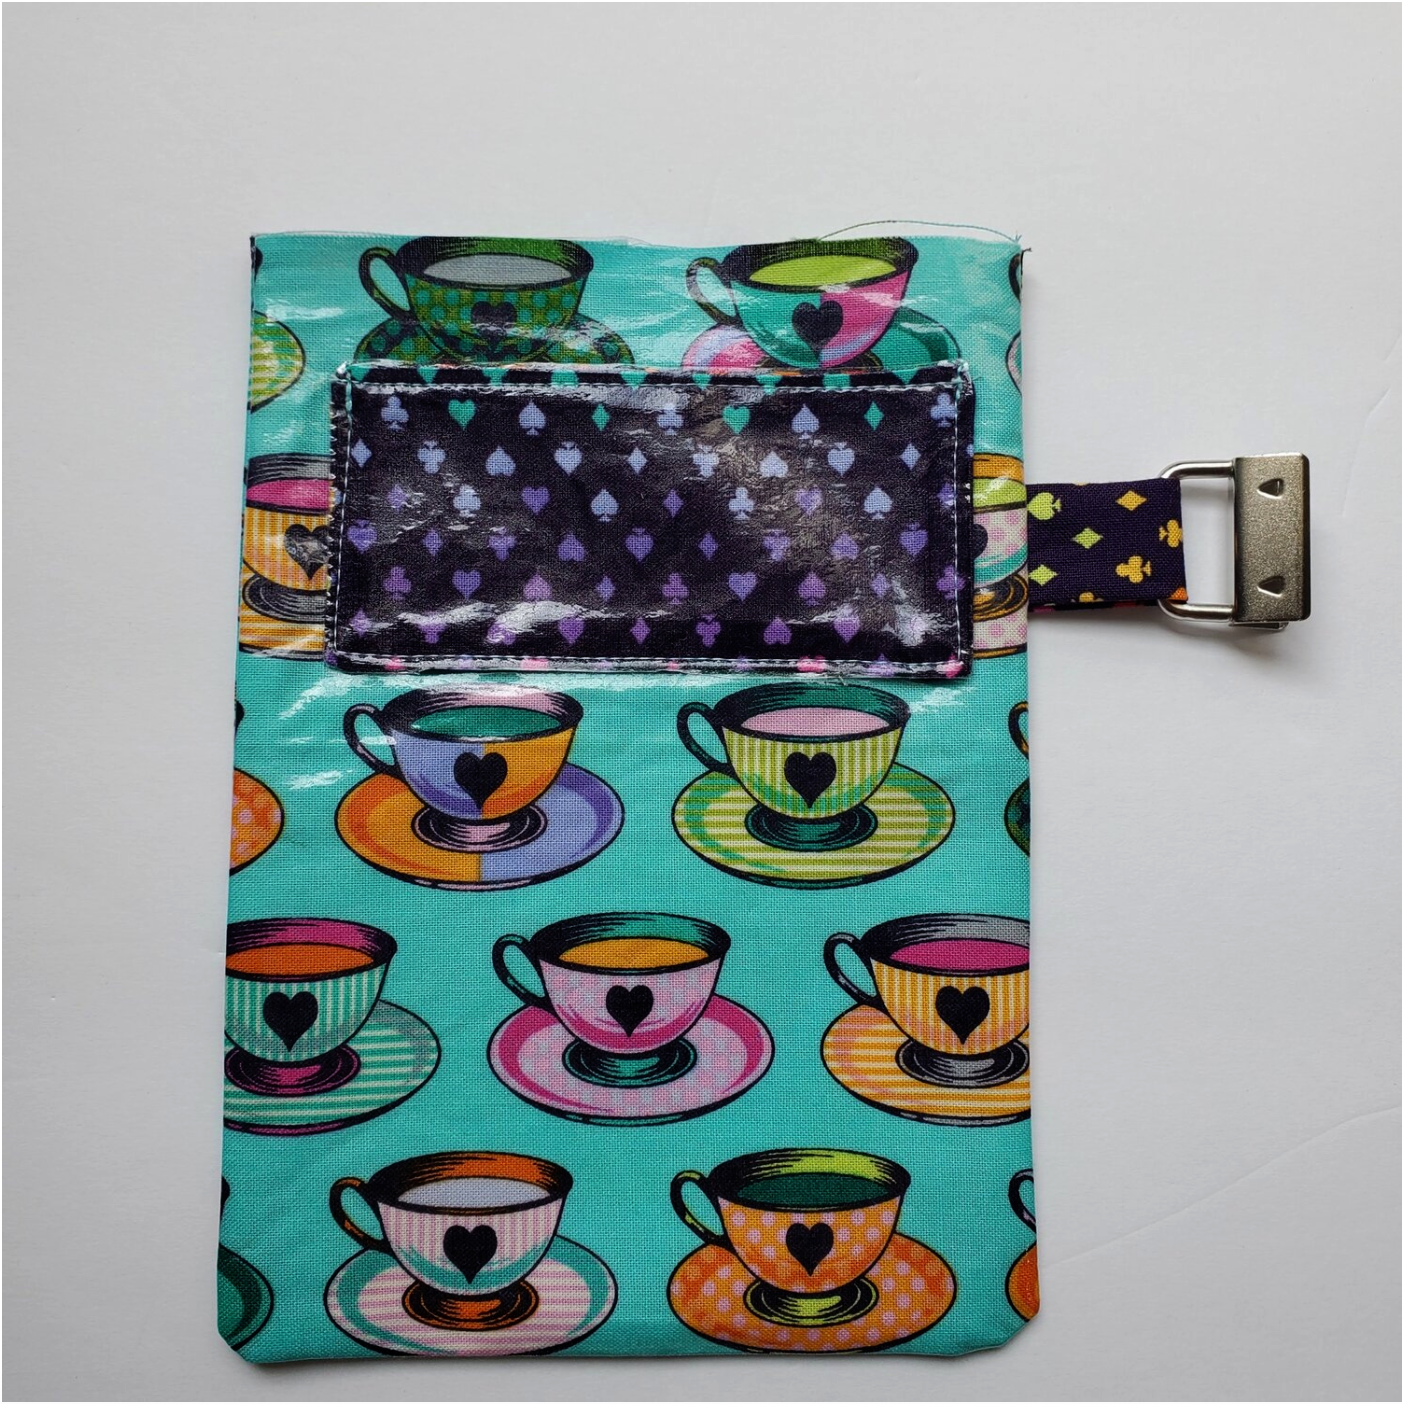
Next cut the pieces of coordinating fabric for the wristlet strap and tab.
Cut 3” x 4” tab
Cut 4” x 13” strap
Fold in half lengthwise and press, open out and press raw edges to the center line press. Fold in half lengthwise and give it a final press encasing the raw edges. Topstitch the strap ⅛” from the edge.
Place the tab with the D ring about ½” from the bottom edge of the card holder. Clip in place. With the right sides together sew the outer fabric pieces together leaving the top edge open. Turn right sides out and press with the paper in place.
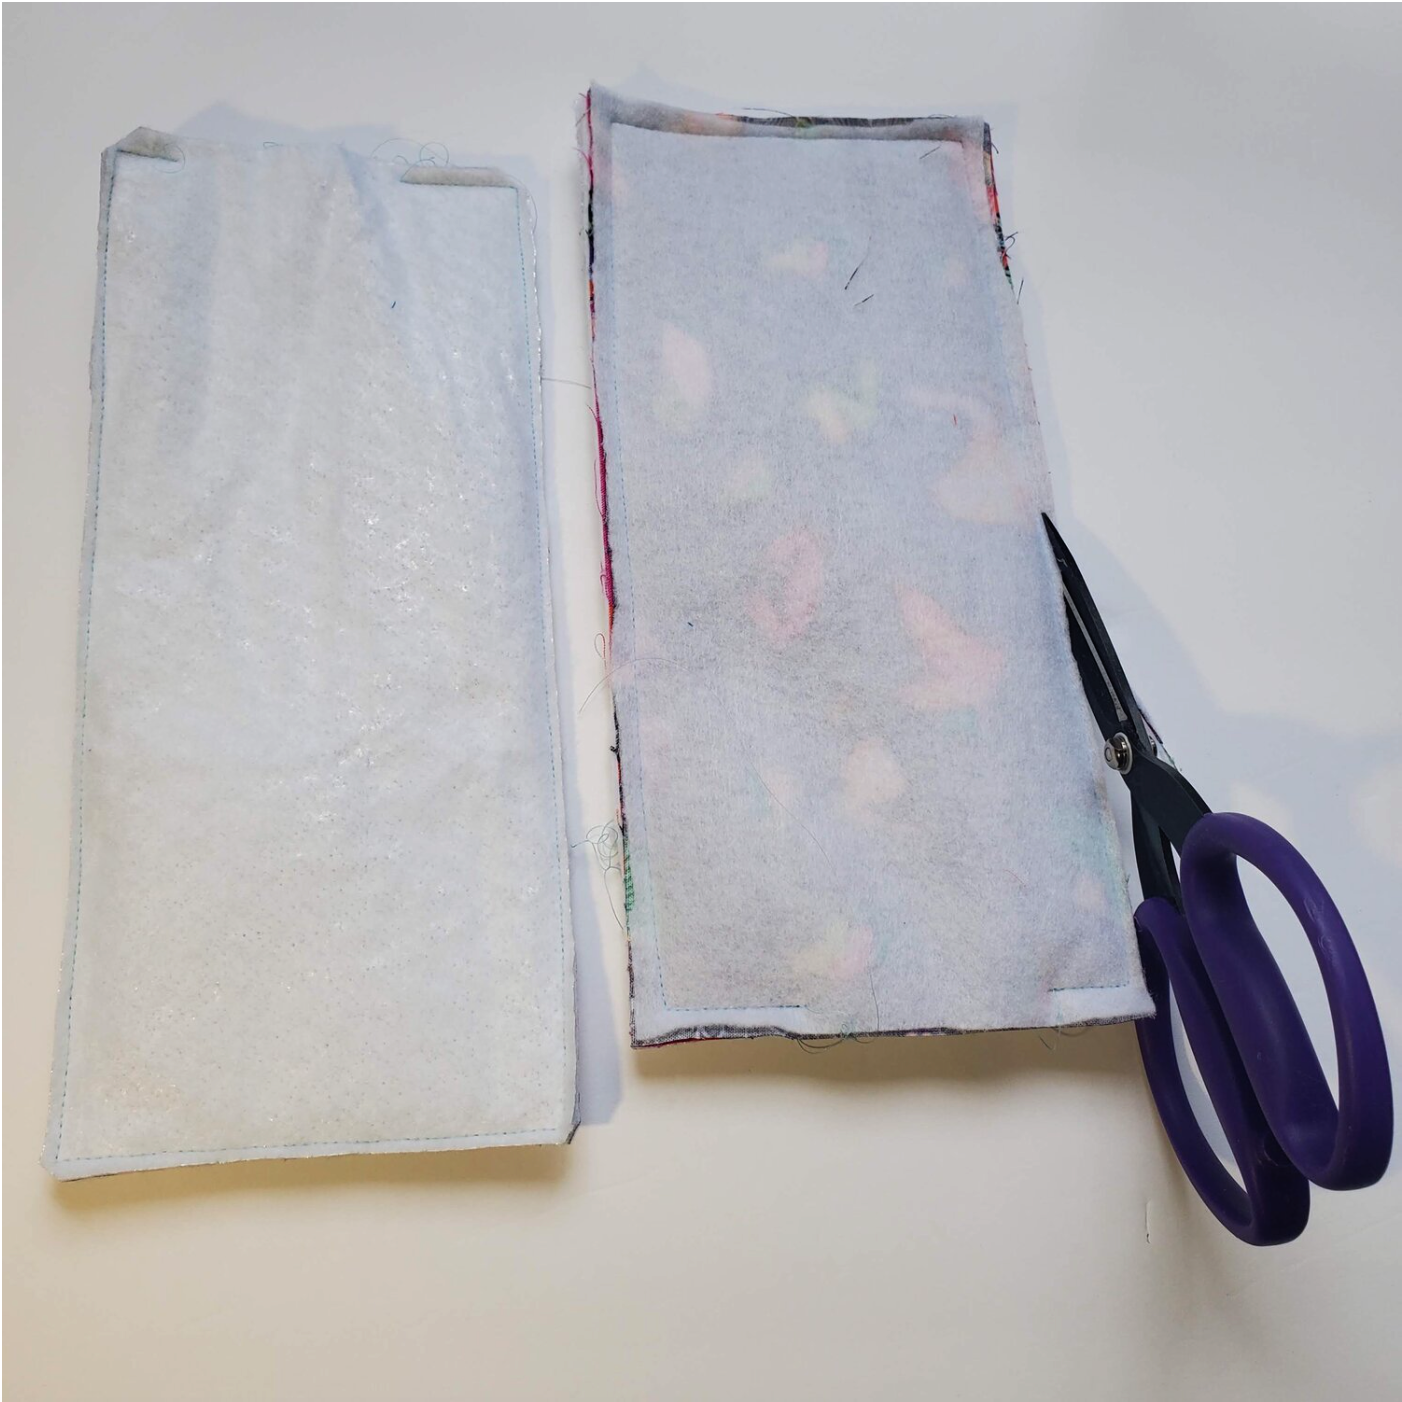
For the lining my fabric was not directional so I was able to cut one piece 5 ¼” x 14 ½” and ironed on the fusible fleece to the wrong side. Fold in half and sew leaving the top open. This is cut a little smaller to accommodate for the fleece so it fits nicely into the inside of the bag. It is a good idea to check the fit before the next step. Trim the seams to ⅛” to reduce the bulk. Insert the lining into the bag aligning the edges and turning under ¼” to enclose the raw edges in the seam.
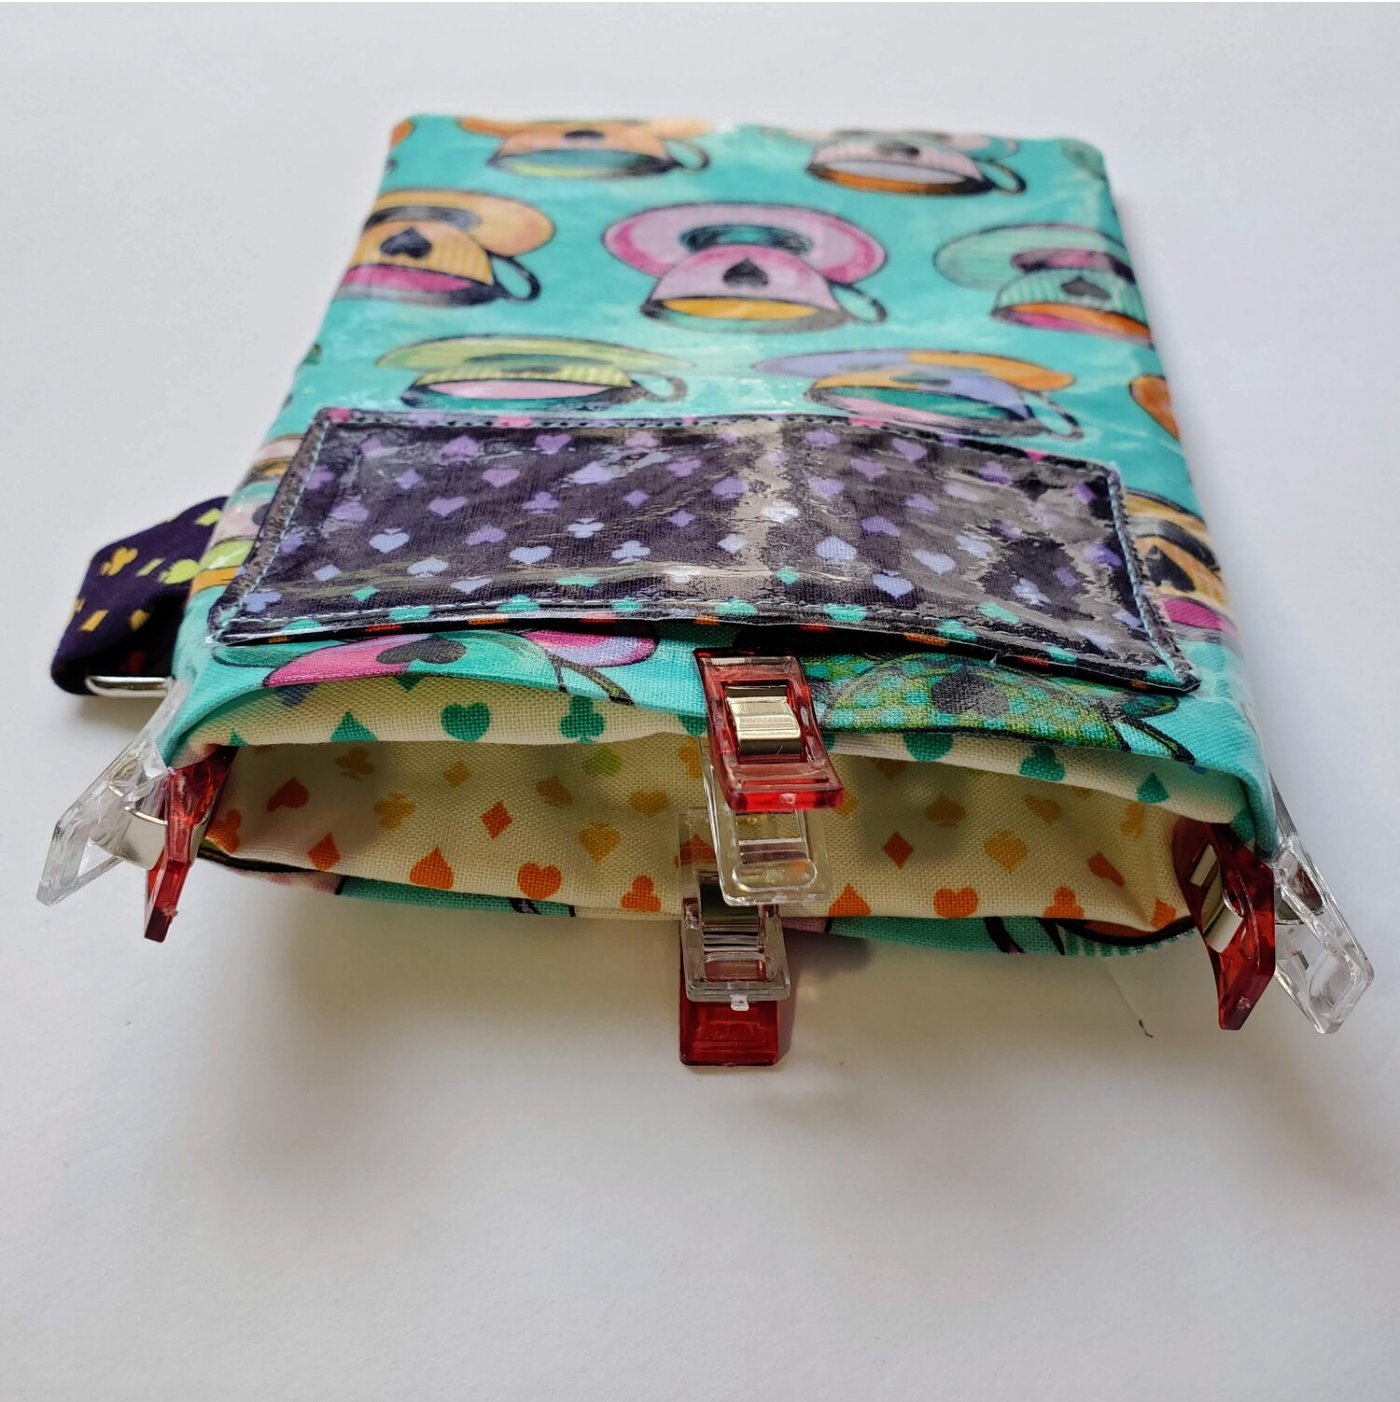
Topstitch ⅛” from the edge. The last sewing step is to add the flap to the bag. Because of the vinyl you will not want to use pins so I used tape to hold the front of the bag out of the way as I sewed the flap in place.
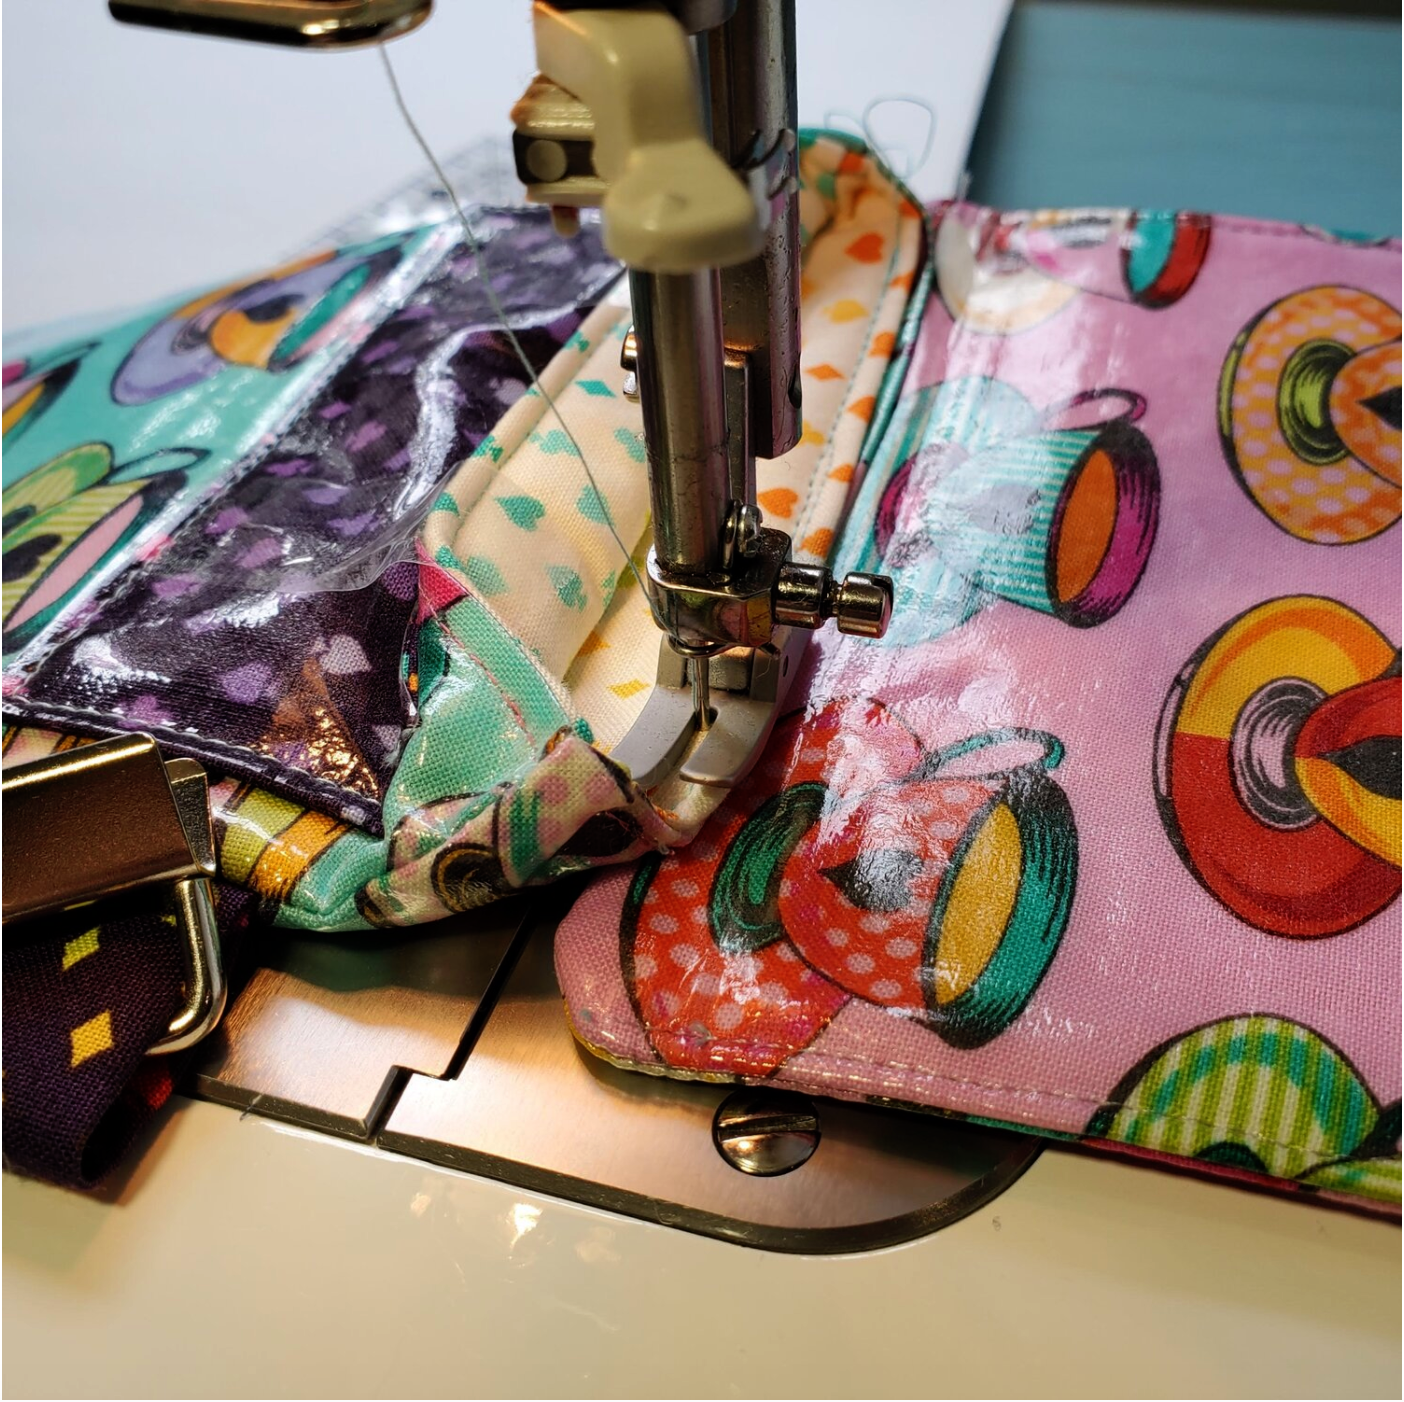
Press the fold in place on the flap. I added a snap to the flap but you can also use Velcro or a purse clasp. Add the wrist strap to the hardware and that completes the bag. Perfect on the go wristlet for when you just need the essentials.