DIY Garden Apron
22nd Apr 2021
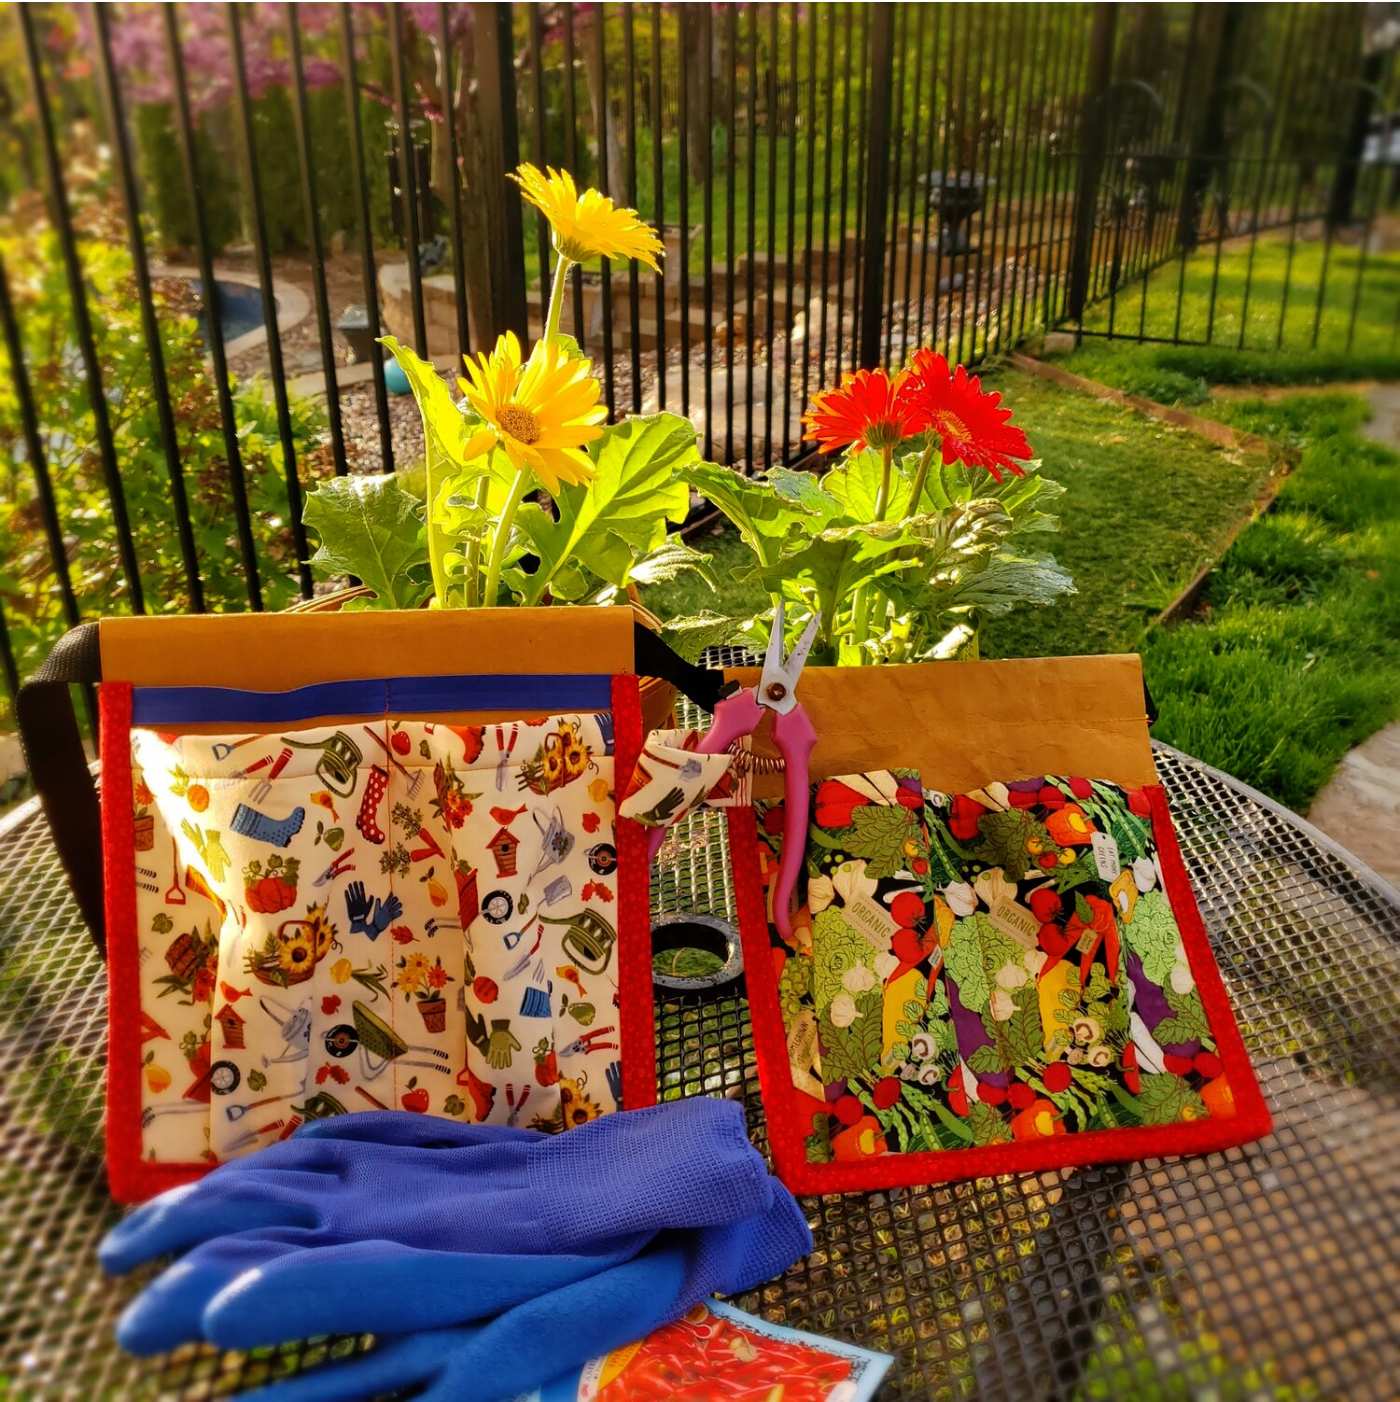
As we head into May this is a great project to make for yourself or a thoughtful gift for the gardener in your life. With the arrival of Spring and the warmer temperatures, I really enjoy spending the day outside planting flowers! I was looking for a pattern for an apron but I ended up creating my own design that I will share with you today. I wanted the option to push the pockets to the side so when I bend over to dig the tools would not jab me in the process. I wanted something durable, washable but cute to wear. Cotton Cuts always has the best selection of fabrics and for this project I used some fabric from the Mystery Fat Quarter Bundle.
Materials Needed:
Three fat quarters of fabric
Fusible fleece 8 ½” x 11 two pieces
Two sheets of Kraft-Tex 8 ½” x 11”
Coordinating Aurifil Thread from Chroma subsription
Webbing for belt
Belt buckle
Elastic
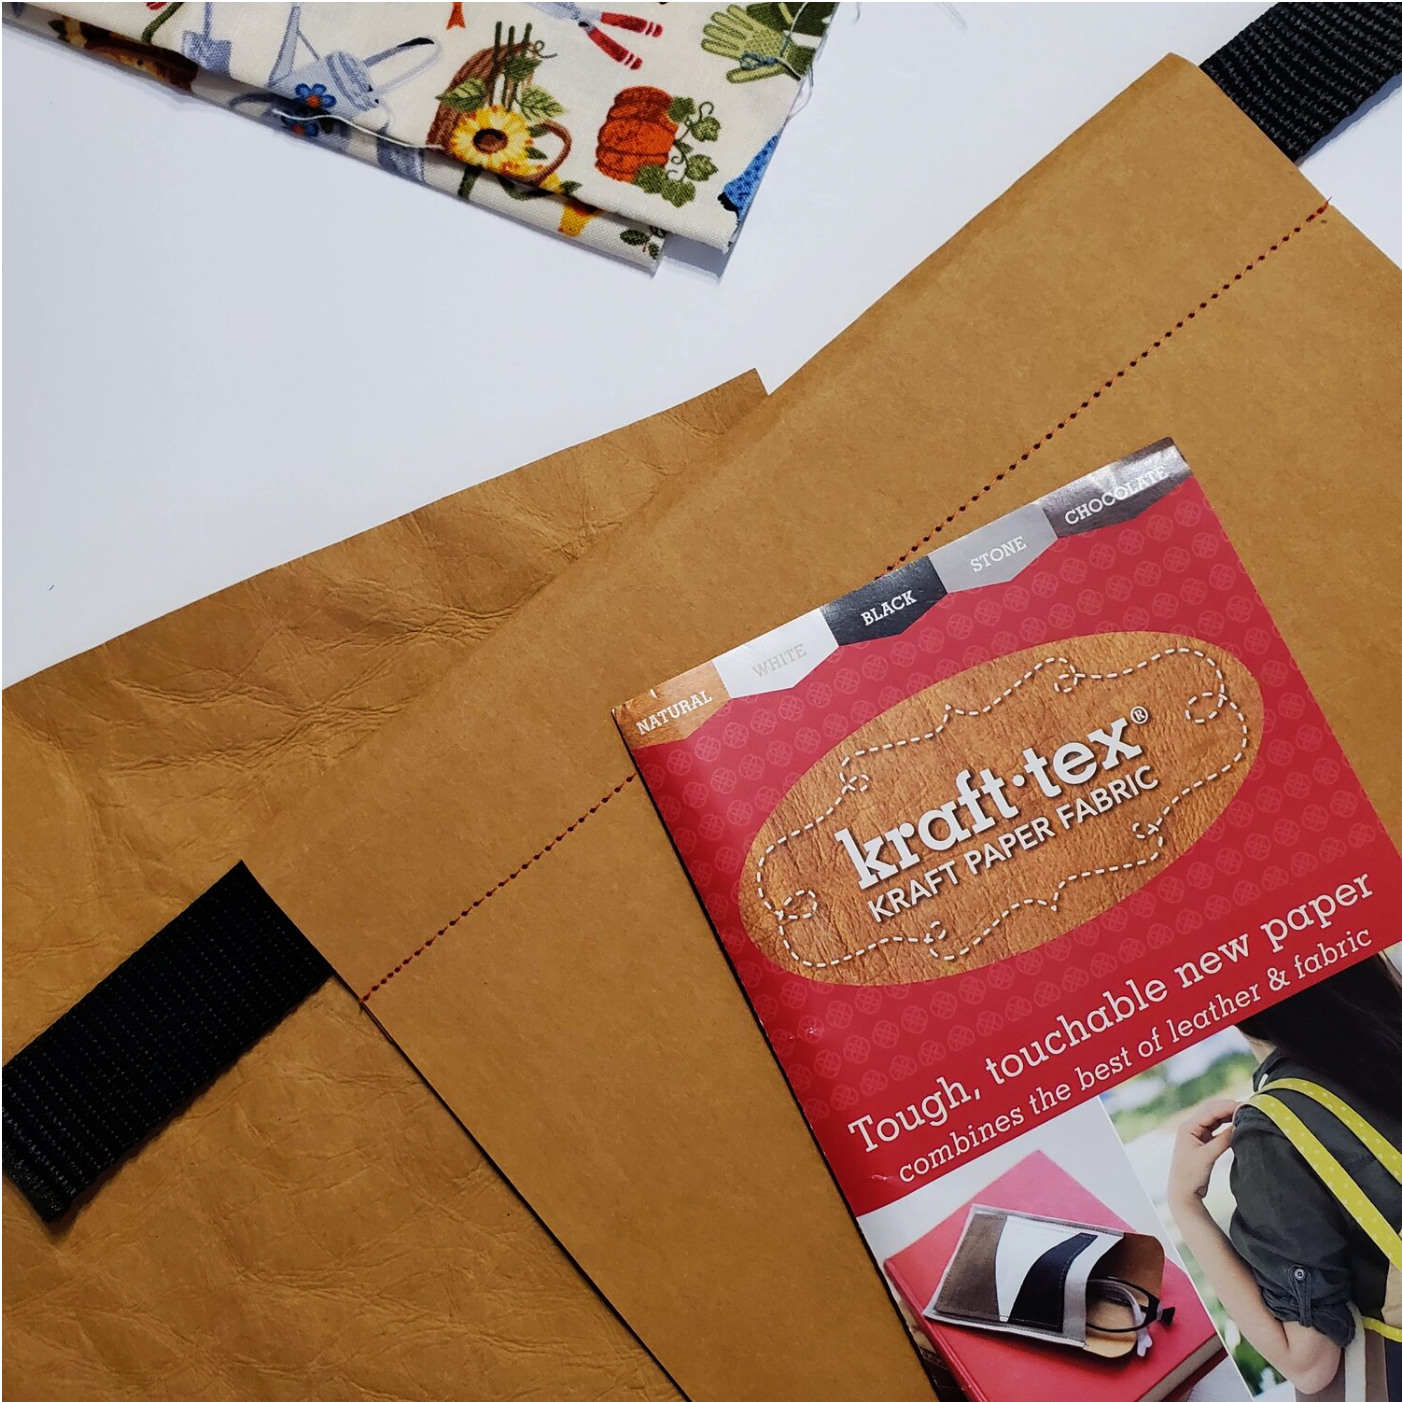
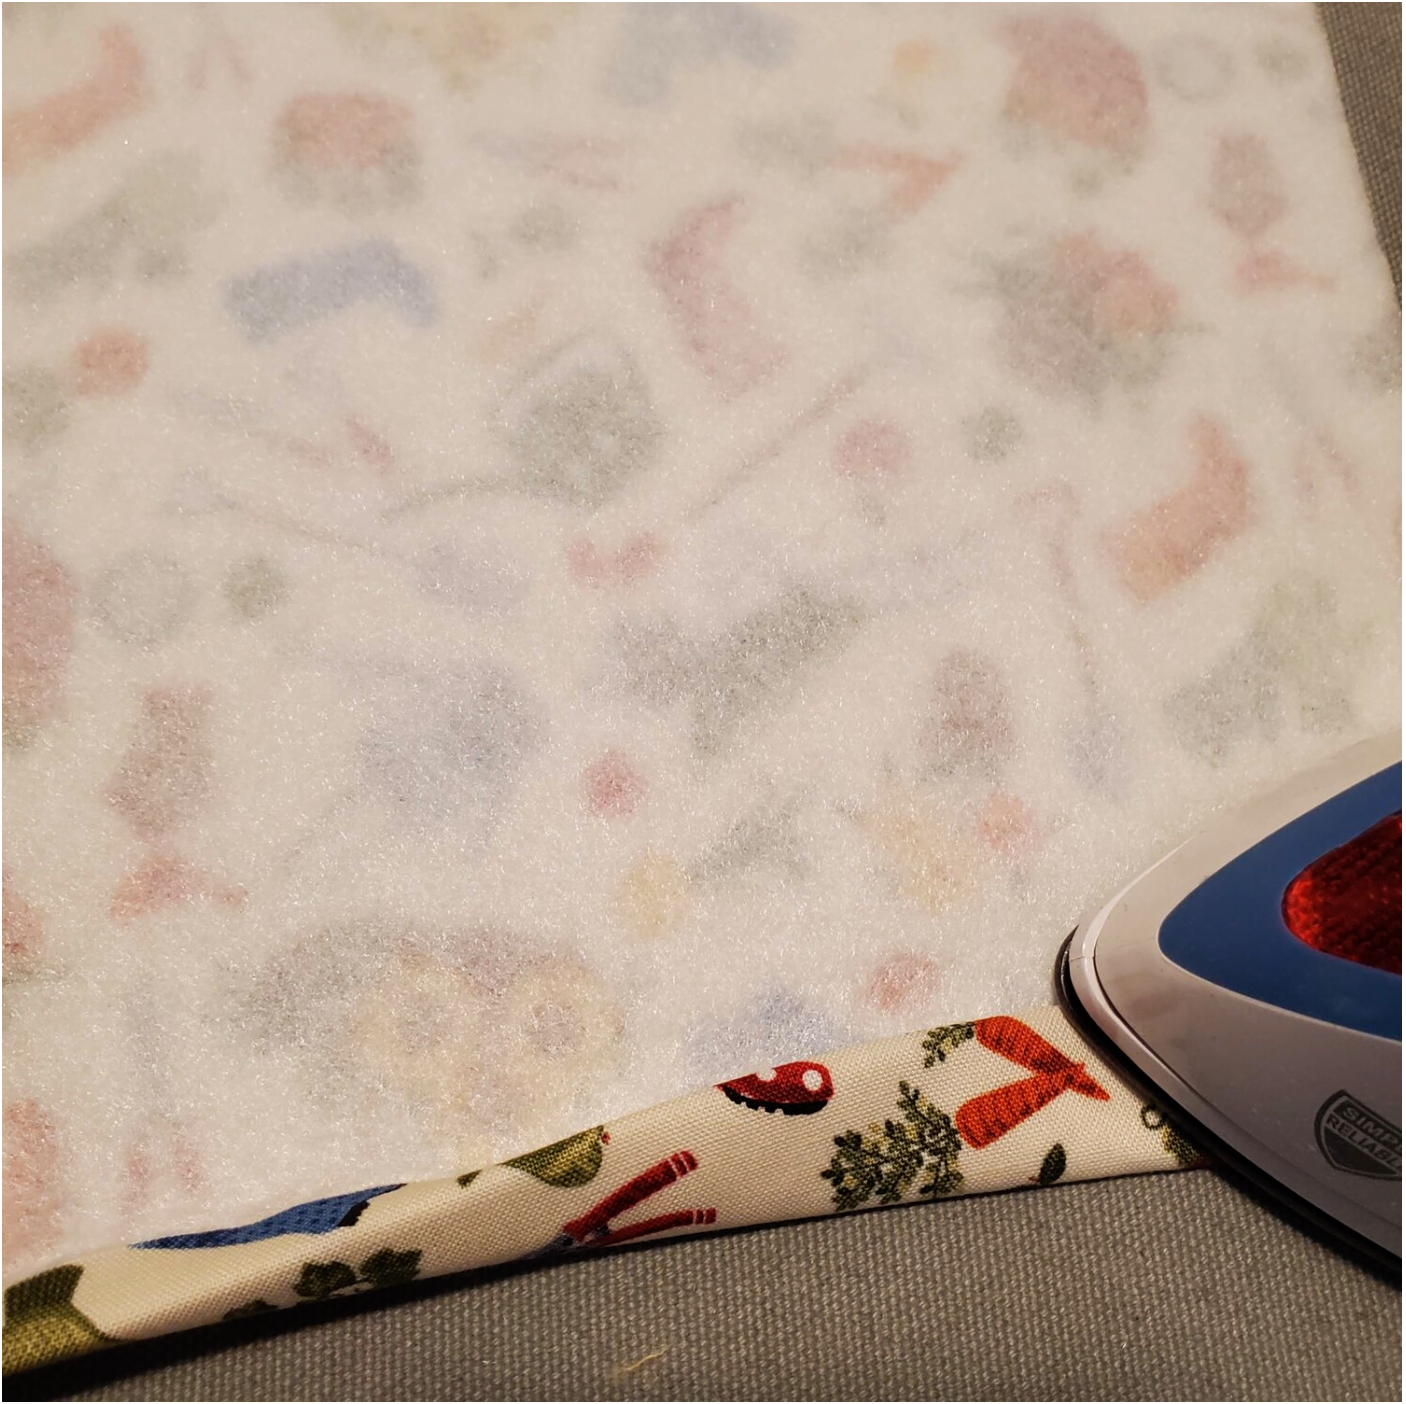
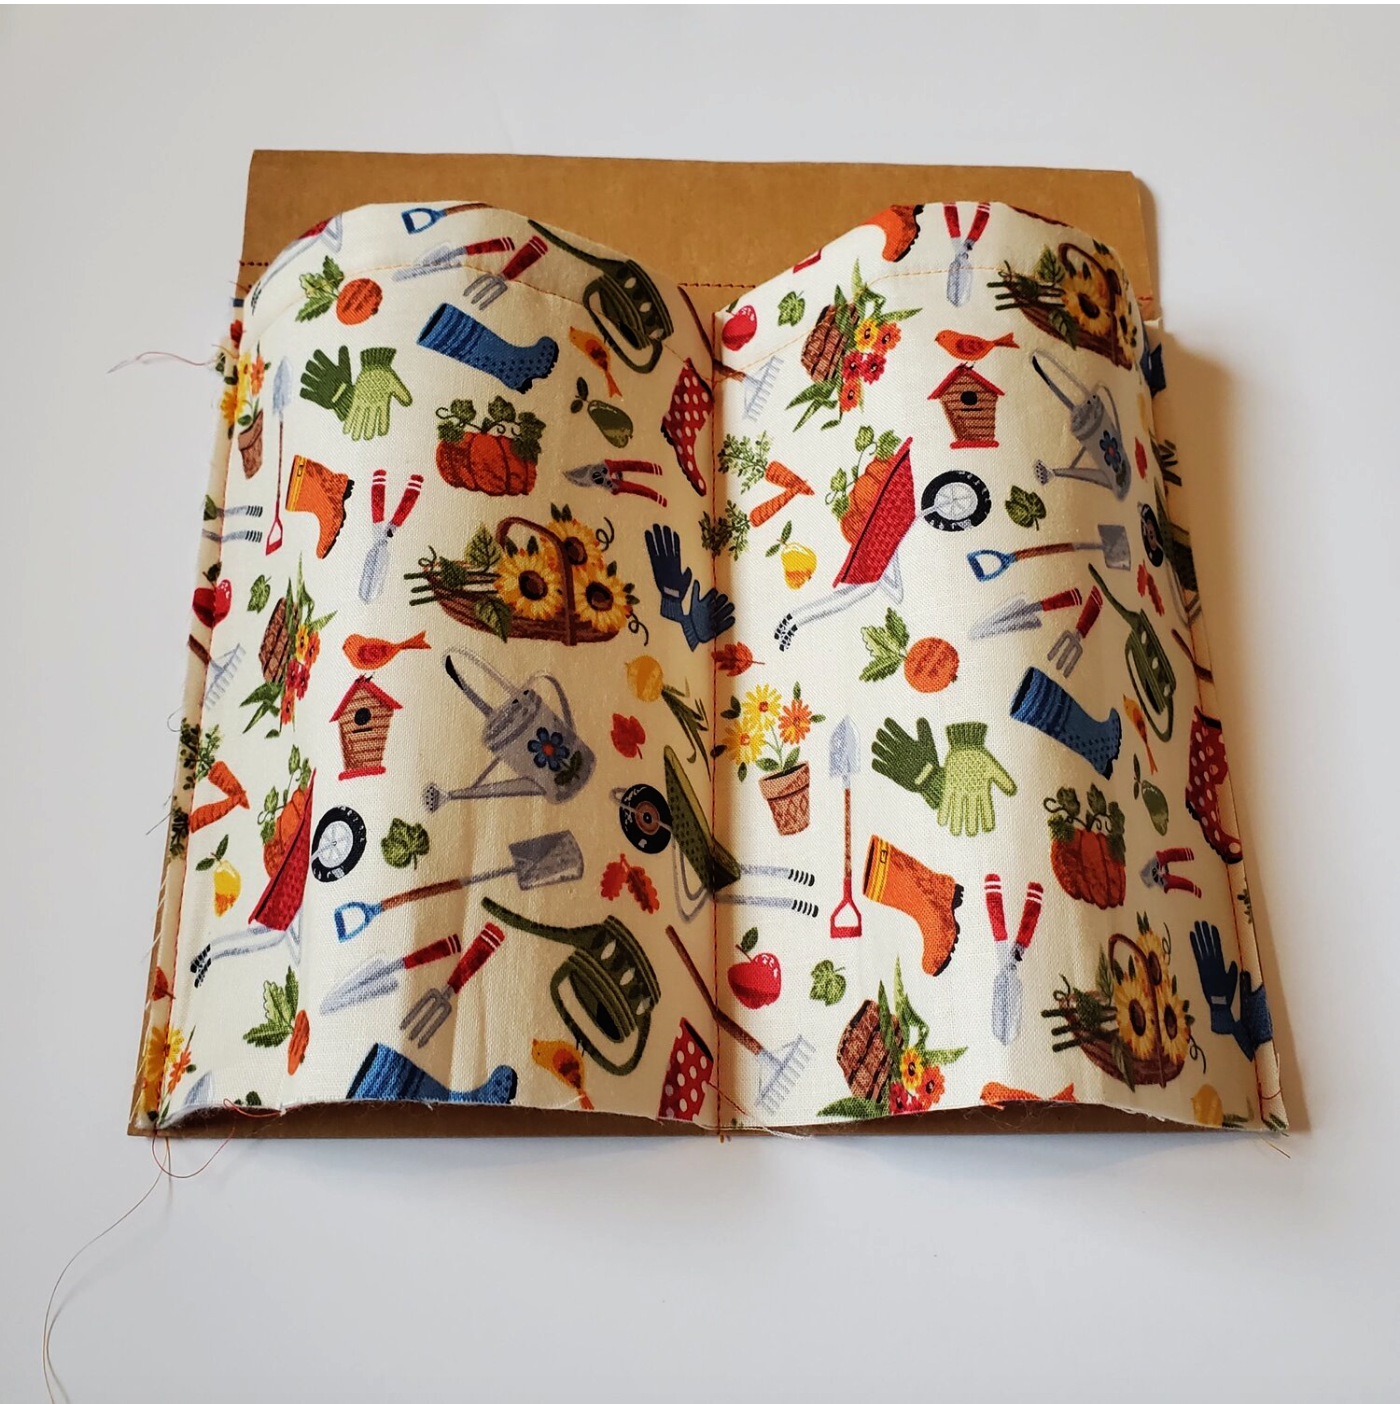
To get started I used a sheet of the Kraft-Tex. This unique paper fabric sews easily and is washable. I left one piece just as it was from the package and the other I put water on it and crumbled it up to give it more texture. I folded over the top edge about 1 ¼” to allow for the webbing and topstitched it using a longer stitch length and a denim needle. I cut a 8 ½” x 11” piece from a fat quarter and cut a matching piece of fusible fleece ironing it to the wrong side. On the long side fold the edge ¼’ and press and then fold down again ½” to create the top finished edge. Take it to the machine and topstitch in place.
Place the pocket on top of the Kraft-Tex aligning the bottom edges. I sewed a seam down the middle to create two pocket openings, but you can decide where you would like to place the seam. Sew each side by topstitching about an ⅛” from the edge.
To close the bottom edge of the pocket make two folds evenly spaced and clip in place. Topstitch ⅛” from the bottom edge.
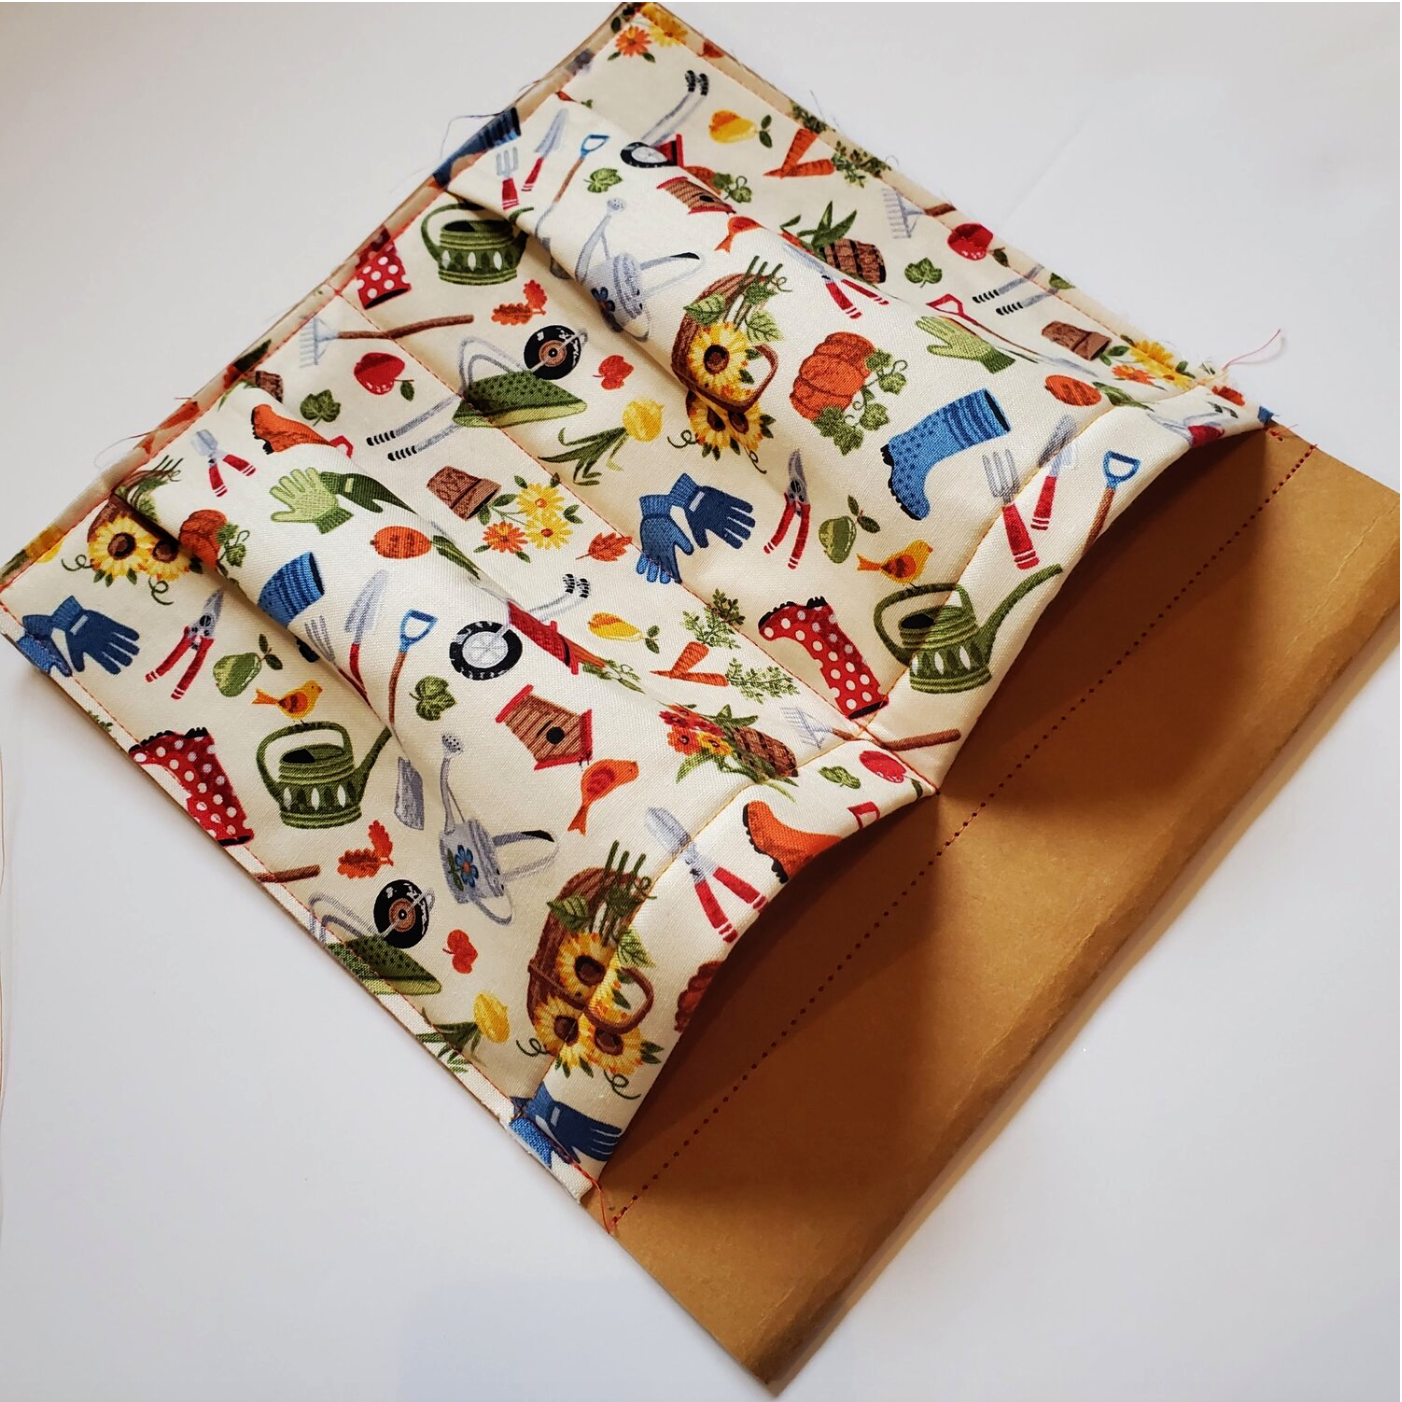
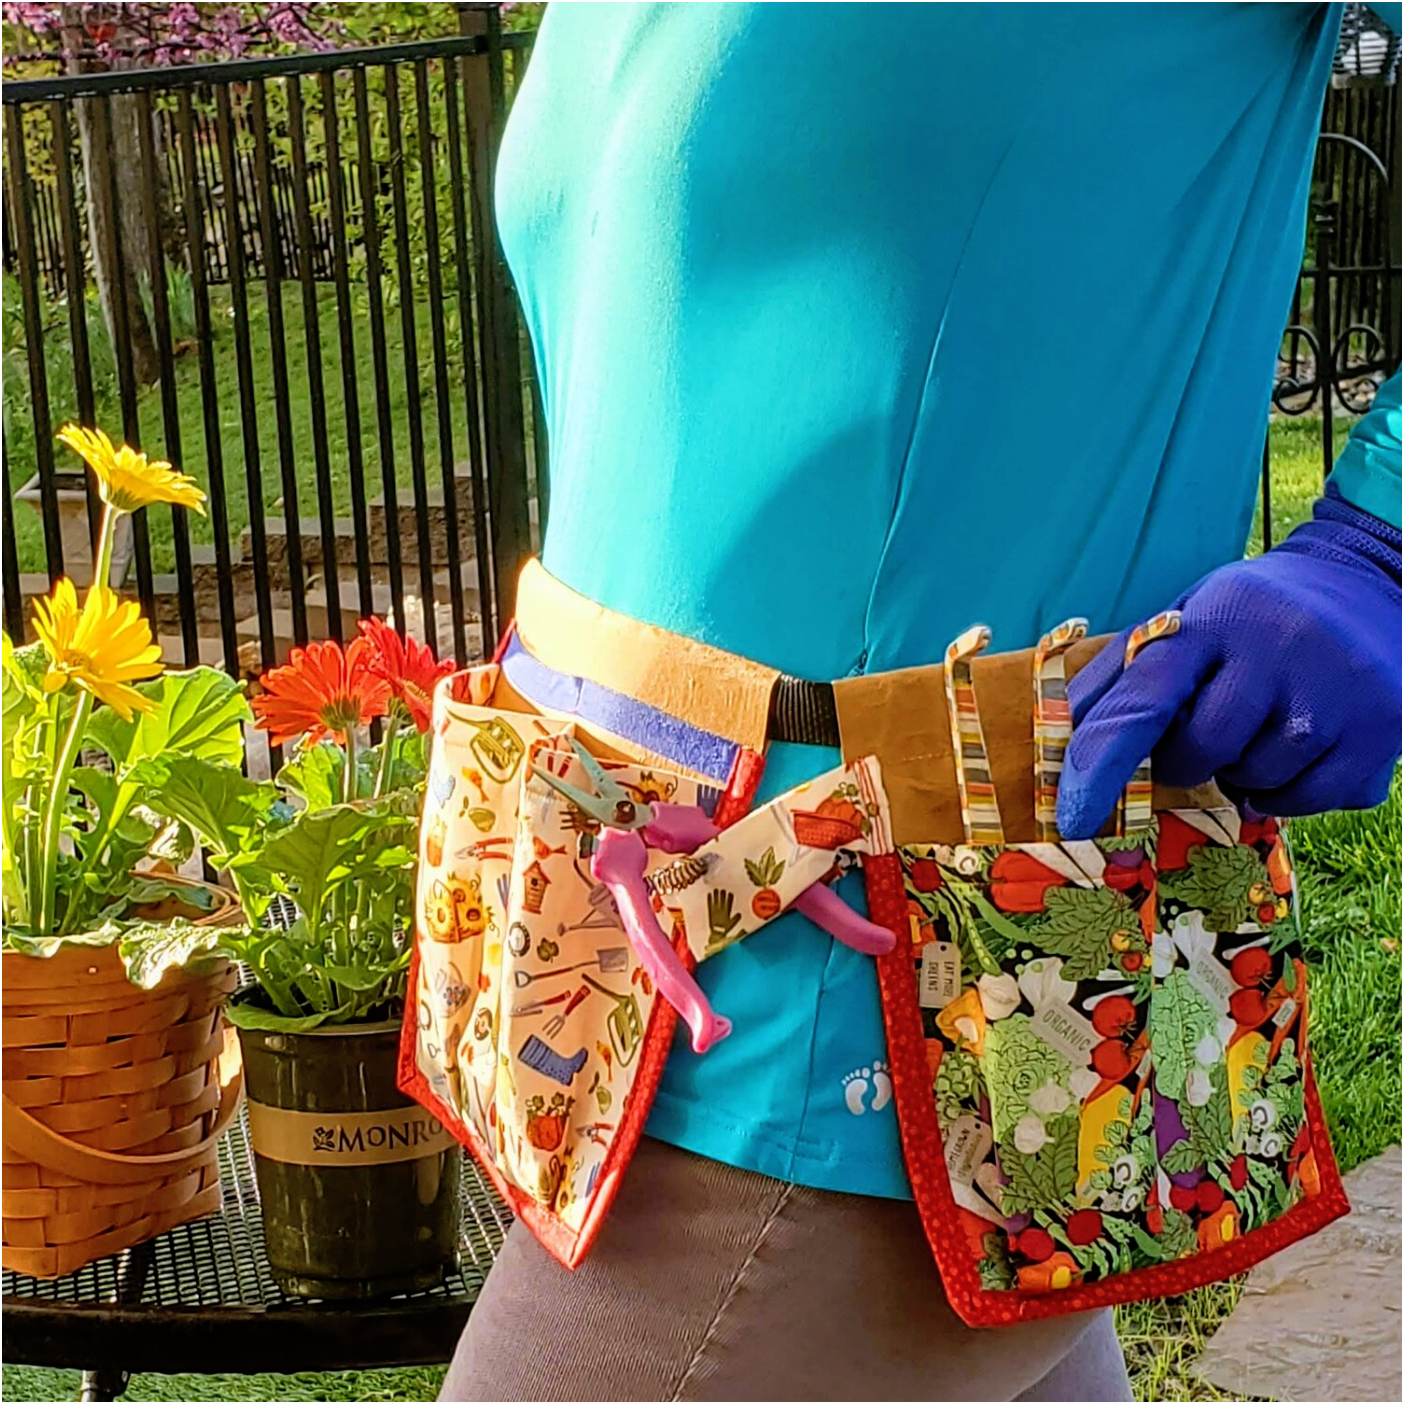
I added a piece of ⅝” fold over elastic just above the pocket to quickly stash my gloves and to help hold the garden tool handles in place as I move around planting. I stitched back and forth on each end to be sure it was secure.
I used a similar process to make another sliding pocket to fit on the webbing belt. On the second pocket I adjusted the pocket size to fit my phone completely covering it to keep it protected while I garden. I also added a fabric loop perfect to hang a tool handle for easy access. To give the pockets a finished edge I cut 2” strips to create a binding. Measure the two sides and bottom edge and add 2” to figure out how much binding you will need. I needed to sew two pieces together to make it long enough to go all the way around. Fold in half lengthwise and press then open folding each side into the first line and press again. Align the binding starting at the pocket edge folding the binding edge under clip to hold in place as you topstitch in place.
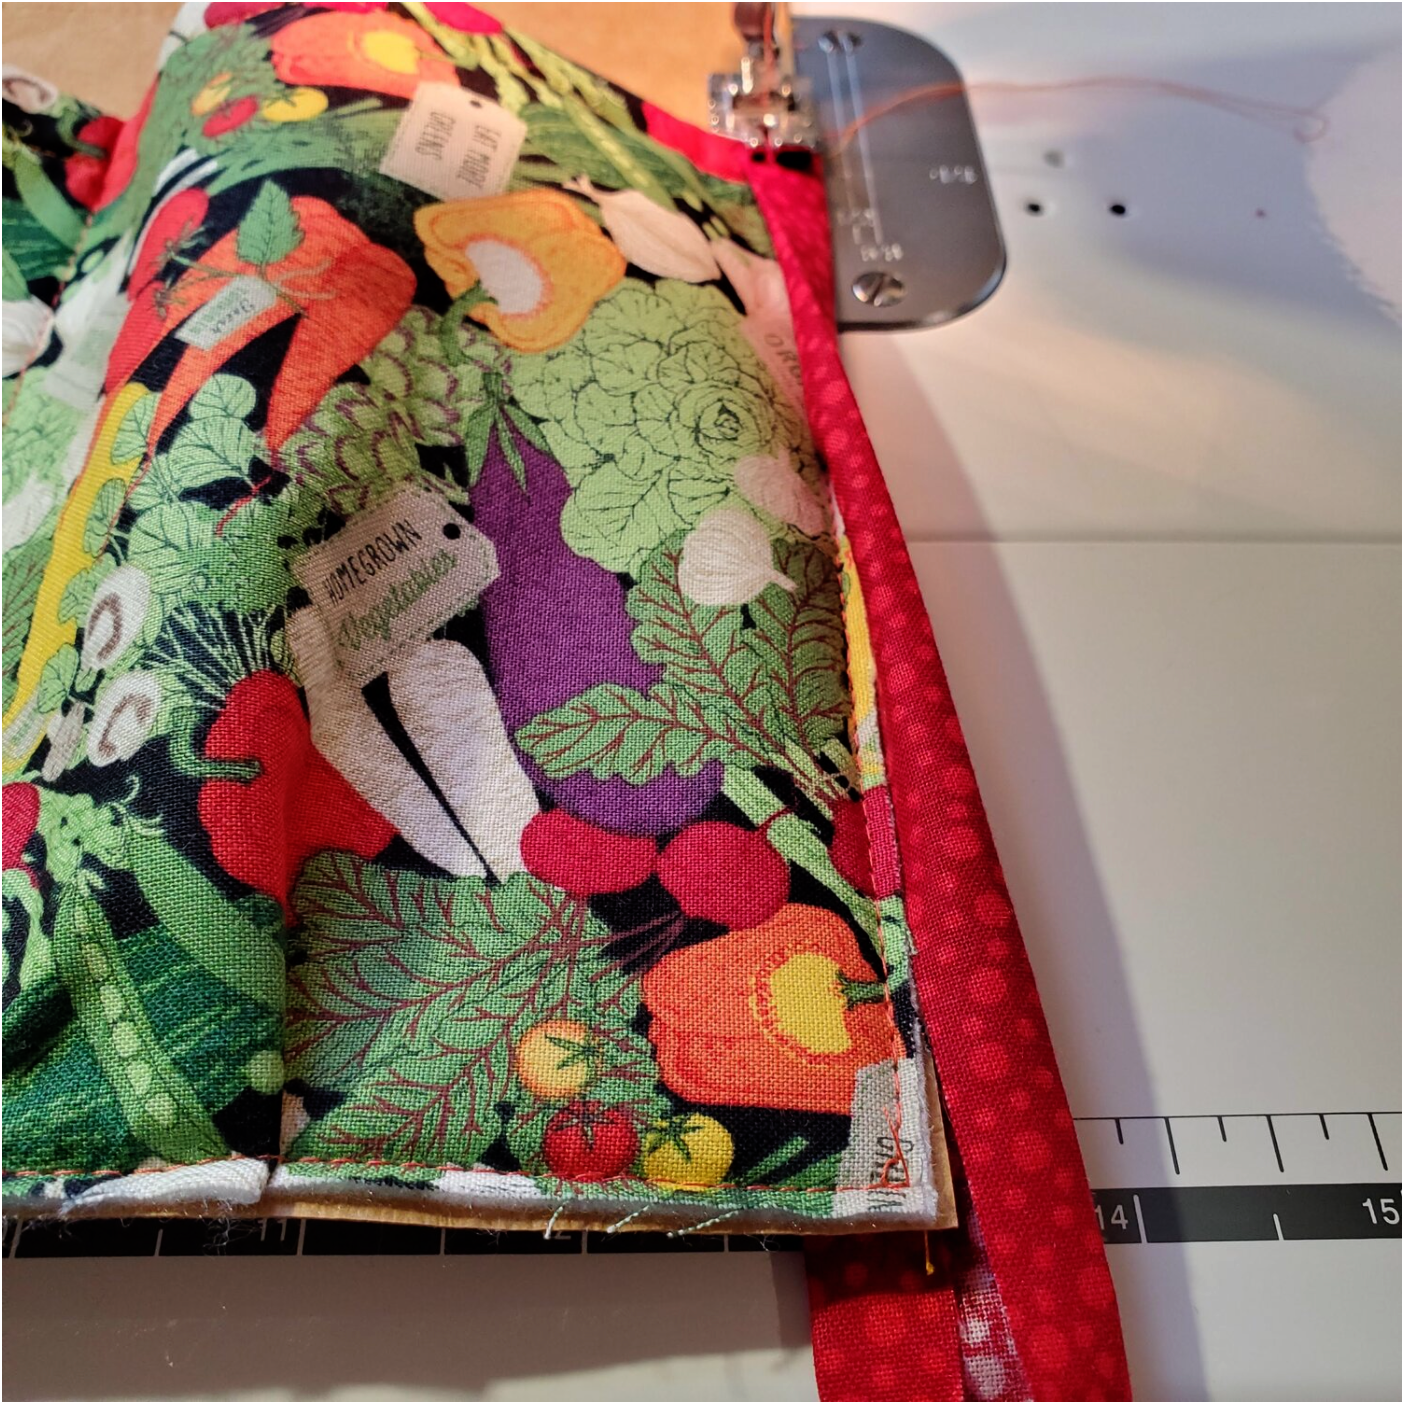
As you get to the corners stop sewing about ¼” from the corner and pivot folding the binding around the corner and then continue stitching. Be sure to take a peek underneath to be sure it is lined up before you start sewing again. When you are about 2 inches from the end trim the binding allowing room to turn under the raw edges. Clip in place and continue to sew to the edge and back tack to secure.
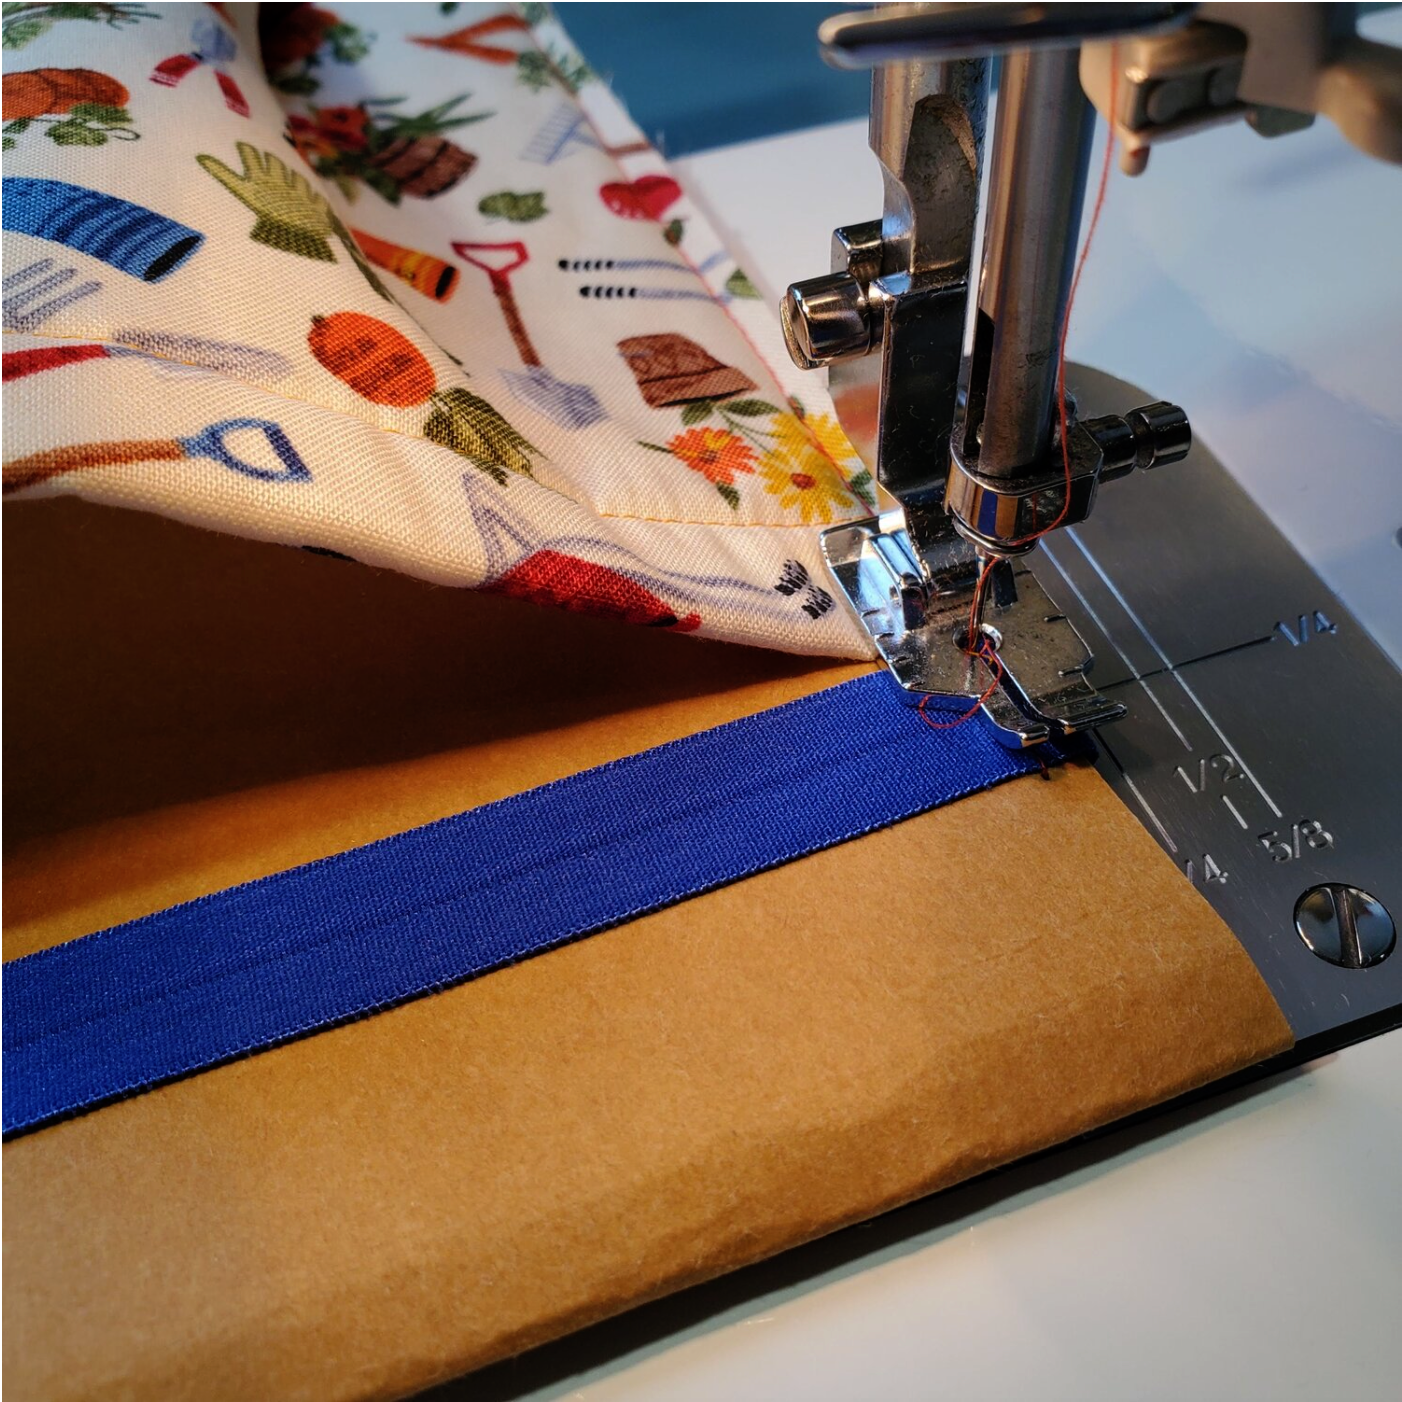
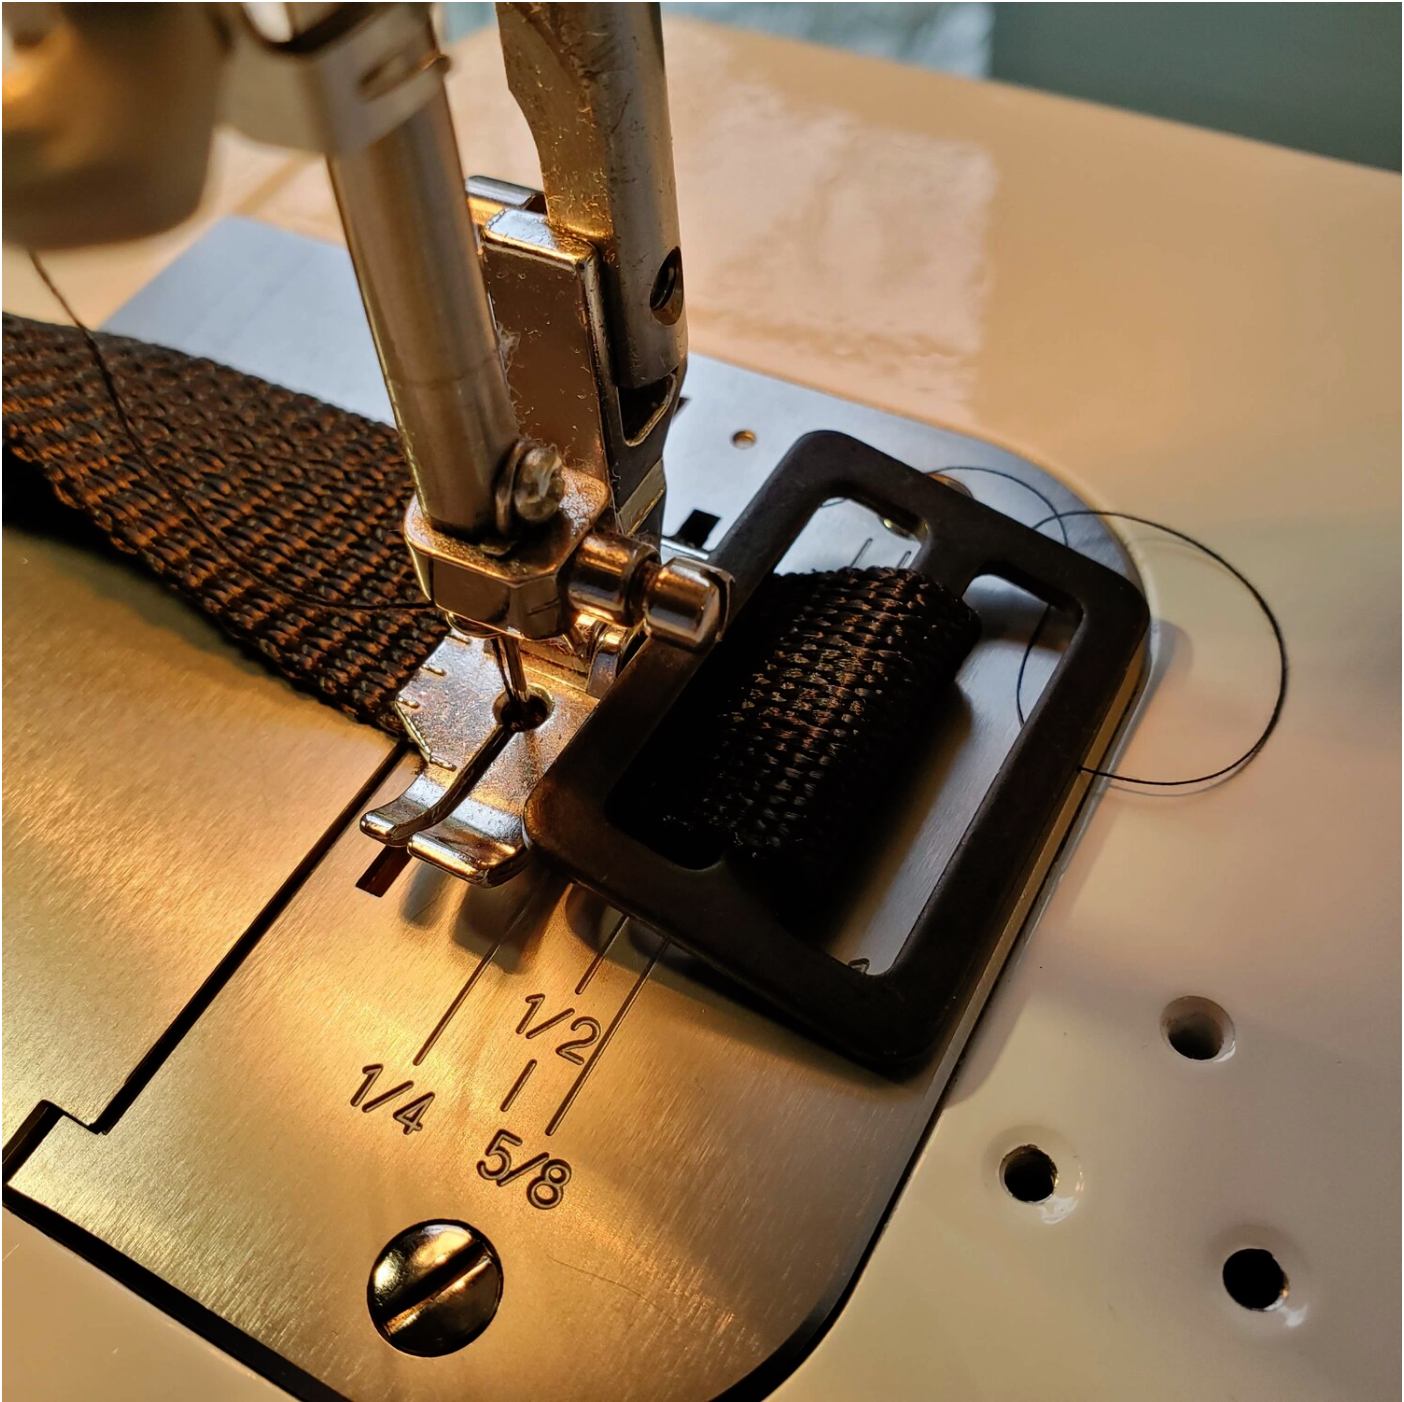
To make the webbing belt cut to fit your waist and add about 8” to the length. I use a match to melt the edges of the webbing to keep it from fraying. Loop the buckle onto the webbing and stitch the buckle in place.
The final step is to use a safety pin or bobkin to push the webbing through the pockets to complete the garden apron. This design gives you the option to move the pockets to suit your needs and will be very versatile. Happy gardening!