DIY Fabric Gift Bags
8th Oct 2020
As the leaves start to turn and the nights are cooler, it makes me start thinking about sewing projects for the upcoming holidays. I like to get started early to have the time to plan and buy fabrics before the days get busy.
Today I will show you how to make a special fabric gift bag that can be used for many years. Over the past few years, I have made an effort to reduce my carbon footprint using creative ways to upcycle and repurpose everyday items. I have used fabric gift bags in the past and I always get such a nice response from people that it was a handmade bag made special for them, it becomes a wonderful part of the gift giving experience.
Materials needed
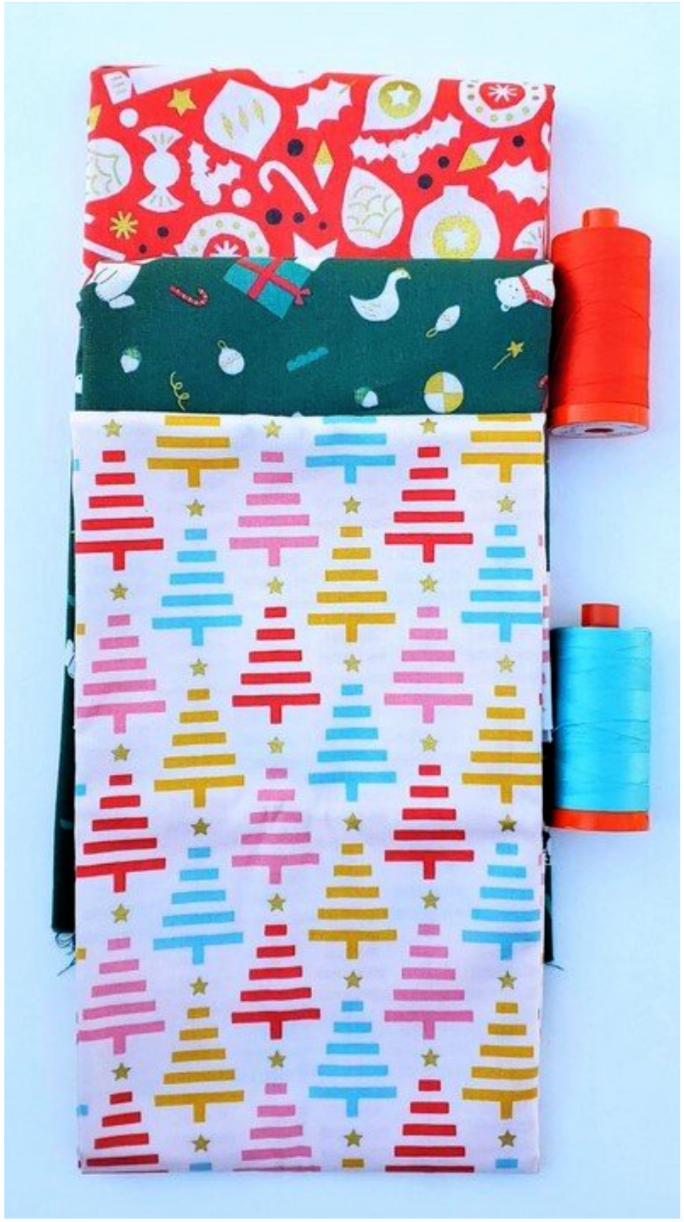
Fat quarter of three coordinating fabrics. These were from the September Classic box, which are now for sale in our shop here.
Matching Aurifil thread
Pattern from Jeni Baker Patterns
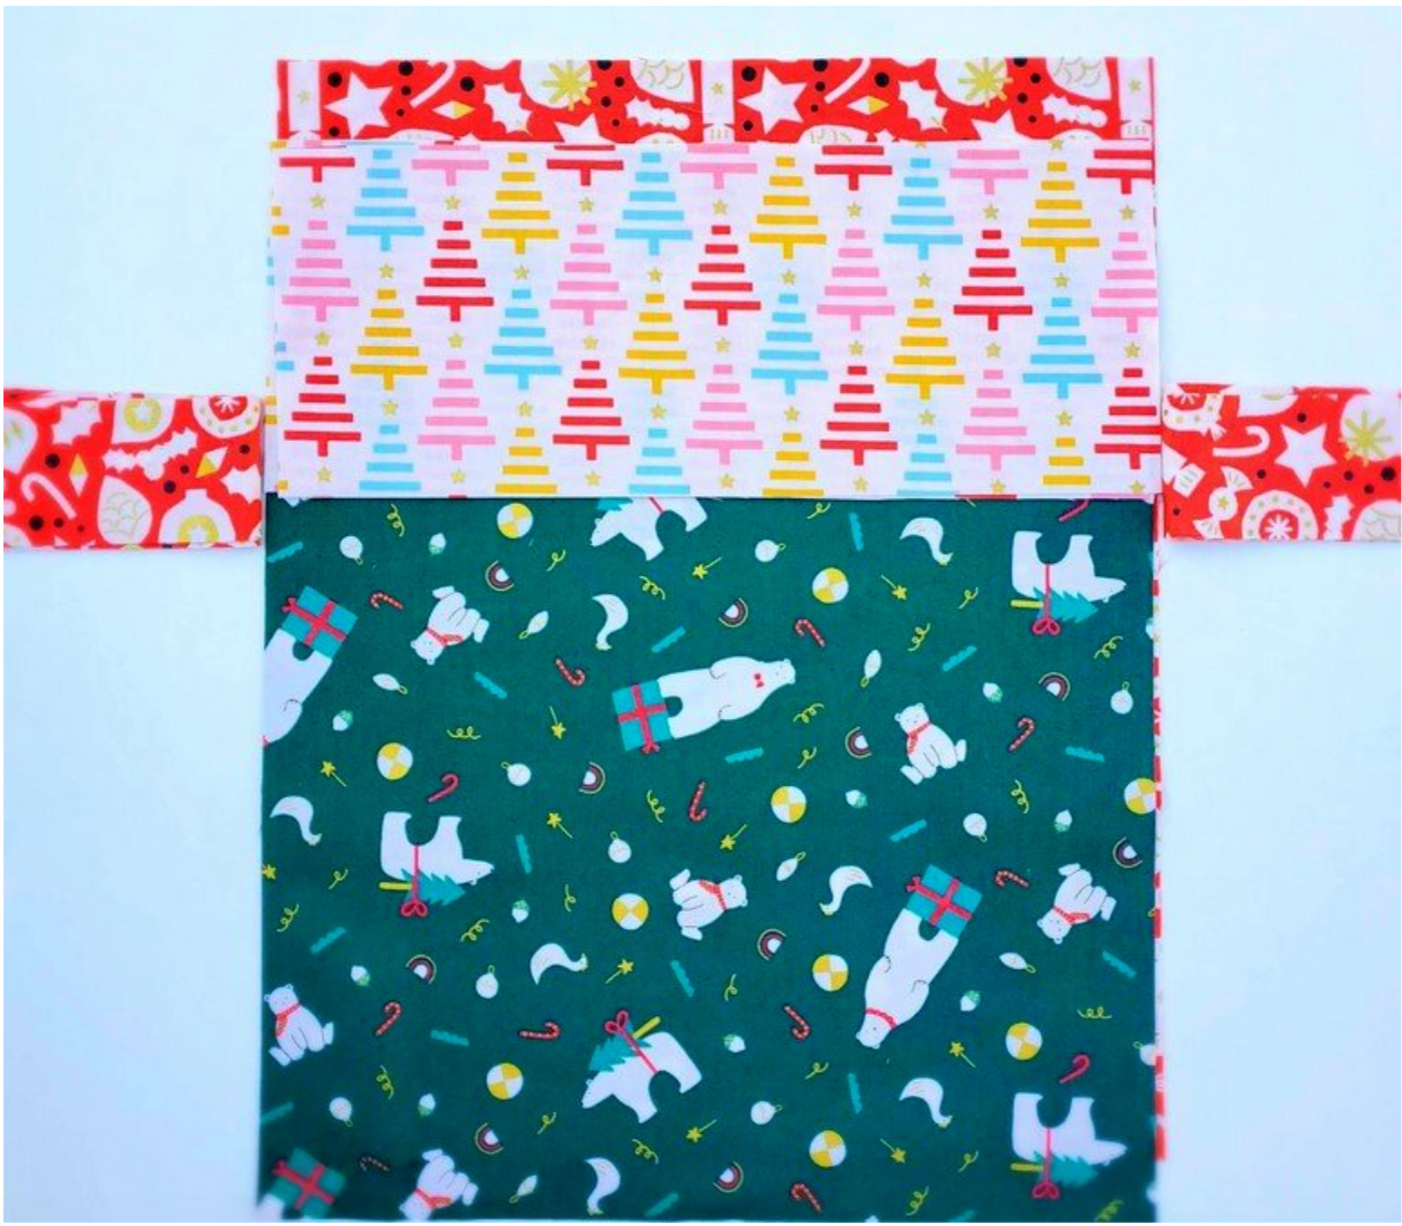
To get ready, print out your pattern and read it over to decide what size bag you would like to make. For this blog, I made the project size bag that finished at 13”x8”x4”. I think this will be a very versatile gift bag. Choose your exterior, accent and lining fabric and cut according to the pattern.
The pattern is very easy to understand and would be a great project for a beginner or to teach your child how to sew. Lay out the pieces, being mindful of the direction of the fabric so it faces the right direction in the completed project. Be sure to mark the openings for turning the bag and for the drawstring. Sew with a ¼” seam.
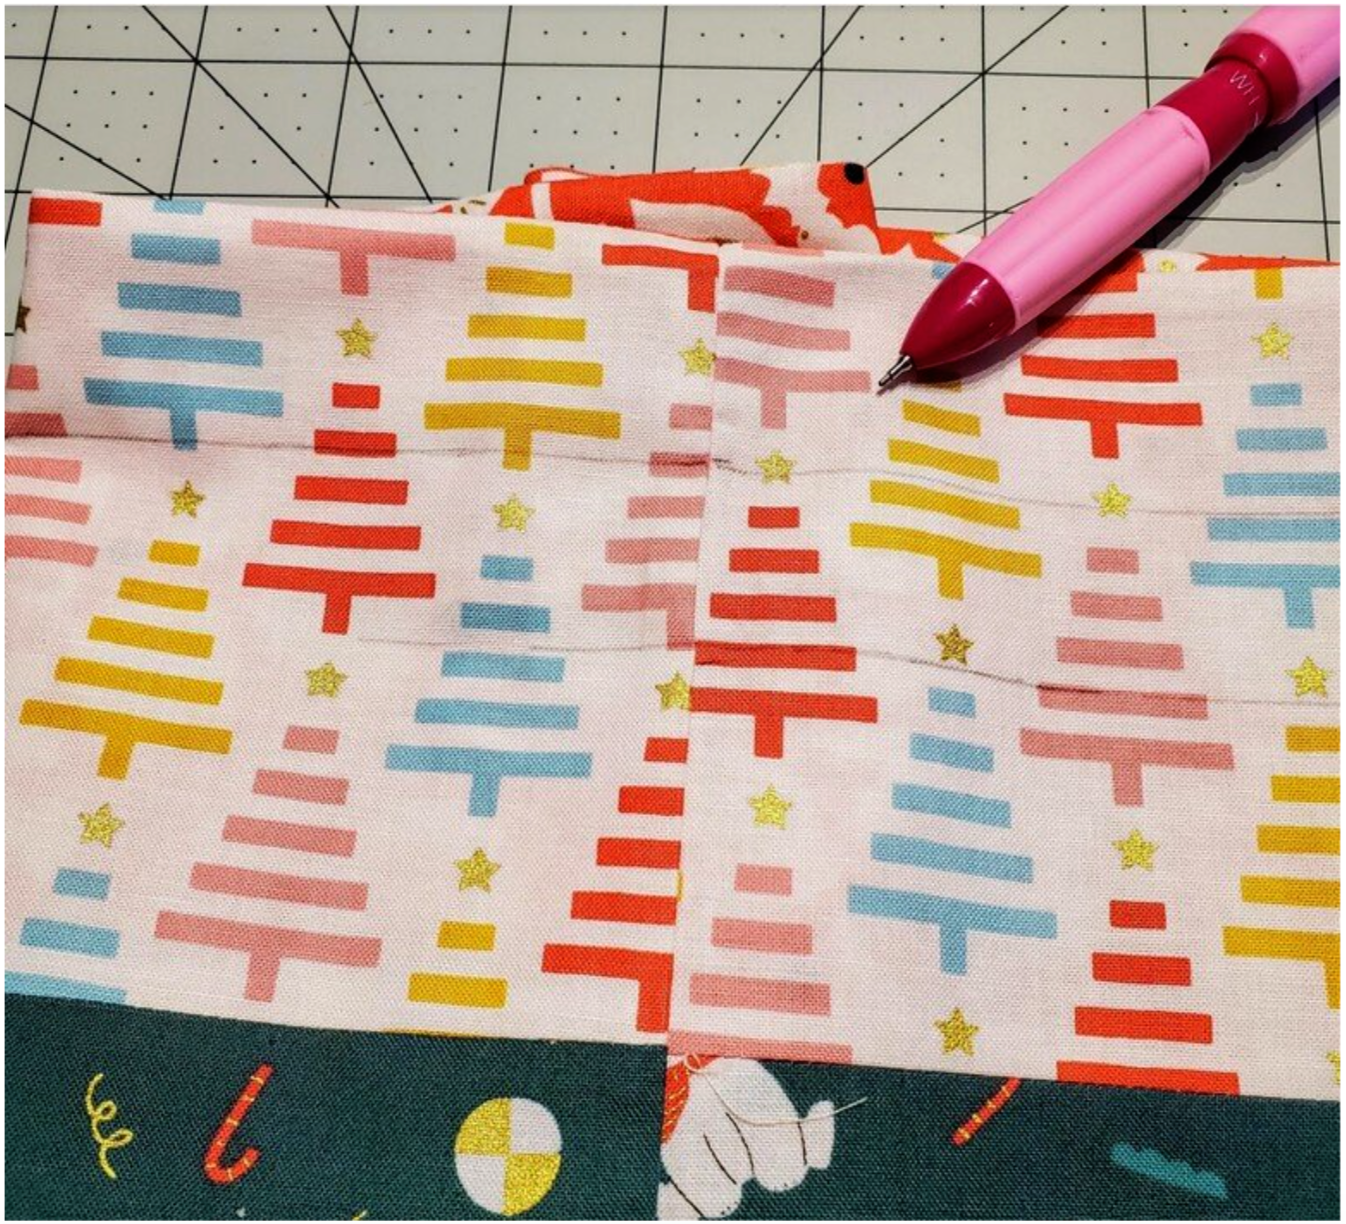
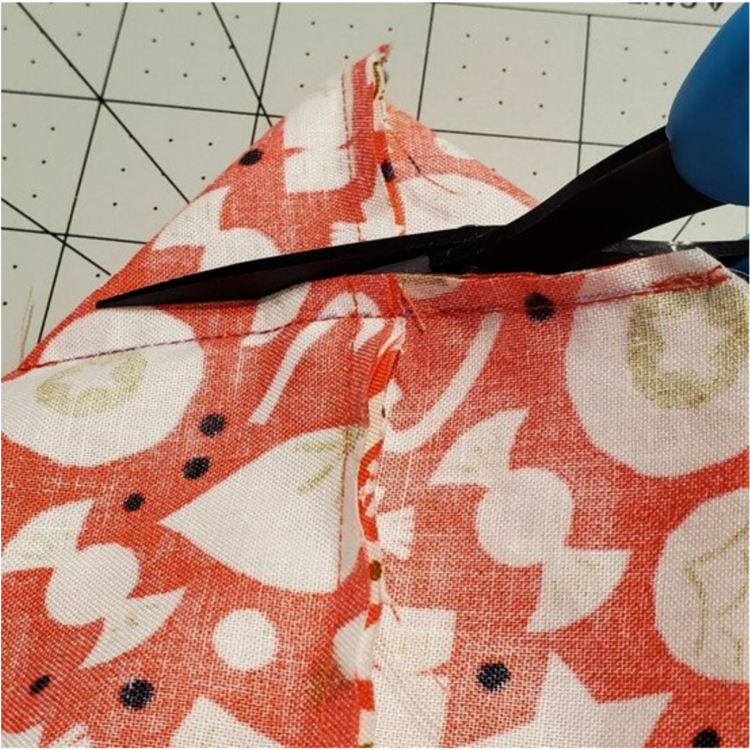
Next you will need to box the corners to give the bag some depth. Fold the corners so the seams line up. The pattern gives great pictures and a link to a video. It is helpful to use a 45* angle line on the Omni grid ruler on the corners to keep them straight as you mark the sewing line. Sew on the line and trim excess fabric to ¼”.
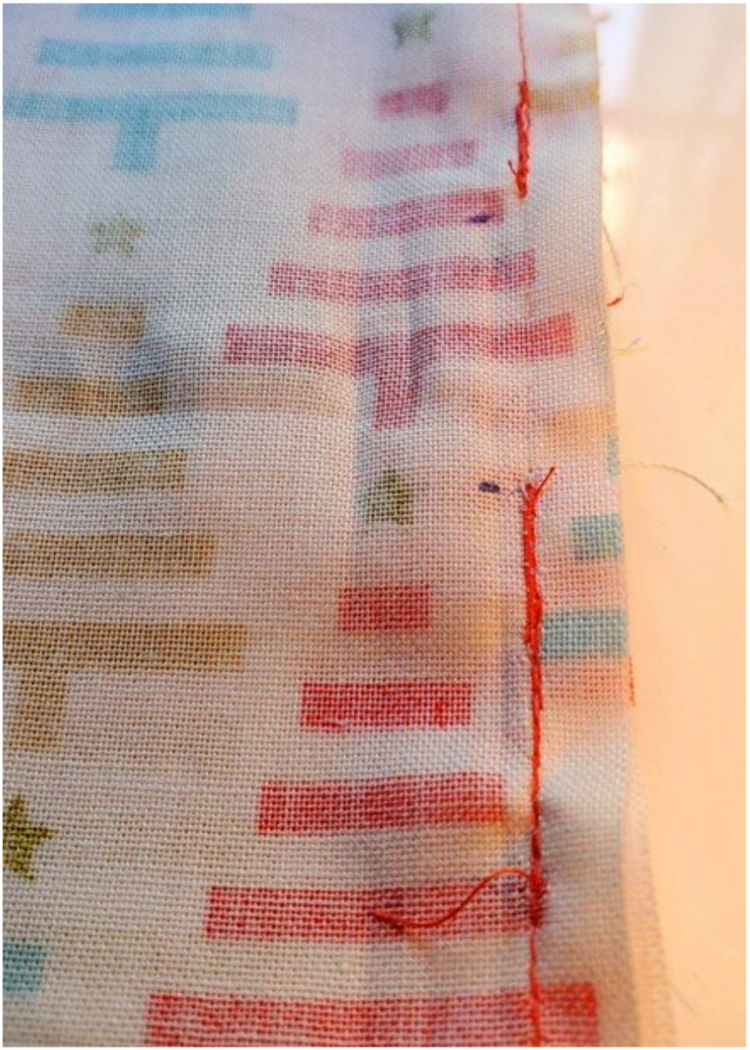
Do this for all the corners in the lining and exterior fabric. Next turn the piece right side out and push out the corners. Stitch the opening in the lining closed. The lining snugly fits inside the exterior. Be sure to press the top edge carefully so that the seam is on the edge straight. In this step you will be sewing the casing for the drawstrings. I used a chalk pencil to mark the sewing lines using a slightly longer stitch for the top stitching.
I used the lining fabric for the drawstrings. This is a quick fold and iron to cover the raw edges and sew method. You can always use decorative ribbon or twill tape as the drawstring ties. Using a safety pin or bodkin push the ties through the casing. These bags are so fun and easy to make. I bet you will enjoy the process so much you will sew some for other occasions as well!
With the leftover scraps I made some small favor bags to decorate the table for a holiday dinner. I found the idea for the fabric gift pouch on Pinterest from A spoonful of sugar designs. These are the perfect size for candies or chocolates.