DIY Baby Gift Set
28th Jan 2021
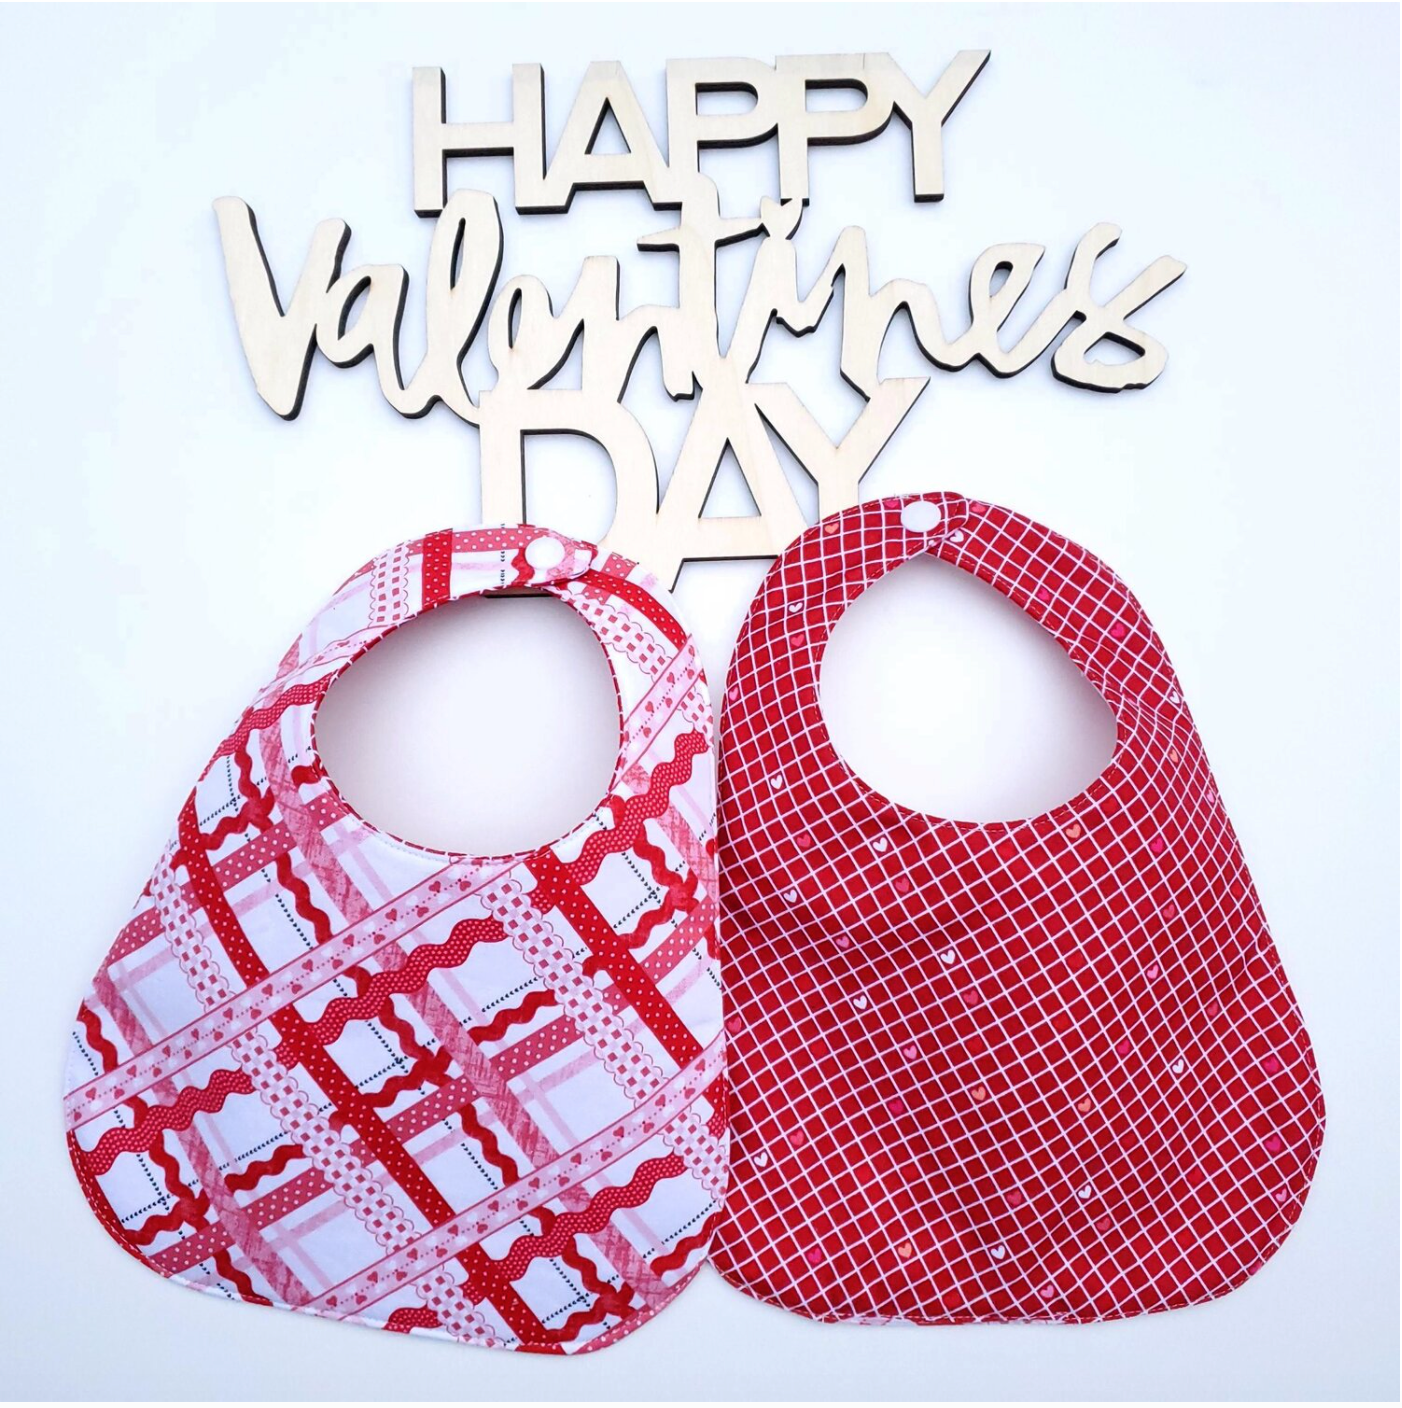
As we start the new year many of us have great expectations for 2021! On the positive side of all the time home together our families will be growing this year with all the new babies. These handmade gifts are the perfect way to show your love for the little ones in your life. I found this free pattern for the baby bib from the Nana Company. You will need to be sure to add ¼” to the outer edge for the seam allowance or print it a little bigger. These are really quick and easy to make for a shower gift and would be fun to make a set in different fabrics to celebrate holidays throughout the year. They are fat quarter friendly here are Easter Fat Quarters.
Materials needed
Two fat quarters Valentine Fabric & Mystery Fat Quarter request juvenile fabric
Fusible fleece
Coordinating Aurifil thread
Snap or Velcro closure
Trace the pattern to the wrong side of your fabric and cut out two pieces. Carefully fuse one piece of fabric to a piece of Fusible fleece and cut away extra fleece to the shape of the bib.
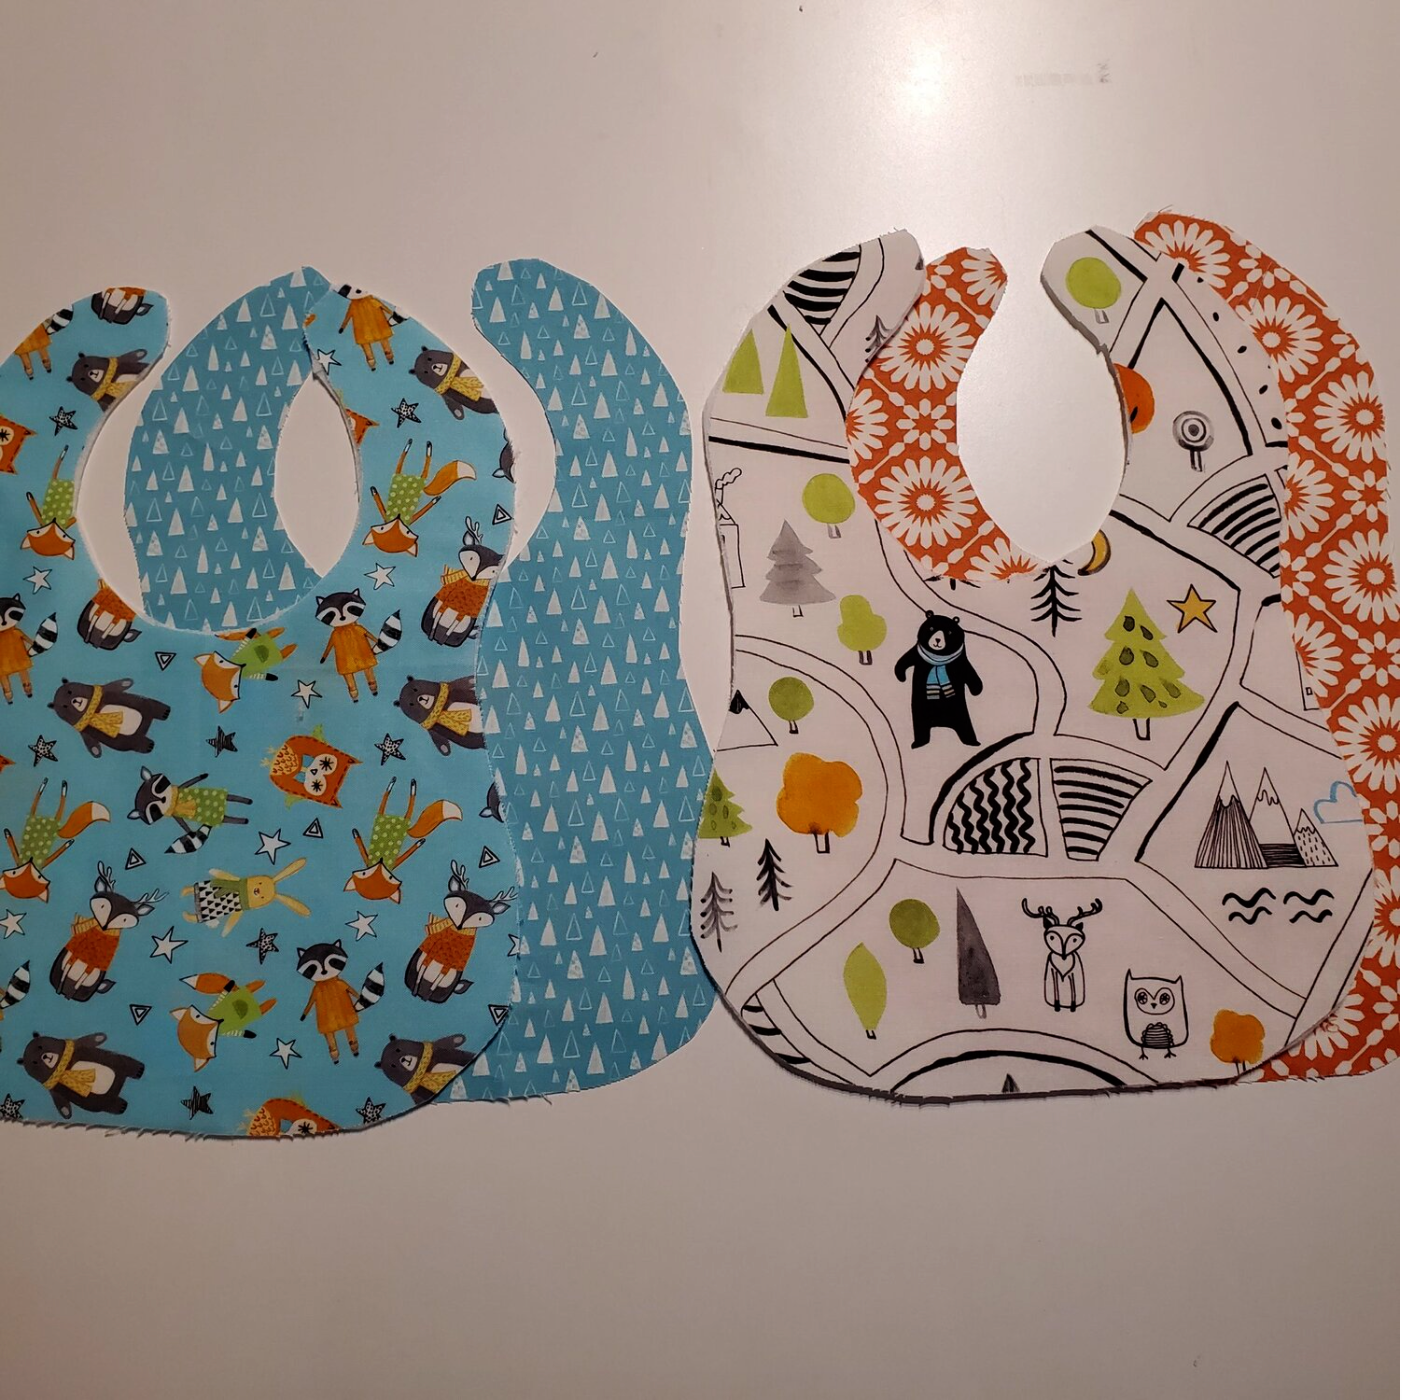
Place the right sides together. You will leave about a 3” opening at the center of the bottom edge. Start sewing about 2” from the bottom left corner using a ¼” seam and end at the bottom right leaving the opening for turning. Trim with pinking shears around the curves. This can also be done using small sharp scissors to clip around the curves perpendicular to the stitching to allow the fabric to lay flat when it is turned right sides out.
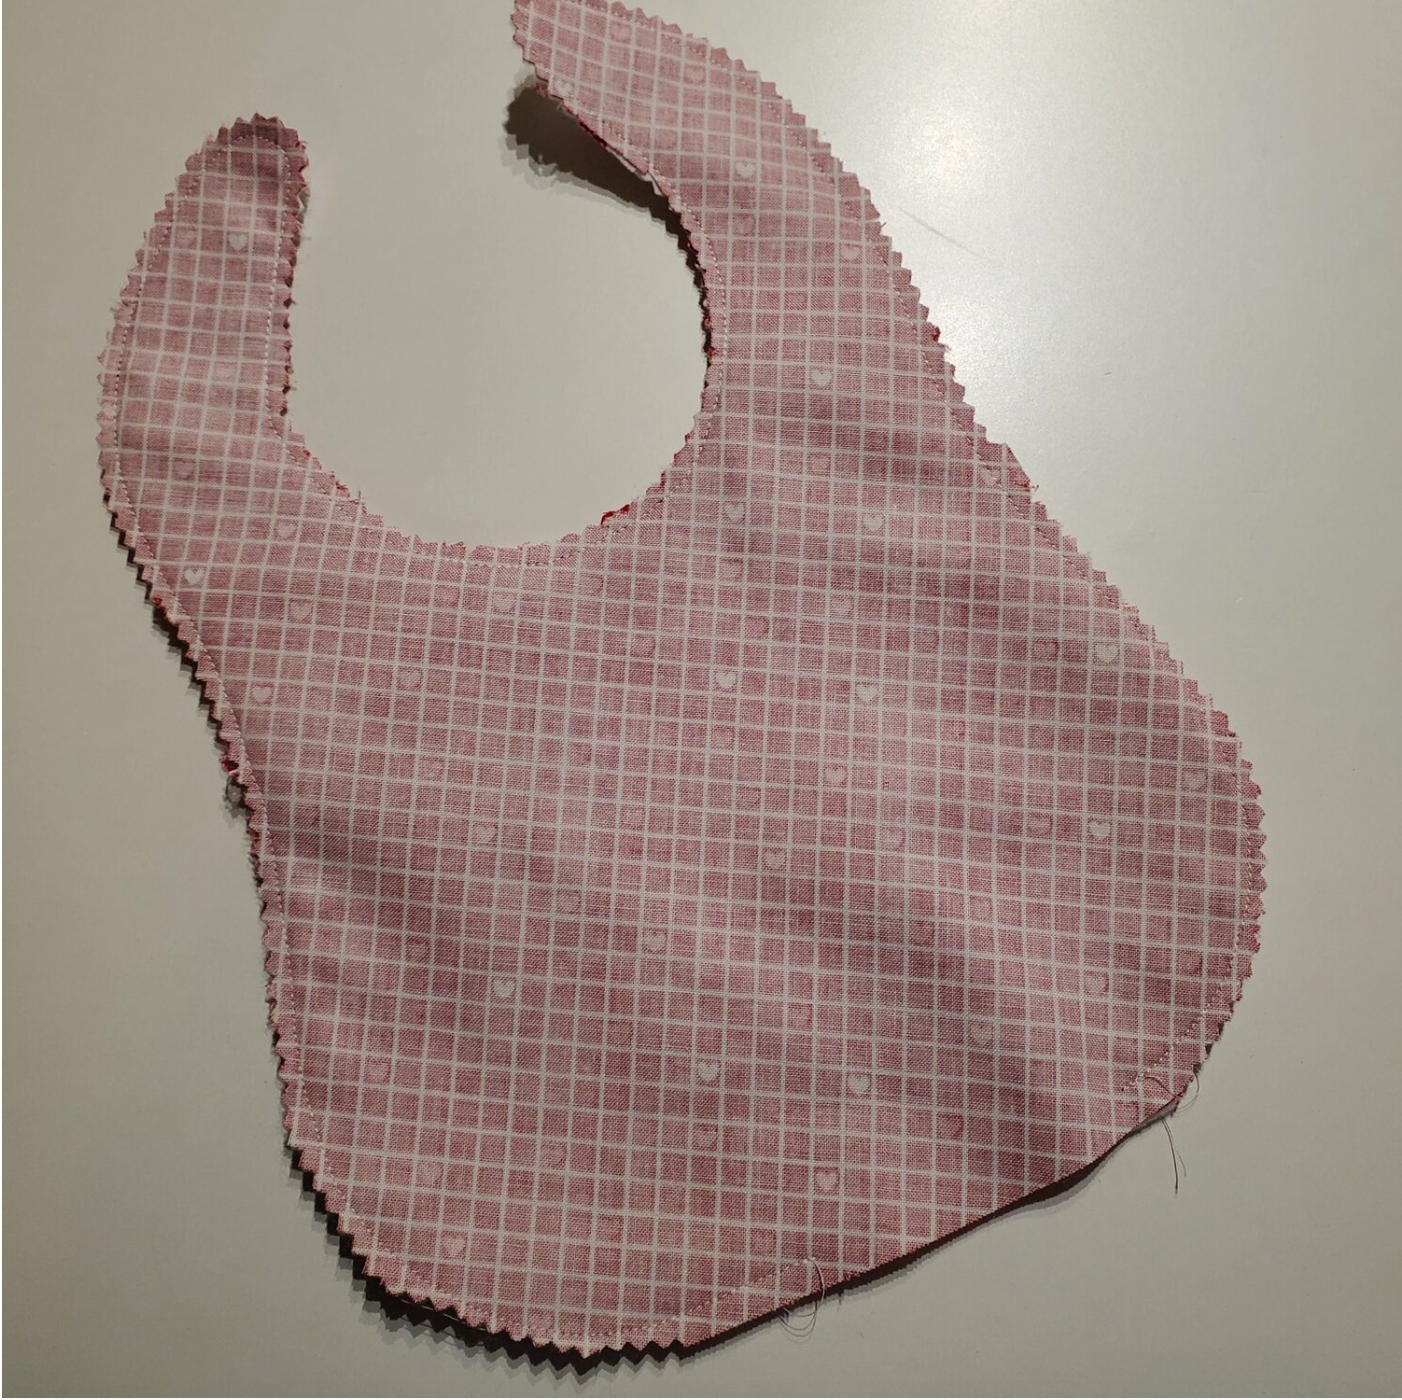
It is helpful to use a wooden dowel or chop stick to push out the neck portion of the bib. Press the bib aligning the edge of the seams to prepare for topstitching. You will press opening under ¼” to stitch it closed. Carefully topstitch ⅛” from the edge using a stitch length of 3 in a coordinating thread color on both sides. Add your snap or Velcro closure and you are finished. The bibs are reversible so double the fun!
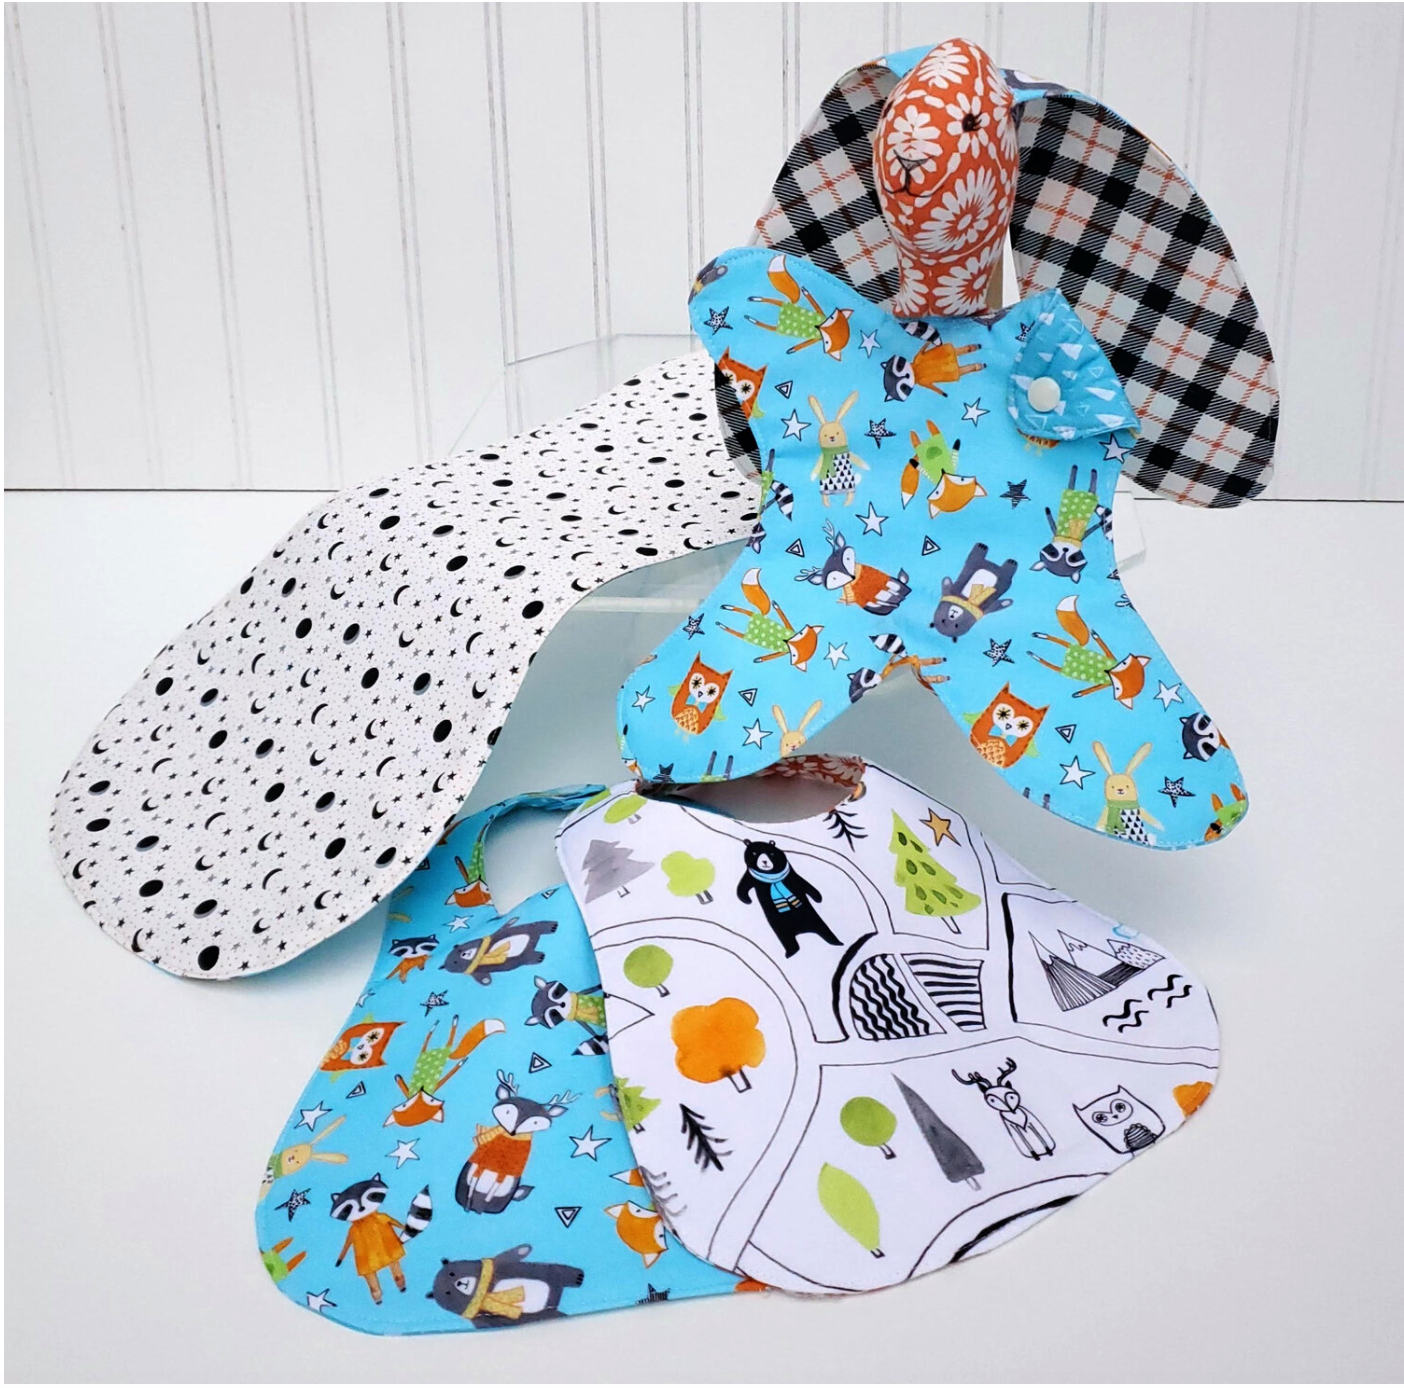
The next project goes together in the same way as the bib just a different shape. I found this free pattern from Joan Giammalva for a burp cloth. I printed out two pages of the pattern taped it together to make half the pattern and cut it on a fold. It will fit perfectly on a fat quarter. I used Mystery Fat Quarter (you can request juvenile).
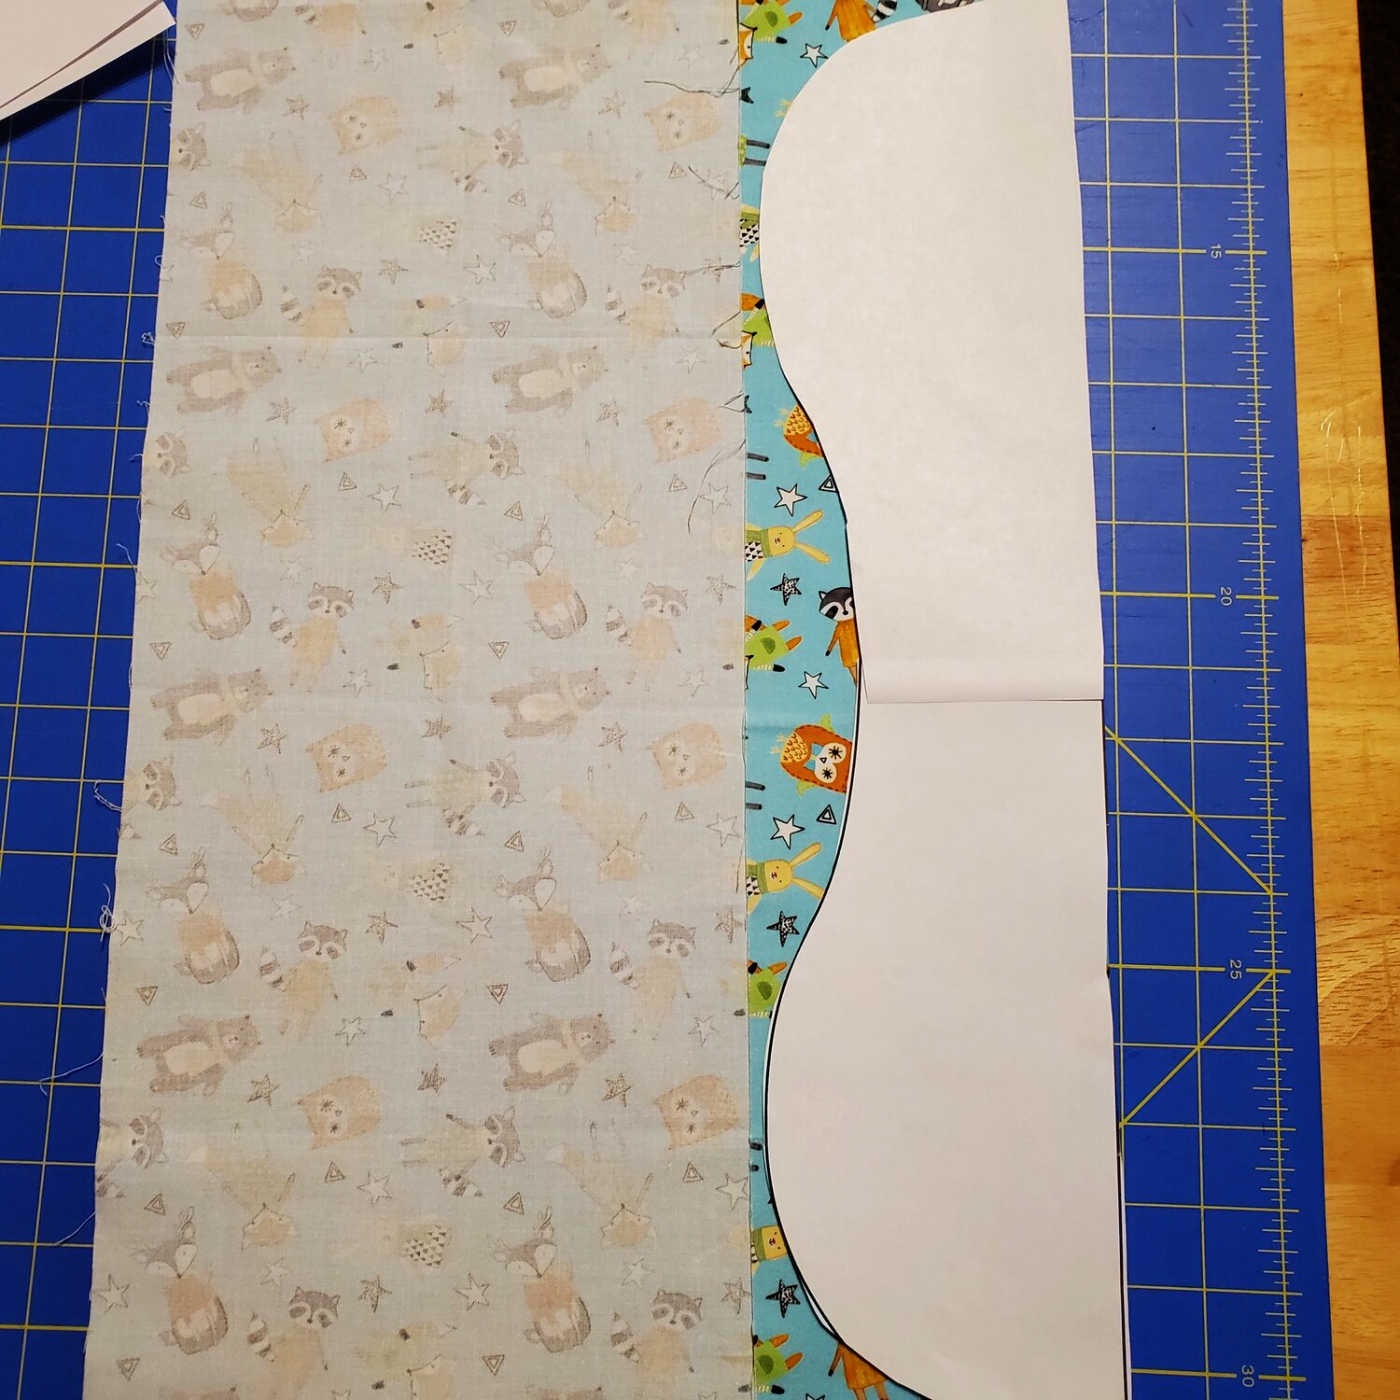
Cut two pieces and fuse one piece to the fusible fleece and cut to size. Line up the pieces with the right sides together. Sew all the way around leaving about a 3” opening to turn the fabric.
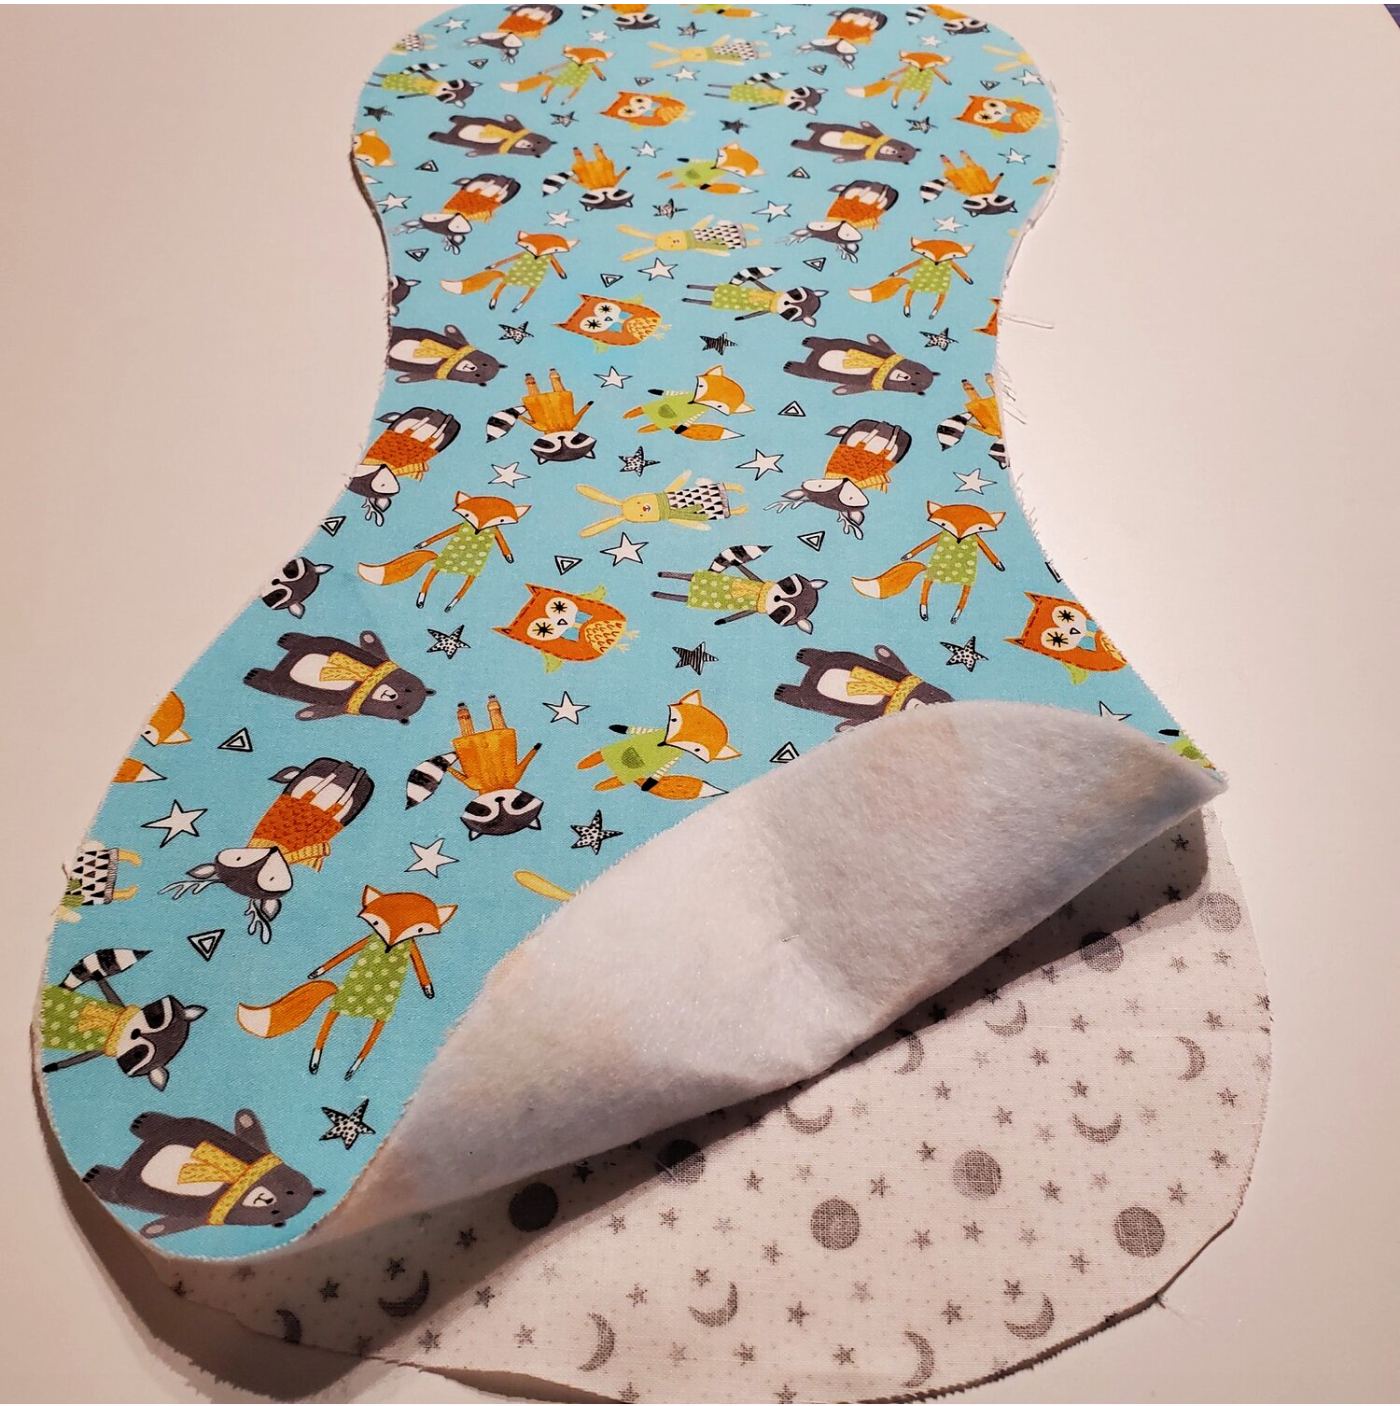
Trim the curves with pinking shears or sharp pointed scissors to help the curves lay flat. Turn right sides out and press the edges aligning the seams to prepare for topstitching. Sew about ⅛” from the edge using a stitch length of 3. Be sure to check that the opening lines up correctly as you topstitch with coordinating thread on both sides. This could be a fun project to practice some free motion quilting by adding a name or a design
The last project in this gift set is a little more challenging and will take some patience making the stuffed head of this lovey.
Materials needed
Fat quarter of Island in the Sky for the body and back of ears
Fat quarter of Ombre Fairy Dust Graphite for ears, head and tail
Coordinating Aurifil Thread from Chroma Subscription
Fusible fleece
Poly-fil
Optional snap and solid wood ring
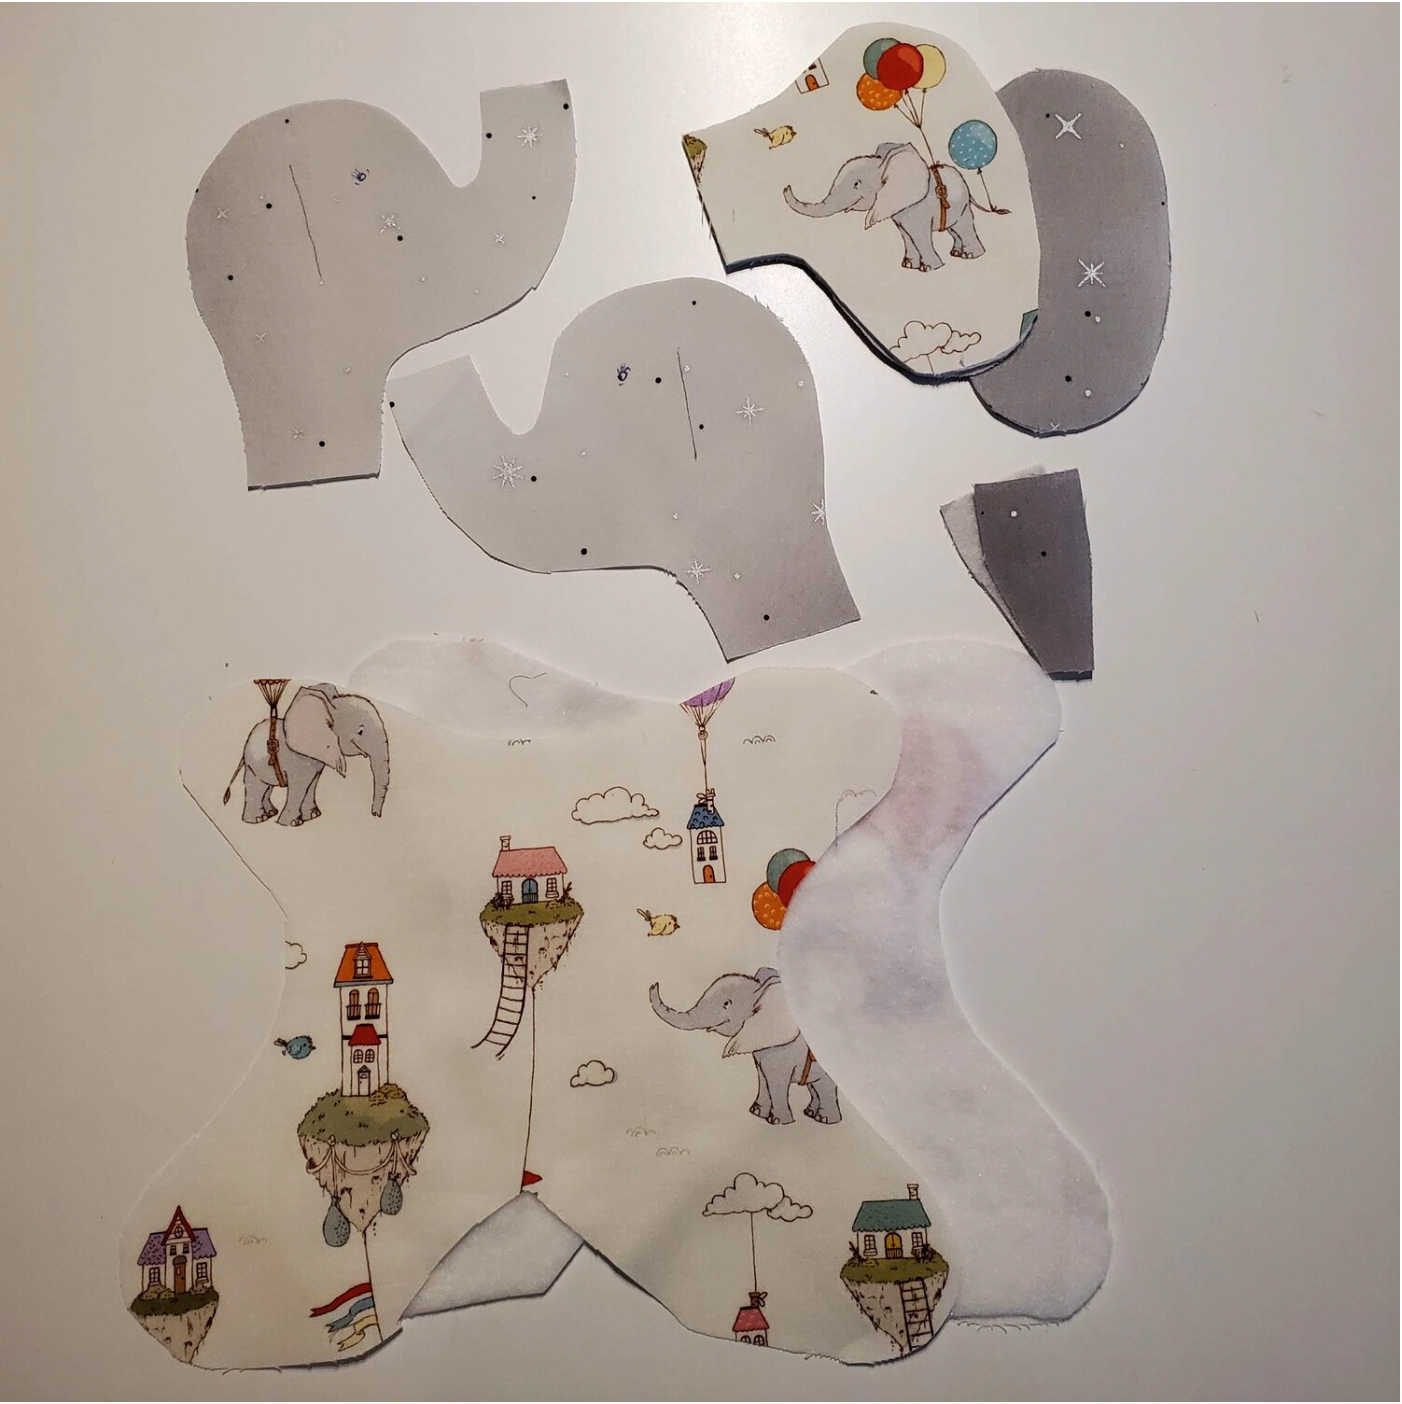
I found this free pattern offered by All About Quilts You will need to scroll down to the middle to find the free download of the pattern. I used these great juvenile prints from the Classic box this past fall. Print and cut out the pattern and trace the pieces onto your fabric.
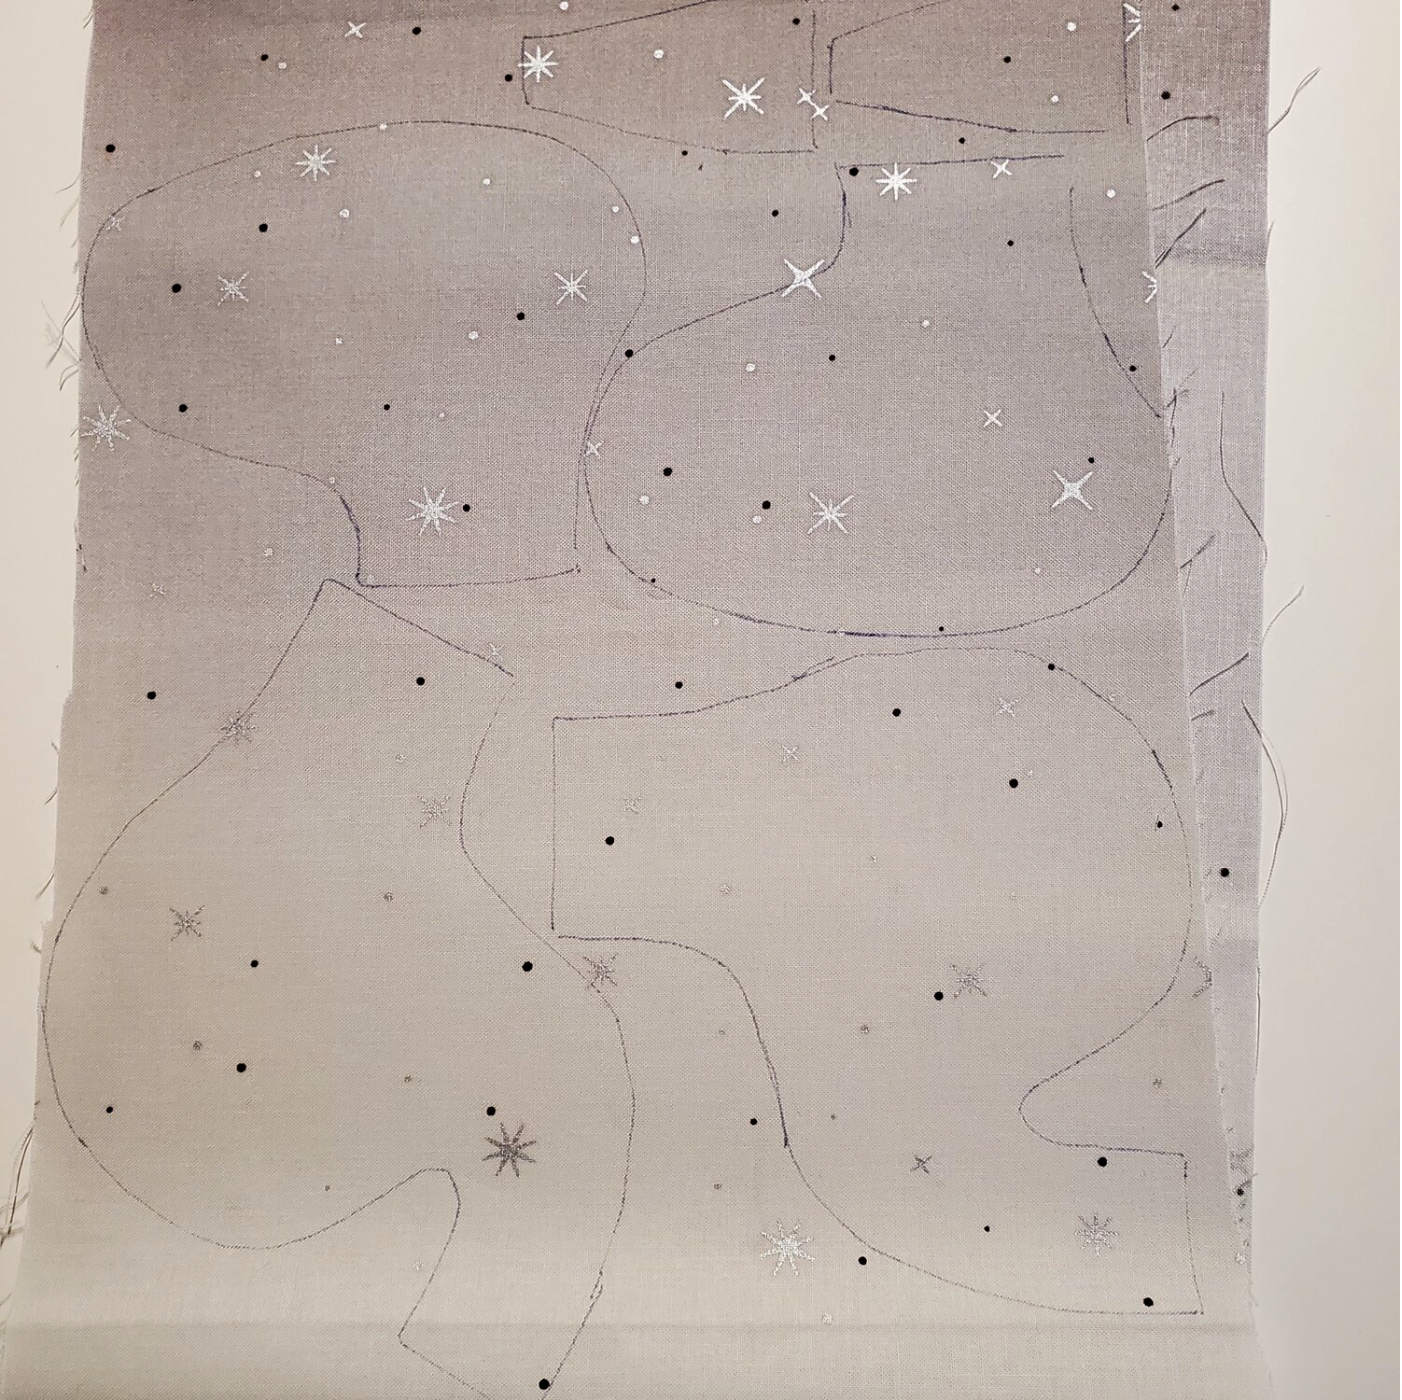
Cut out the fabric and transfer the eye and ear placement on the head. You may want the ears to have a different fabric on the reverse so you will cut another set. I added Fusible fleece to add some stability to the ears. Cut the body pieces in two different fabrics and line one of them with the fusible fleece.
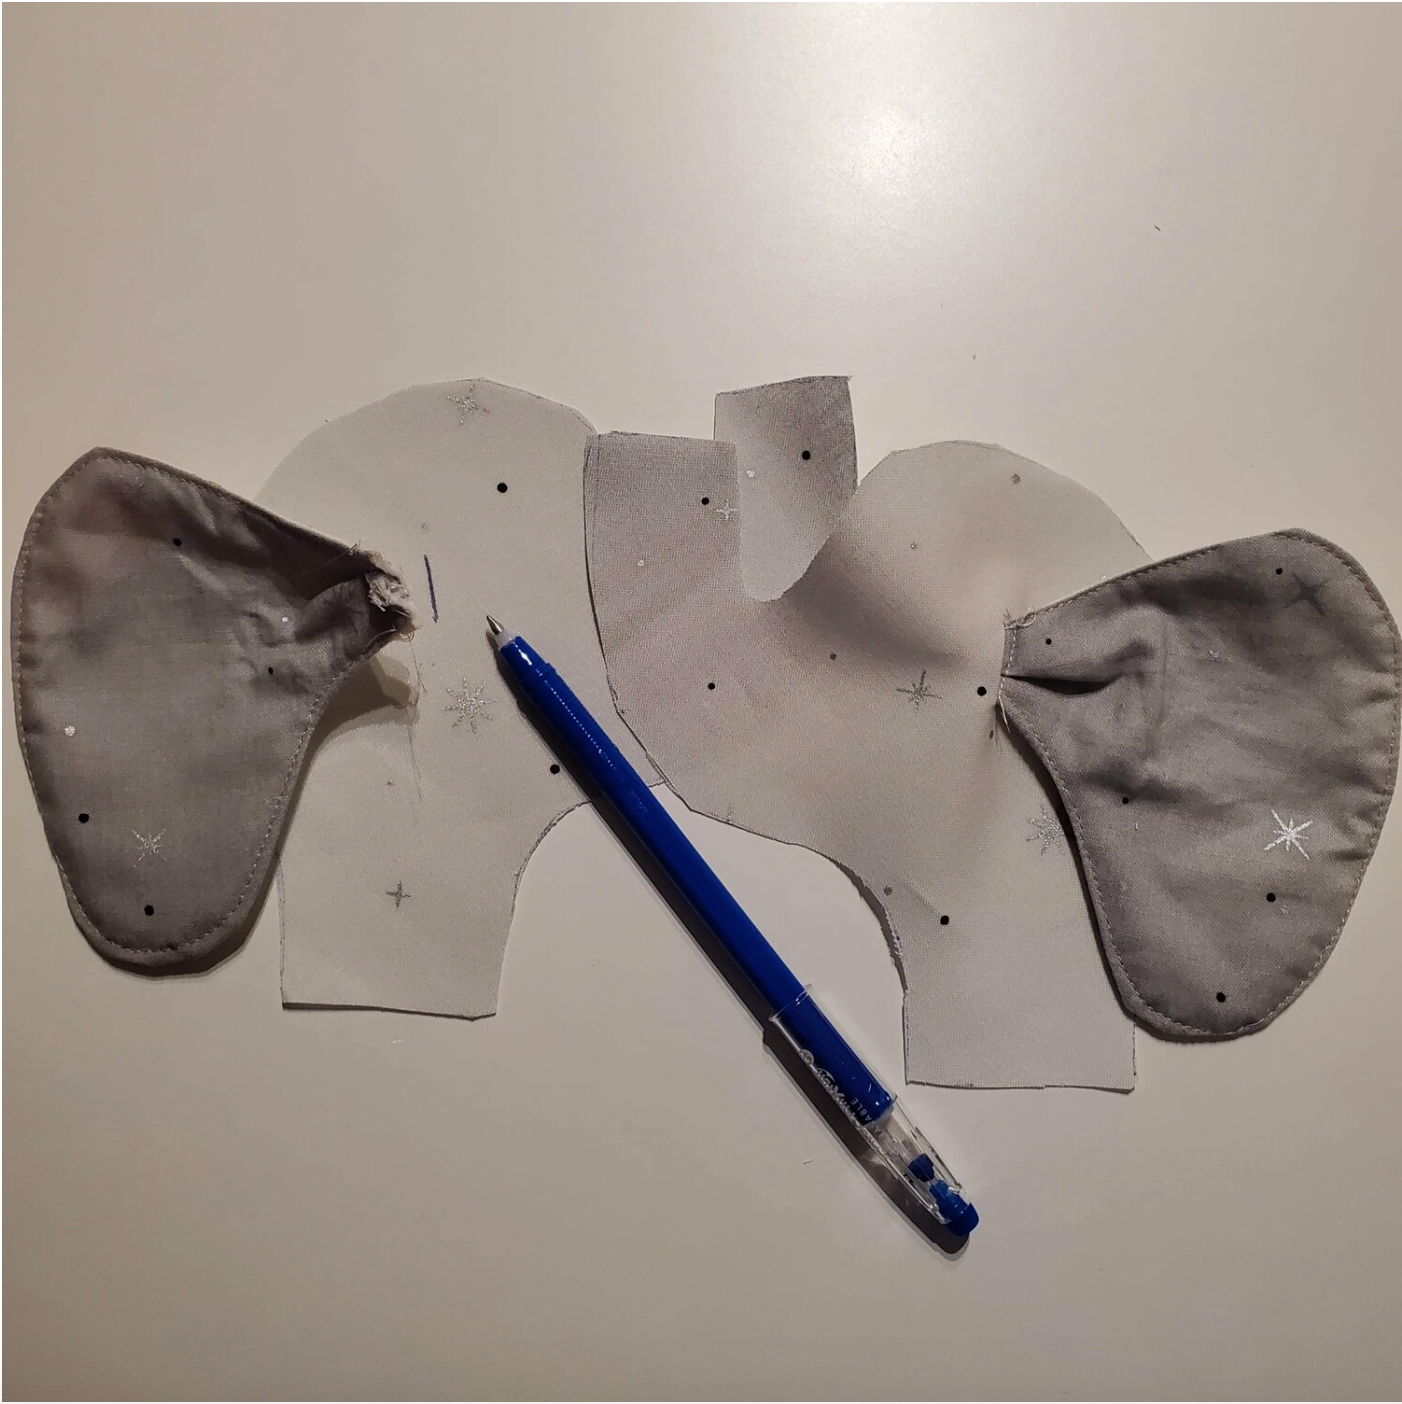
Be sure to mark the tail placement. Starting with the ears, sew the right sides together, trim the curves with pinking shears and turn right sides out. Press aligning the seams and topstitch ⅛’ from the edge. I folded the ear and basted it in place close to the edge to prepare for the next step.
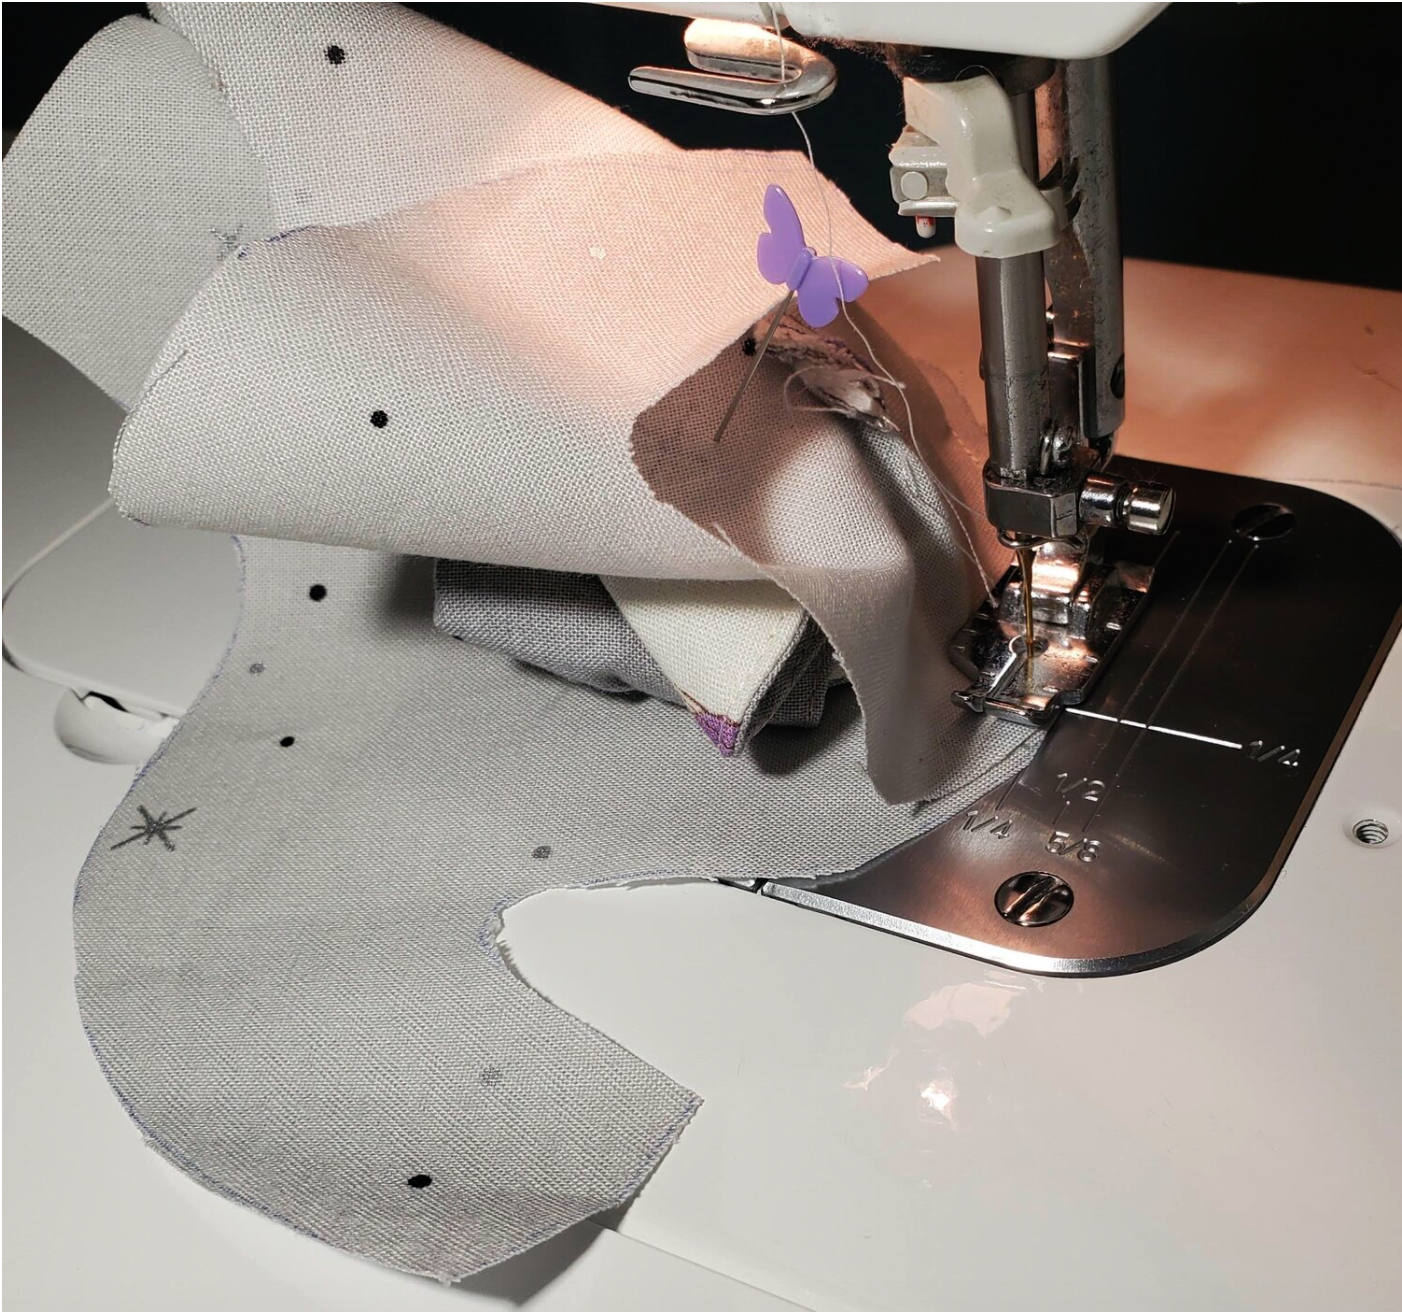
Now you will cut an opening in the head about ⅛” longer than the edge of the ear. Insert the ear into the opening on the right side of the fabric.
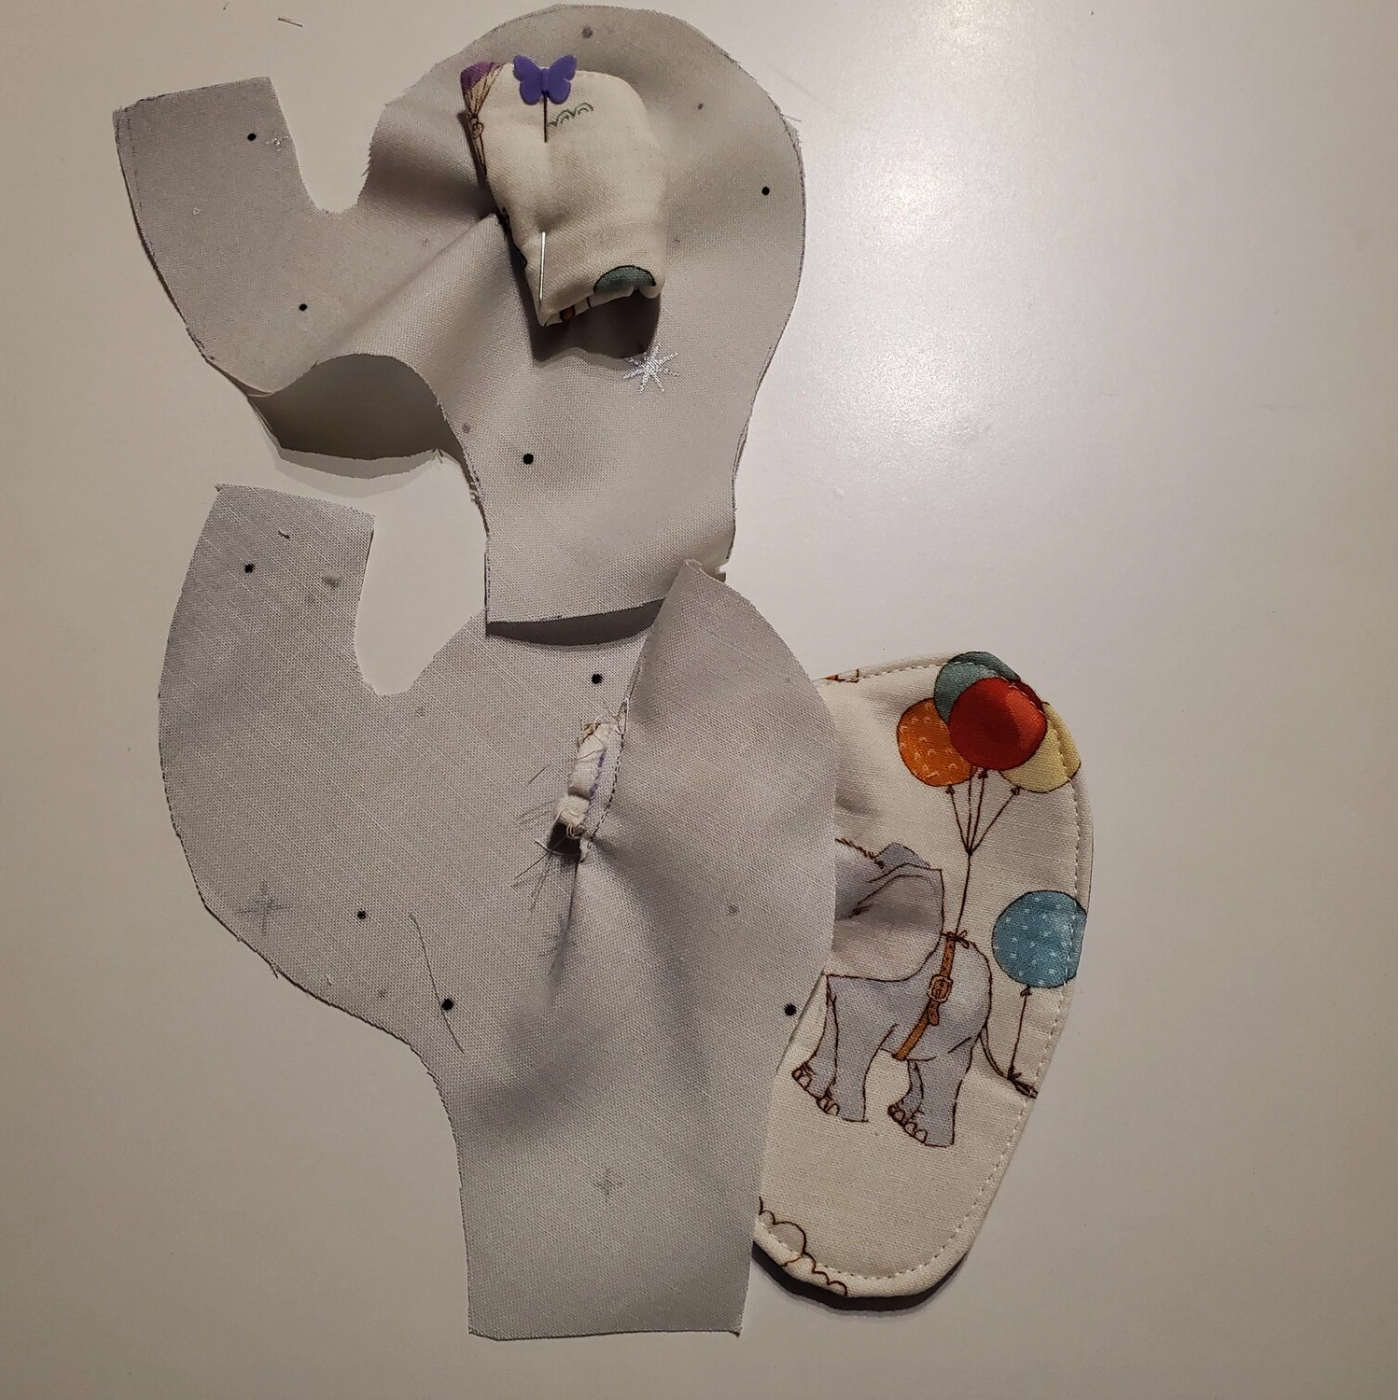
On the wrong side you will carefully stitch using a 2 stitch length and a very narrow seam to catch the ear and both sides of the slit in the fabric. This can be tricky, you may want to hand baste or try some pins to hold it while you sew. Repeat on the other side. Be sure to check that the seams are all enclosed from the right side. I added some Fray check to seal the seam. You will use the same method to attach the tail to the back side of the body.
To prepare to sew the head together I folded the ears and placed a pin to keep the ears compressed as I sewed.
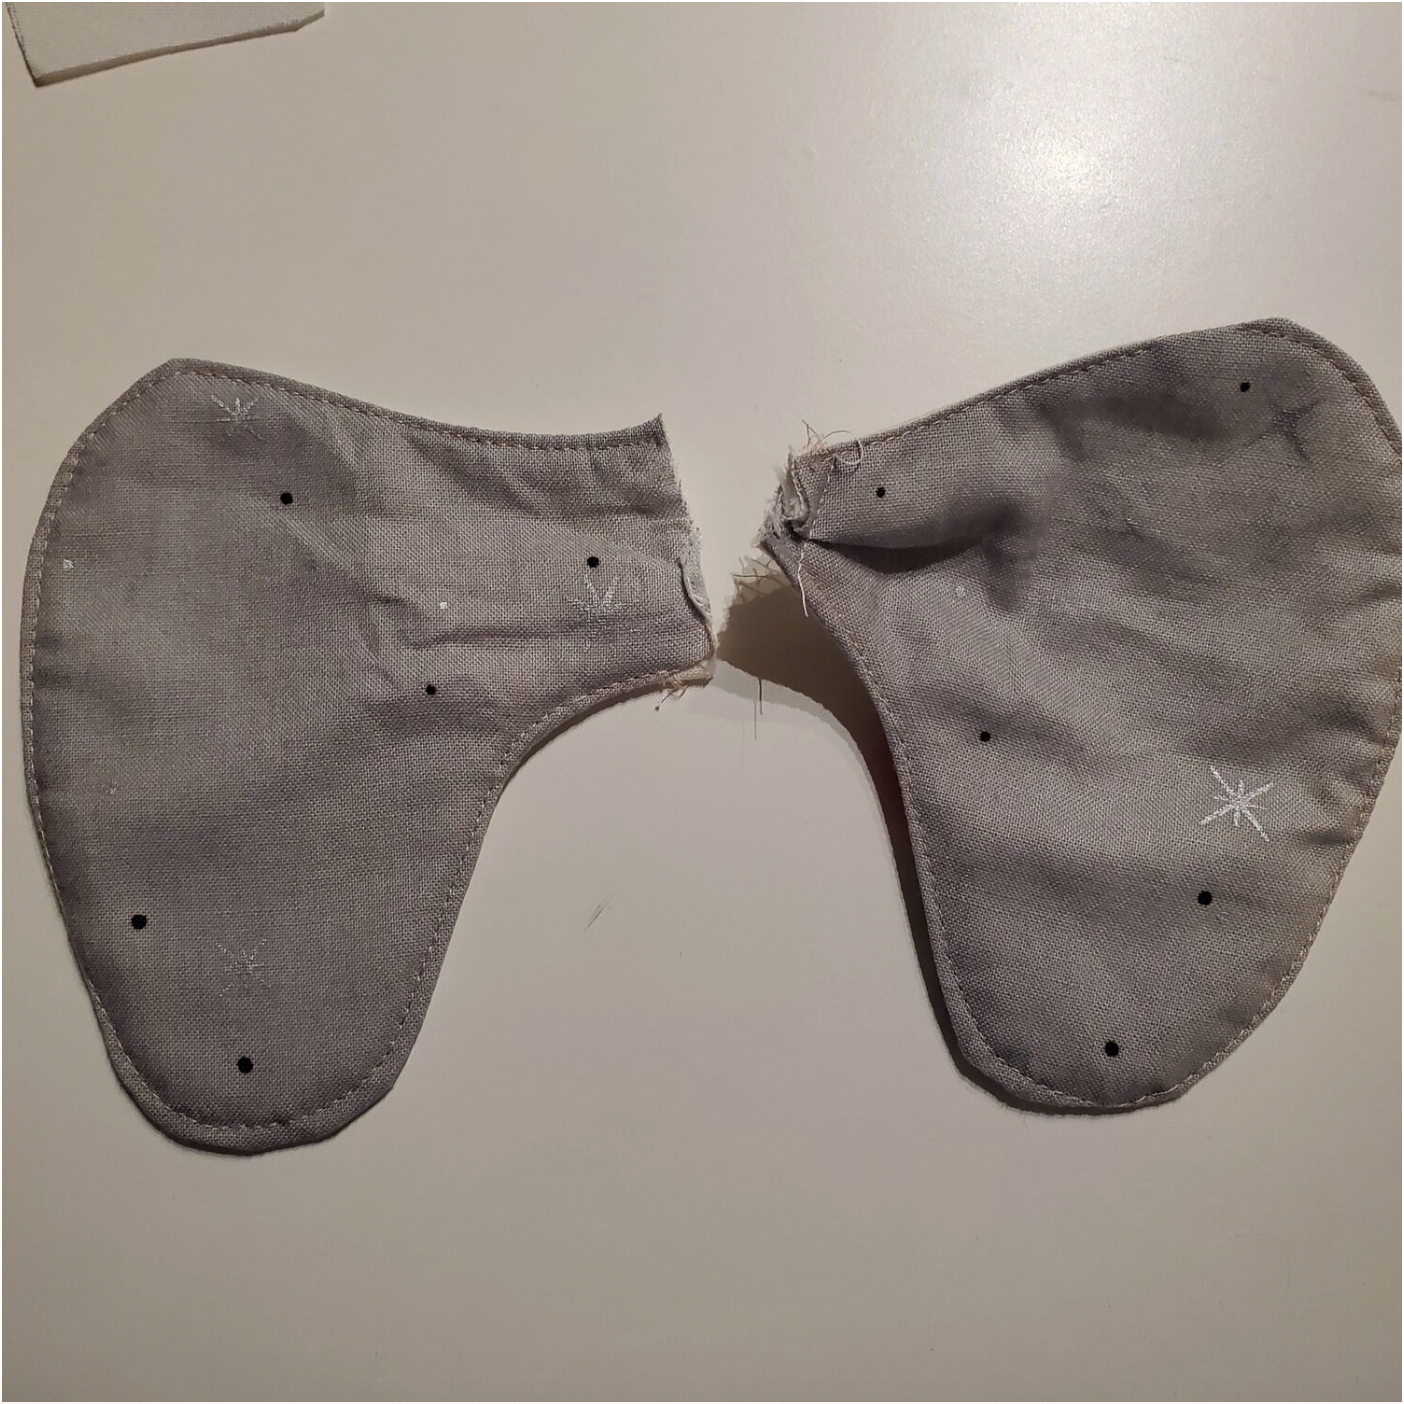
With right sides together aligning the pieces sew a ¼” seam leaving the bottom edge open.
Trim the curves and clip perpendicular to the seam on the upward curve on the trunk. Turn right sides out using a dowel stick to push out the elephant’s trunk. I found it easier to use a hemostat to pull the ears through the opening at the bottom.

Stuff with Poly-Fil using a dowel stick to push up into the trunk. Do not fill the neck area, this is where it will be sewn to the body. You can add the eyes with a Micron pen or embroidery thread to add details.
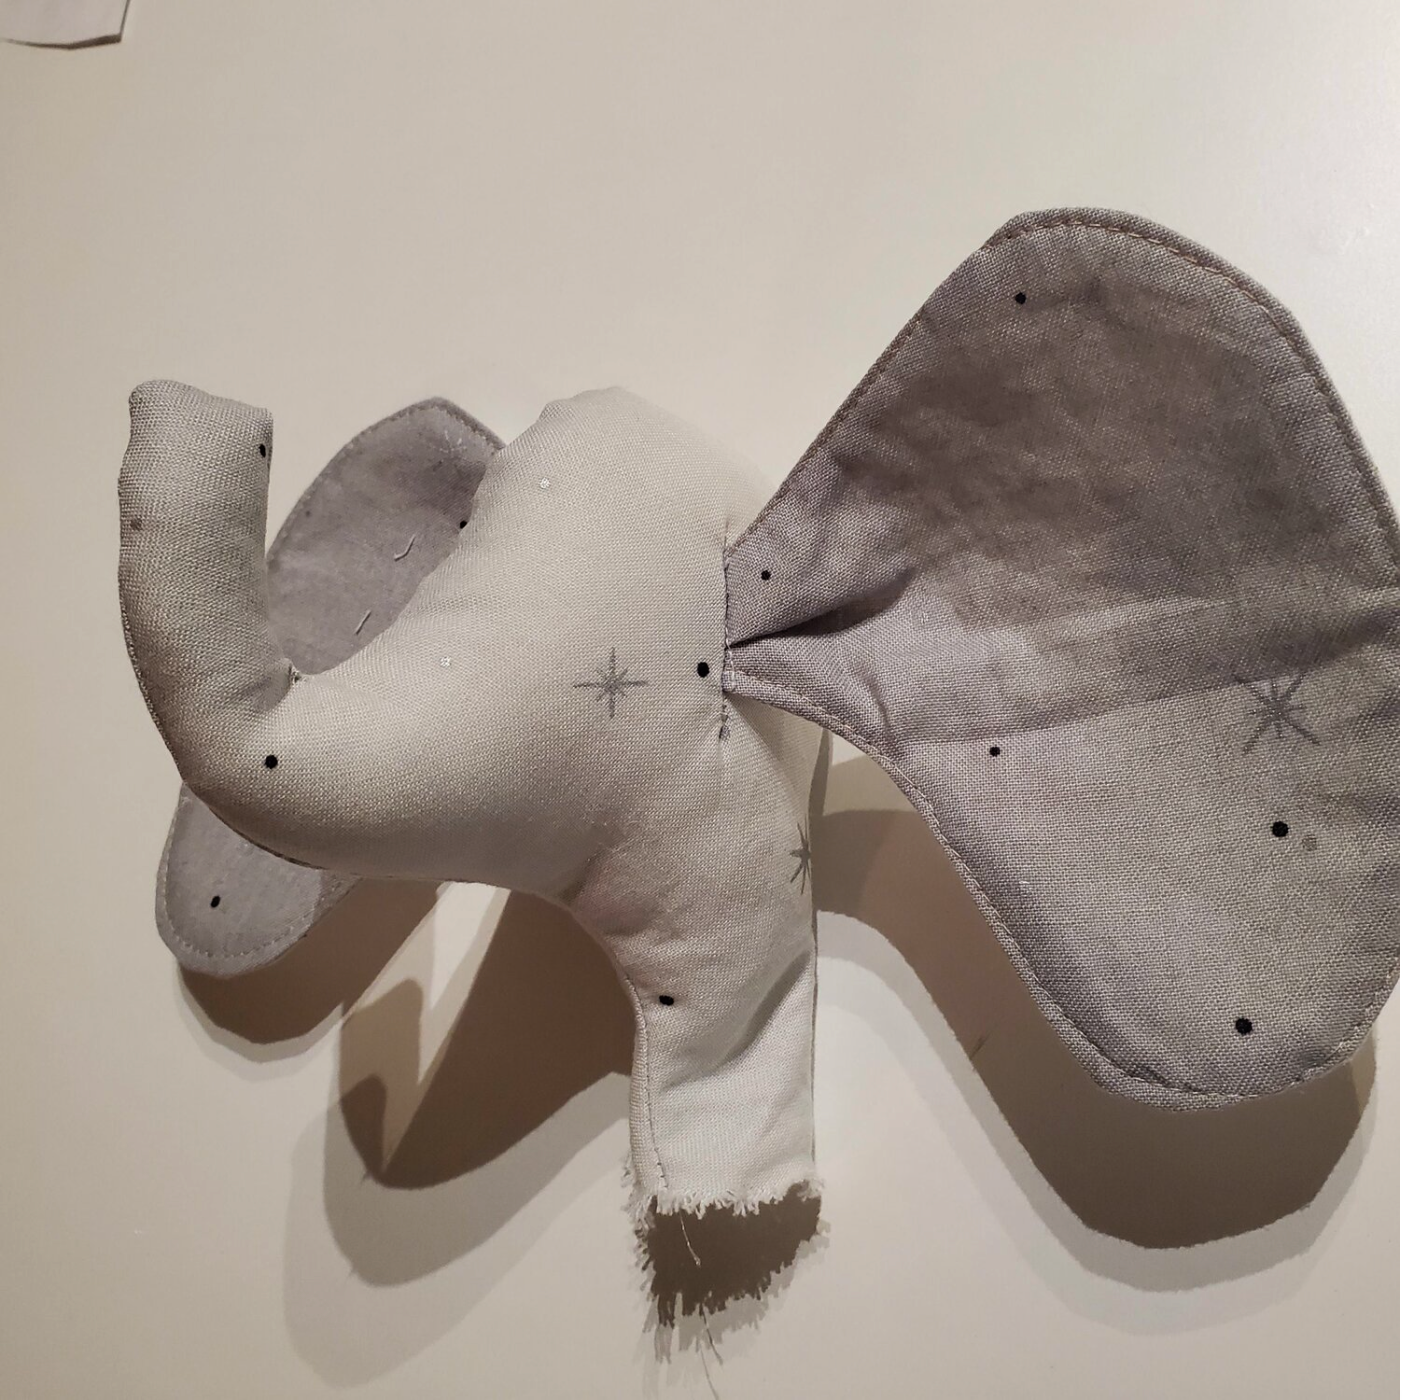
Whew!! You made it through the most difficult part! I tried to make it according to the directions with the pattern and it was a mess. This was my second attempt. I think using all cotton fabric as opposed to stretchy Minky fabric may have made the difference in the construction.
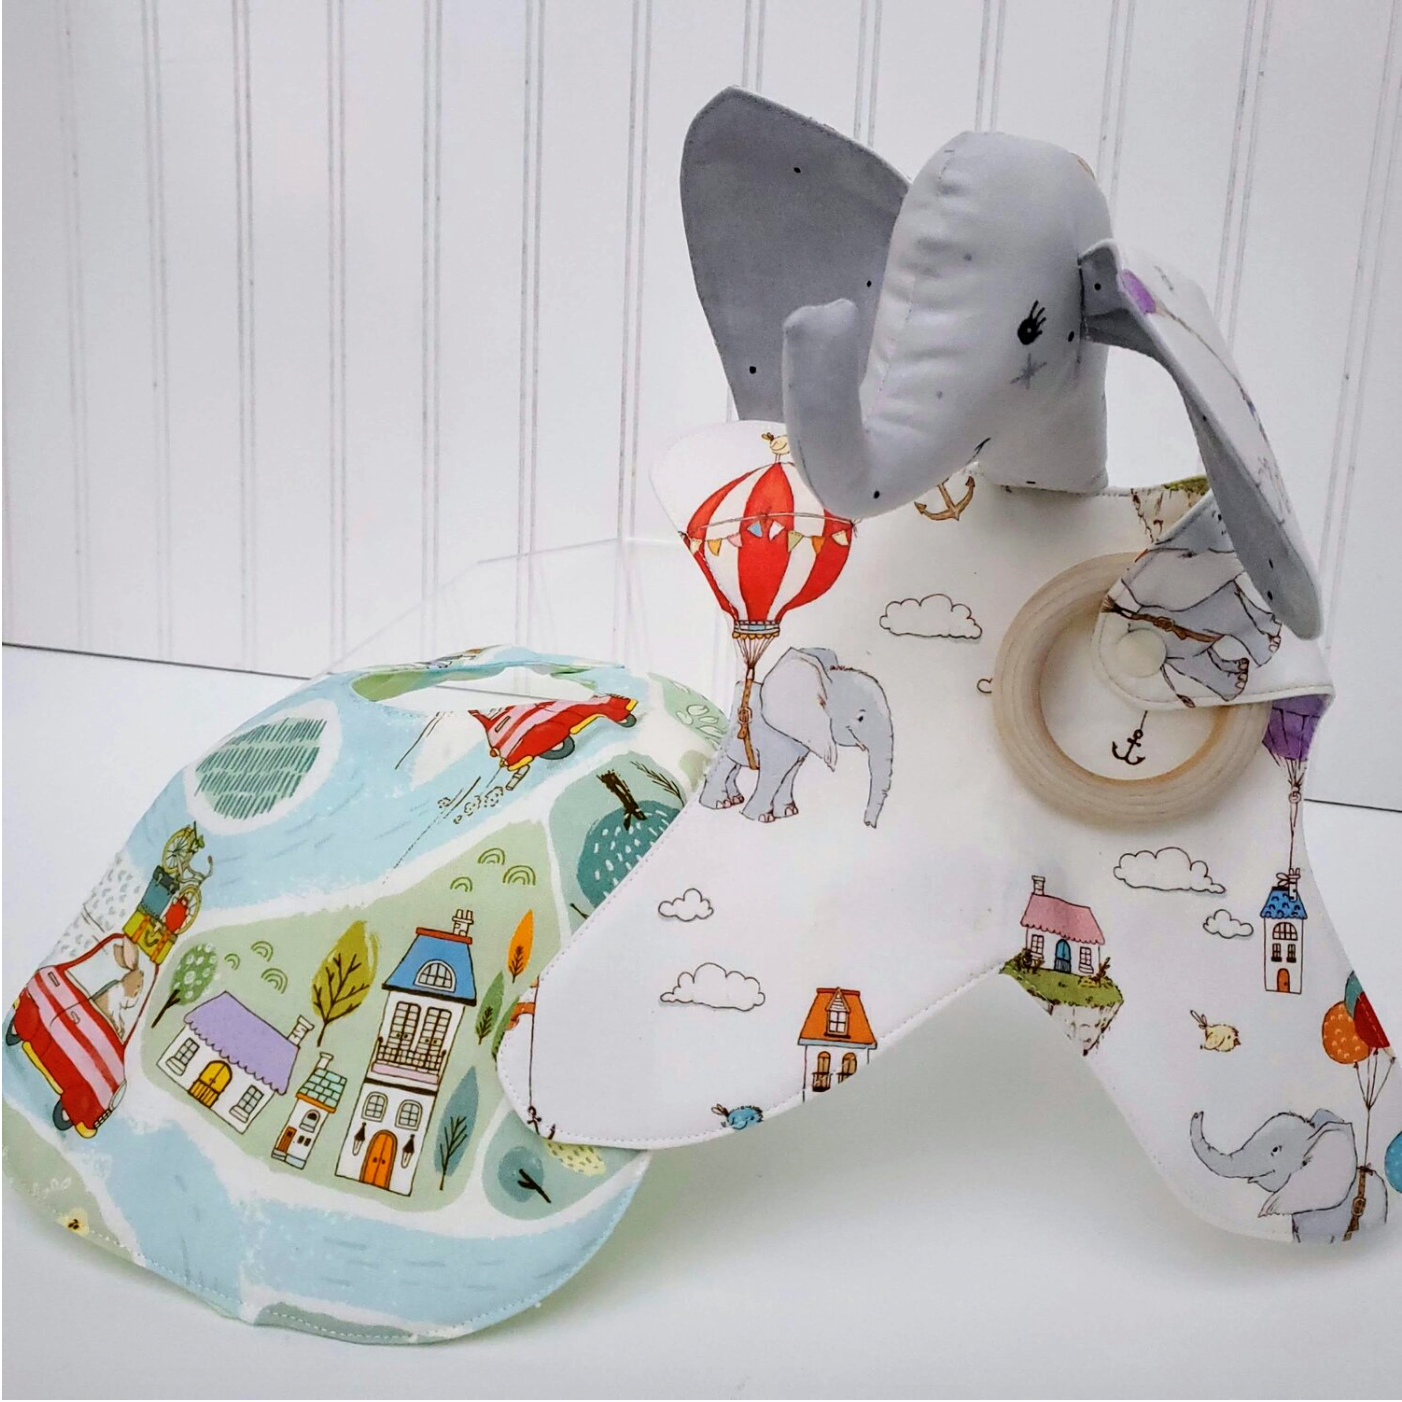
The final steps of construction are very simple and similar to bib directions. Sew the right sides together on the body leaving and opening at the top ⅛” larger than the neck edge on the head. Turn the right sides out and press. Insert the head in the opening. A zipper foot will help you get close to the edge, use a small stitch length and sew twice. Be sure to catch all the layers in the seam. The bunny was made in the same way as the elephant.
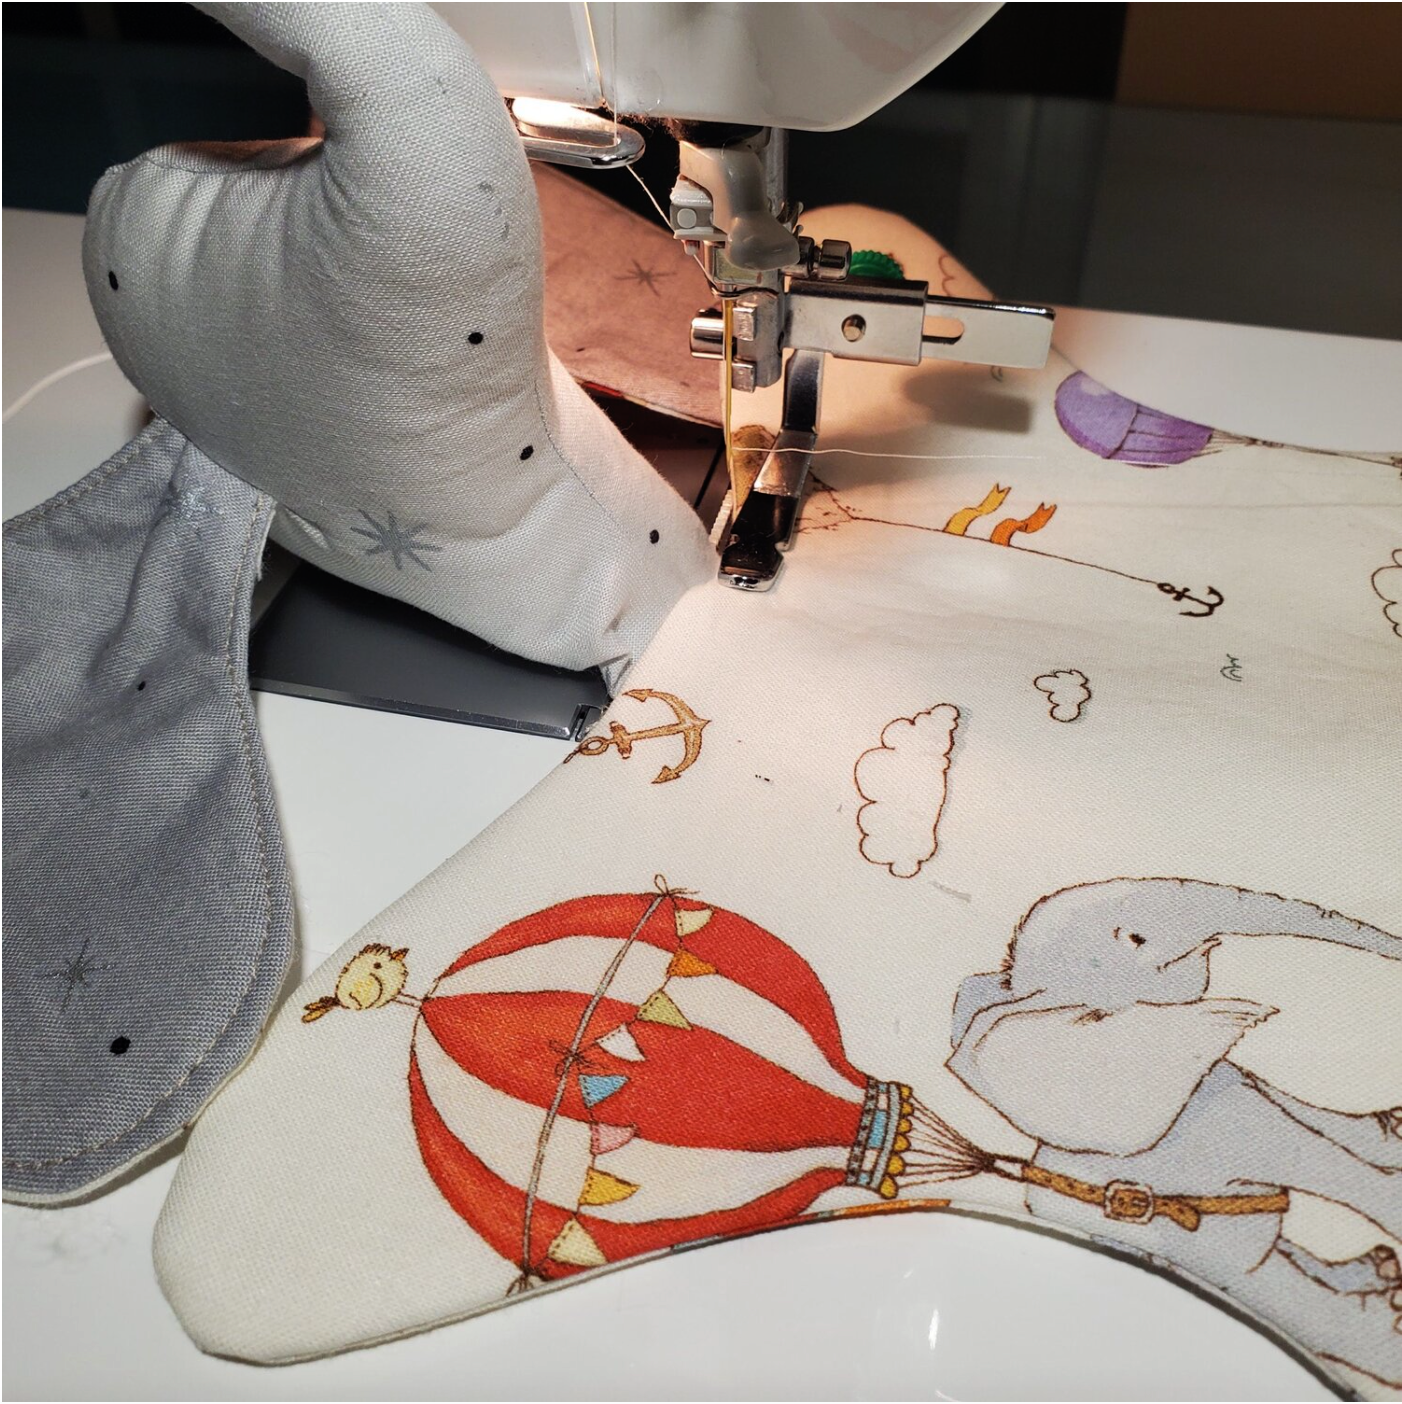
Topstitch ⅛” from the edge around the body to hold the edge seams in place. This will make an adorable baby gift paired with this bib made with City Hopper and coordinating fabric City Scene for the other side of this reversible bib.