DIY Fabric Pots
8th Jul 2021
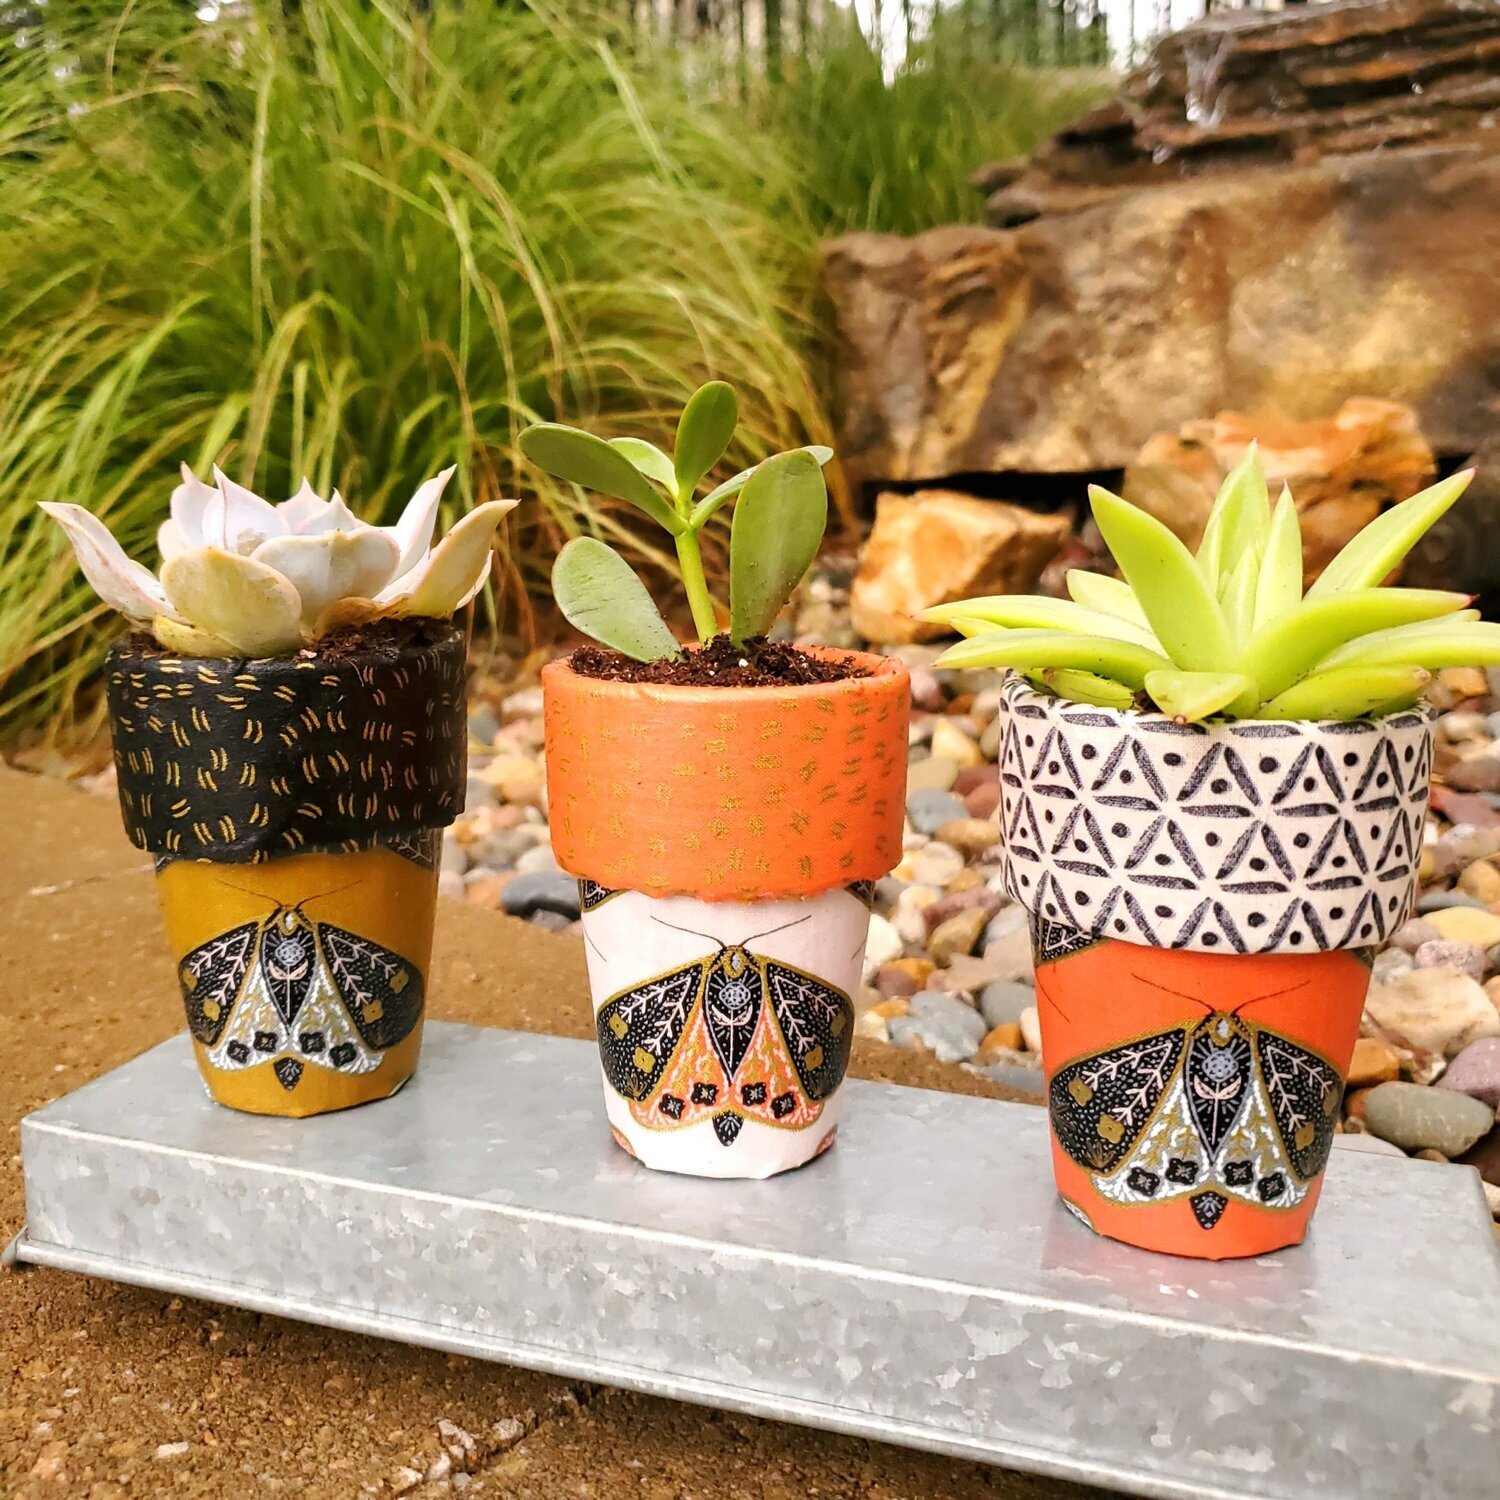
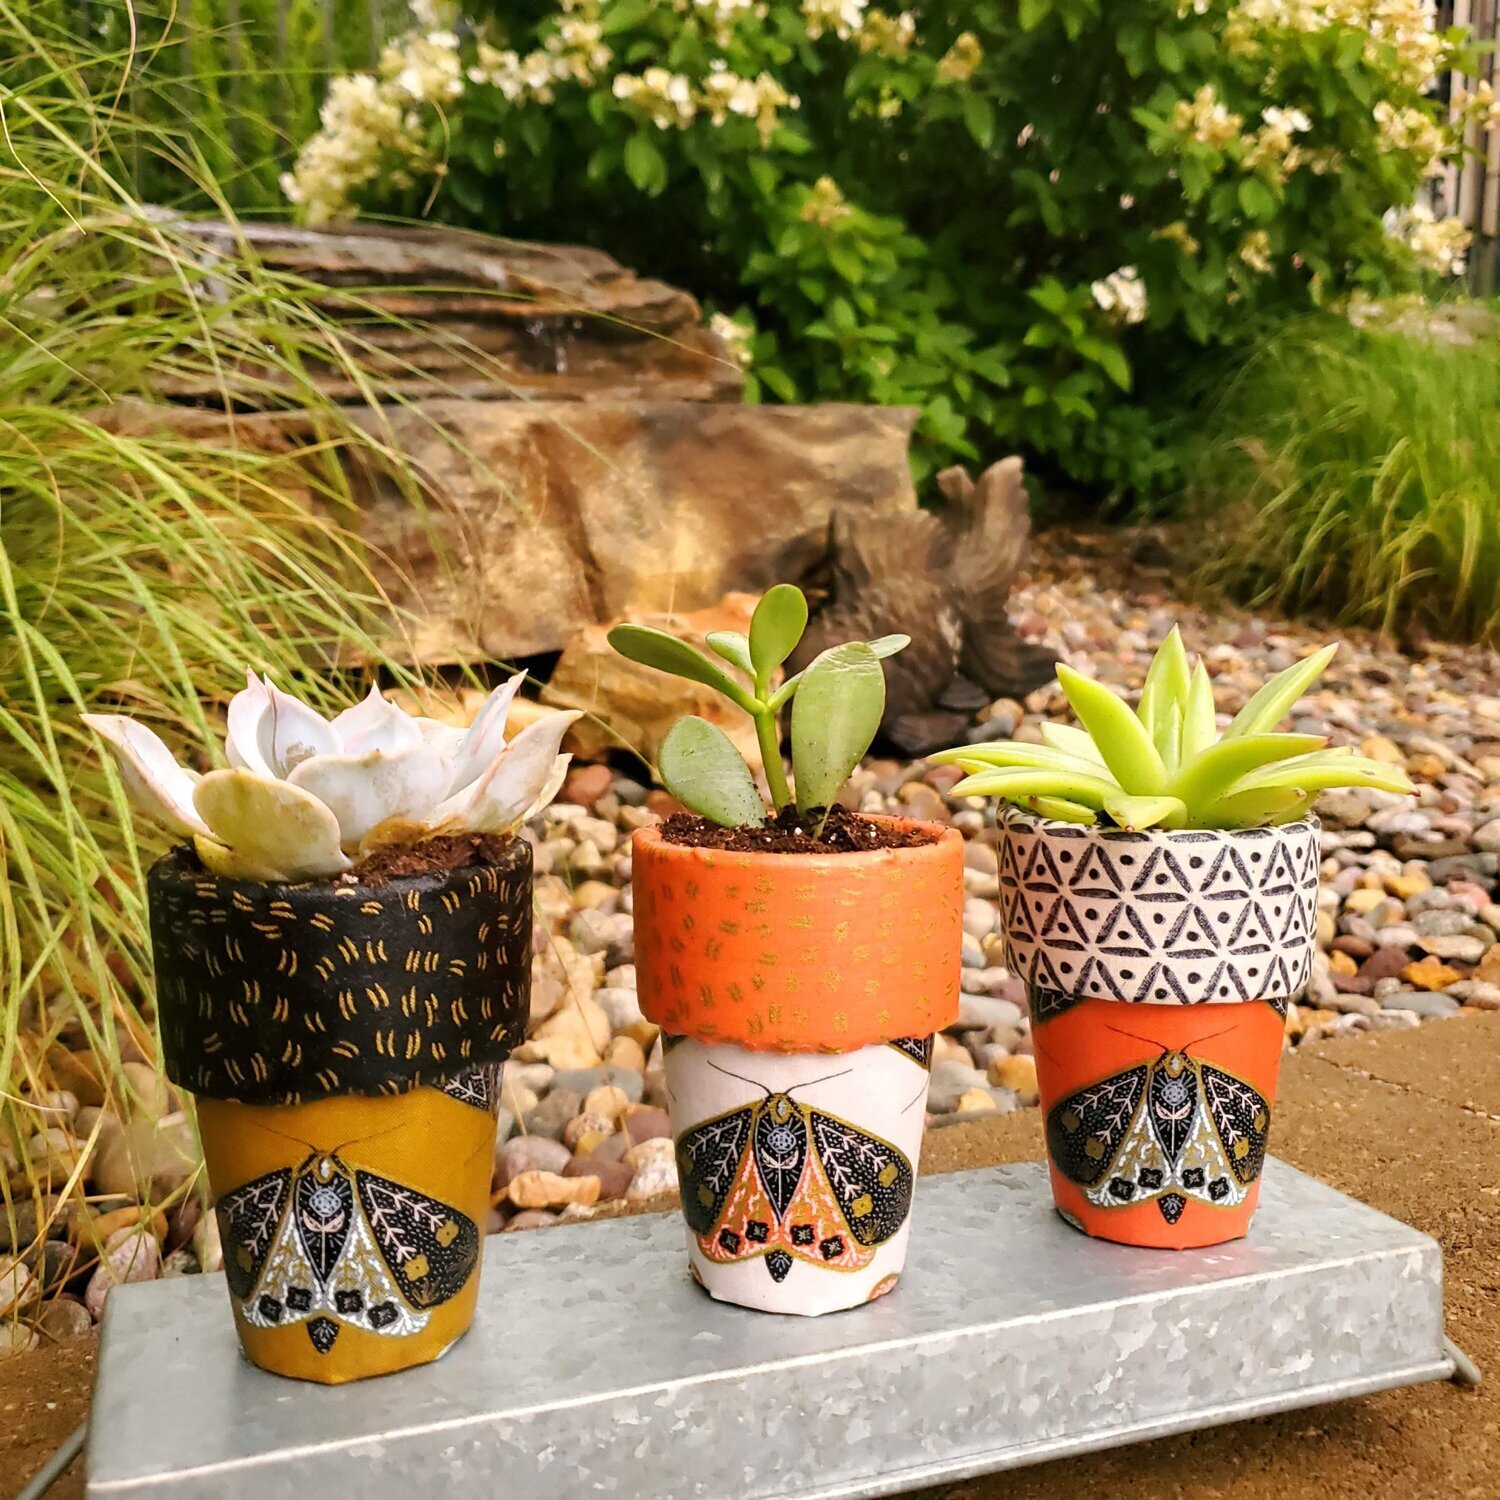
As a fabric enthusiast for Cotton Cuts I love all aspects of fabric! I enjoy how it can enhance anything with vibrant colors and design. This week I will share with you how to use scraps of your favorite fabrics to make these simple terra cotta pots into a design element for any room in your home. I absolutely loved the April Moden Maker fabric from the spectacular Dwell in the Possibilities collection from Gingiber.
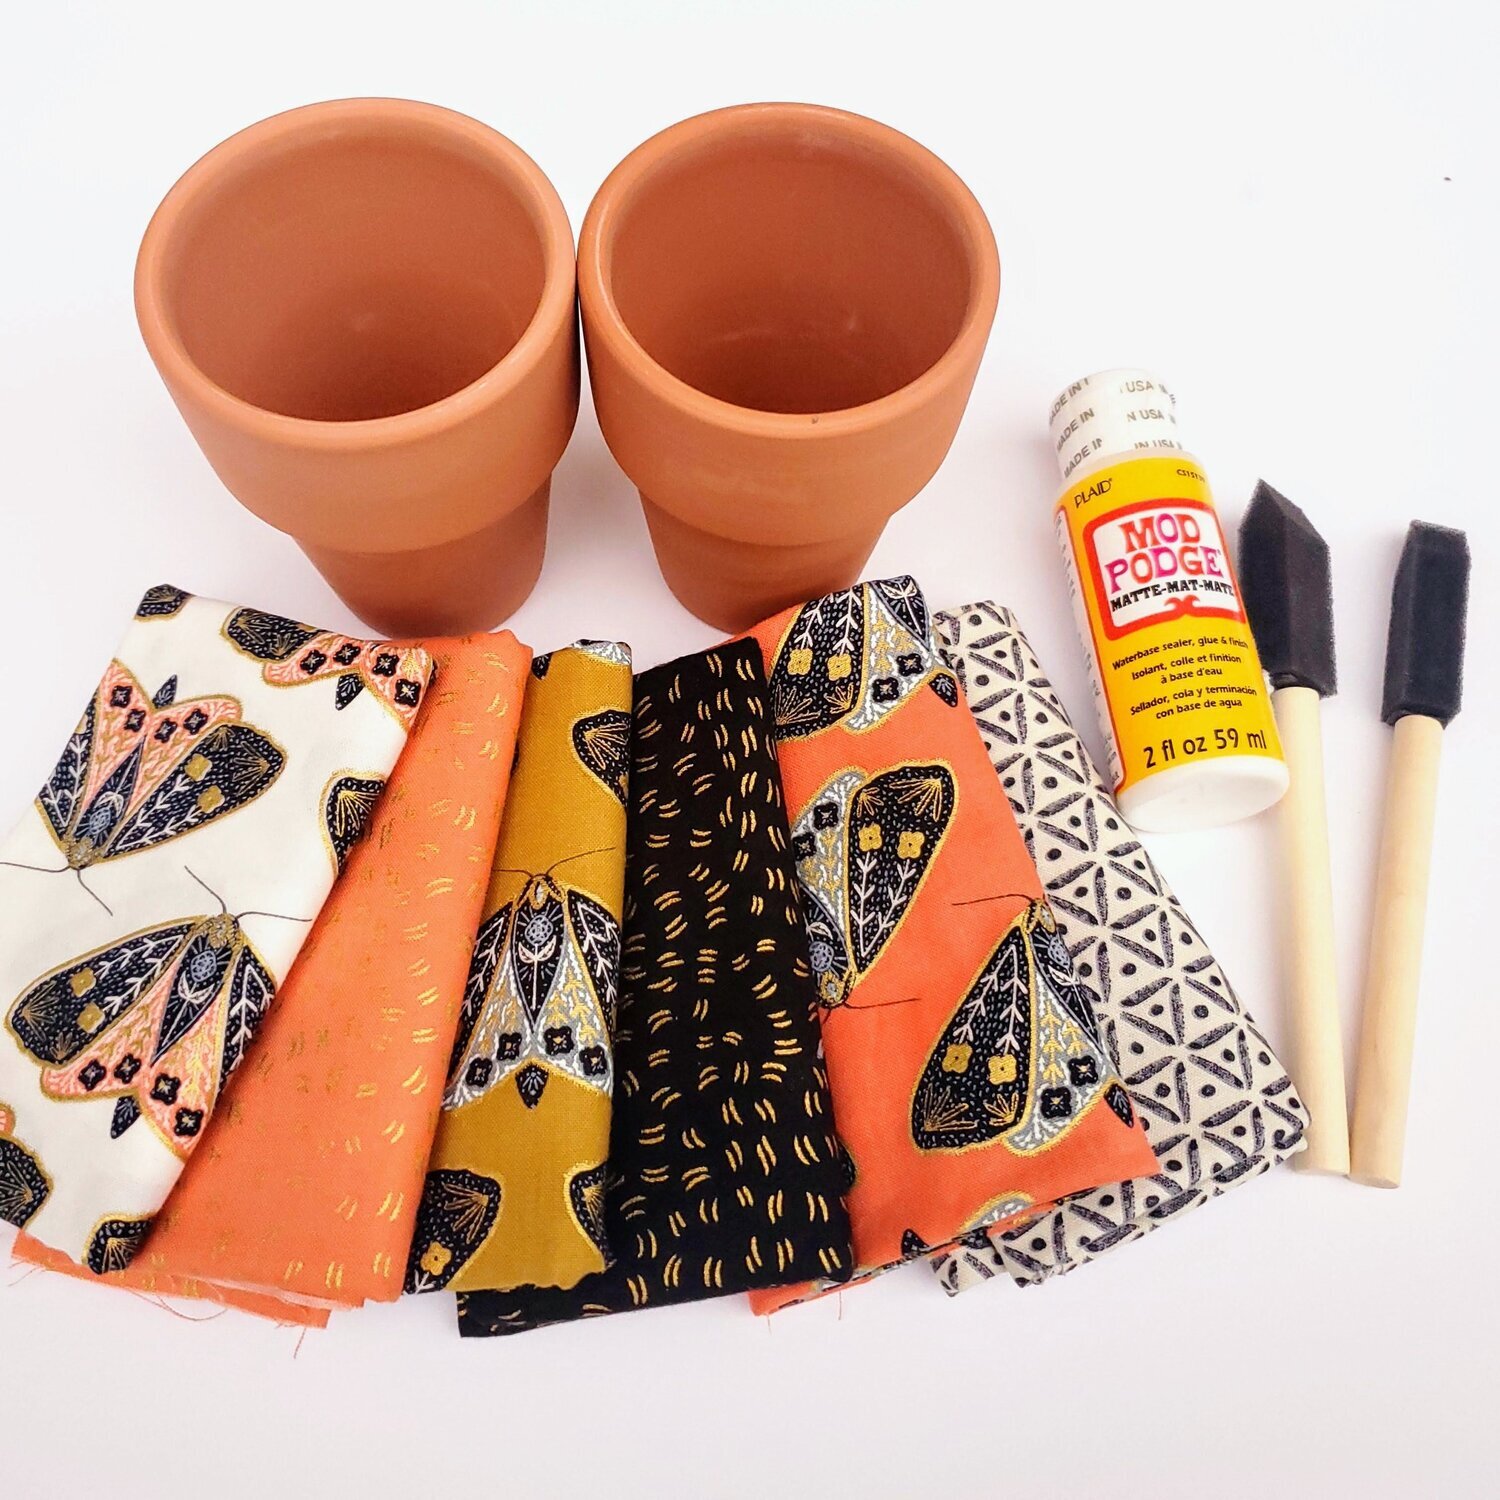
Materials needed:
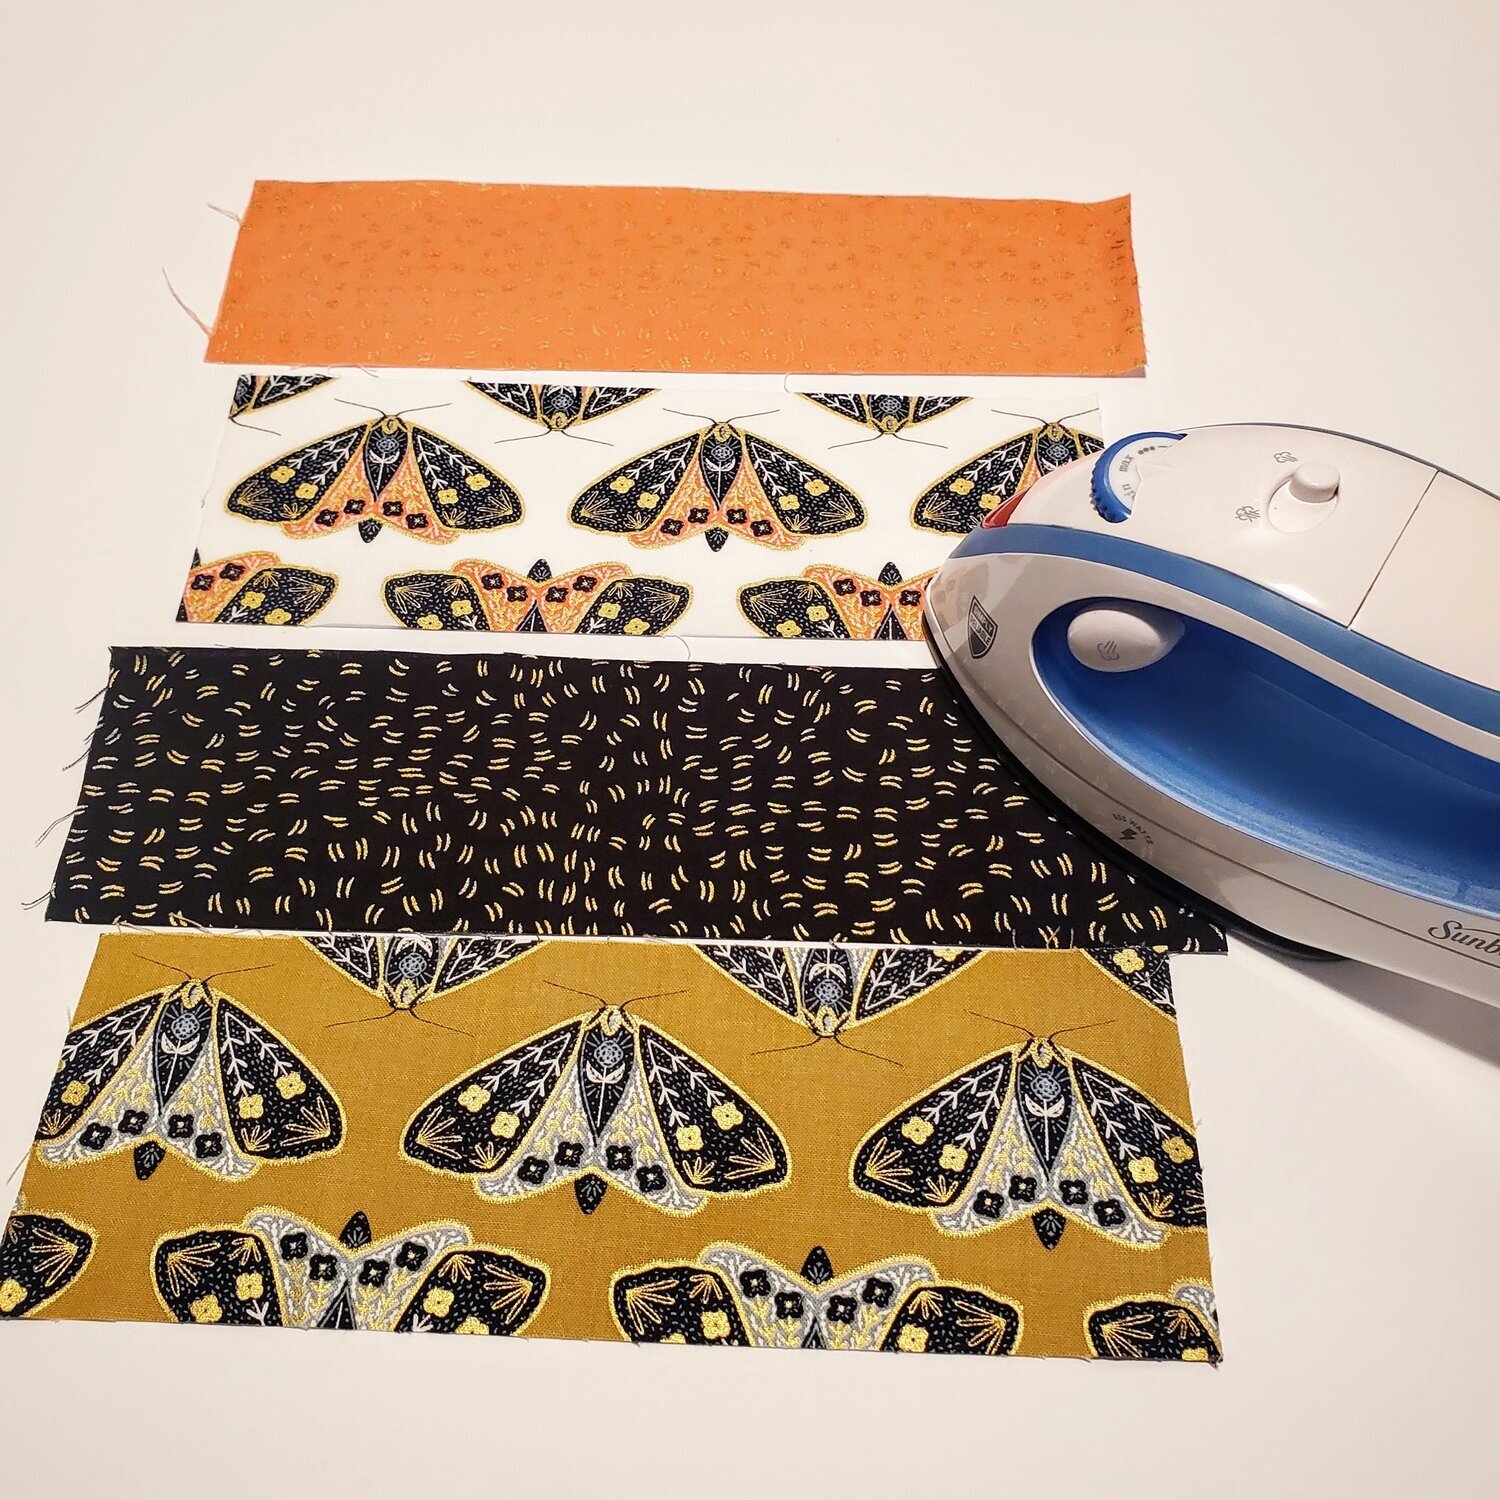
Small pieces or Fat Quarters of coordinating fabric
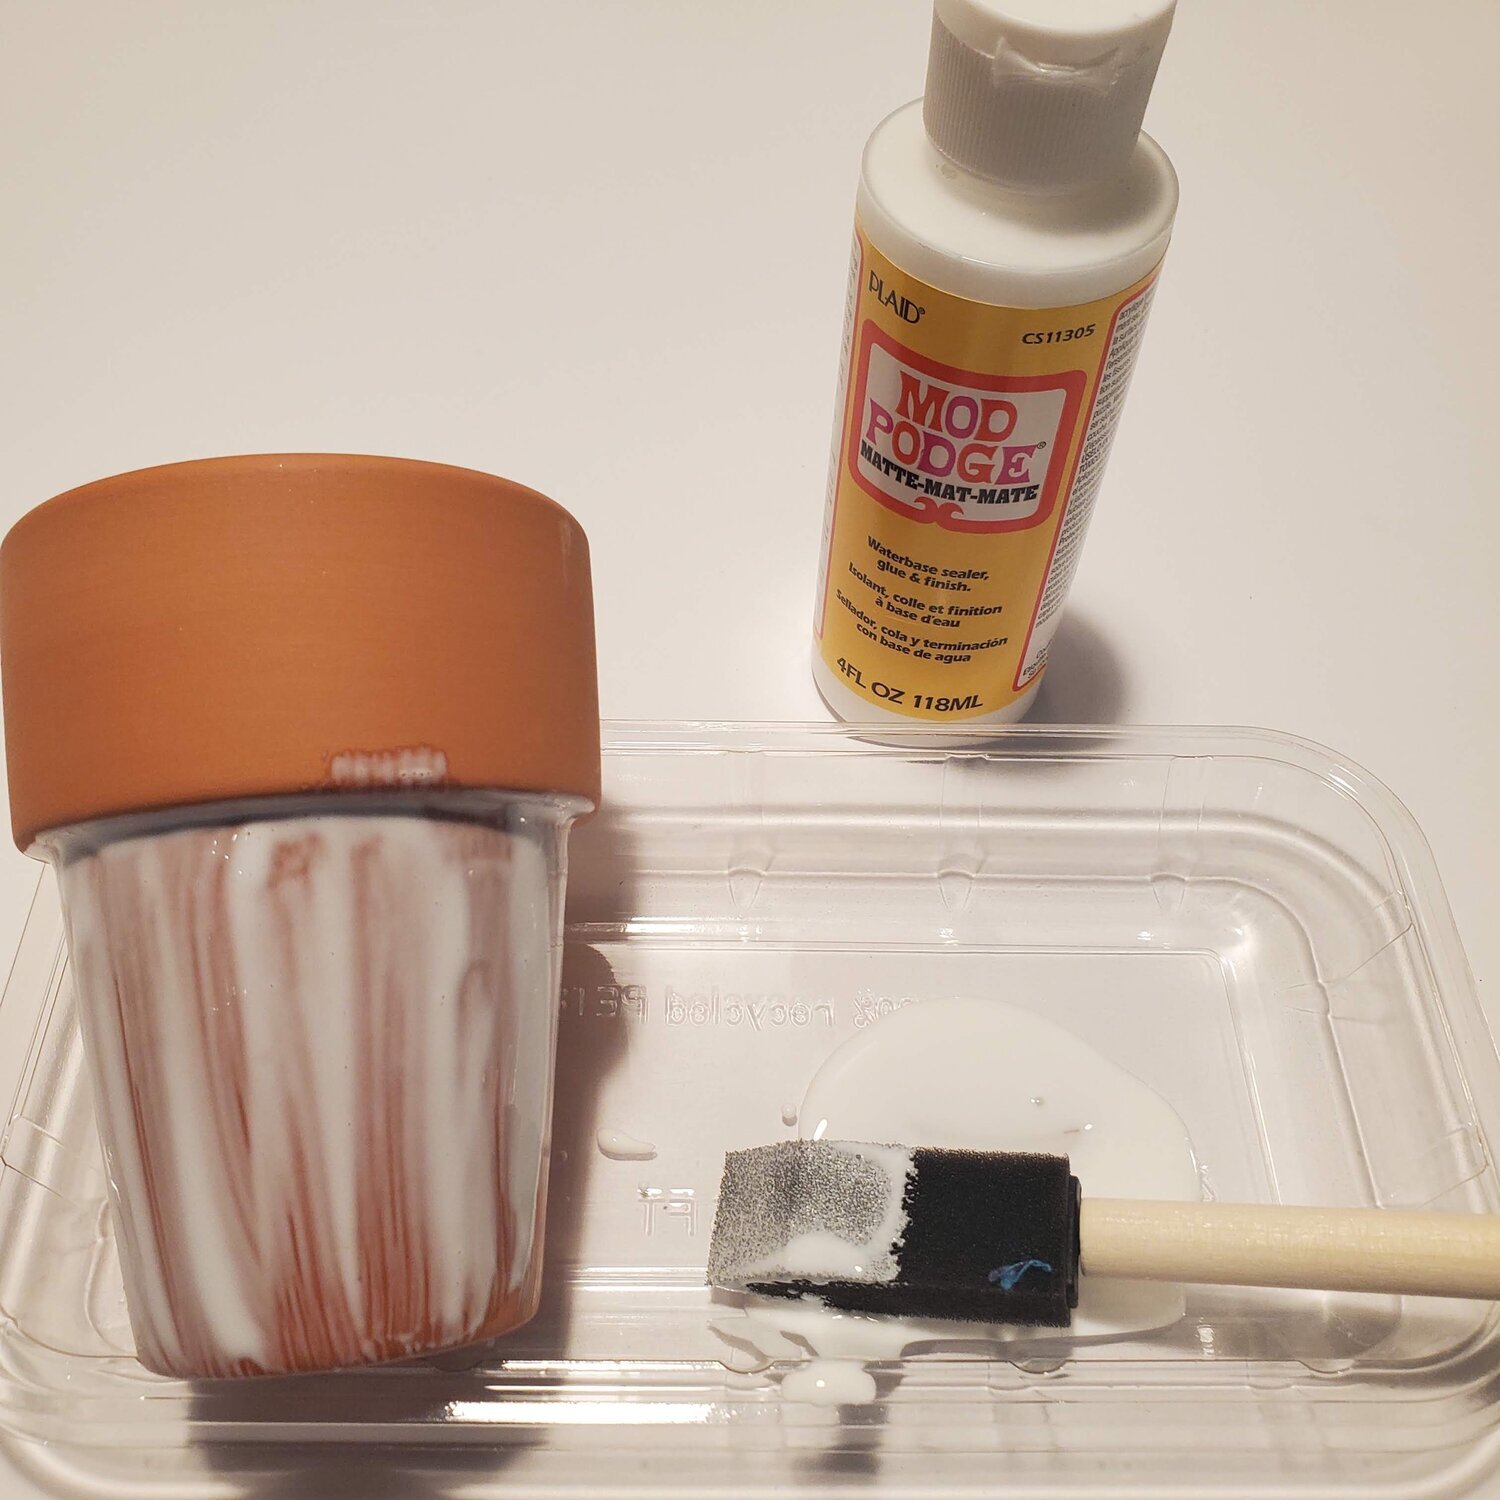
Mod Podge Matte finish
Sponge brush
Terra cotta pots from Michael's
Tissue paper
To get started take a sheet of tissue paper and cut a piece bigger than you will need to wrap around the pot. Wrap the tissue around and crease the paper into the lip of the pot to create a pattern. I also used a marker to clearly mark the edge of the pot.
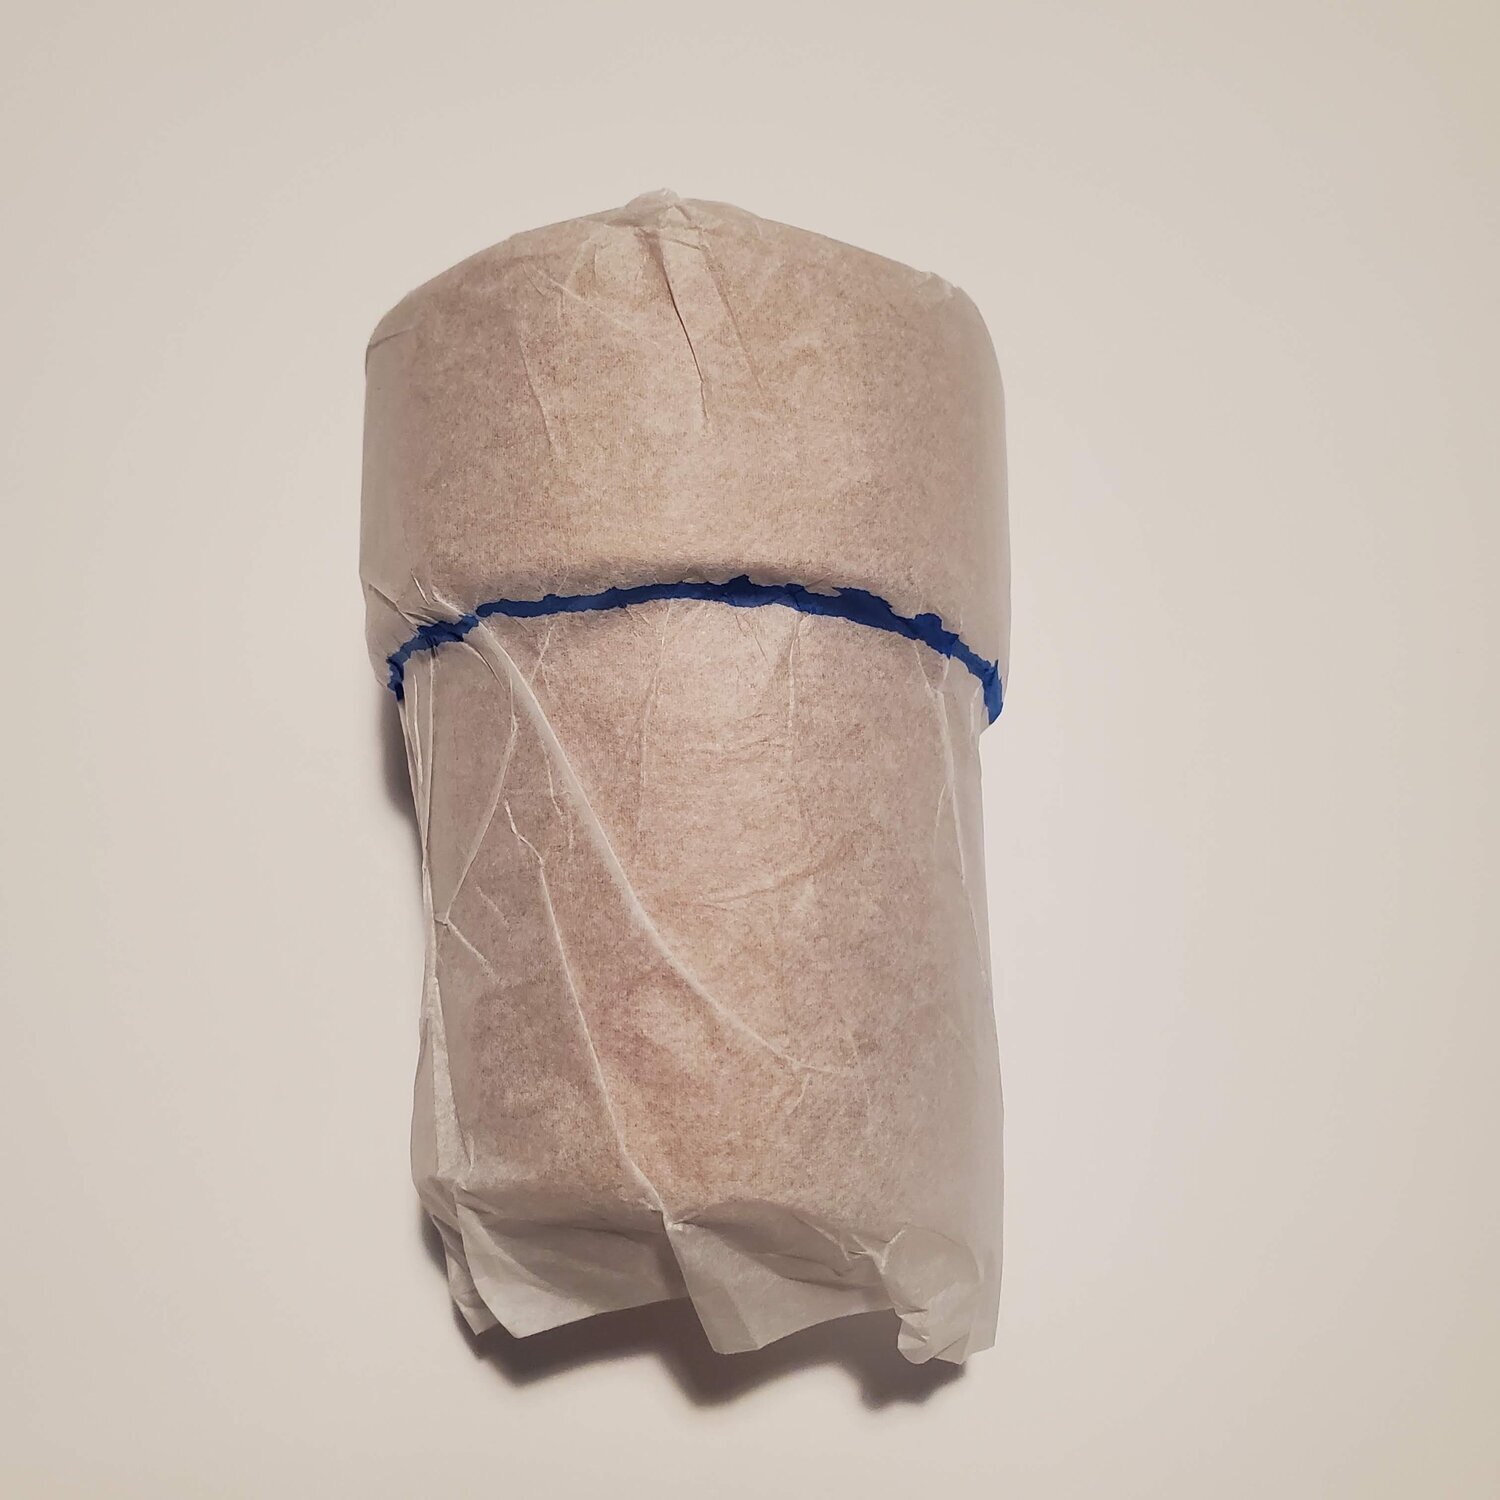
Cut the pattern pieces allowing about 1” overlap on the inside edge of the pot.
The tissue paper is easy to manipulate around the pot and easy to see through to line up on the fabric to fussy cut your intended design. Mark your center by folding the paper in half and line up over the design.

I found it helpful to press the fabric so it starts out without any wrinkles or folds. I decided to cut the fabric in rectangles approximately the size from my pattern. I think it is easier to cut away the extra fabric giving a little wiggle room as you apply the fabric to the pot.
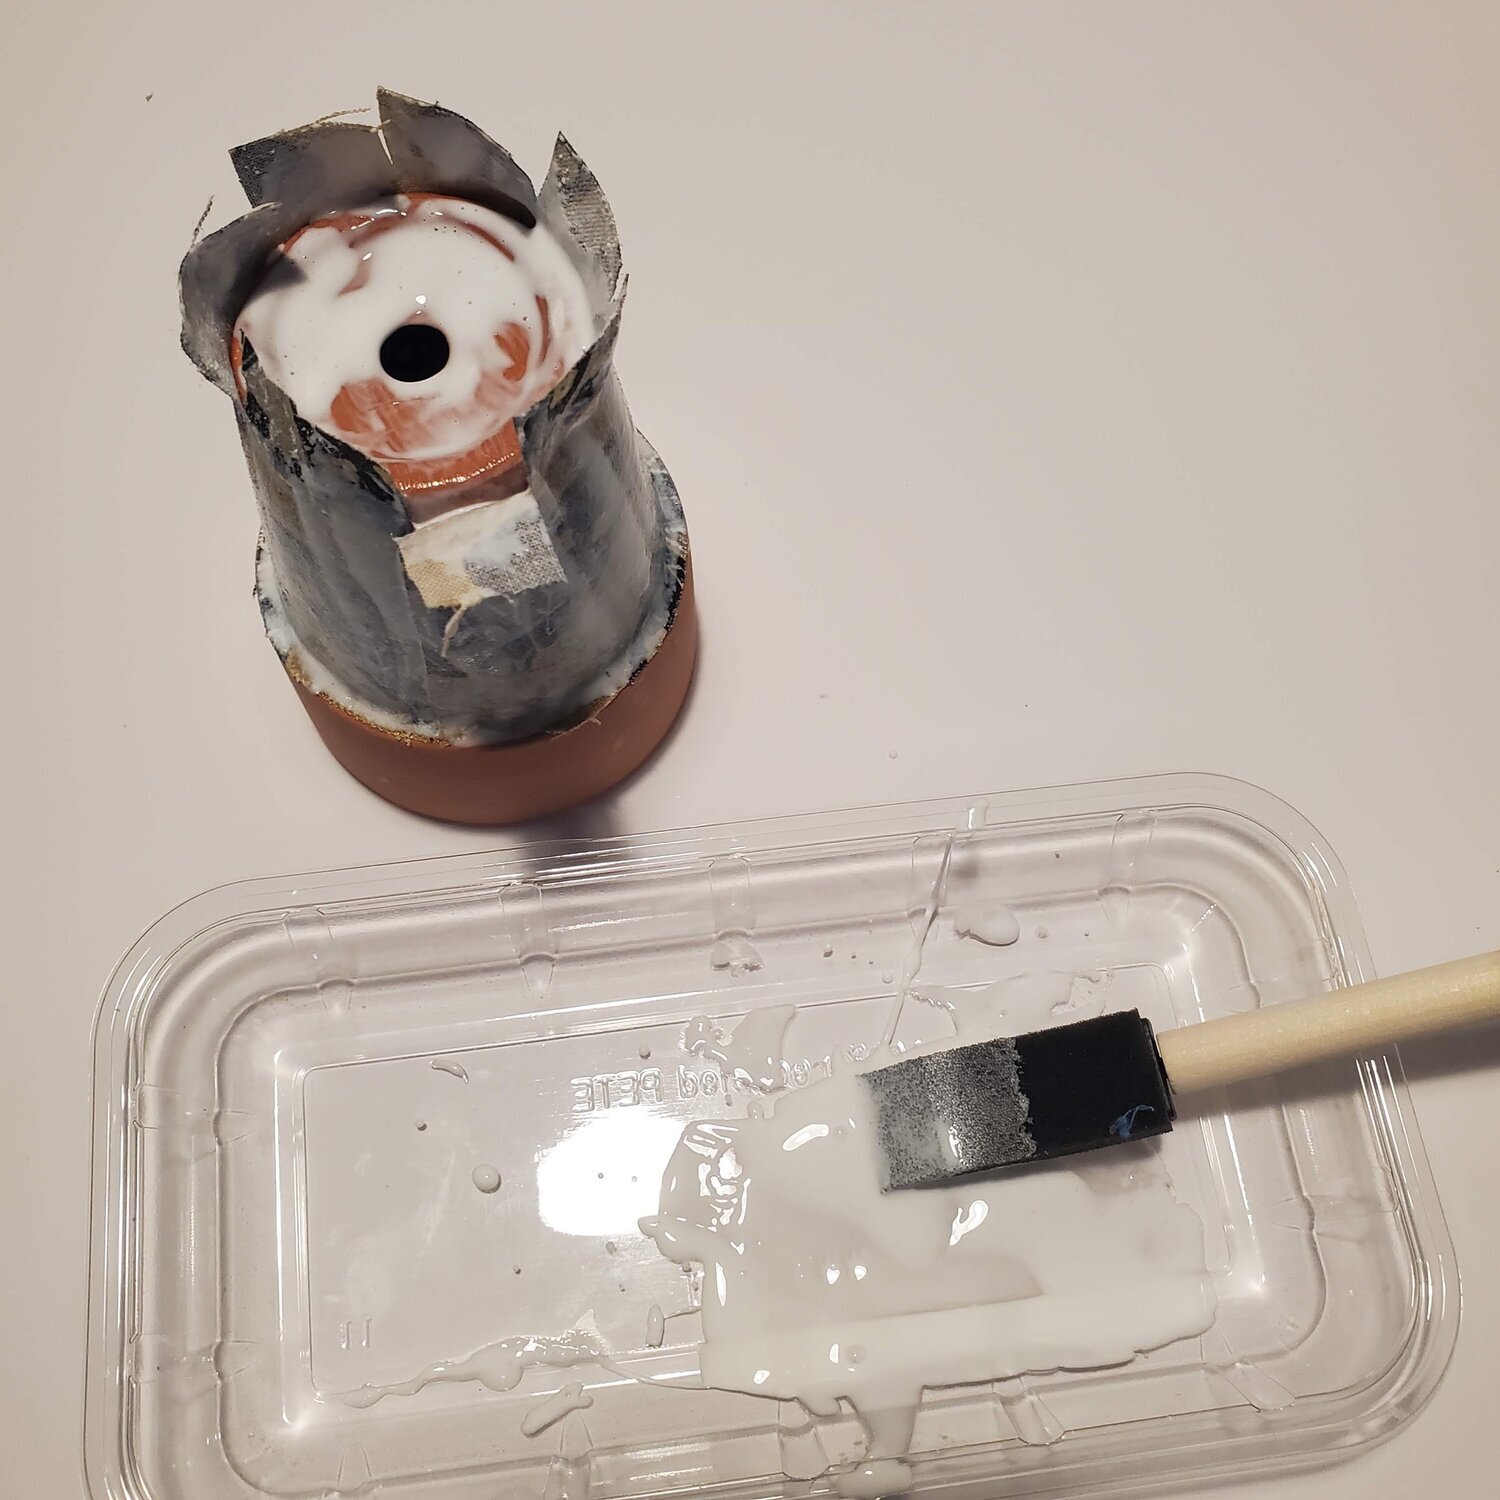
Pour out some of the Mod Podge on a tray and with a sponge brush lay a nice thick layer of it on the pot. You will need to work somewhat fast so it doesn’t start to dry.
Take your piece of fabric and lay it in place on the pot. You will be able to manipulate the fabric to fit onto the pot. It will stretch as it gets wet with the Mod Podge, just be aware so it doesn’t distort your design feature.
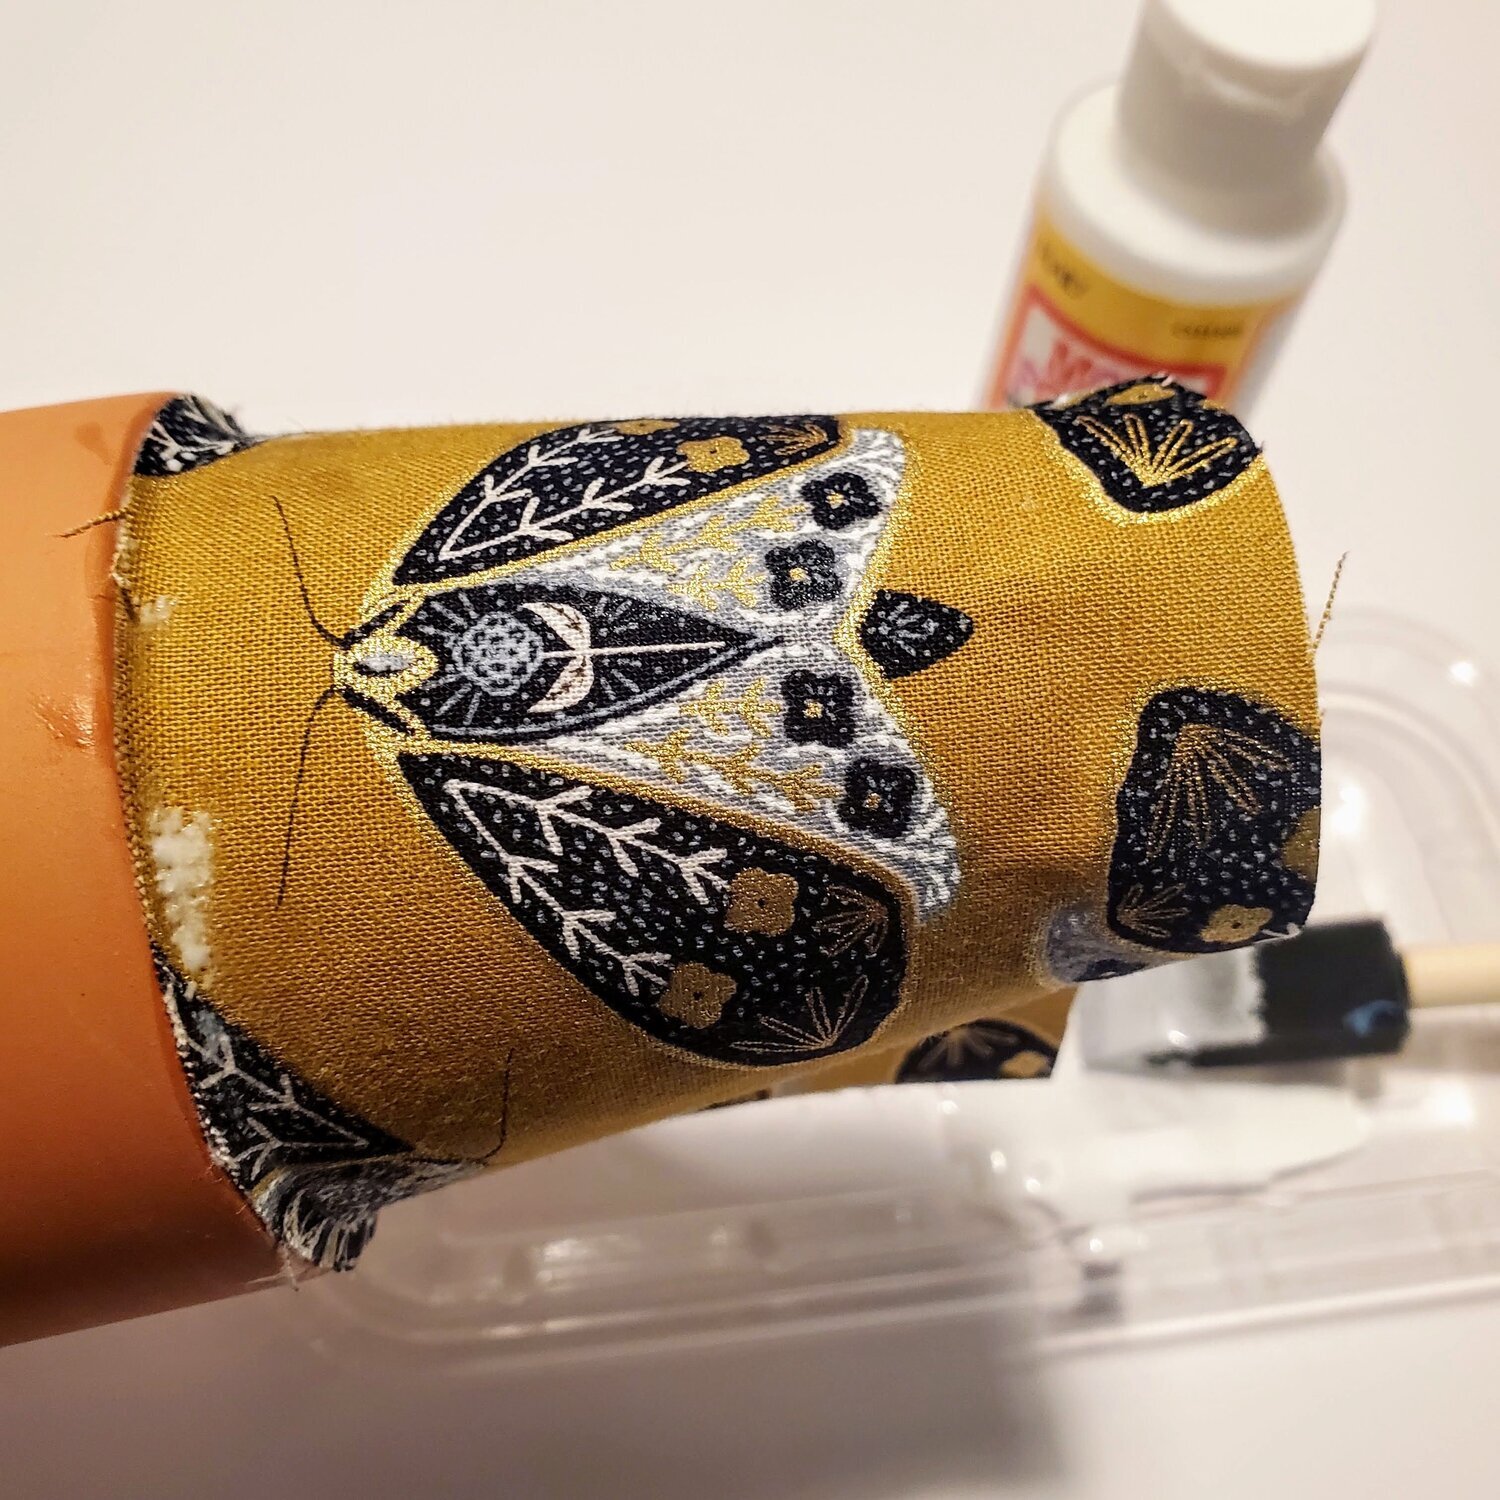
Press in place around the pot to align the top edge in the groove of the pot. As you work your way around the back you will need to trim some fabric to achieve a nice overlap of fabric. Work any small wrinkles to the bottom or back of the pot.
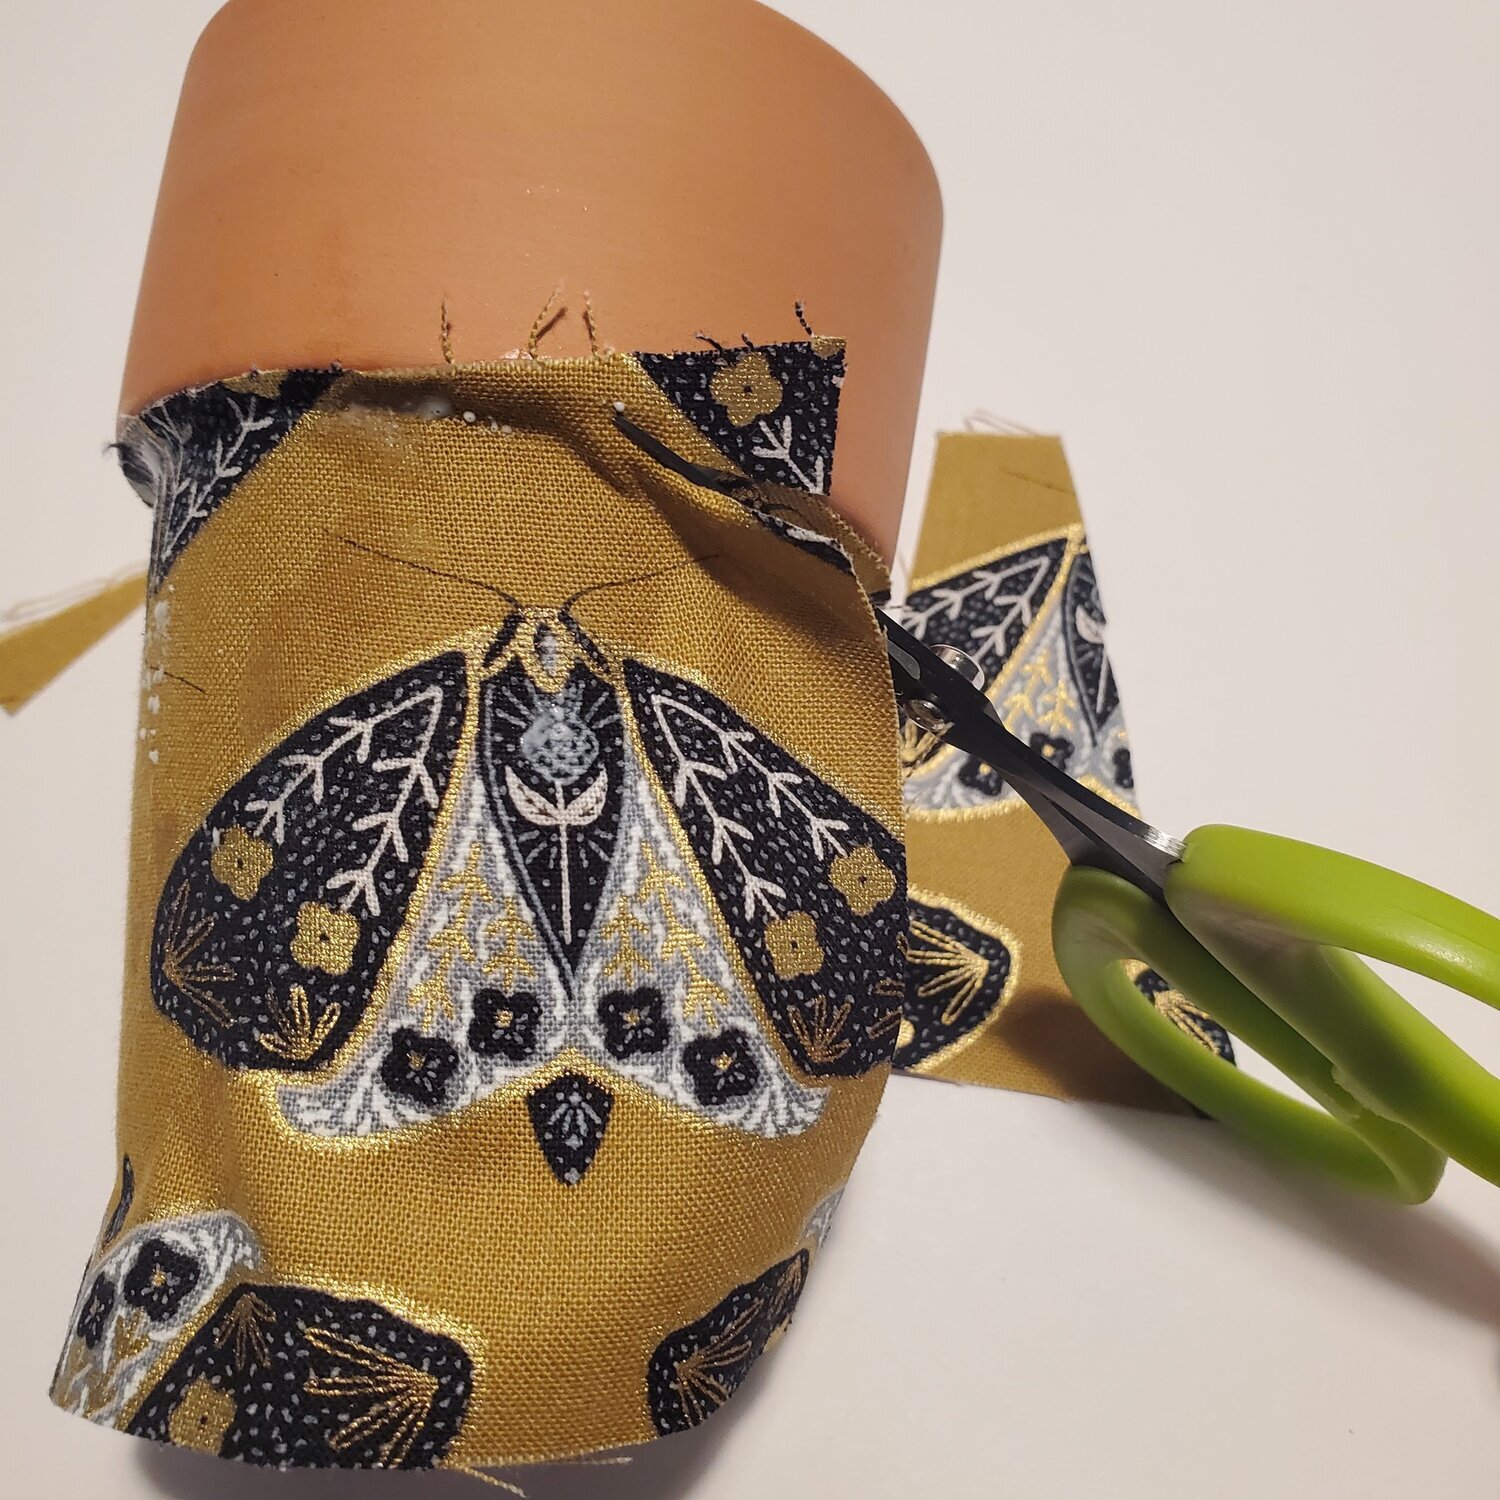
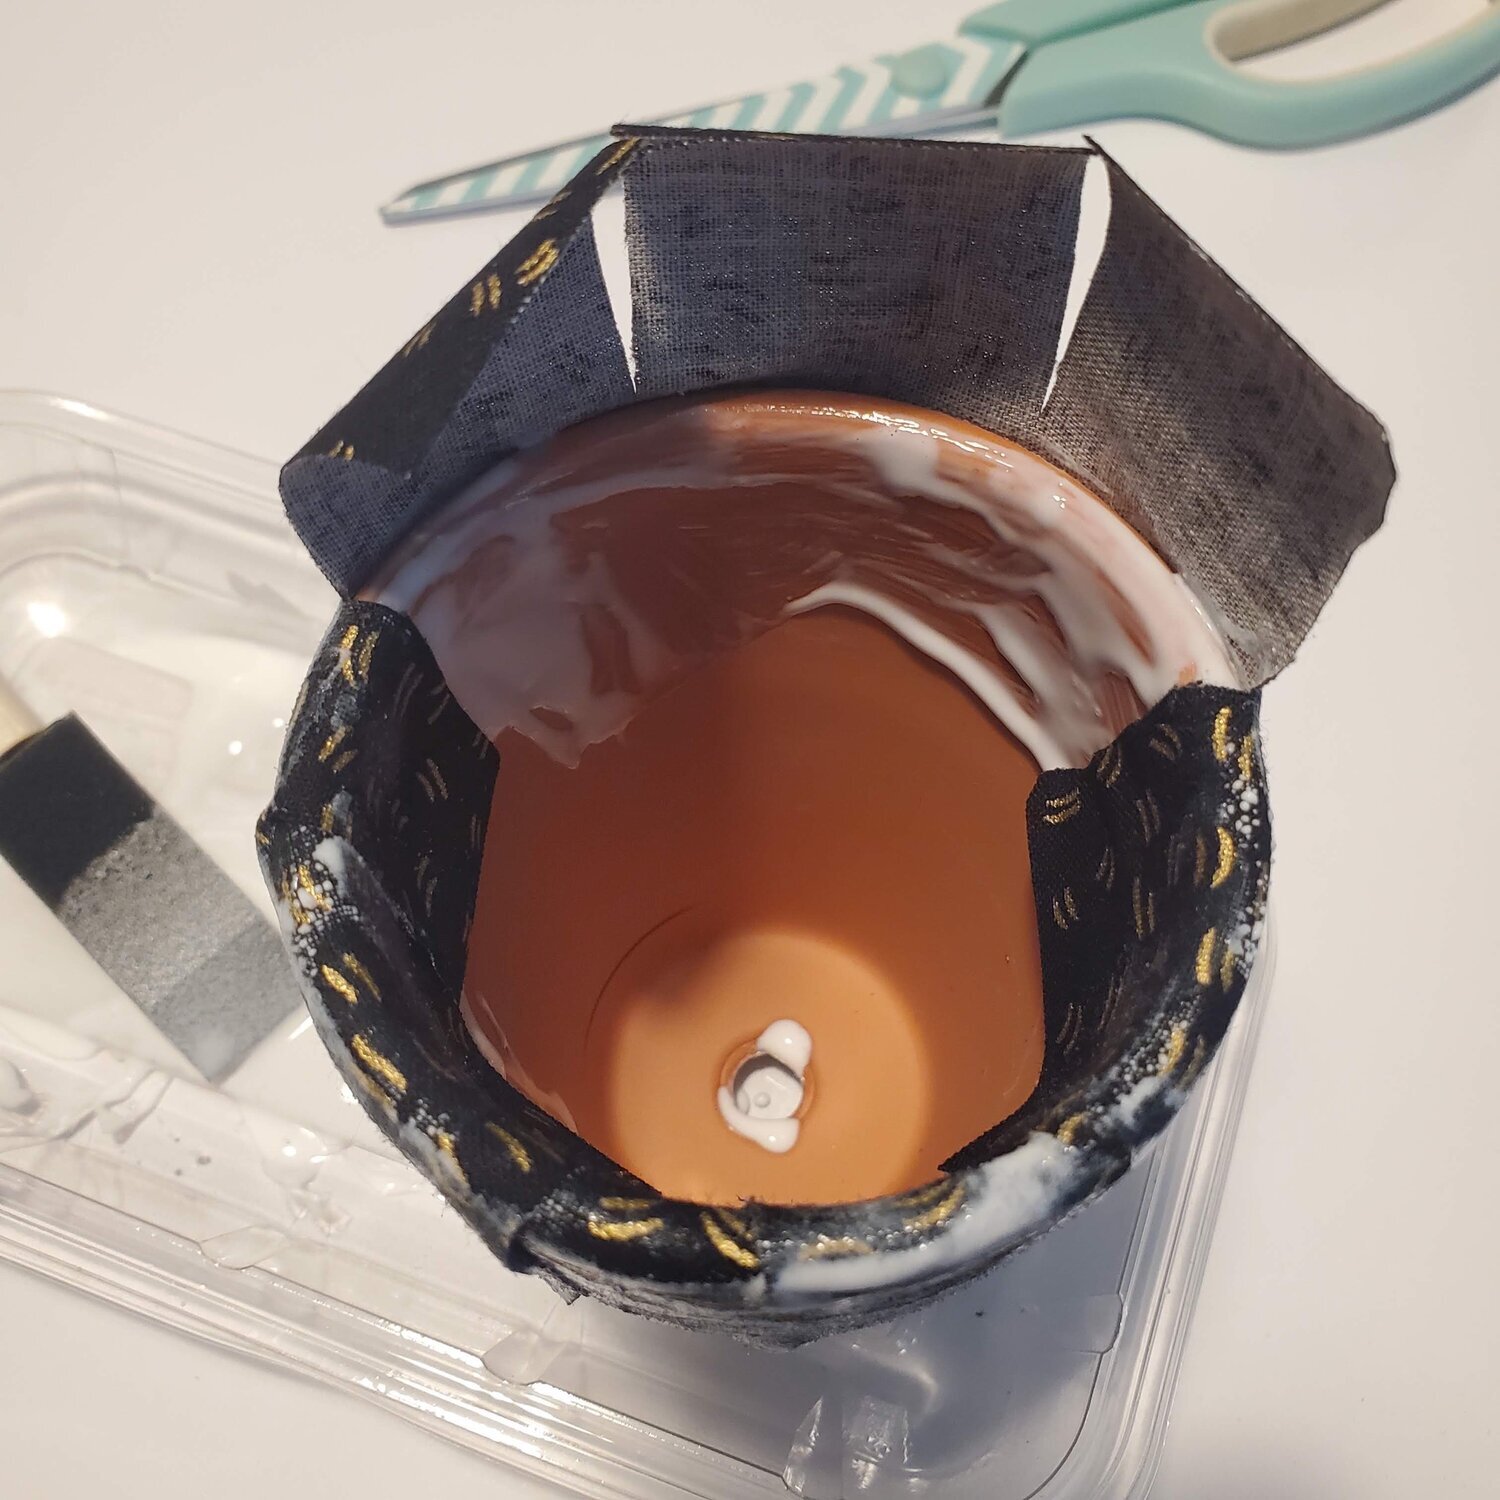
For this step you will need to work quickly as the fabric absorbs the Mod Podge it will start to dry. It is a good idea to clip the small threads with sharp pointed scissors for a clean finished look. Take the same scissors and clip around the bottom edge about 1’ intervals to fold the fabric in place.
Add a thick layer of Mod Podge over the fabric piece and the bottom. With one hand inside the pot use the other hand to smooth the fabric, folding the bottom in place pushing any wrinkles to the very bottom edge. You will want to work near a sink to wash your hands often as this can be a messy part of the process.
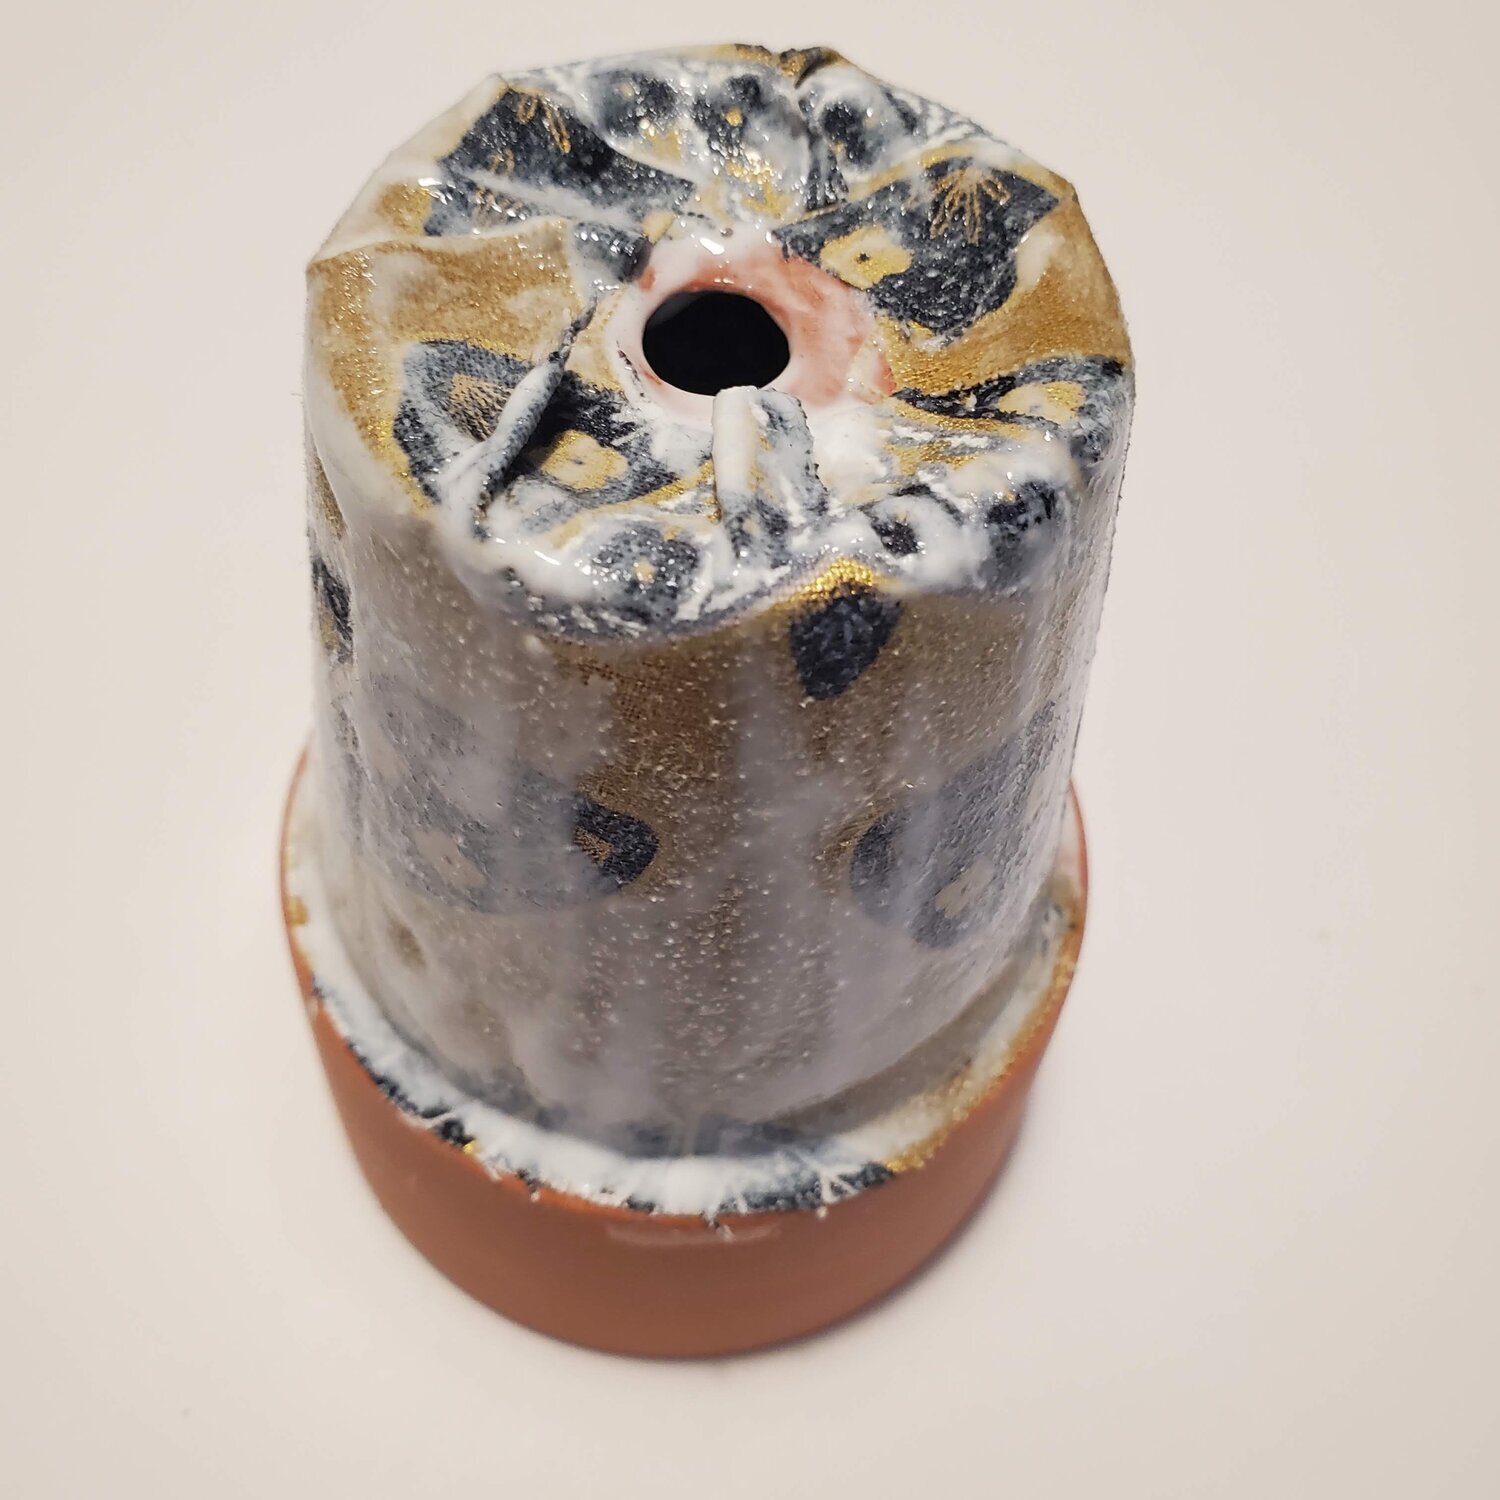
At this point you have the option of letting the bottom half dry before moving on to the top edge. I don’t mind the mess so I moved on to adding the top piece following the same method, except this time the extra fabric goes over the edge into the pot. On my first pot I did not leave enough overlap. I would suggest allowing at least 1” extra fabric to fold to the inside of the pot.
To finish add a nice thick layer of Mod Podge all over the pot, inside and out. Set it to dry on a non-stick surface like glass or plastic. Depending on how it dries you may want to add a second coat of Mod Podge to the pot.
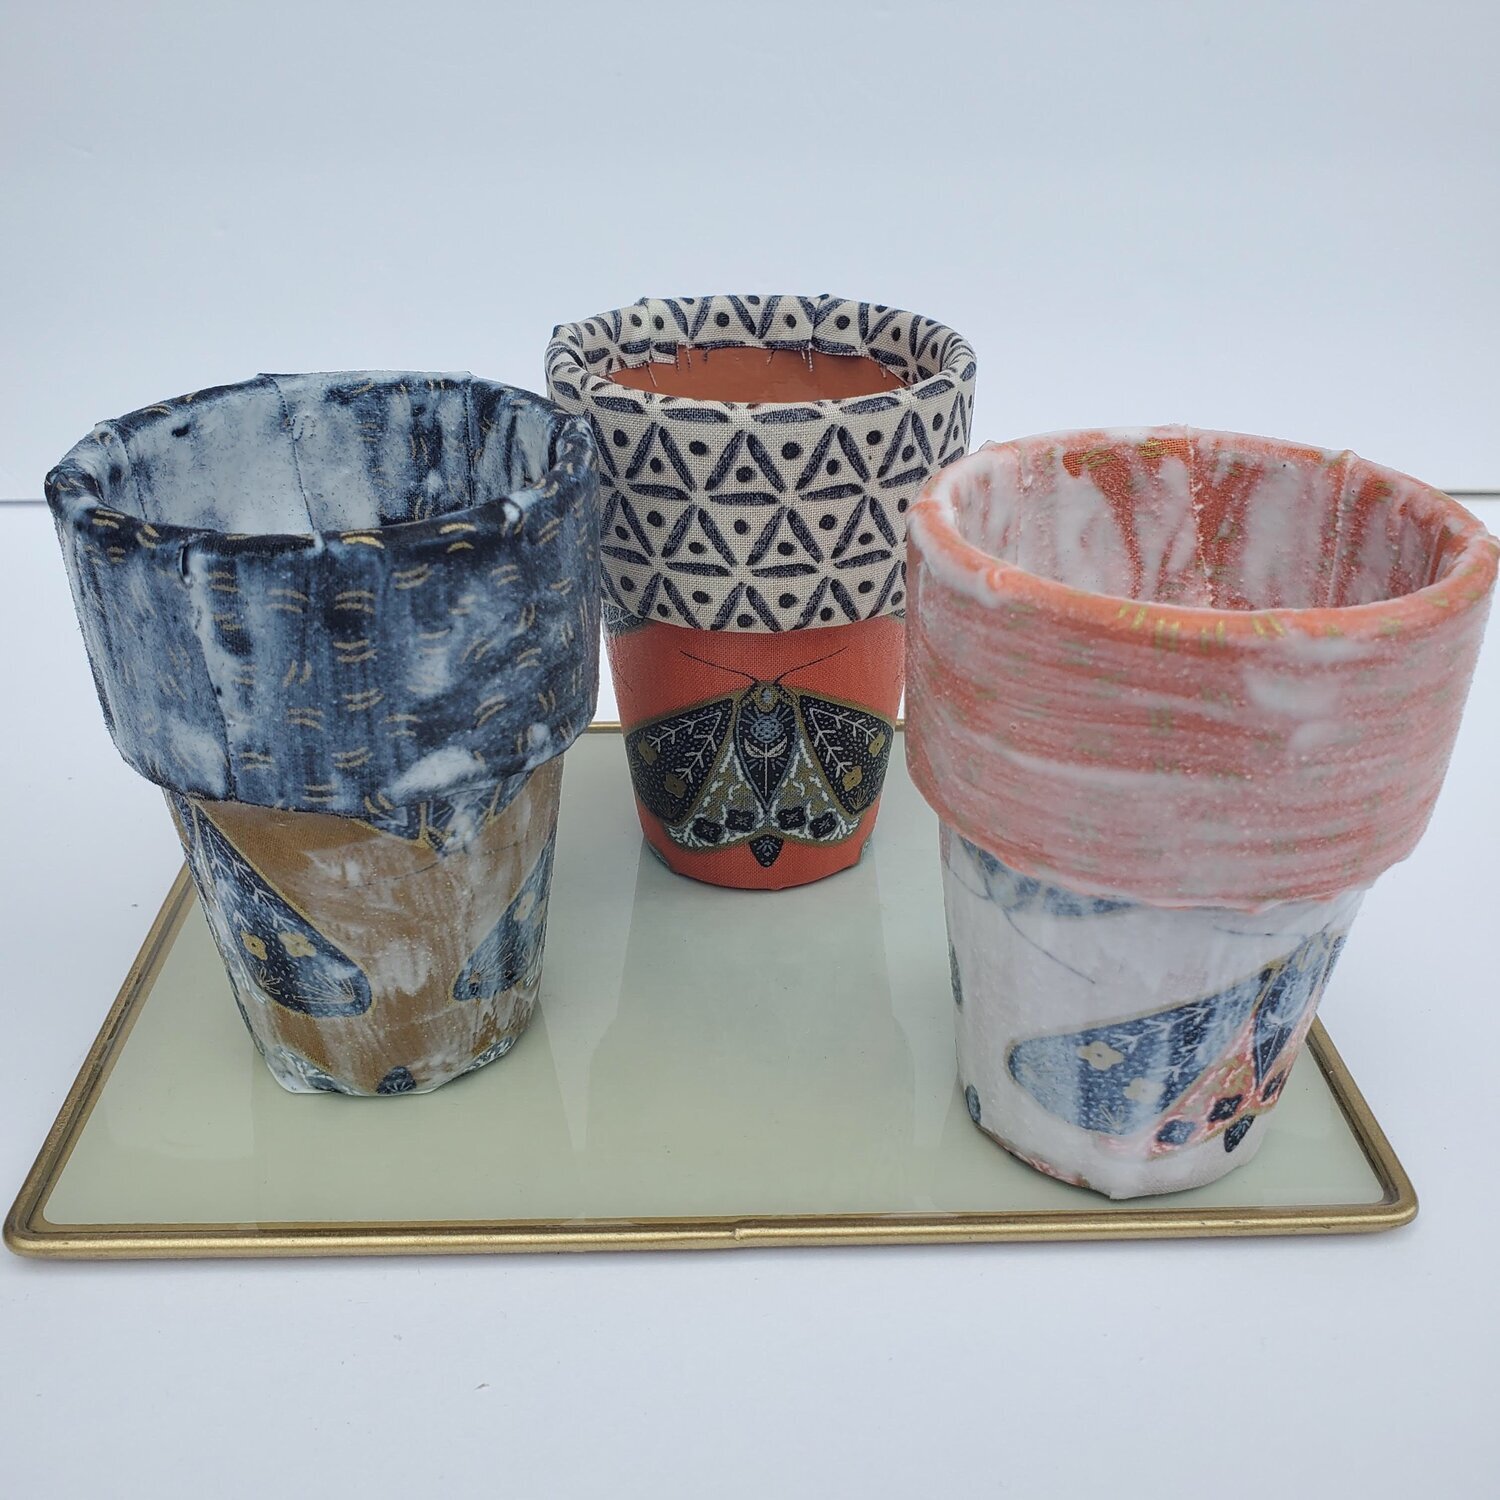
If you are going to add the plants and soil directly to the pot without a plastic liner you may want to add several layers of Mod Podge to waterproof the pot. I would suggest a plastic liner of some sort inside to protect the precious fabric. Be sure to let the pots dry at least overnight. Add some plants and you are ready to brighten any room with this fantastic trio of fabric pots! I chose to use succulents since they need very little water.