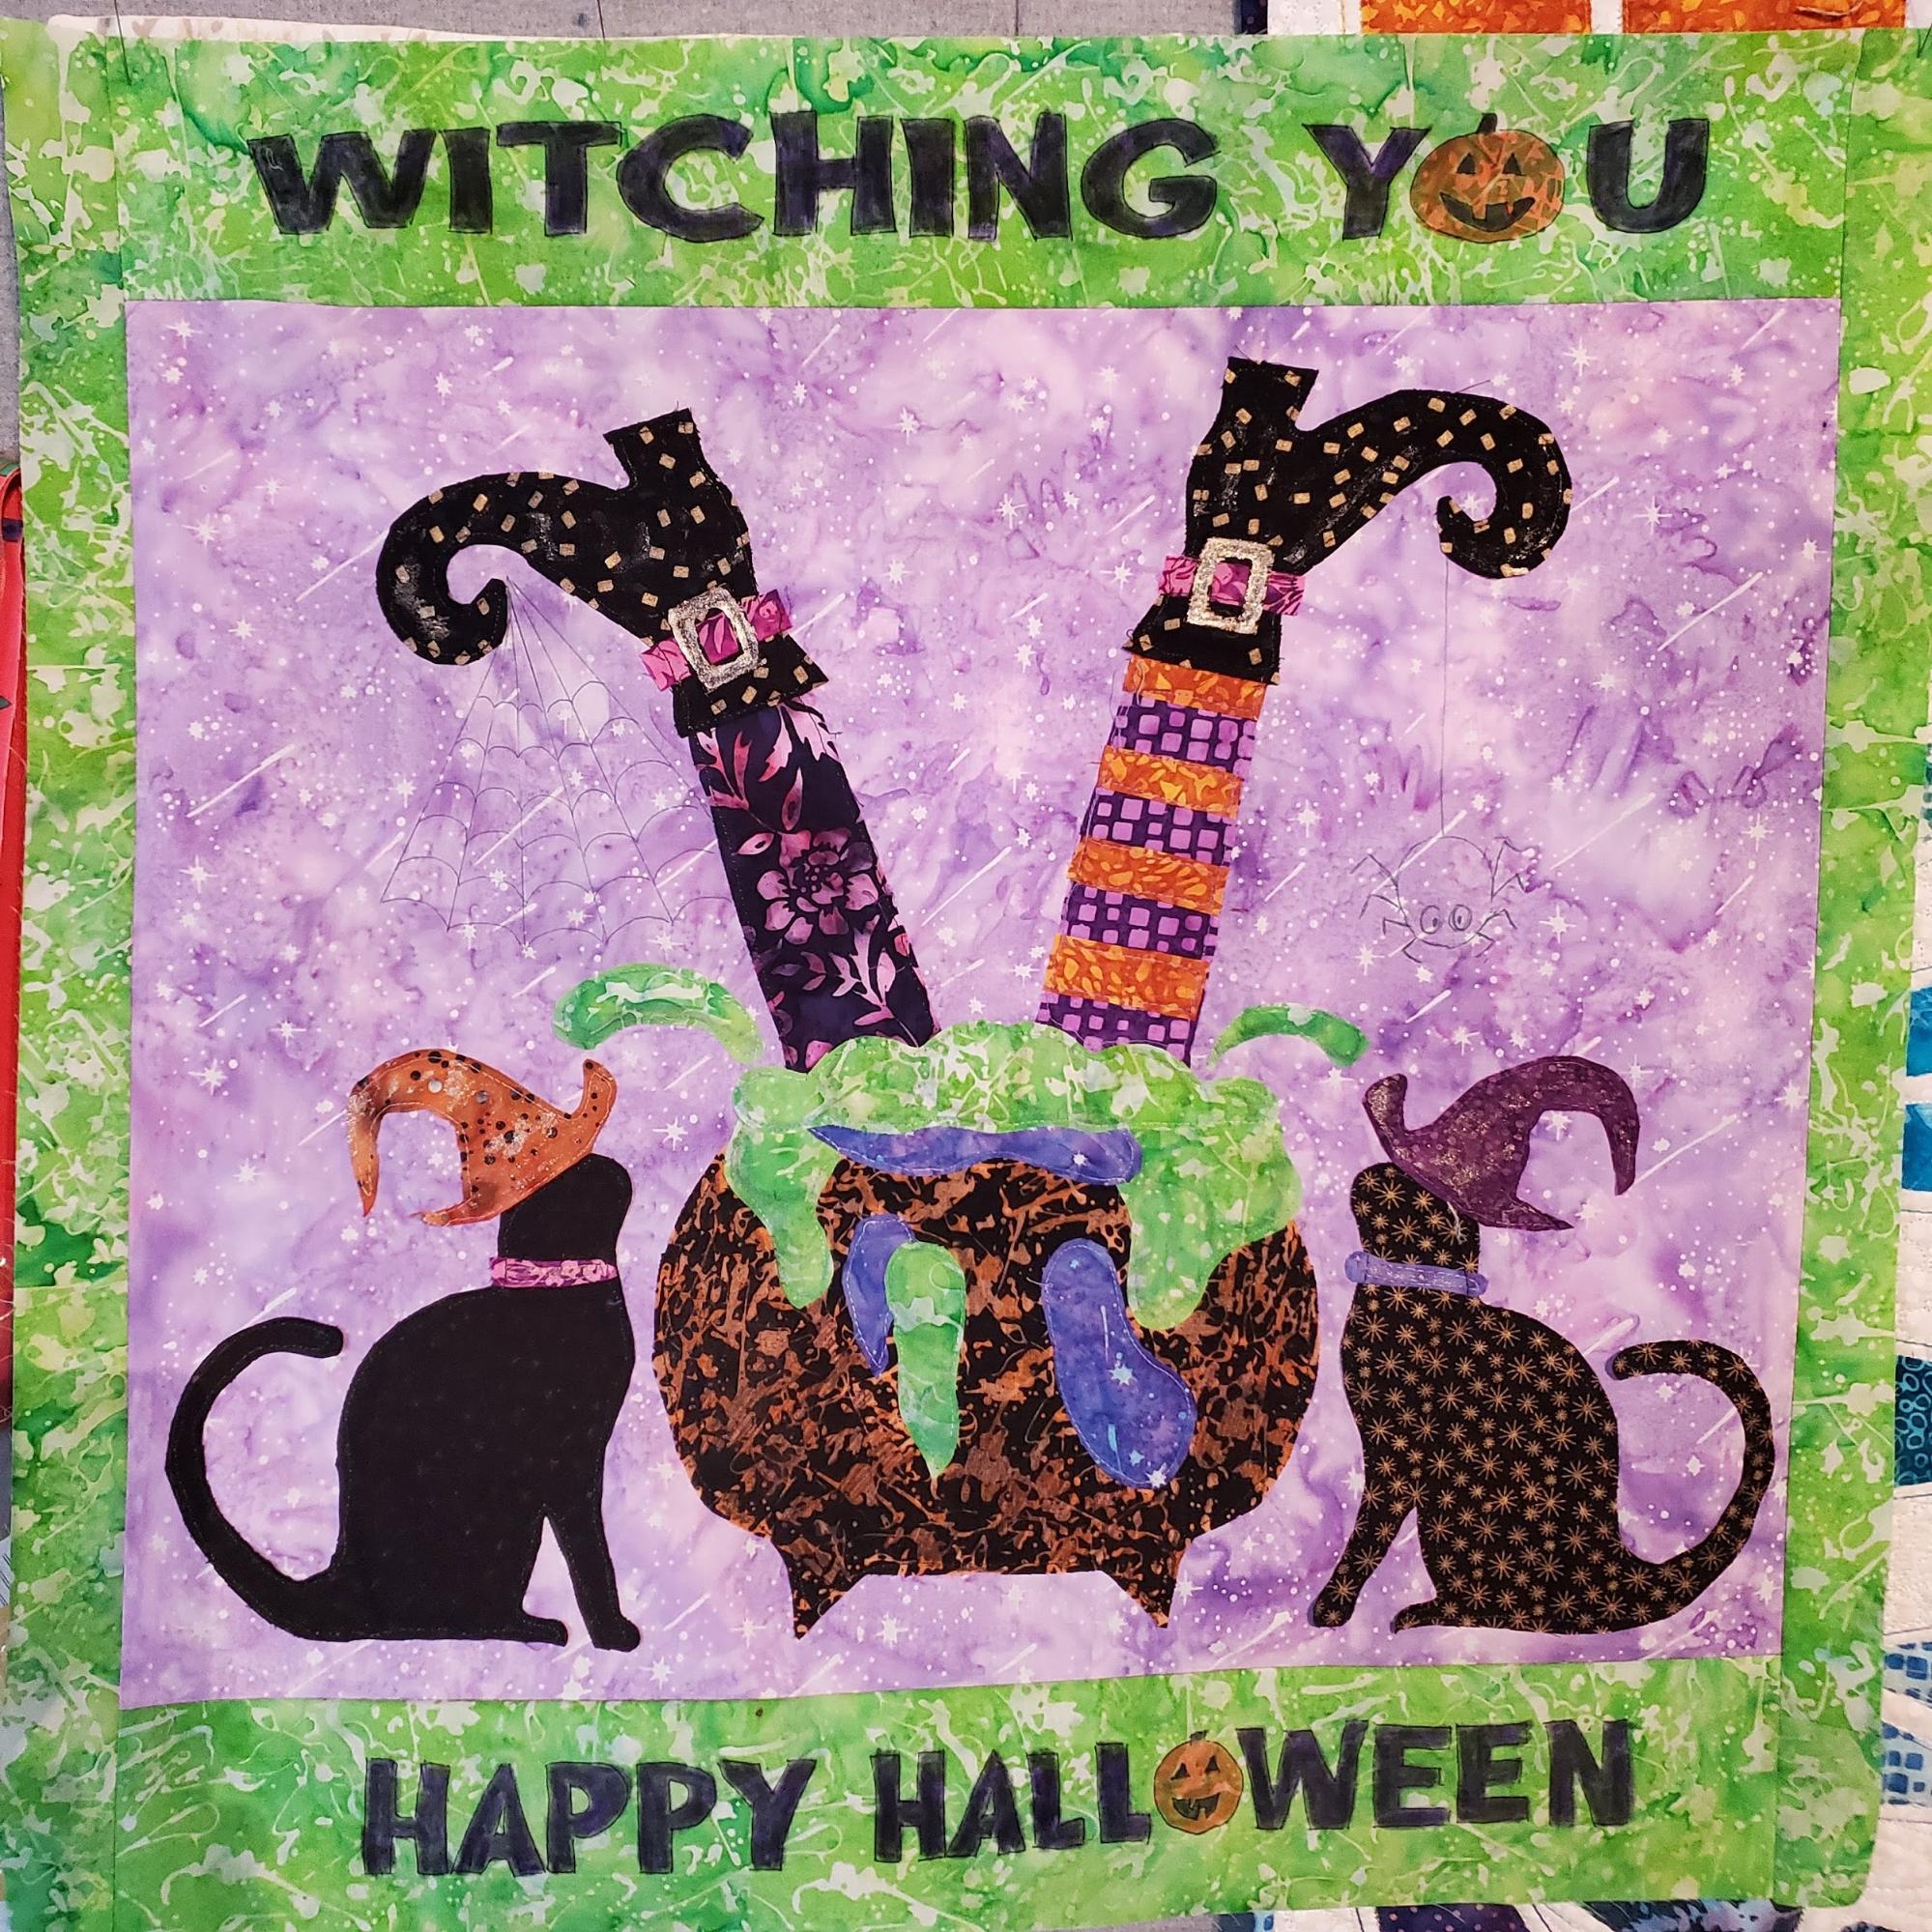
Witching You a Happy Halloween
Posted by Joanne Halliburton on 20th Oct 2022
Look at what is brewing at Cotton Cuts with this month’s Java’s Inspiration mini quilt. October is here with all the Halloween decorations popping up everywhere! The Java Membership has the perfect assortment of batik fabrics to make some great seasonal projects like this wall hanging/table topper. The batik fabric is ideal for raw edge appliqué because it is a tightly woven cotton that tends not to fray.
Materials Needed:
- October Java Membership Assortment of 12 Batik Fat Quarters
- Aurifil thread from Chroma Membership
- ½ yard backing fabric Purple Moda Grunge
- Batting
To get started I found some free clipart of witches feet, a bubbling cauldron, and some black cats with witches hats. I printed these out to use as my pattern pieces. I used the light purple fat quarter as my background fabric to build the design.
It is fun to play with the different fabrics and see what looks best in the design. I like to trace around the template with a chalk pen, then cut it out with a pair of sharp to the point scissors like the Karen Kay Buckley brand of scissors.
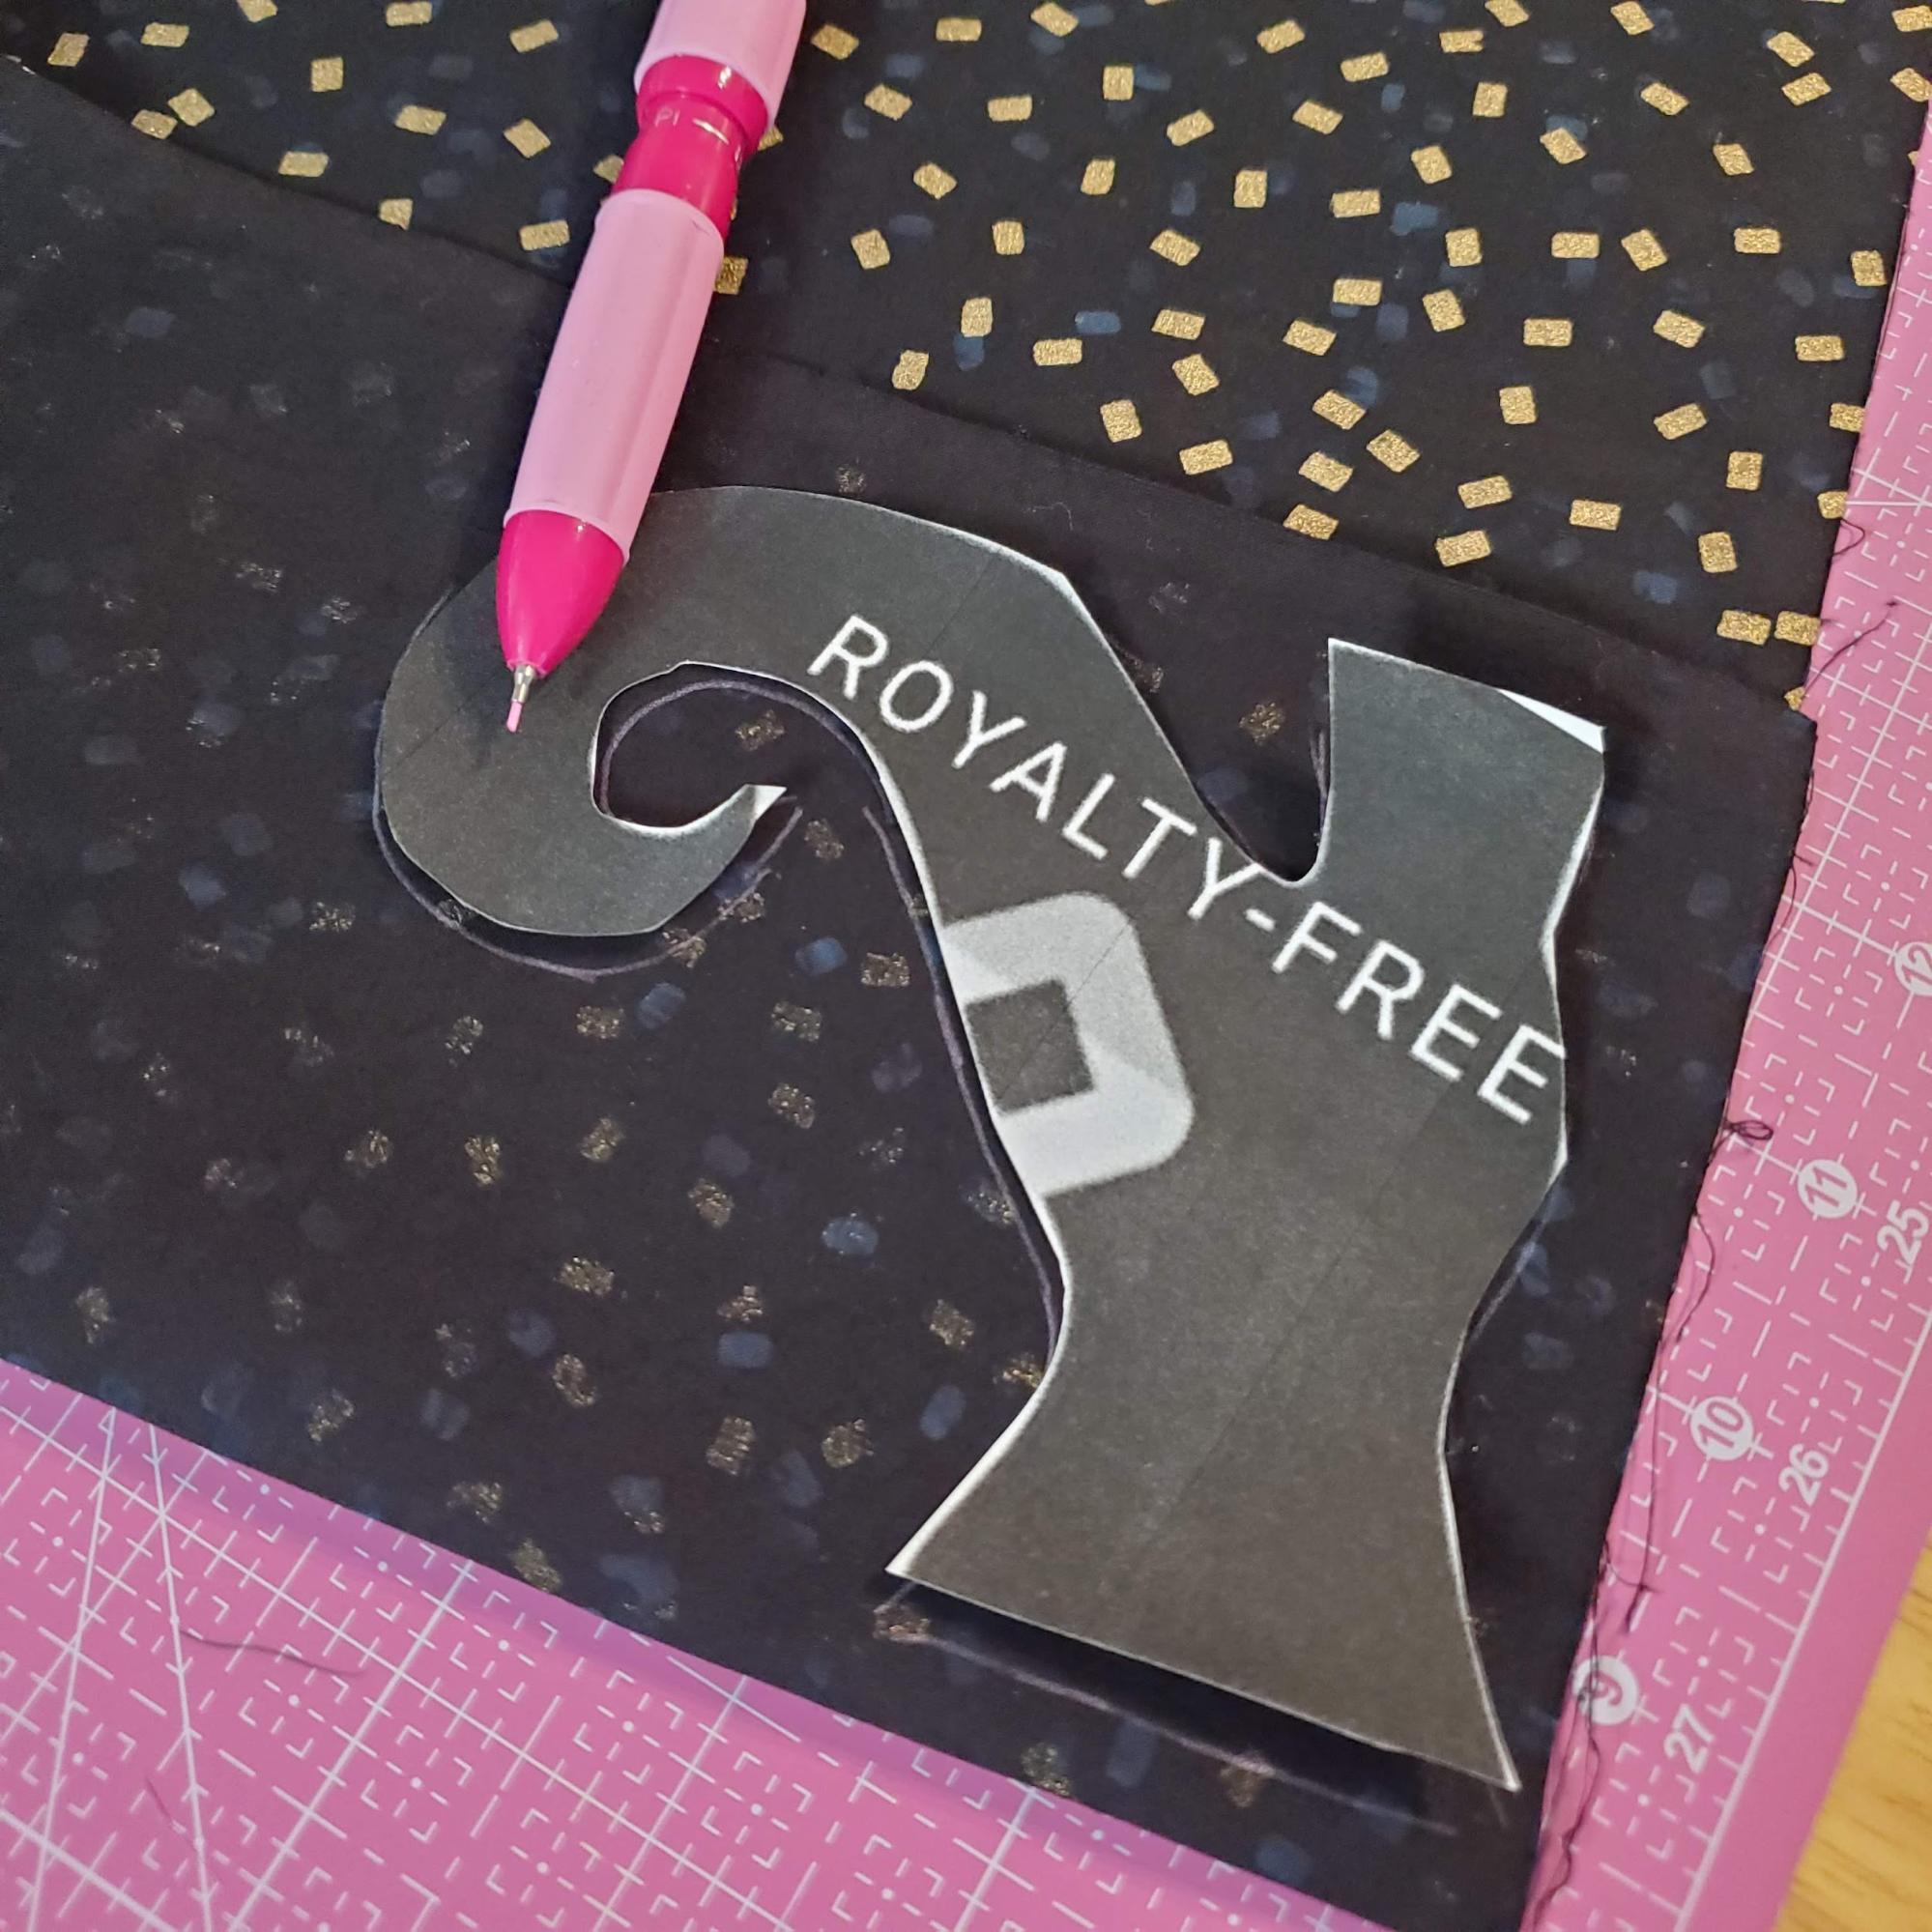
You may need to do some enlarging to get the pattern pieces to the right proportion to fit on the 18x22” background fabric. I laid out the paper pieces as I built the design to check the proportions before cutting out the fabric as I worked on the design.
After cutting your pieces use a fabric glue stick to hold the shapes in place. It is easy to move your pieces around to get the best look until the glue stick dries.
Then using a free motion attachment with the feed dogs down stitch around the shapes in coordinating Aurifil thread. Sometimes I touch up the thread color with a fine point Sharpie to blend with the fabric.