Quilter’s Roll’n Go Mat
14th Apr 2022
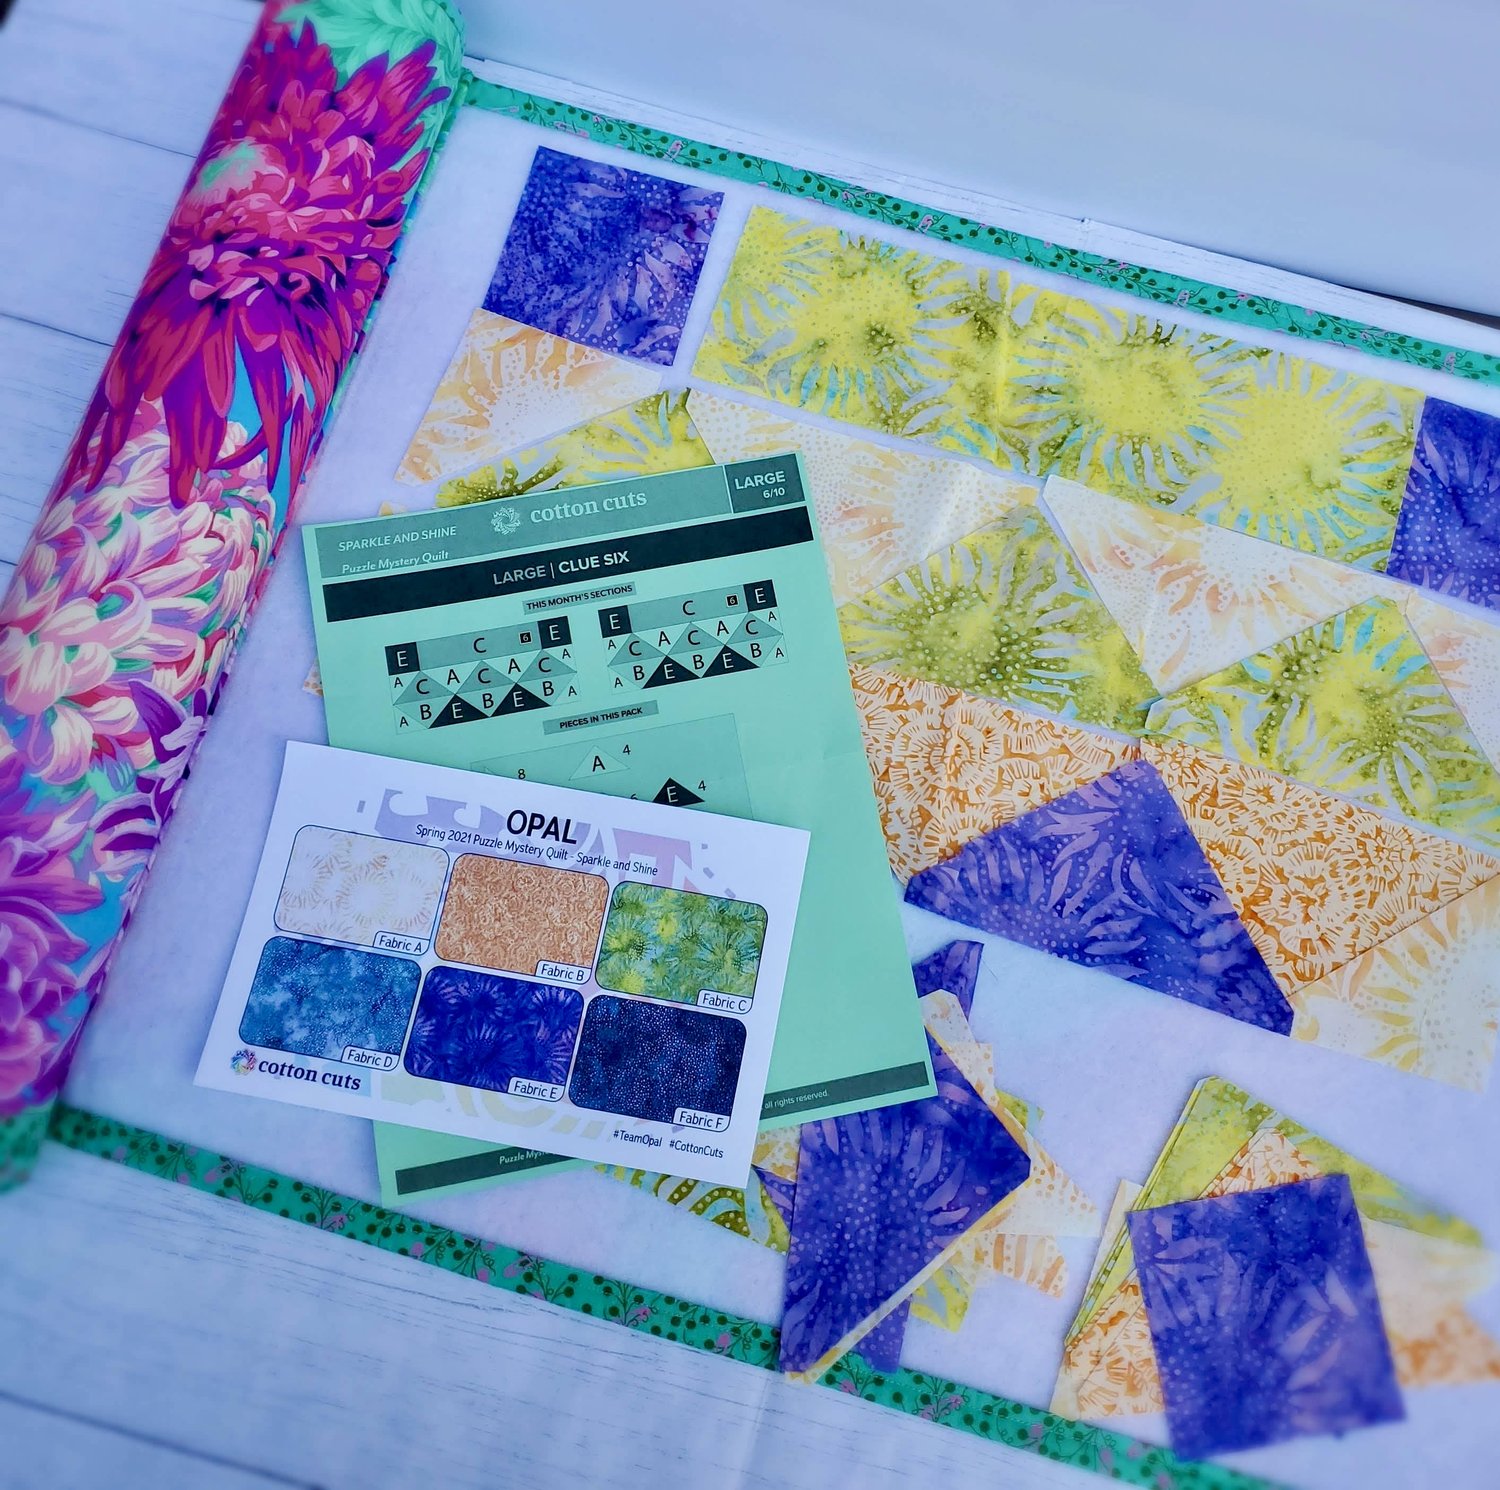
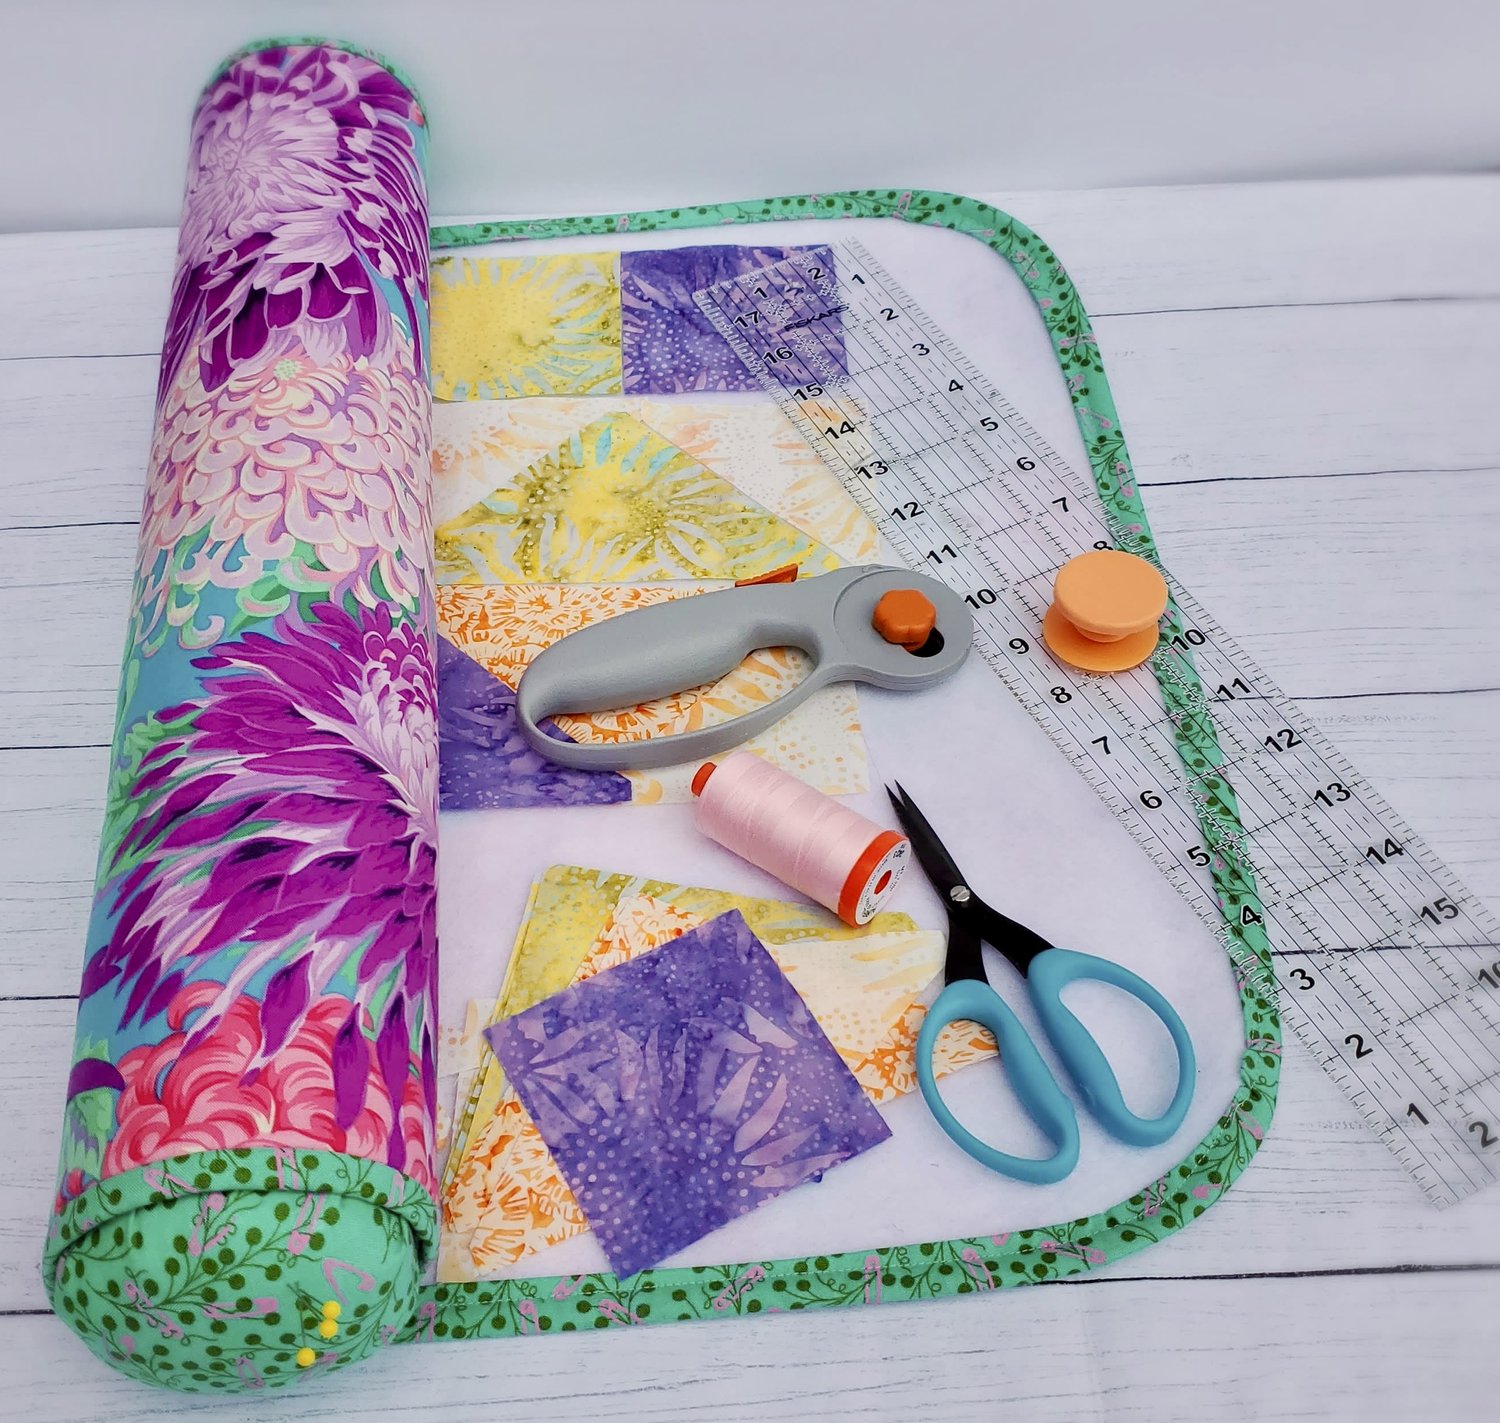
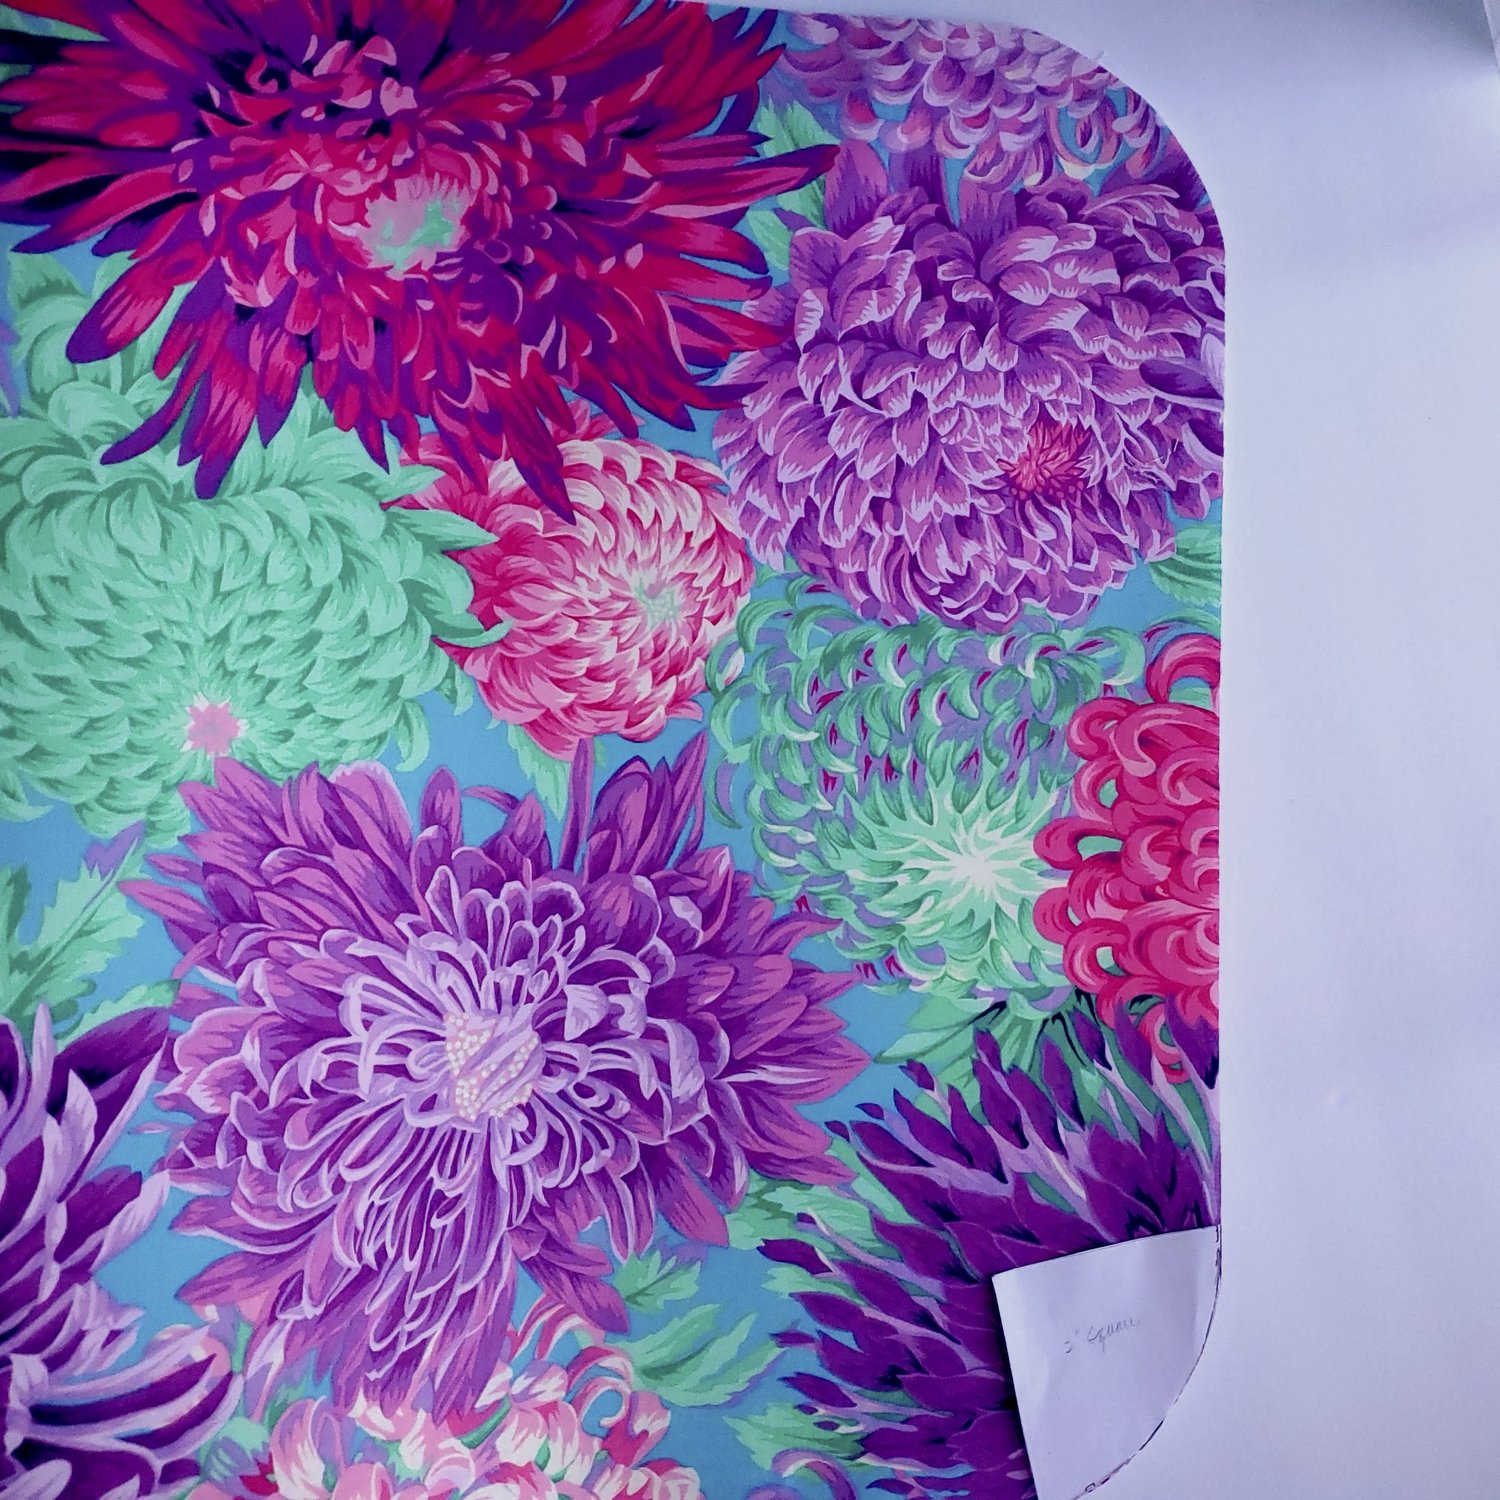
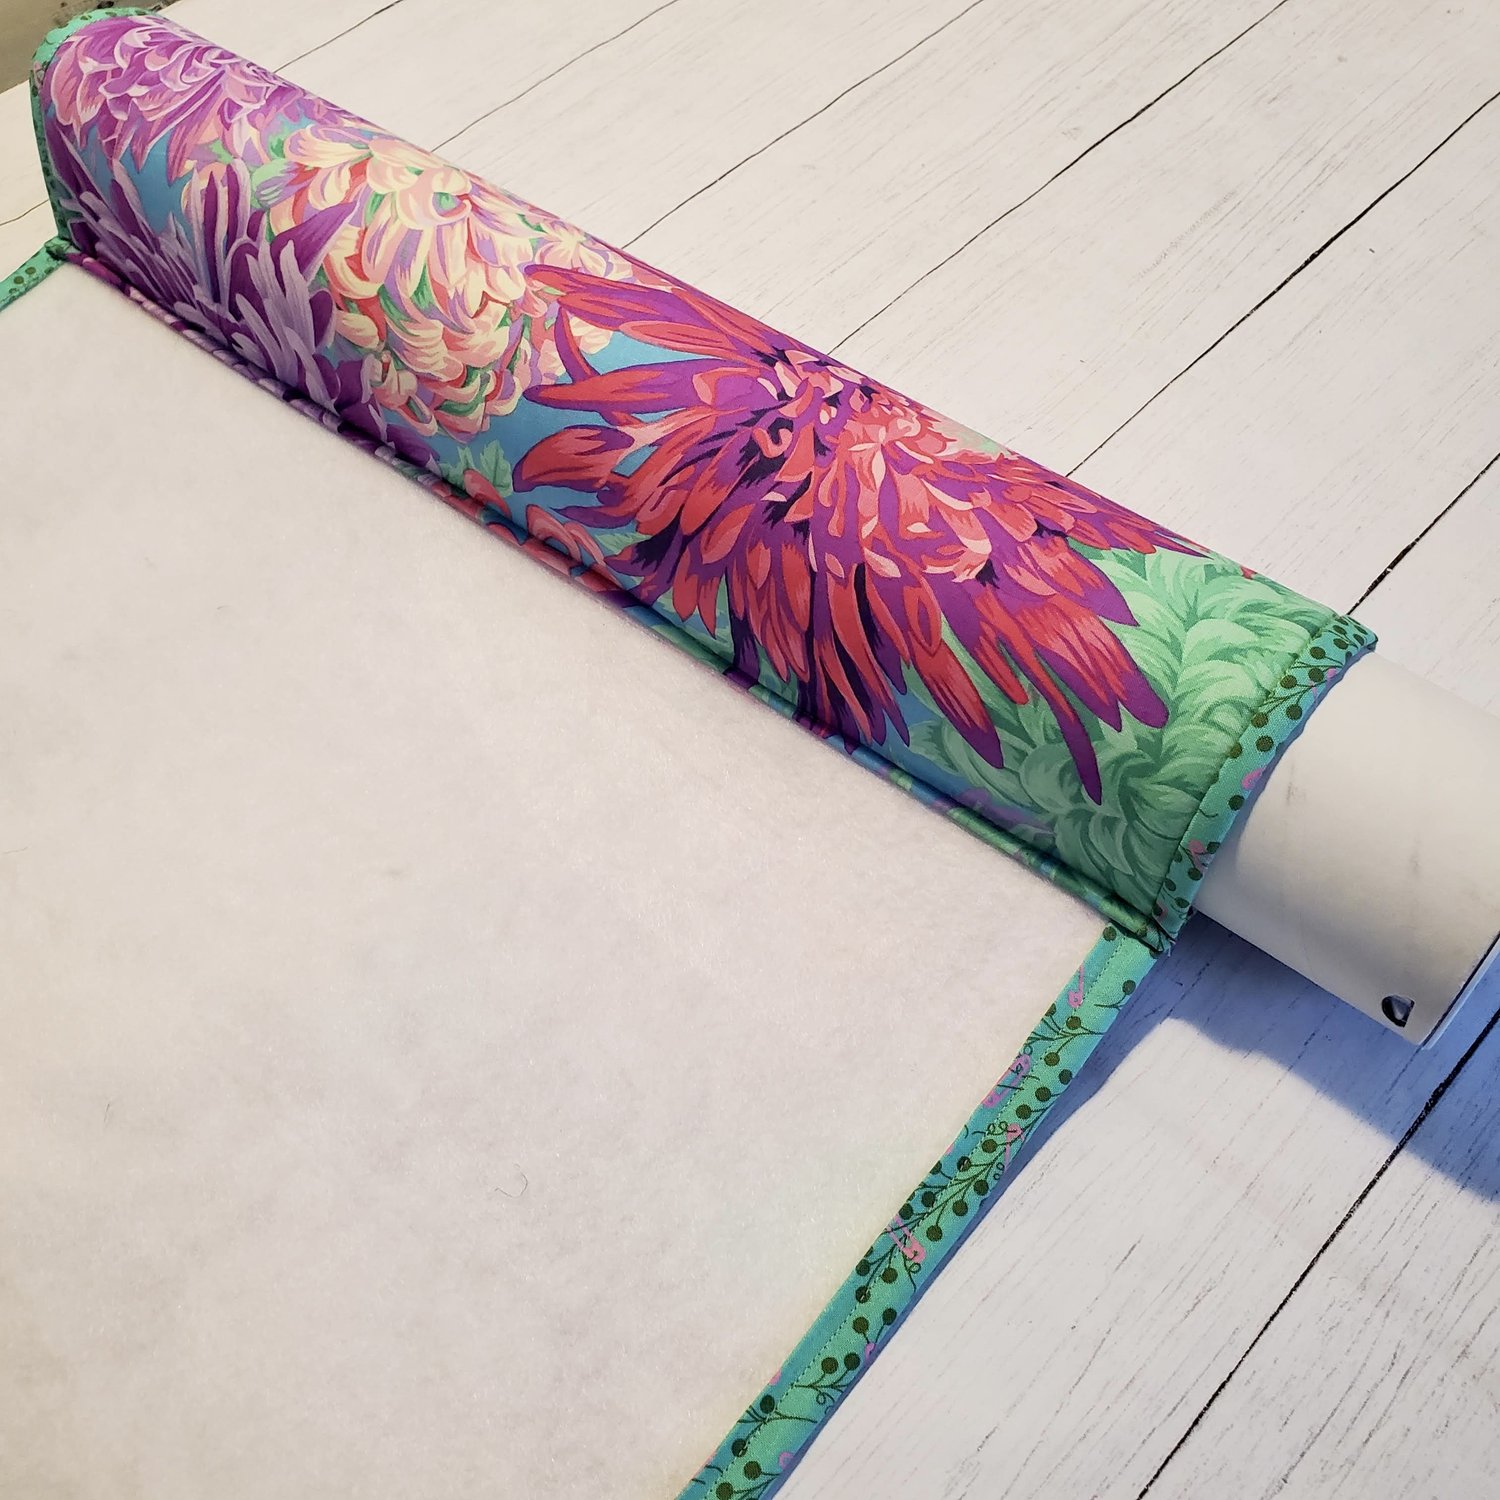
The Quilter’s Roll’n Go is a fantastic way to carry your work in progress to quilt retreats or to store a project with all the pieces together. This would be especially helpful for the part time quilter or to keep your monthly clues from the Puzzle Mystery Quilt organized as you sew along. My sister introduced me to this idea of a roll up mini design board and I knew I had to make one to share on the blog. She made her Roll’n Go several years ago at a quilt retreat from the free pattern resource list found at Moda fabrics. I used a large patterned fabric from Kaffe Fassett with Tula Pink Handmade for the binding.
Materials Needed:
- Cover Fabric ⅝ yard
- Fusible fleece ⅝ yard
- Binding Fabric ⅓ yard
- Mailing tube with removable end caps ( I purchased a 3”x 42” tube and cut it down to 18” length. That way you can make one for yourself and a friend)
- Two Snaps
- Coordinating Aurifil Thread from Chroma membership
- Small 3.5” square of foam core board for pincushion base
- Poly-Fil for pin cushion
To get started cut the cover fabric 19” x 37” and iron a piece of fusible fleece on the back of the fabric. Trim any excess fusible. On one of the short sides of the rectangle round the corners.
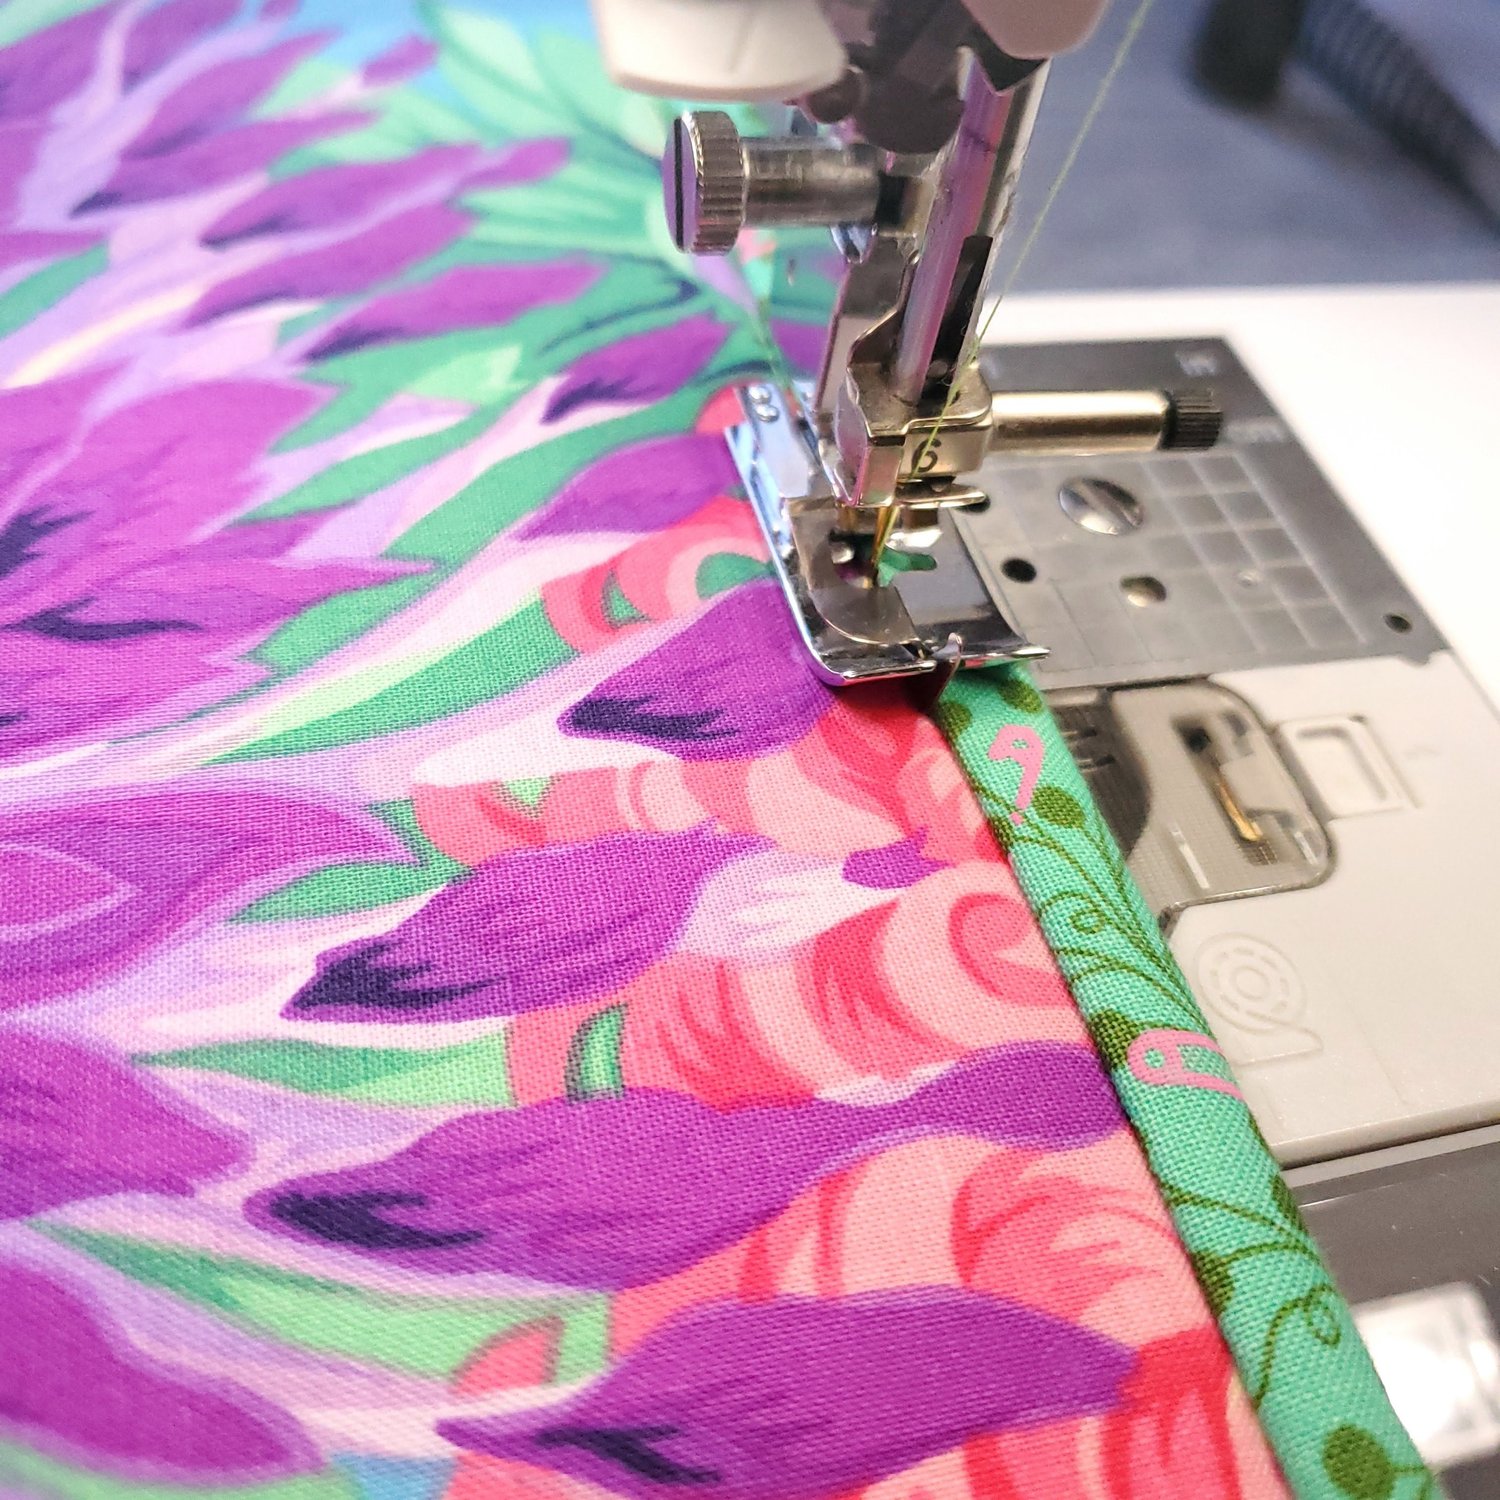
Cut three pieces of 2.25” WOF for the binding and sew the pieces together on the diagonal to create one long strip at least 110” long. Press the binding folding with the wrong sides together. Clip the binding in place starting at one right angle corner sewing around three sides to end at the opposite corner.
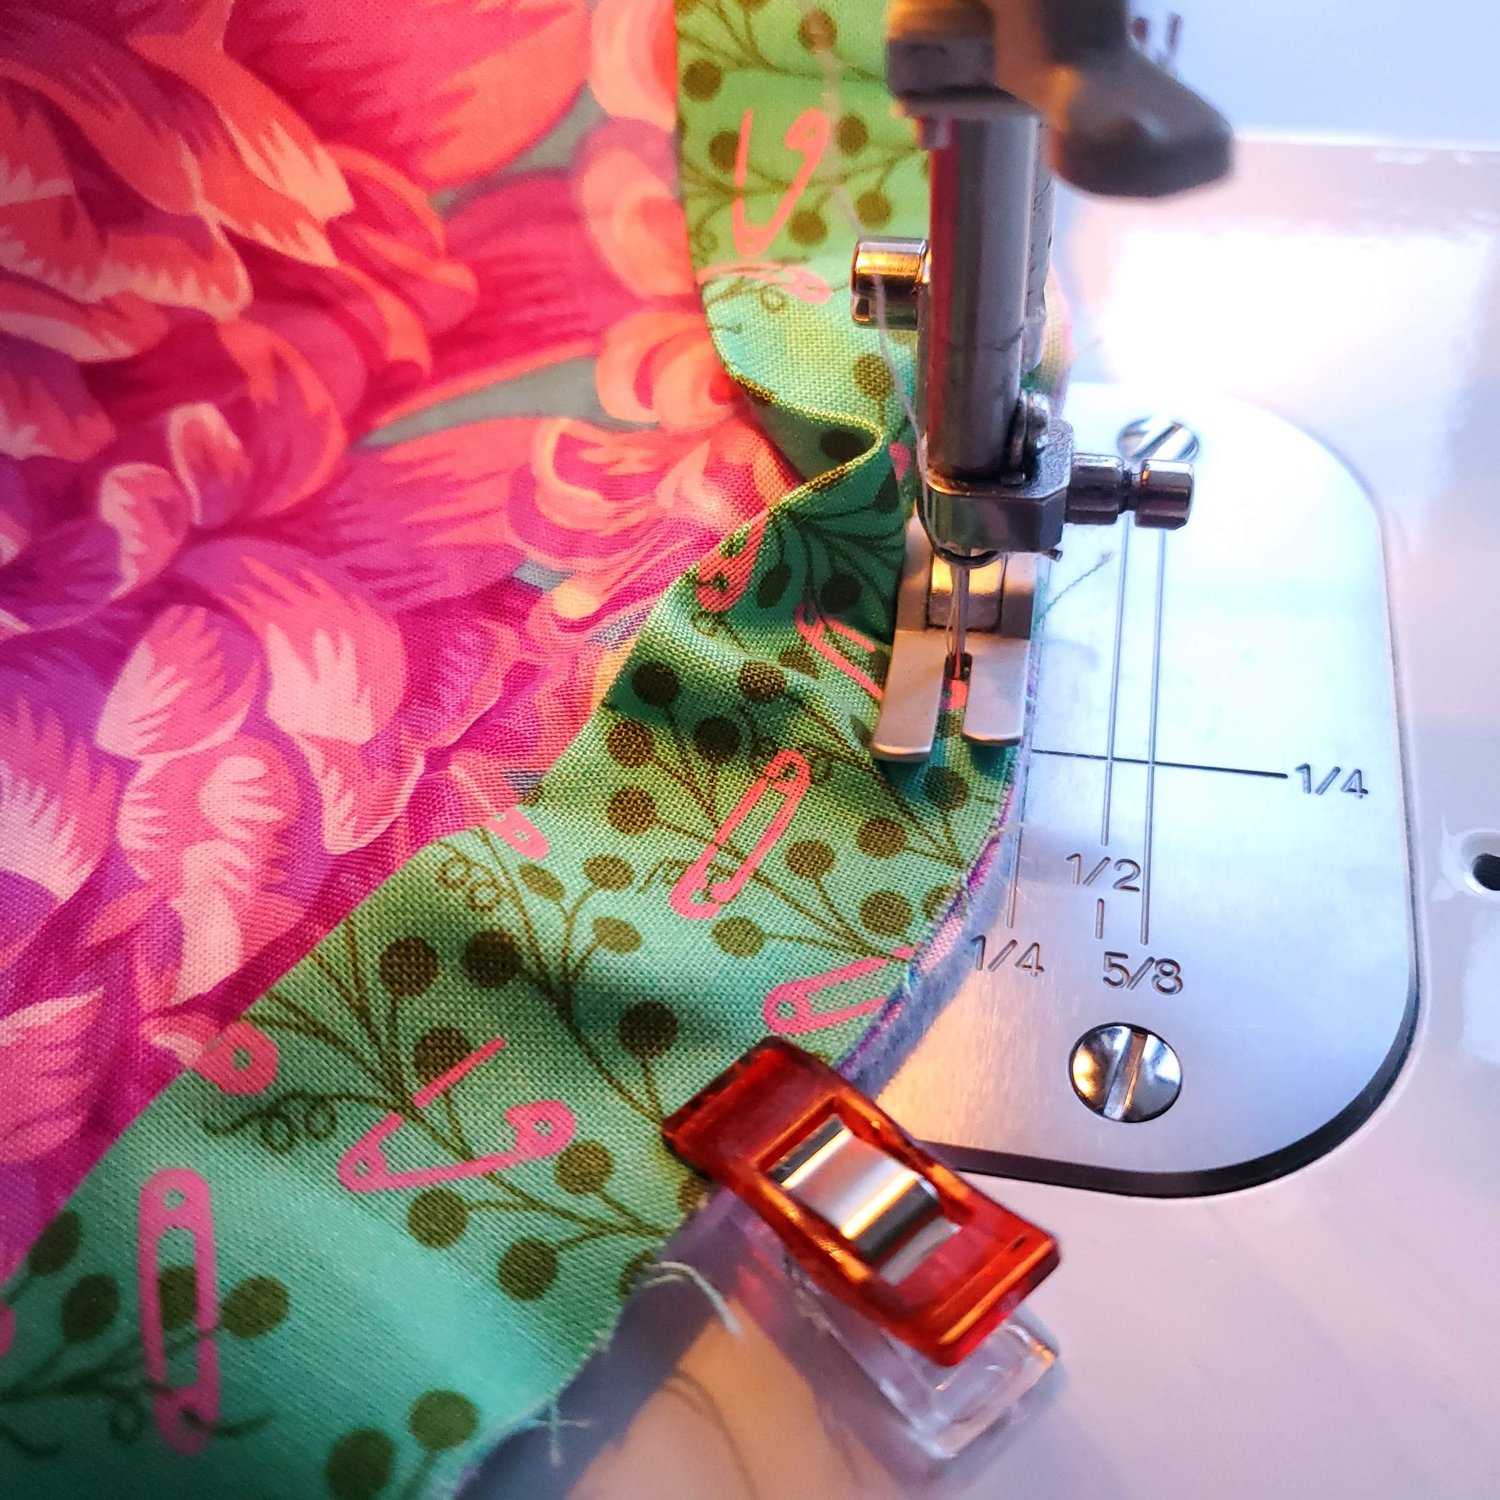
Ease the binding as you sew slowly around the curves. Fold the binding around to the other side and topstitch in the ditch in a coordinating thread color. I find it helpful to use the foot with a guide to keep the stitching straight.
To create a fabric sleeve for the tube to fit into you will need to measure the circumference of the tube. My tube was 3” in diameter and when I placed a tape measure around the tube it measured 10 inches. I added 1.5” to that number to allow space to turn the raw edge under about ⅜” and space to topstitch in place. Draw a line on the fusible fleece side at 11.5” from the unfinished edge.
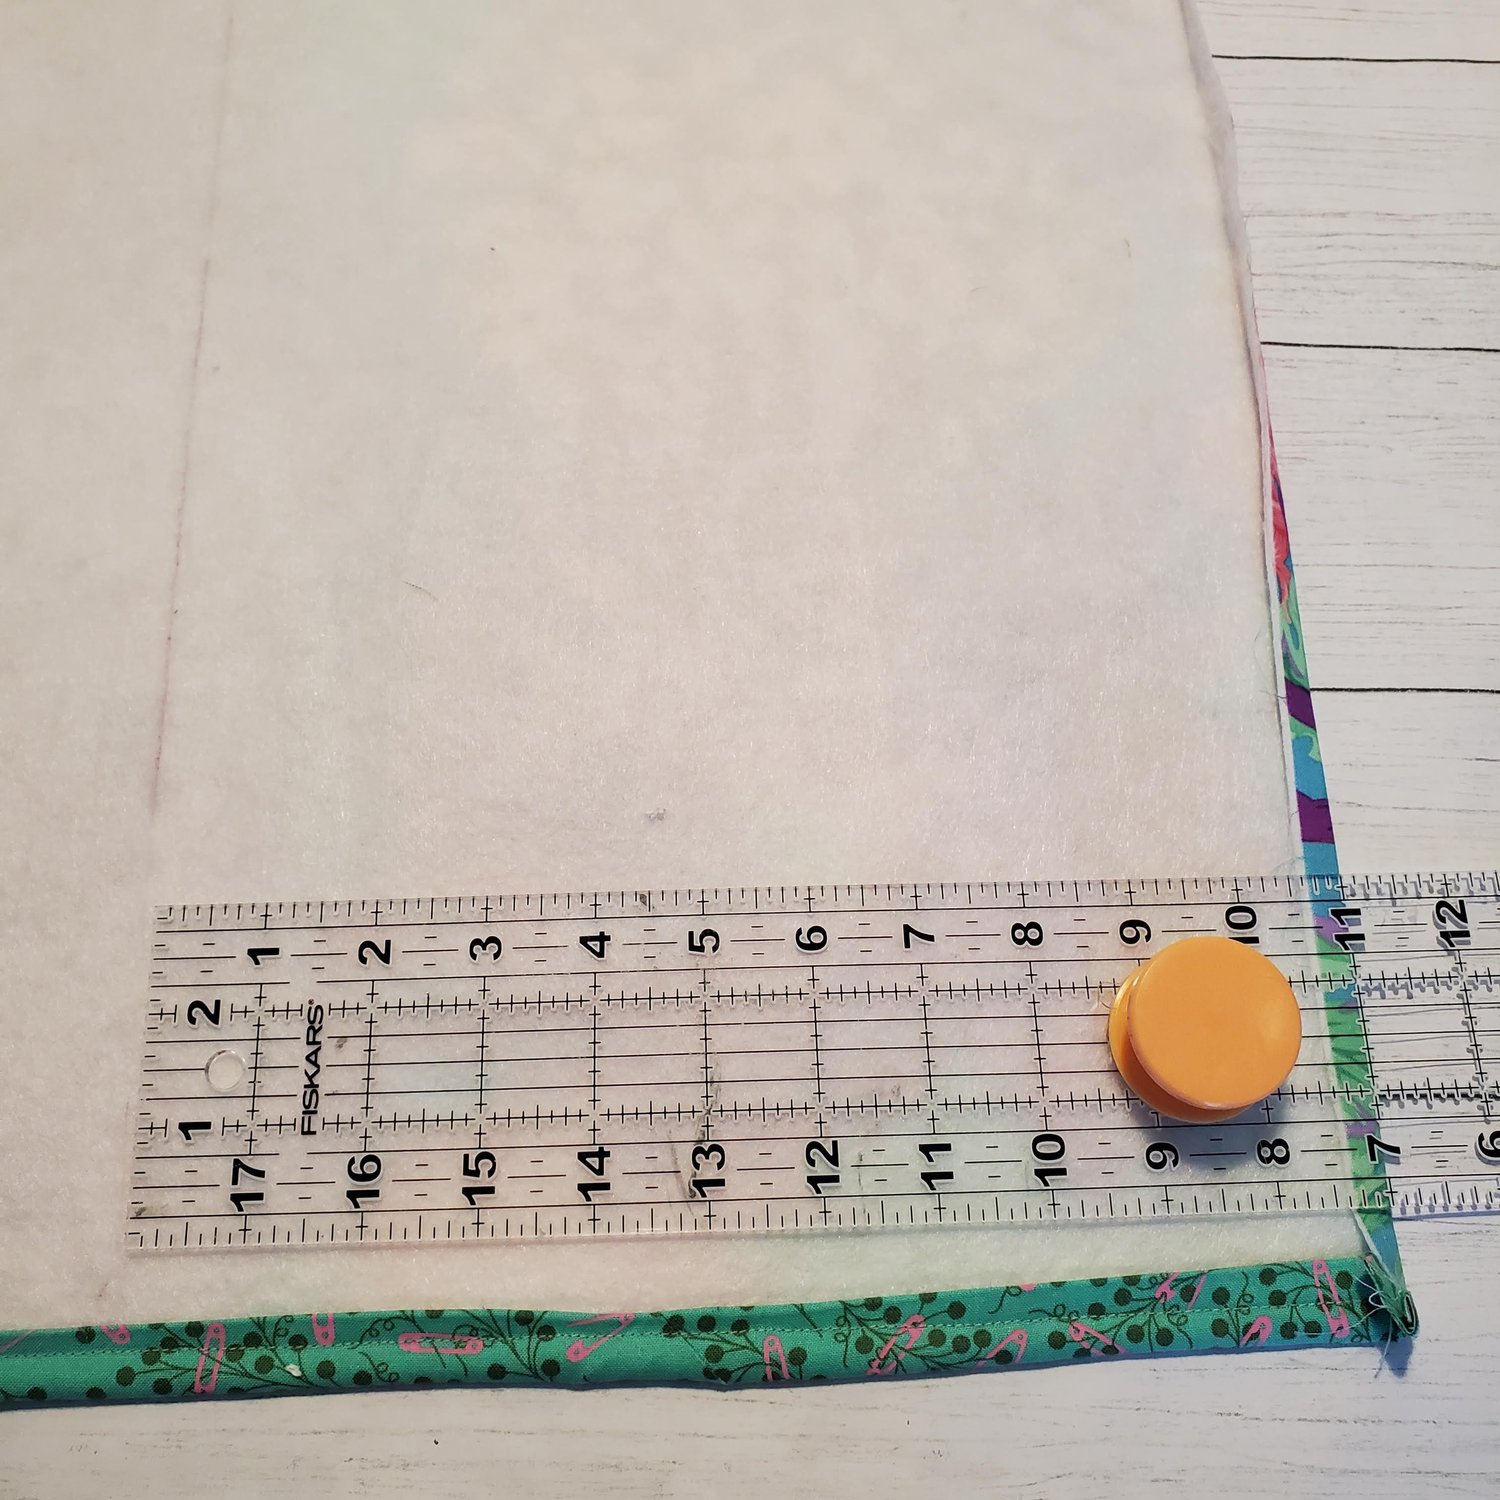
Press ⅜” to the wrong side. Fold the edge to the marked line, place pins to secure.
Topstitch about ⅛” from the edge and again at about ¼” to reinforce the area. It is a good idea to try the tube after the first line of stitching to be sure it fits properly.
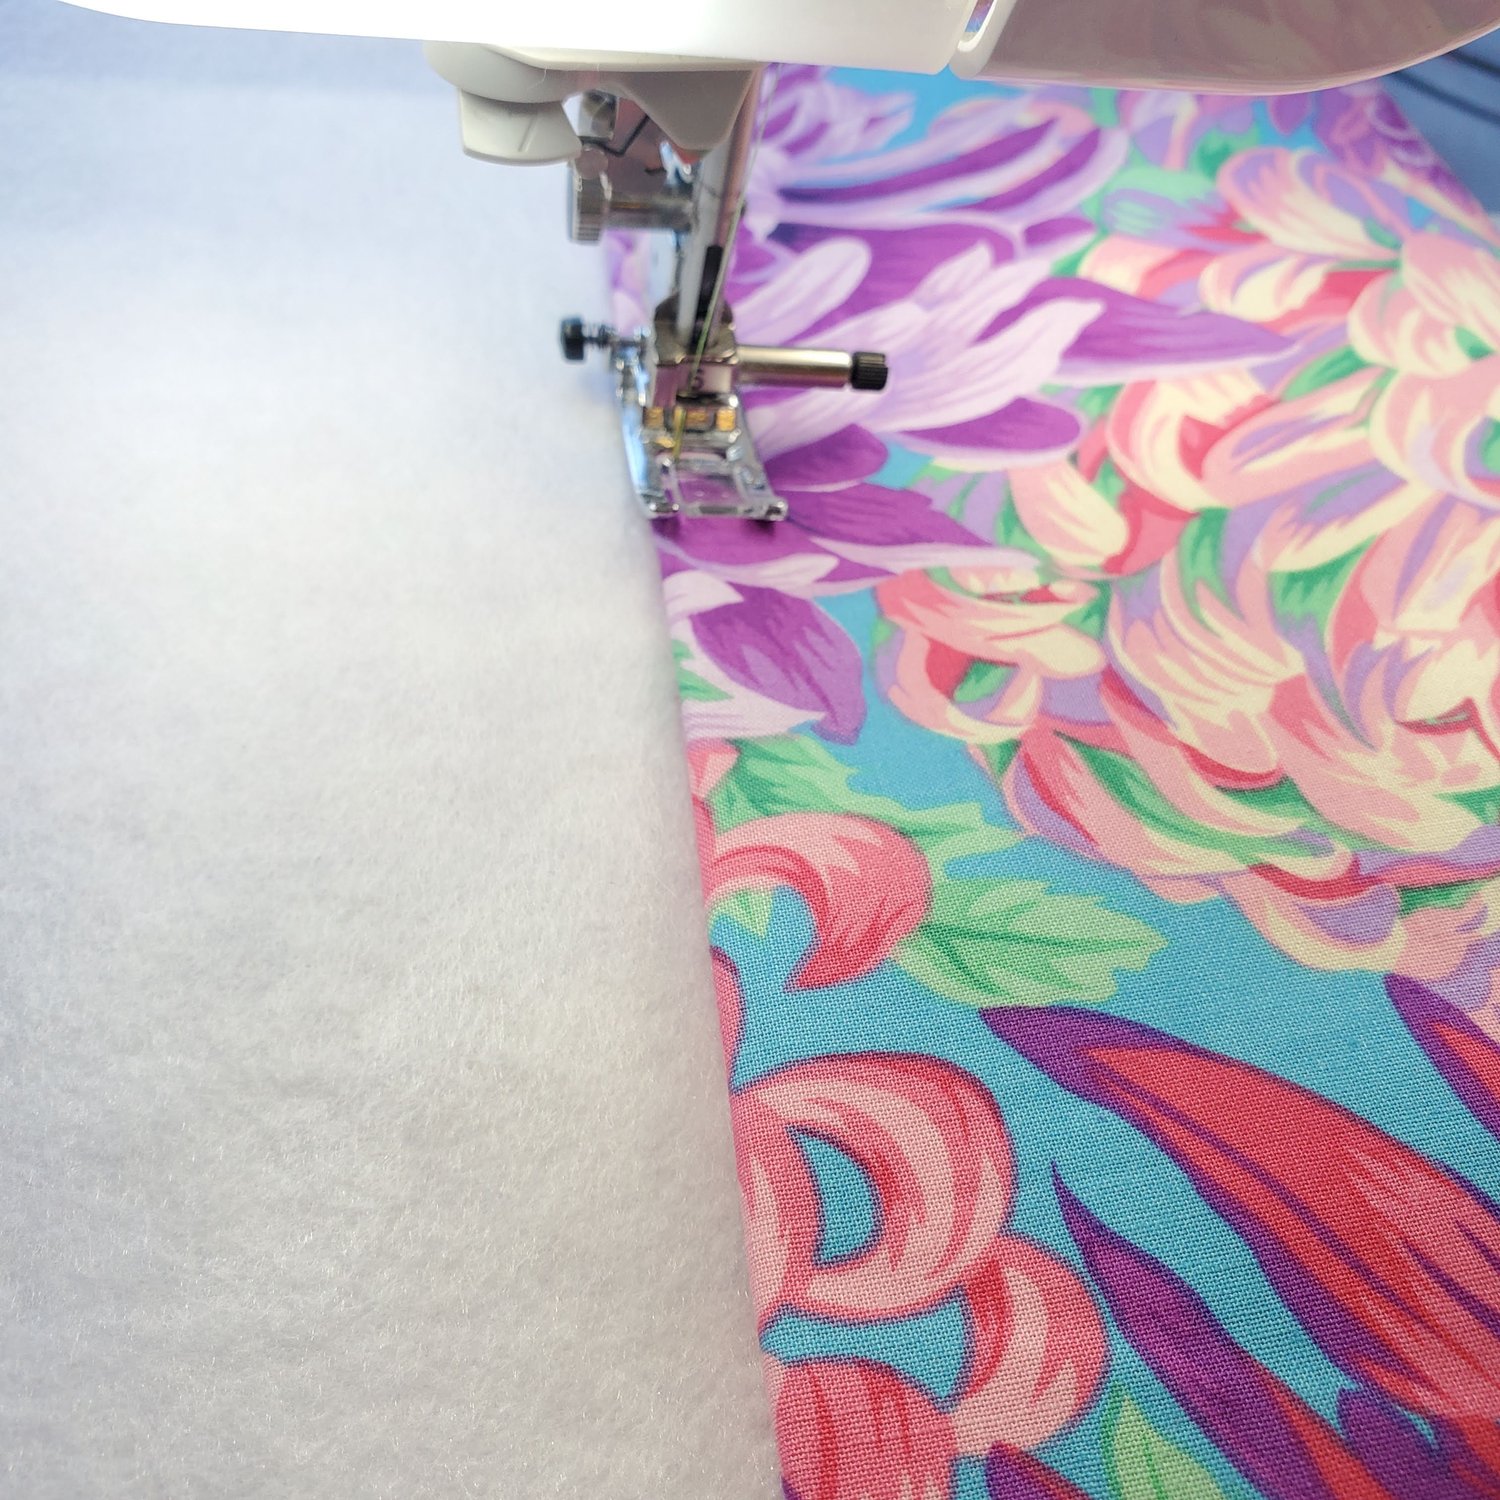
This picture is the view from showing the stitching on the outer fabric side. The tube should be snug so it doesn’t just slip out of the sleeve. Once you get the tube started the fabric sleeve should slide on the tube with a little encouragement.
Time to make a pincushion. Prepare a piece of foam core board by tracing the skinny side of the end cap of the mailing tube. This gives you an accurate fit inside the tube.
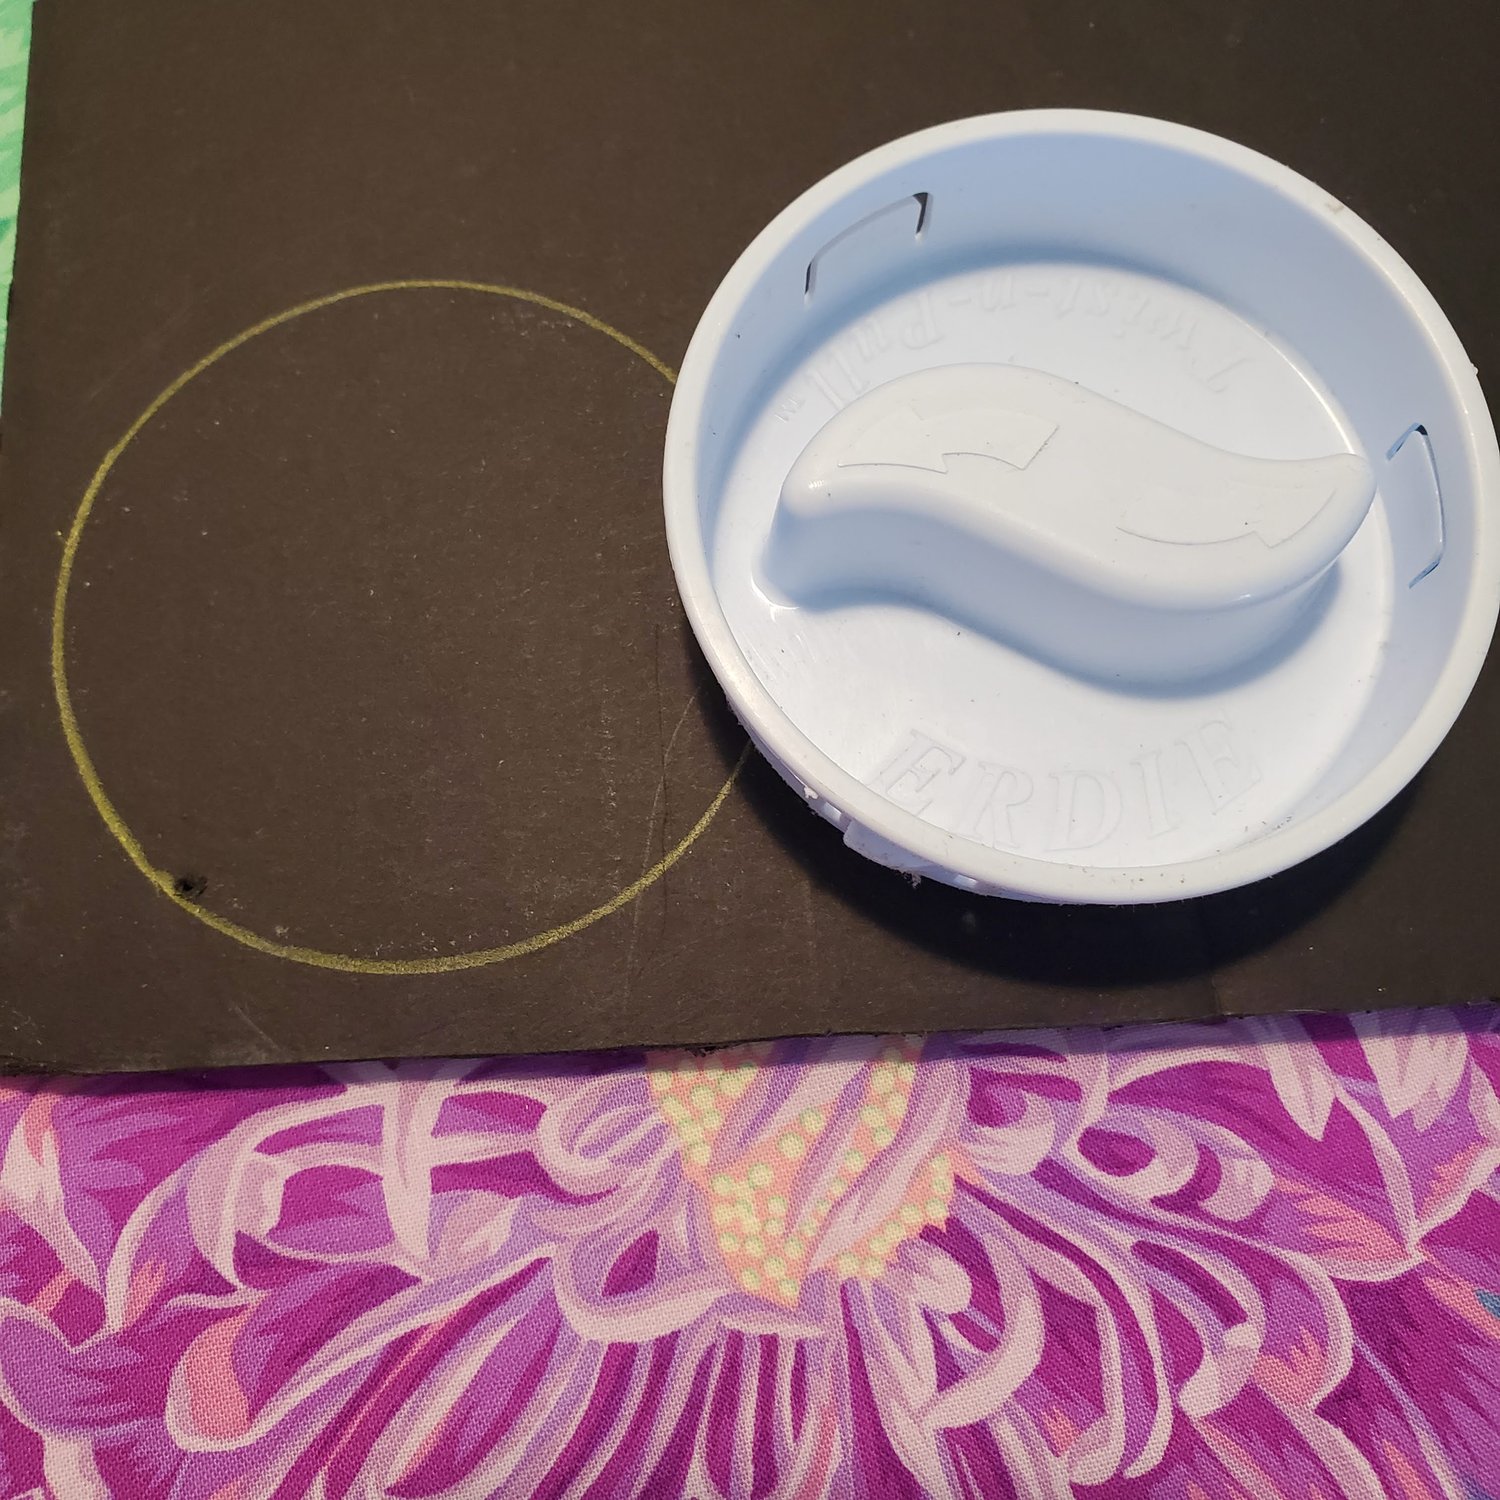
Cut this circle out with a kraft knife. You will make a pincushion on this base to glue onto the end of the tube. I used about an 8” square of coordinating fabric and some Poly-fil to make a simple pincushion. I hot glued the fabric to the foam core base and then hot glued the pincushion to the inside edge of the tube.
The final step is to place a snap centered on the curved edge. Roll the mat to determine the placement of the second snap to hold the roll closed.
Now your Roll’n Go is ready to store your sewing notions inside the tube for safe travels and you will be ready to sew when time allows. Since the tube is removable the fabric part can be washed in the future. This would be a wonderful Mother’s Day gift or birthday present for your sewing friend!
If you are interested to try before you buy a Cotton Cuts Puzzle Mystery Quilt click Here to order a free trial clue similar to the one pictured on this design mat. This partial trial clue will be from an older quilt and colorway, but will be a great representation of the program.