

Press Like a Pro
Posted by Robyn Thomas on 30th Apr 2026
Turn every press into progress with tips that keep your quilt crisp and precise
If you caught our recent Cotton Cuts LIVE (on March 5, 2026), you know it tackled one of the most overlooked—but absolutely essential—parts of quilting: pressing. It might not feel as exciting as picking fabrics or stitching blocks, but as Kim shared, your pressing habits can make or break your final quilt. Let’s walk through the top takeaways so you can press with confidence and precision.
Pressing vs. Ironing: Yes, There’s a Difference
It all starts with understanding the difference. Pressing means placing your iron down, applying heat, then lifting it up before moving to the next section—press, lift, move.
Ironing, on the other hand, involves sliding the iron across the fabric. That motion can stretch and distort your pieces, especially smaller cuts, throwing off measurements and leading to mismatched blocks. In quilting, pressing is your friend; ironing is your enemy.
Press as You Go (Not at the End!)
One of the biggest pieces of advice from the LIVE: press as you build. Waiting until the end might seem efficient, but it often results in a messy, uneven back and blocks that don’t quite line up. Consistent pressing throughout keeps everything aligned and helps your quilt come together smoothly.

Which Way Should You Press?
You’ve likely heard the classic tip: press to the dark side. Historically, this prevented darker fabrics from showing through lighter ones. While modern, higher-quality fabrics—especially those from Cotton Cuts—have reduced that issue, it’s still a helpful default.
There’s also pressing seams open, which creates a flatter finish. However, it comes with a trade-off: open seams can weaken your quilt if you plan to stitch in the ditch, since you’re sewing along thread rather than reinforced folded fabric. Strength matters, so choose based on how you plan to quilt.
When it comes to direction, pressing from the back side is preferred so you can clearly see and set your seams.
And when you’re working from a pattern, follow it closely. When applicable—such as when sewing a monthly Puzzle Mystery Quilt—press in the direction of the arrows provided in your instructions. Those arrows are there to help create nesting, where seams lock together neatly. The result is a flatter, more precise seam as your pieces come together. Pattern designers have already done the analysis for you—follow their lead, and you’ll be thanking them in the end.
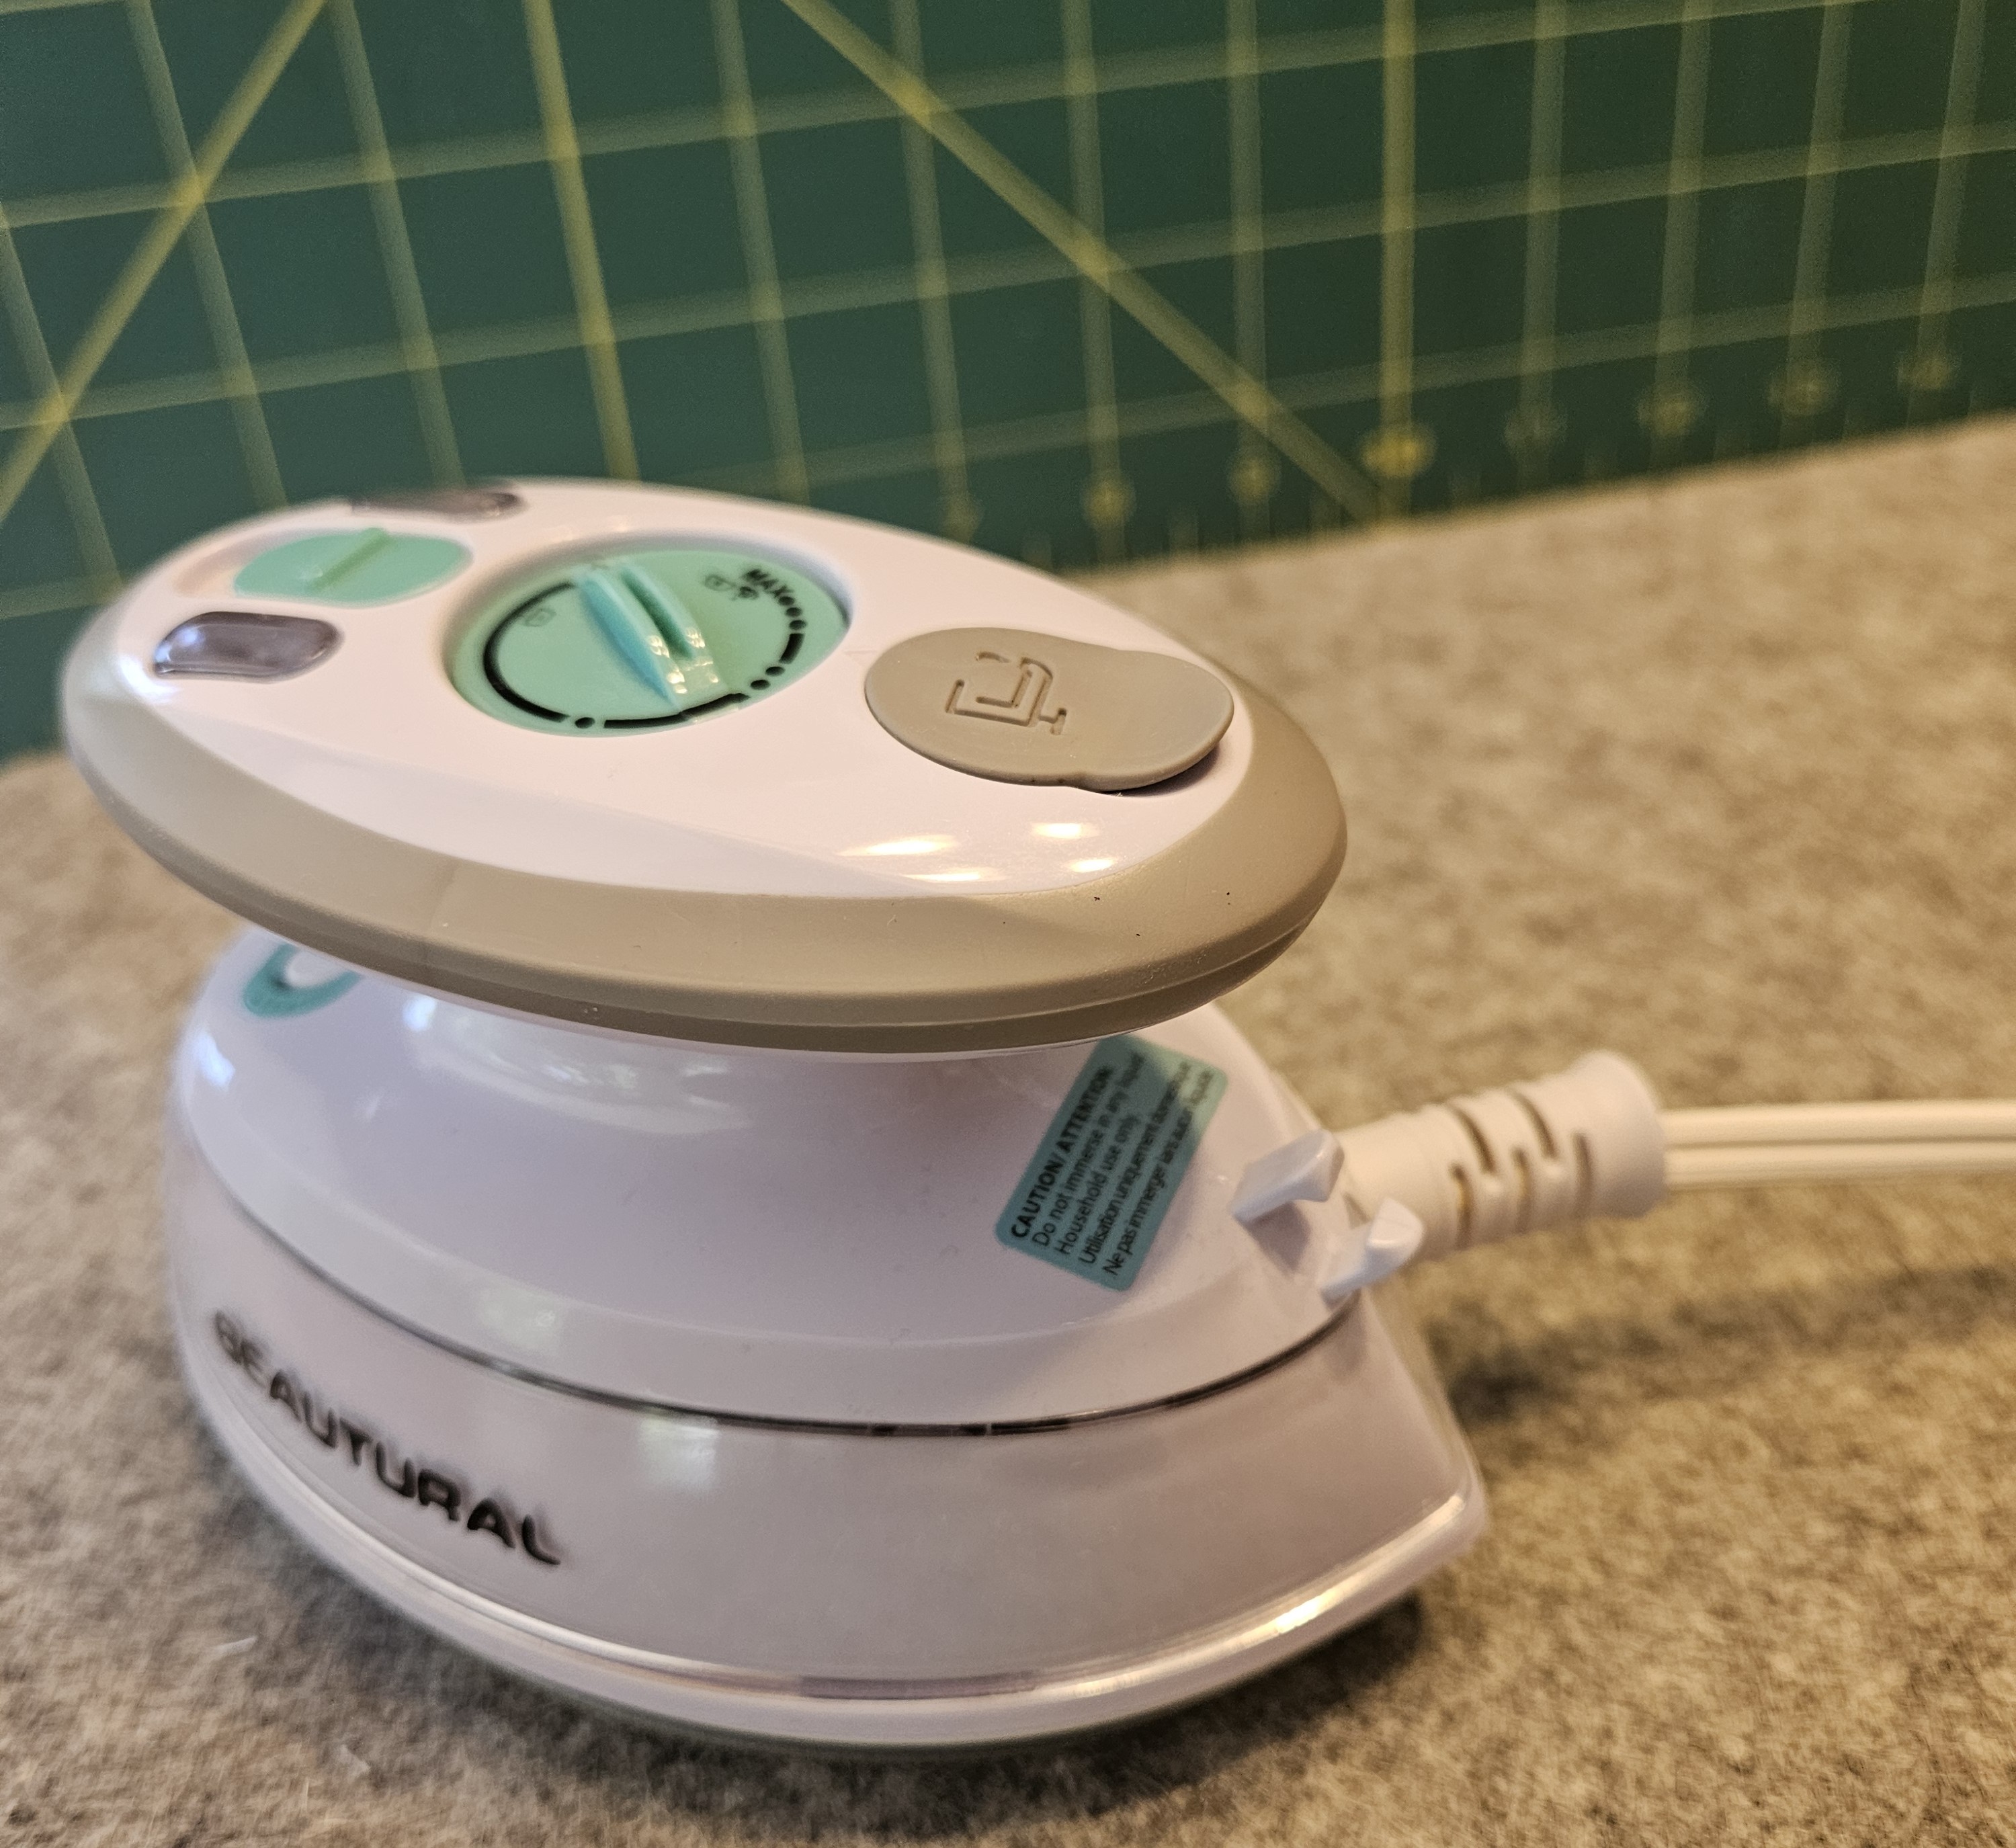
Tools of the Trade
Your pressing setup plays a big role in your results. A few essentials highlighted during the LIVE:
- Ironing board: Still a reliable staple—even if it doesn’t see much use outside the sewing room.
- Wool pressing mat: Retains heat for more effective pressing (most are now synthetic blends). Be cautious—if you use steam, moisture can pass through and damage surfaces underneath.
- Clapper: A wooden tool that holds heat in the fabric longer for crisp, flat seams.
- Seam roller: Useful in certain moments, but it can introduce movement and stretch if overused.
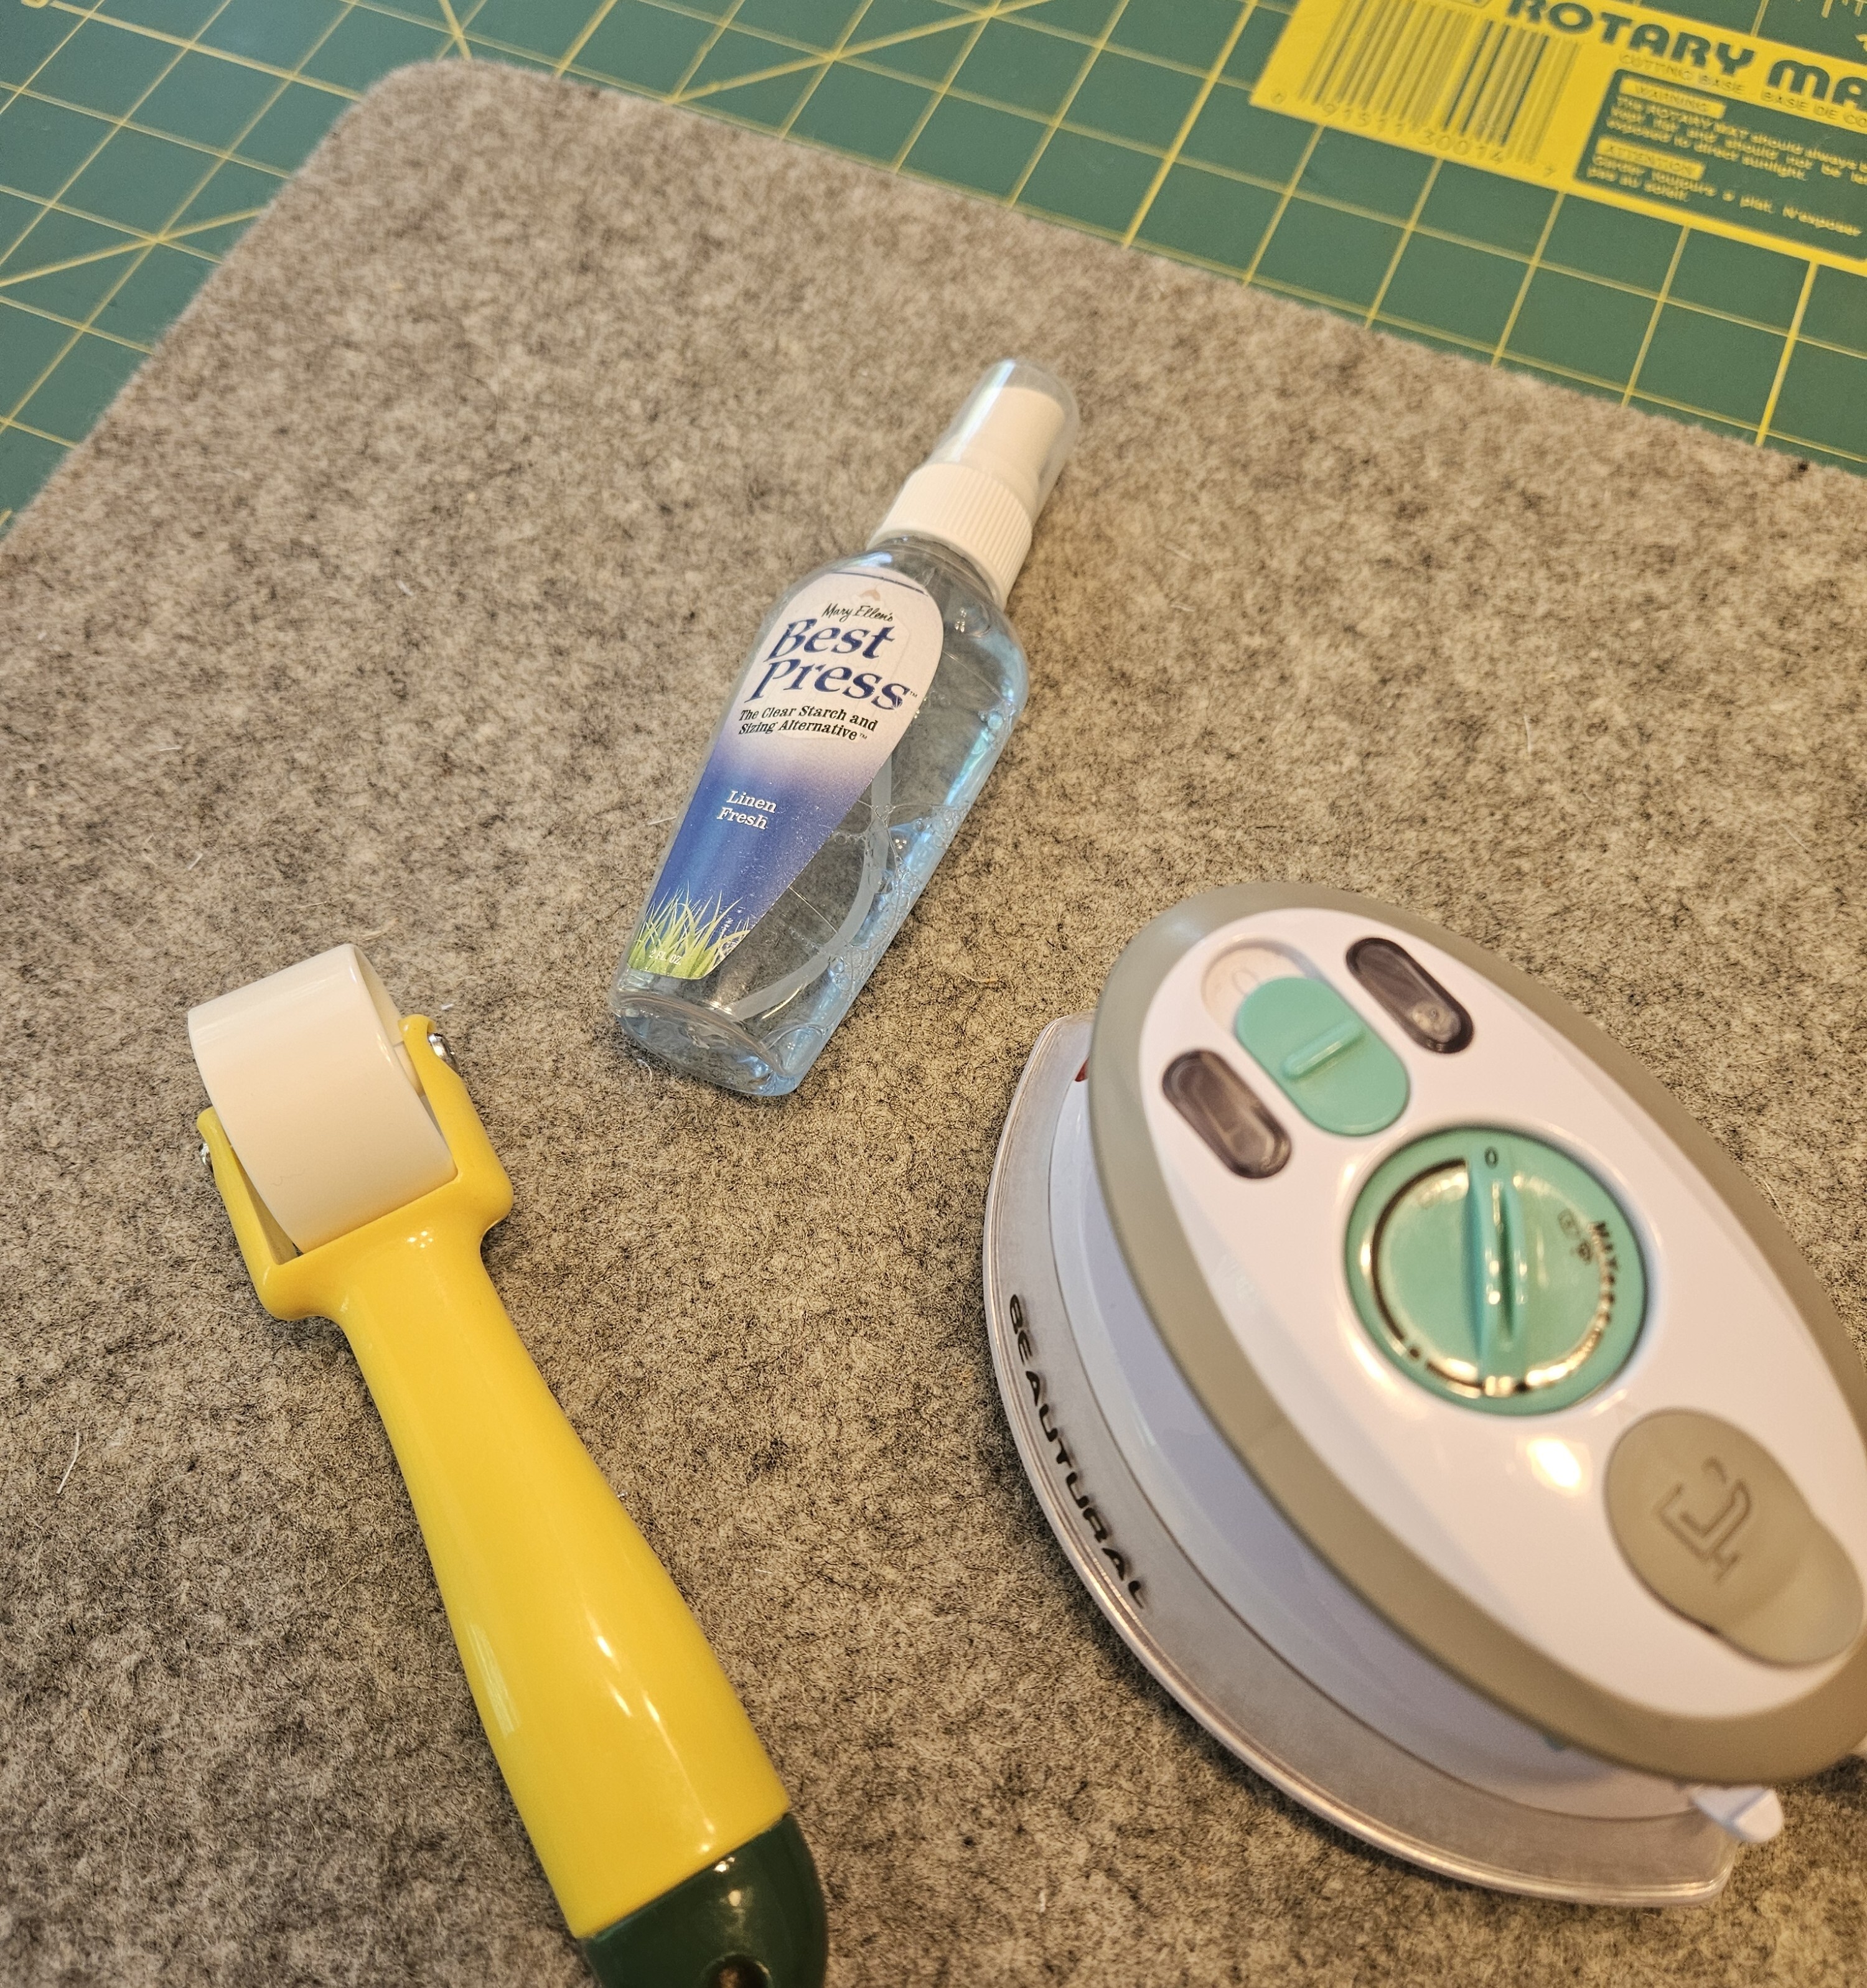
Consistency matters with starch as well—apply it at the same stage each time, and avoid using it on pre-cut pieces.
Steam: Friend or Foe?
This might be surprising: steam isn’t always your best option. While commonly used, it can introduce excess moisture and lead to distortion. The recommendation shared in the LIVE was to avoid steam until the very end and to always use the proper water—like distilled—in your iron.
Mythbusters: Setting the Record Straight
A few common myths got cleared up:
- “Pressing doesn’t really matter.” → False. It’s a key part of the sewing process.
- “Steam always helps.” → Not necessarily—it can complicate things.
- “I’ll press everything at the end.” → That often leads to wonky results.
- “It doesn’t matter which way I press.” → It does, depending on your goals.
- “Any iron will do.” → Not quite. Look for one with consistent, even heat—and don’t be afraid to try different options.
Final Thought
Pressing isn’t just a finishing step—it’s a foundational skill that shapes your entire quilt. With insights like these (and a little practice), you’ll see smoother seams, sharper blocks, and better results overall. As Kim emphasized, pressing with intention makes all the difference—one seam at a time.