Floral Fabric Bird
9th Jun 2022
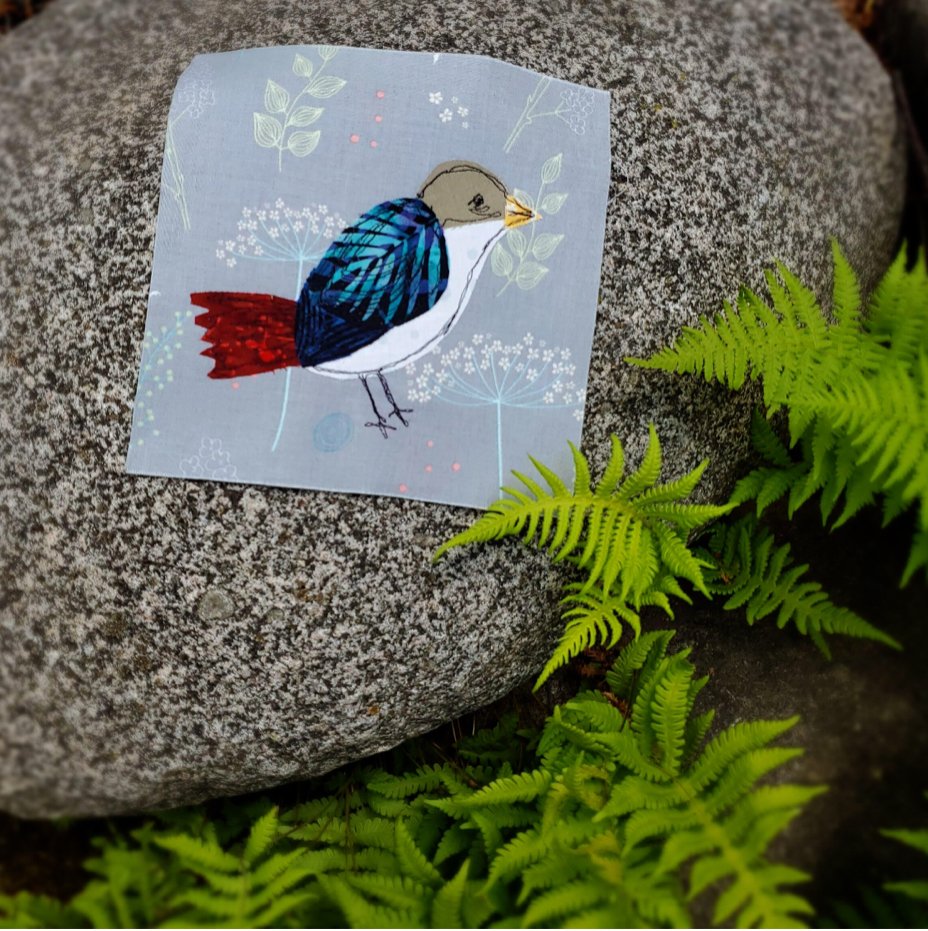
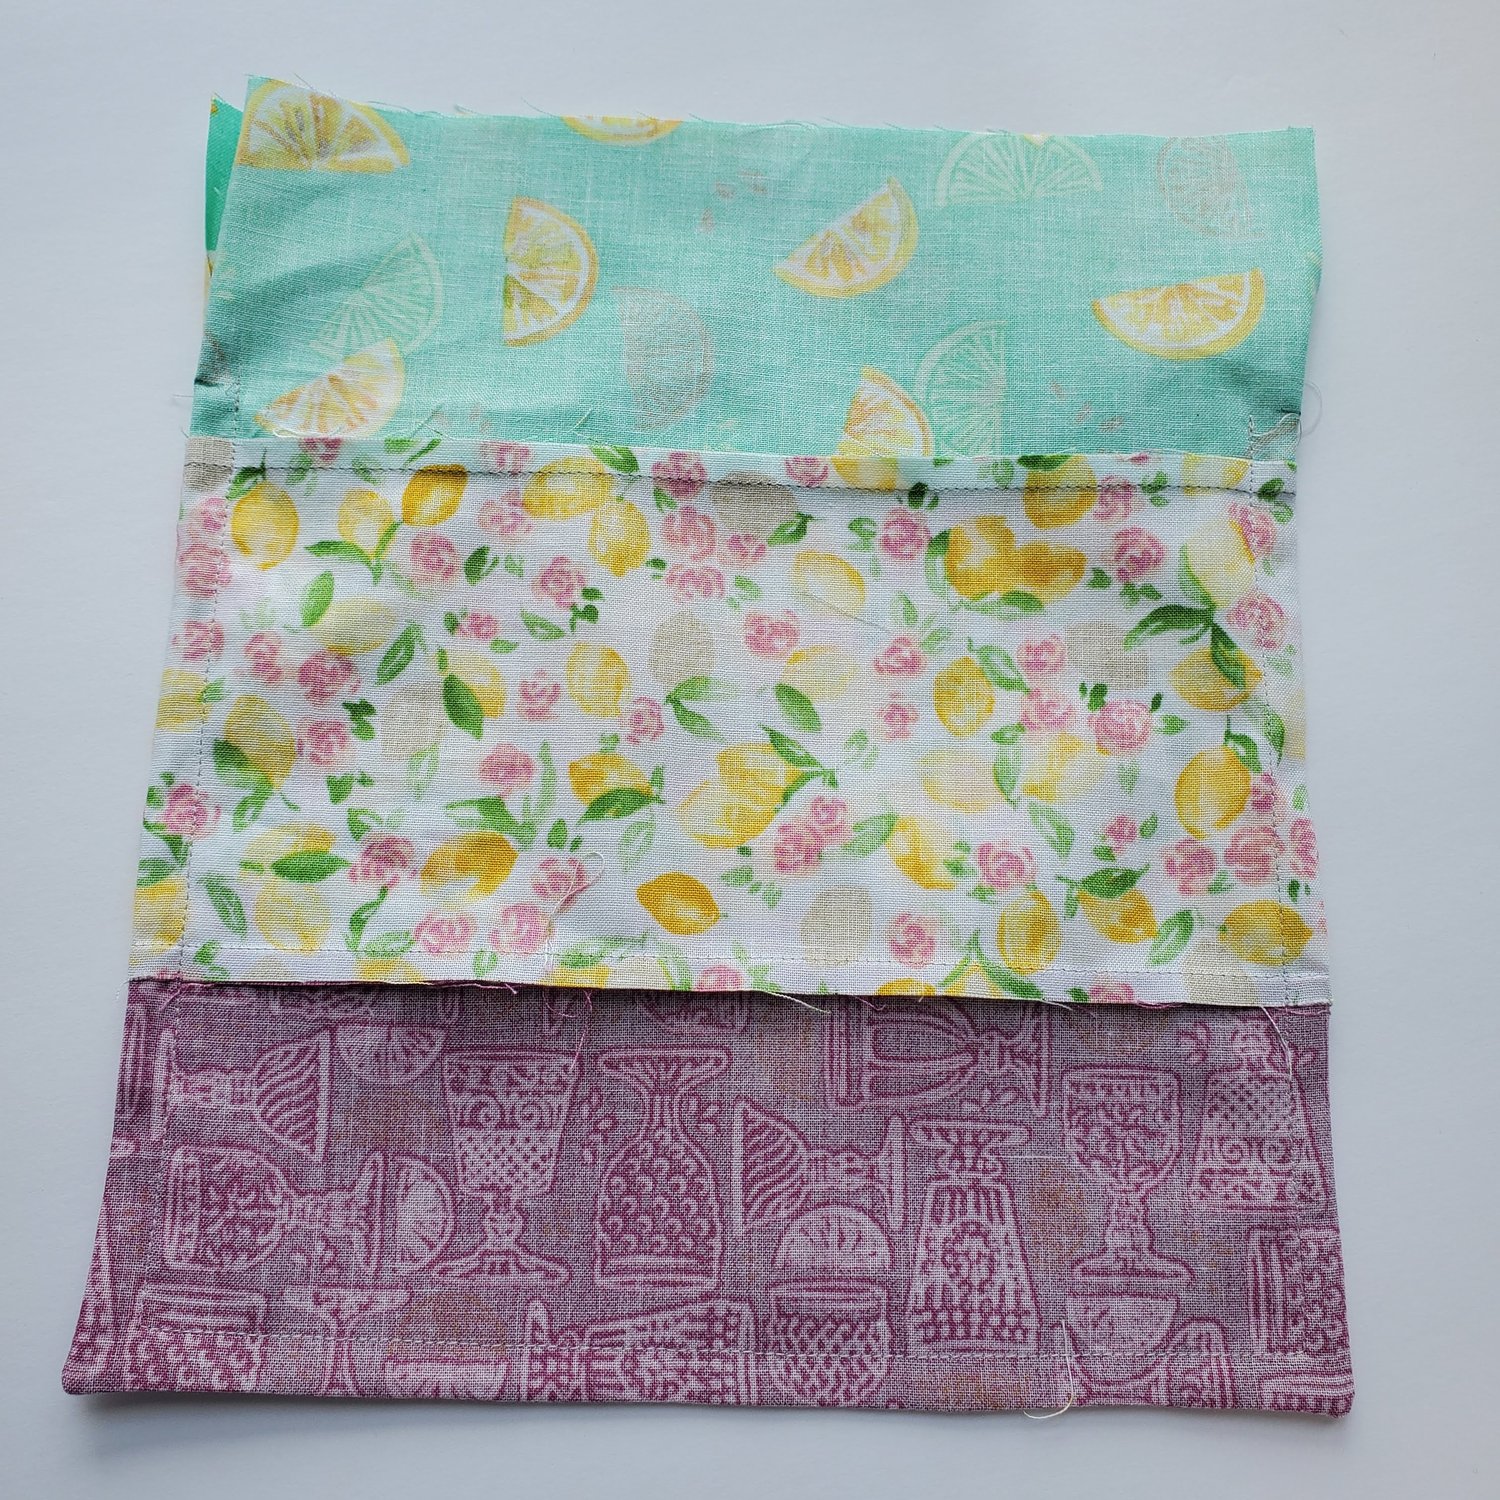
I love being outdoors on a beautiful day listening to the birds sing. When you take the time to stop and listen you will be amazed by the variety of bird calls, it is fun to learn about all the different birds right in my backyard. In this week's project we are pairing together beautiful fabrics with my love of birds. I found this free Bird pattern from Belly Buttons Boutique and some Free Spirit Fabrics - by Philip Jacobs for Kaffe Fassett Collective Fabrics Chrysanthemum Magenta from the recent Mini Pop Fabric Membership box. This is a great way to use up some scrap fabrics. I used several different fabrics that reminded me of colorful bird feathers.
Download and print the Bird pattern. I made a small change on the bird tail to make it easier to sew and rounded out the wing a bit. Gather up a few scrap pieces of fabric about 6x9 inches for the body pieces and 3x6 inches for the wings.You will also need a few scraps of Pellon fusible fleece for the wings and some stuffing.
Lay out the pattern pieces on the fabric making sure you cut two pieces with wrong sides together.
For the wings you will need two pairs for a total of 4 pieces cut out of your fabric. Take into consideration the fabric design and fussy cut the pieces for the most interesting bird “feathers”.
For the feathers I added a layer of Pellon Fusible Fleece to one side of each of the feathers. Align the pieces with right sides together and sew with a ¼” seam. Leave an opening to turn the piece right side out. Clip the area around the beak and the curves to help it lay flat. Turn right sides out and press. Add some small clumps of Poly-Fil pushing it into the head area first, working your way to the tail.
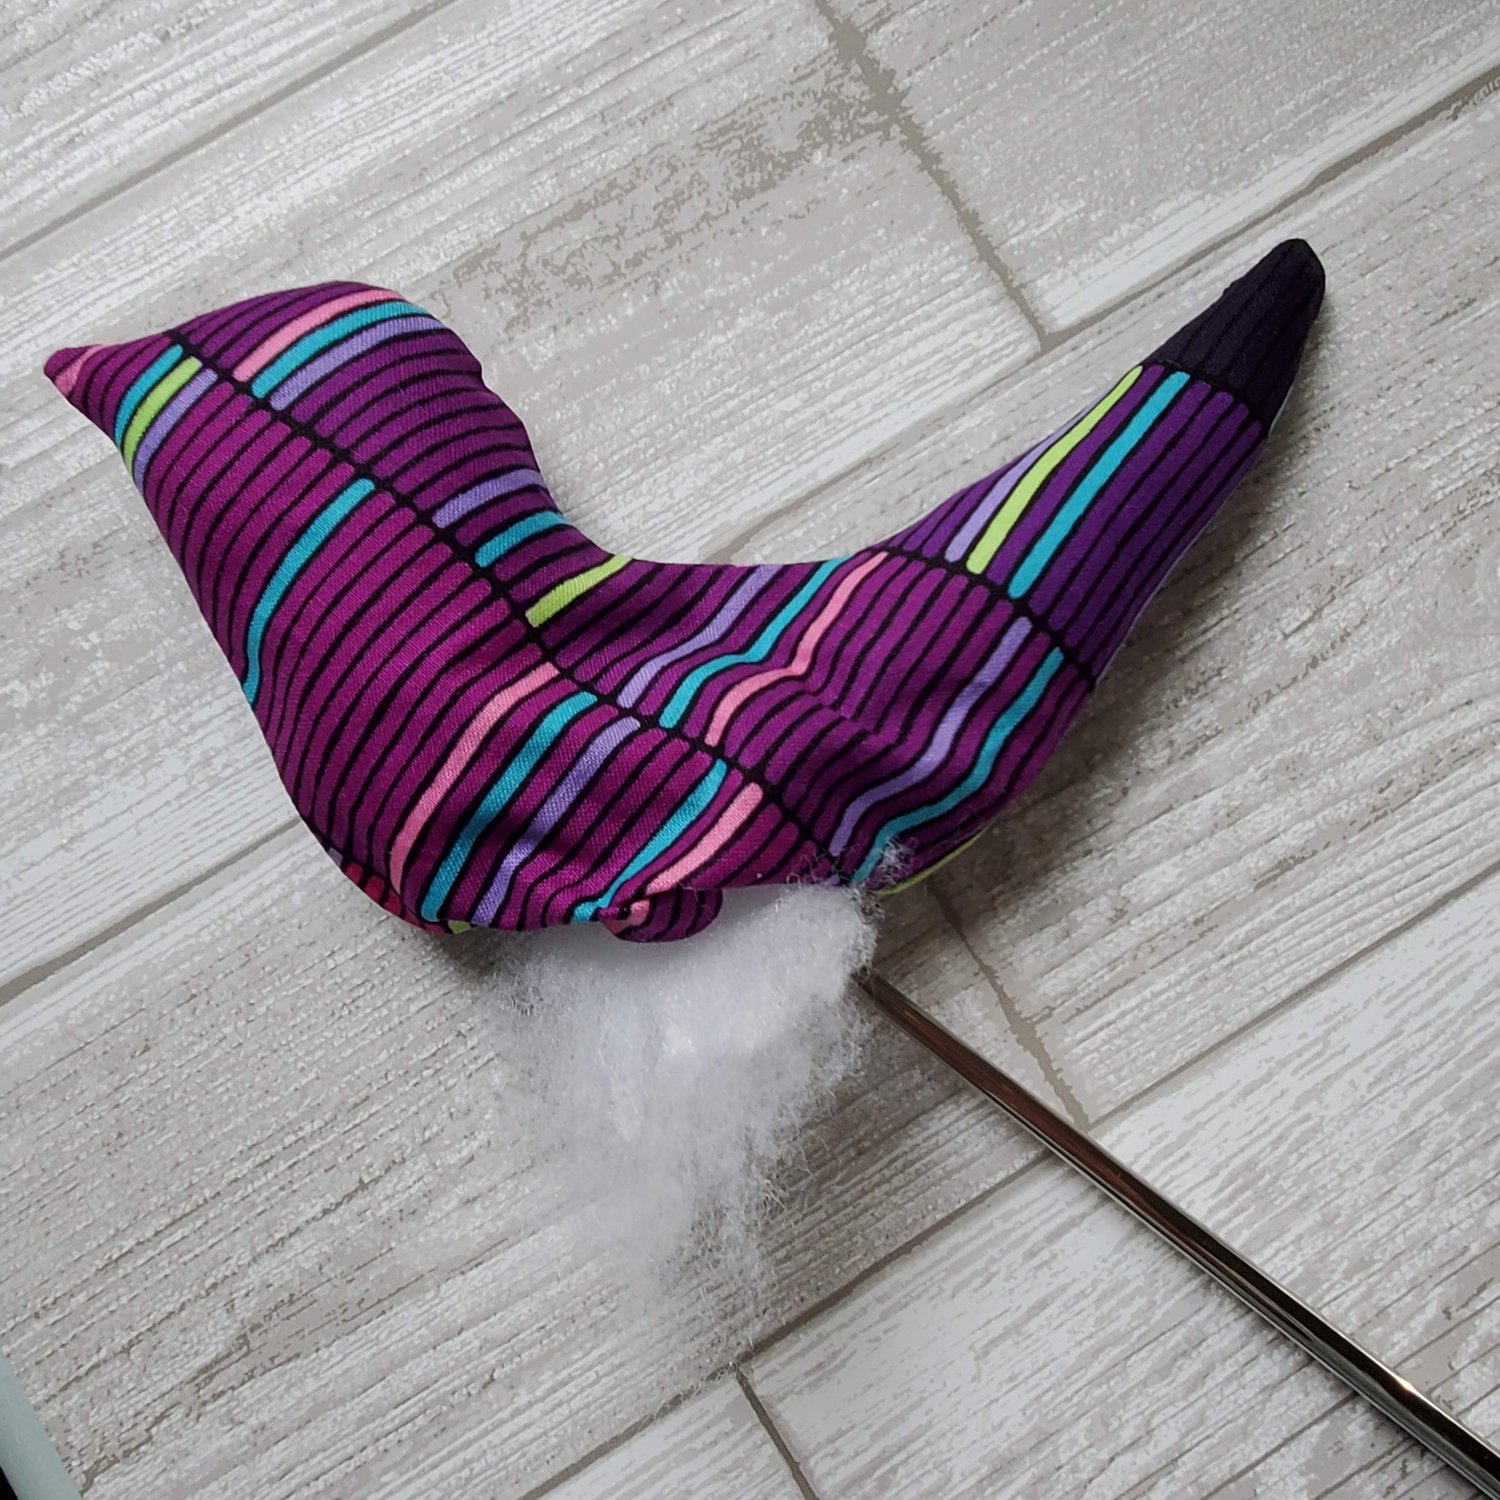
I like to be sure it is somewhat firm as you add the stuffing. To close the opening hand stitch with coordinating Aurifil thread.
After you turn the wings right sides out press, then topstitch close to the edge closing up the opening.
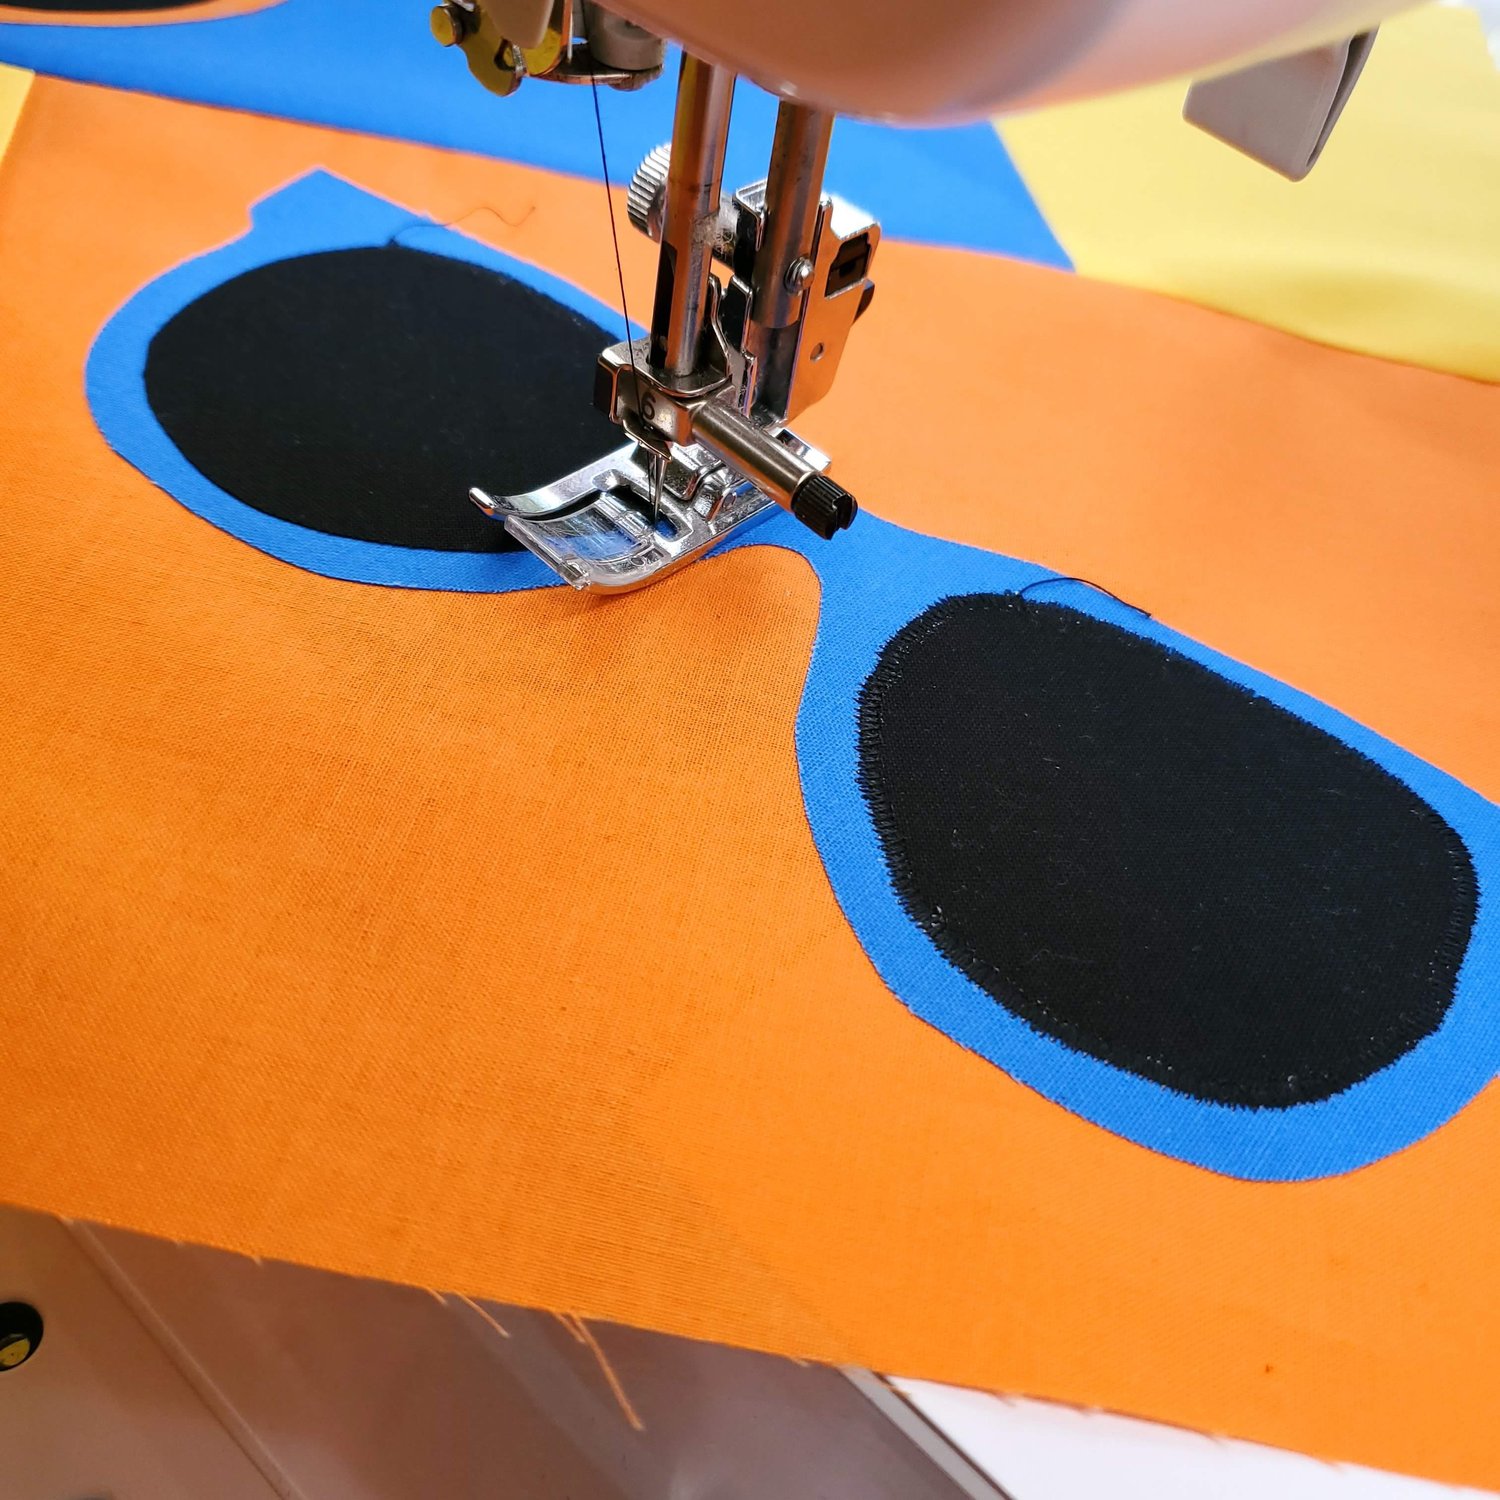
Next I sewed some lines to resemble feathers quilting the two wings.
I decided to use a bit of Misty fuse to adhere the wings to the side of the bird. It is easily pressed onto the bird with a little heat from the iron. If this is going to be a play toy for a child you would want to hand sew the wings in place. I determined the best placement of the ribbon by first using a safety pin then hand stitching in place. Depending on how you stuff the bird the center of gravity will change and I wanted it to hang evenly from the ribbon.
These little birds would be a cute pincushion or play toy. If you make several in different sizes they would look cute as a mobile for a baby crib. They could also be hung from a tree branch in your garden. I think it is a nice topper for a special gift as well.
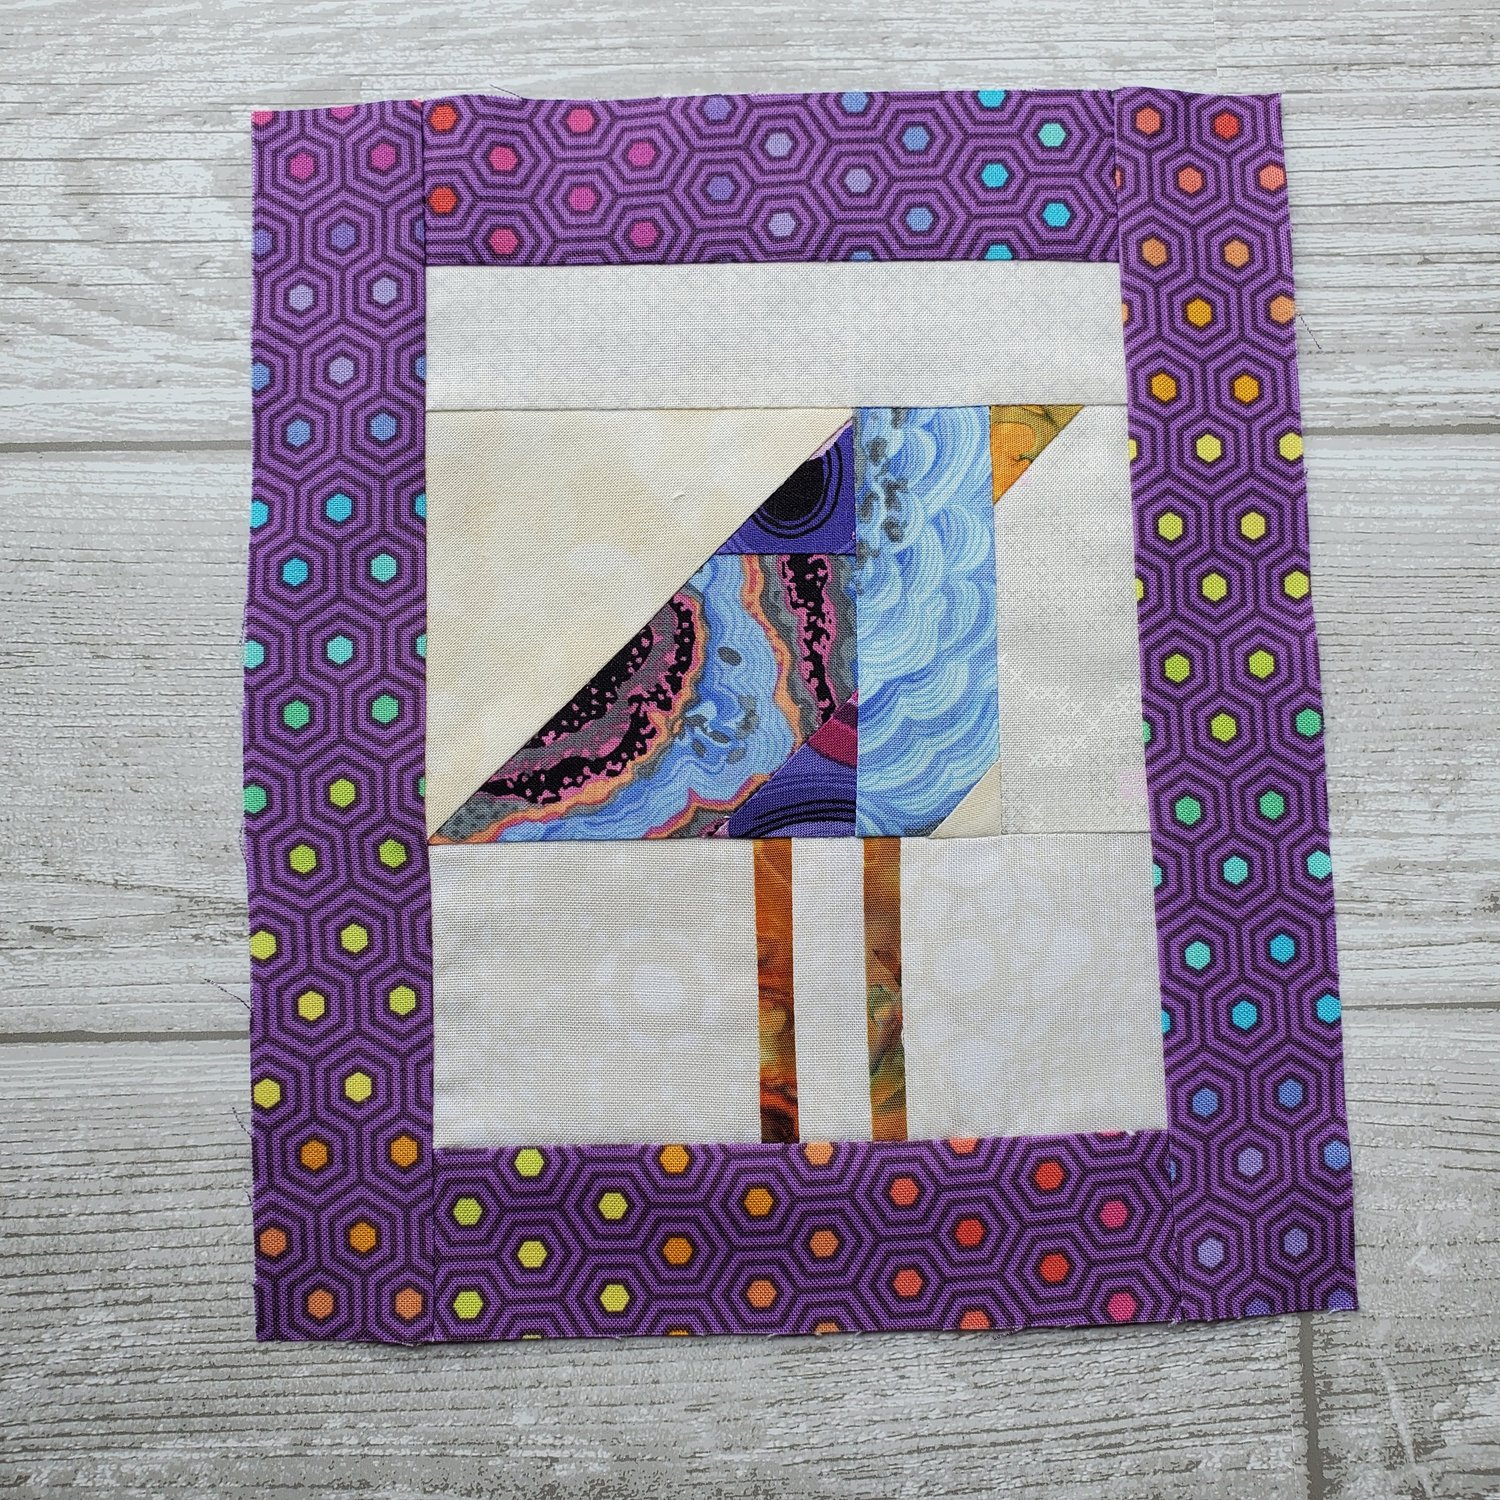
My love of birds has been featured in a recent blog Paper Piecing Bird Block.
Check out this Thread Painted Bird tutorial from a while back.