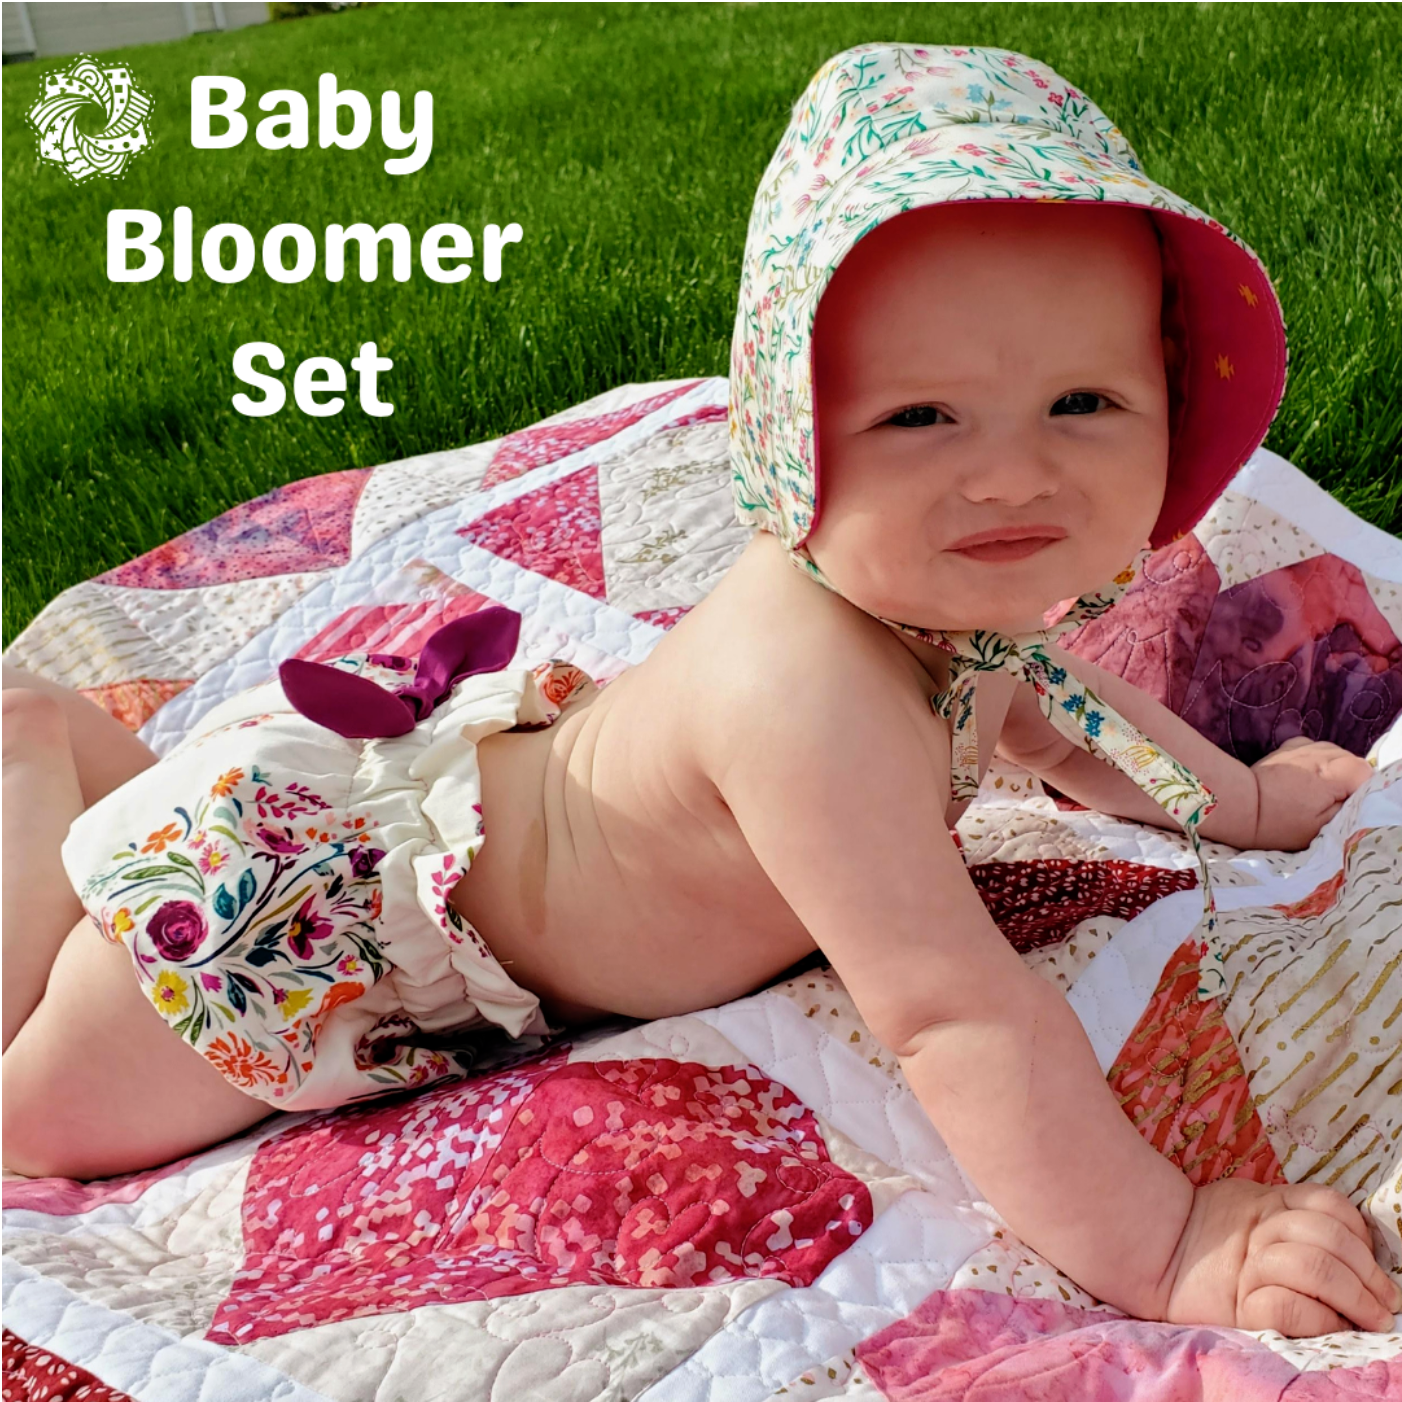
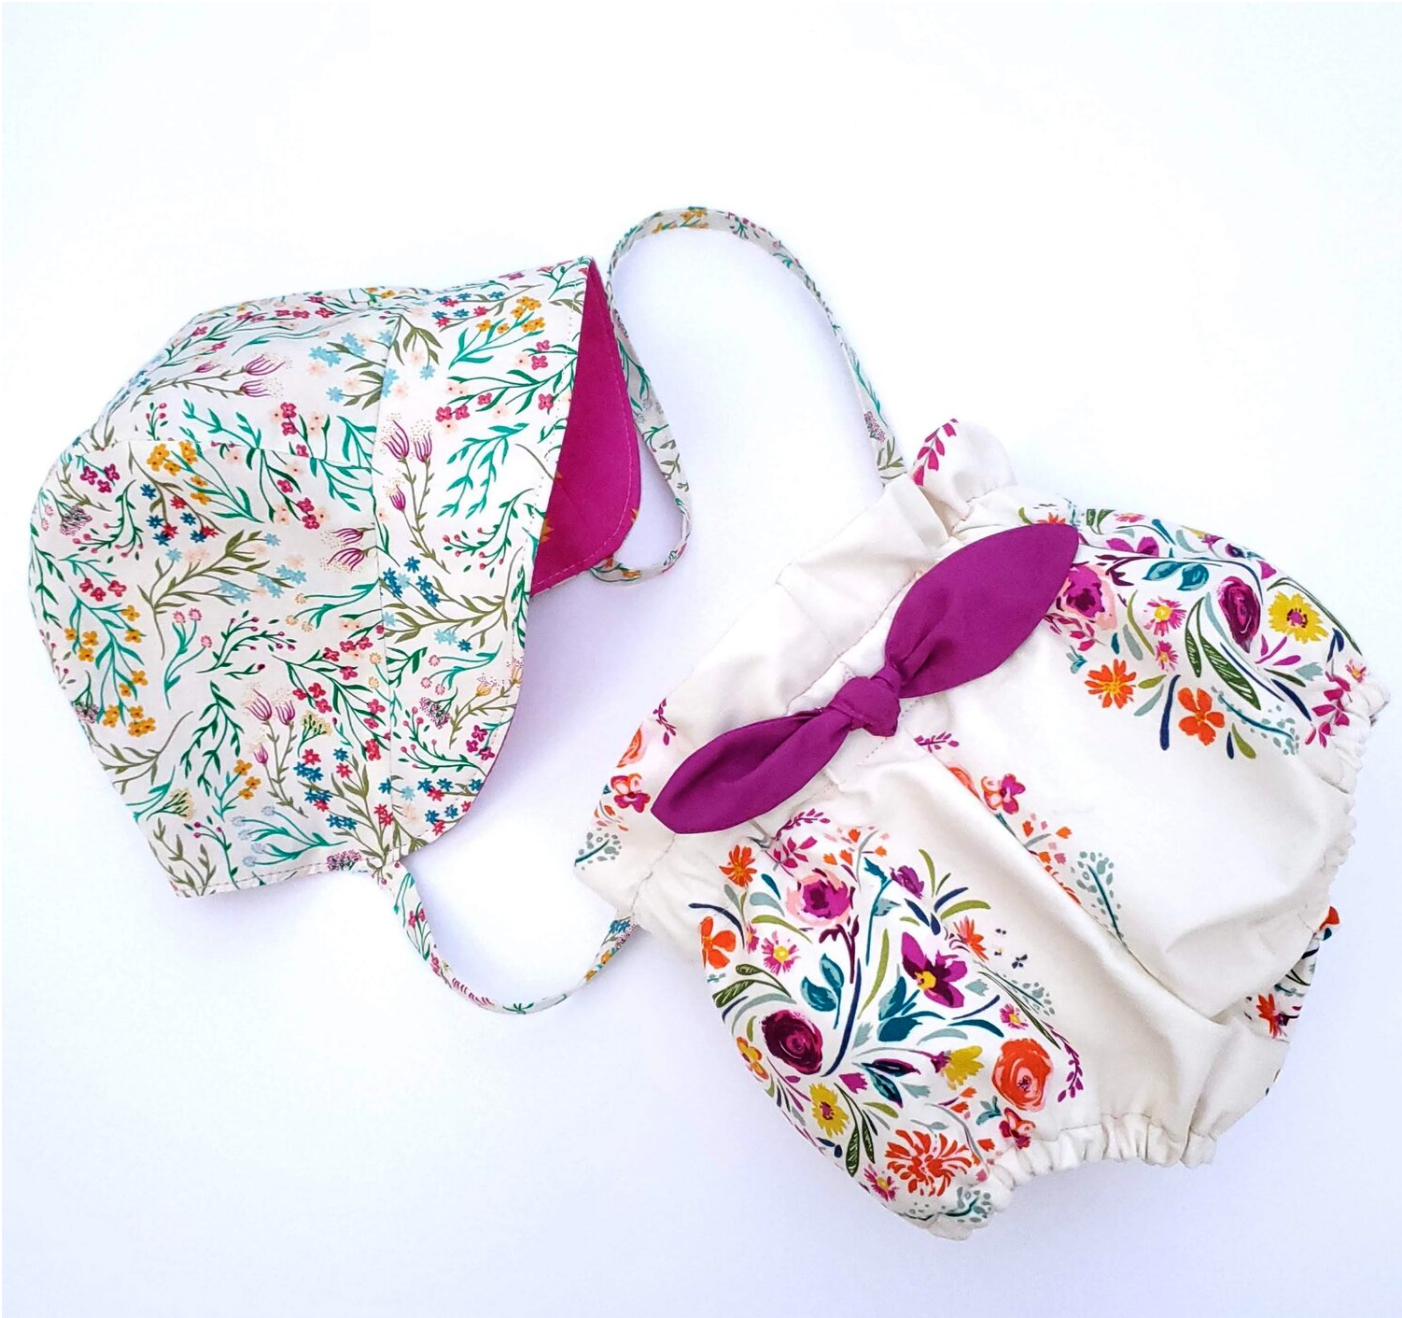
Baby Bonnet and Bloomers Set
29th Apr 2021
Spring has arrived bringing us delightful sunny days to get out and enjoy. This baby bonnet and bloomers set is an adorable way to protect your little ones delicate skin, keeping them comfortable while outdoors. This is an easy beginner project and quick to sew together. It’s such a fun way to use the cute fabrics from our Classic Box.
BONNET
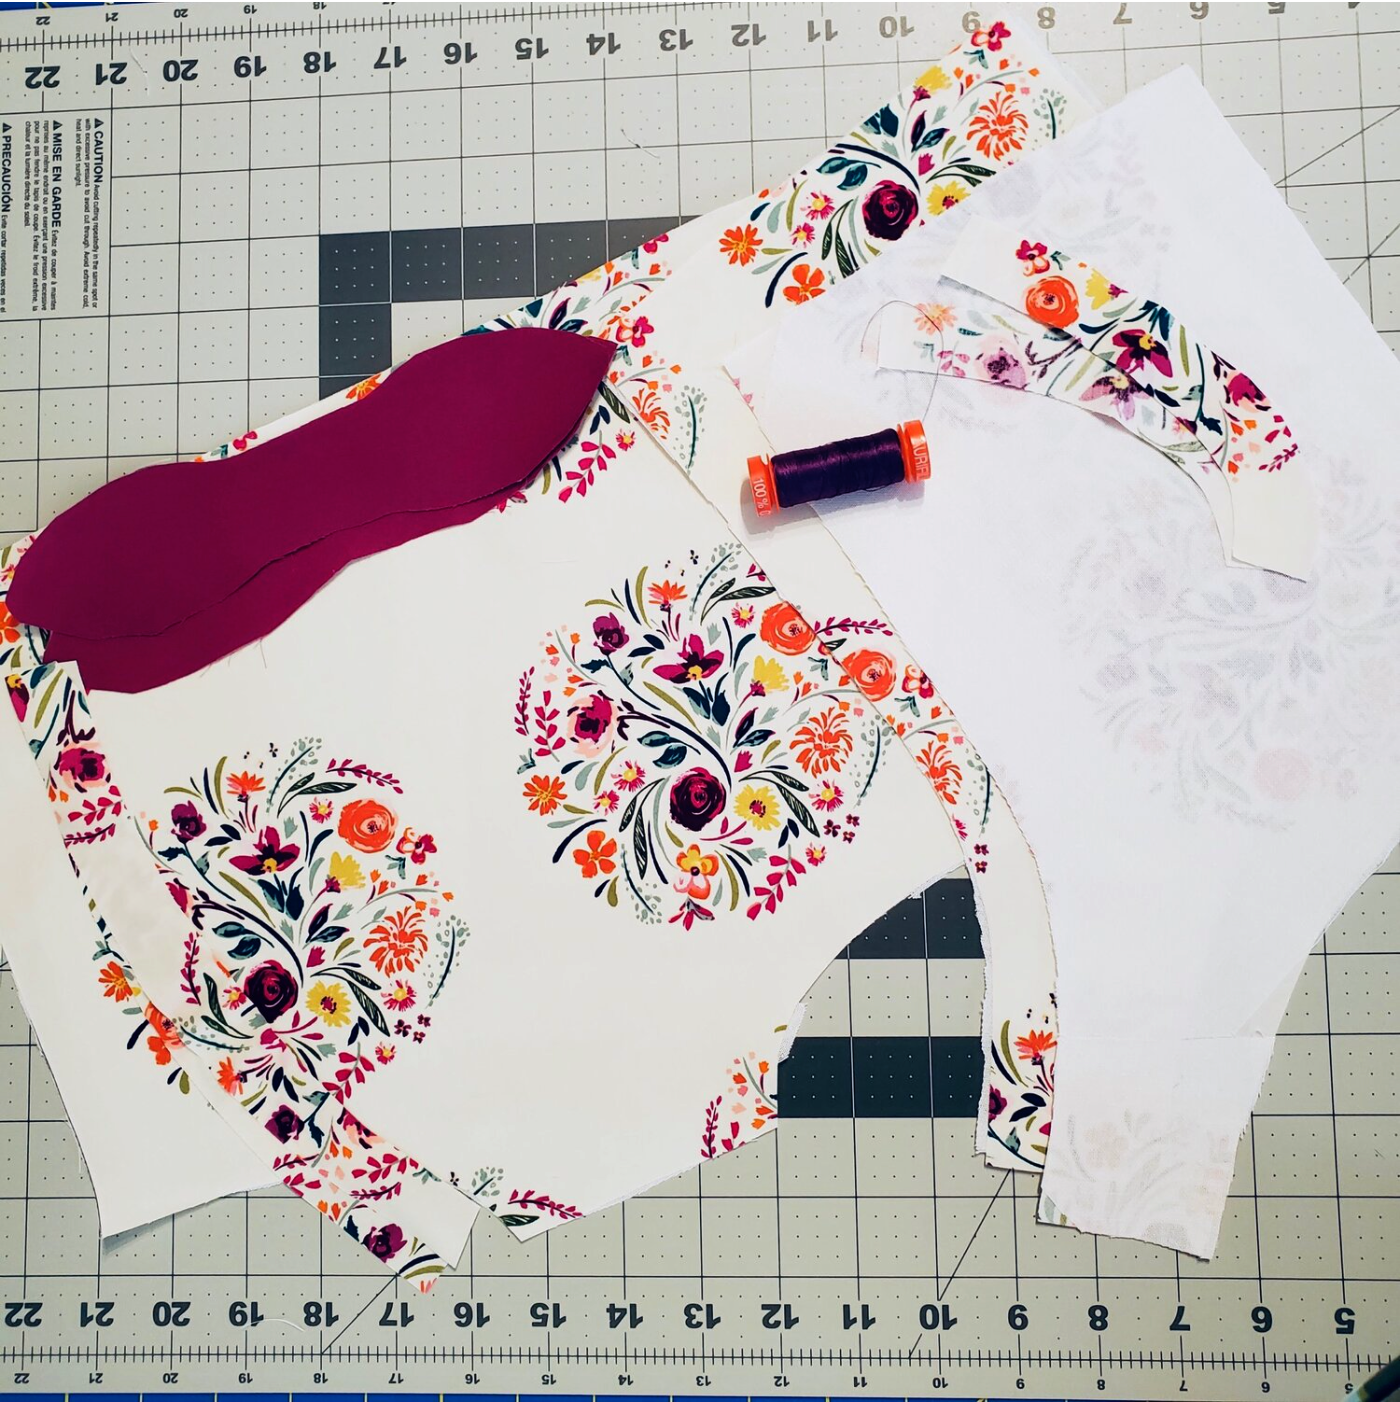
First, you will need to download and print the free bonnet pattern from The Simple Life Company.com.
Materials needed :
-
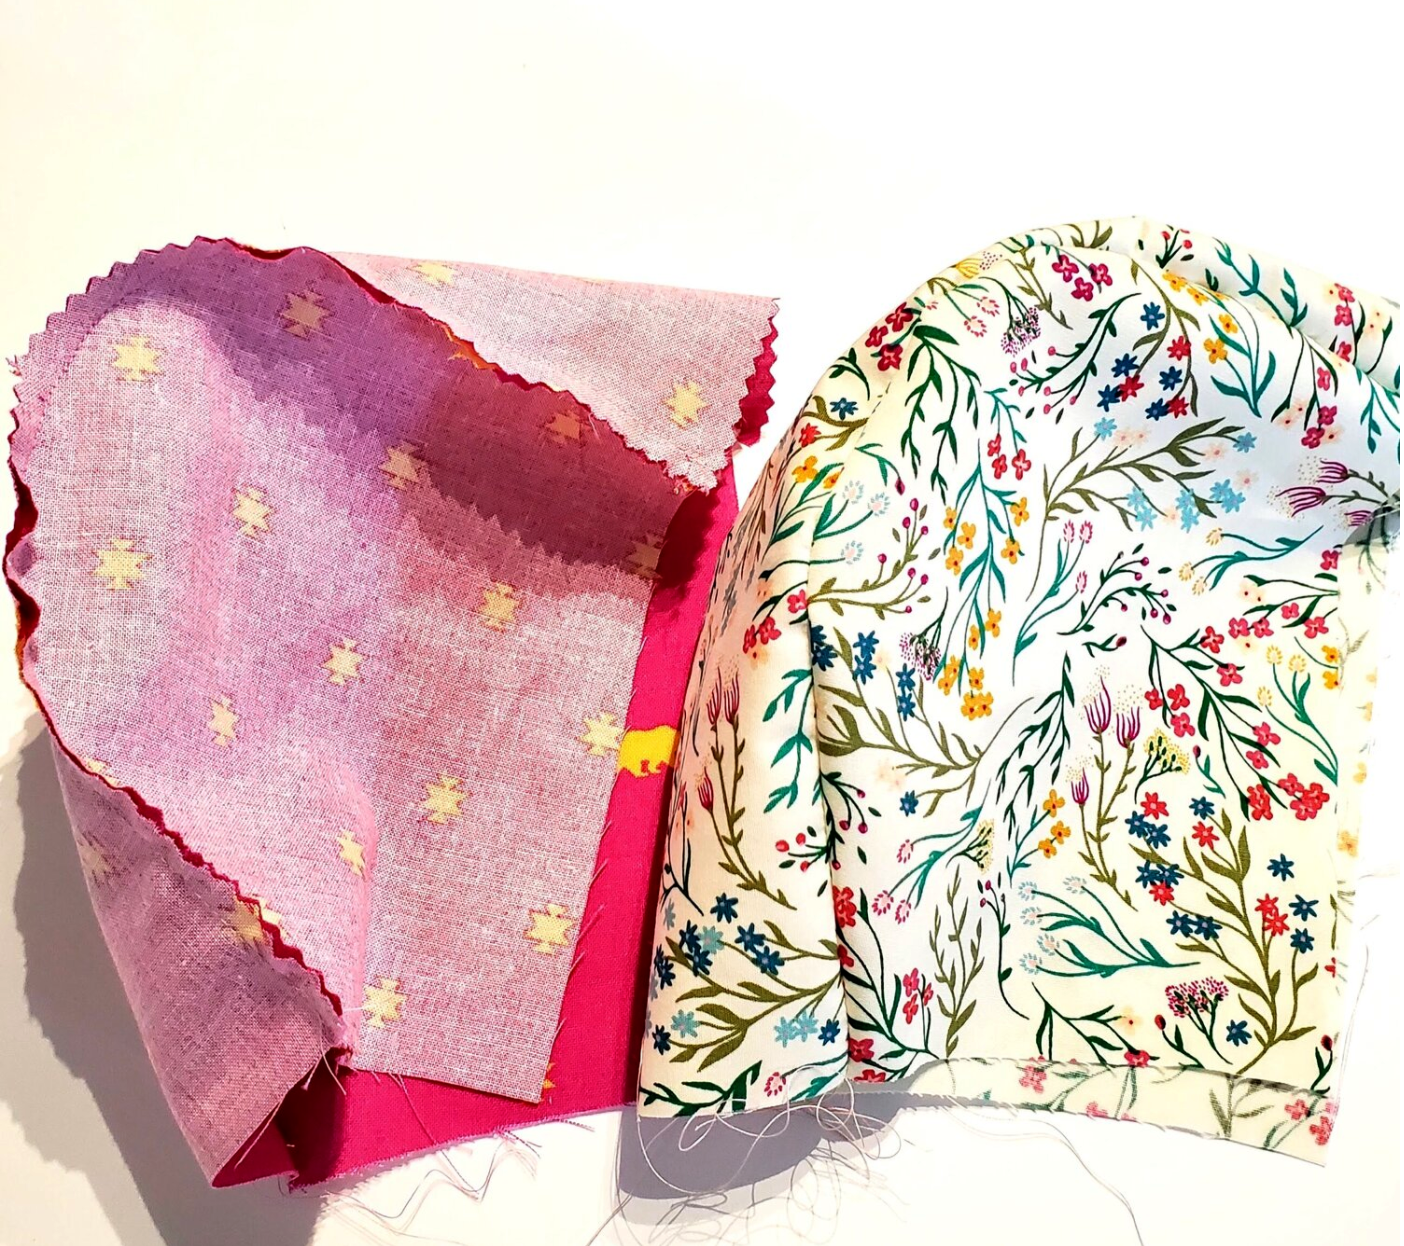
Fat Quarter of fabric for outer fabric and lining fabric
-
Coordinating Auriful thread (featured in our Chroma membership)
-
Fusible fleece interfacing
Be sure to follow the cutting instructions with the pattern. You may need to tape the pages together before cutting the pattern pieces, especially for the center piece. All seams are ⅜”. I started with making the ties. Cut two pieces 1 ½” x 13”. On the short ends fold under ¼” and press. Next fold in half lengthwise and press. Open out and press the edges to the middle line you just pressed.
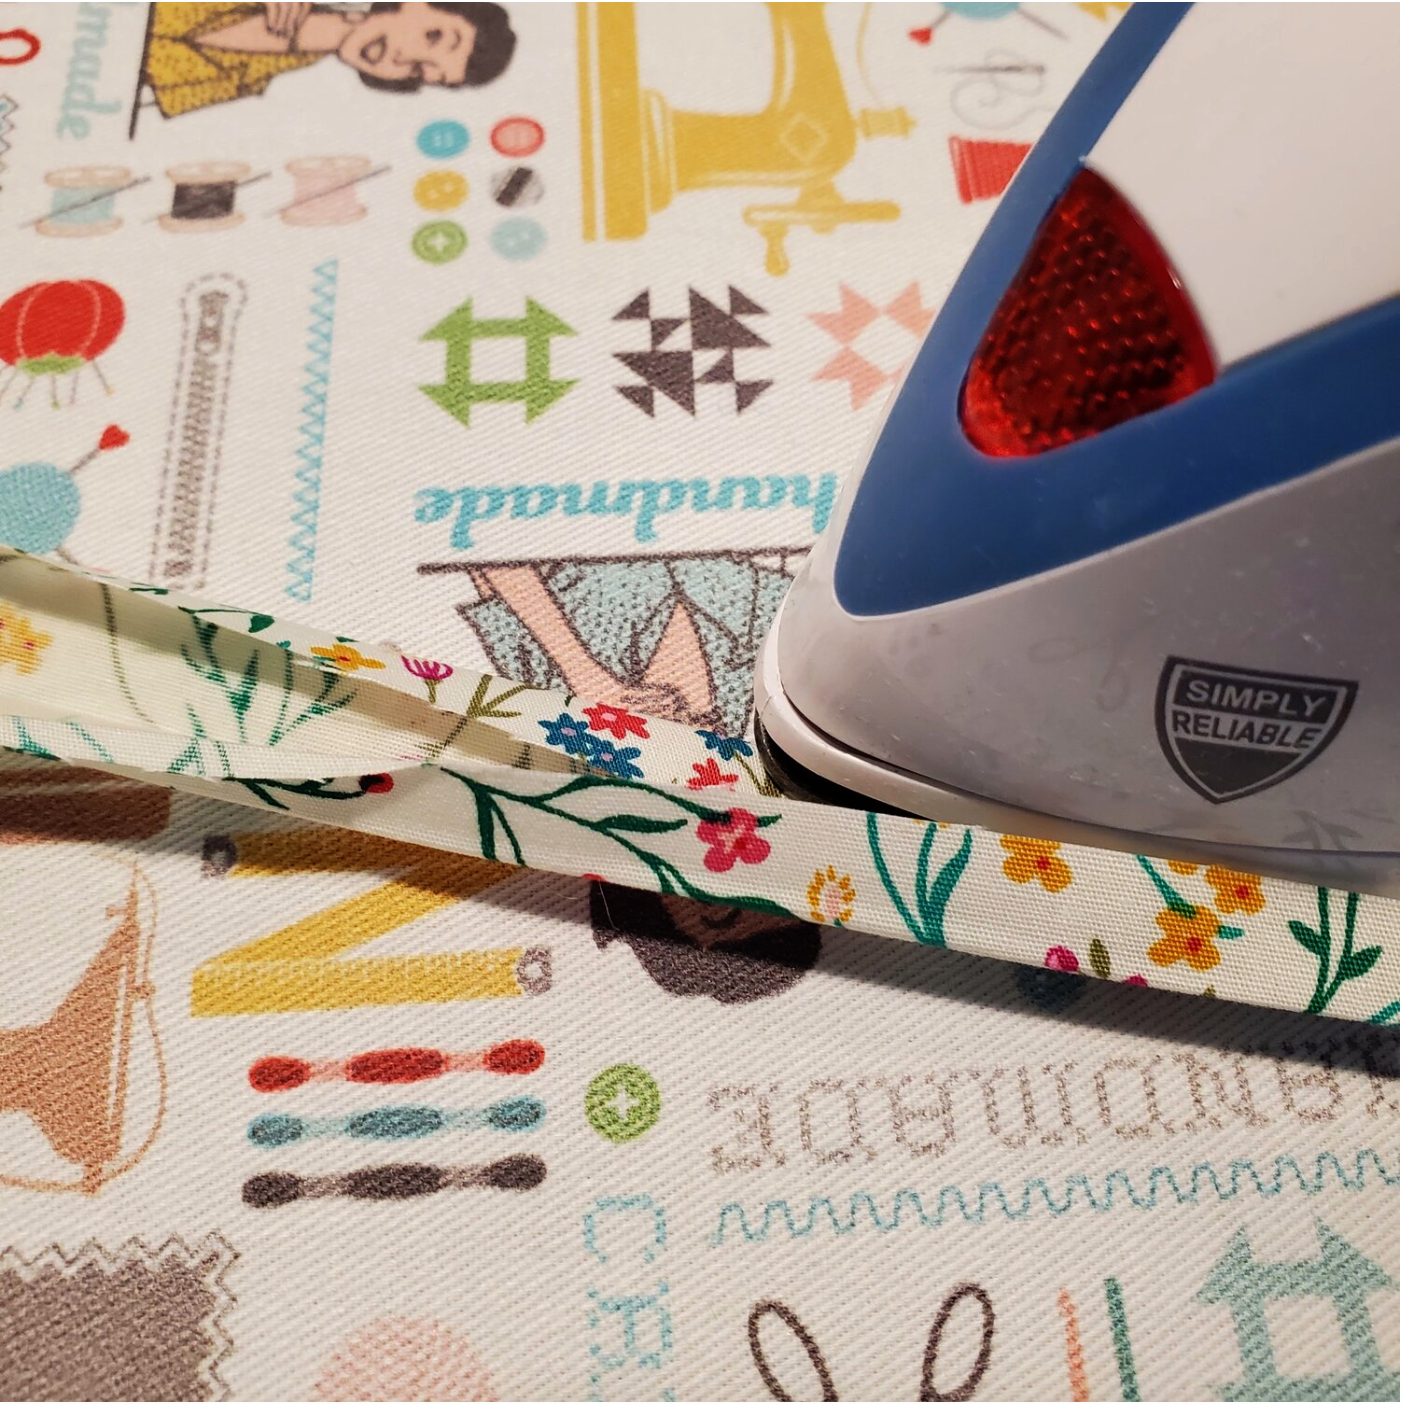
Topstitch ⅛” from the edge on both ties. Set aside.
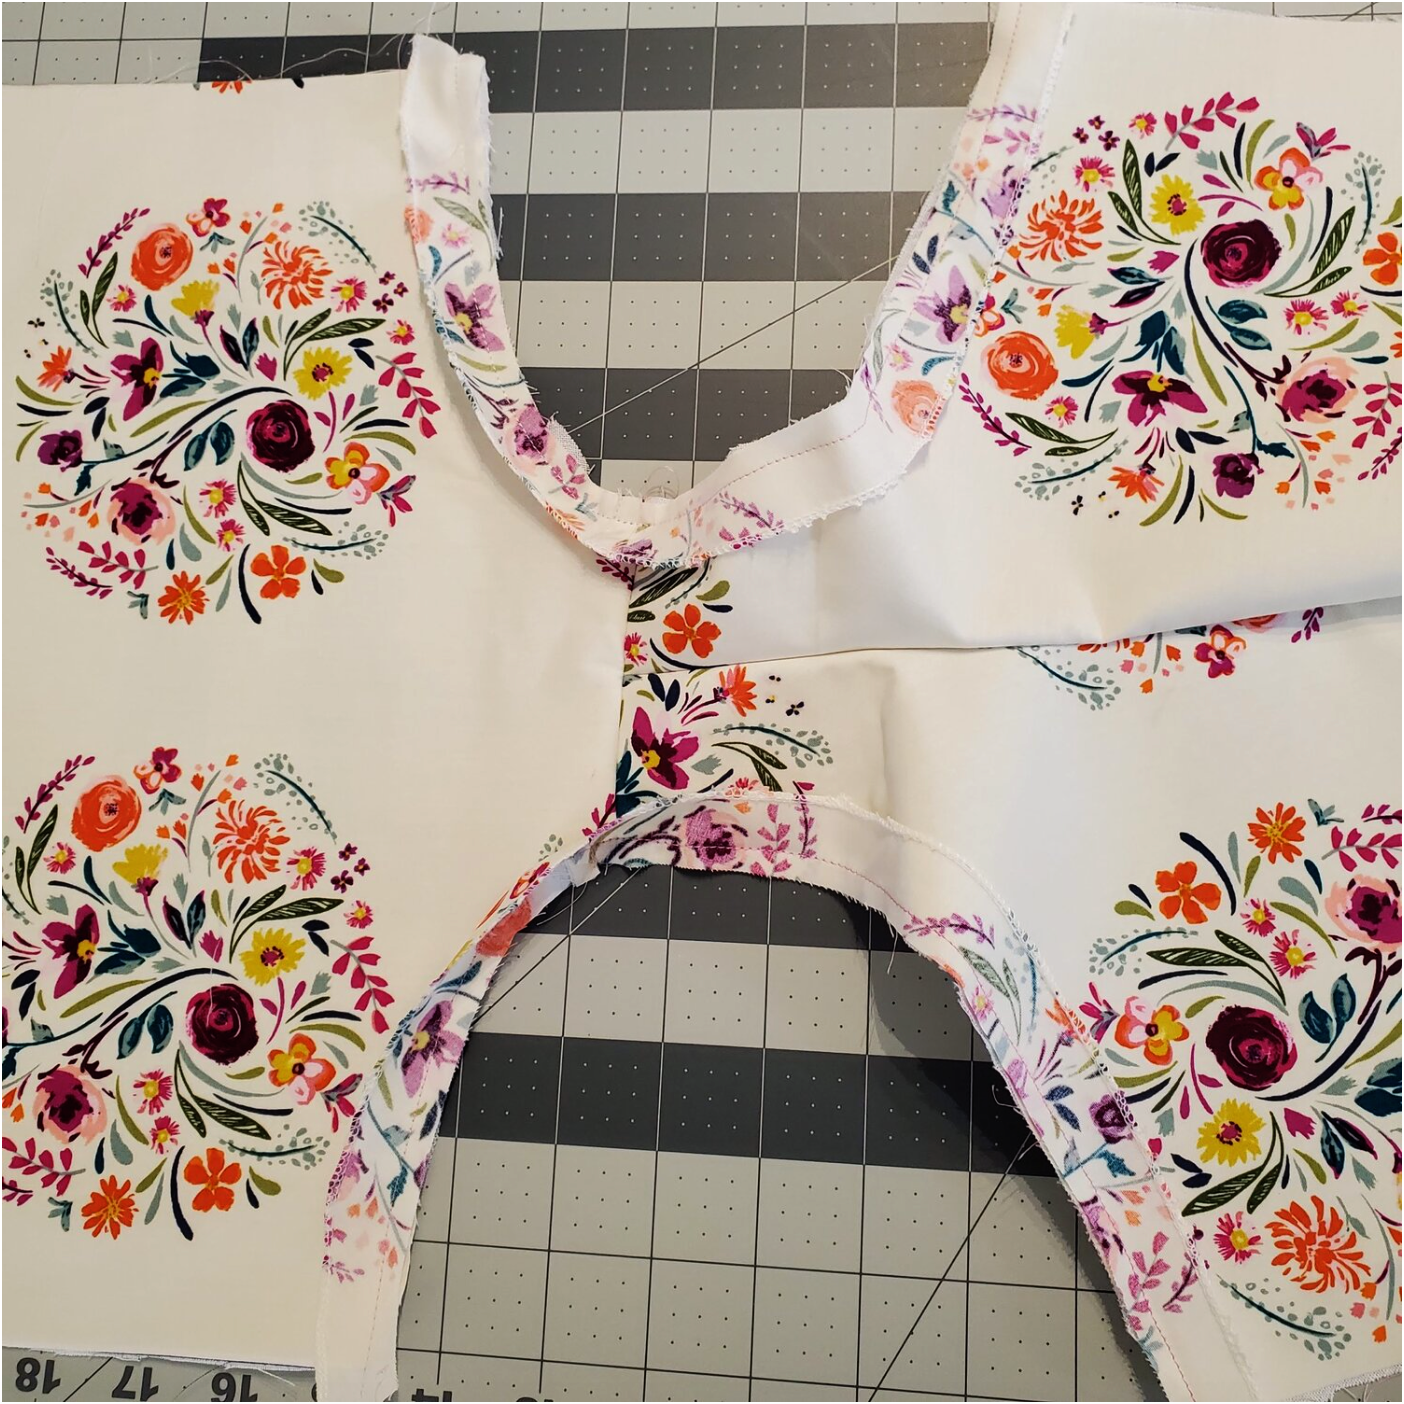
With right sides together pin the curved sides to the center panel easing the fabric in place. I prefer to start with just two pins to get it in place and slowly sew around the curve stopping about every inch to line it up.Try the different methods and see what works best for you. Do the same for the lining pieces.
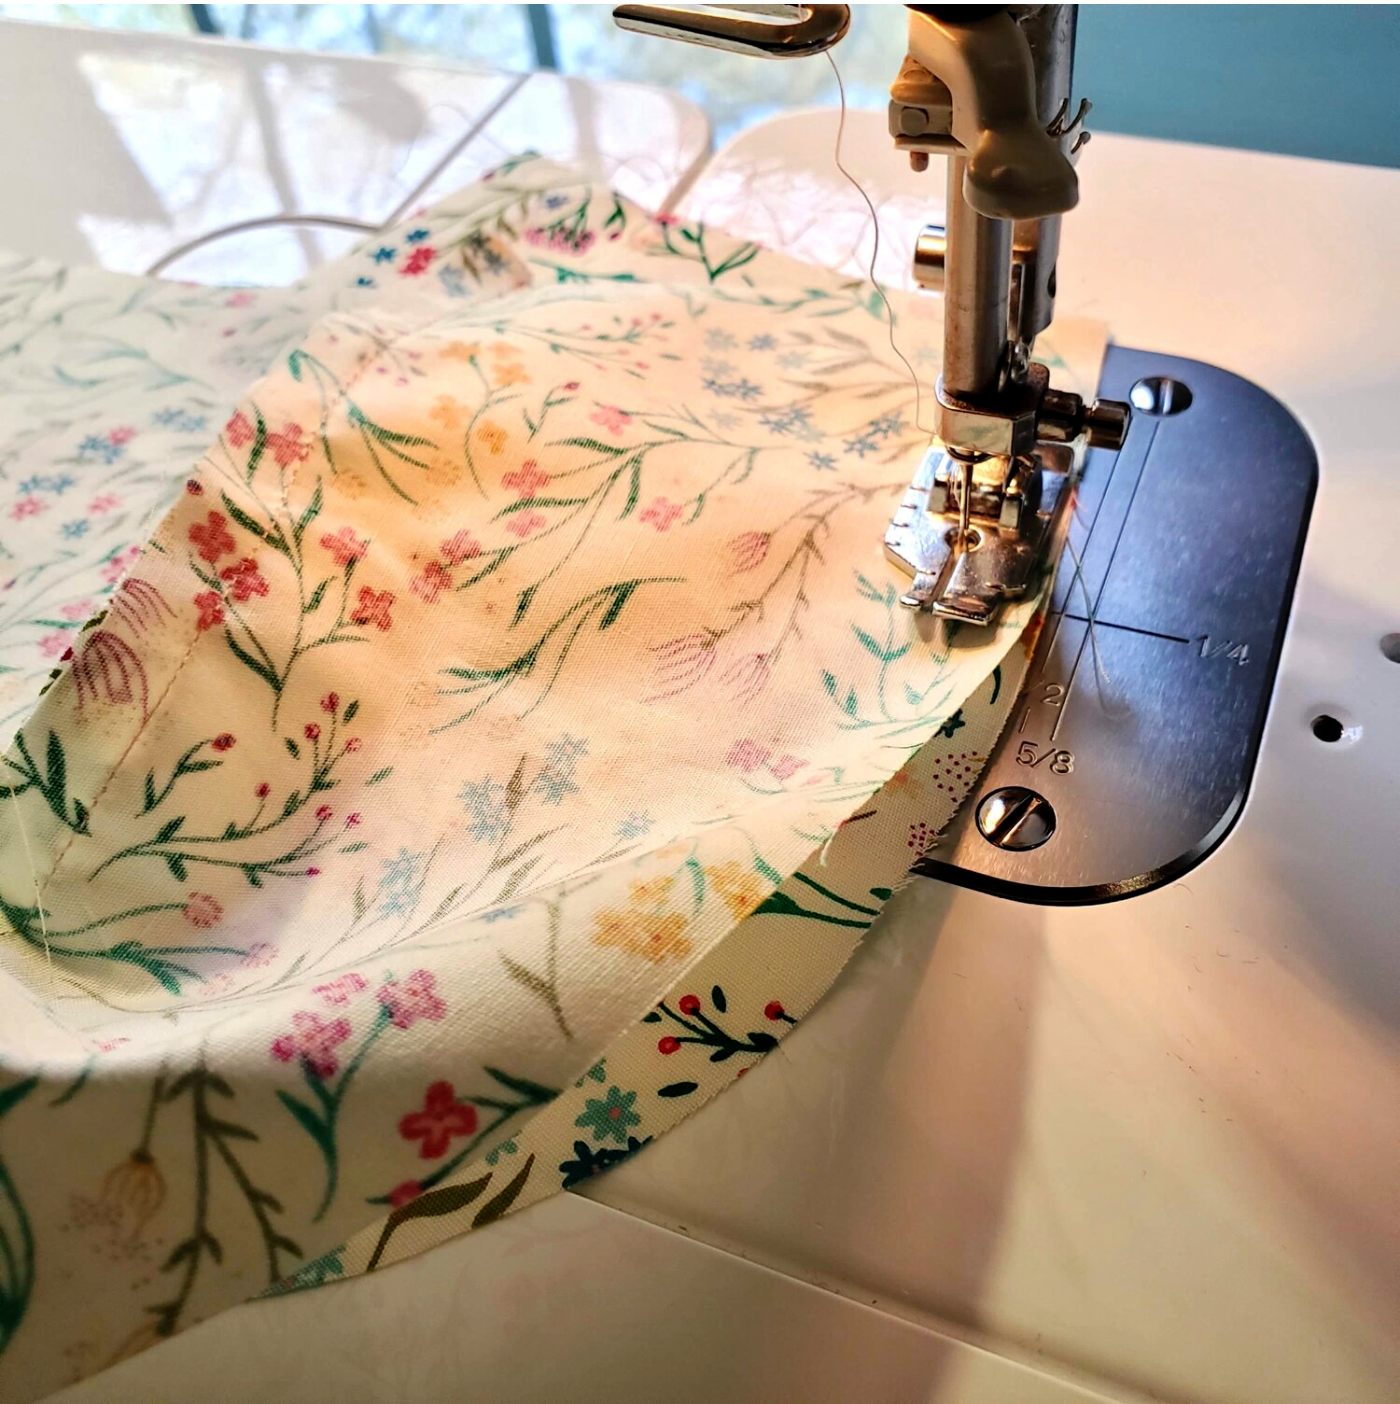
To help the seams lay flat, I trim the seams with pinking shears. Trim close to the stitching line taking care not to cut the stitching.
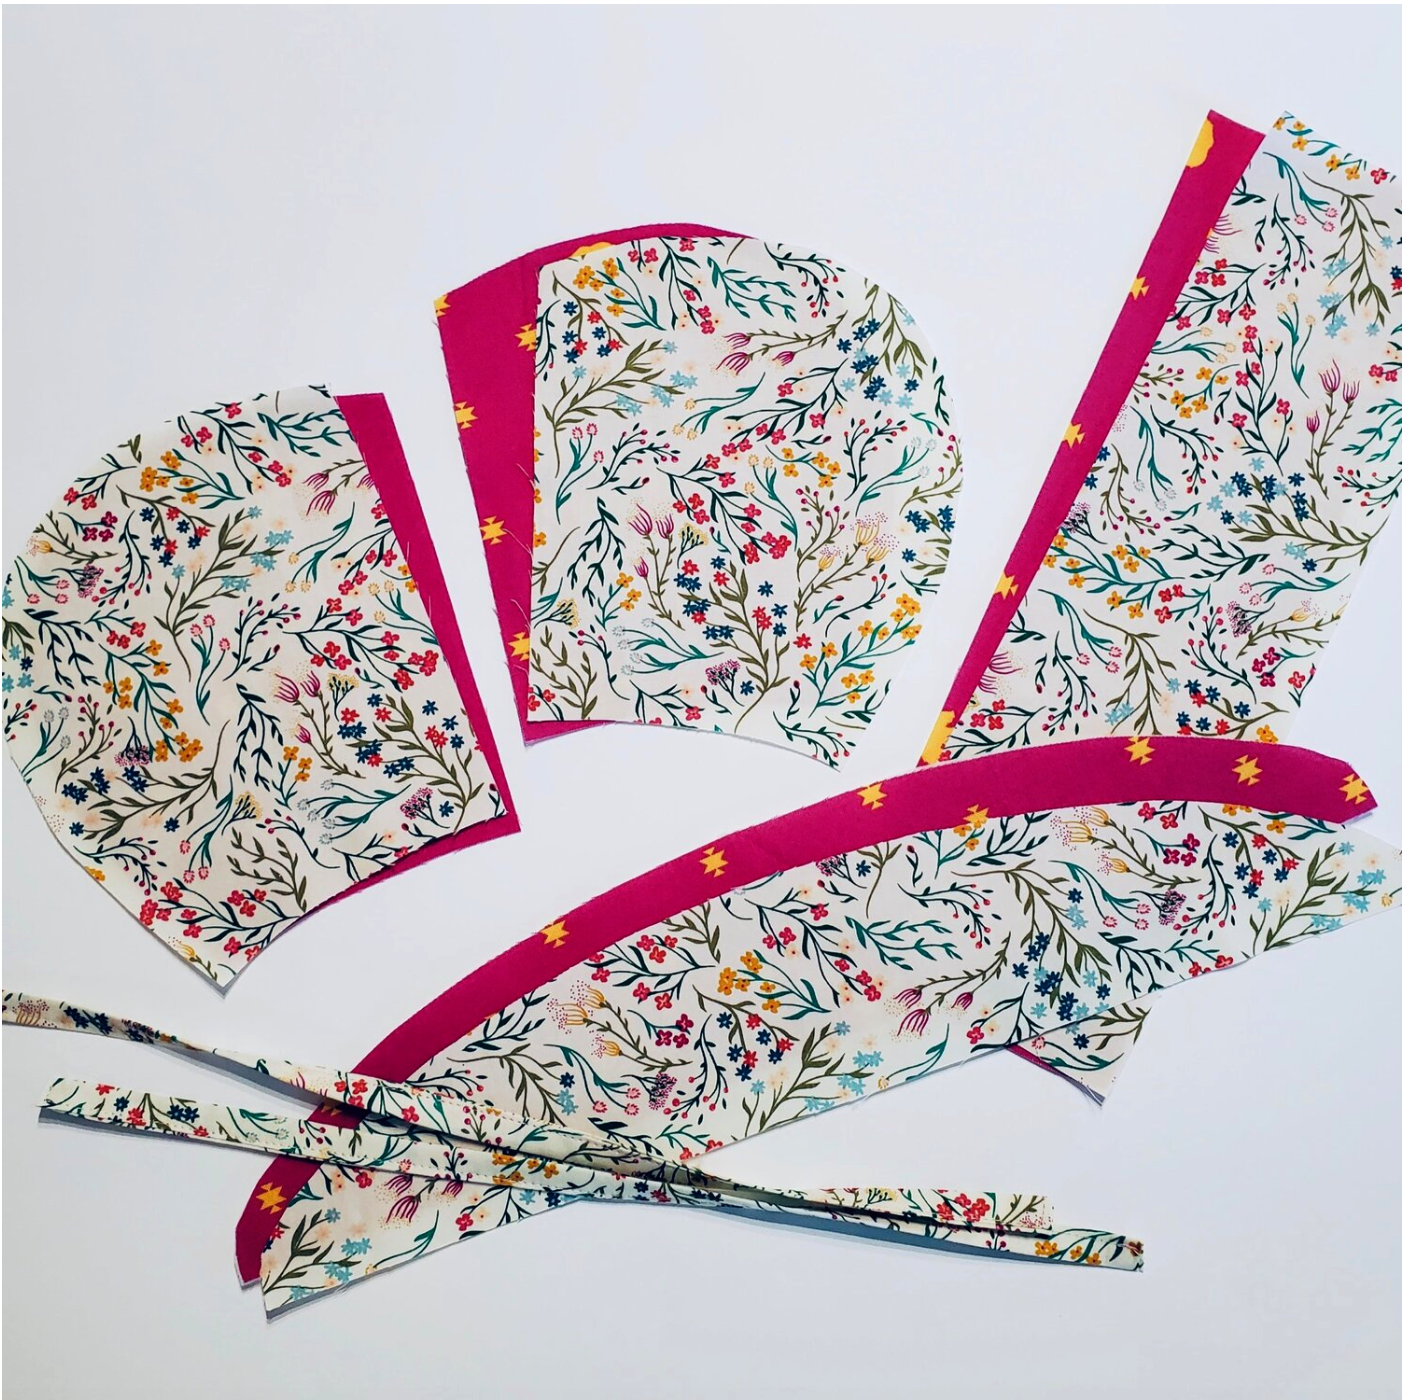
Prepare the brim lining by cutting and ironing the fusible fleece on the wrong side of the fabric. Mark the center of the brim and the center of the bonnet by folding in half.
Align the marks and pin with the right sides together and sew in place.
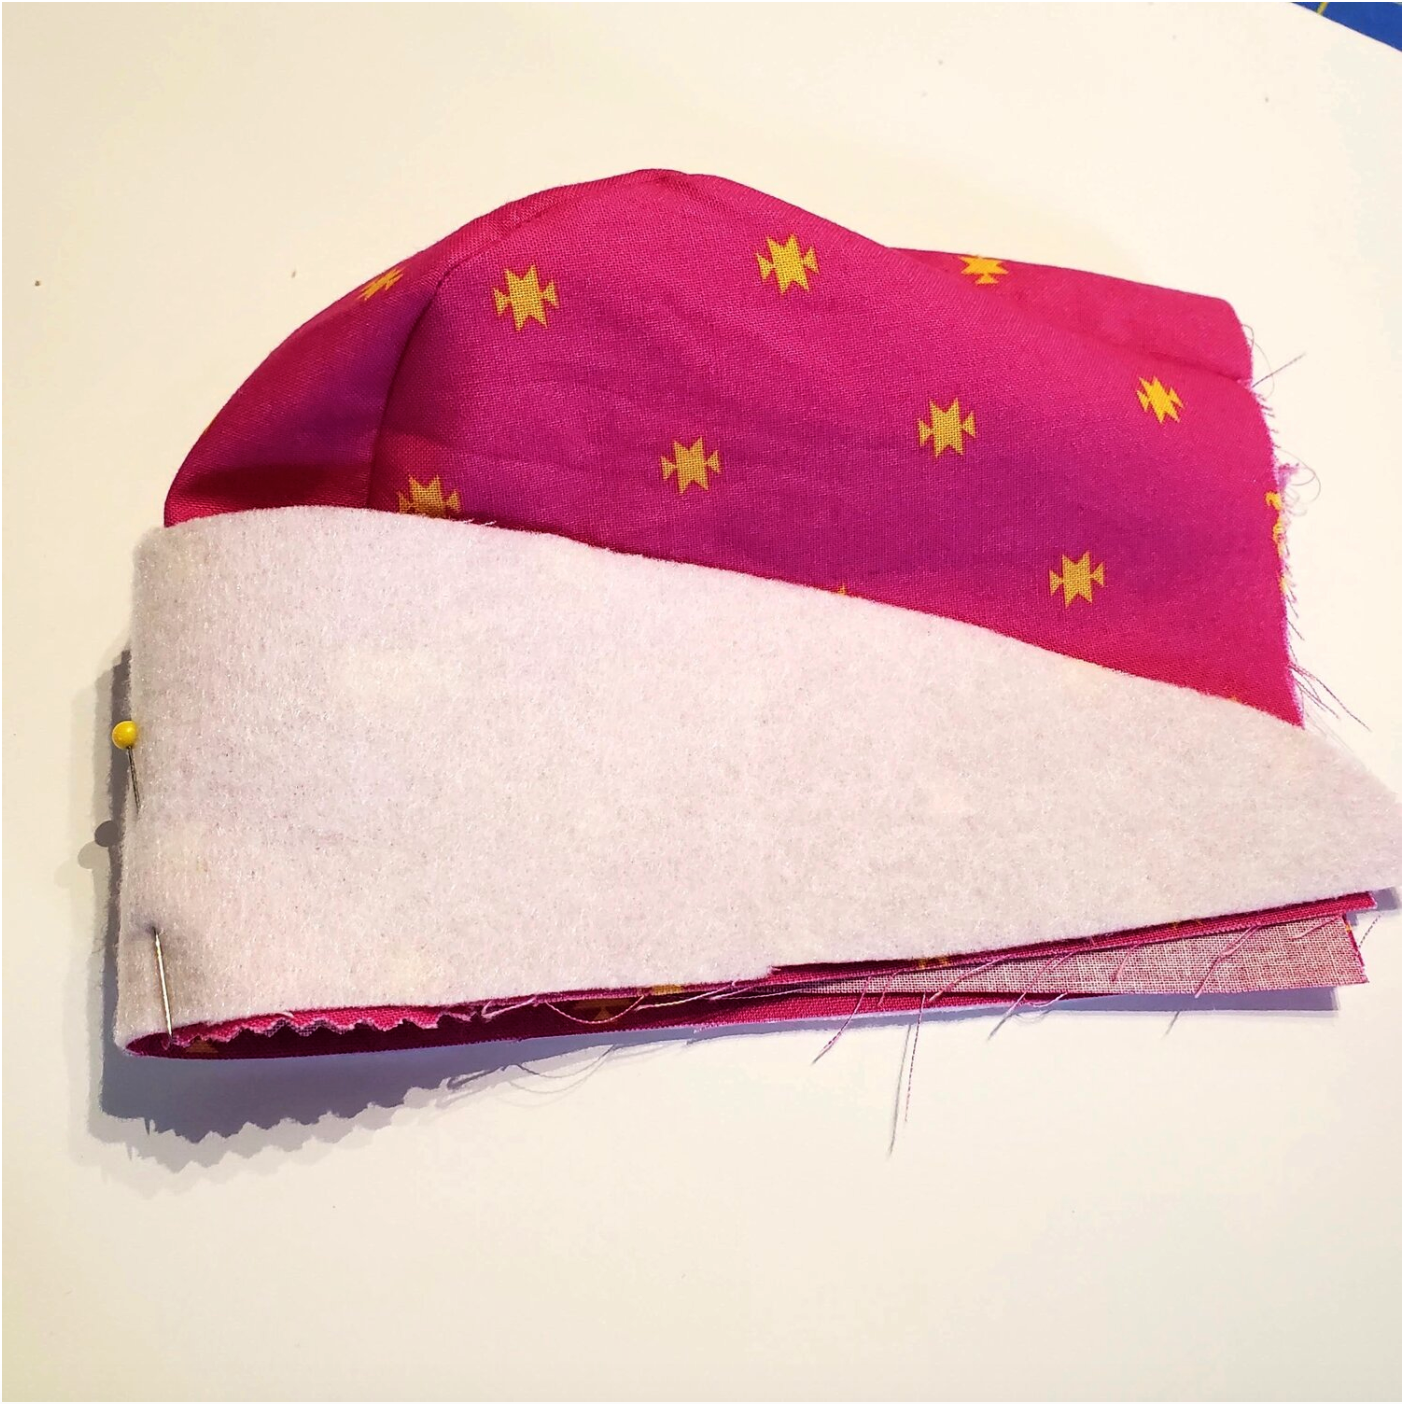
The outer brim piece does not need the interfacing. Mark the center and sew with the right sides together.
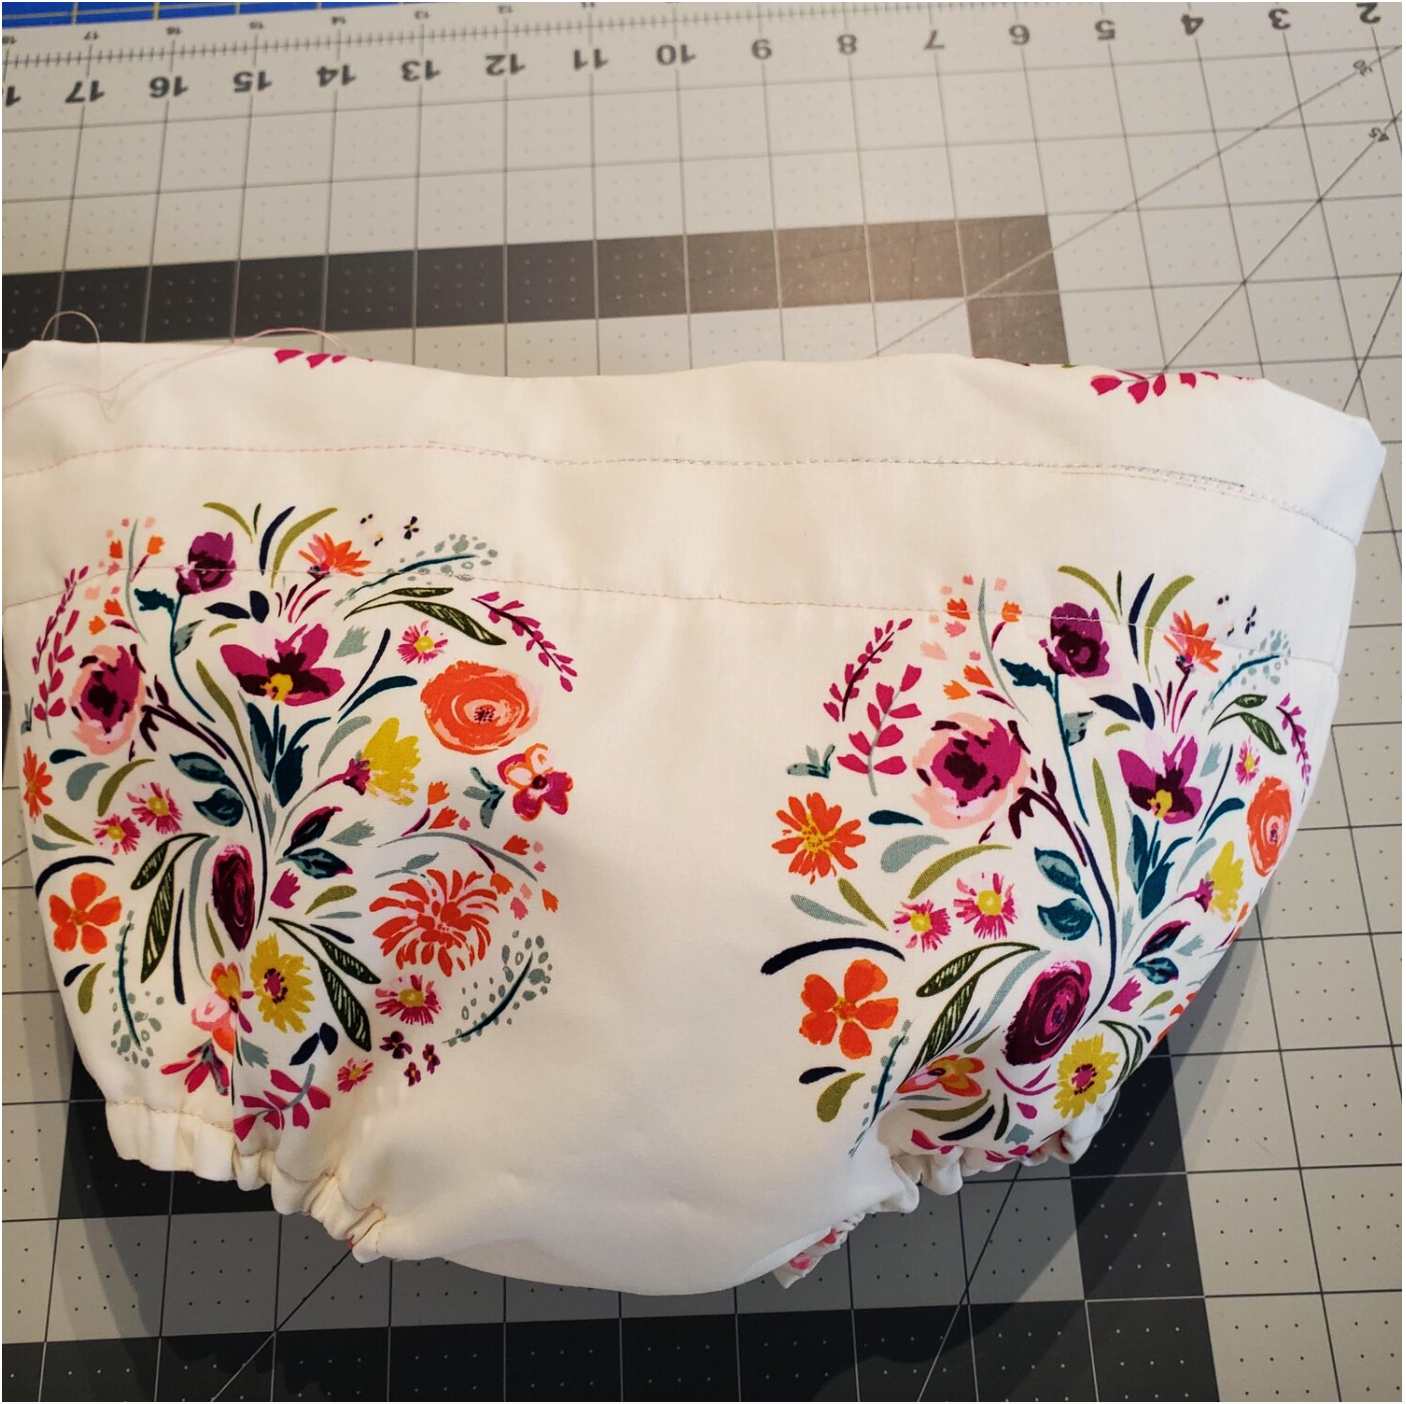
This is a good time to press all seams. A pressing ham works well or a rolled up towel to fit into the curves. Place the ties on the corner seam where you just sewed at the intersection of the brim and the bonnet and baste in place. With right sides together place the lining bonnet on top of the outer bonnet aligning the seams. Starting in the back sew all the way around leaving about 2” opening for turning. Trim the seams with pinking shears.
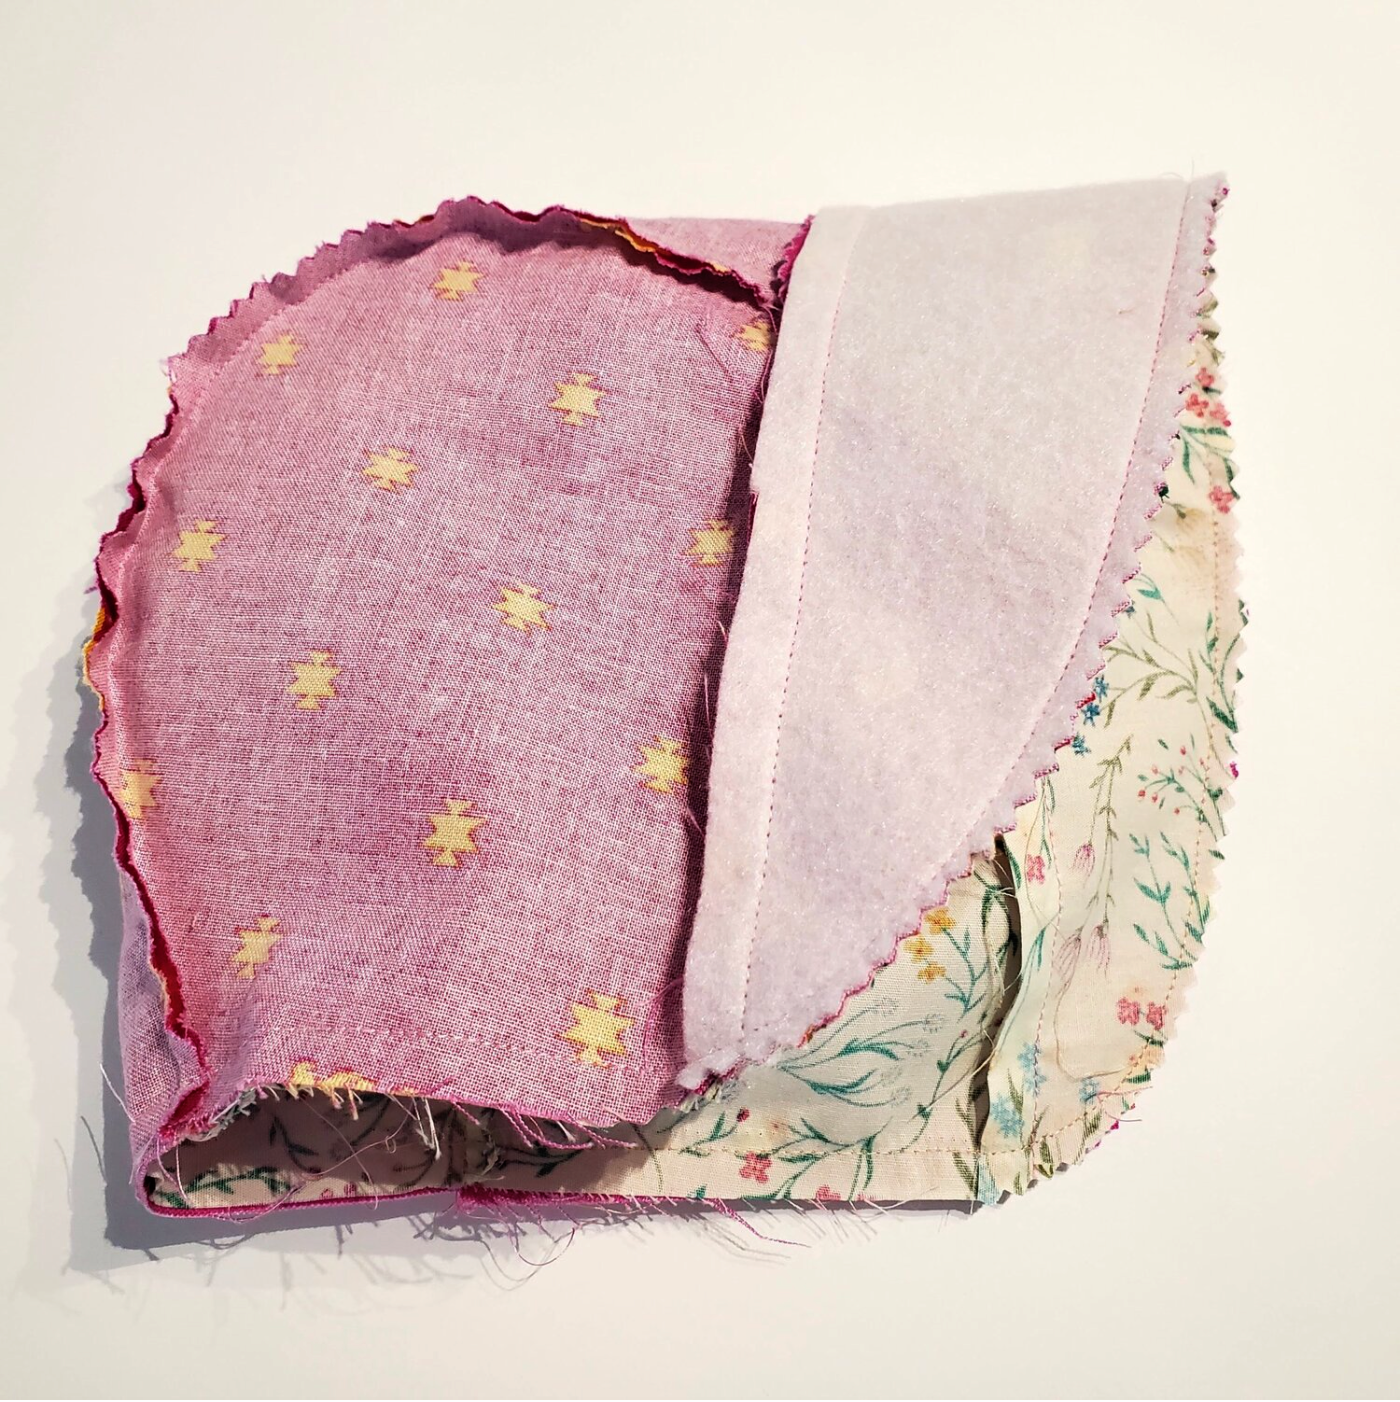
Turn the right sides out through the opening and press. You will topstitch all the way around ⅛” from the edge closing the opening in the back. There is an option to add a bit of elastic to the back edge or add some small pleats at the seam lines for a better fit. I tried it on the baby and found the fit was good without and I did not want it too snug to keep it comfortable. There is also an option to add bows to each side where the ties attach.
BLOOMERS
I used the High Waisted Bloomers pattern purchased from Sewing Stories Studio highly recommended from Cotton Cuts ambassador Emily of Moore to Me Designs. You can pop over to her Instagram to see the adorable bloomers she created from her Cotton Cuts membership. This pattern is fantastic with pictures to help you on each step to sew it perfectly.
Materials needed:
-
½ yard fabric (I used Moon Glow Glisten from Art Gallery Fabrics)
-
1” wide elastic for the waist
-
⅜” elastic for leg openings
-
Scrap of coordinating fabric for bow
-
Aurifil Thread from Chroma Subscription
First, download and print the pattern taping the papers together then cutting the pattern on the appropriate lines according to the size. Cut the fabric pieces keeping in mind the direction of the fabric.
All seams will be ¼” wide. You will start with sewing the two back pieces together, right sides together along the curved edge. Then with right sides together, align the front and back and sew the crotch seam. Prepare the facing pieces by sewing the front and back facing together at the notches. It is recommended to finish the outer edge with zig zag or serger to control fraying. With right sides together place the facing on the leg opening and sew in place.
Turn the facing pieces to the inside of the bloomers and press. Sew ½’ from the outer edge, creating a casing for the ⅜” elastic. Measure out the elastic pieces according to the size you selected. Cut two pieces and mark ½” from each end. Insert the elastic in the casing using a safety pin or bobkin. Pin or baste in place allowing the ½” to extend out past the casing. Do this for both leg openings. With right sides together sew the front and back together at the side seams back tacking at the leg opening to secure the seam. Finish the raw edge of the waist with zigzag or serger, then fold down 2 ¼” and press.

Sew around the waist close to the edge leaving 1 ½” opening at the back seam to insert the 1” elastic. Using a fabric marker make a line 1” from the previous stitching line. Sew all the way around on this line.
Cut the 1” elastic to the length needed for your size and insert in the opening left in the back. Overlap the ends and sew the elastic together going back and forth twice to secure the seam. Topstitch the opening closed. Sew the bow pieces together, turn right sides out and press. Sew the opening closed. Align the bow on the back center line and stitch in place. Tie the knot. You did it! Now you have an adorable baby bonnet and bloomers set for your little cutie pie!