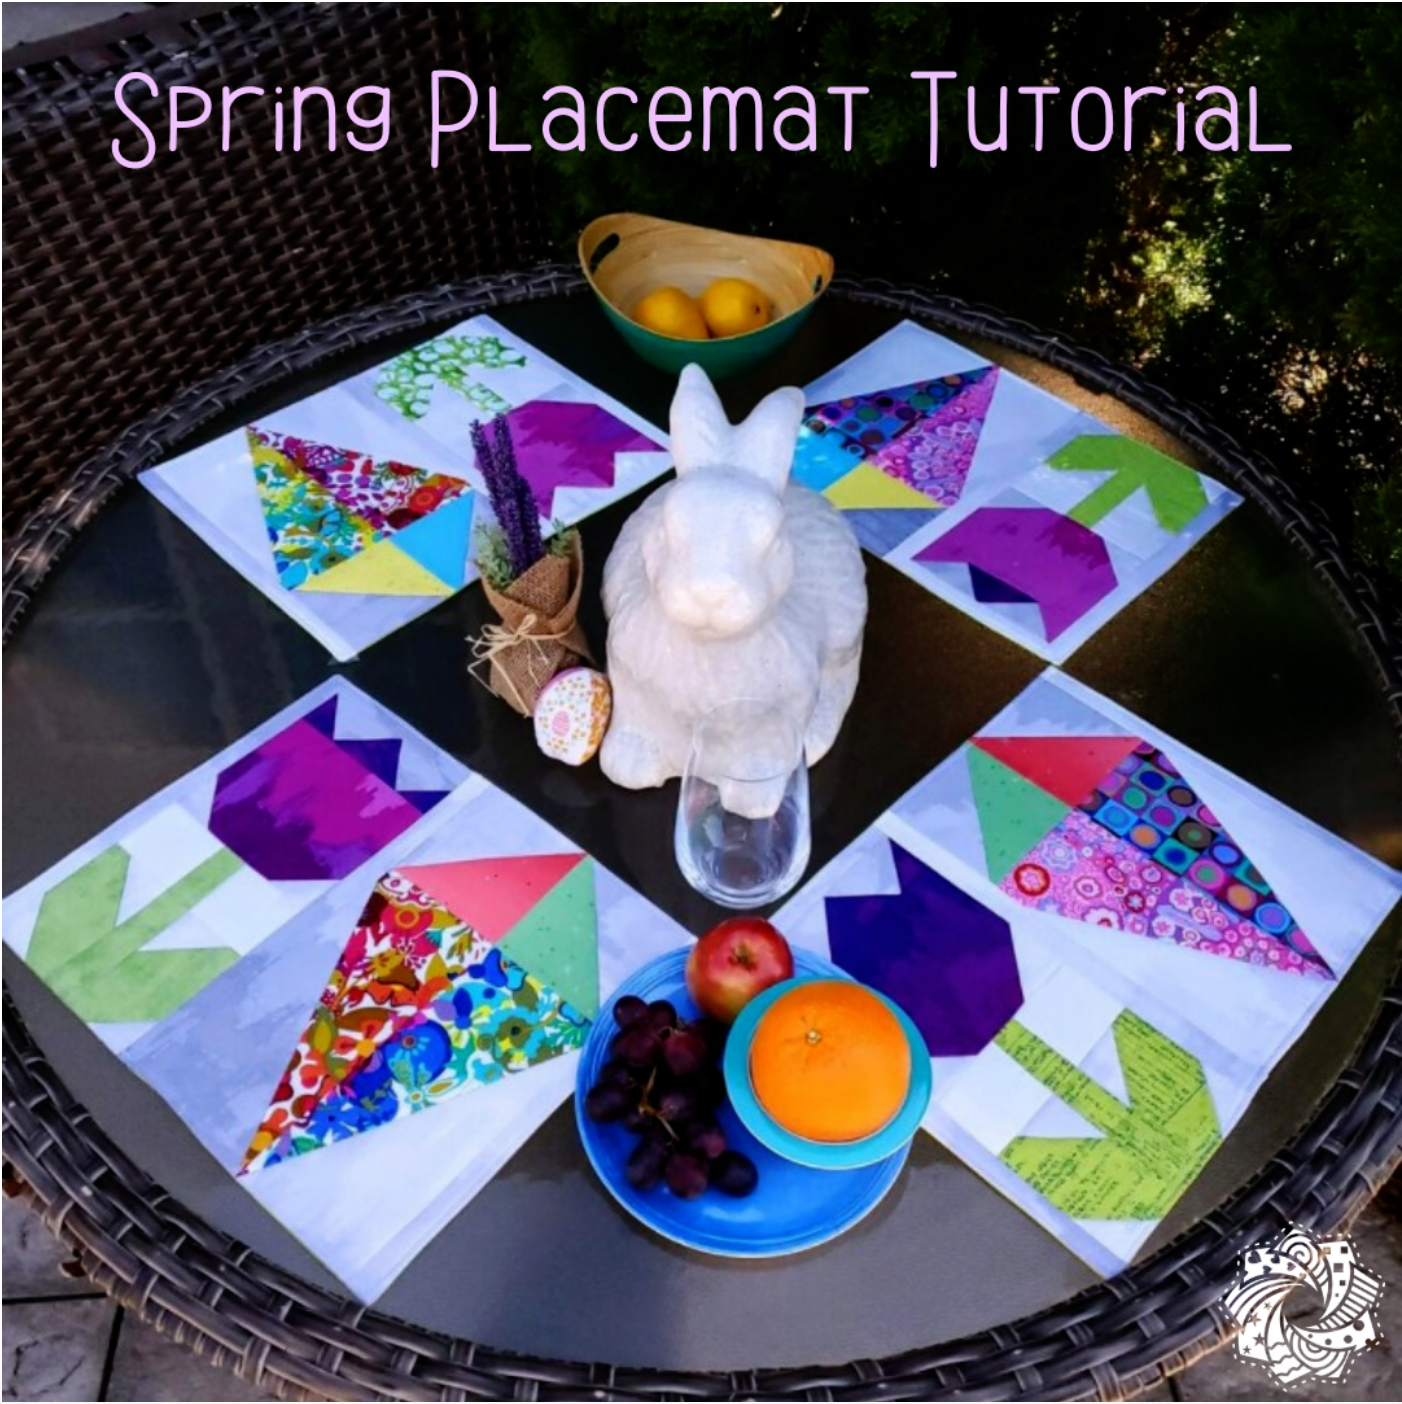
Spring Placements
1st Apr 2021
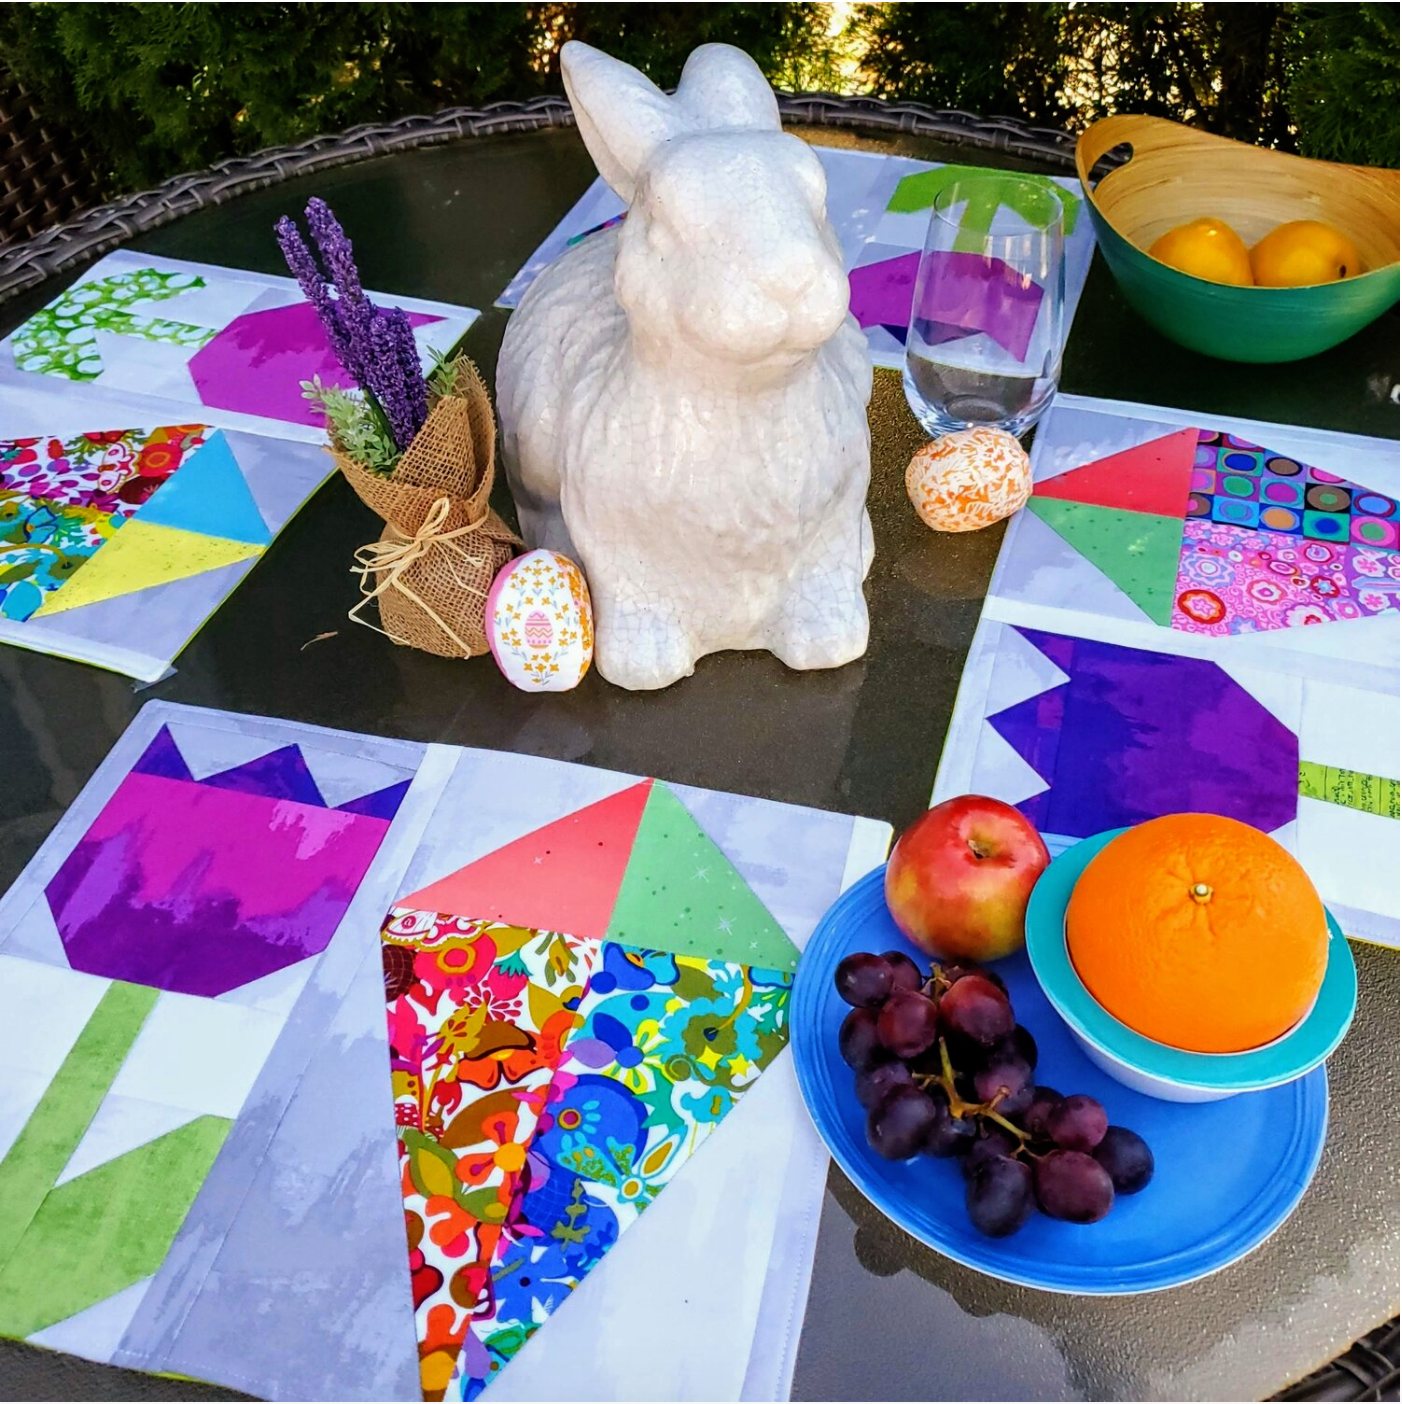
Spring has arrived! These bright and cheery placemats will be perfect to set the table for a meal outside to enjoy the weather. These two easy blocks are made with fabrics from our Cotton Cuts subscription boxes including designers like Kaffe Fassett, Alison Glass and Giucy Giuce. I combined the tulip block from Center Street Quilts with a kite block from Missour Star to create a set of four placemats.
Materials needed
One yard of fusible fleece
One yard of backing fabric
One yard of background fabric
Coordinating Aurifil thread Chroma subsription
Assorted fabric pieces at least 5” wide or Fat Quarters

First download the free tulip pattern and cut the pieces according to the list. For the tulips and in the background I used Giucy Giuce Inferno ombré fabric to create some dimension with light and dark areas. Each flower was unique in color, defined by where it was cut from the fabric. Using the ombré in the background gave a sense of clouds in the sky. Working with leftover fabric pieces added to the creative surprise along the way since I was limiting myself to using the scrap box.
The tips of the tulips are made of flying geese. The instructions are to make one at a time. Here is a nice tutorial from Threadbare Creations to further explain the process and for options to make several at a time to speed up the process.
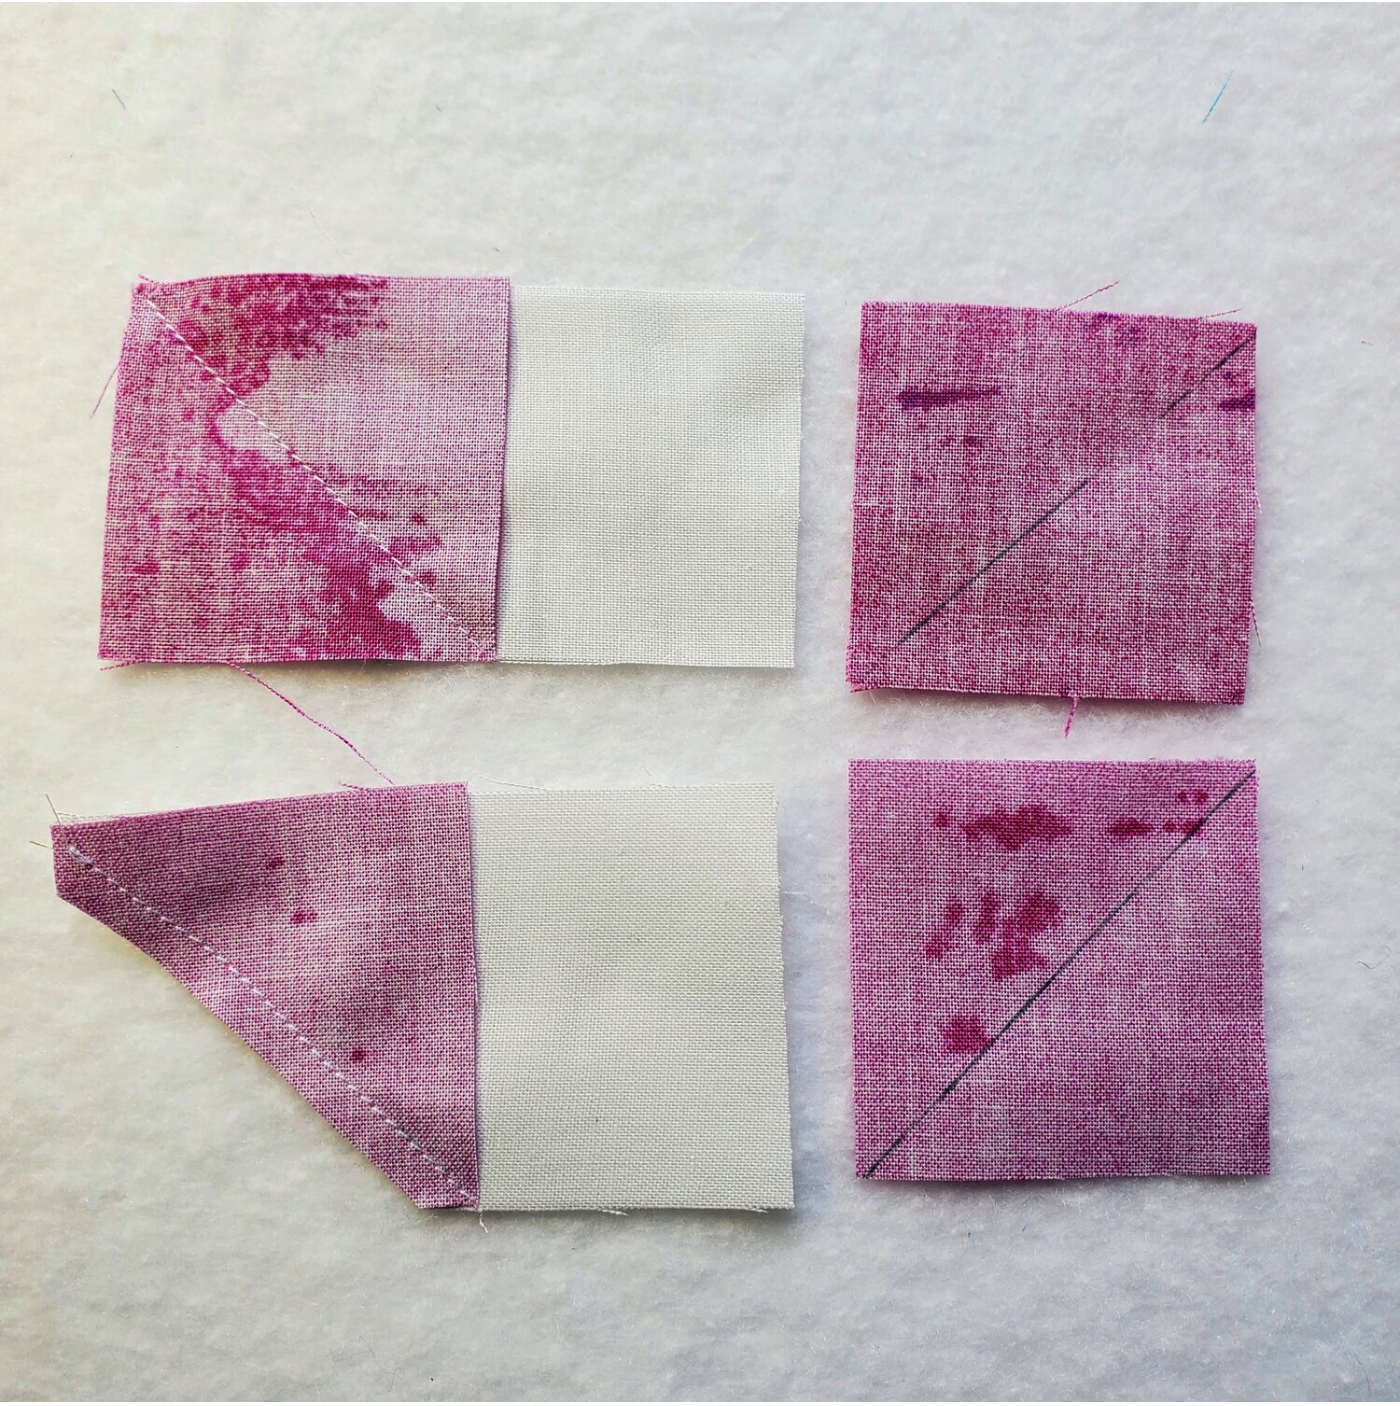
I used a Frixion pen and ruler to mark the squares and when you press the seams the ink disappears. Sew the two flying geese together on the short sides and press. Then sew to the top edge of the main flower piece.
Next, you will prepare the 2 ¼” background squares by drawing a diagonal line on the wrong side and aligning them on the corners of the tulip and the green leaves. Sew on the line and trim the seam to ¼”.
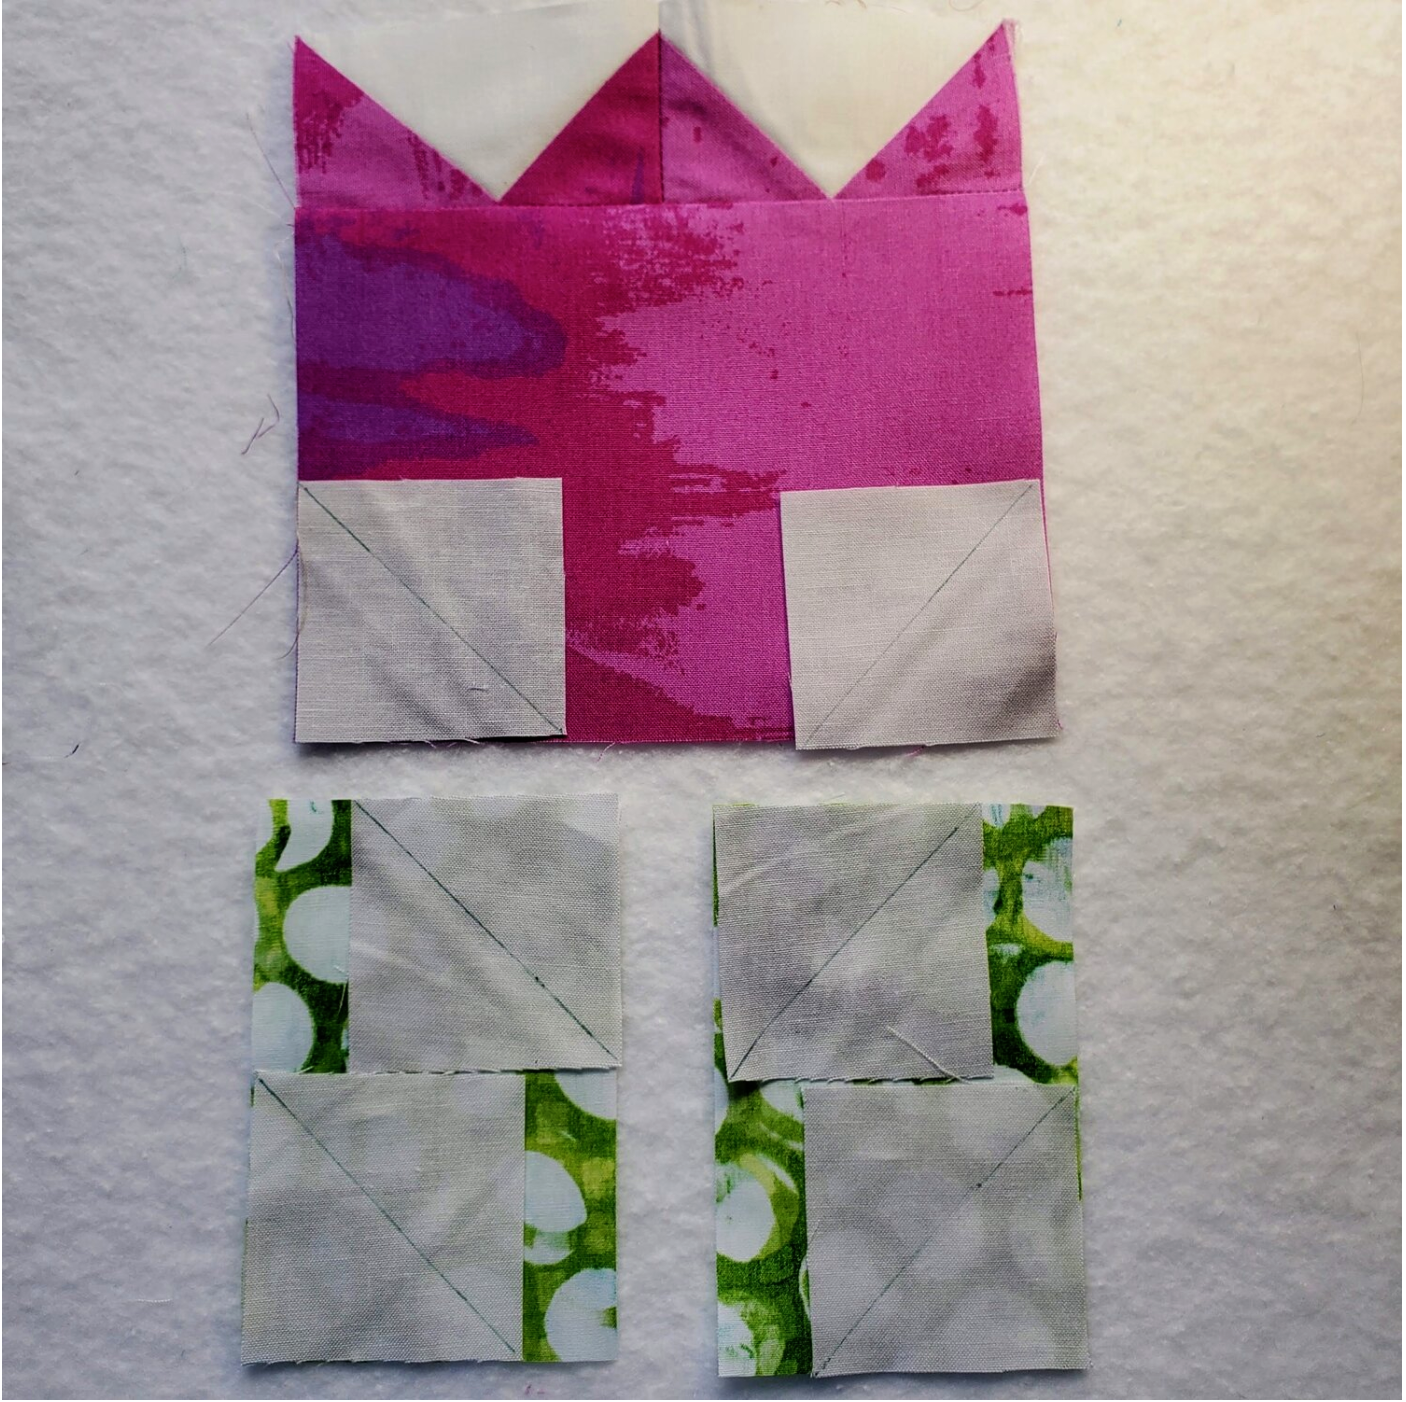
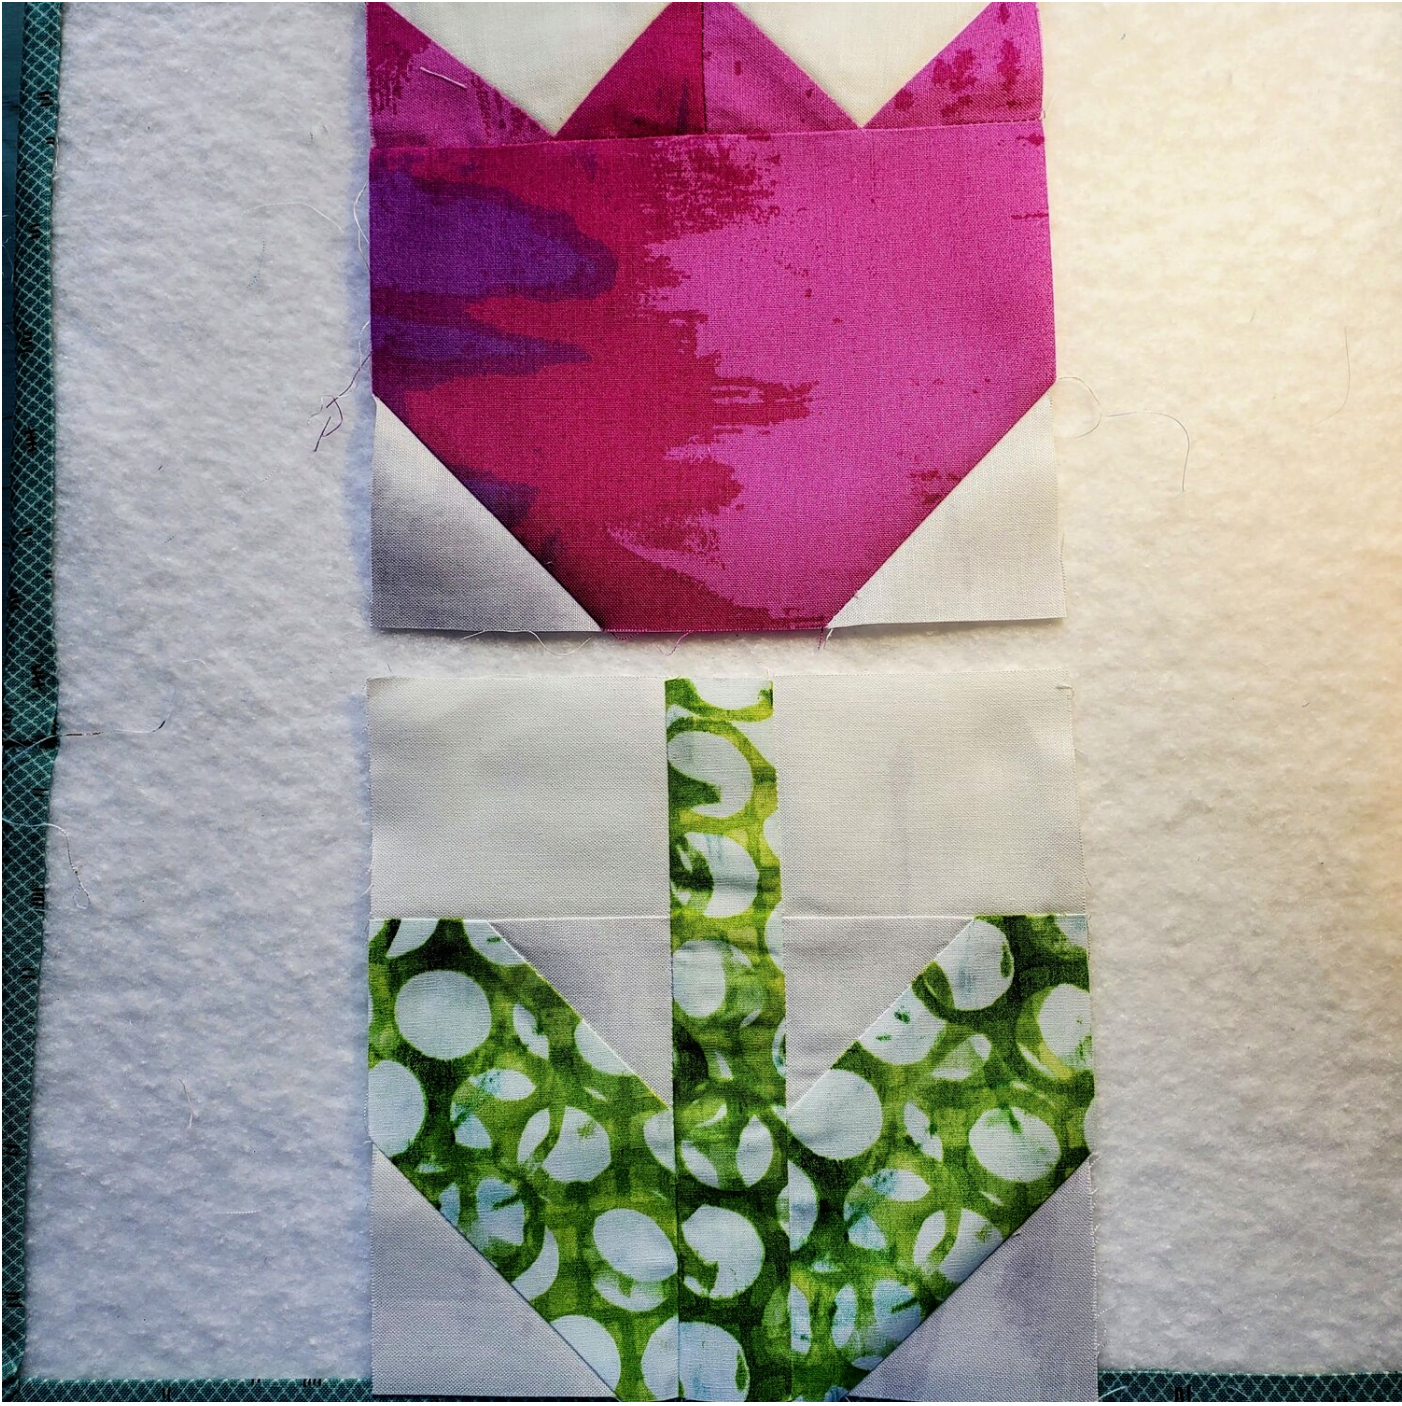
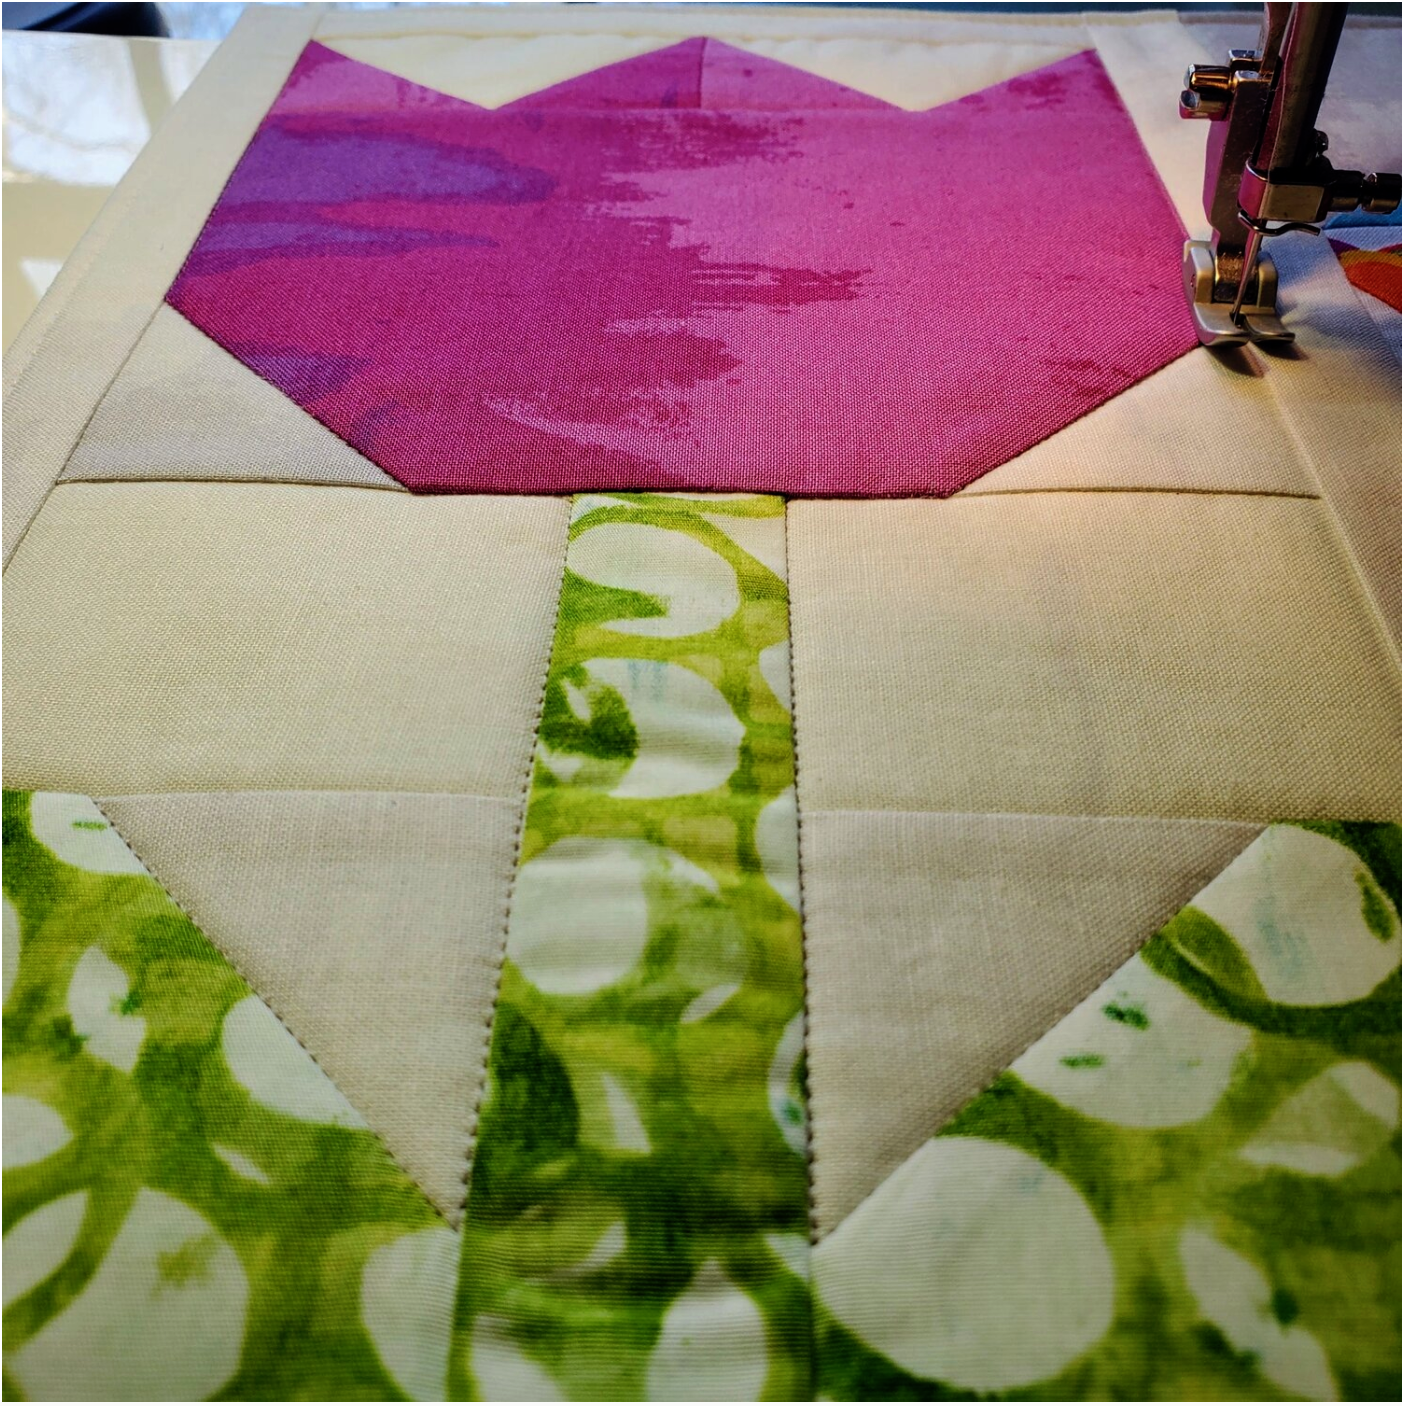
Next, set up the leaves facing the right direction and add the 2 ½” x 3” background pieces to the top of the leaves. Then sew the stem piece in the center of the leaves. Finally sew the top half with the flowers to the leaves. That will complete the tulip block. Give it a good press using steam and set it aside as we start on the kite block. This block should finish at 6”x12”.
The kite block is made of half square triangles and half rectangle blocks sewn together. Half square triangles can be used in many different ways to create designs when quilting. If you are new to this technique Jumprope has a great step by step tutorial to create perfect half square triangles.
Start with two 5” background squares and two different 5” squares of fabric for the top half of the kite. Mark the diagonal line on the background fabric squares and lay on top of the kite squares. Sew ¼” from the line on both sides. Chain piecing makes it go faster.
Using a ruler and rotary cutter, cut on the centerline to create two matching half square triangles. Press towards the darker fabric. You will need two different half square triangles for the top half of the kite. Sew two squares together to form the top half of the kite.
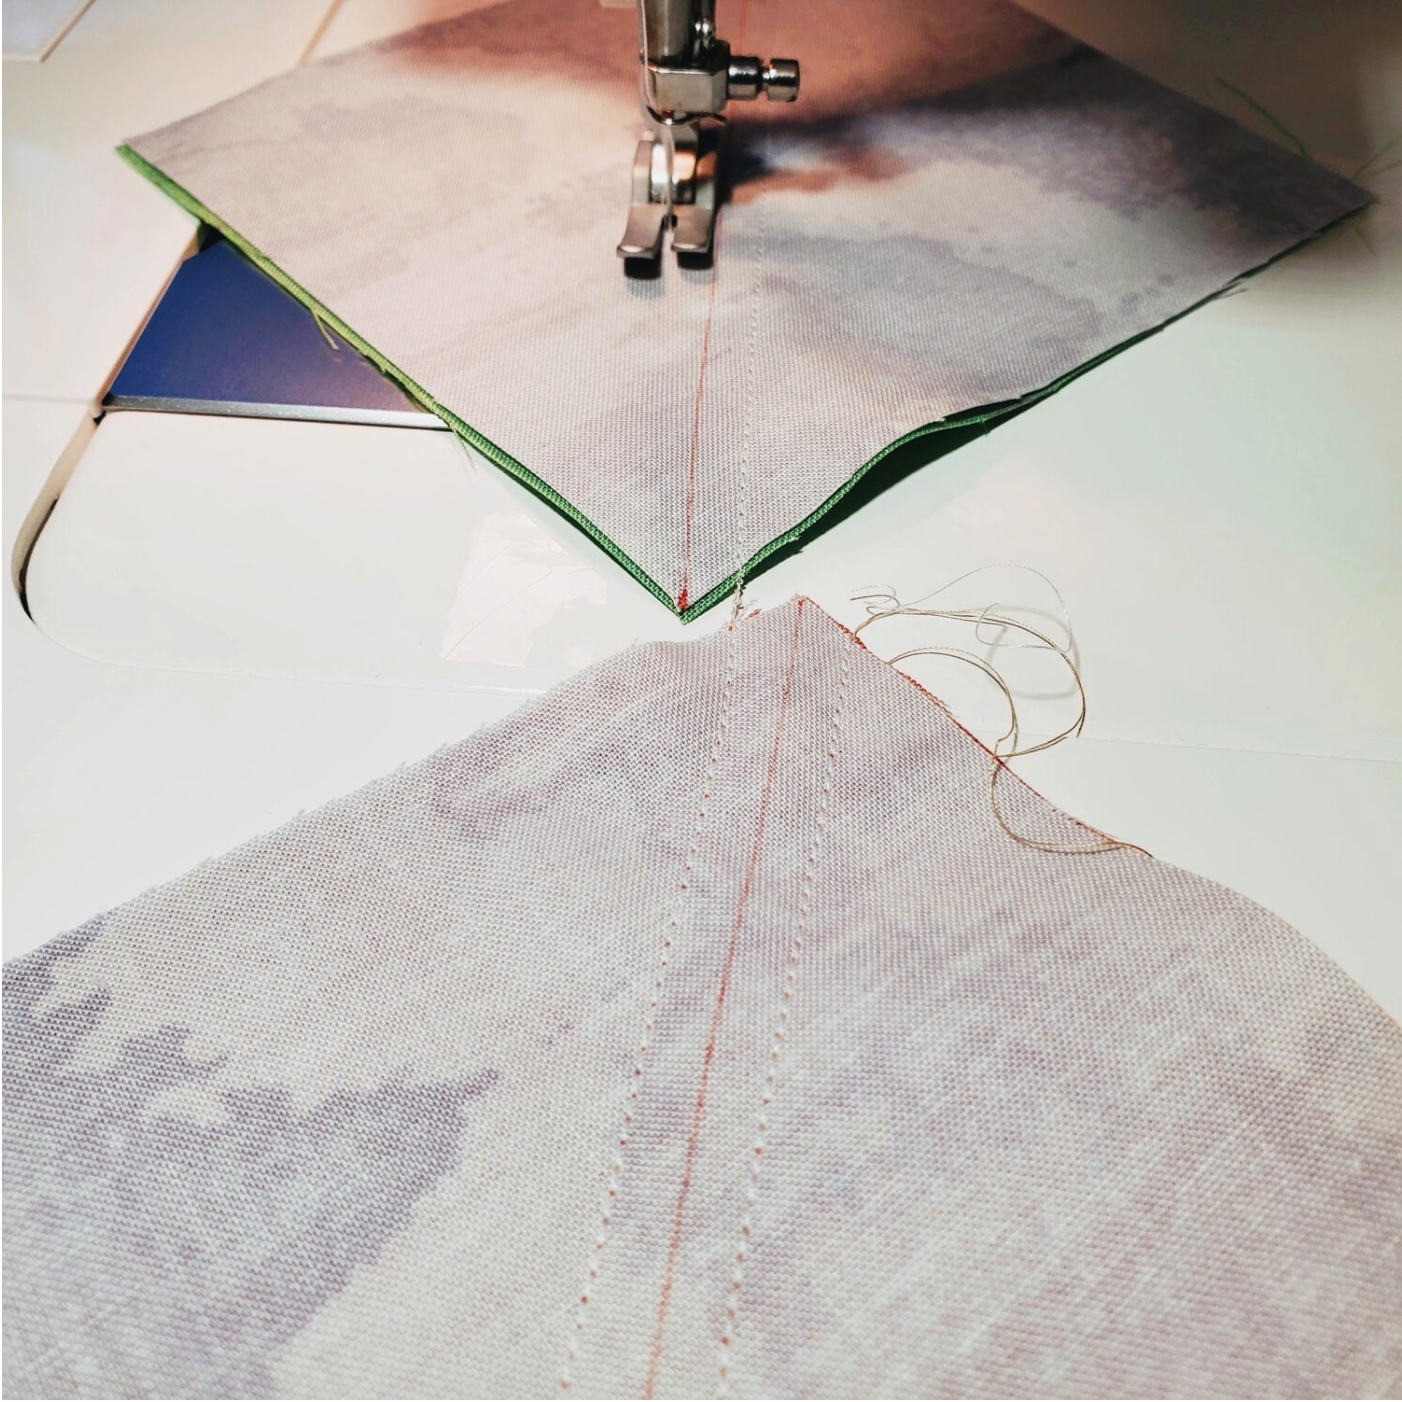
The bottom of the kite will be made from two different half rectangle triangles. This was a new technique for me and I found this clearly illustrated tutorial from Buttons & Butterflies to explain how to cut and sew the mirror image half rectangle triangles on the kite. It can get confusing when marking the lines to sew. I had to rip out stitching to try again in my learning process to create the kite. I started with a 5”x10” rectangle and drew a diagonal line on the background fabric. Align the rectangles as illustrated and sew ¼” from the line on both sides of the line. Using a rotary cutter and ruler cut on the line.

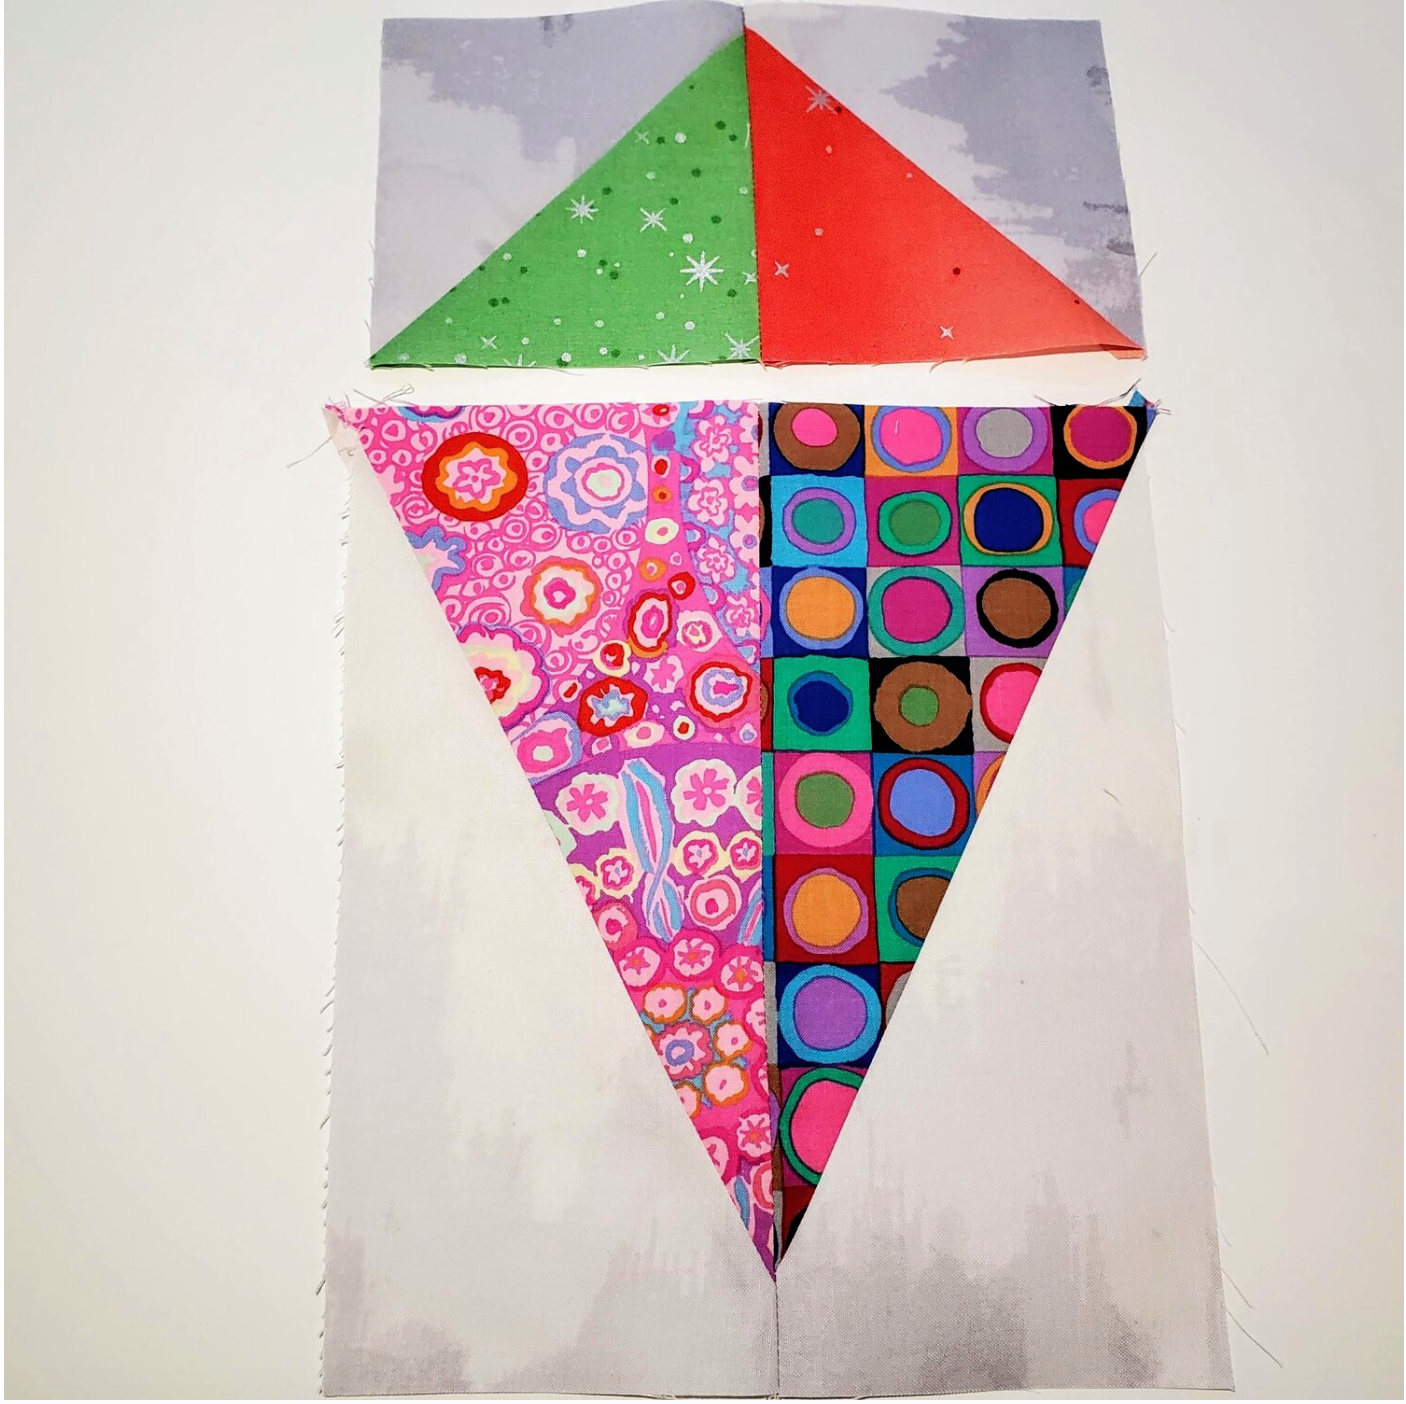
You should have two sets of the half rectangle triangles for the bottom part of the kite. Following this method you should have enough to mix and match the pieces to make four different kites for the placemats. Sew two halves together to make the bottom half of the kite. Then align the center seams and sew the top half to the bottom to create the completed kite block. This block should finish at 8 ½”x13” after you square up the block.
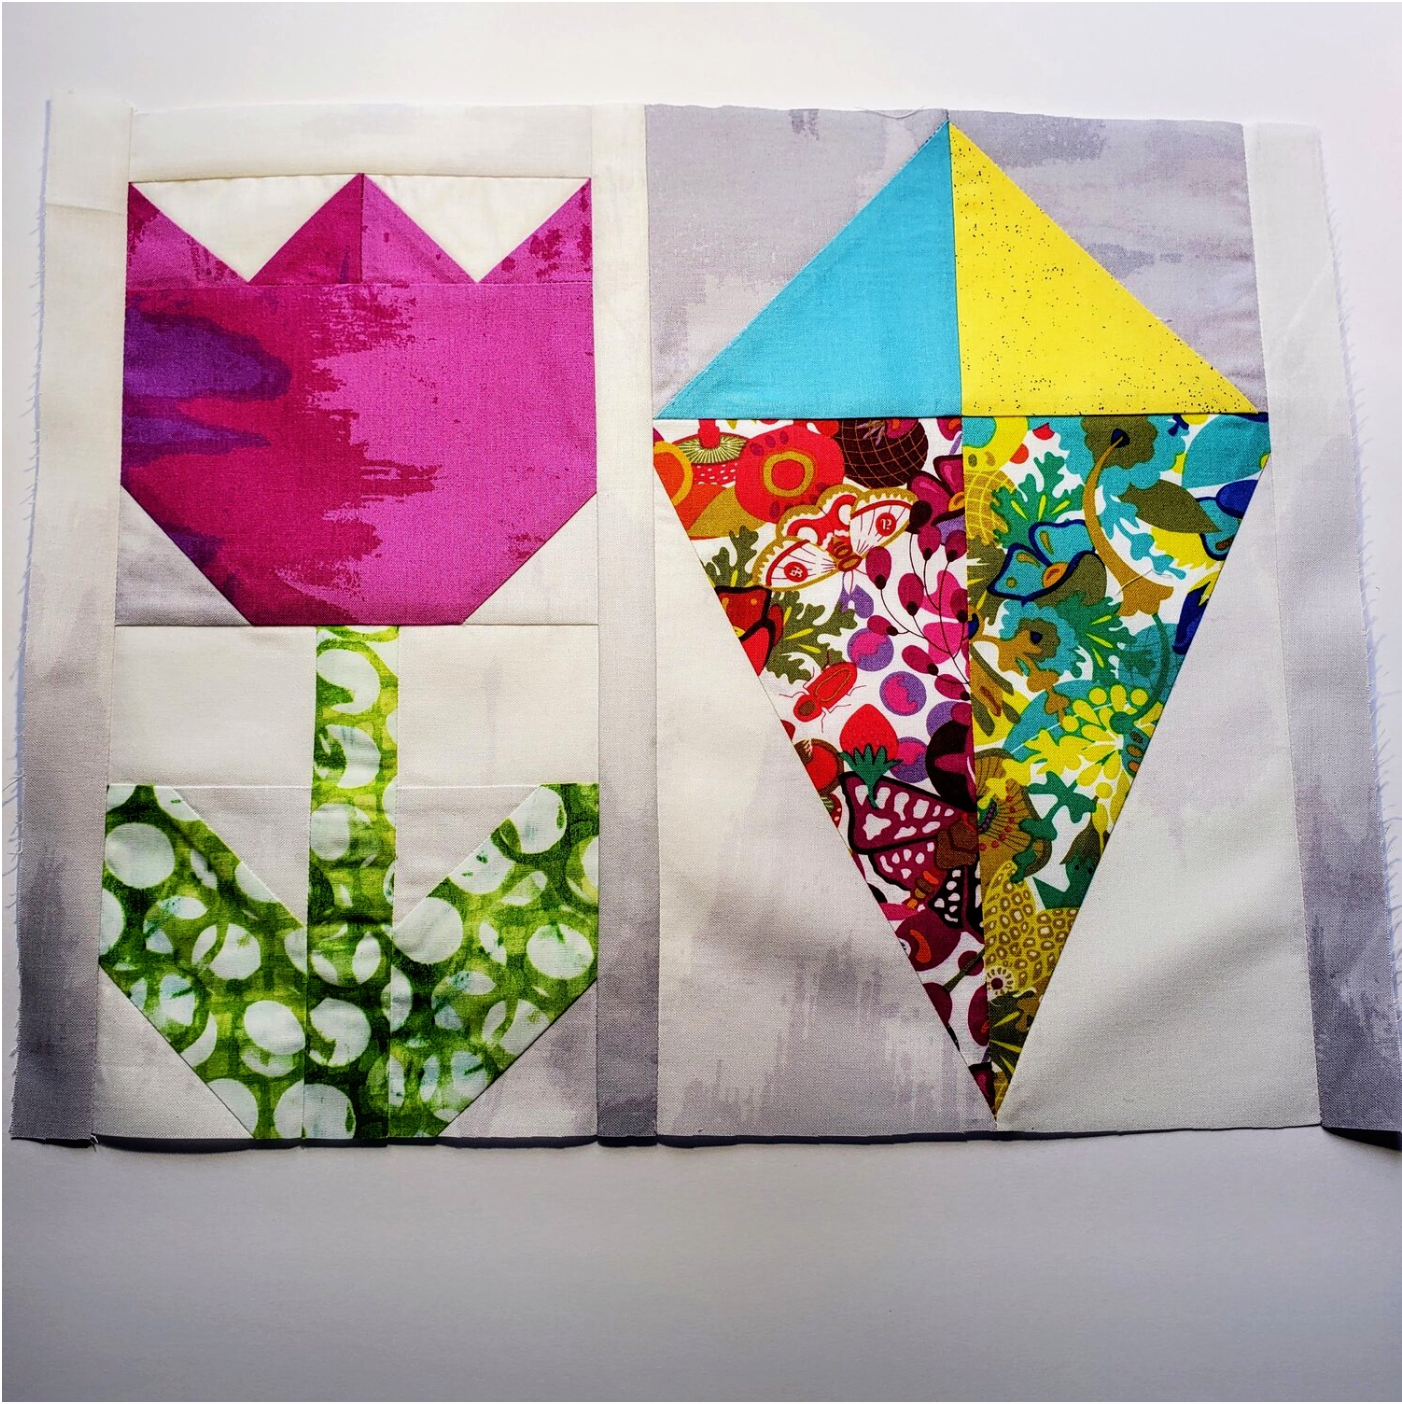
Now it is time to match up a tulip block with a kite block and make the placemat top. You will need to cut some 1 ¼” width of fabric strips from the background fabric.
First add a 1 ¼” stip across the top edge of the tulip. Trim to match the edges. Then add the 1 ¼” strips on the outer edges and in the middle to connect the tulip and the kite. I usually steam iron and add a little spray starch to get all the wrinkles out for a final square up and measure to cut the backing.
Cut the Pellon Fusible fleece and iron on the back of the placemats. I use a Teflon sheet to protect my iron and ironing board from the adhesive. Trim any excess fleece.
With the right sides together start sewing a ¼” seam at the bottom edge going all the way around leaving a 3-4” opening to turn the fabric. Clip the corners and turn right sides out and press aligning the edges evenly. Turn the opening edge under to create a ¼” seam to topstitch closed. Take it to the machine and use a coordinating thread topstitch all the way around taking care to close the opening catching the raw edges in the seam. Press with steam to set the edges. The finished size was approximately 12 x16”.
The quilting options are endless but the easiest to stitch in the ditch around the designs with a 60 wt thread that blends well with the background fabric. If you have not tried this method Generations Quilt Patterns has a great list of tips and tricks to get you started. These will make your table look special for a small garden party to enjoy the pleasant spring weather!