
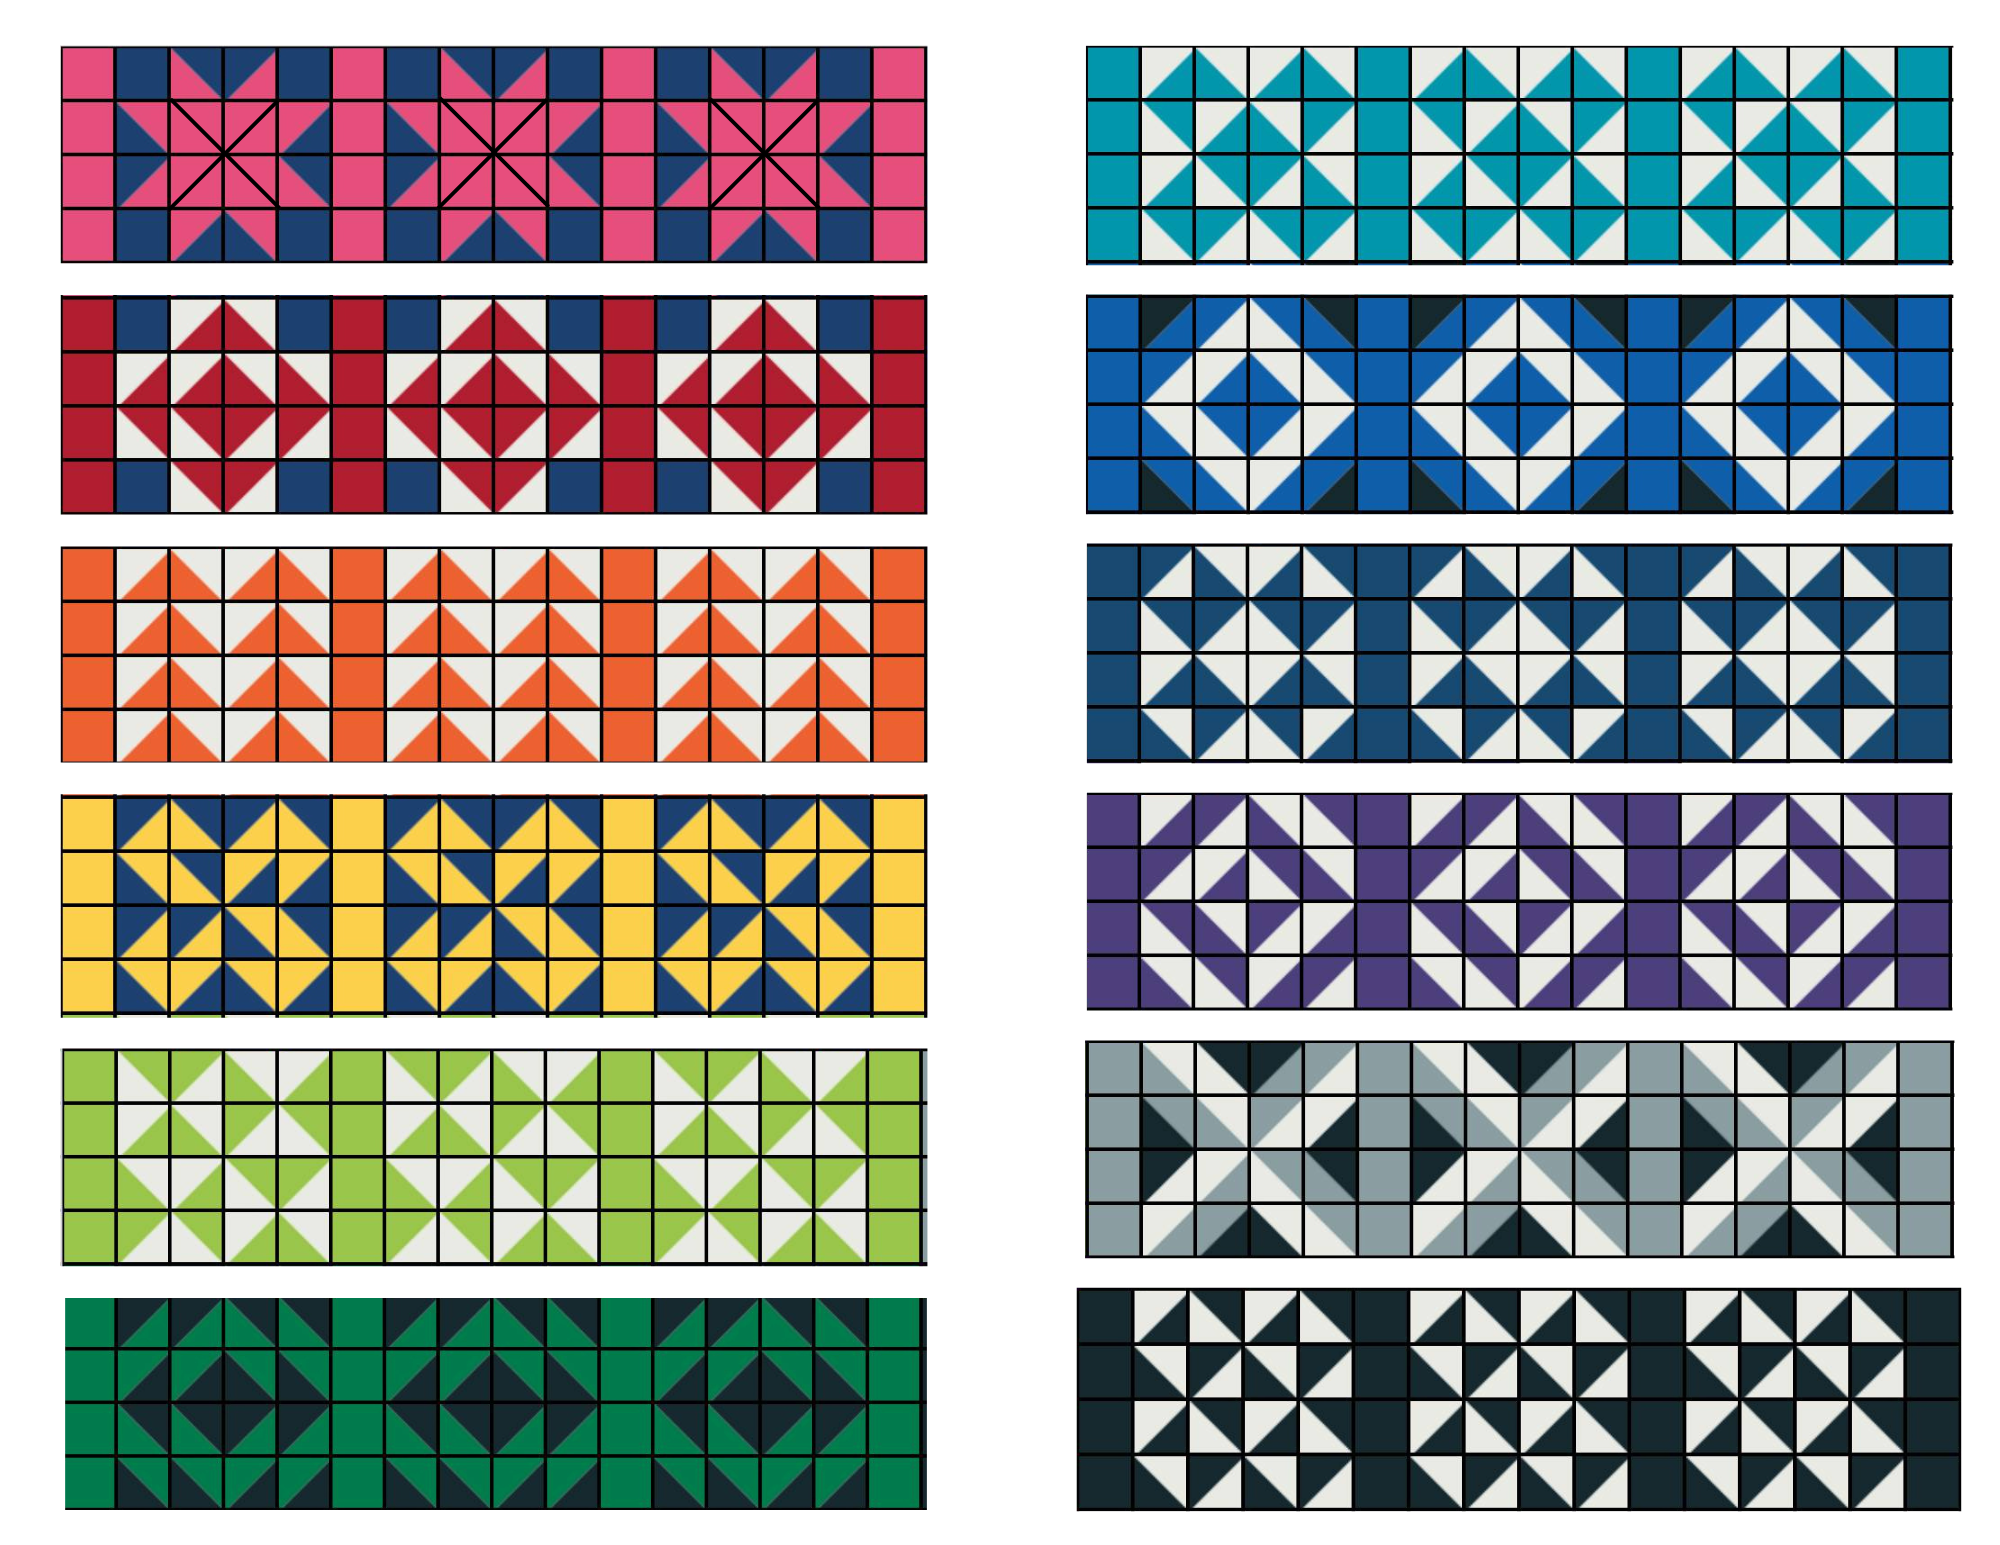
Scrappy Happy Rainbow - Layout Options
Congratulations on finishing your Scrappy Happy Rainbow Row by Row adventure!!
If you're on this page, then we're assuming you're good with spoilers. You're about to see the completed finish of all 12 rows (if you chose to follow the patterns provided). We are always a big fan of choosing your own quilting adventure and we'd love to see how you adjust your block design with the pieces provided.
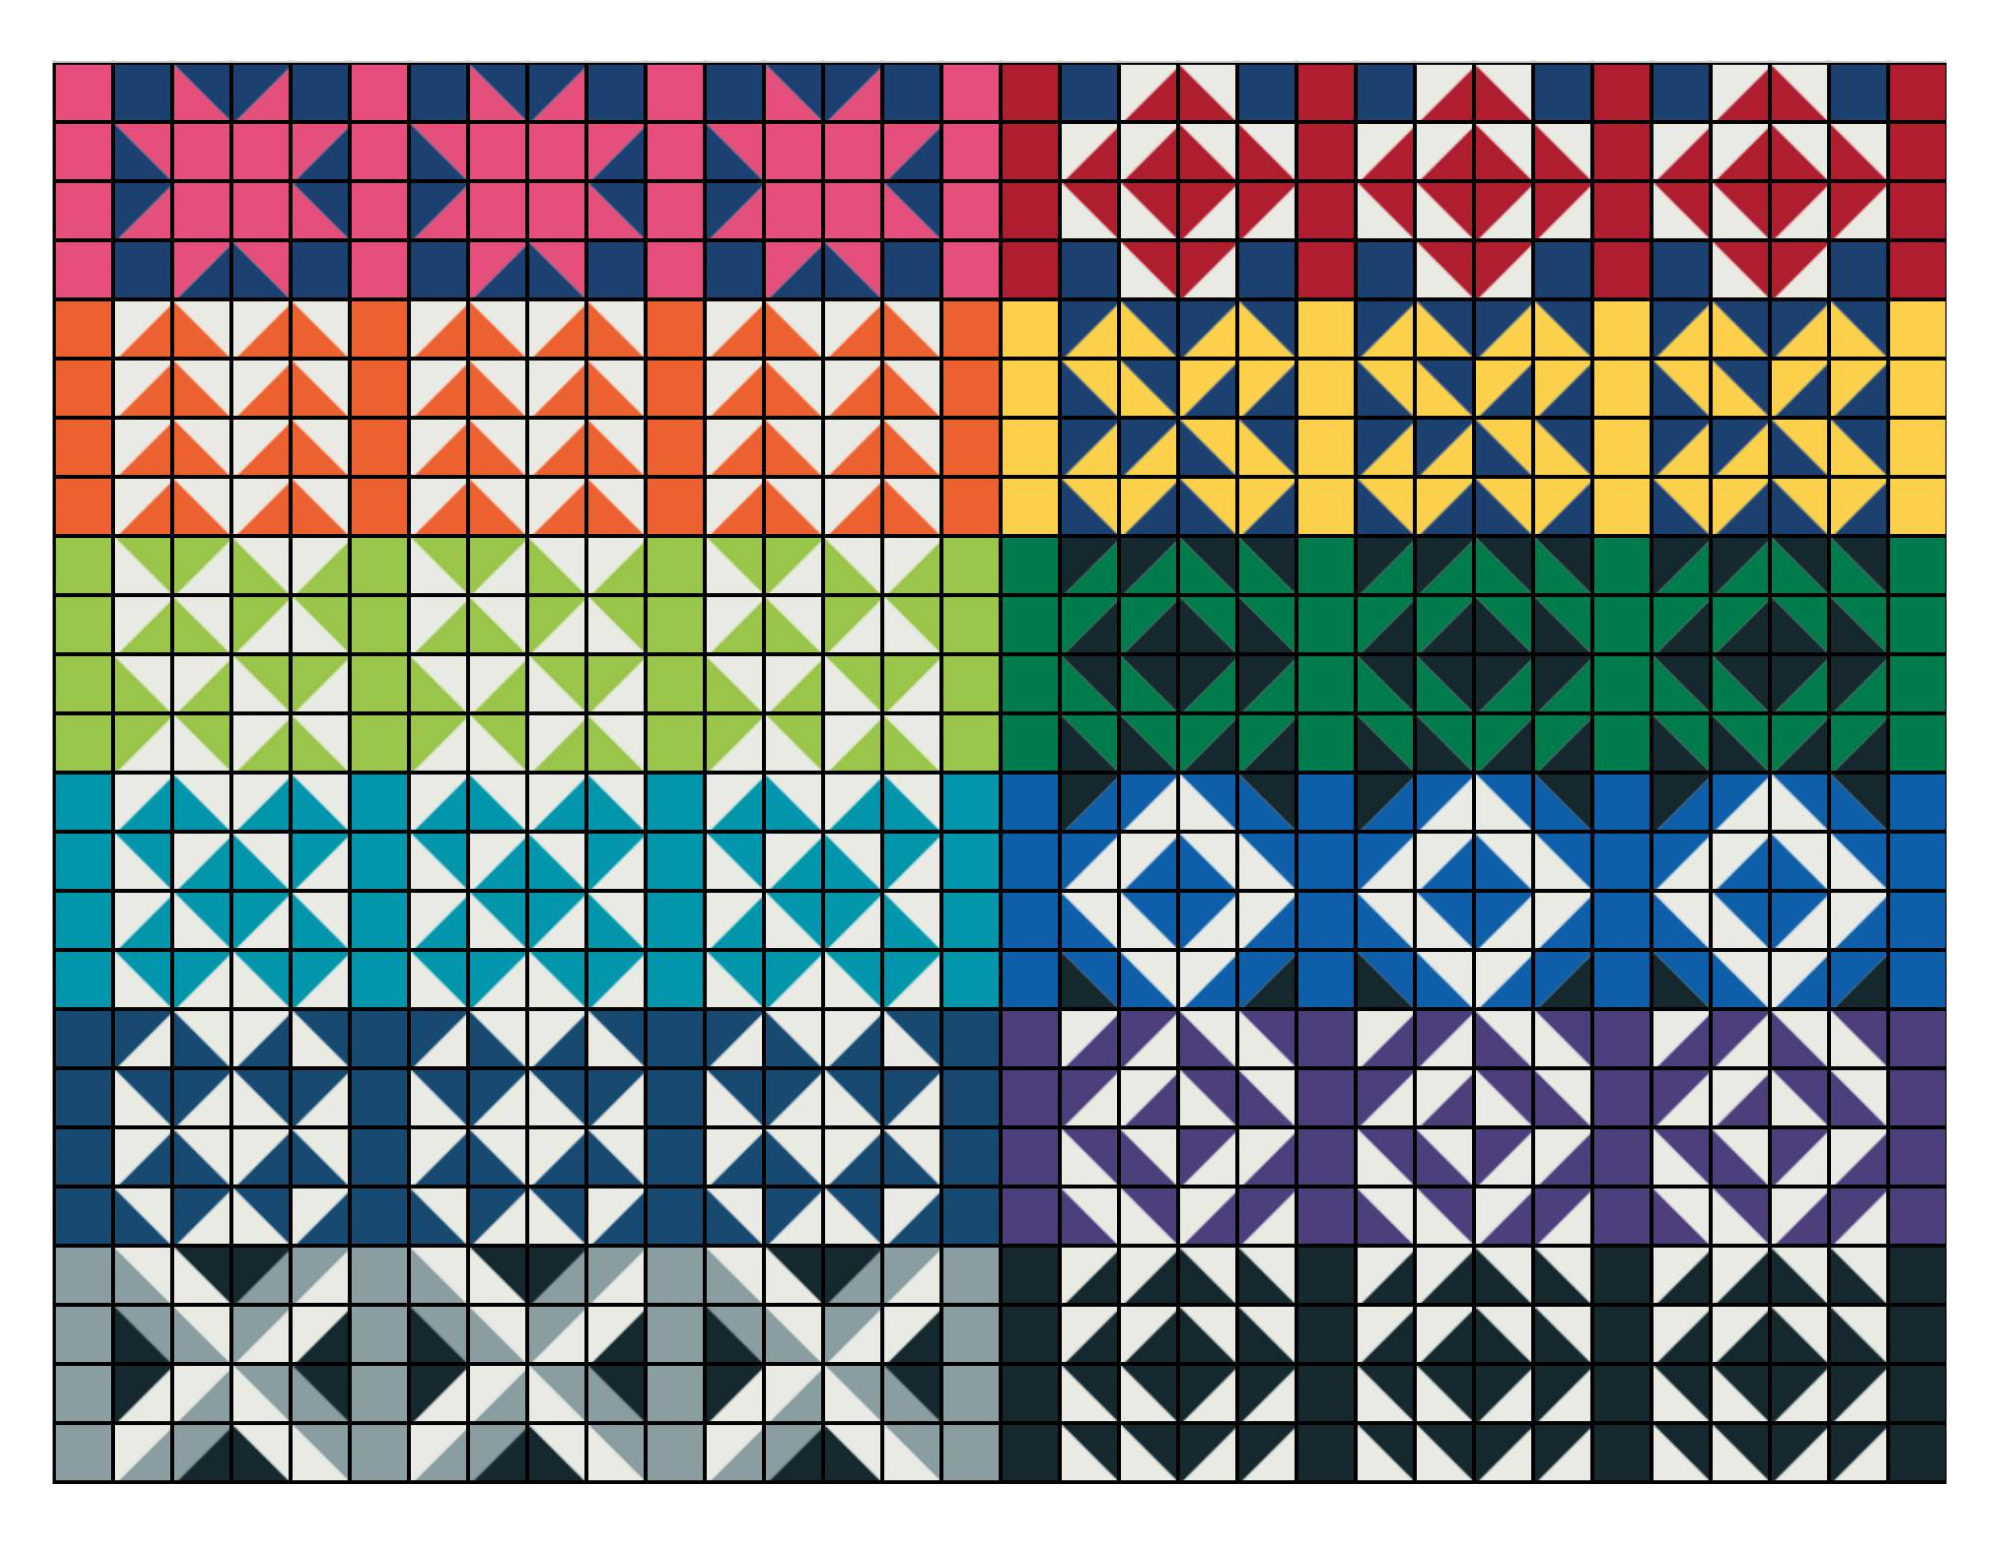
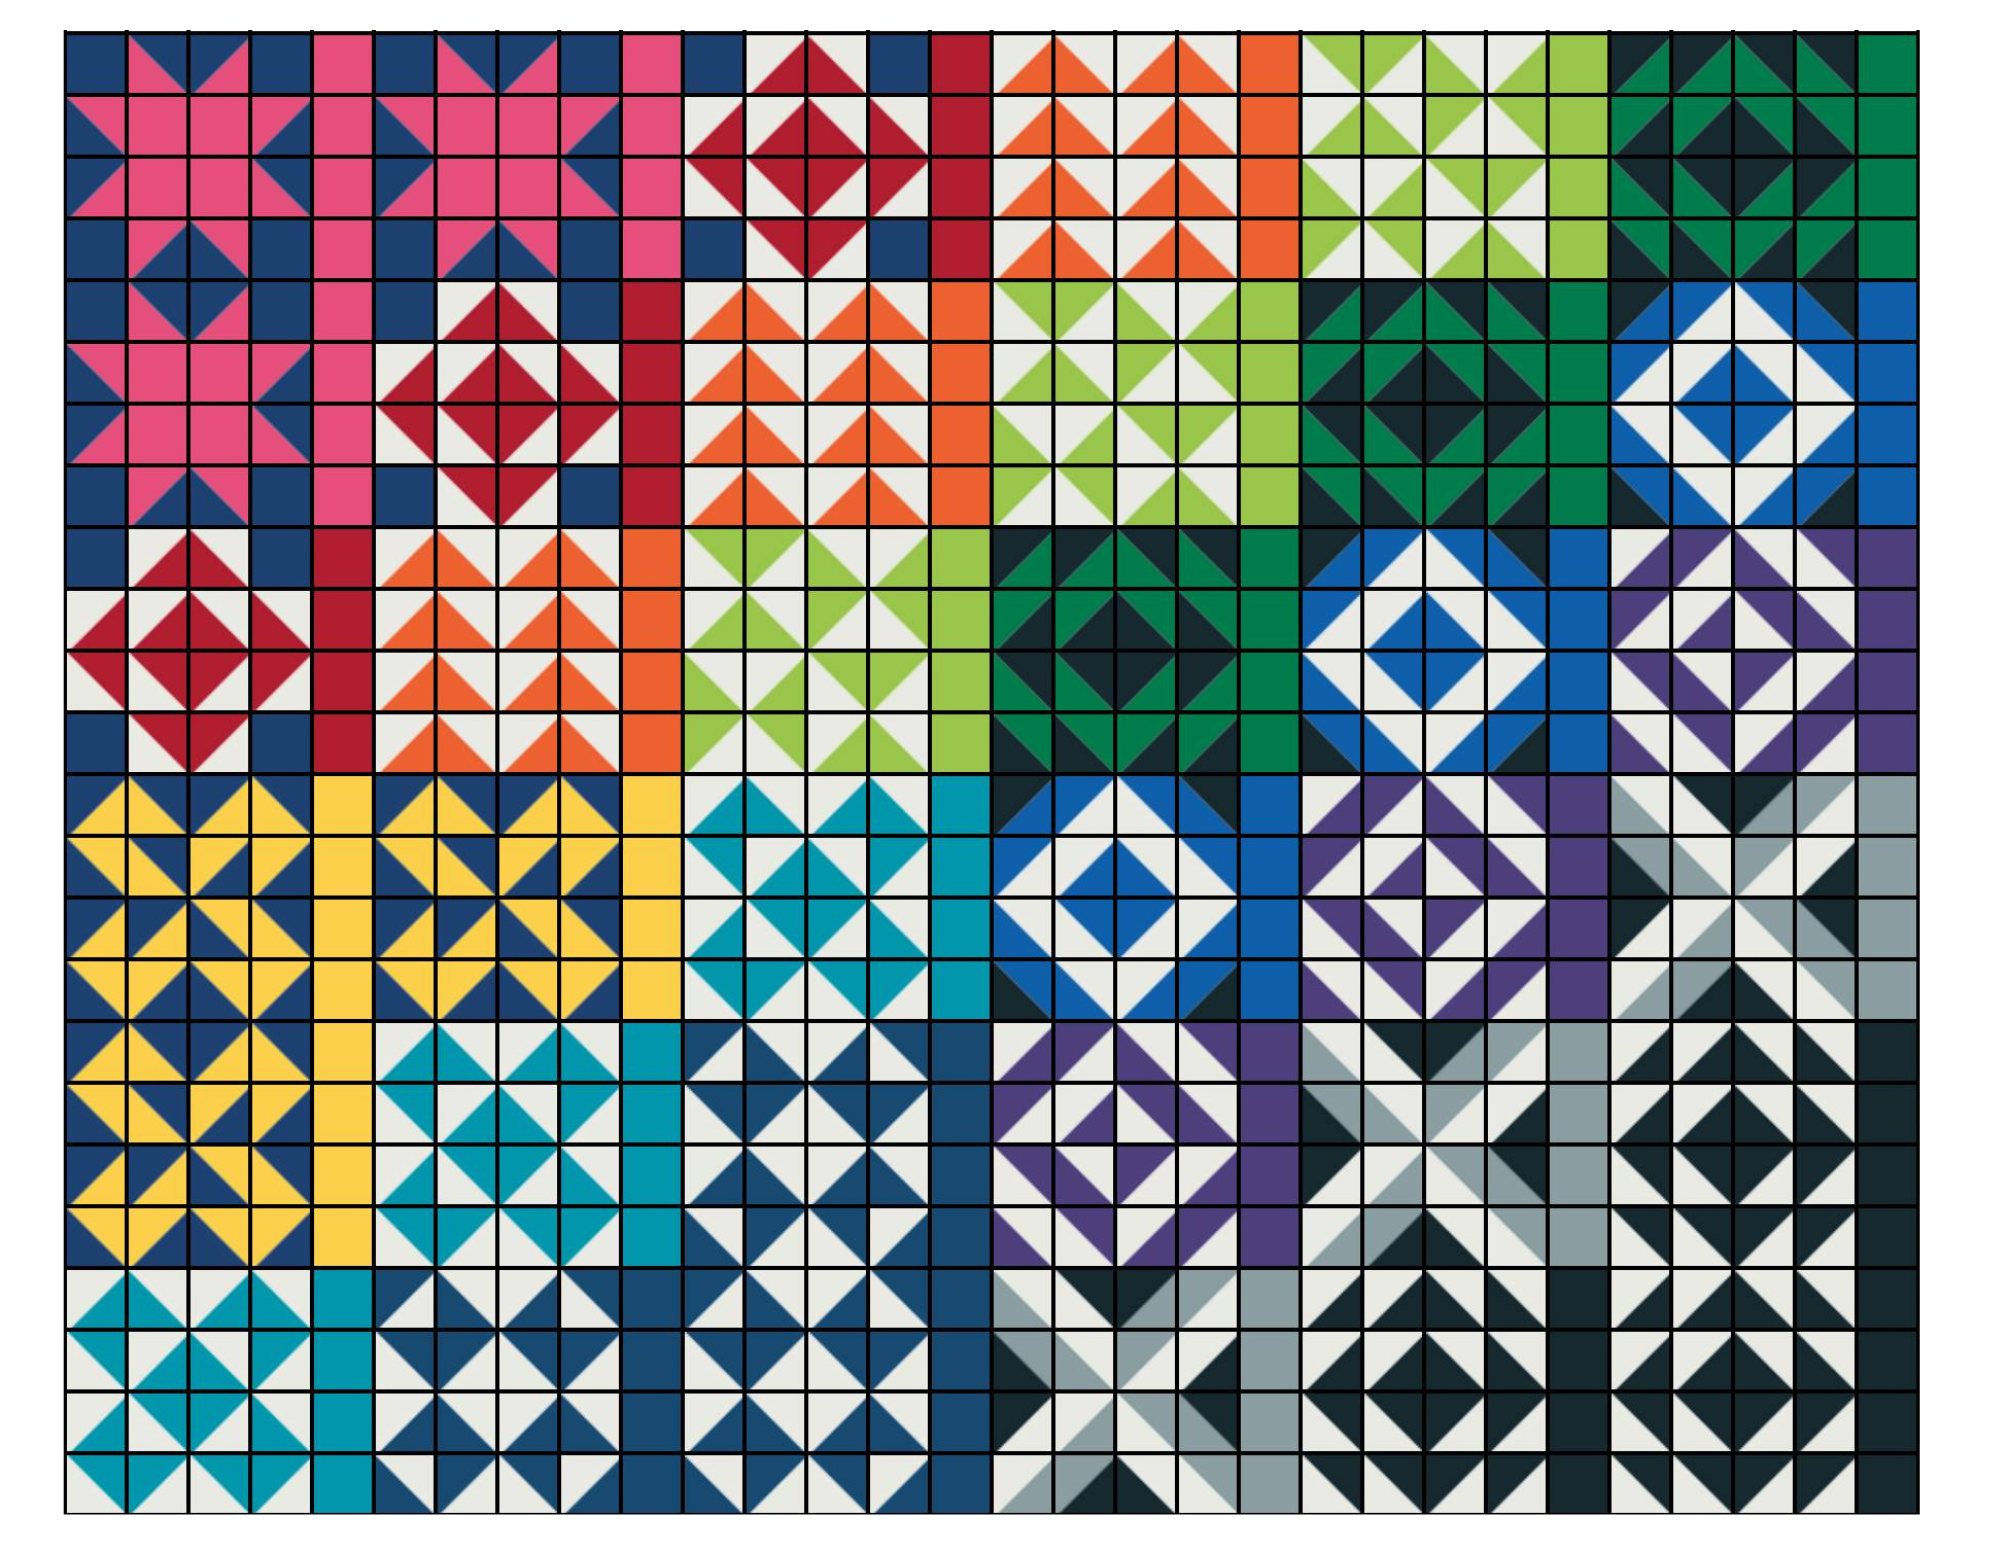
All 12 rows laid out in rainbow order, starting in the top left, going down and repeating in the second column.
Potential Finishing Options
These three finishing options are basic in construction - layout your rows, sew them together into columns and then stitch the two columns together.
Always press seams as convenient, however we prefer sewing one column all the same direction and the other column in the other direction so your seams nest.
Your quilt will finish 64-1/2" x 48-1/2" with these layouts.
Layer with your backing and batting of choice, quilt the three layers together.
Cut your binding fabrics (included) into strips your desired width and finish with your preferred binding attachment method.
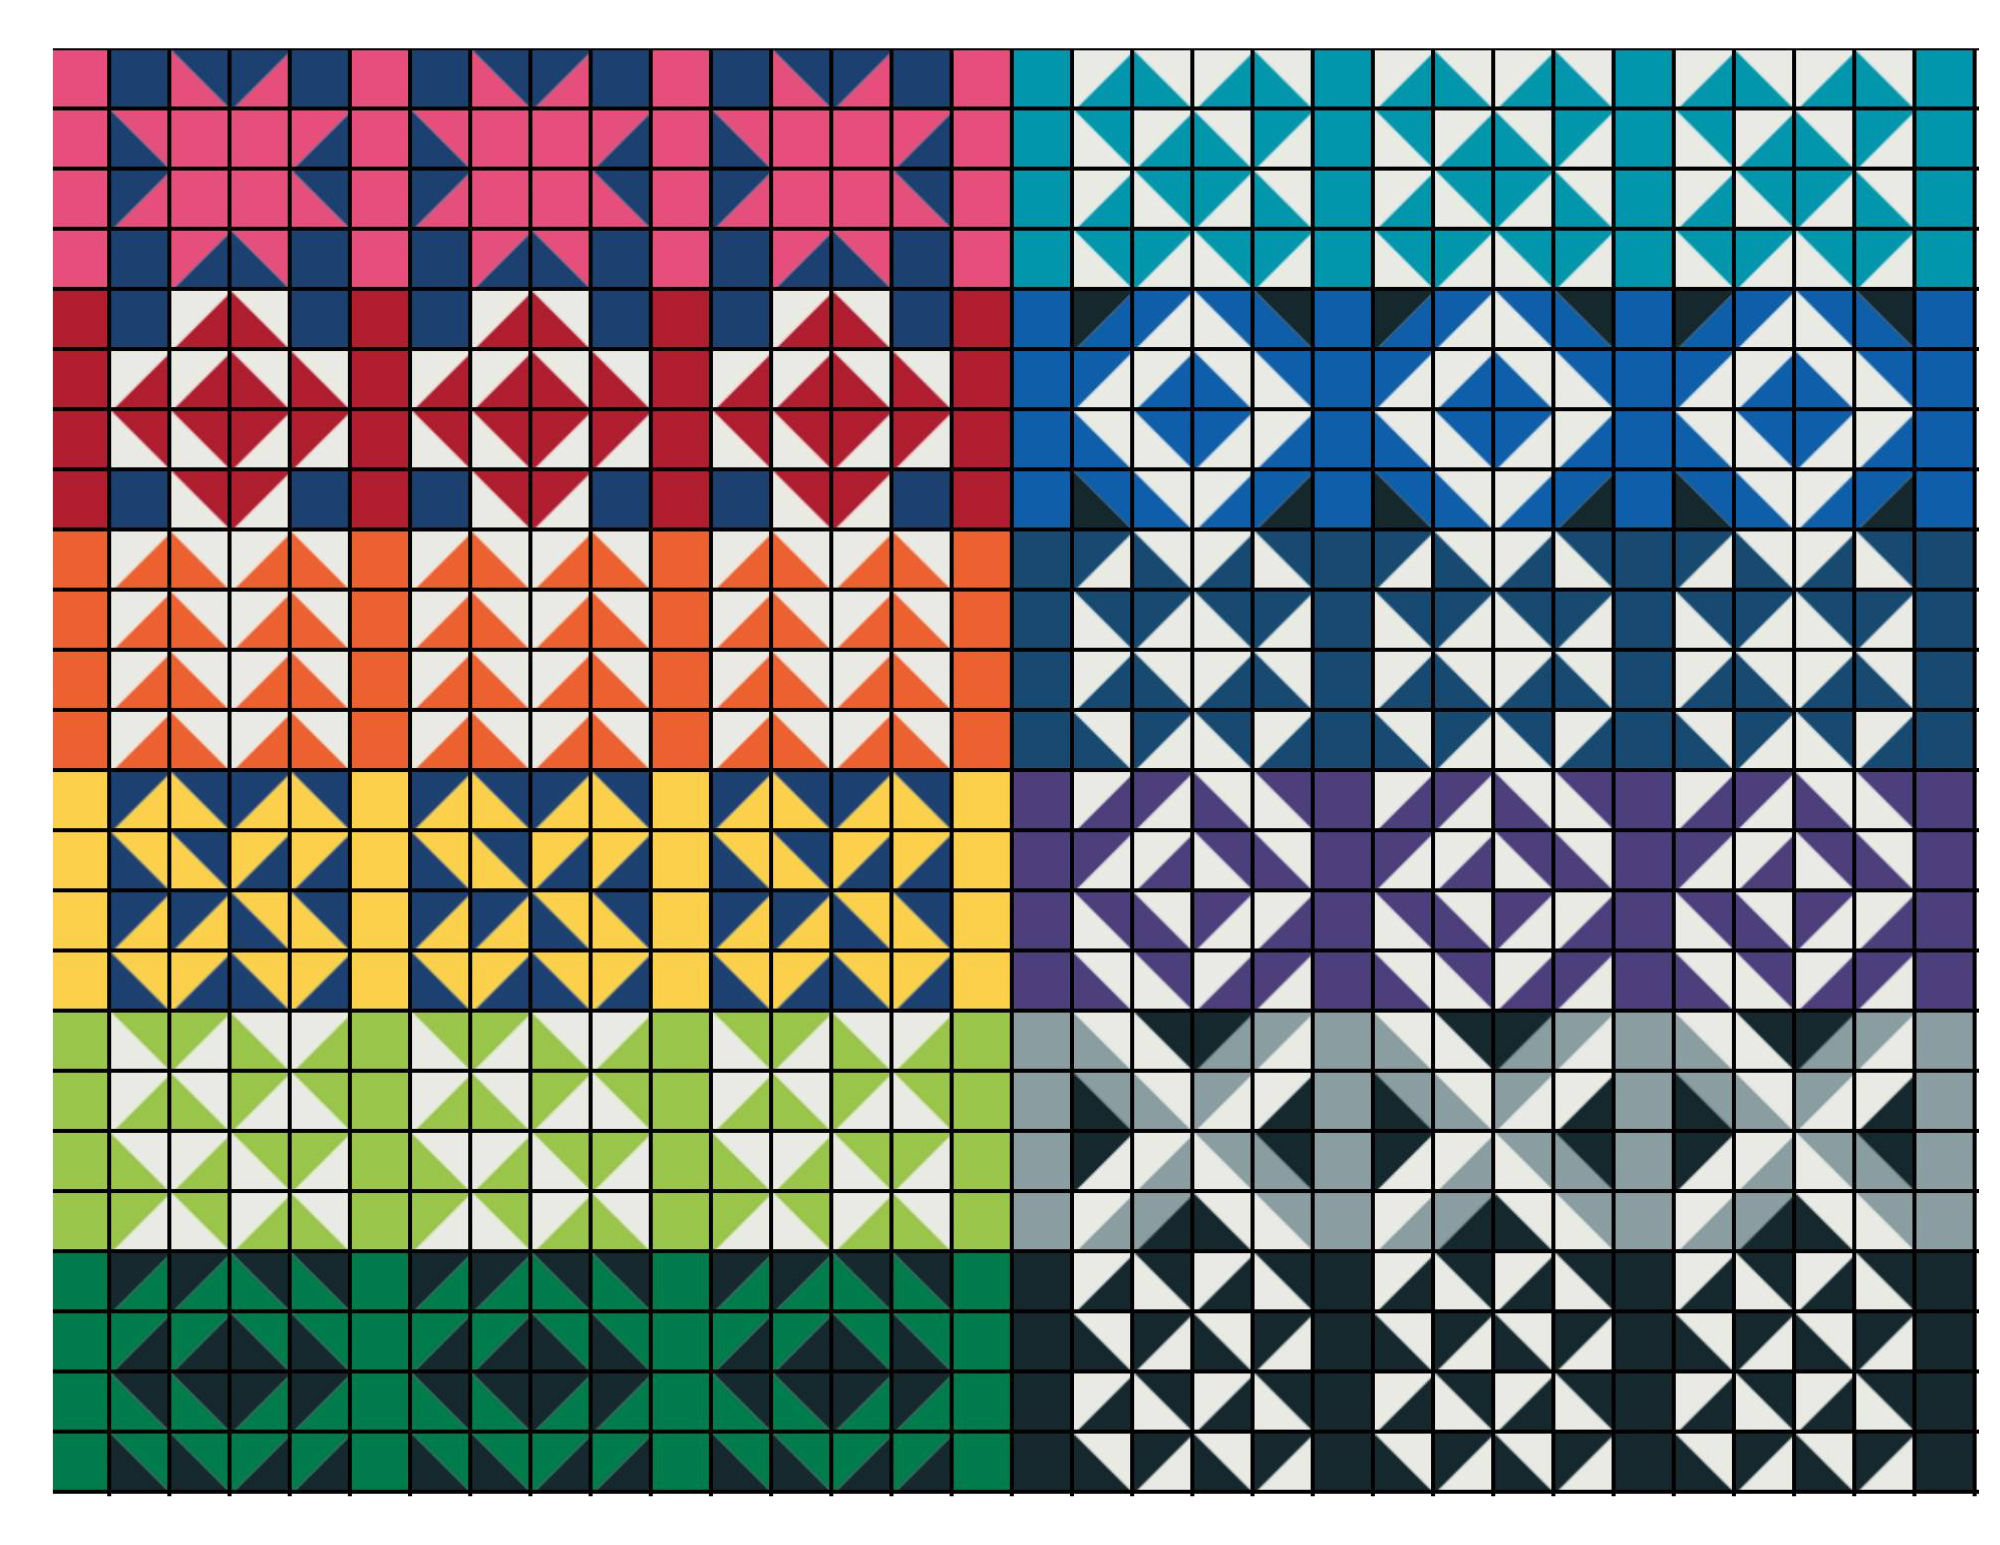
Finish #1
Arrange your rows with all odd rows in Column 1, all even rows in Column 2.
Finish #2
Arrange your rows in numerical order, all in Column 1 followed in sequence into Column 2.
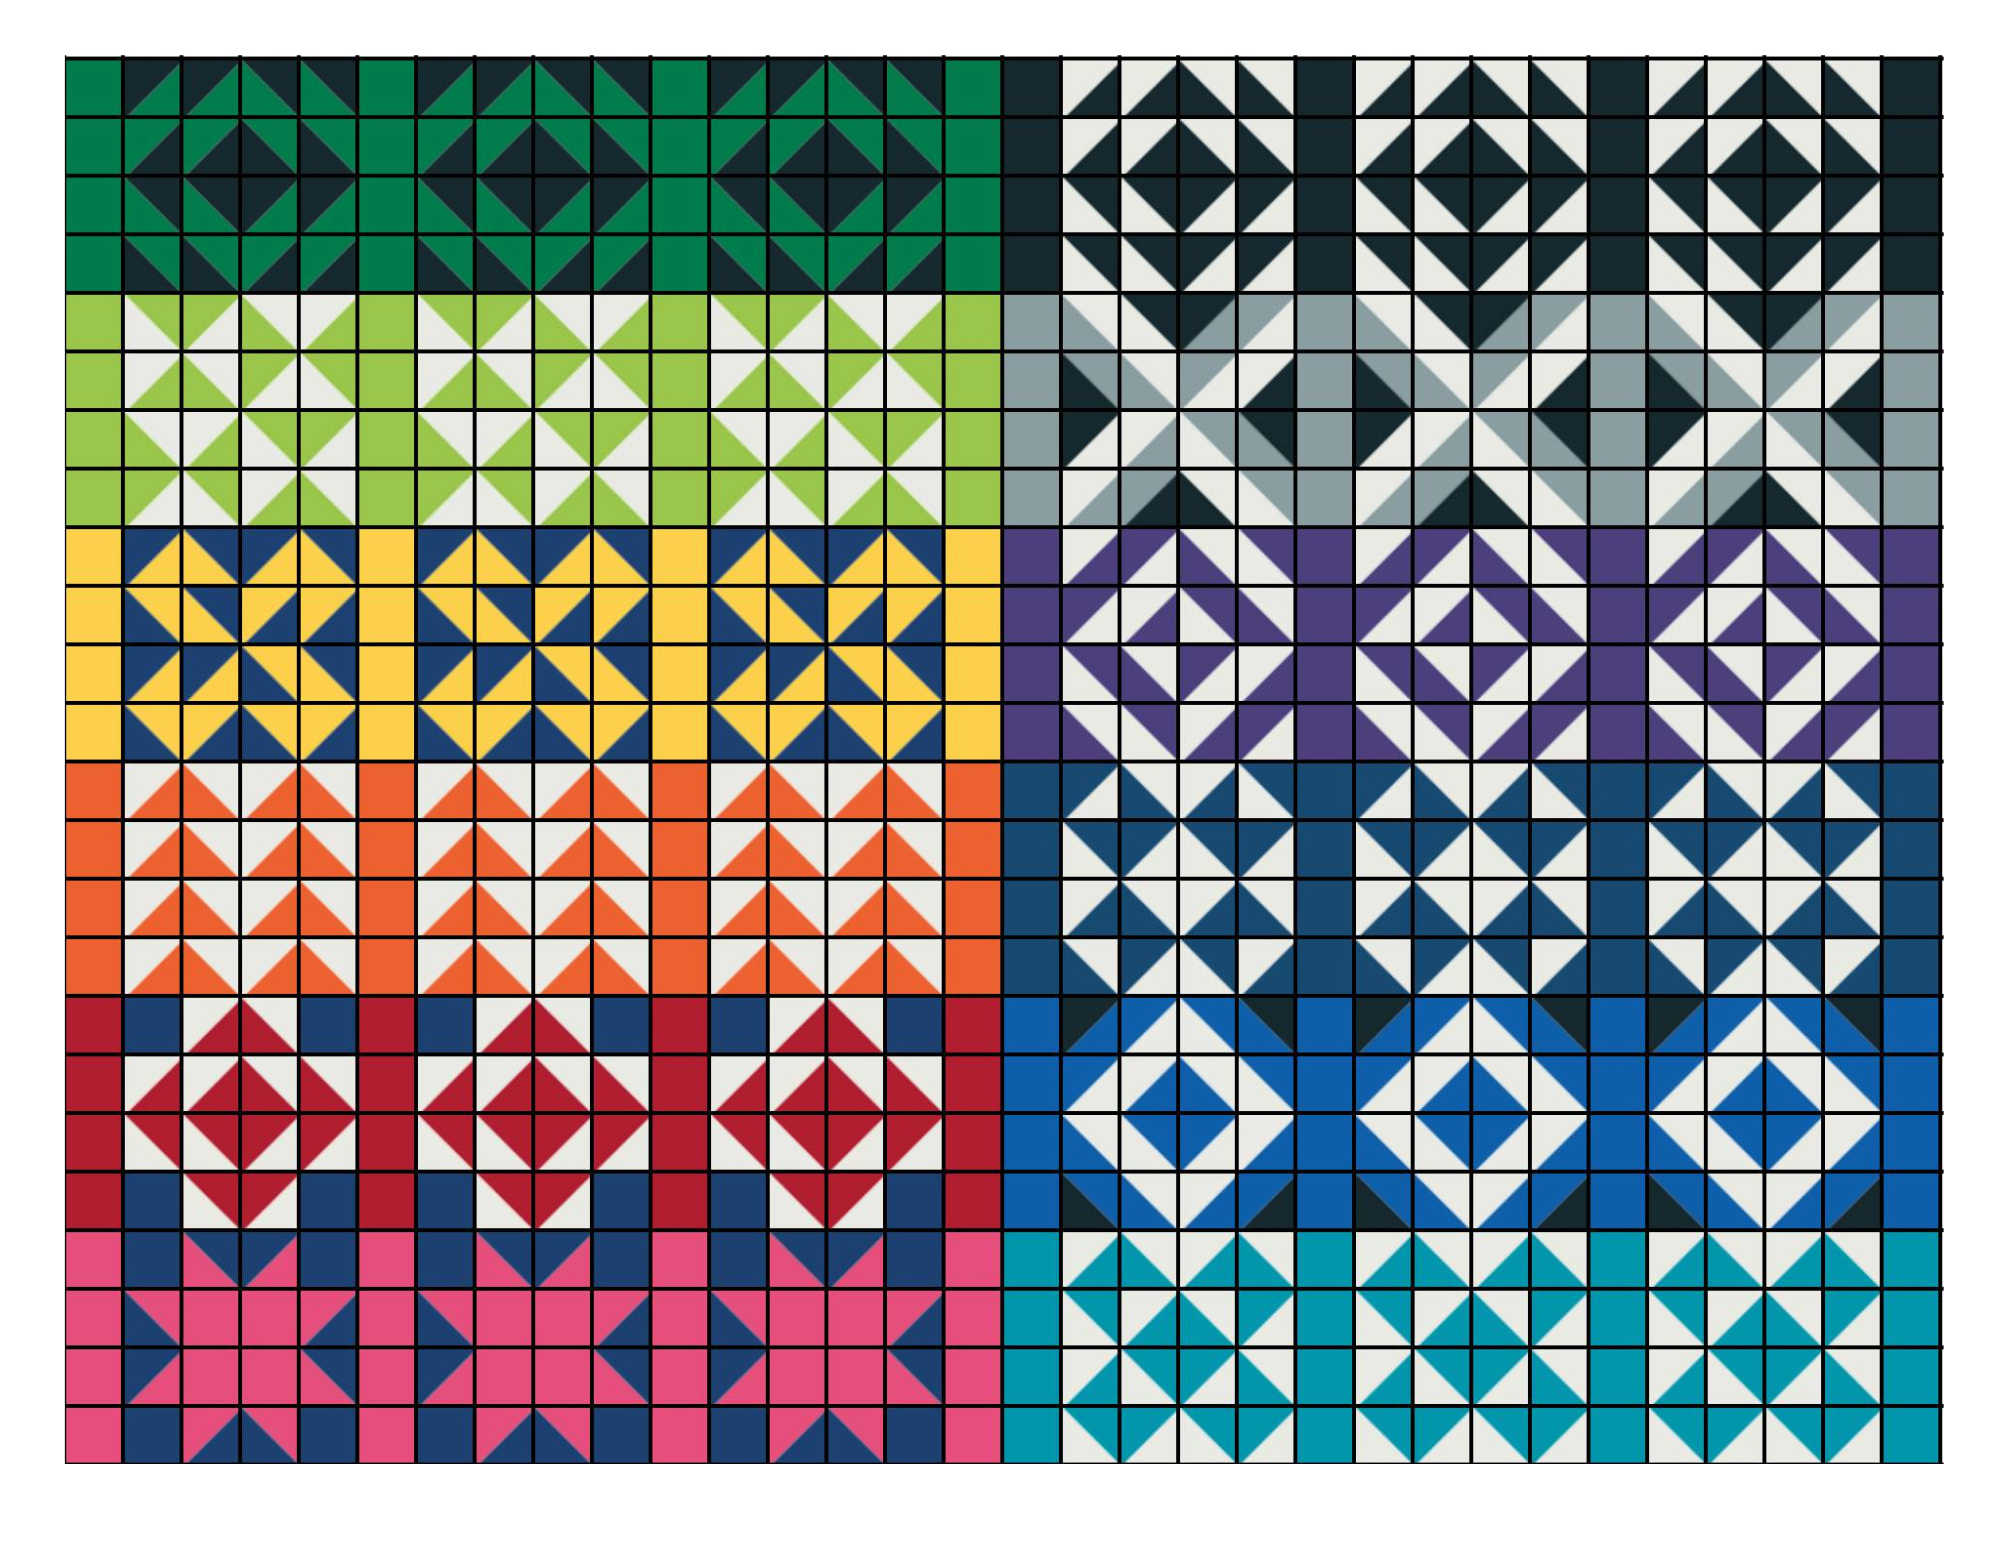
Finish #3
Reverse the build order and start from the bottom left and work upward in Column 1.
Finish #4 - For the Creator
If you like coloring outside the box or creating your own path, then this finish design is for you. Rather than completing rows, we're showing a finish option that is deconstructed row designs. This design will finish slightly narrower than the previous design and you will end with extra squares to use at your leisure. However, consider this a jumping off point for creativity - what other layouts would you consider?