Kool Kaleidoscope Part 3
20th May 2022
It’s the little things in life that bring us happiness! In quilting it can be mastering the perfect quarter inch seam. It sounds so easy but for me it proves to be a challenge to achieve this week as I sew together the 60 angled pieces of this round quilt. This week I will share my quilting adventure with part 3 of the Ricky Tims Kool Kaleidoscope quilt. I am amazed at how this intricate looking quilt is coming together with the excellent instructions provided in the free videos from Ricky Tims.
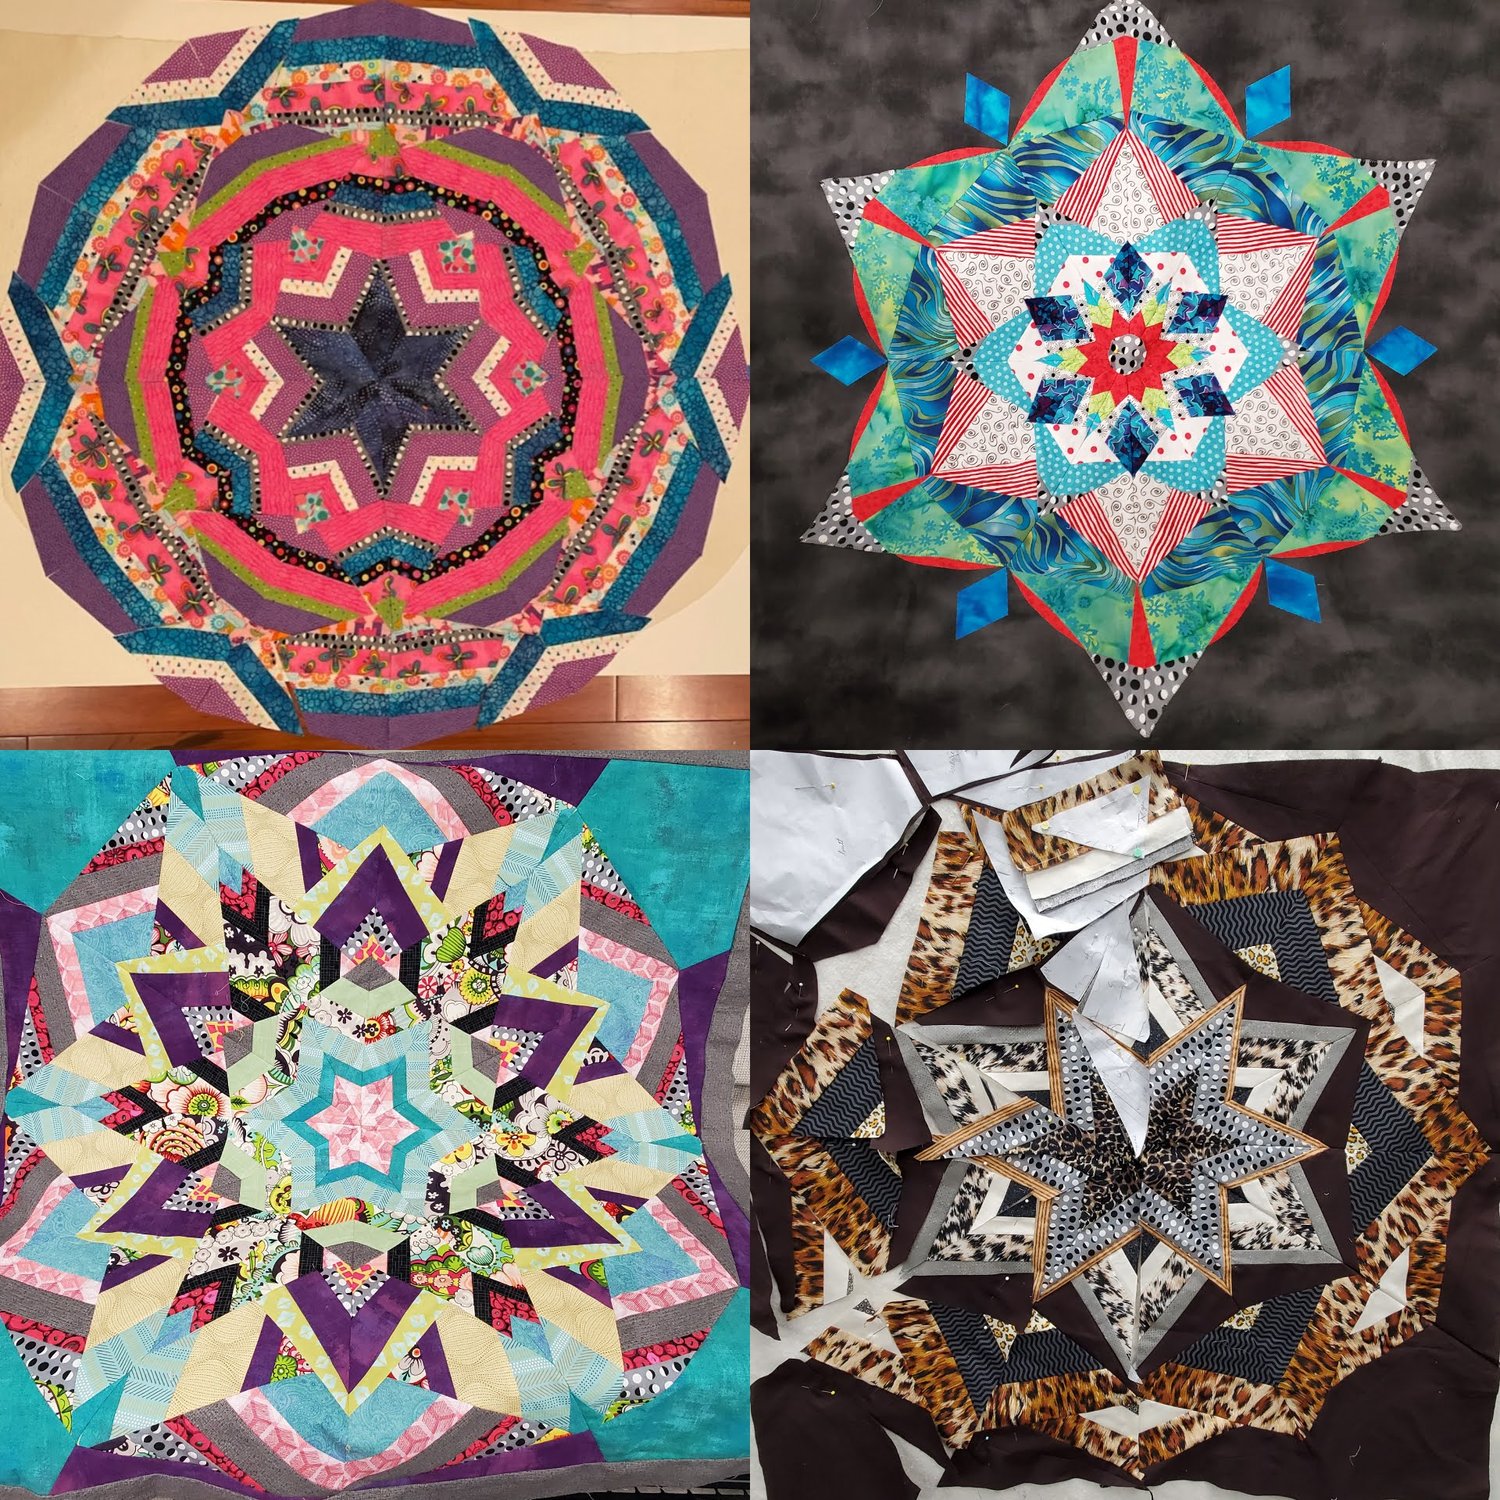
The best part of this challenge is working with about 20 members of my Bits, Art Quilters group, including my sister, all of which have so much knowledge and experience with quilting. We were able to gather as a group for a day to work together on the challenge sharing our experience and providing encouragement. Here are a few pictures of fabric pulls from some of the members who were just beginning to sew the strip sets. Such a great variety of colors!
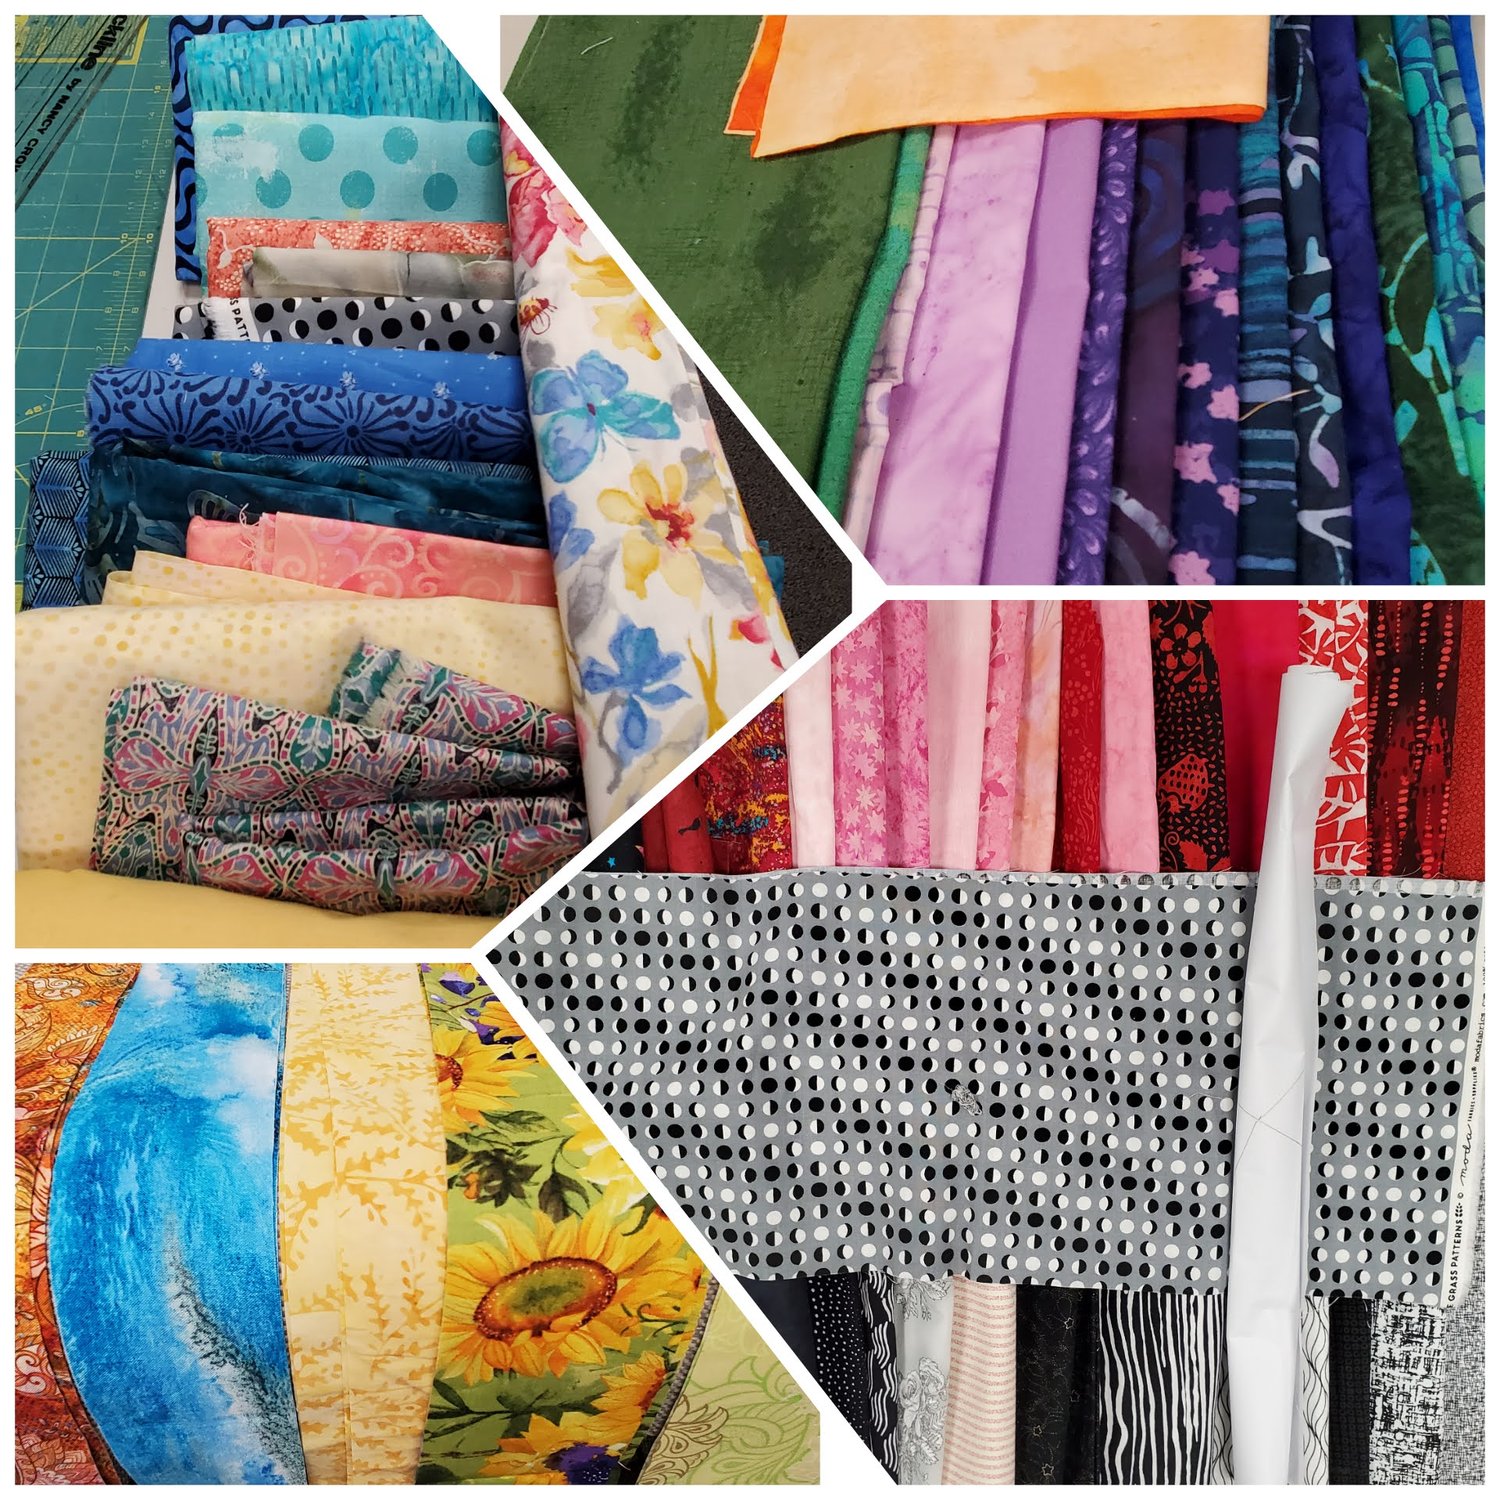
All of our quilts will have the black and white dots on grey background Moda fabric included in our project. It is interesting to see how this fabric plays a role in each individual quilt. Here are a few examples from our sew day.
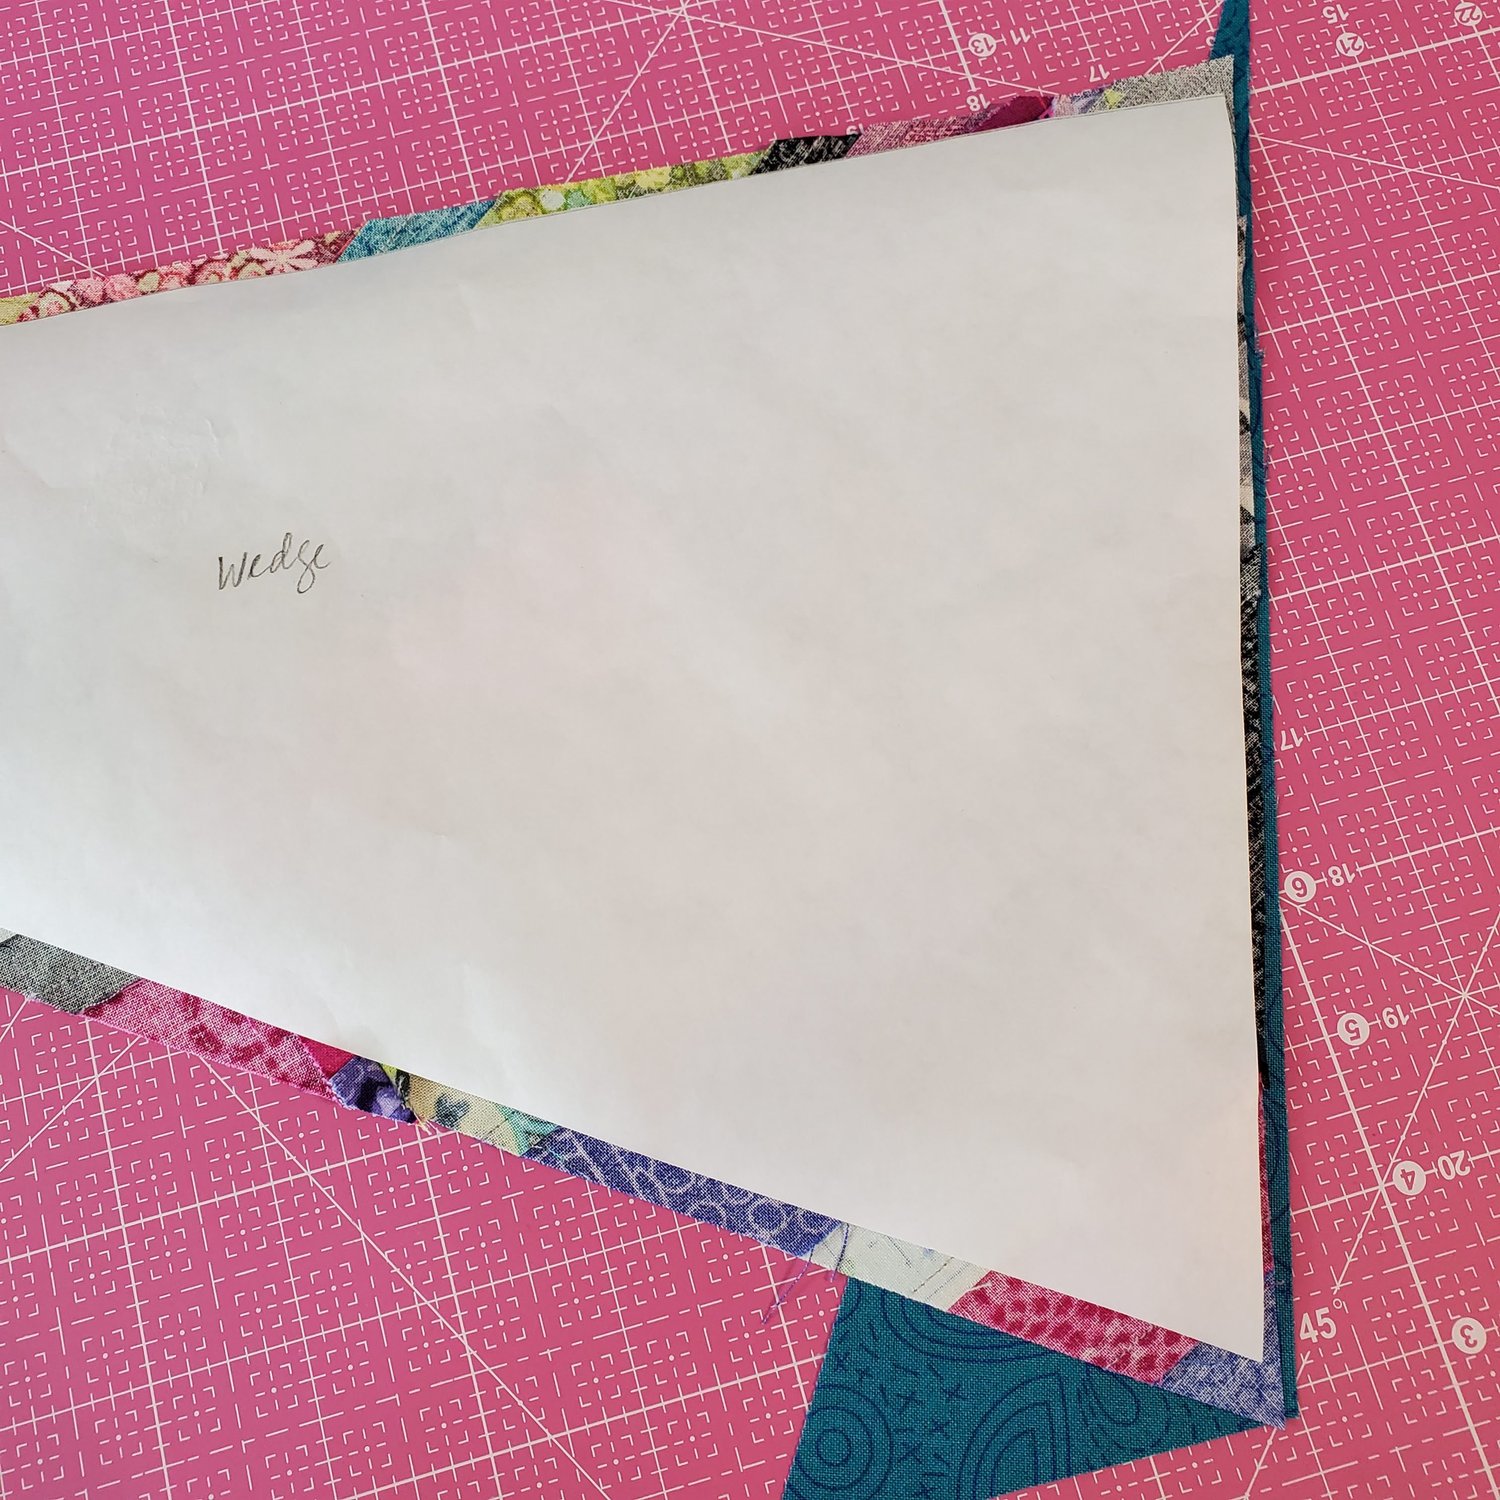
After spending some time with these talented ladies I was encouraged to go home and sew it all together. Ricky has some great tips to make this go as smoothly as possible. Make sure to double check your five template pieces on each wedge that you trimmed ¼” on all sides. Take one wedge with the pattern pieces attached down from the design wall and bring it to the sewing area. I like to use a piece of foam core board to keep the pieces together in place.
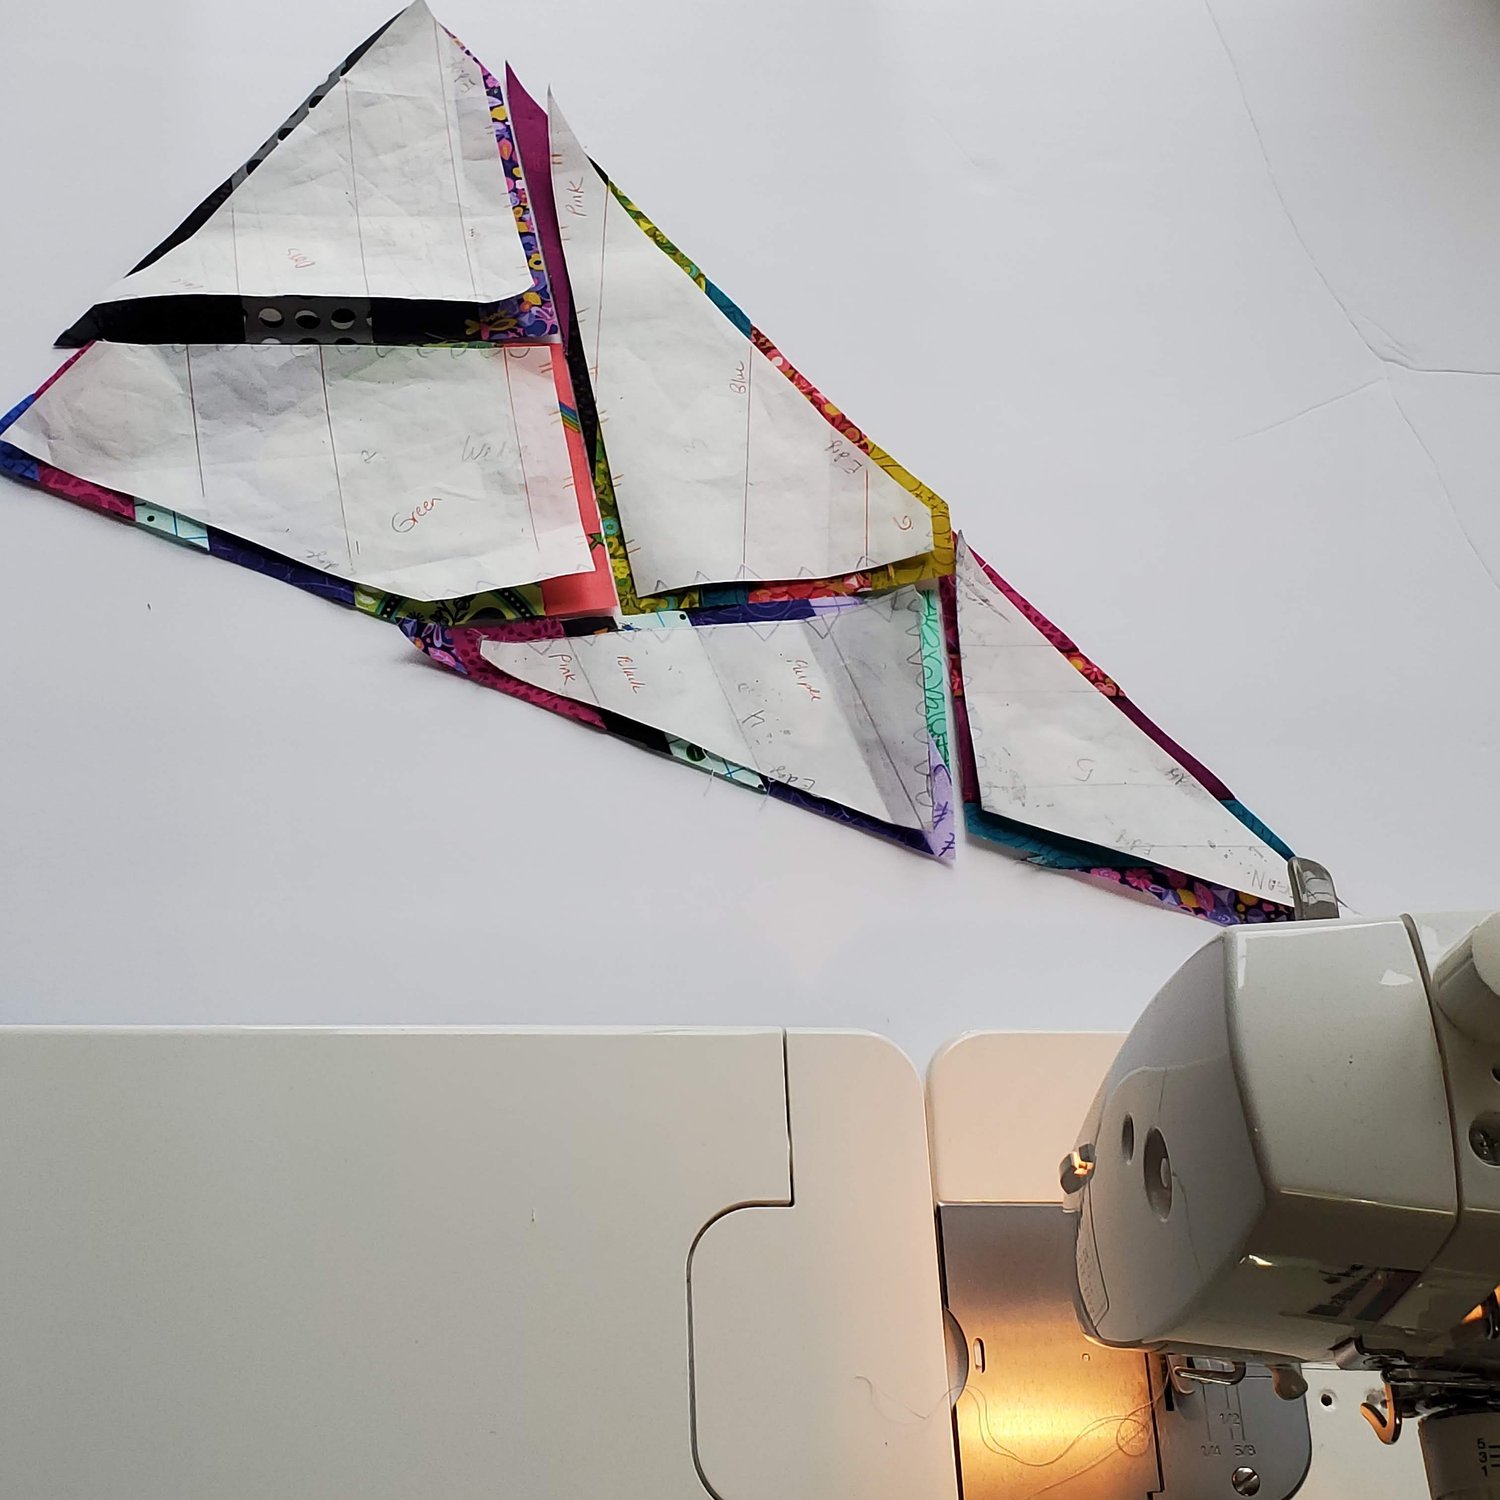
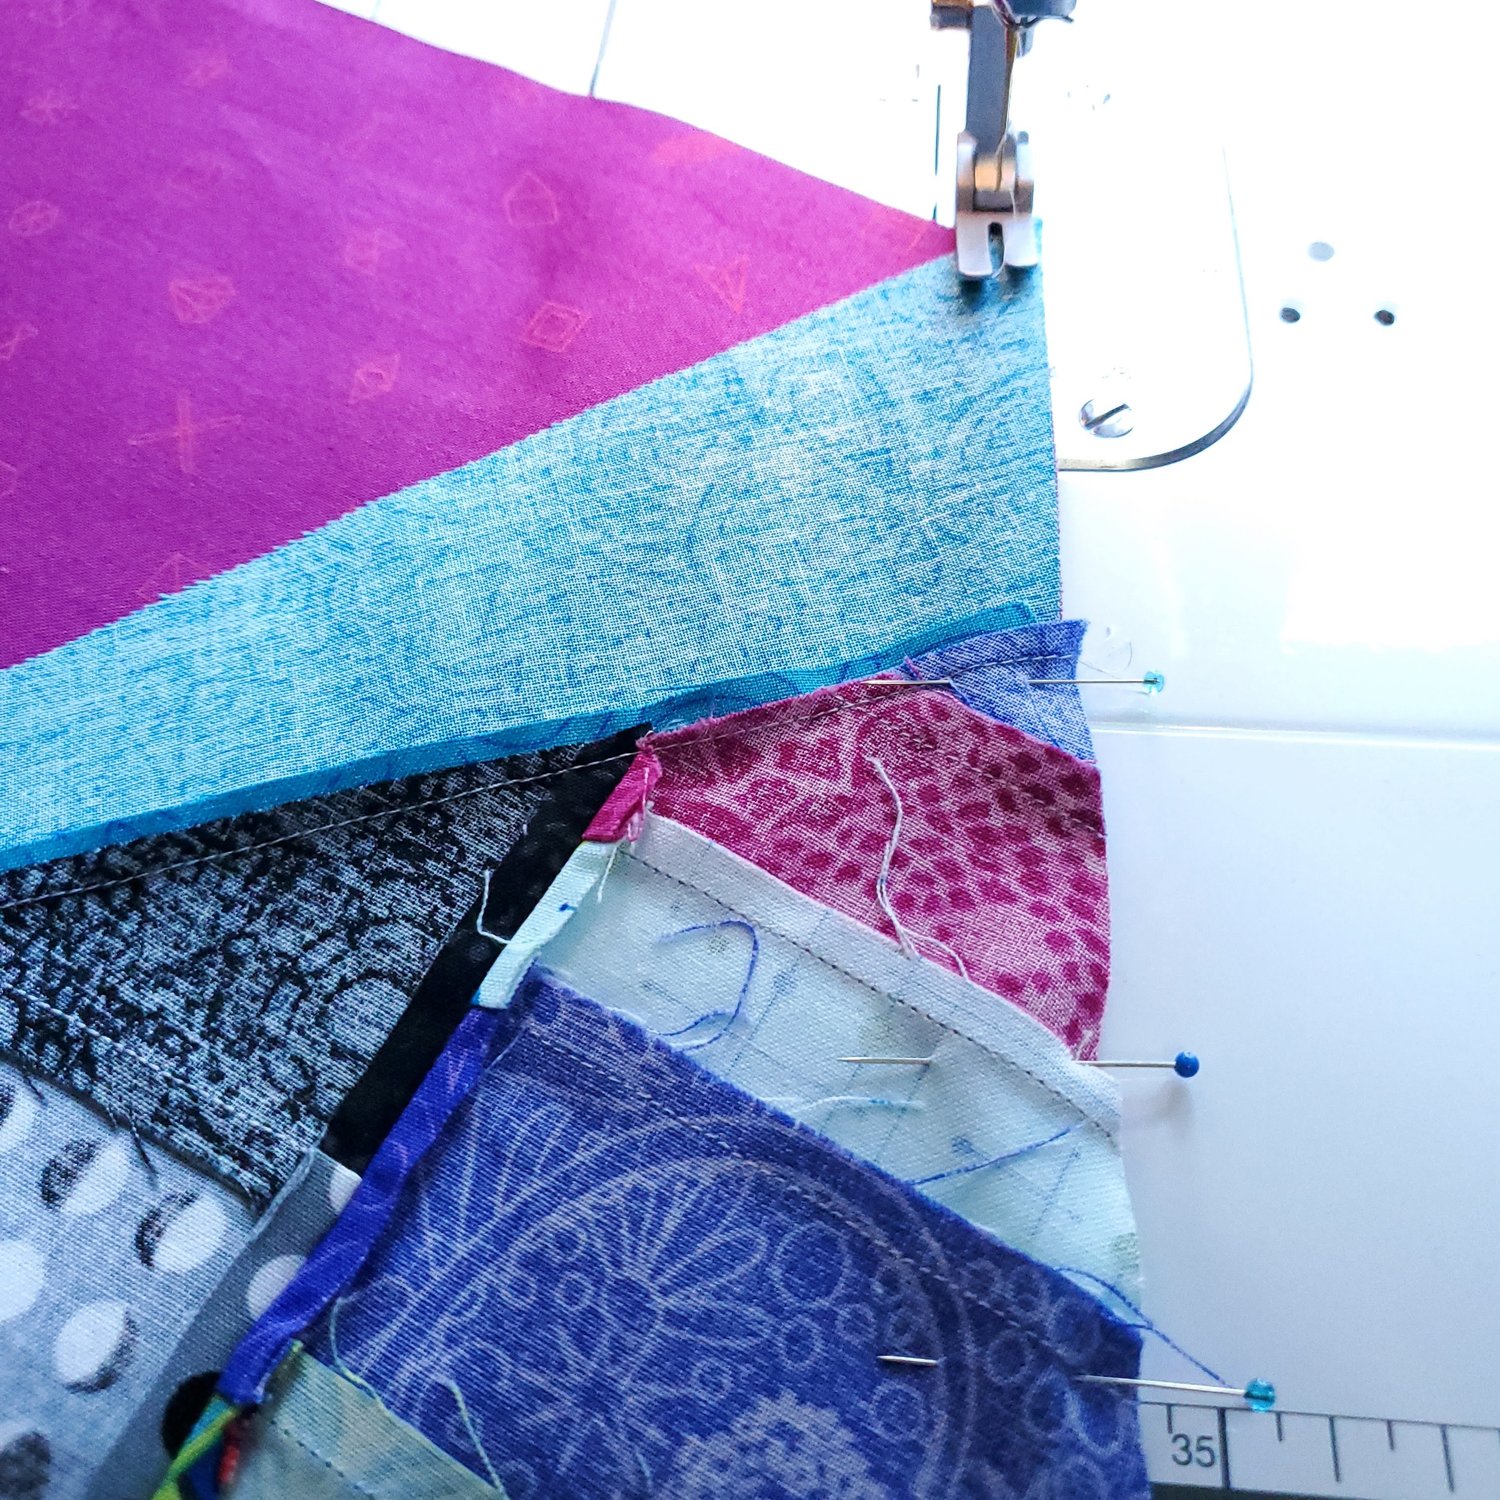
Sew the pieces together in order 1 - 5. Handle the pieces gently since you have bias edges limiting the amount of tugging and easing as you sew. Ricky does not recommend chain piecing these pieces together. Leave all the remaining sections on the design wall focusing on one wedge at a time. Lay piece #1 on top of #2 and align with ¼” seam allowance sewing in the “V” created from the right edge of the fabric to the sewing line.
I found it handy to keep a small ruler close to the sewing machine to check before I started sewing the seam.
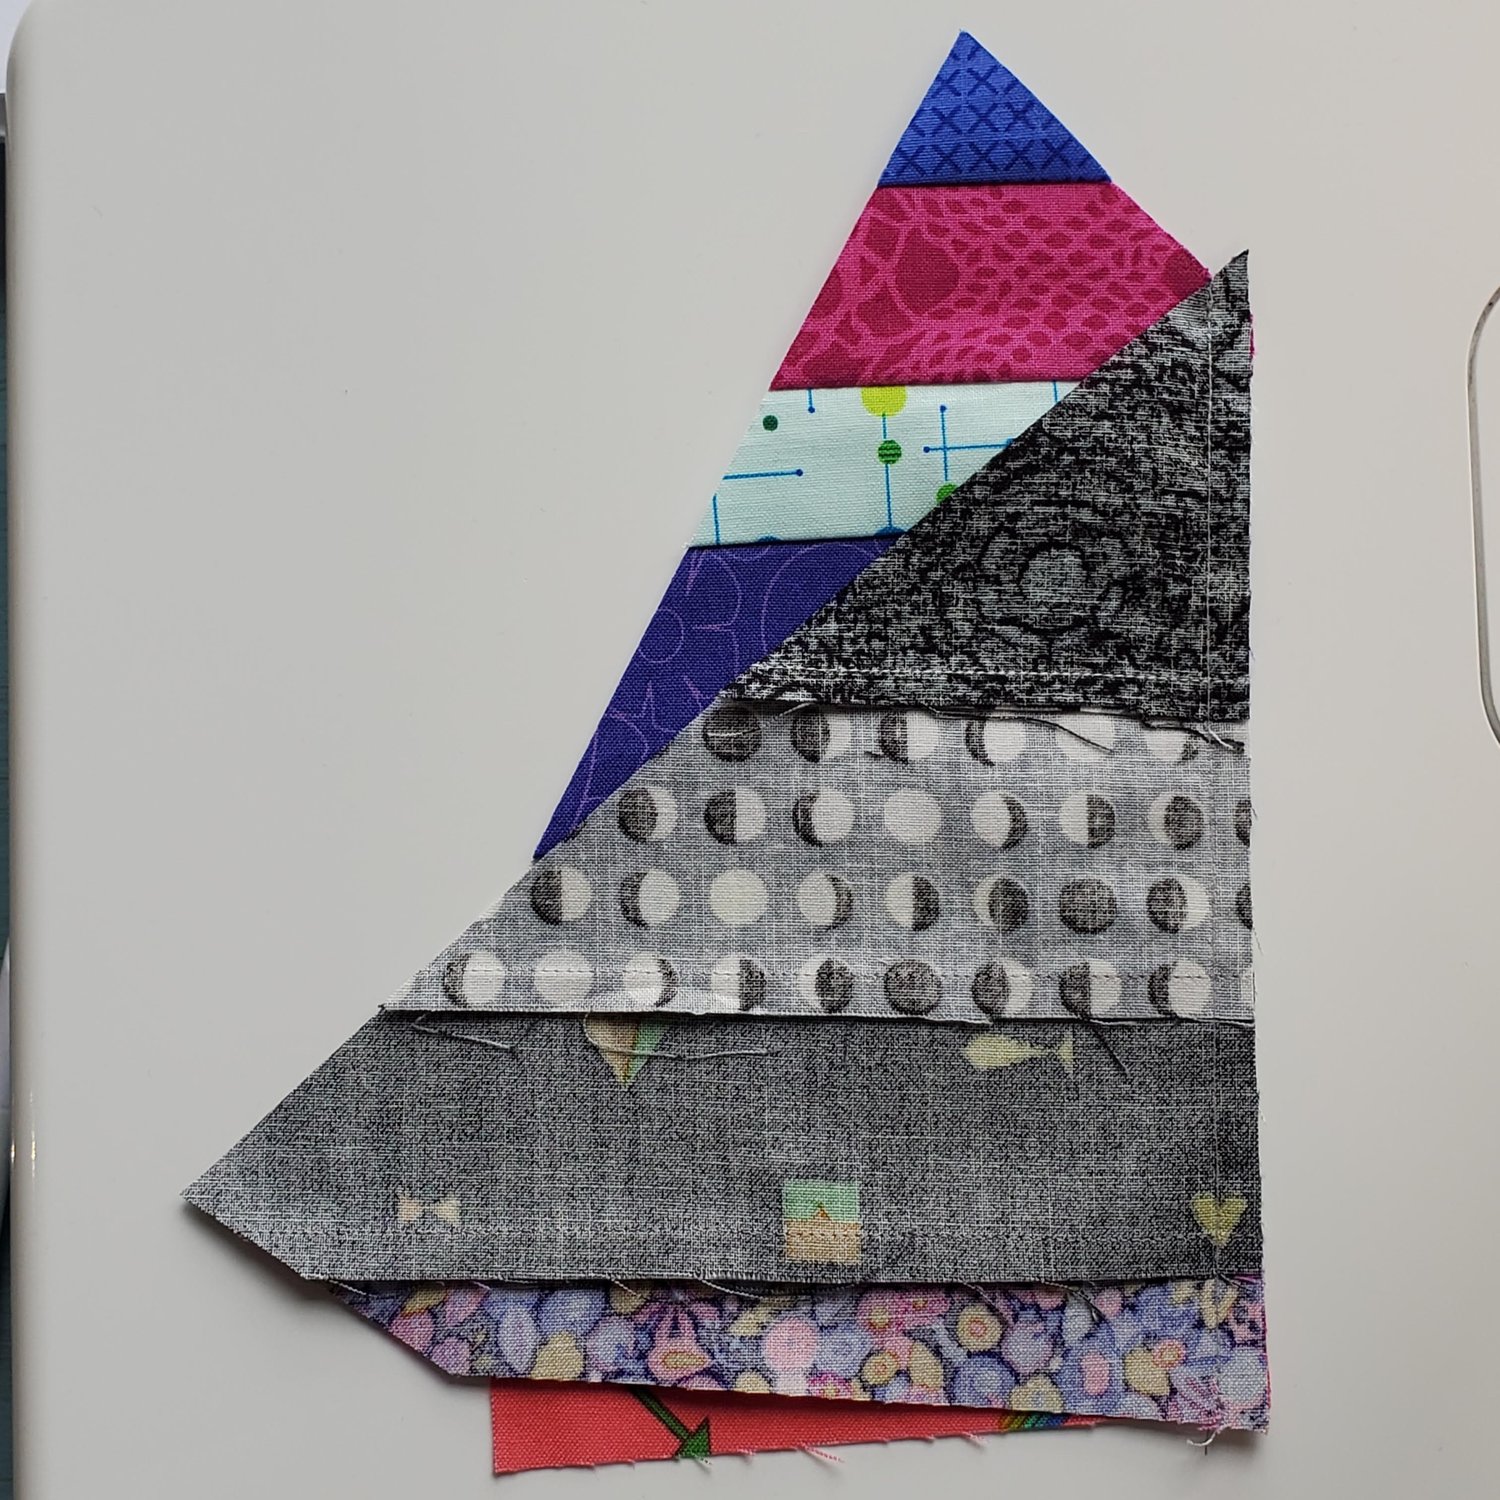
I had a few places I needed to rip stitches to get it right but for the most part this system worked for me. Ricky recommends pressing the seams open to reduce the bulk. After you have the wedge sewn together press carefully. I like to use spray starch to keep it flat.
I replaced each wedge on the design wall and worked my way around the circle sewing every other wedge. Then I moved the rolled up tape to the front side of the template pieces to do the opposite wedges around the circle.
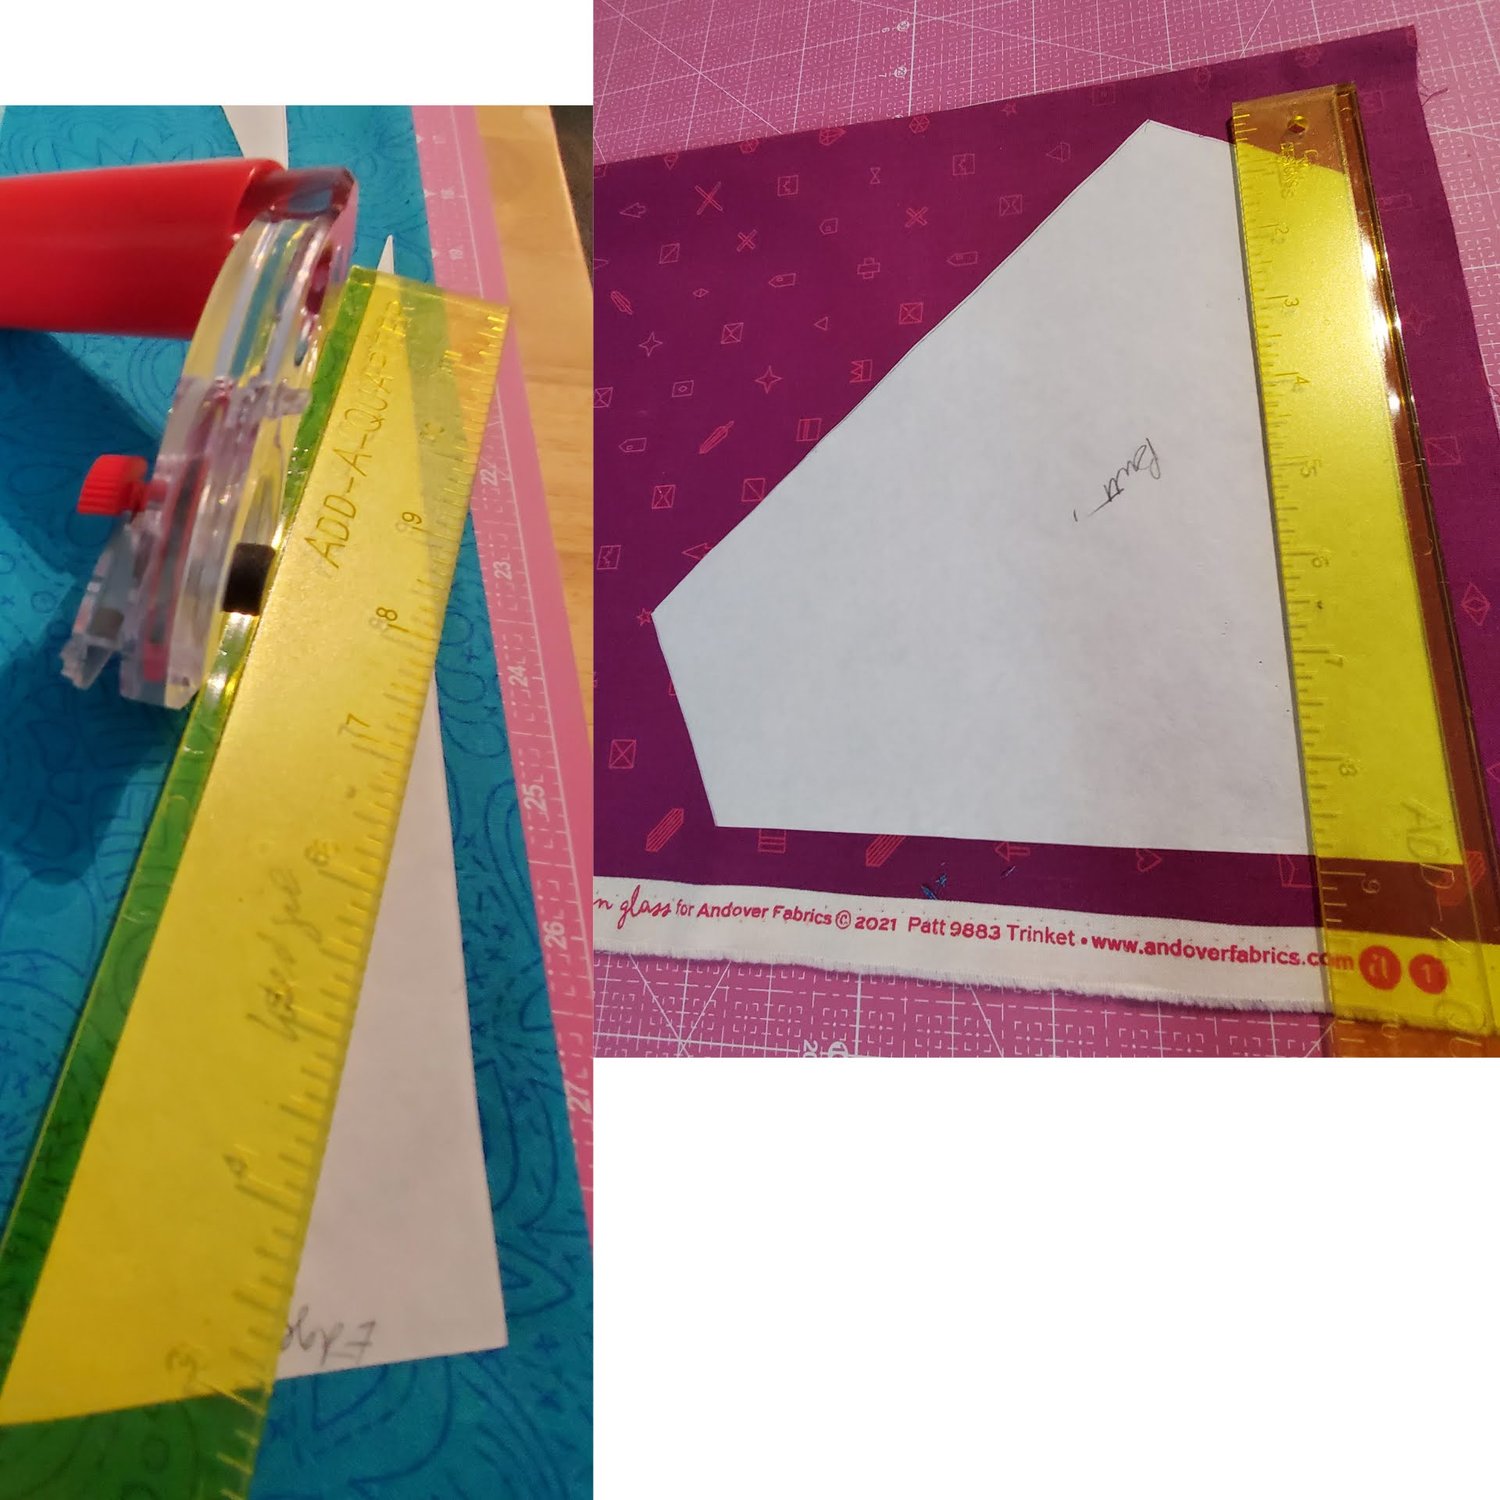
After all the wedges were sewn together I made my fabric choices for the wedgies and butt sections. Ricky suggested cutting out the template pieces from four layers of fabric making sure to allow for the quarter inch seam allowance. Take note of the placement of the template on the grain line of the fabric.
Place the four butt pieces on the design wall to create the corners and then add the wedgies to make the square around the circle.

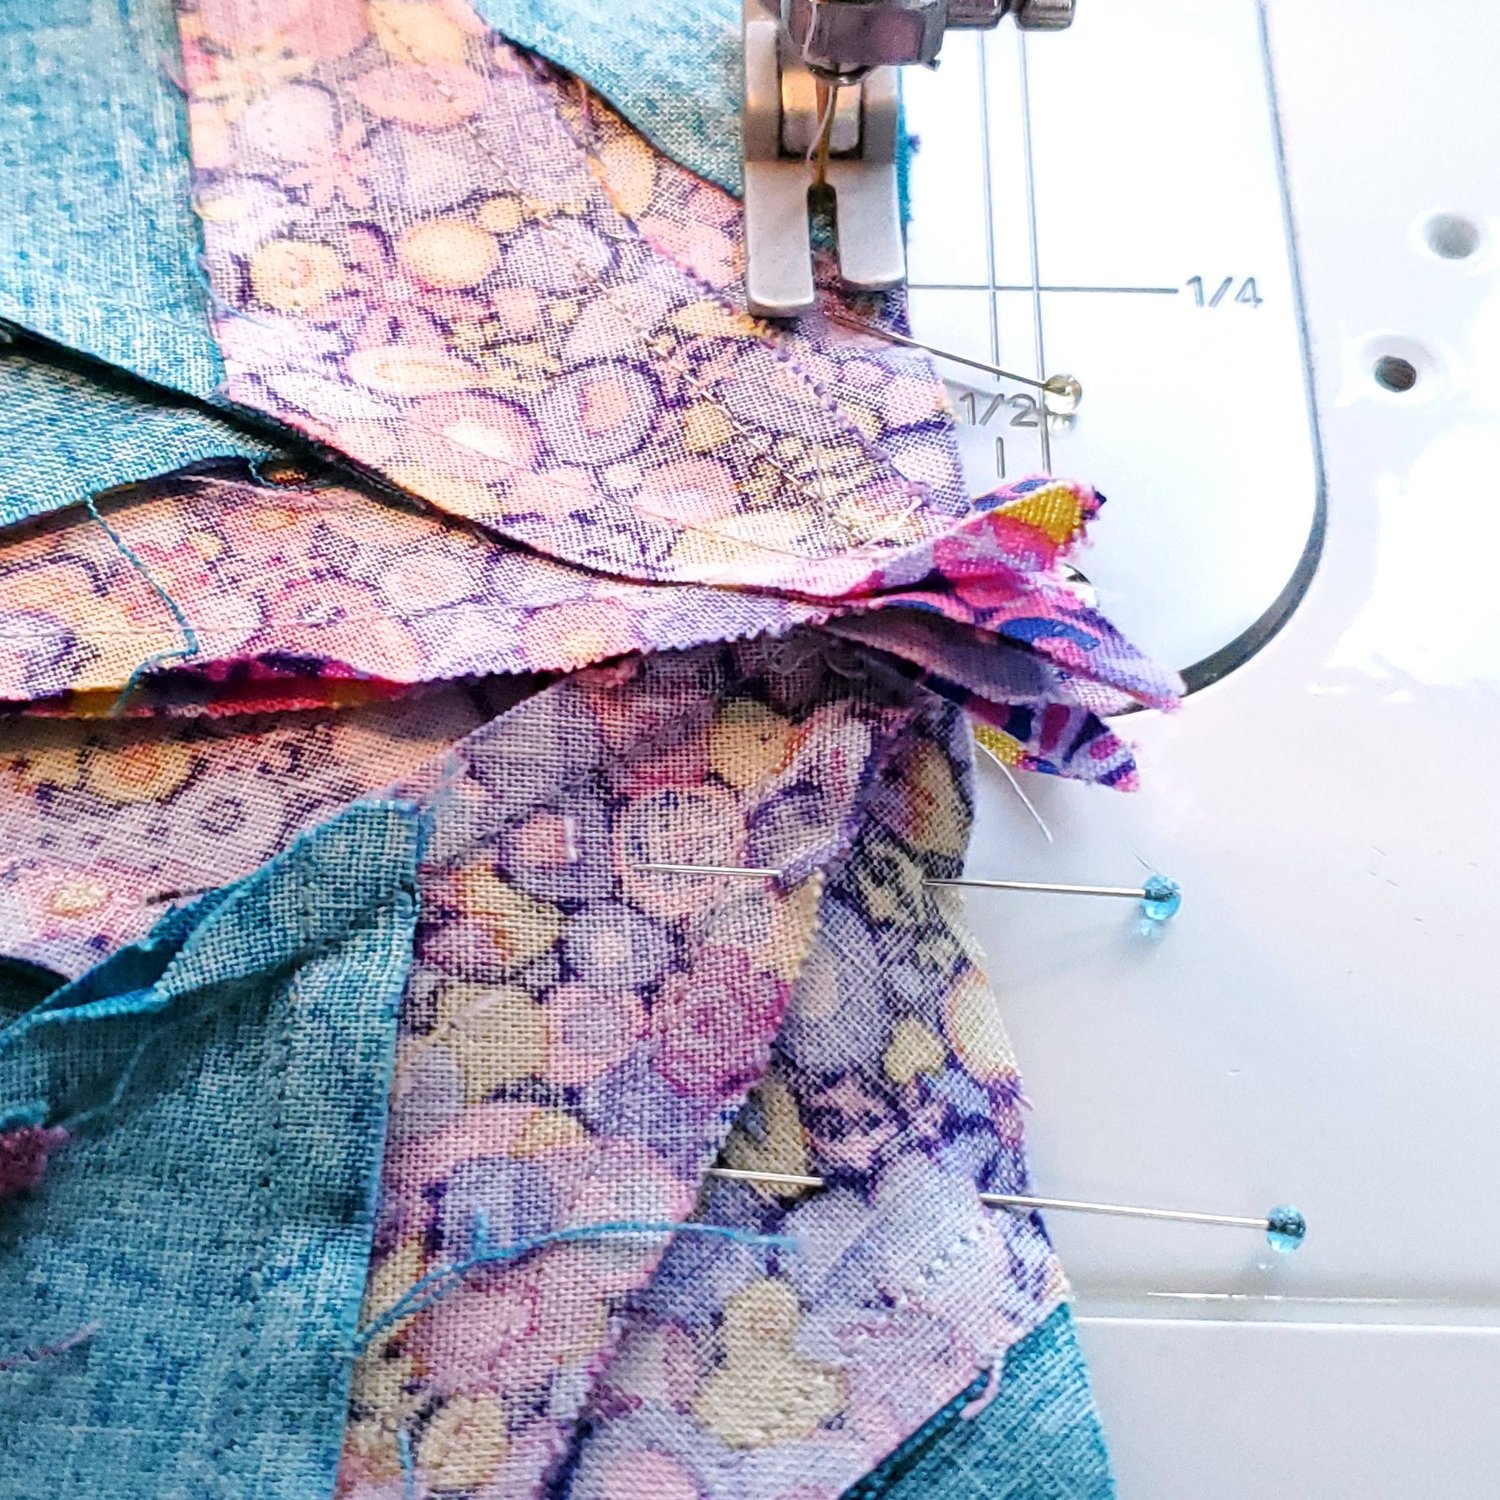
Sew the pieces to the coordinating wedge and press. At this point you may think you are ready to just sew the wedges together but Ricky has a few more tips and tricks to keep it accurate. It is worth the extra time so that you are pleased with the end result.
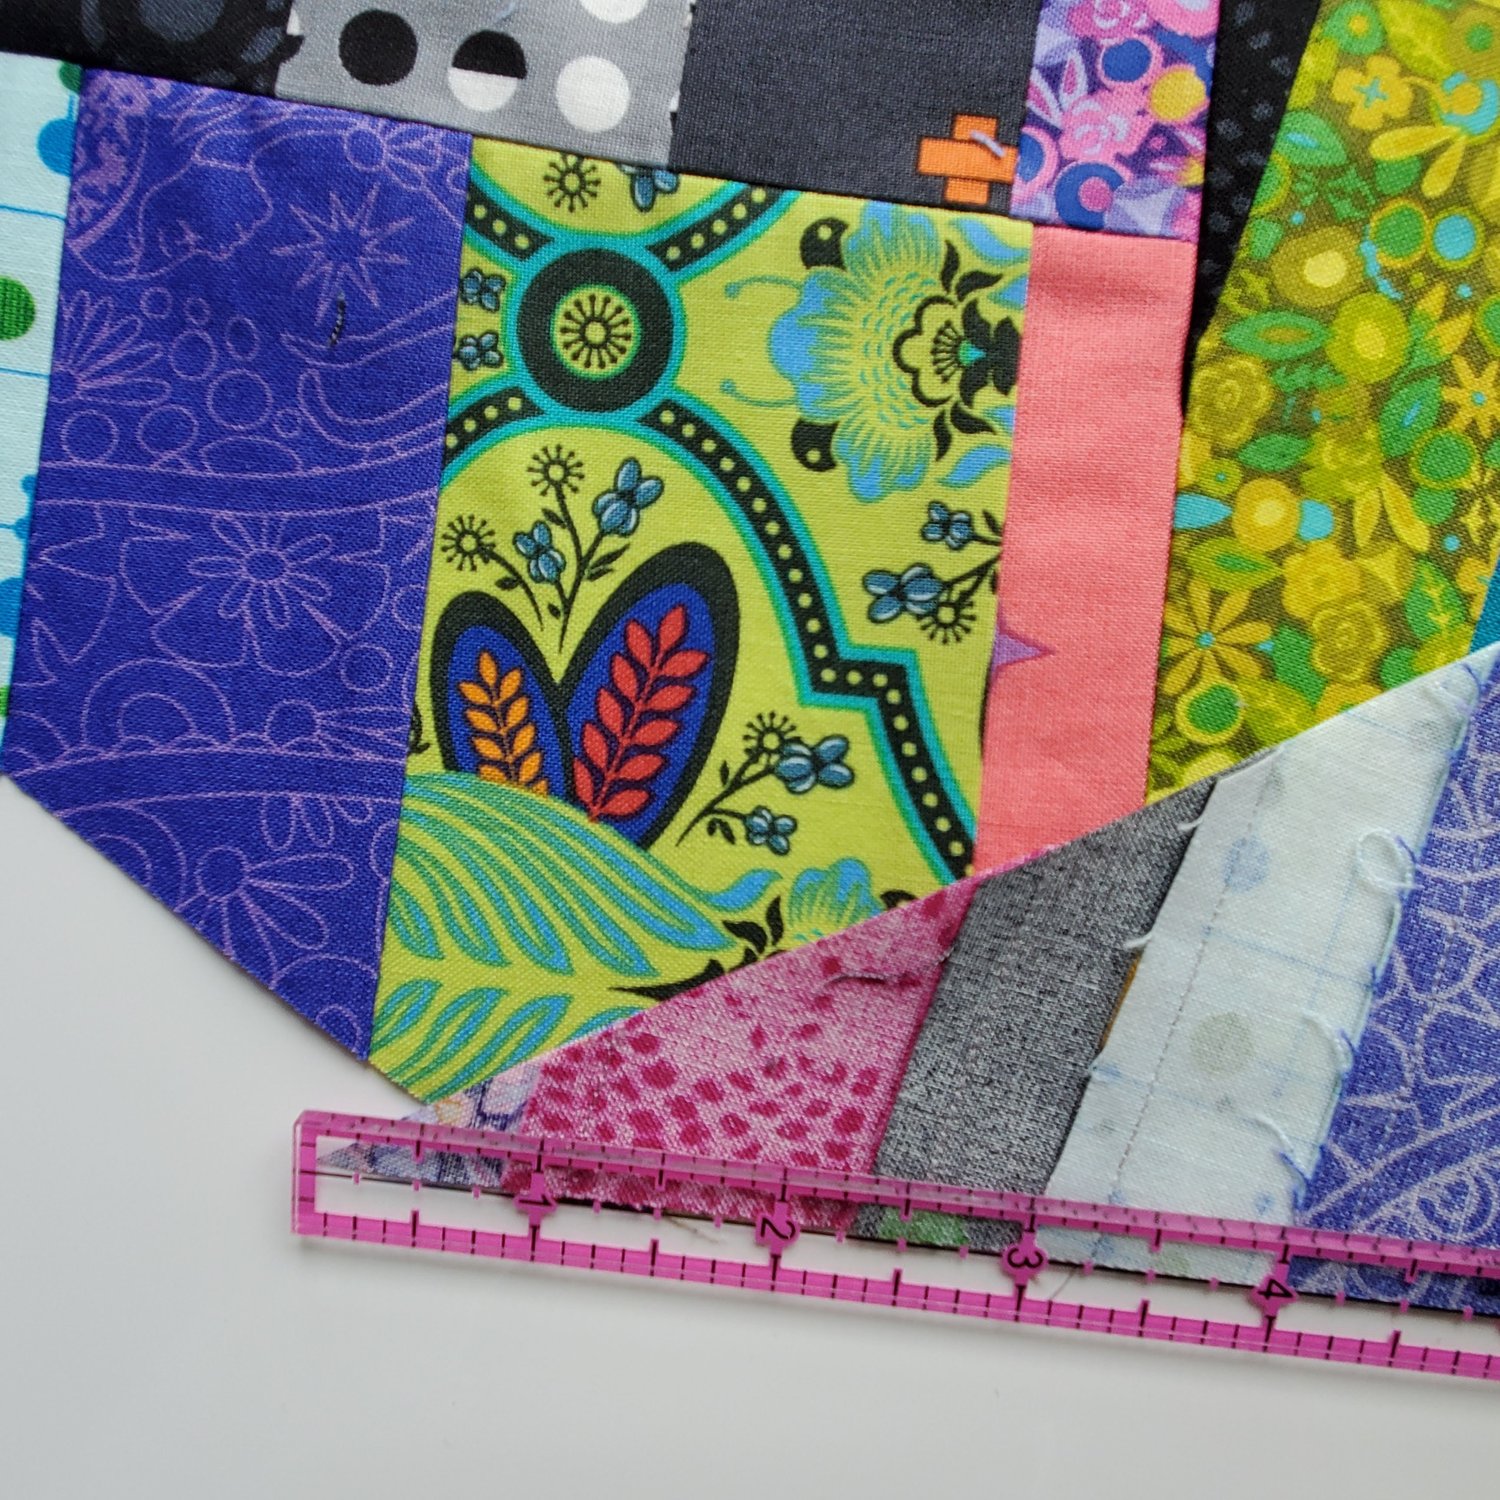
Cut the two remaining wedges from the initial pattern apart and place on top of one the wedges. You will want to center it on the wedge and mark a line along the seam on the innermost star. This will be your way to line up each wedge in the next step. You will need to mark the opposite wedge as well. I did it by folding the paper back on the line and using a ruler to mark the line on the second wedge.
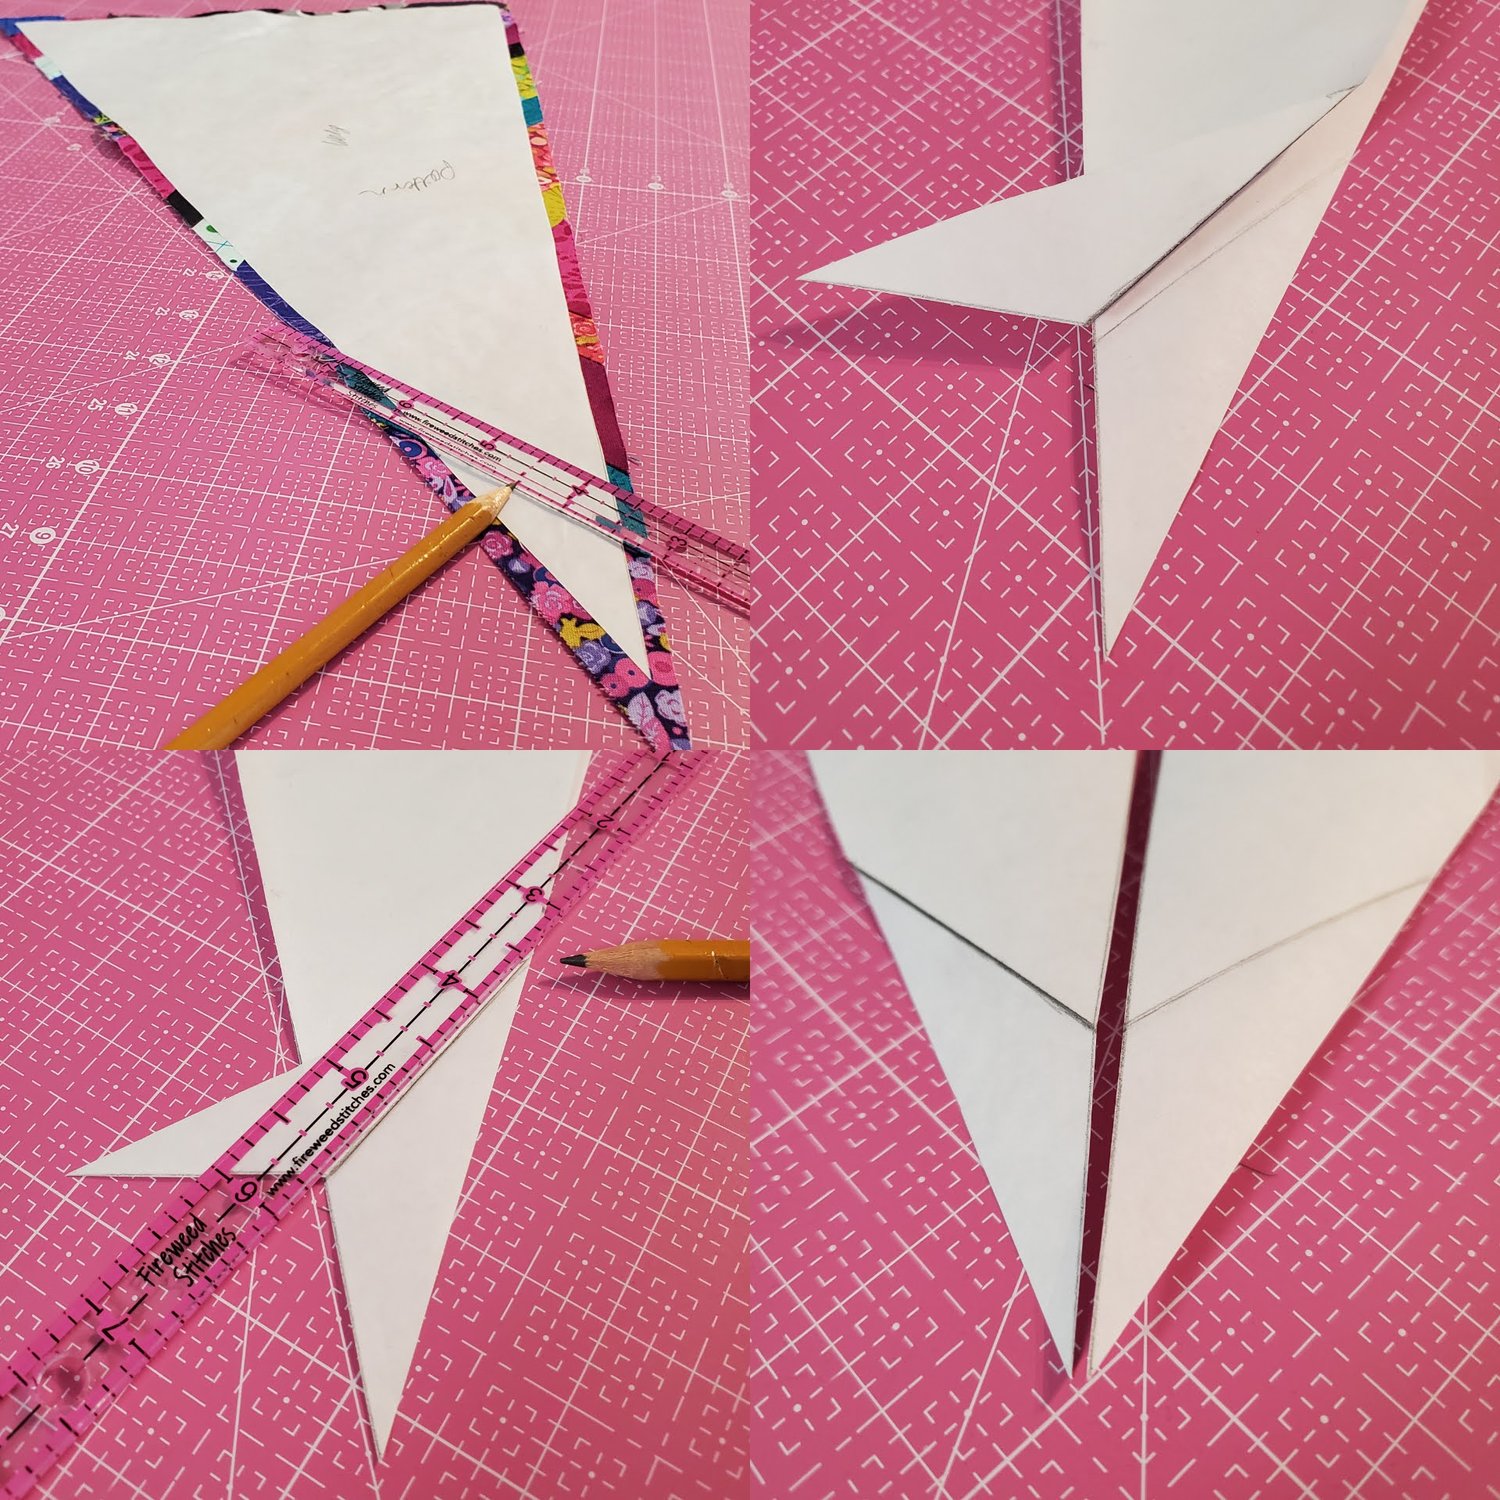
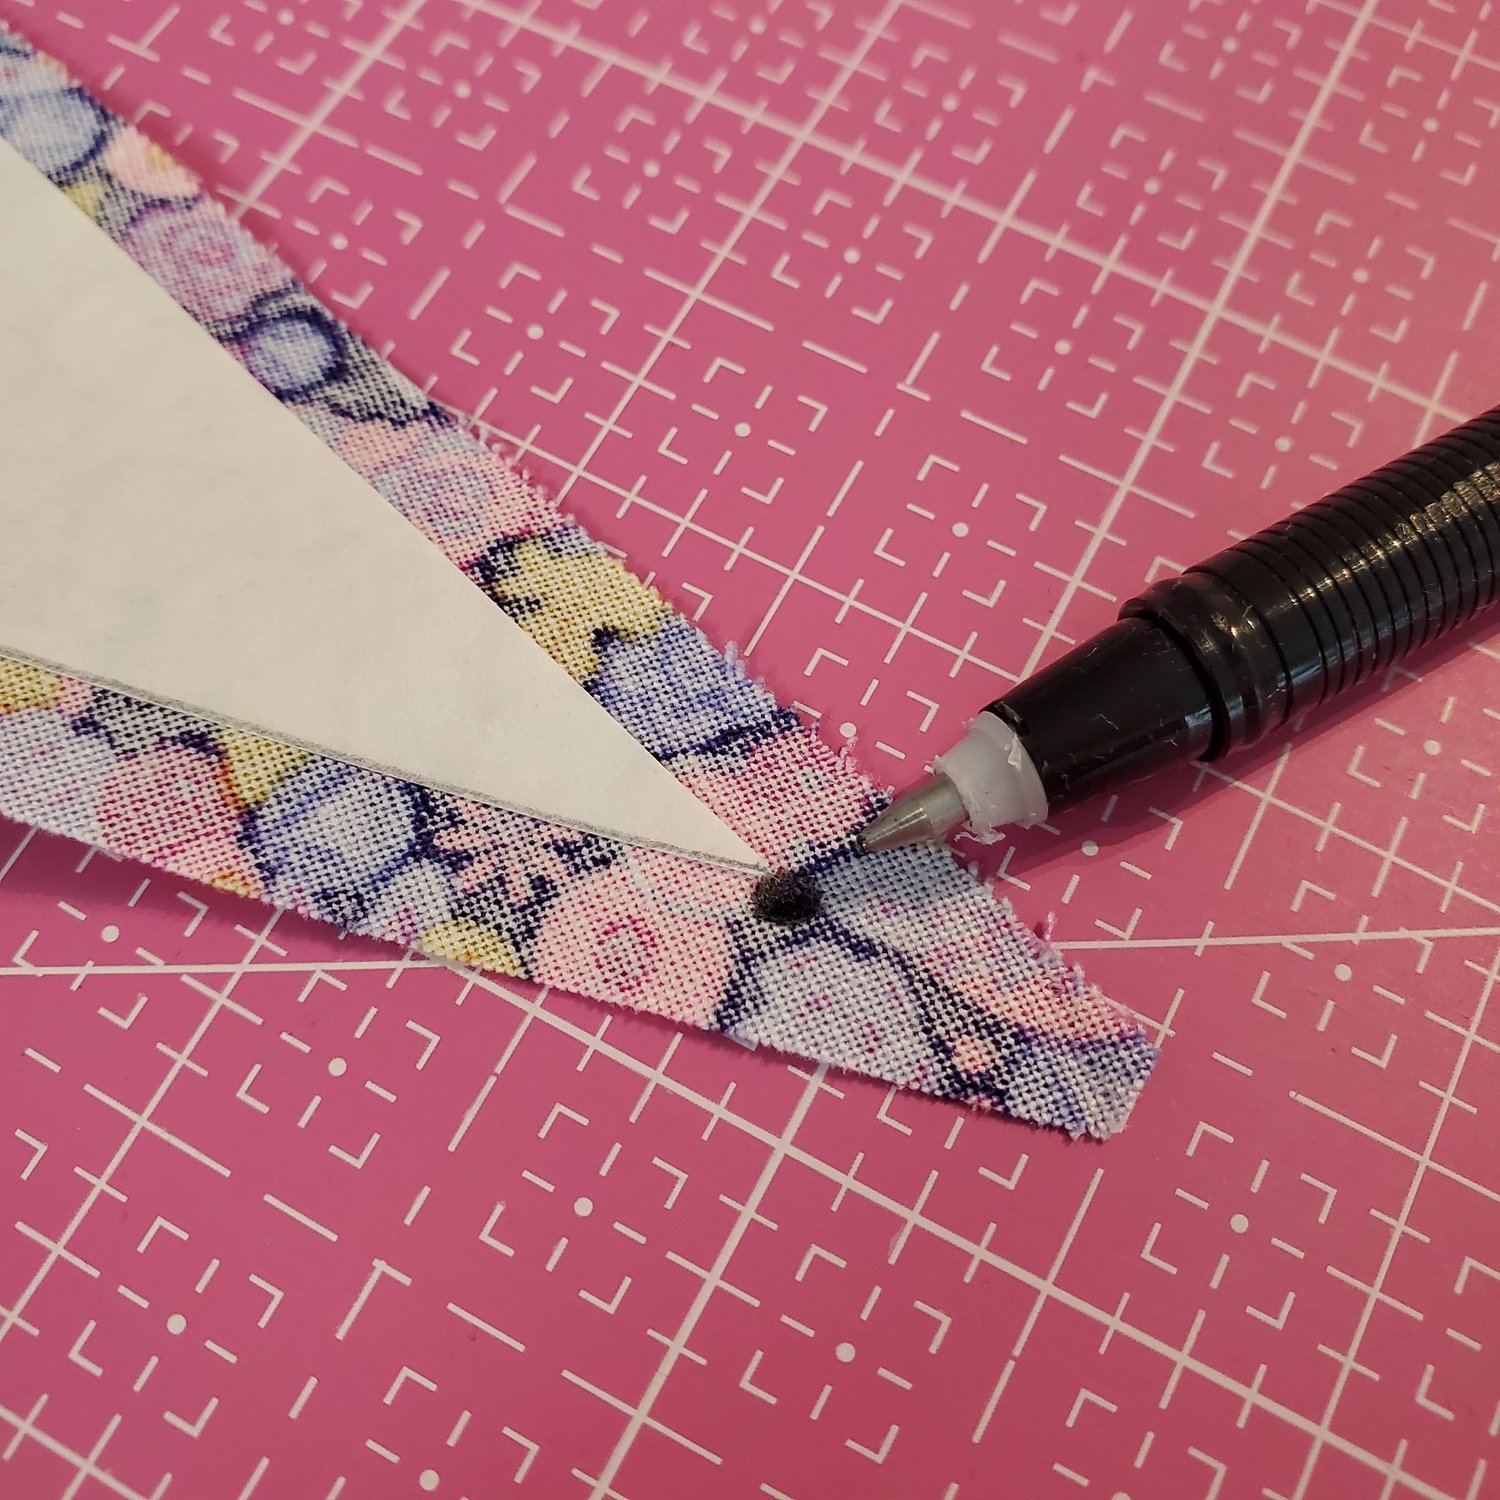
You will need to mark a dot at the innermost point on each wedge to know where to stop sewing and backstitch.
You will place a wedge template on each wedge to check your quarter inch seam. If you need to trim anything Ricky strongly recommends to only trim from the butt or wedgie end. I found I was a little short on a few so I made some adjustments in the placement of the butt or wedgie pieces.
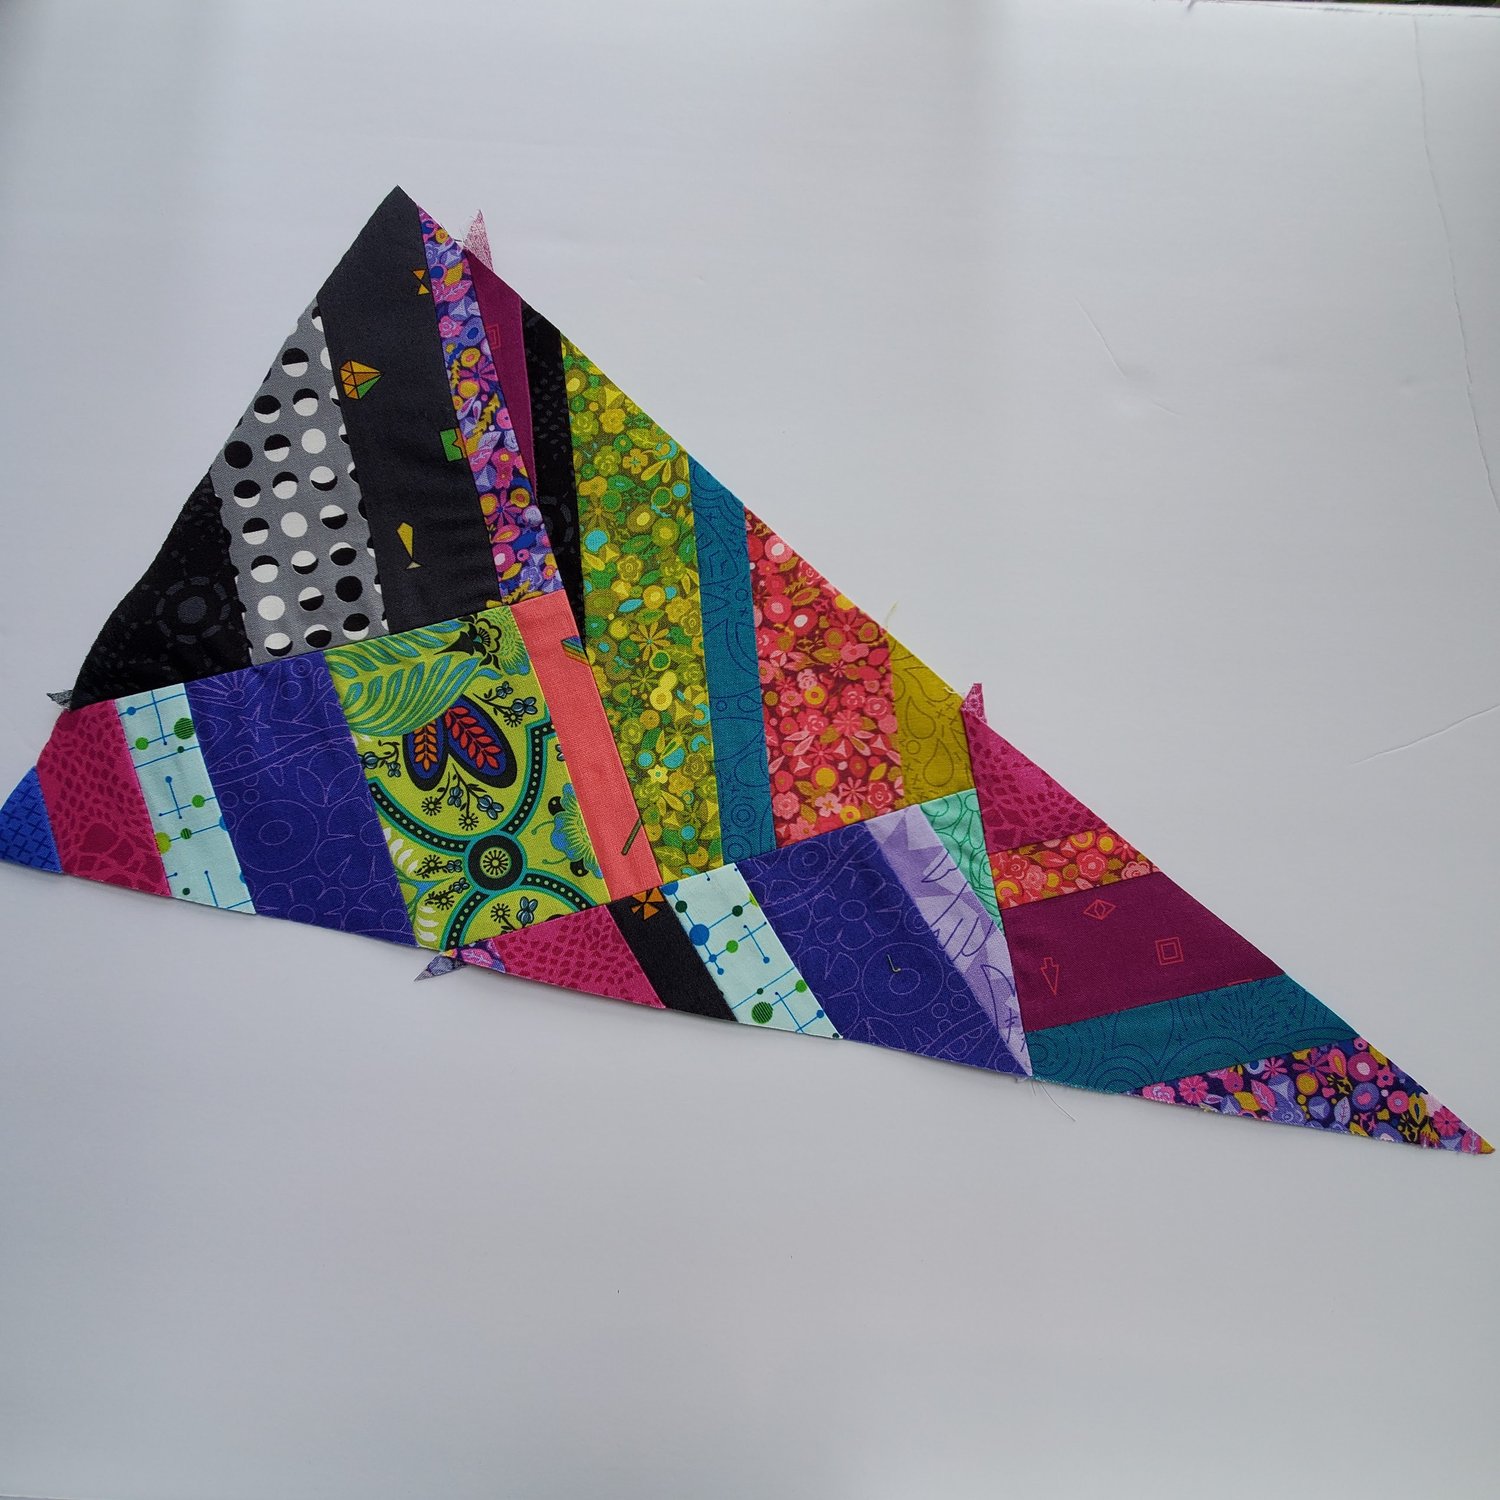
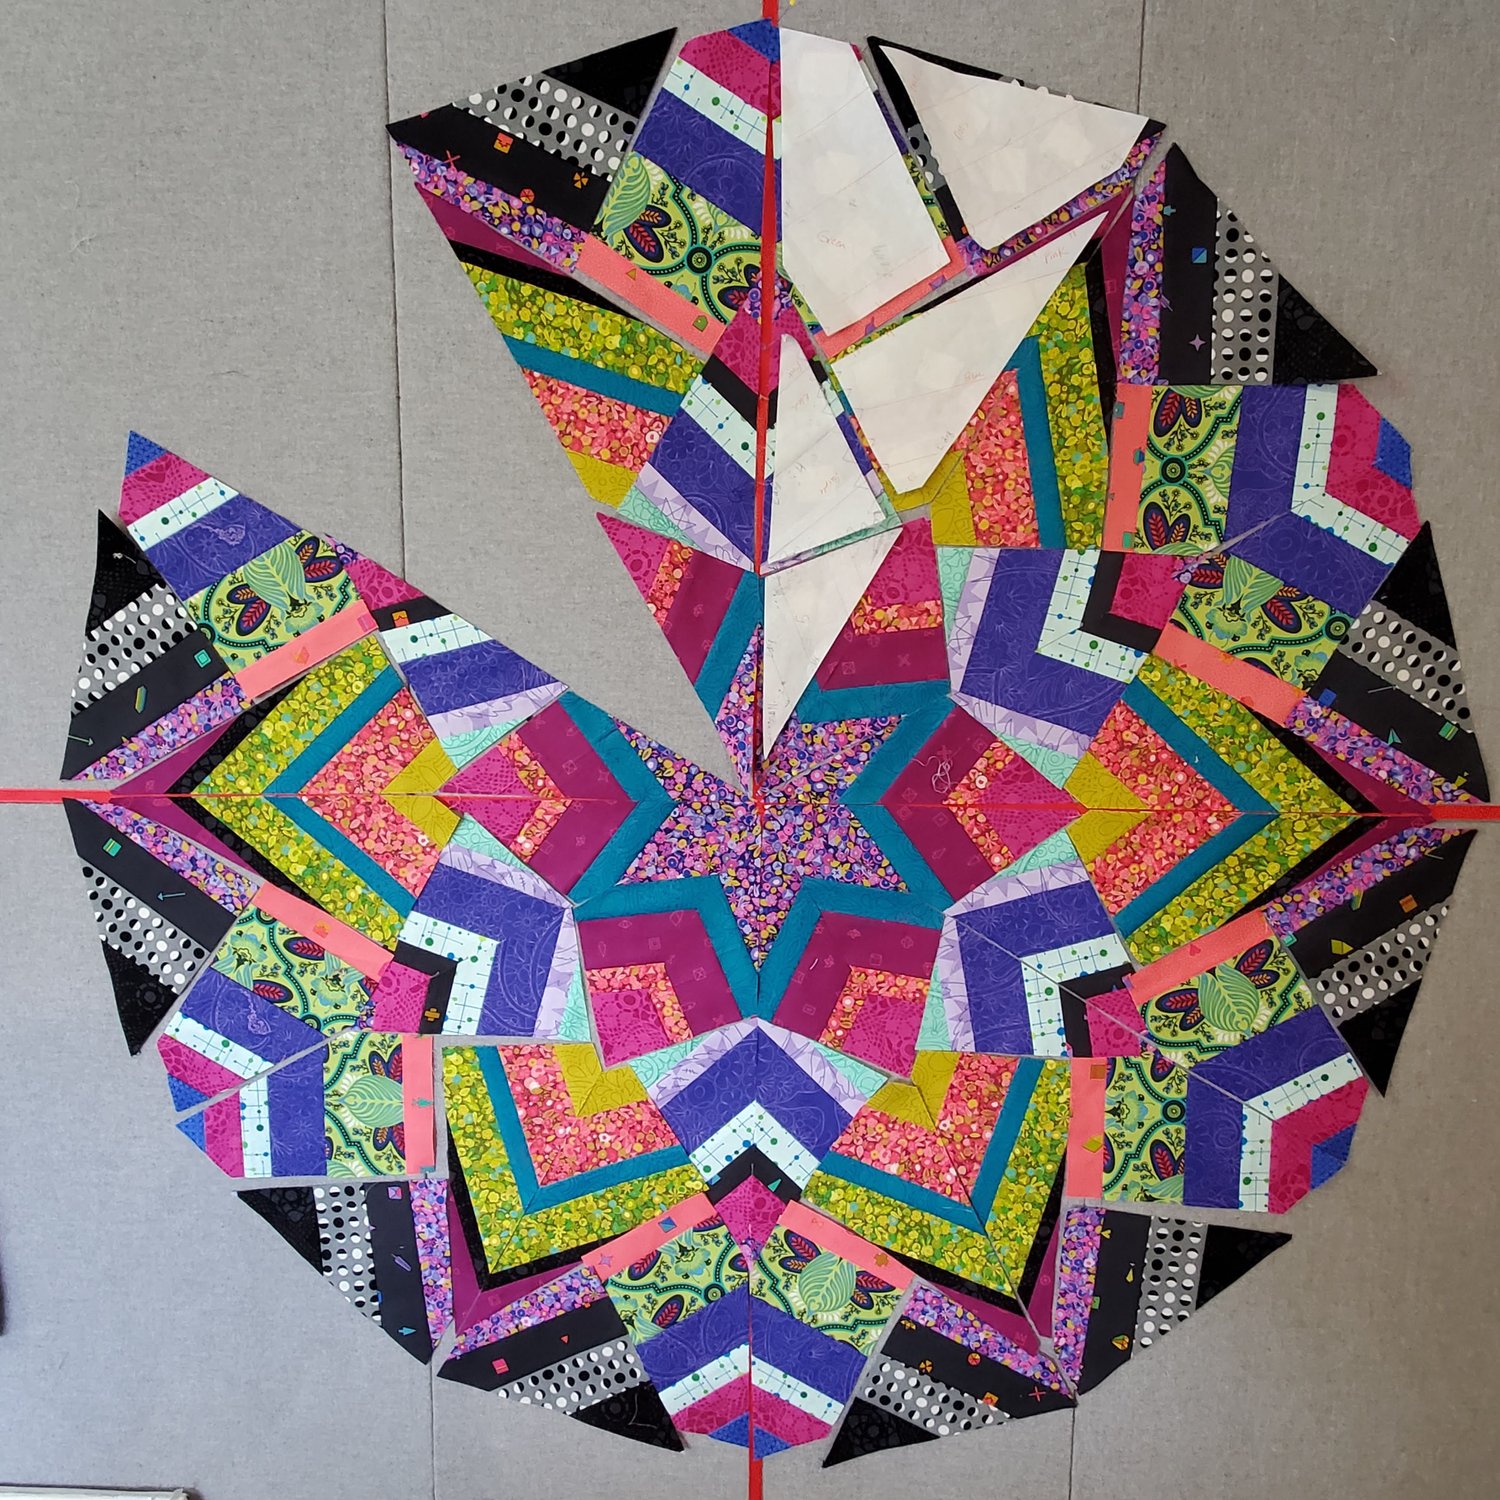
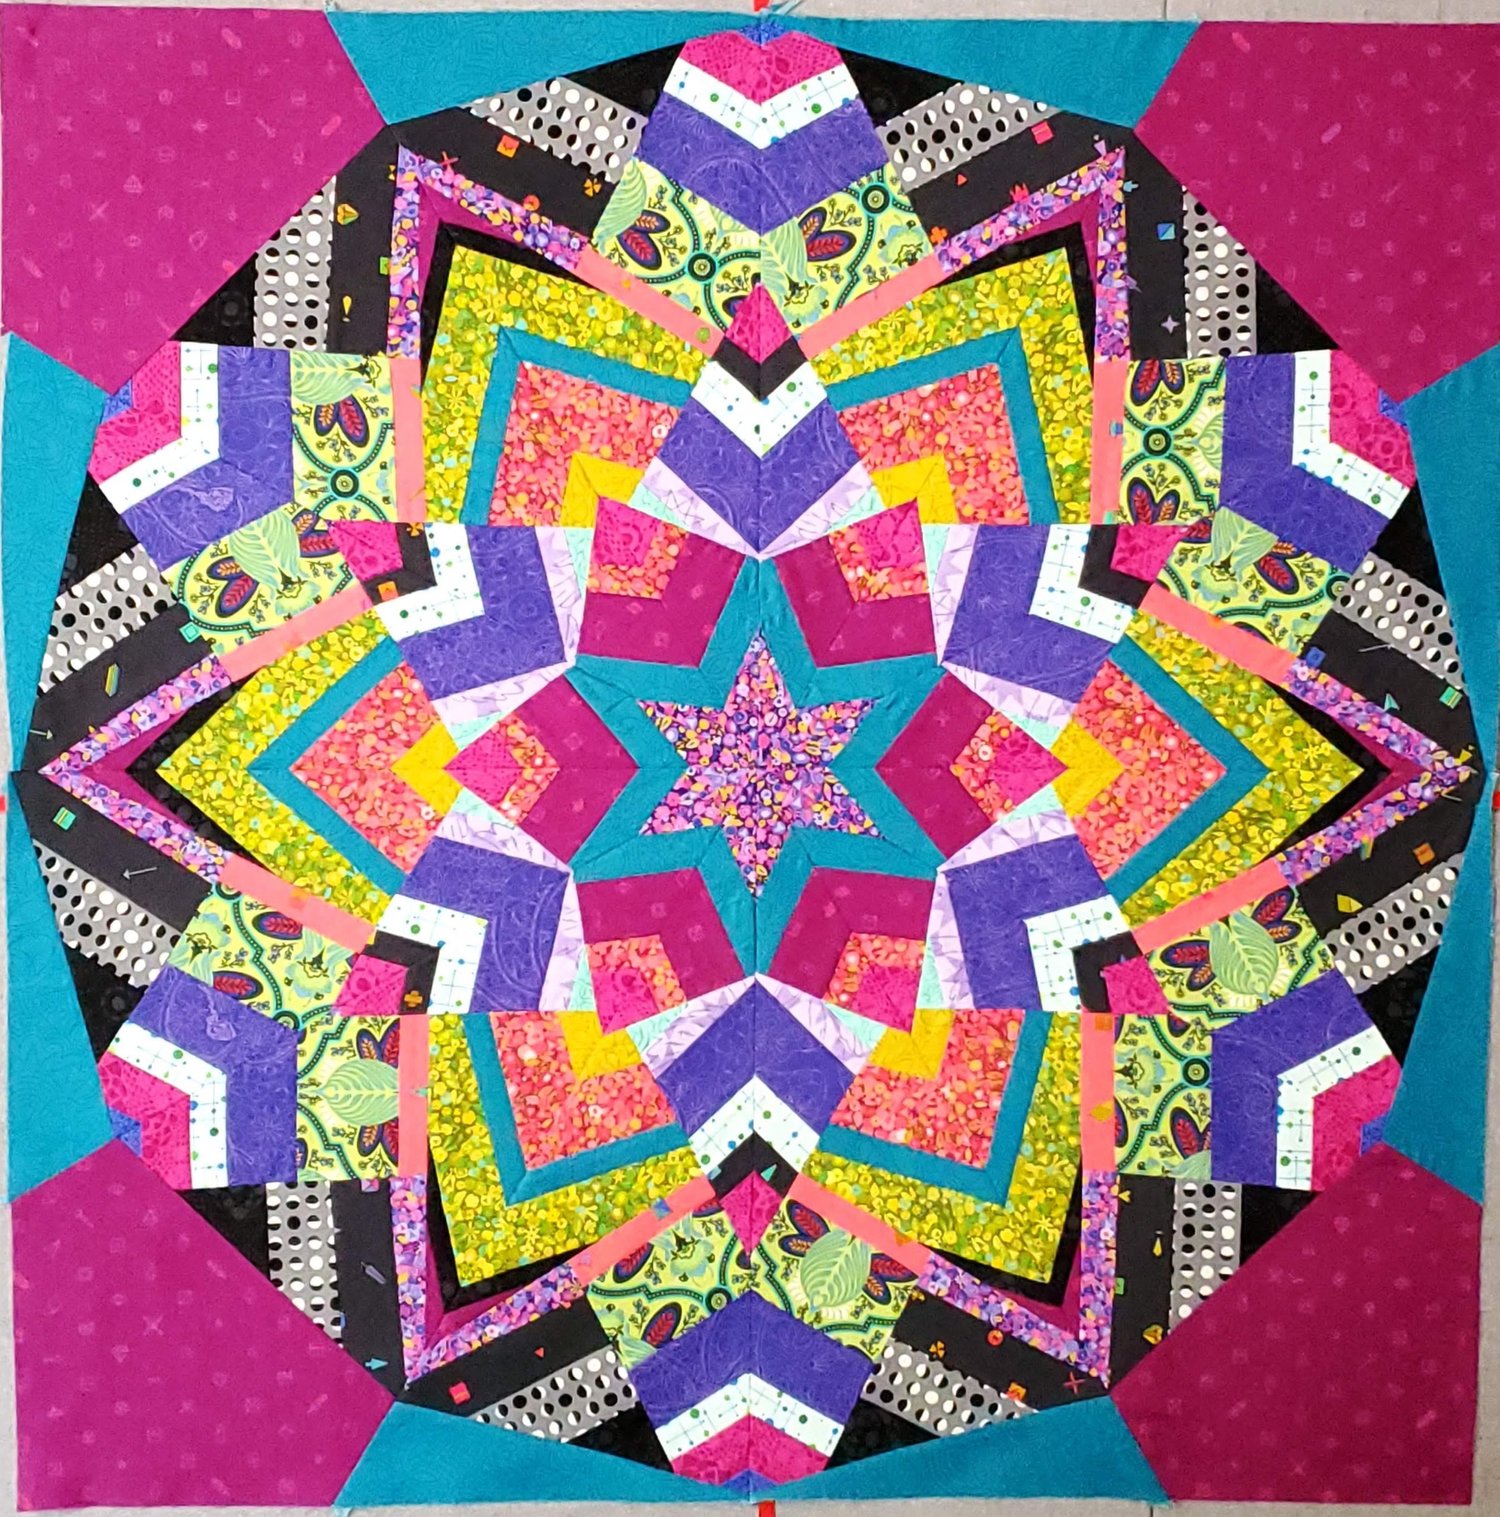
After I had all the teal and pink pieces sewn in place it was time to sew the 12 wedges together. This was the moment of truth, did I do each step correctly to make it all come together? I lined up the first two pieces and pinned at the intersections.
I followed Ricky’s advice, starting at the outermost edge and sewed stopping at the dot to backstitch. I sewed the three pieces in each quadrant together.
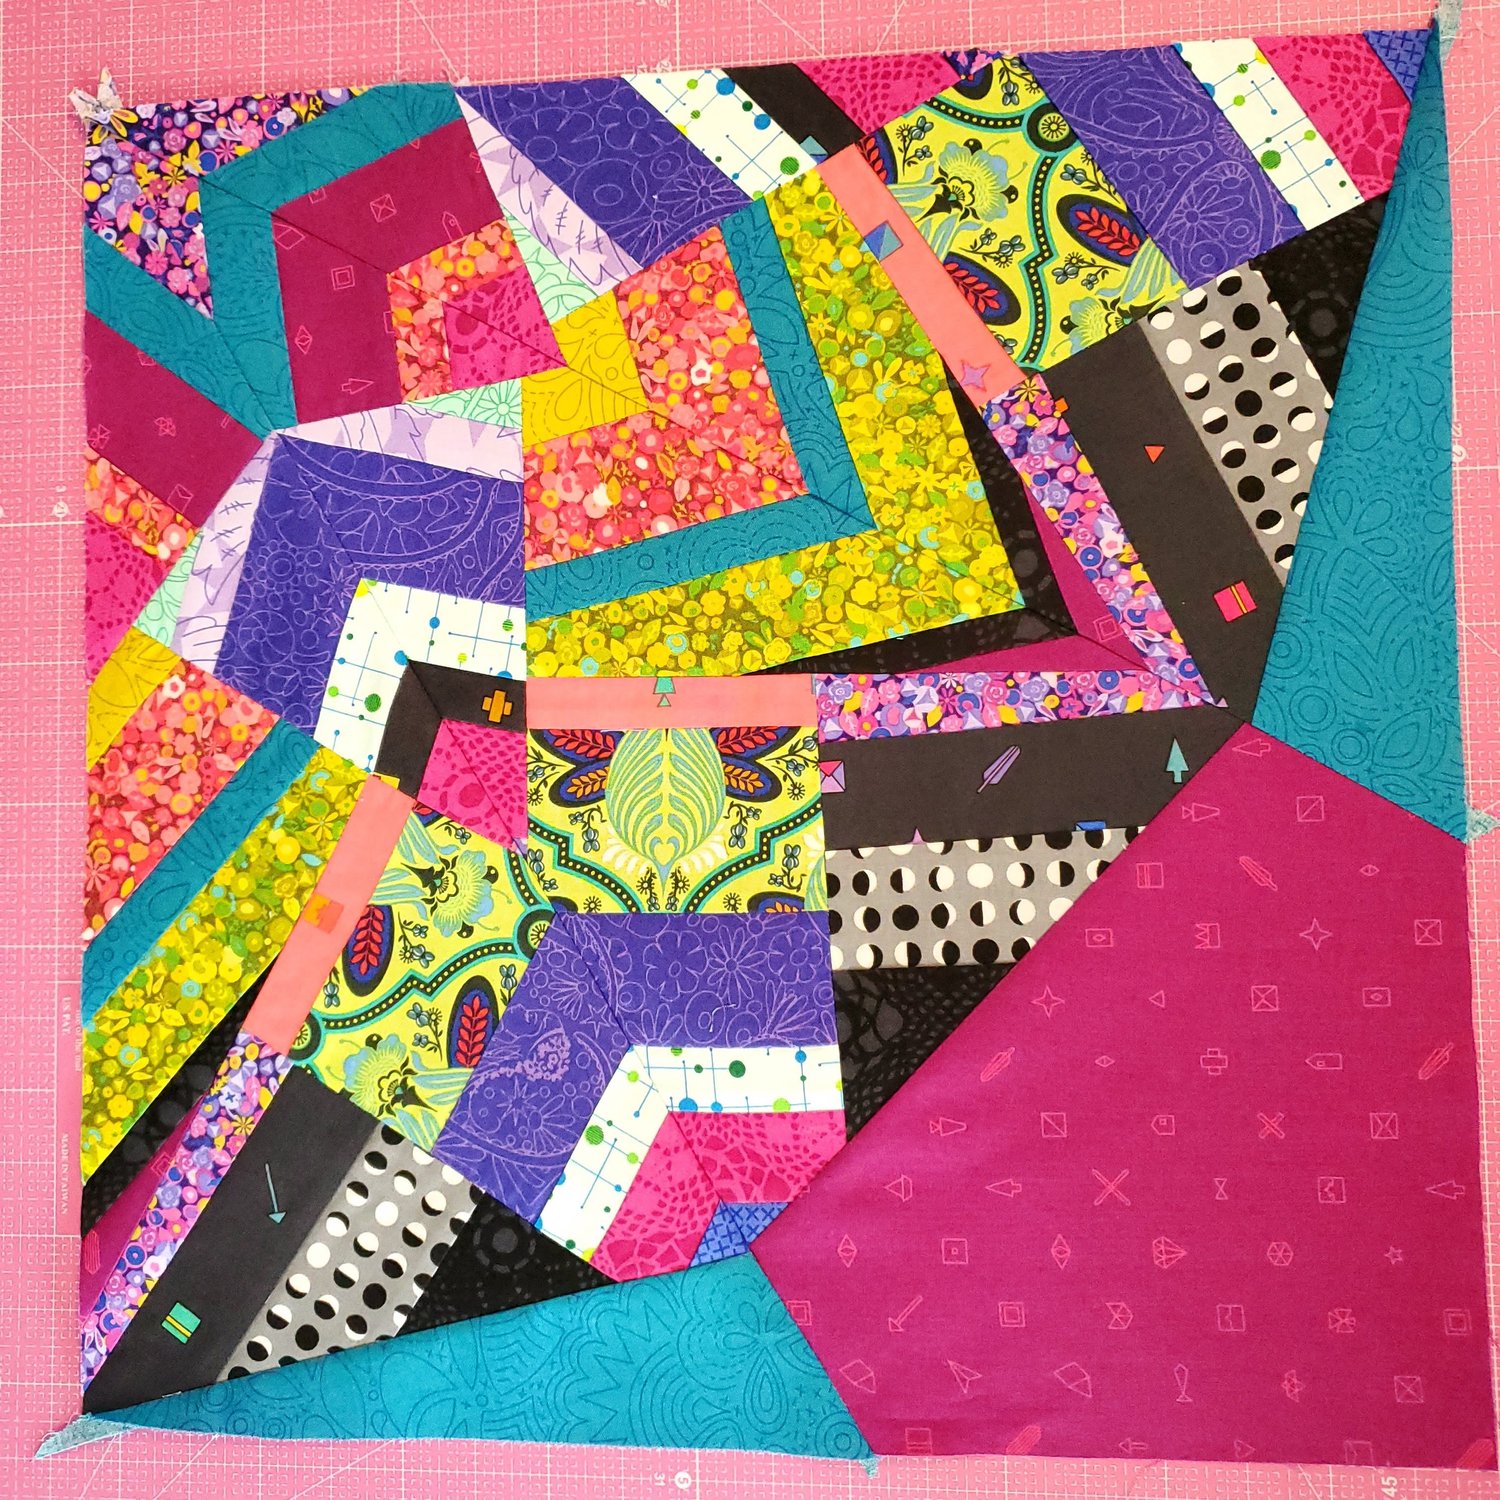
Then sew the two top quadrants together and the two bottom with the final horizontal seam joining the two halves together. It was quite thick in the center of the star.
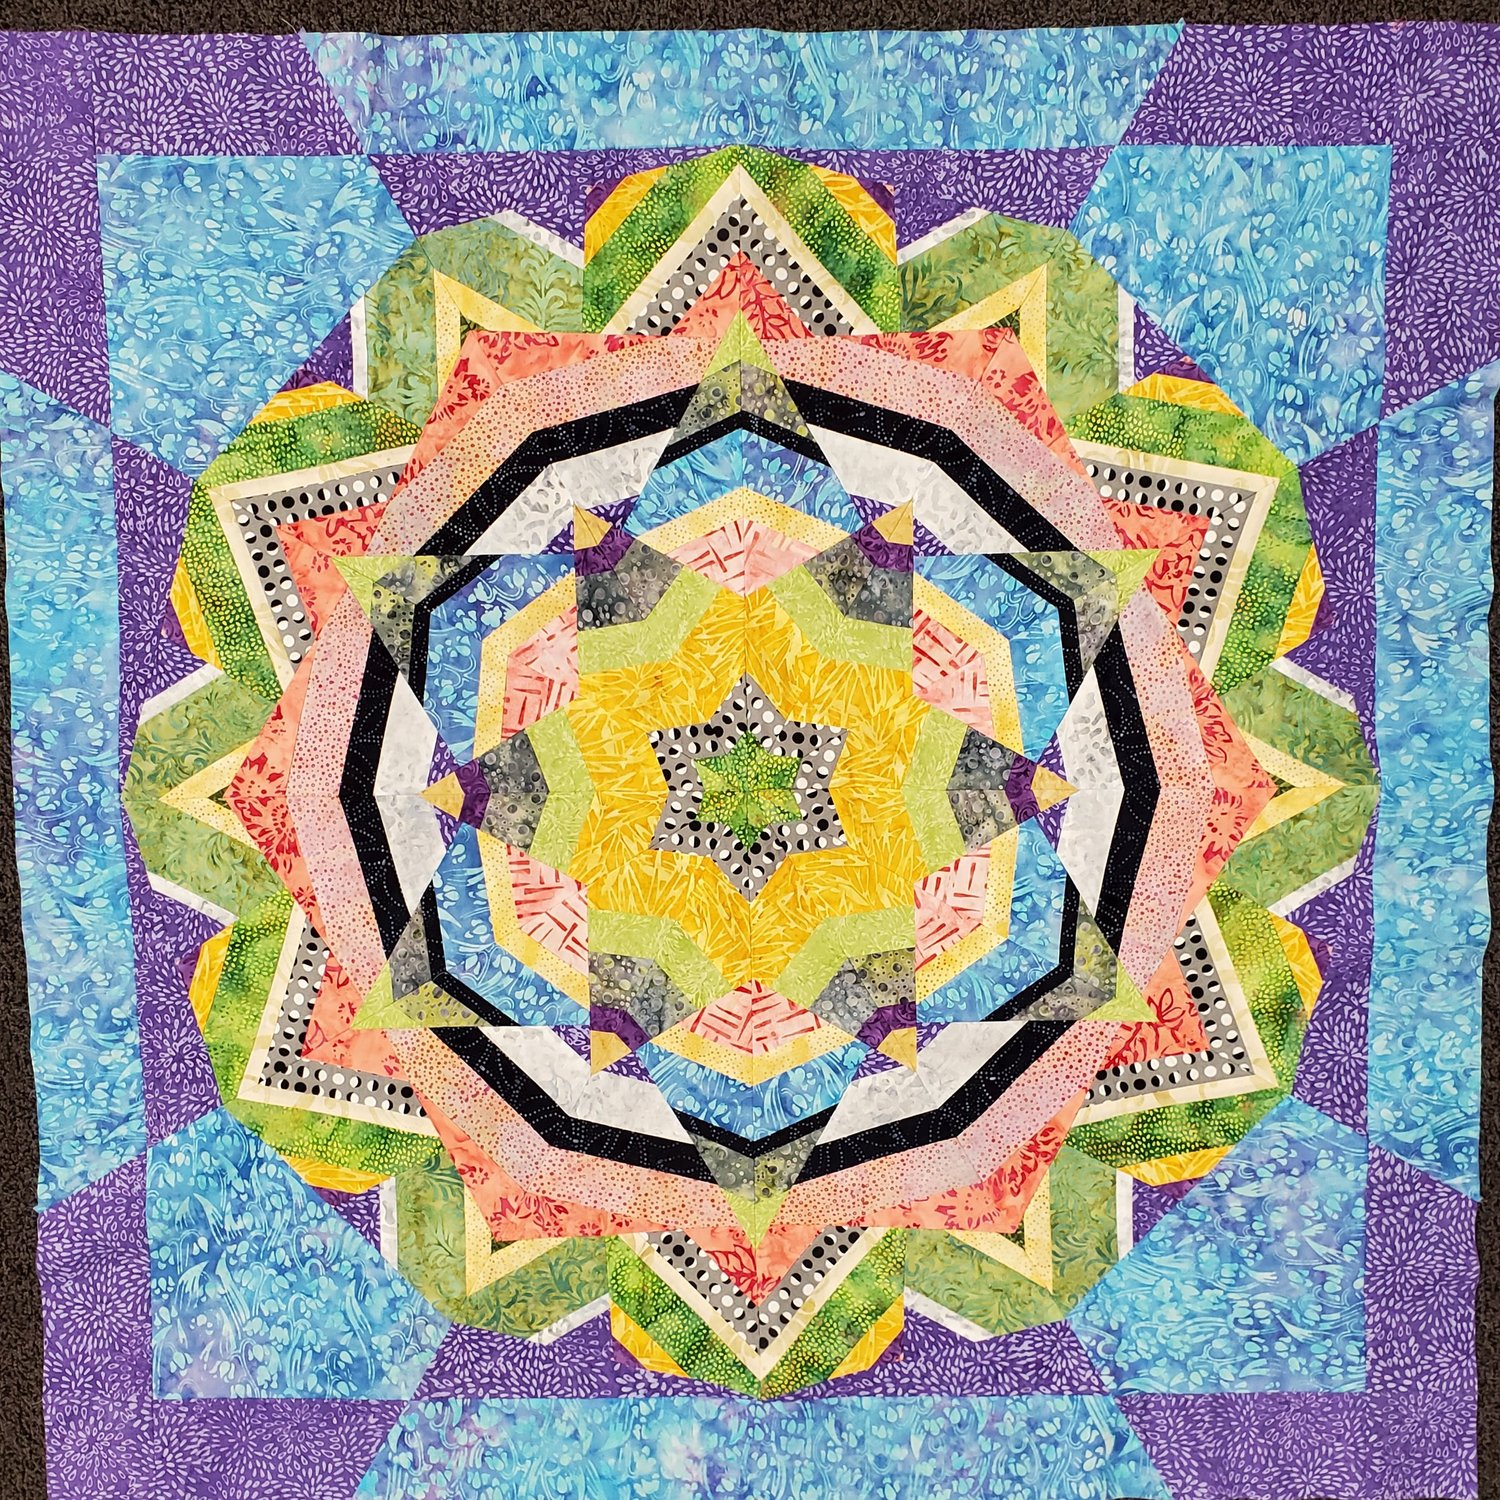
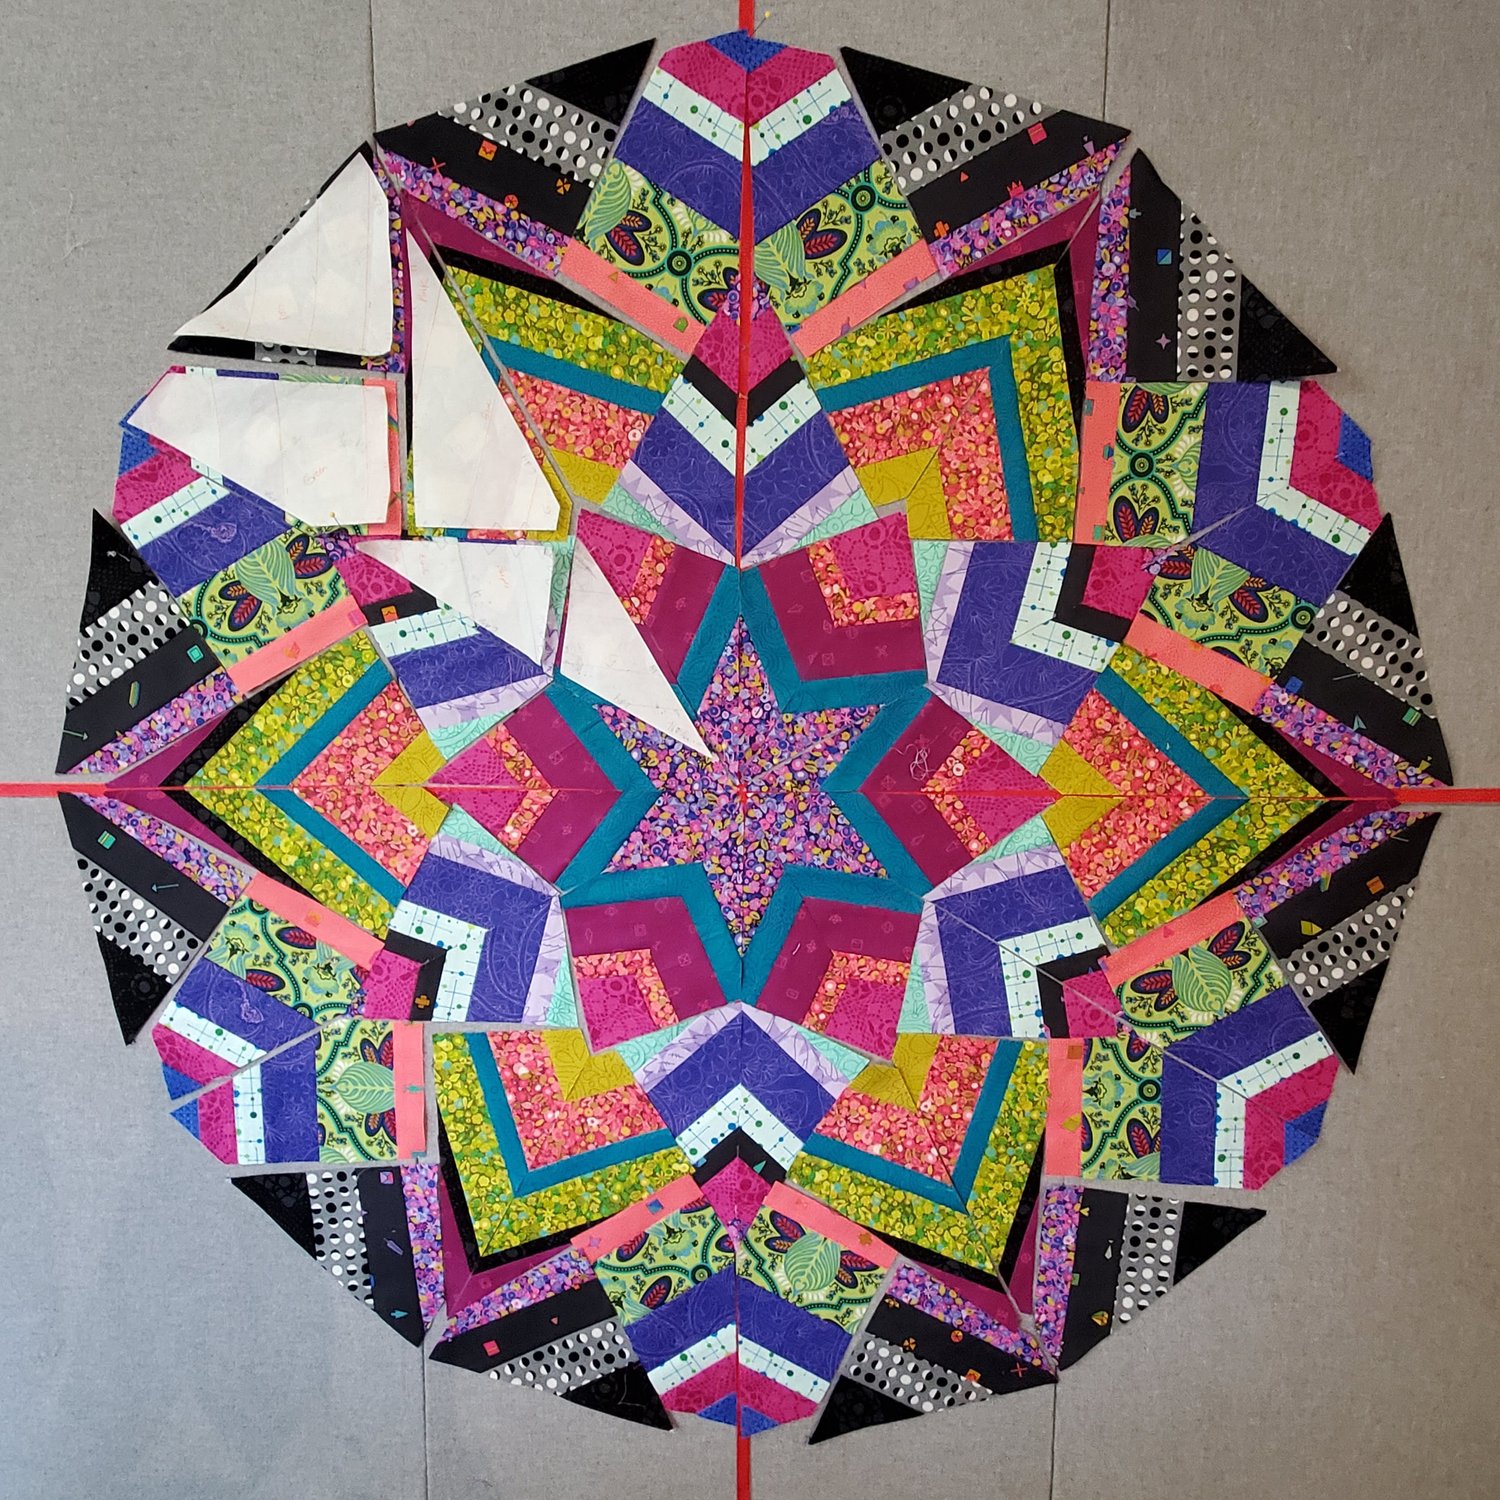
I was so relieved when I opened the last seam to see that it all worked! I will have a few places to adjust when I add my borders, but overall I was amazed I could do it with Ricky’s video instructions and encouragement from my sister. These Alison Glass Fabrics look fabulous together!
My sister's quilt looks beautiful using all batik fabrics! She is a step ahead of me with her borders sewn in place.