Binder Pouch and Apple Coaster
19th Aug 2021
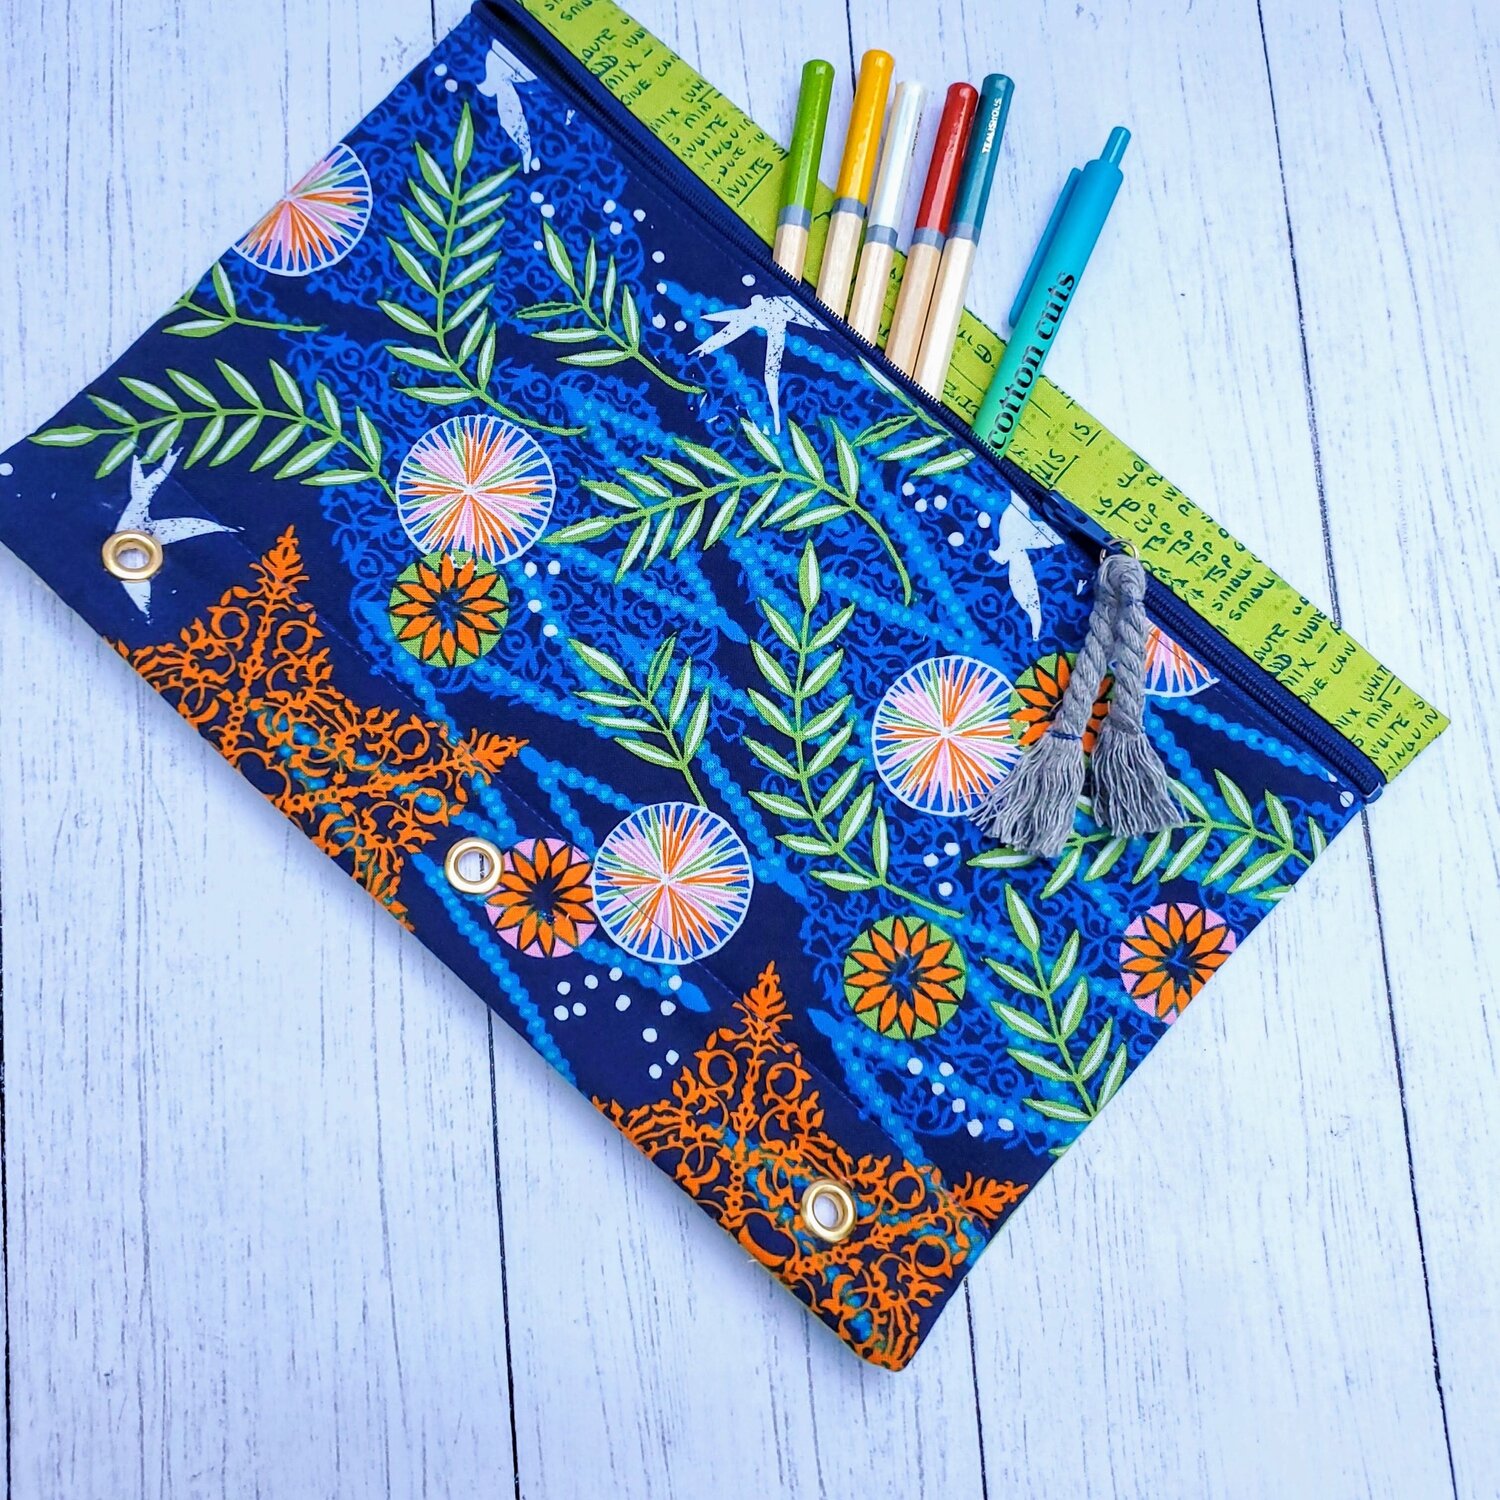
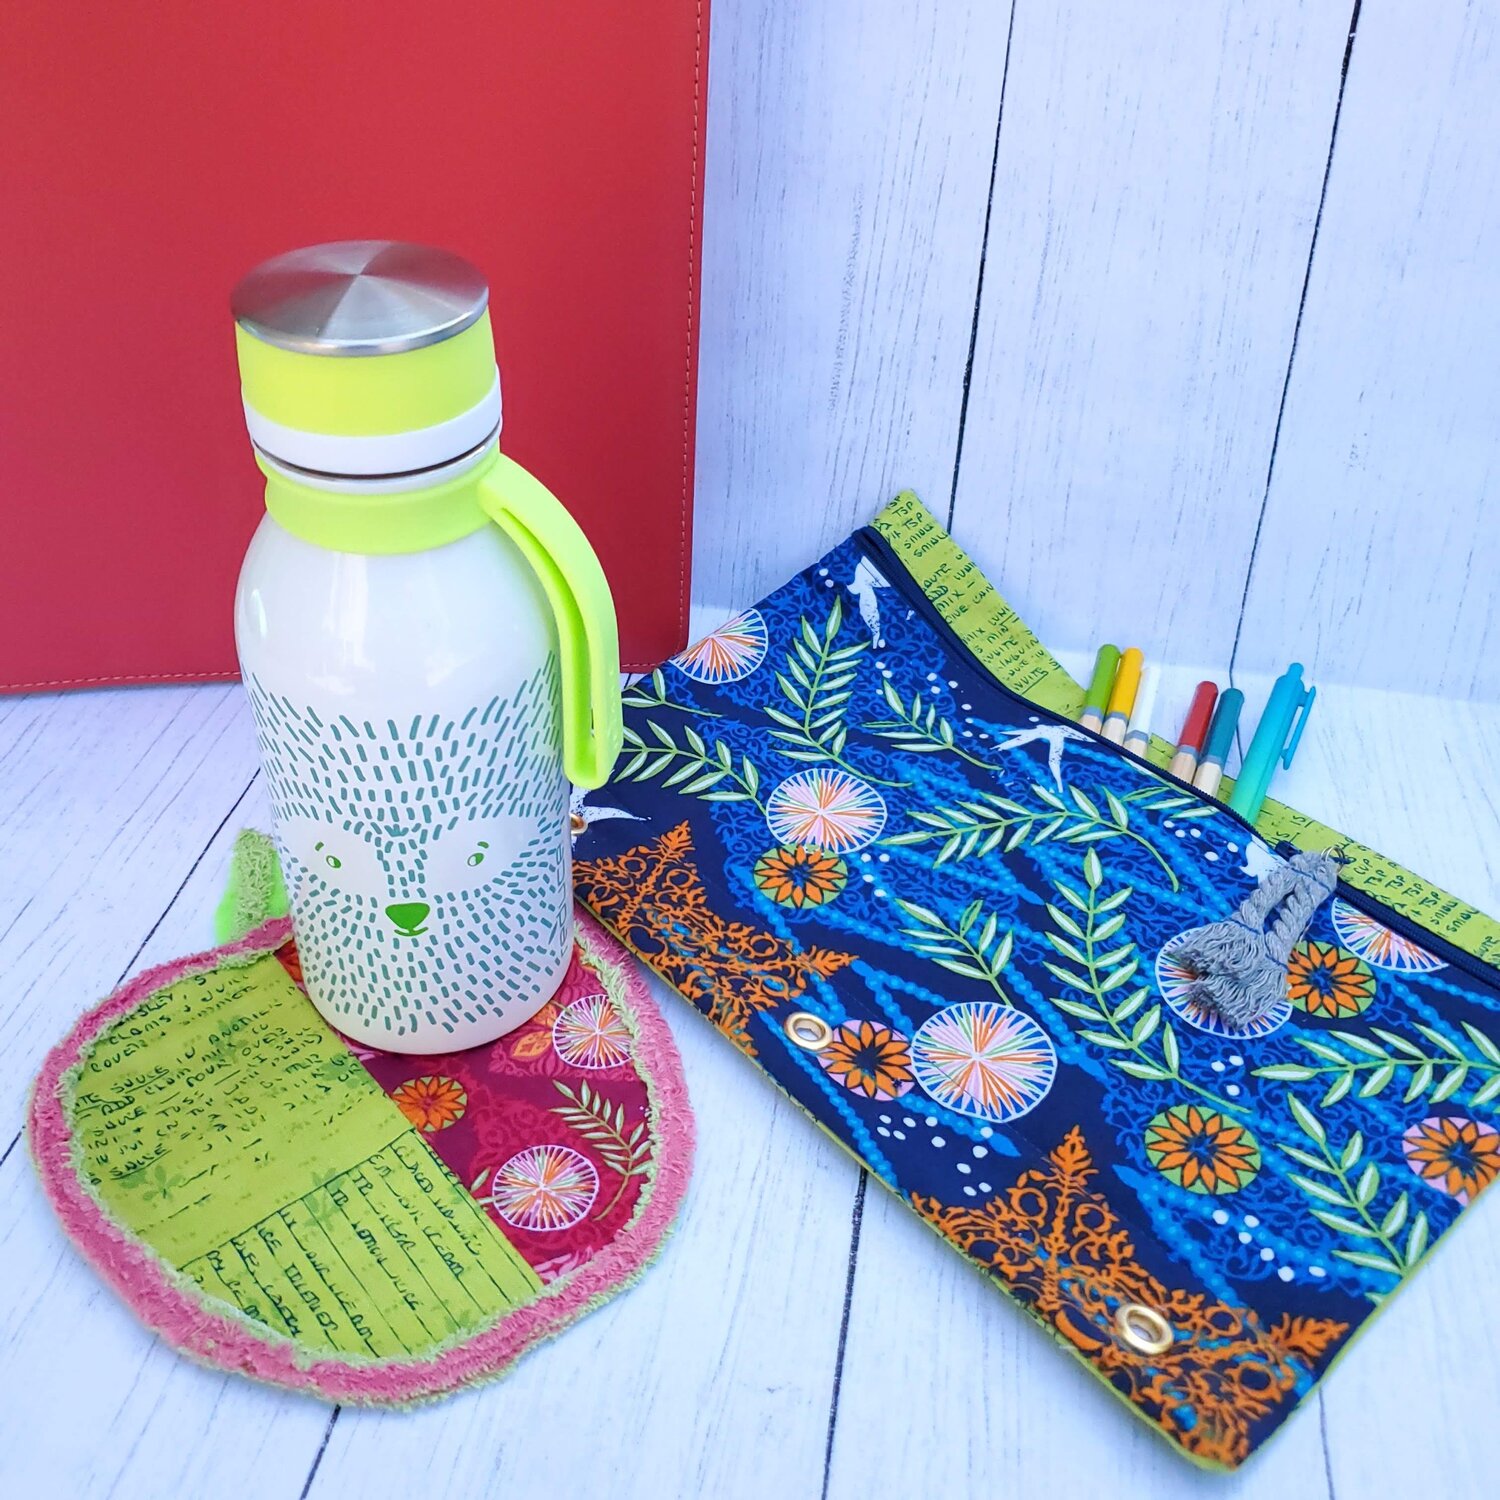
Back to school brings to mind many different feelings and emotions depending on where you are in life. I have always loved the idea of a fresh start and new school supplies in fun colors. The August Classic Membership featuring the Enchanted collection by Valori Wells for Free Spirit provided a visually appealing and cheerful feel to the binder pouch. You can get off to a good start this year with an apple for the teacher that will last all year! This easy mug rug/coaster was a quick make and can easily be personalized with embroidery or Cricut. Both patterns are free from Sharon Holland Designs. The Apple Season and Pencil Pouch are easy to follow patterns made from fat quarters.
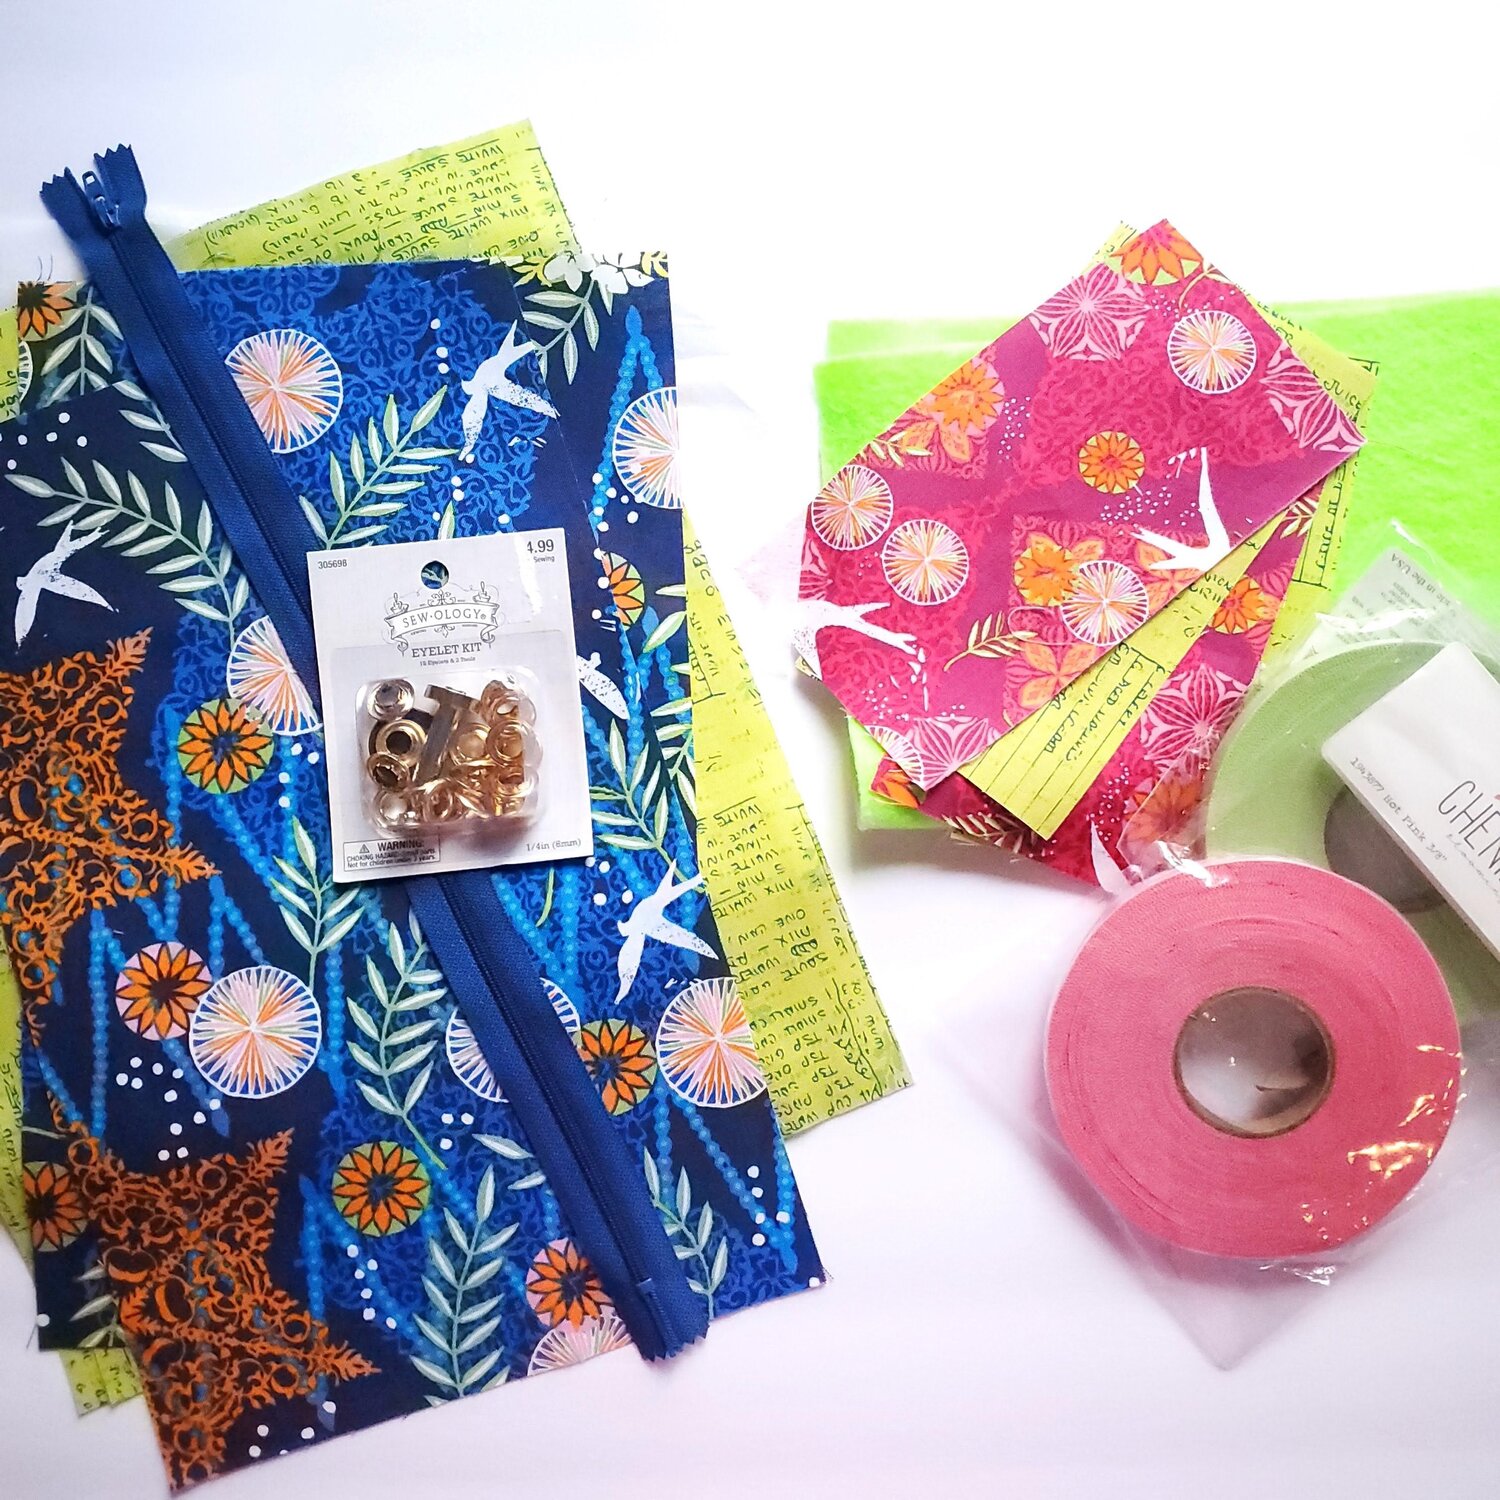
Materials Needed:
Two coordinating fat quarters
12” zipper
Three brass eyelets
Fusible fleece interfacing
Chenille-It in two colors
Scrap of green felt for apple leaf
Coordinating Aurifil thread from Chroma membership
¼” fusible zipper tape like Steam a seam
Pellon 809 fusible interfacing
Let’s start with the apple for the teacher. Download and print the pattern and cut out the apple template. Cut two 6 ½” x 3 ½” rectangles from coordinating fabric and sew together on the long side with a ¼” seam. Press. Add the fusible fleece interfacing to the back of one of the rectangles. With the wrong sides together, pin the apple template to the rectangle with the seam in the center and trace the shape, then cut it out. Next use a serger or zigzag stitch to finish the raw edges of the apple.
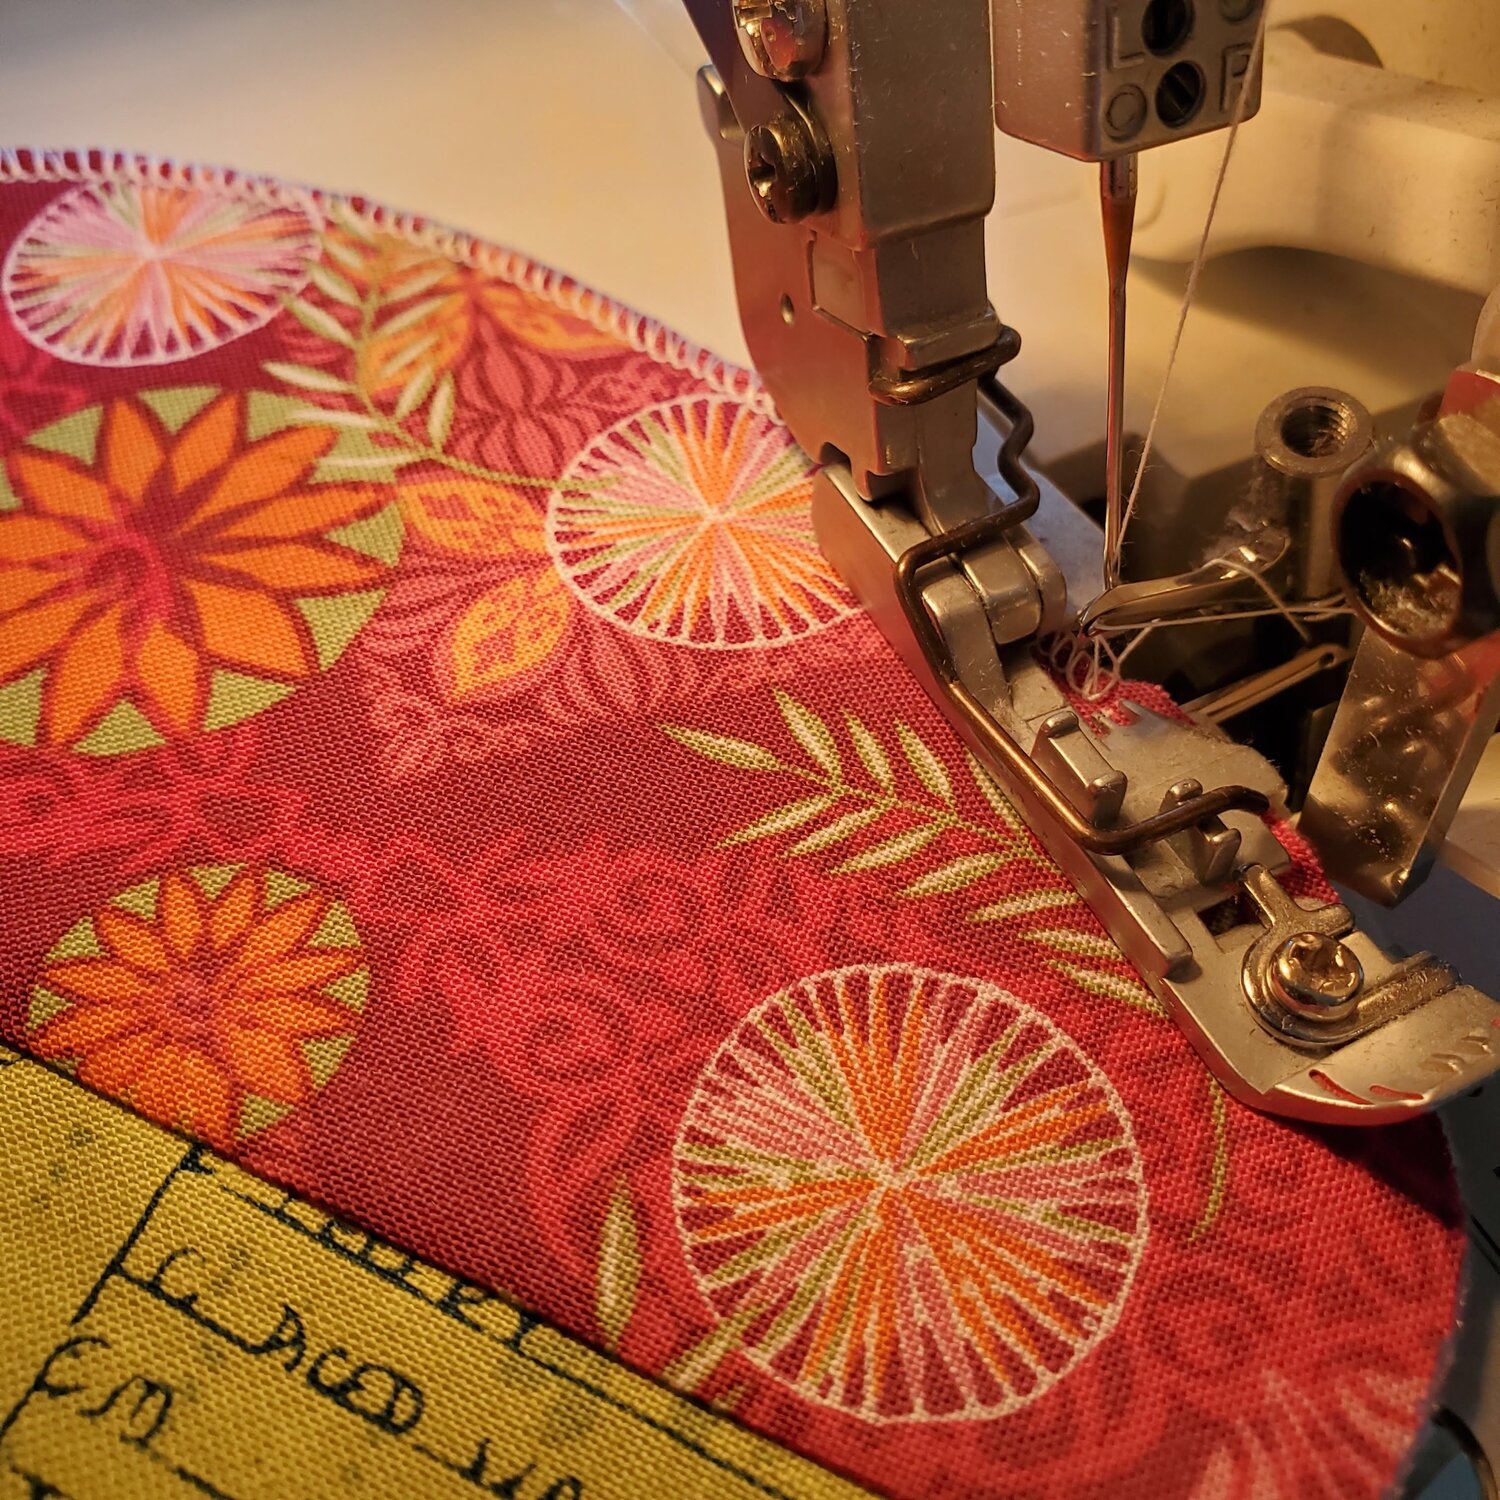
Cut out the leaf from a piece of green felt and sew a small piece of Chenille-it to the center. Pin in place on the apple. Cut about 20” of two colors of Chenille-it and sew around the edge of the apple. Repeat on the back side of the apple.
Trim the excess. To achieve the fluffy look of the chenille-it, wash and dry either by hand or machine. This is such a fun way to bring an apple for the teacher to show your appreciation!
This next project will teach you a new way to insert a zipper and finish the seams.
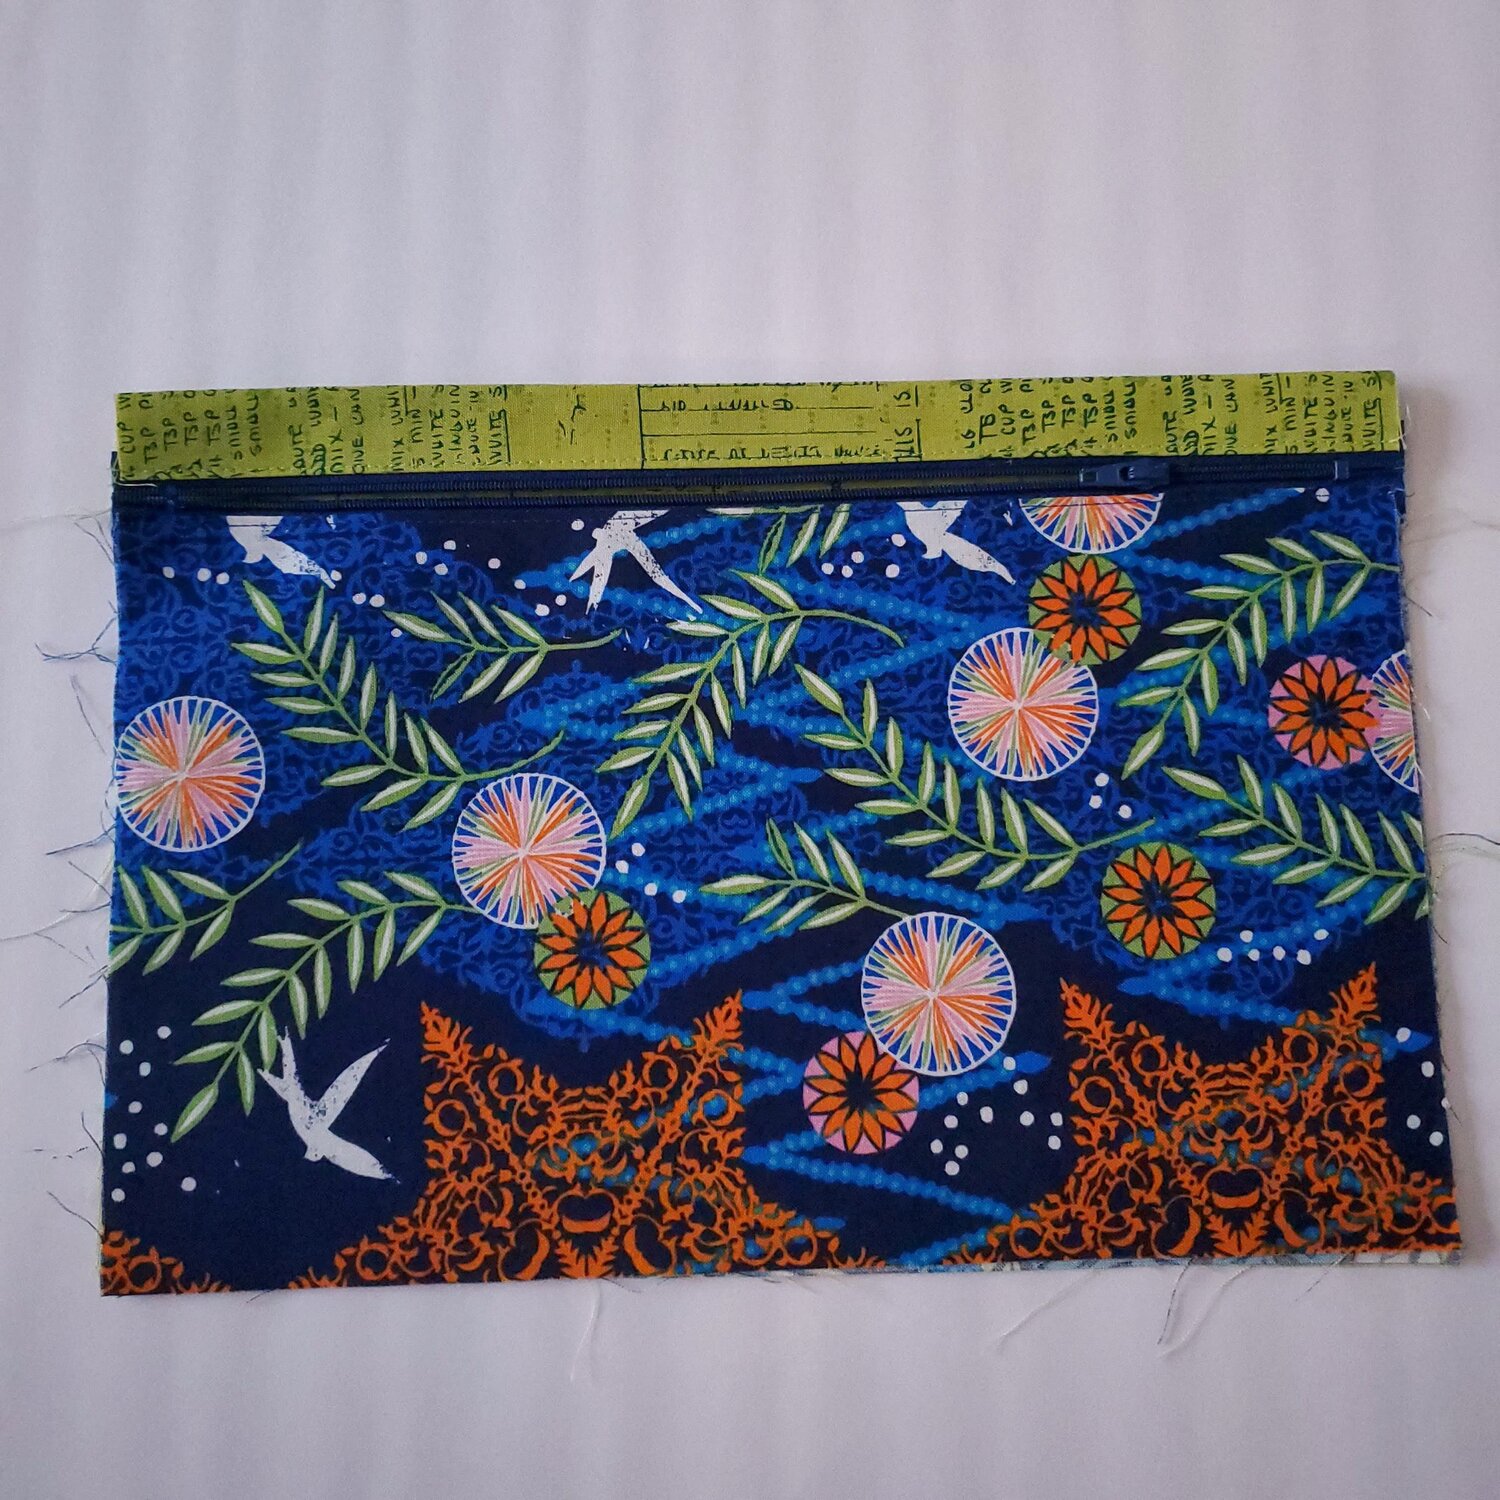
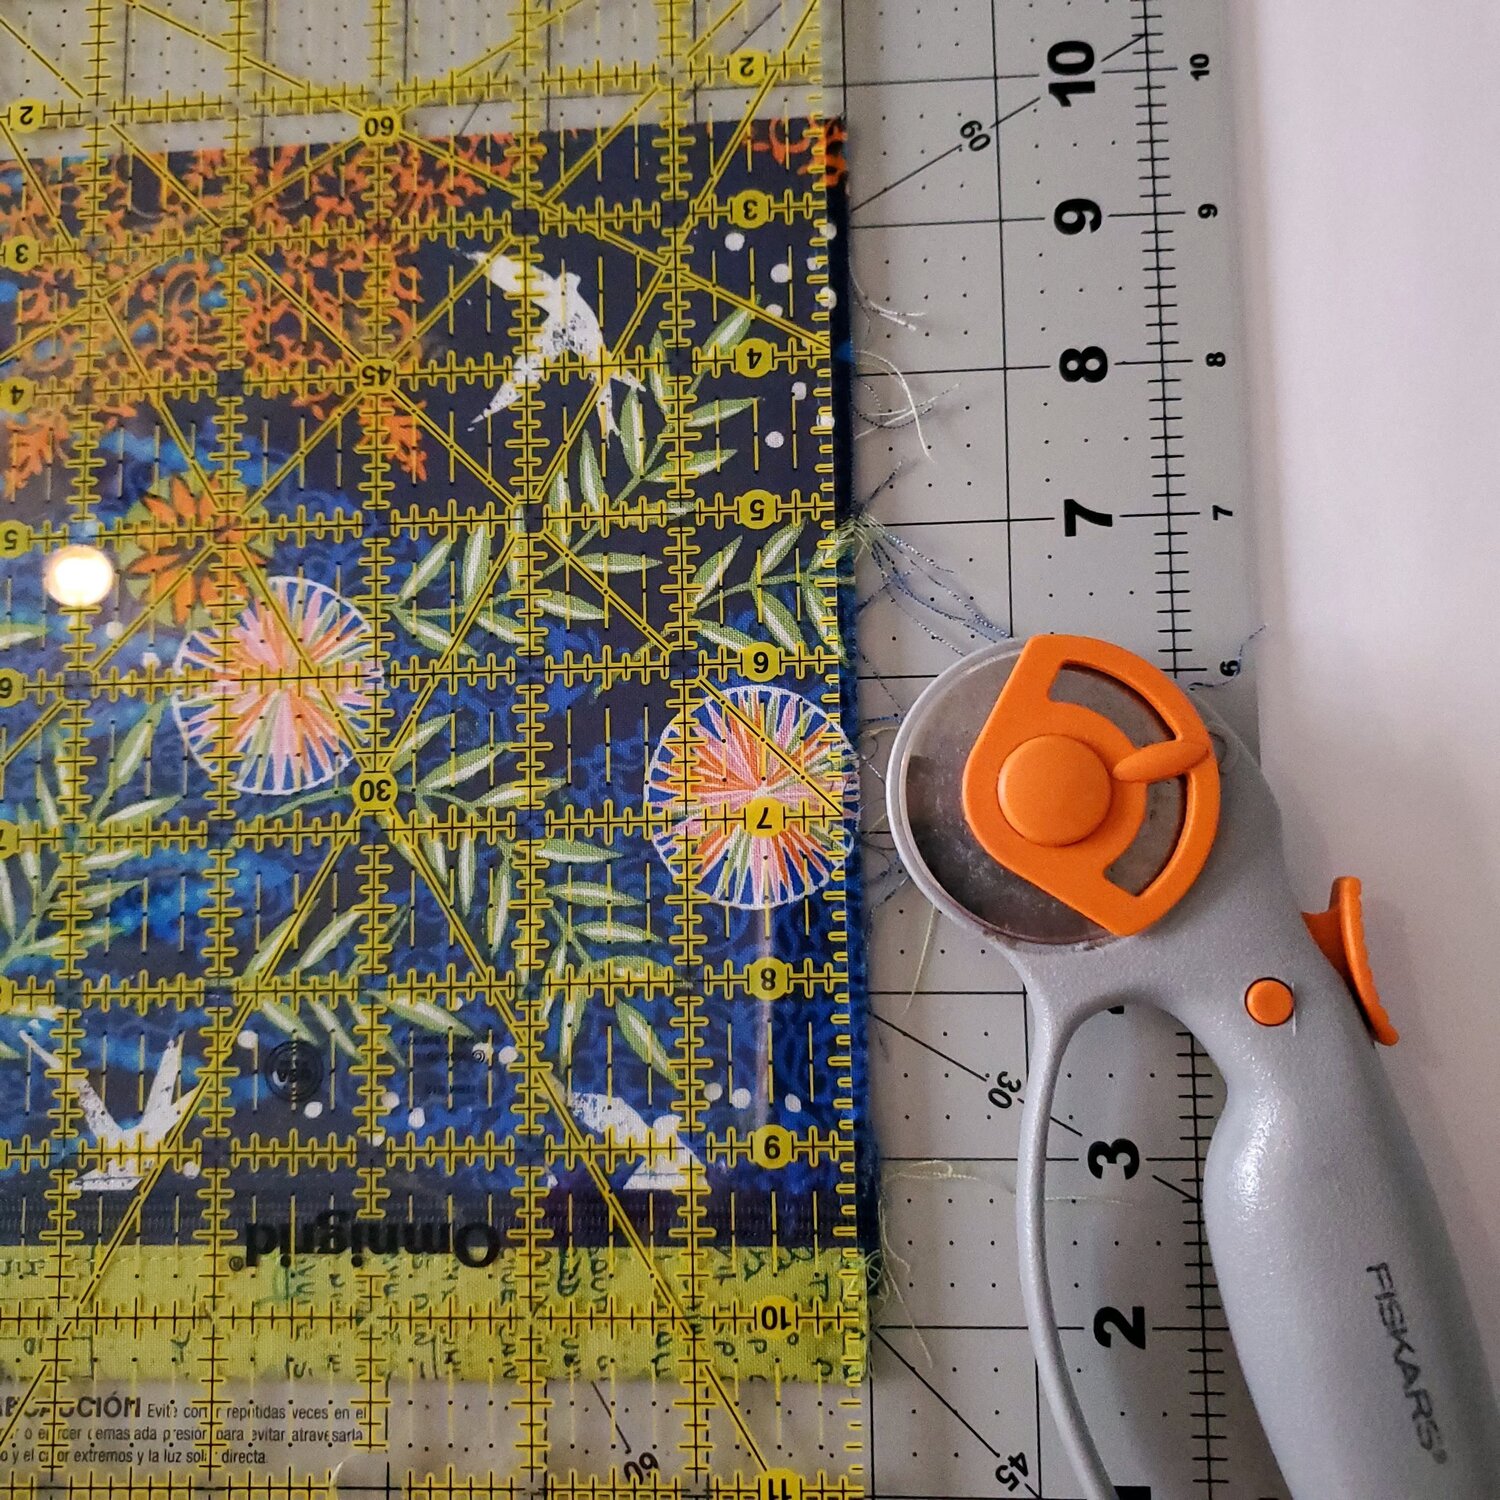
From the blue fabric cut two 7 ½”x12” rectangles and from the green cut two 9 ½”x12 rectangles. From the Pellon 809 fusible interfacing cut one 8 ½”x11” and one 6 ½”x11 rectangle.
Center the interfacing on the wrong side of the blue and green rectangle and press in place. Fold down the long top edges ½” on all four rectangles pieces and press to the wrong side. Place a piece of ¼” fusible zipper tape on the outer edge of the zipper and press. Peel off the paper and align the top folded edge of the blue rectangle with the zipper and press in place. You will repeat with the second blue rectangle to sandwich the zipper between the folded edges. Take care to be sure the raw edges on the sides and bottom are lined up properly.
Repeat the process using the green rectangles. Topstitch ⅛” from the folded edge on both sides of the zipper.
In a coordinating thread, sew back and forth at each end of the zipper to create a zipper stop. This next step is a different way to finish your seams, you can watch this short video on how to make a French seam from Craftsy.
Lay the assembly out and fold in half matching the raw edges creating about an inch fold above the zipper.
Check that the raw edges are all aligned and sew ¼” around the raw edges. Trim these seams to ⅛” to trim away threads and to be sure it is straight for the next step.
With the zipper fully open, turn the wrong side out and press aligning the edges to prepare for the next step. Be sure corners are pushed out nicely. Now sew a second ¼’ seam around the same three edges.
Turn right sides out, poke out corners and press. Trim any stray threads.
Cut a piece of fusible fleece 1 ¼”x11” and insert inside the bag along the bottom edge and press. Use a Hera marker and a ruler to mark a sewing line 1 ½” from the edge.
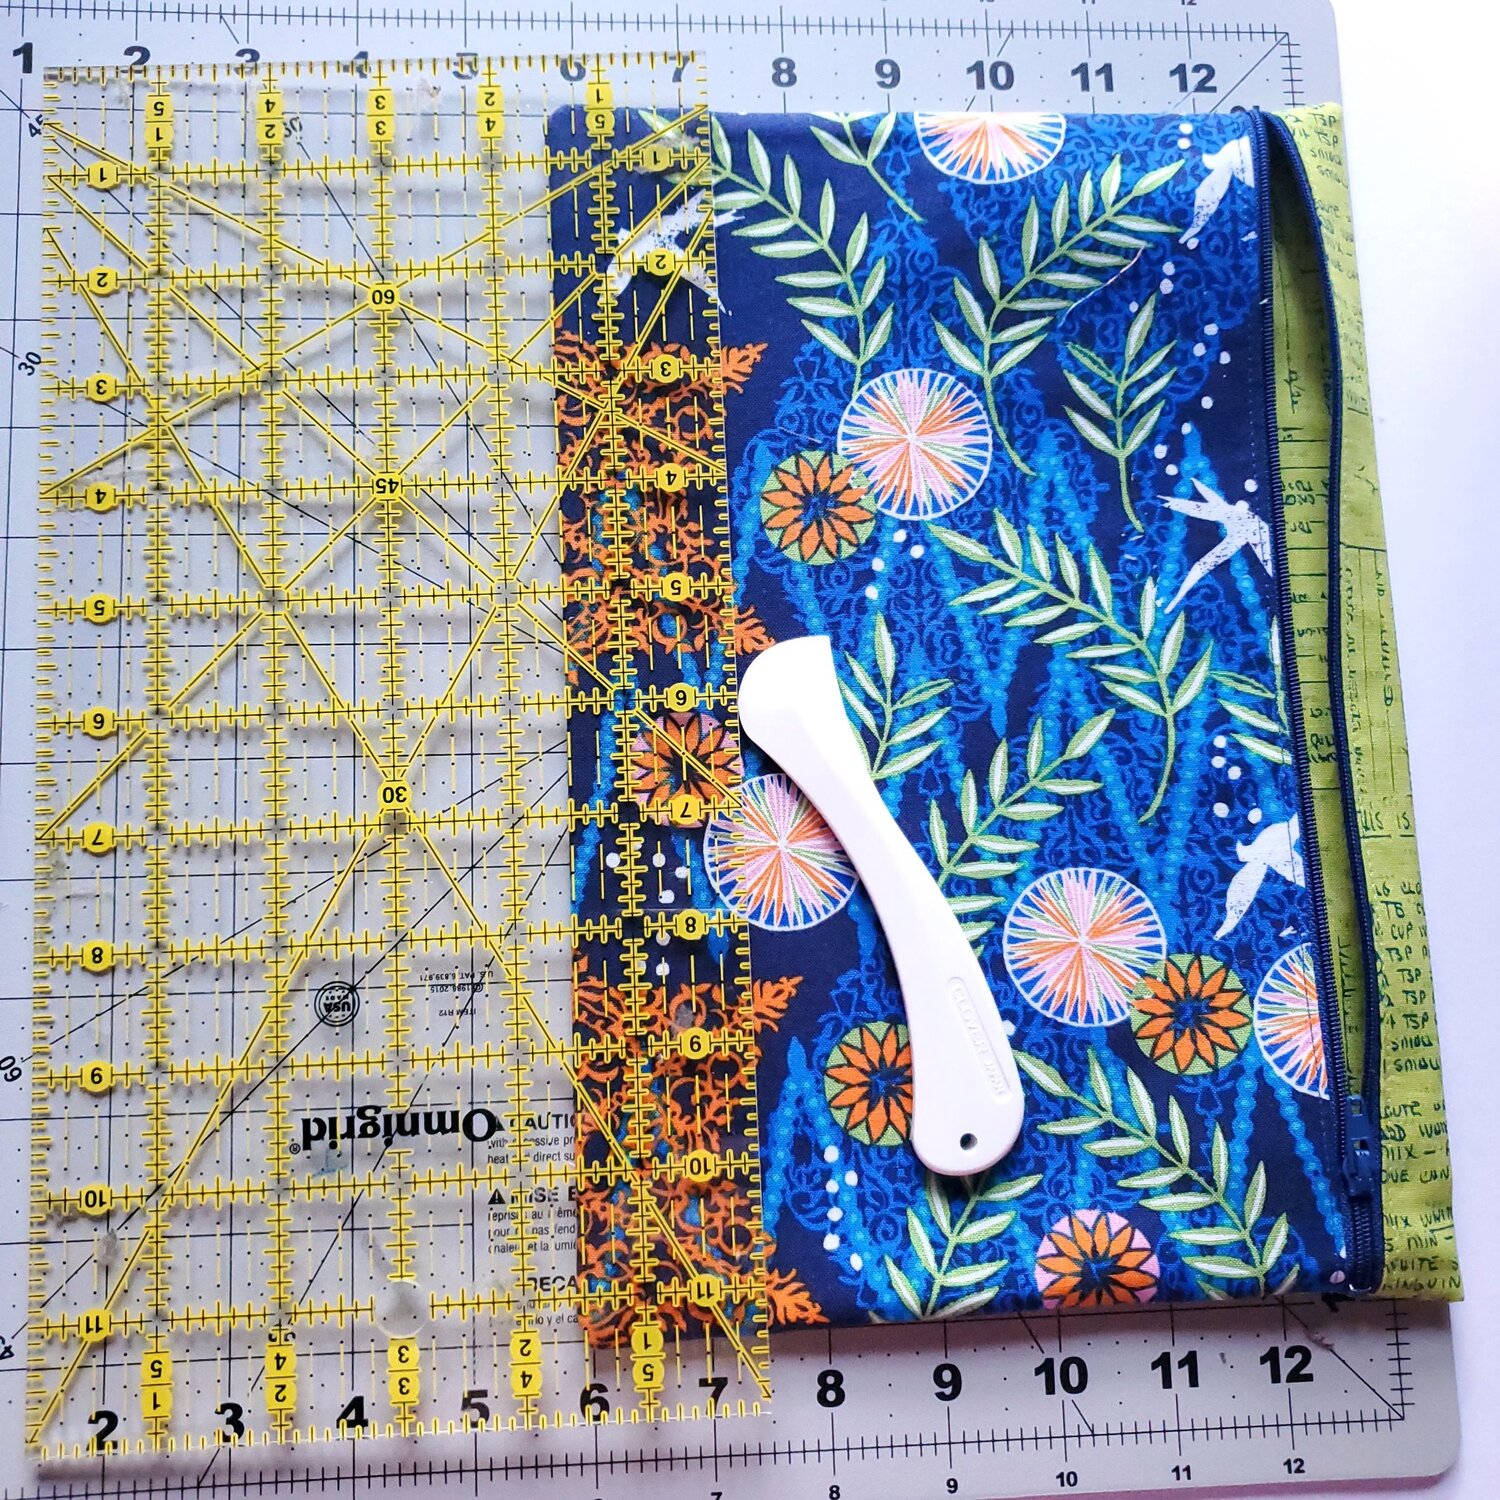
Topstitch with a coordinating thread. The final step is to make openings for the brass eyelets. You could also make button holes as openings for the binder rings to go through. Mark the fabric ¾” in from the long edge and 1 ½”, 5 ½” and 9 ½” to place the eyelets. Double check the spacing with the binder you plan to use to be sure the holes will line up for a good fit. Using a small scissors with a sharp tip will help you cut the small holes through all the layers.
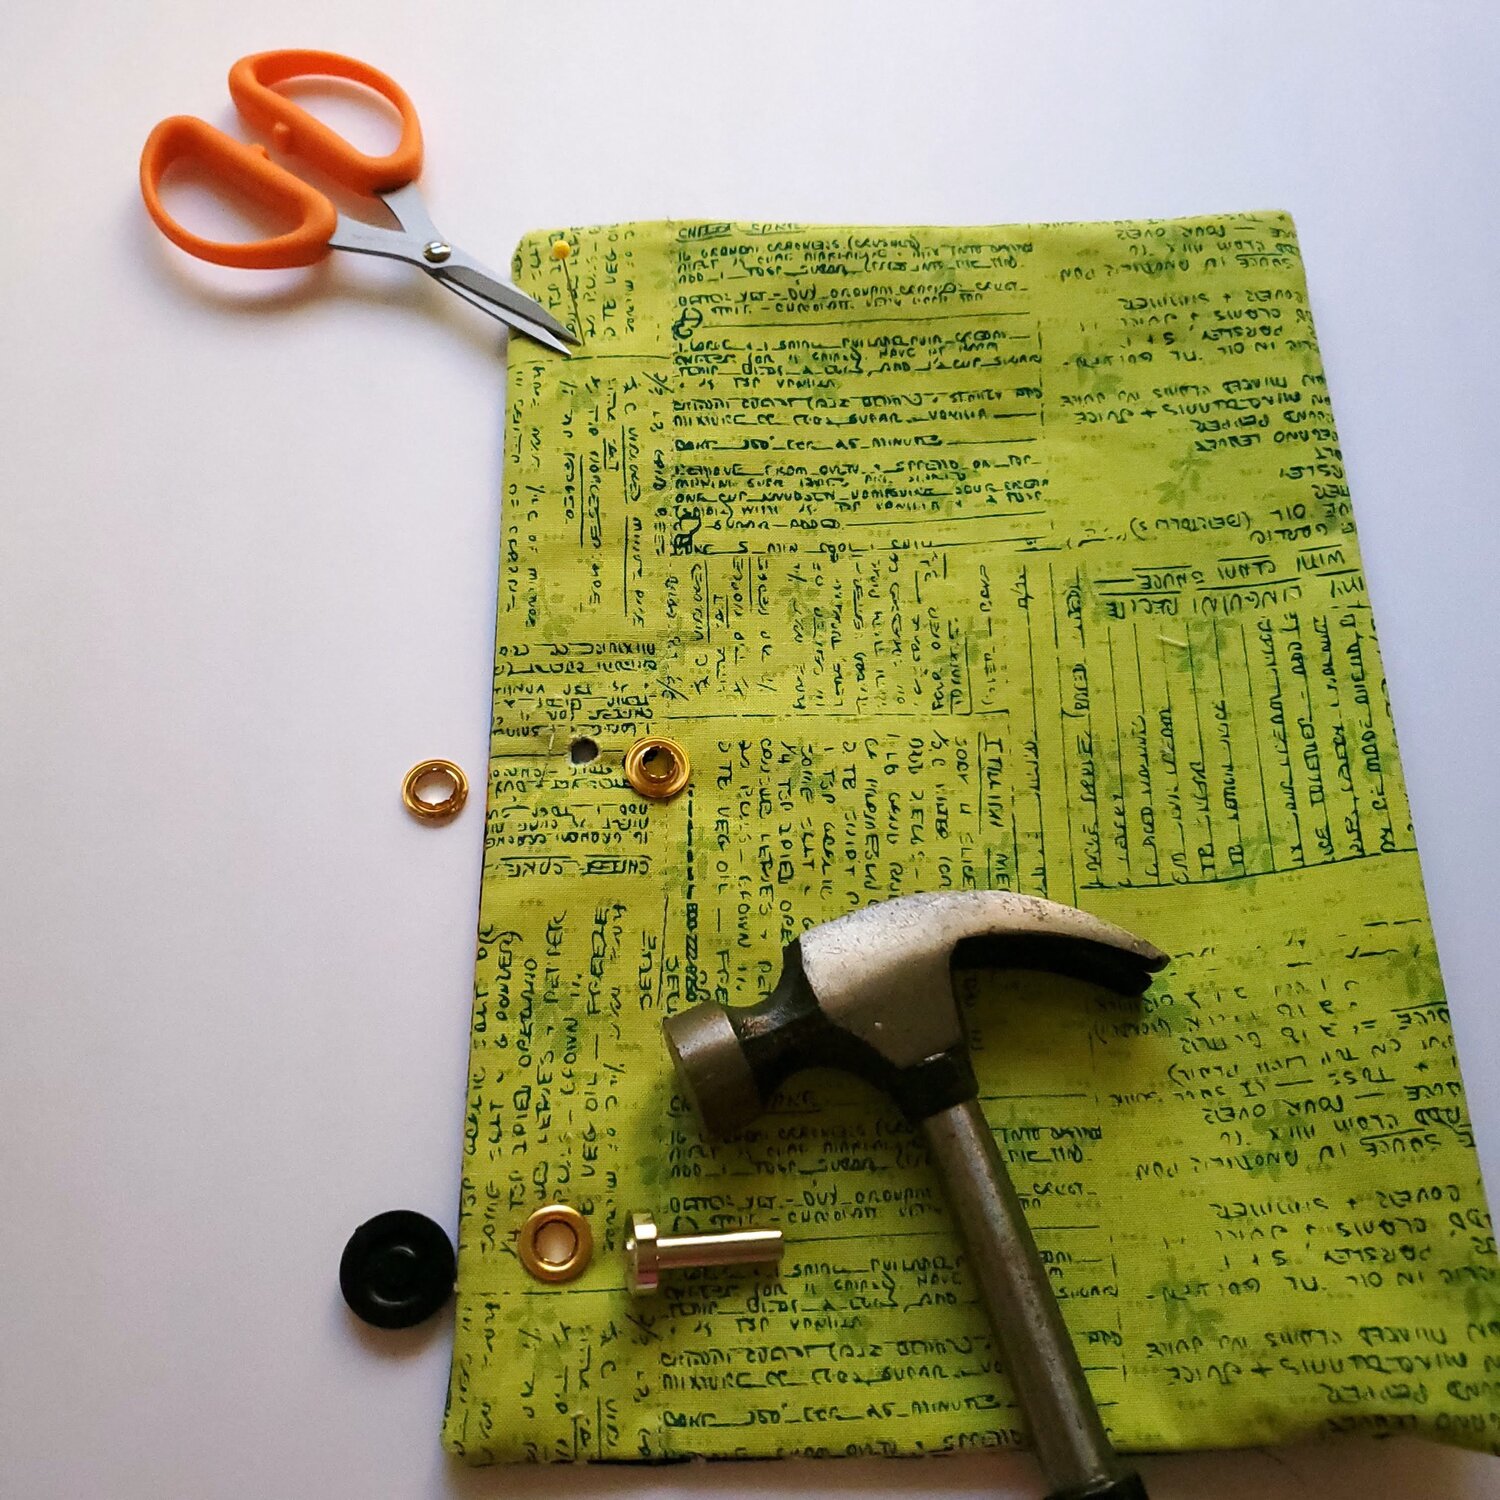
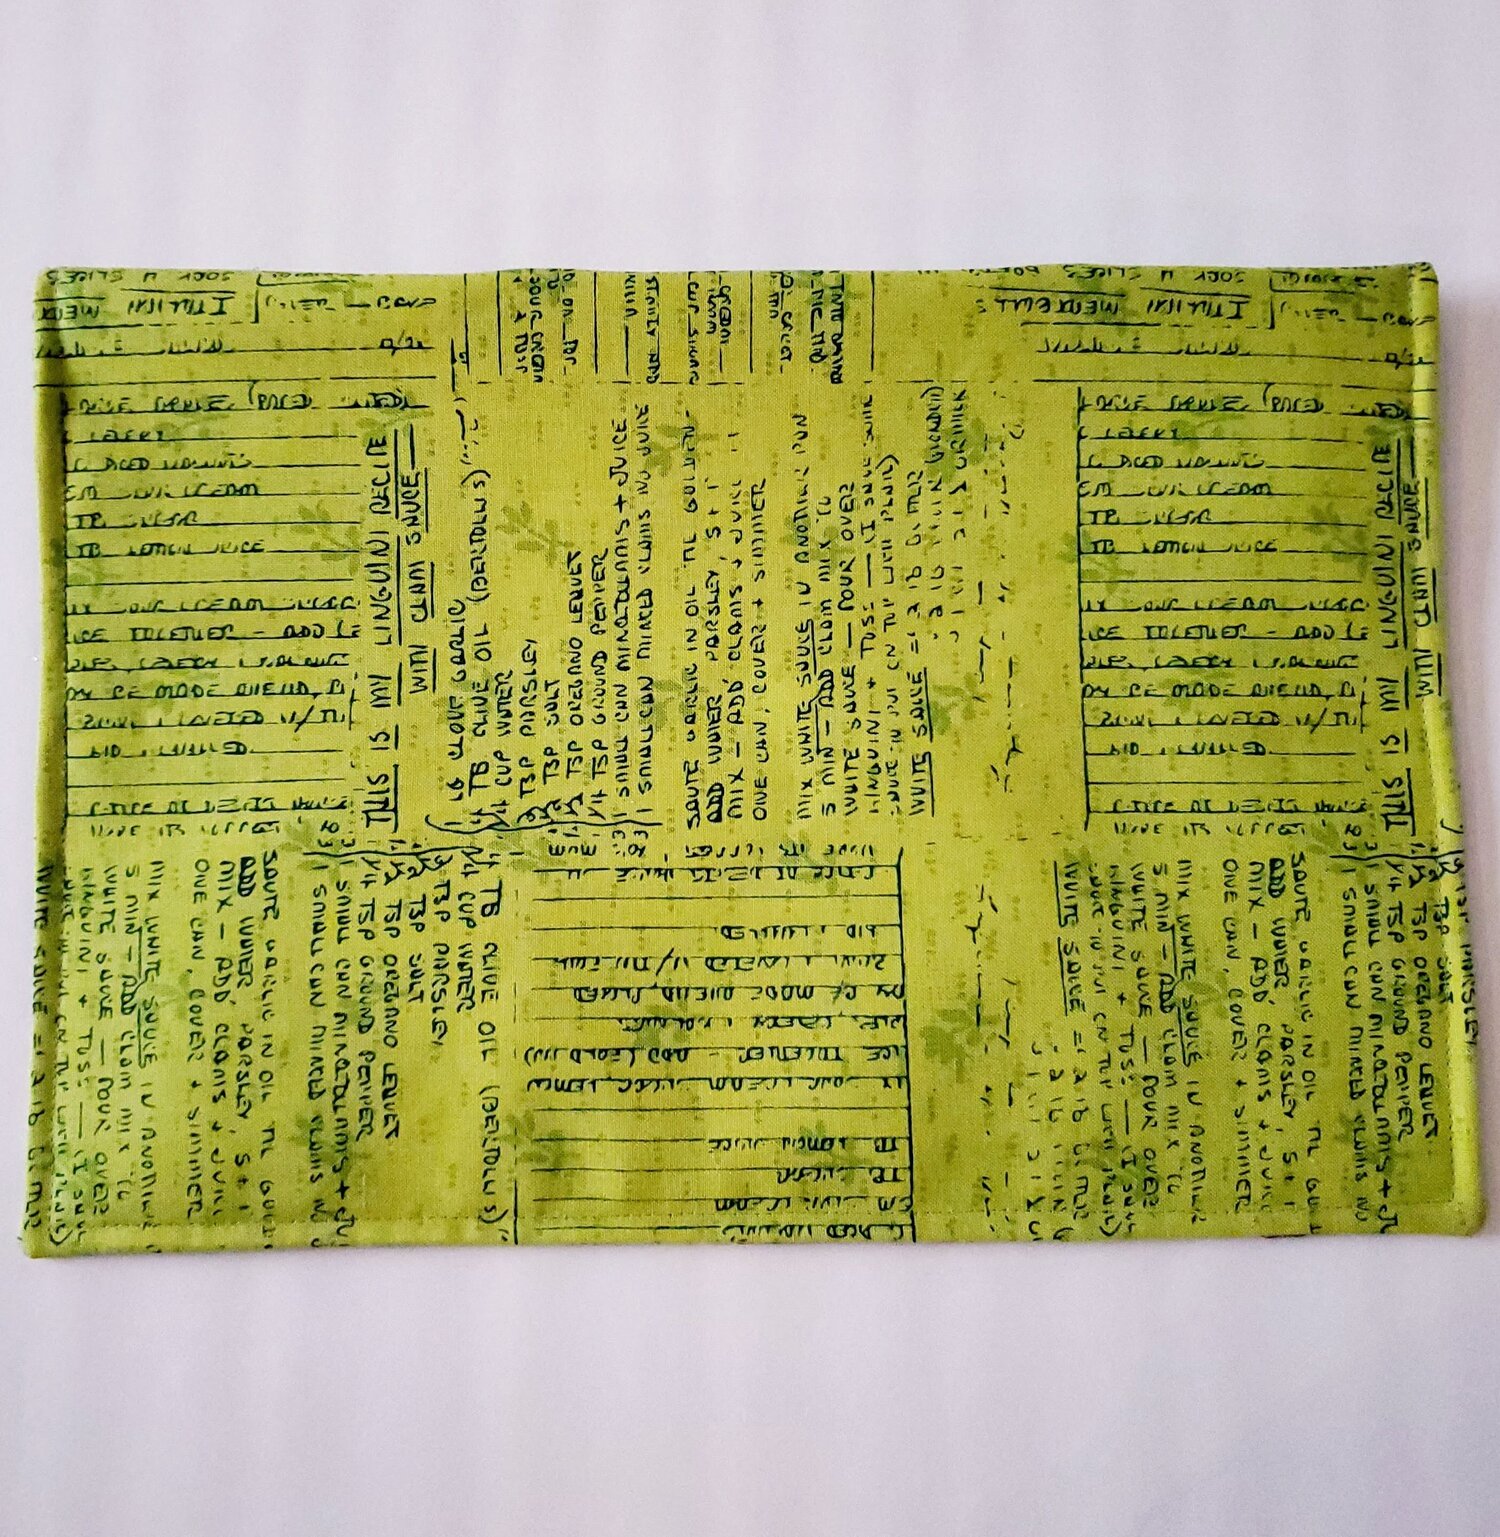
Follow the directions to line up the eyelets and hammer in place. This is a picture of the back featuring a fabric from a Classic box from this past year. Another nice perk of the membership from Cotton Cuts is that the fabrics all work great together, mix and match from month to month to complete a variety of projects. This fun binder pouch can be used for school or to keep foundation paper piecing organized ready to travel.