

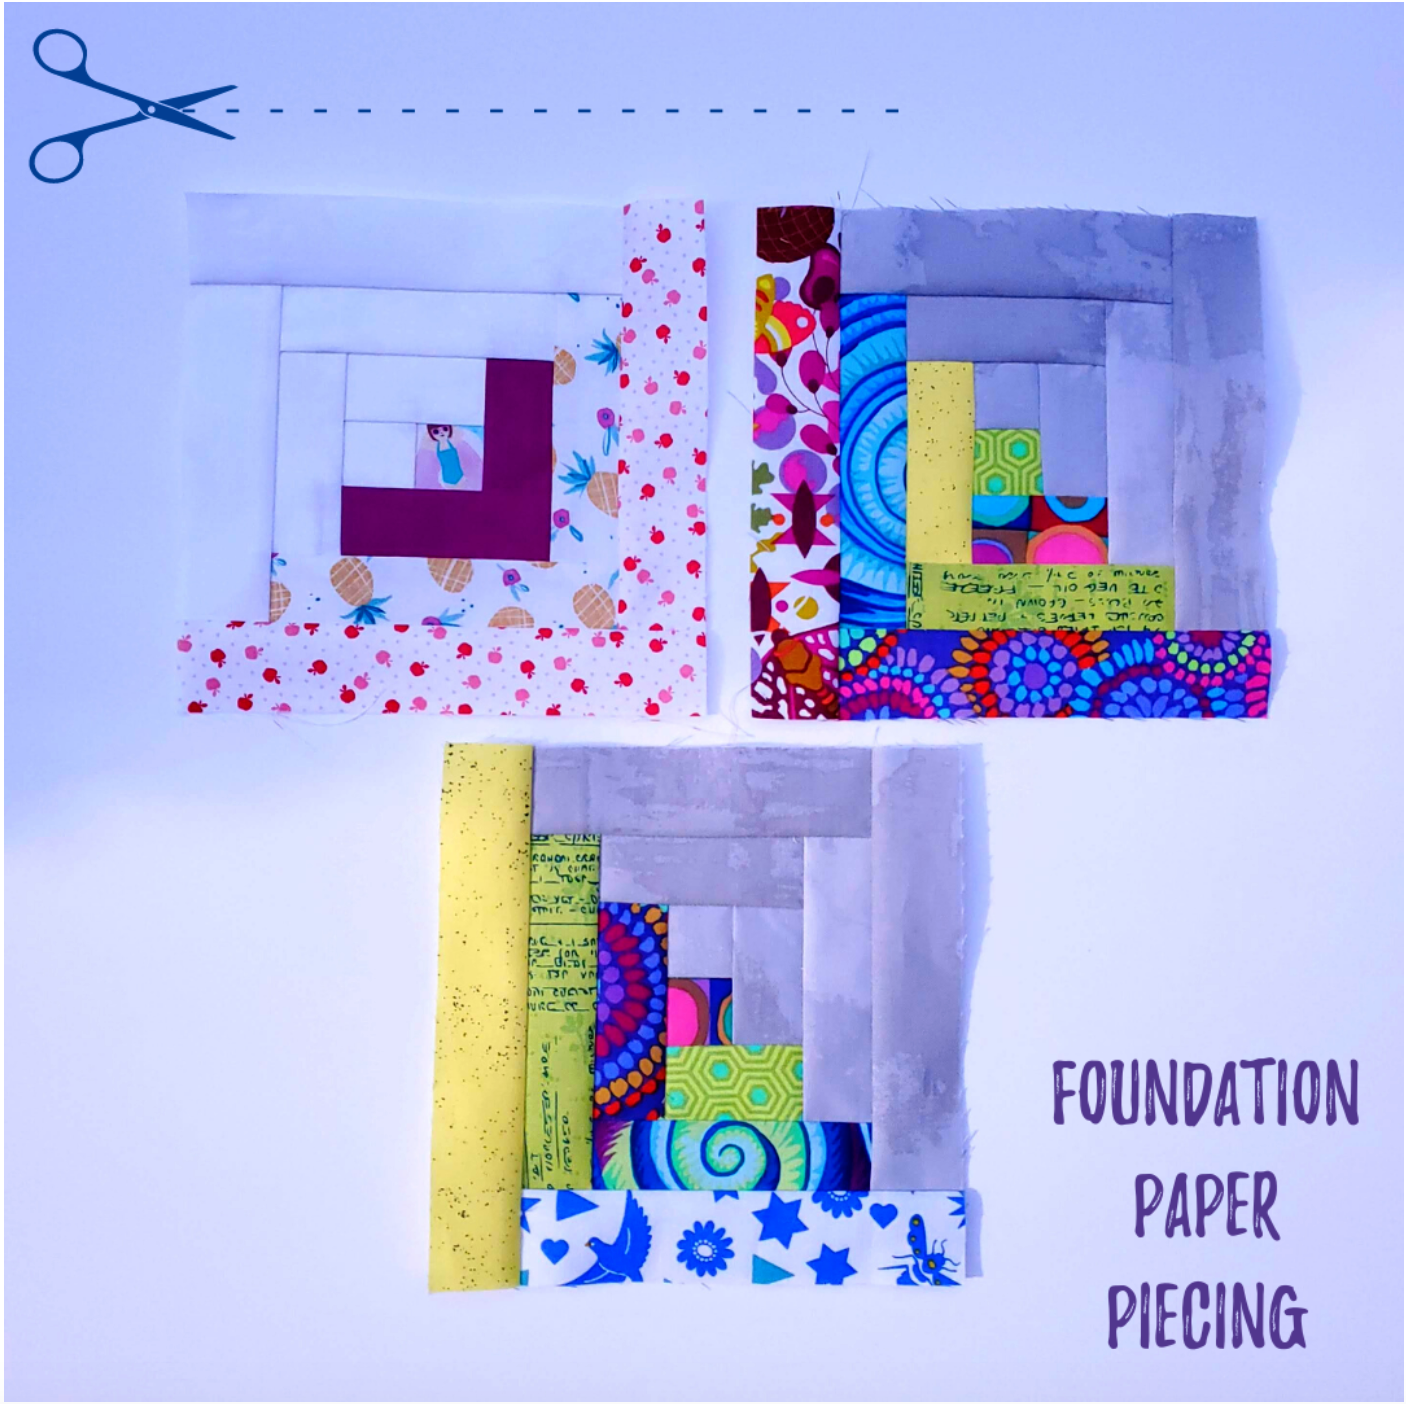
Foundation Paper Piercing
8th Apr 2021
Have you tried the Boost My Delivery option? We have a variety of items that you can purchase and have shipped FREE with your next Cotton Cuts delivery!
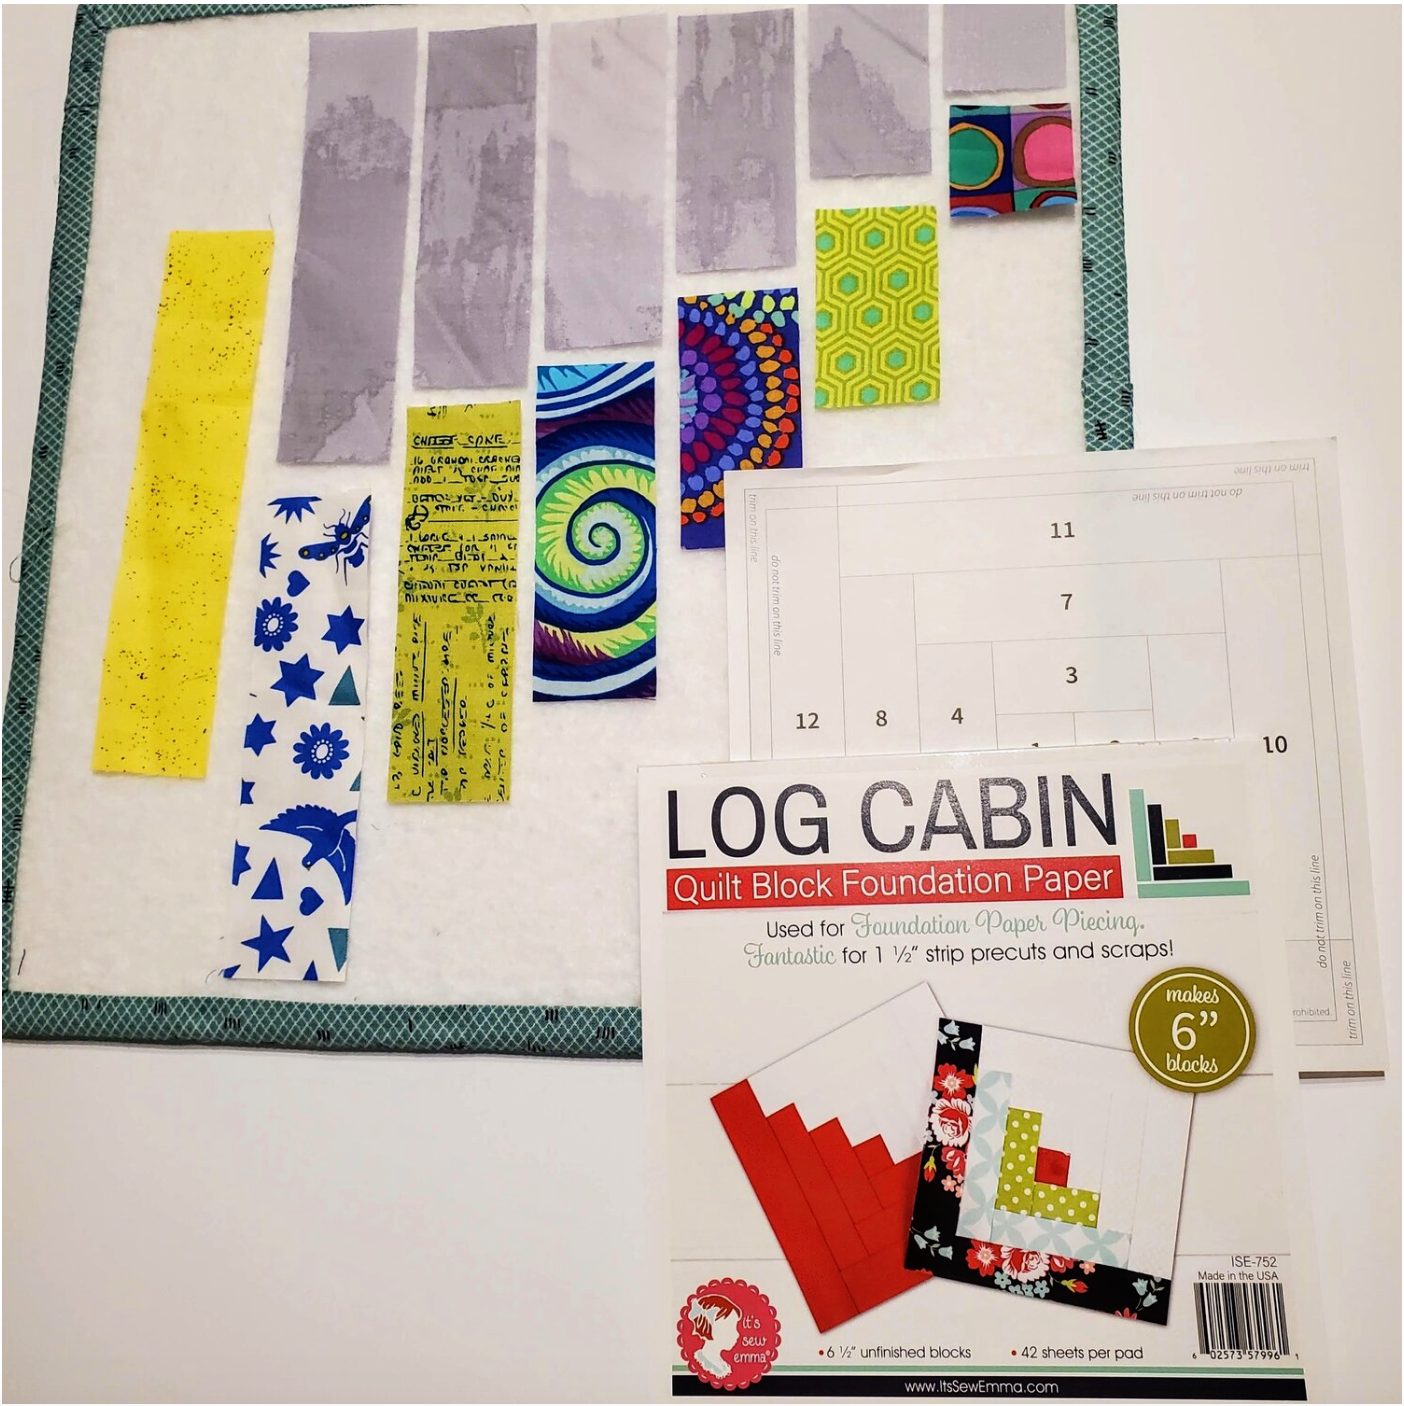
In the past two years of my quilting journey I have made it a point to challenge myself by trying new techniques along the way. When I saw this new item in the Boost Shop, I was inspired to grab some scraps and give it a try. Today I will share with you an introduction to paper piecing using theI t's Sew Emma Log Cabin Quilt Block Foundation Paper. I was surprised how easy it was to achieve an accurate block on the first try using this technique.
Materials Needed
Assorted scraps 1 ½” wide. I used scraps from past Classic and Modern Maker subscription box projects
Fat quarter of light fabric
Coordinating Aurifil Thread Chroma Subscription
It’s Sew Emma Log Cabin Foundation Paper
Add a quarter inch 6” ruler also on Boost my Delivery
To get started, cut the assorted pieces following the clear instructions included in the package. I found this helpful YouTube tutorial from Kimberly at Fat Quarter shop.
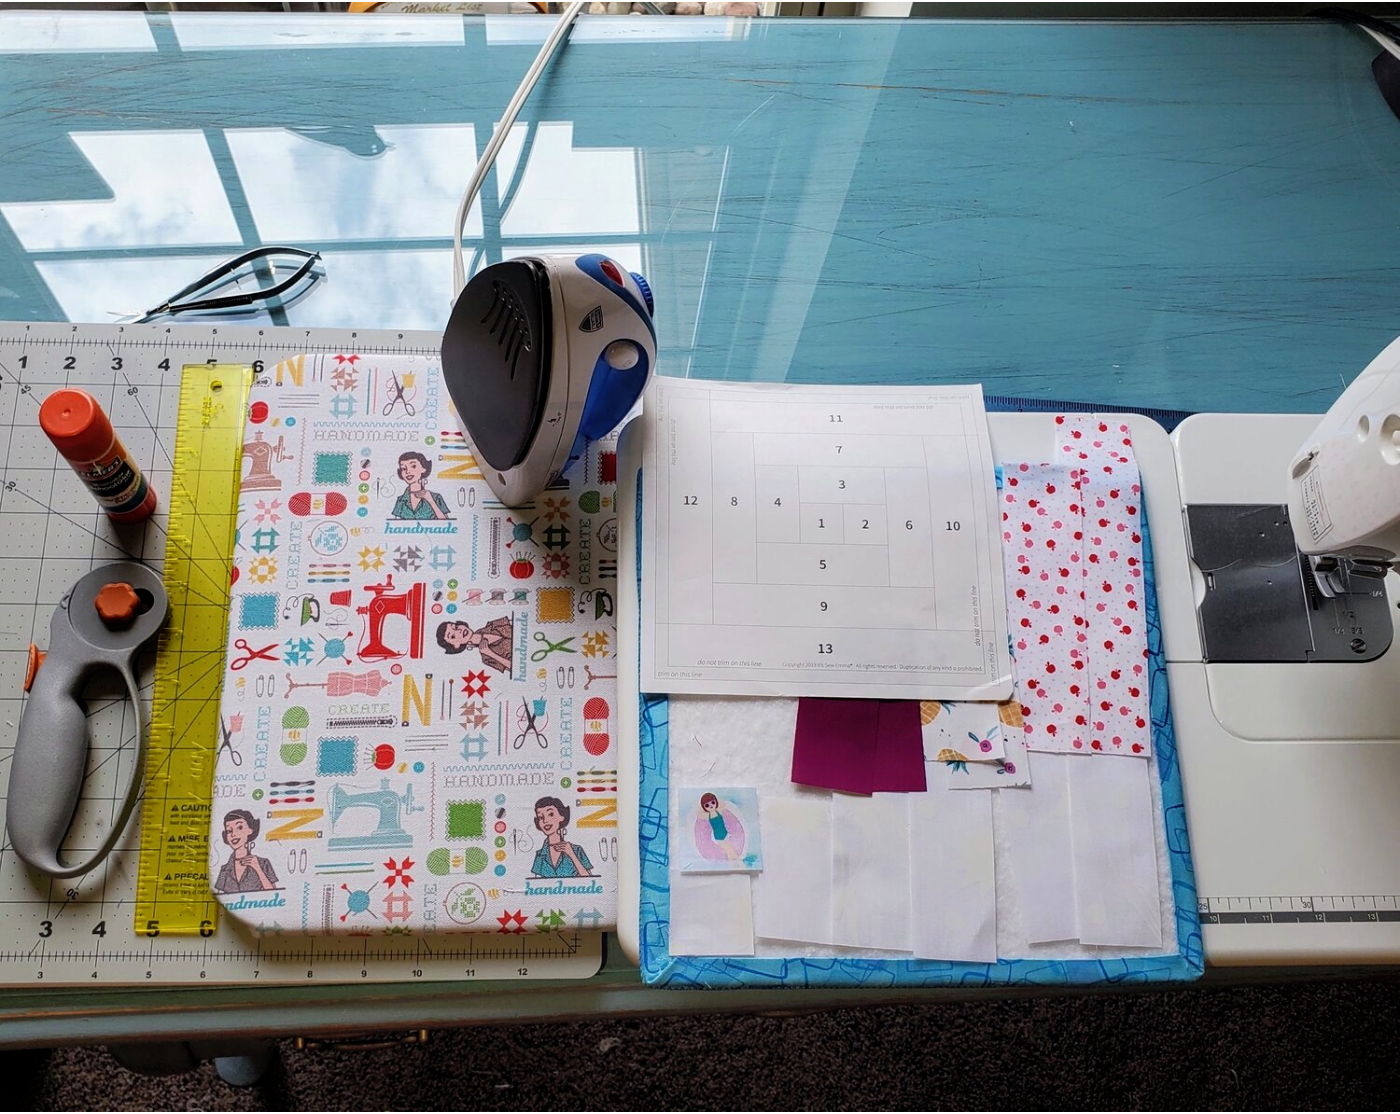
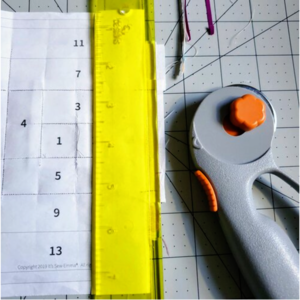
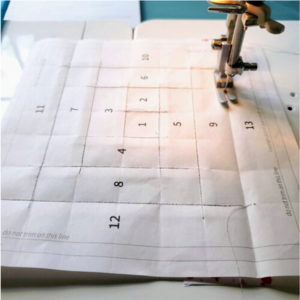
I found starching the fabric before cutting helpful as well as setting up my sewing table with a mini iron and ironing board alongside a small cutting mat and rotary cutter. A TV tray table would work great also to keep your tools close to the sewing machine. The Add a quarter inch ruler lines up on the edge of the paper so nicely and makes trimming a breeze.
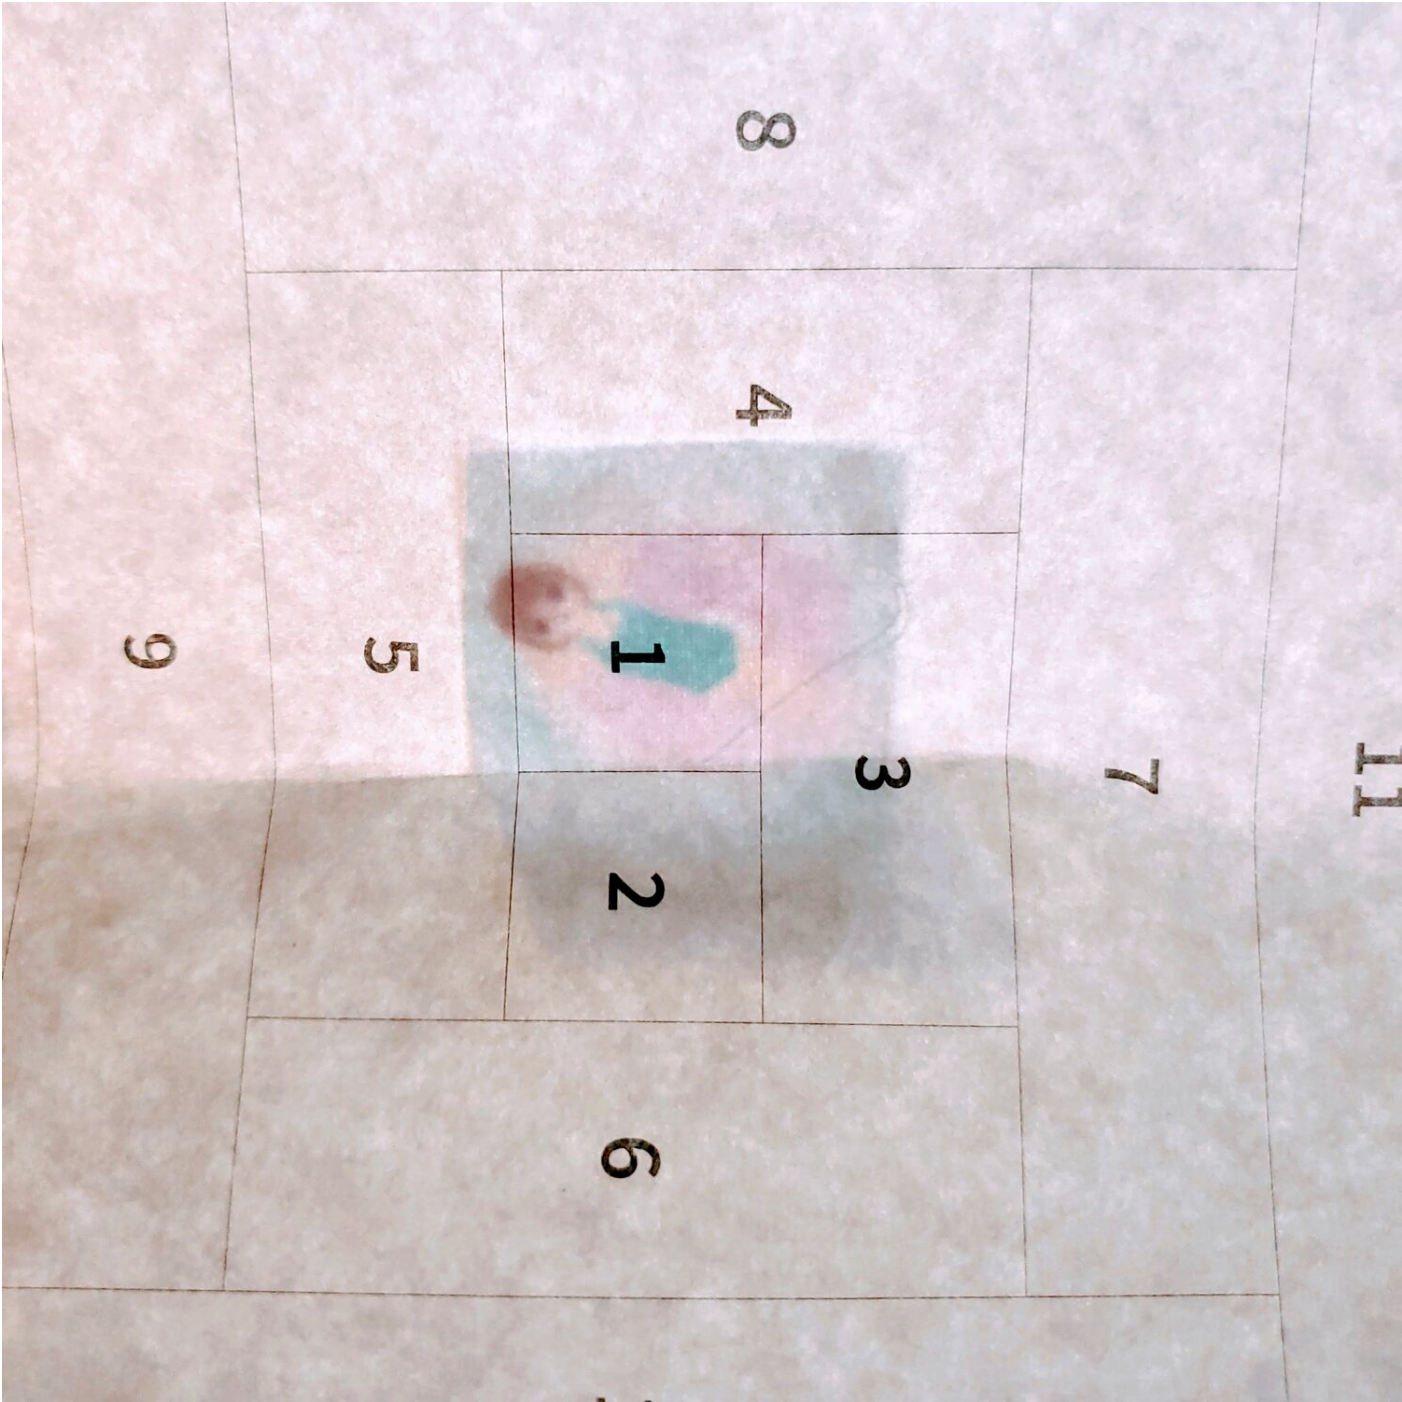
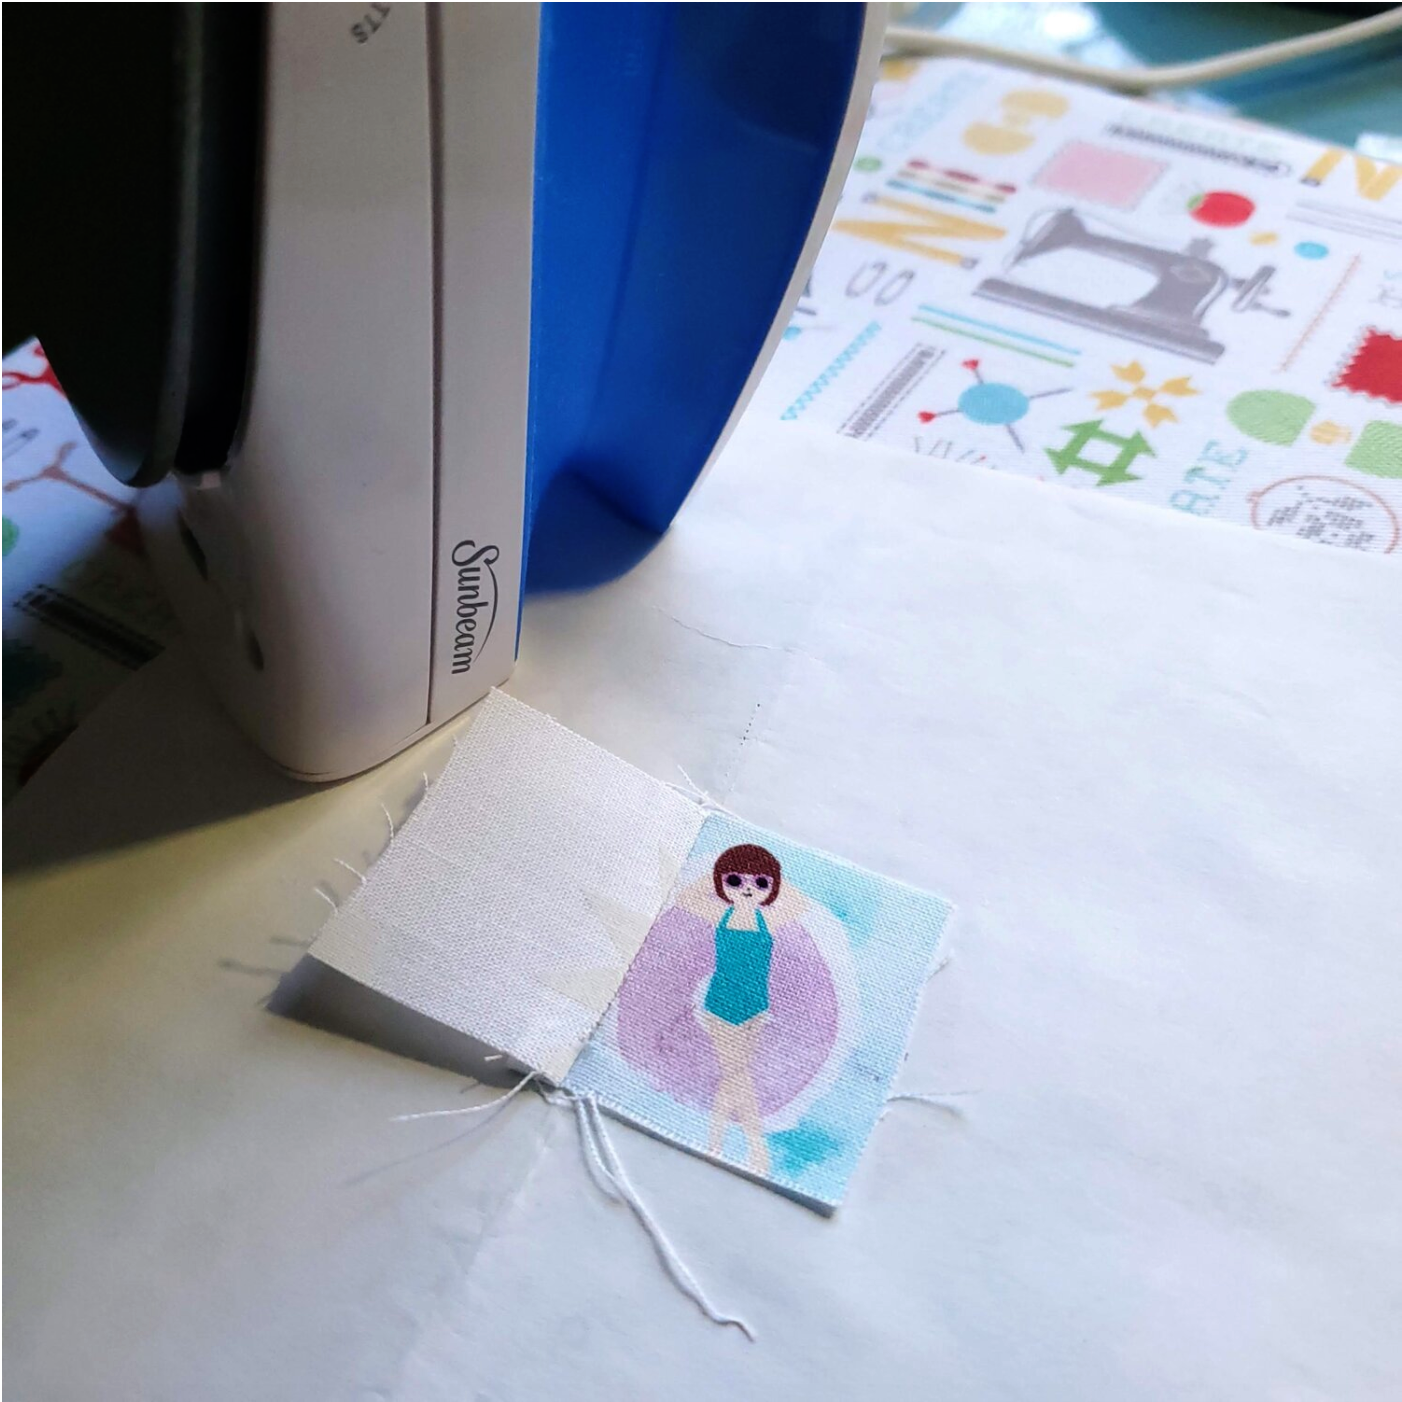
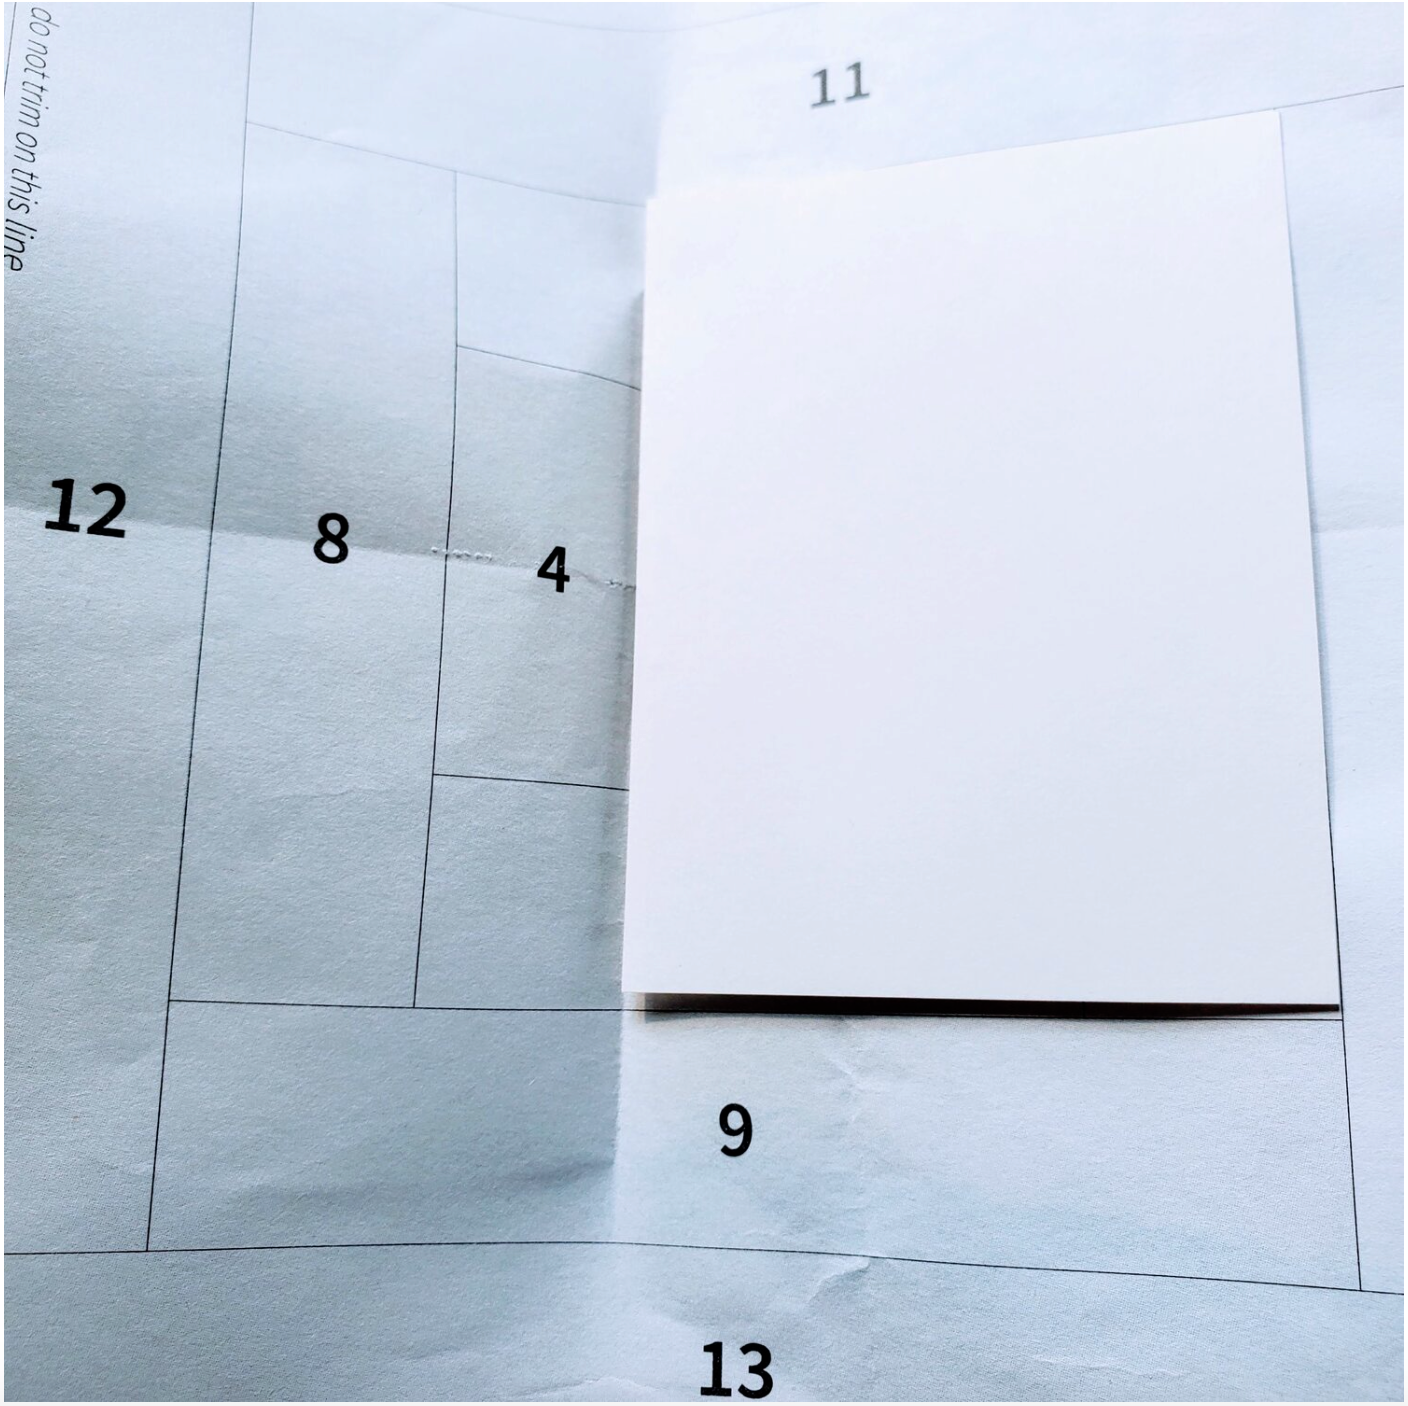
Fold on the line between 1 and 2. For this block I did fussy cutting on the center piece. It is helpful to use a light box or window to see the lines on the paper to line up the fabric square allowing for at least a ¼’ seam all the way around.
I dabbed some washable glue stick to temporarily hold the fabric in place. Pins will work as well. Remember that the right side of the fabric faces up when viewing from the back of the paper. According to the directions, add the light colored fabric square #2 with right sides together. You will want to set the stitch length to about 1.8 and start sewing about ¼’ from the end of the line.
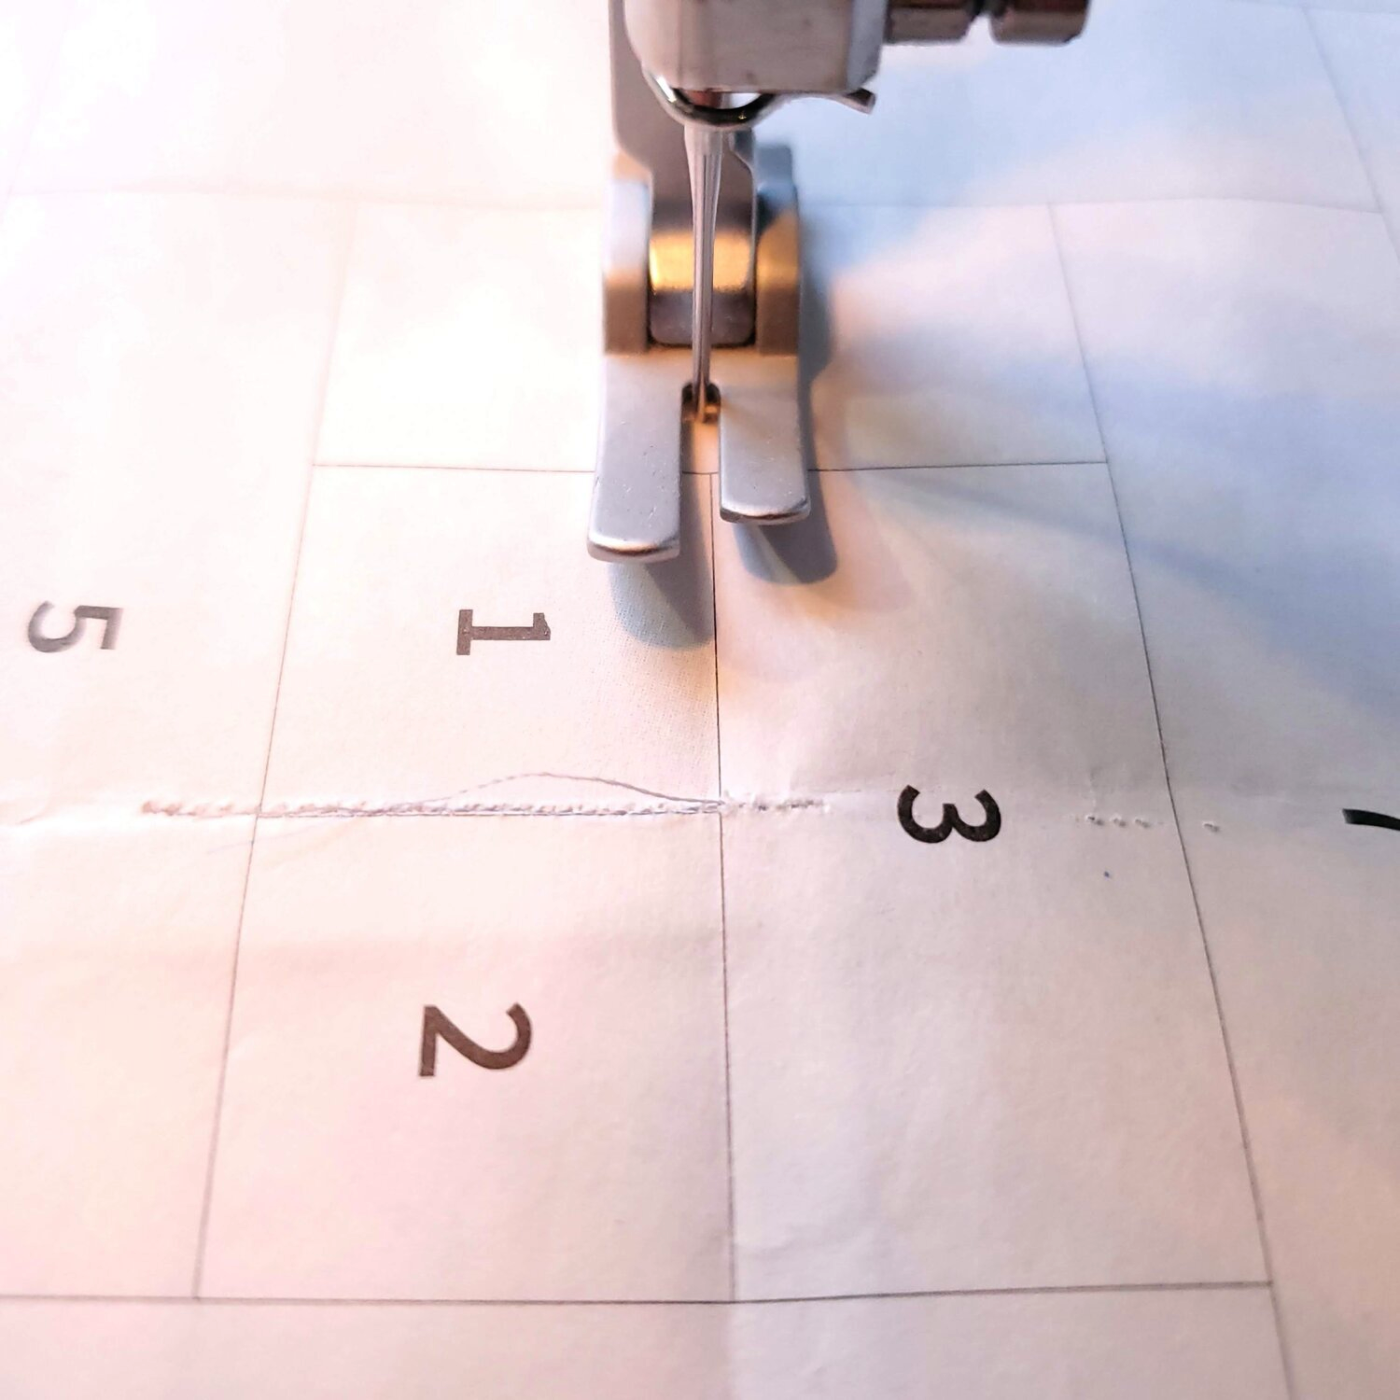
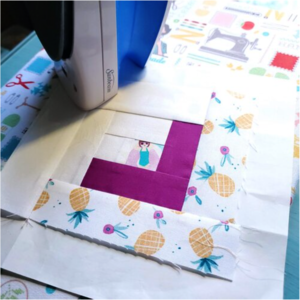
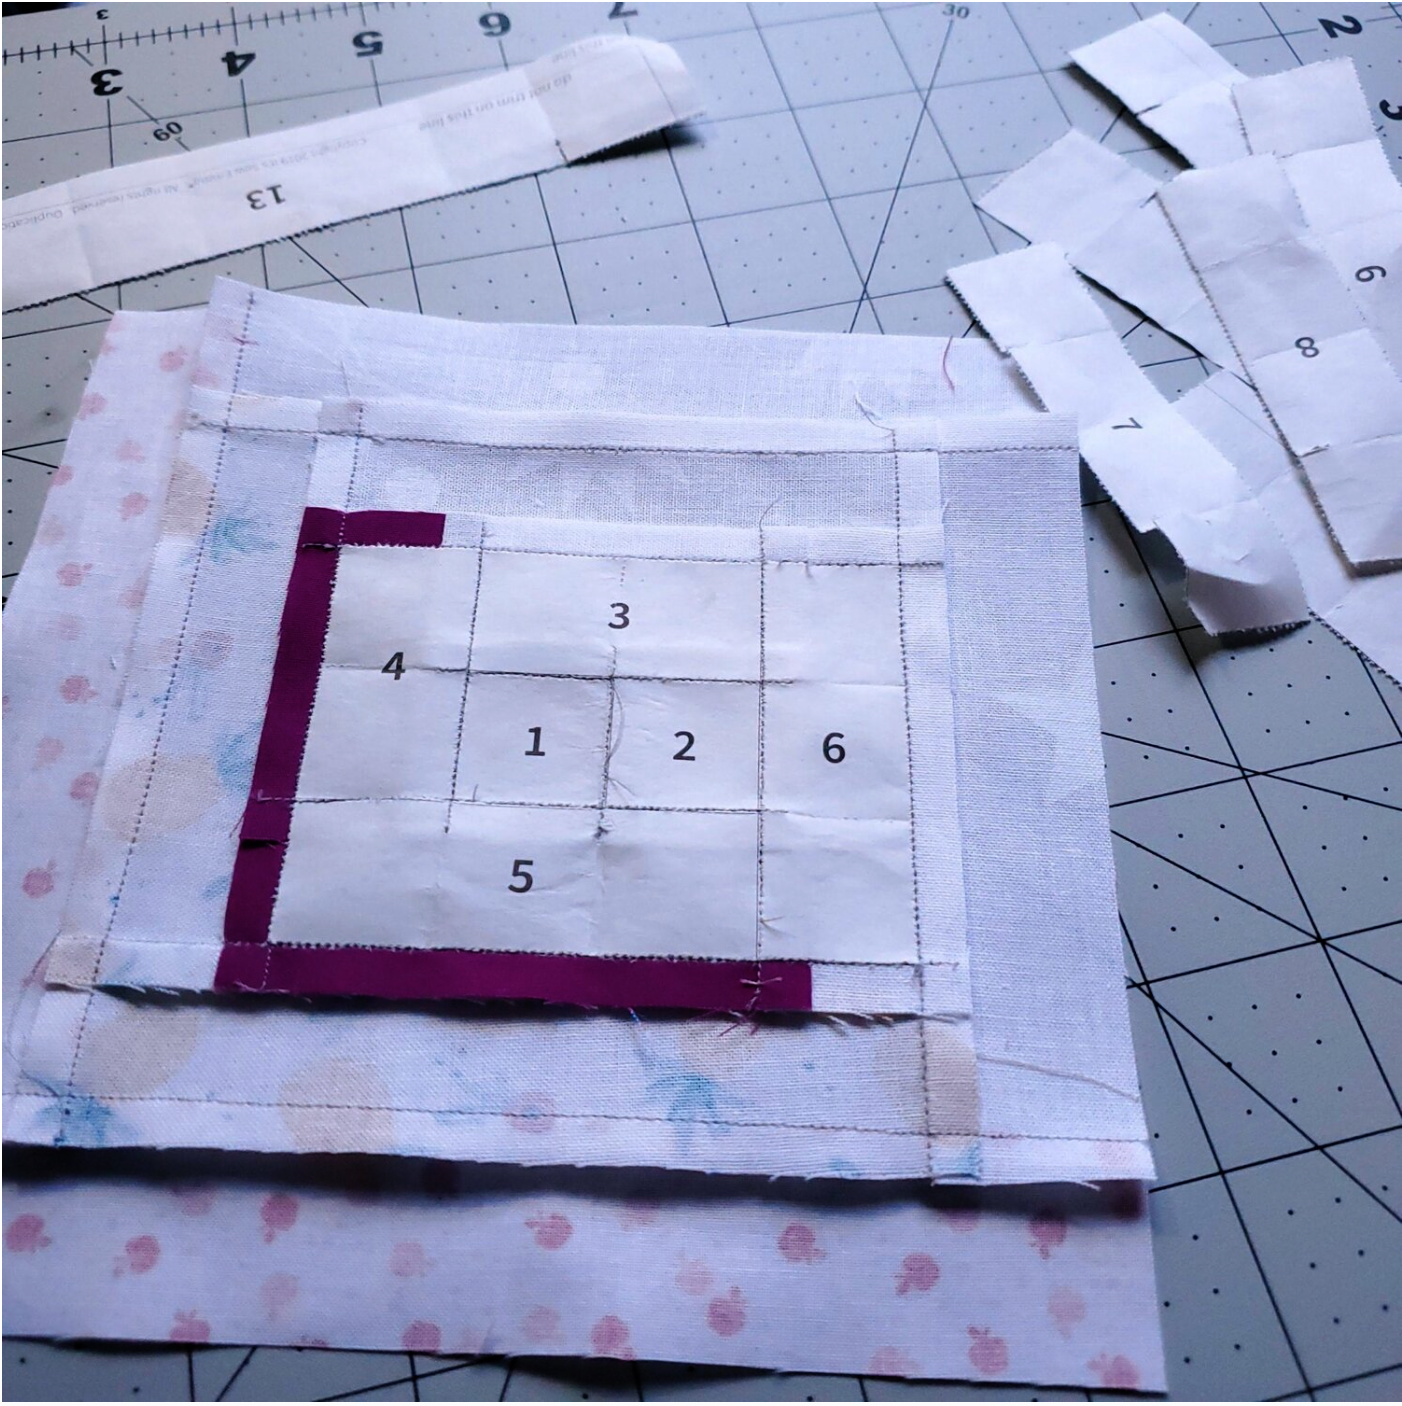
The smaller stitch keeps the seams tight and makes it easier to remove the paper when you complete the block. In this picture you can see the first seam is sewn and the needle is lined up to start the second seam. After each seam you will trim with the ruler and press the two pieces.
It is easy to follow the directions as you work your way around the block following the numbers on the paper. I use a small design board to keep the fabric pieces in order as I assembled the block. An index card aligned with the printed line helped get a straight crease in the paper.
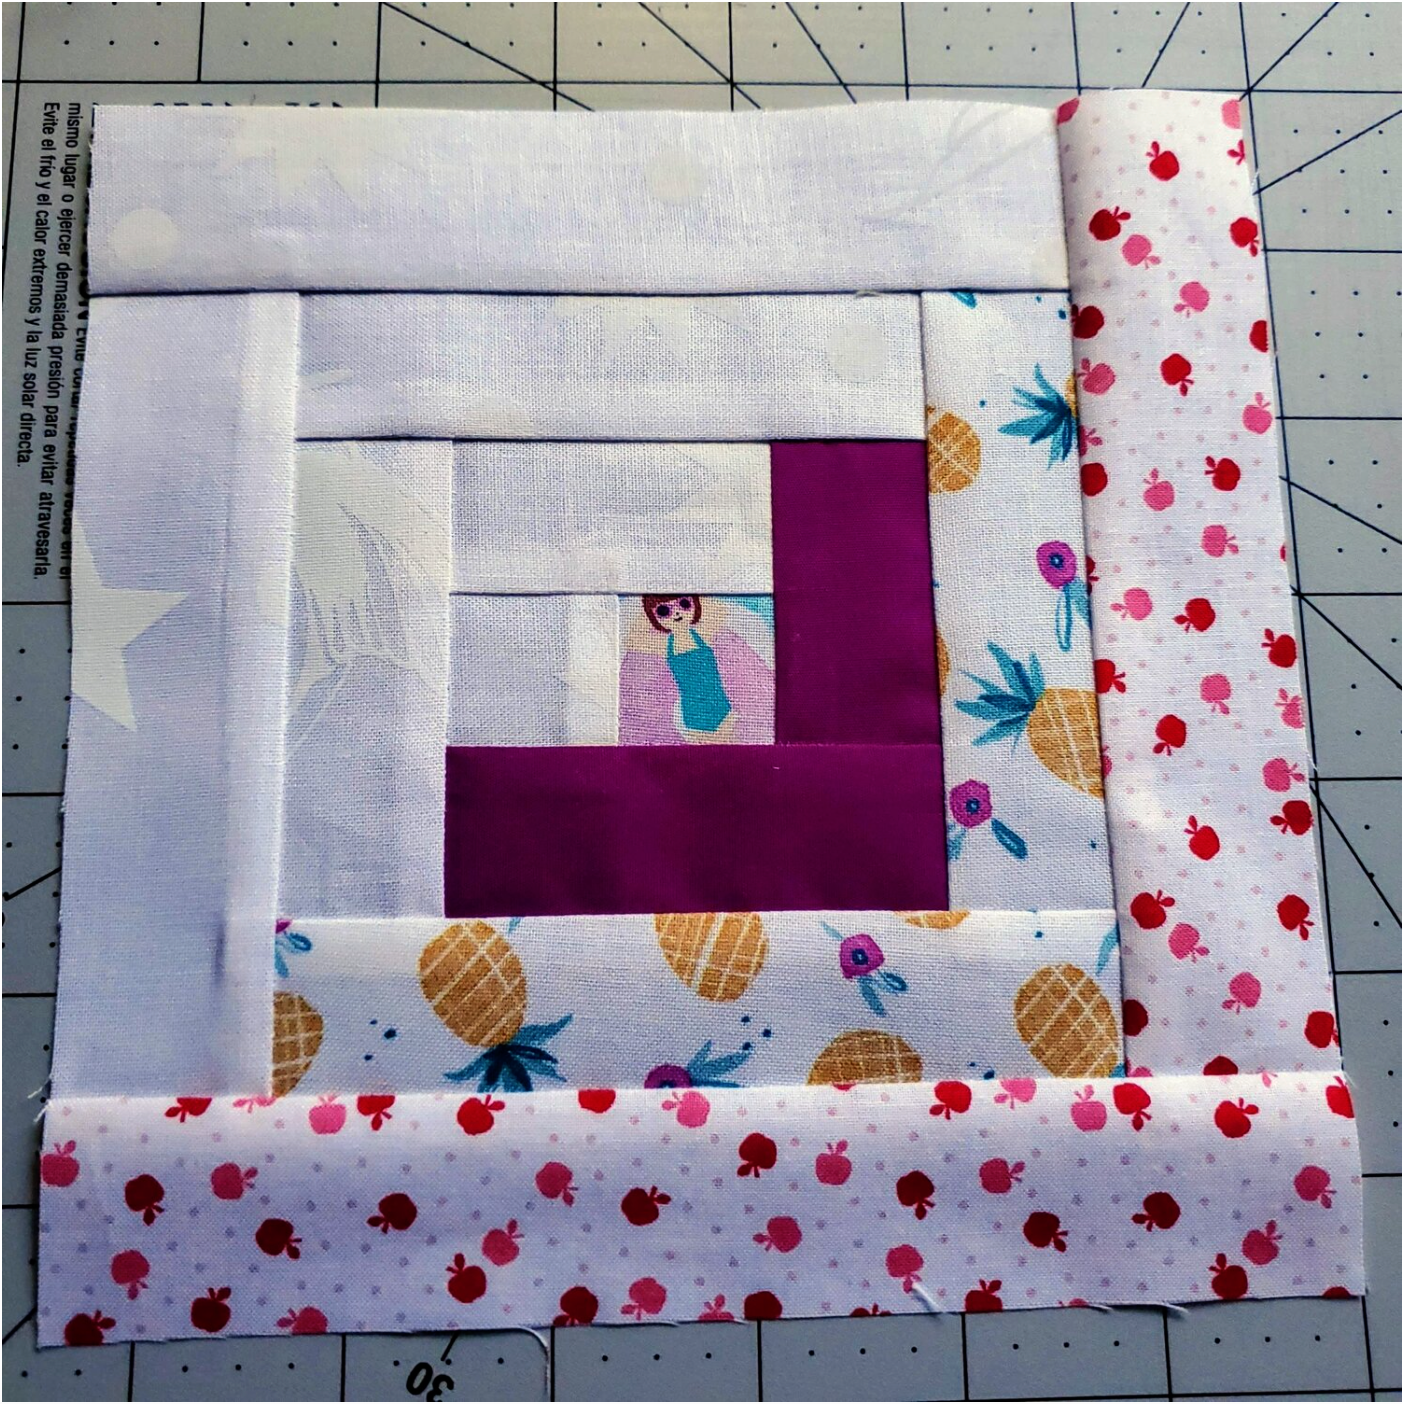
You will be amazed at how quickly and accurately the block goes together repeating the steps to complete the block.
As I sewed the different blocks I tried using pins, glue stick and holding it in place as I turned it over to sew and all the blocks came out looking pretty much the same. There is enough wiggle room to accommodate for minor changes. When you finish the block you will trim on the cutting lines for a perfect 6 ½” block.
It is very easy to remove the paper by folding and gently tearing the paper from the fabric in strips.
The package includes 42 blocks enough to make a 36” x 42” throw or lap quilt. This could be a wonderful way to use up all the 1 ½” scraps in your stash. I found a free class on Creativebug from Carolyn Friedlander called Polk Block: Paper piecing with scraps if you would like another option for learning this new skill.
We’ve made a Pinterest board with further inspiration to complete a Log Cabin quilt as well as a board filled with Paper Piecing tips and tricks.
We have a few other Foundation Paper Piecing pads in our Boost Shop. Click the image below to check them out.
