Ear Flap Winter Hat
2nd Dec 2021
With the arrival of December and much cooler weather this hat will be just perfect to keep your little ones warm in style. As the winter winds blow the flaps will protect their ears and neck from the cold. The free hat pattern from Delia Creates is made with fabric found in the October Classic Membership box featuring Rollicking Robots by Patrick Lose with Northcott fabrics. The beginner level project is a quick and easy gift to make in time for the holidays.

To get started download and print the free Ear Flap Hat pattern. This pattern is for a toddler hat for about 18” - 19 ½” head circumference. Delia included directions to change the hat size for proper fit in her tutorial.
Materials needed:
3 Coordinating Fat quarters for outer fabric
⅓ yard of coordinating fleece for lining fabric
Coordinating Aurifil thread from Chroma membership
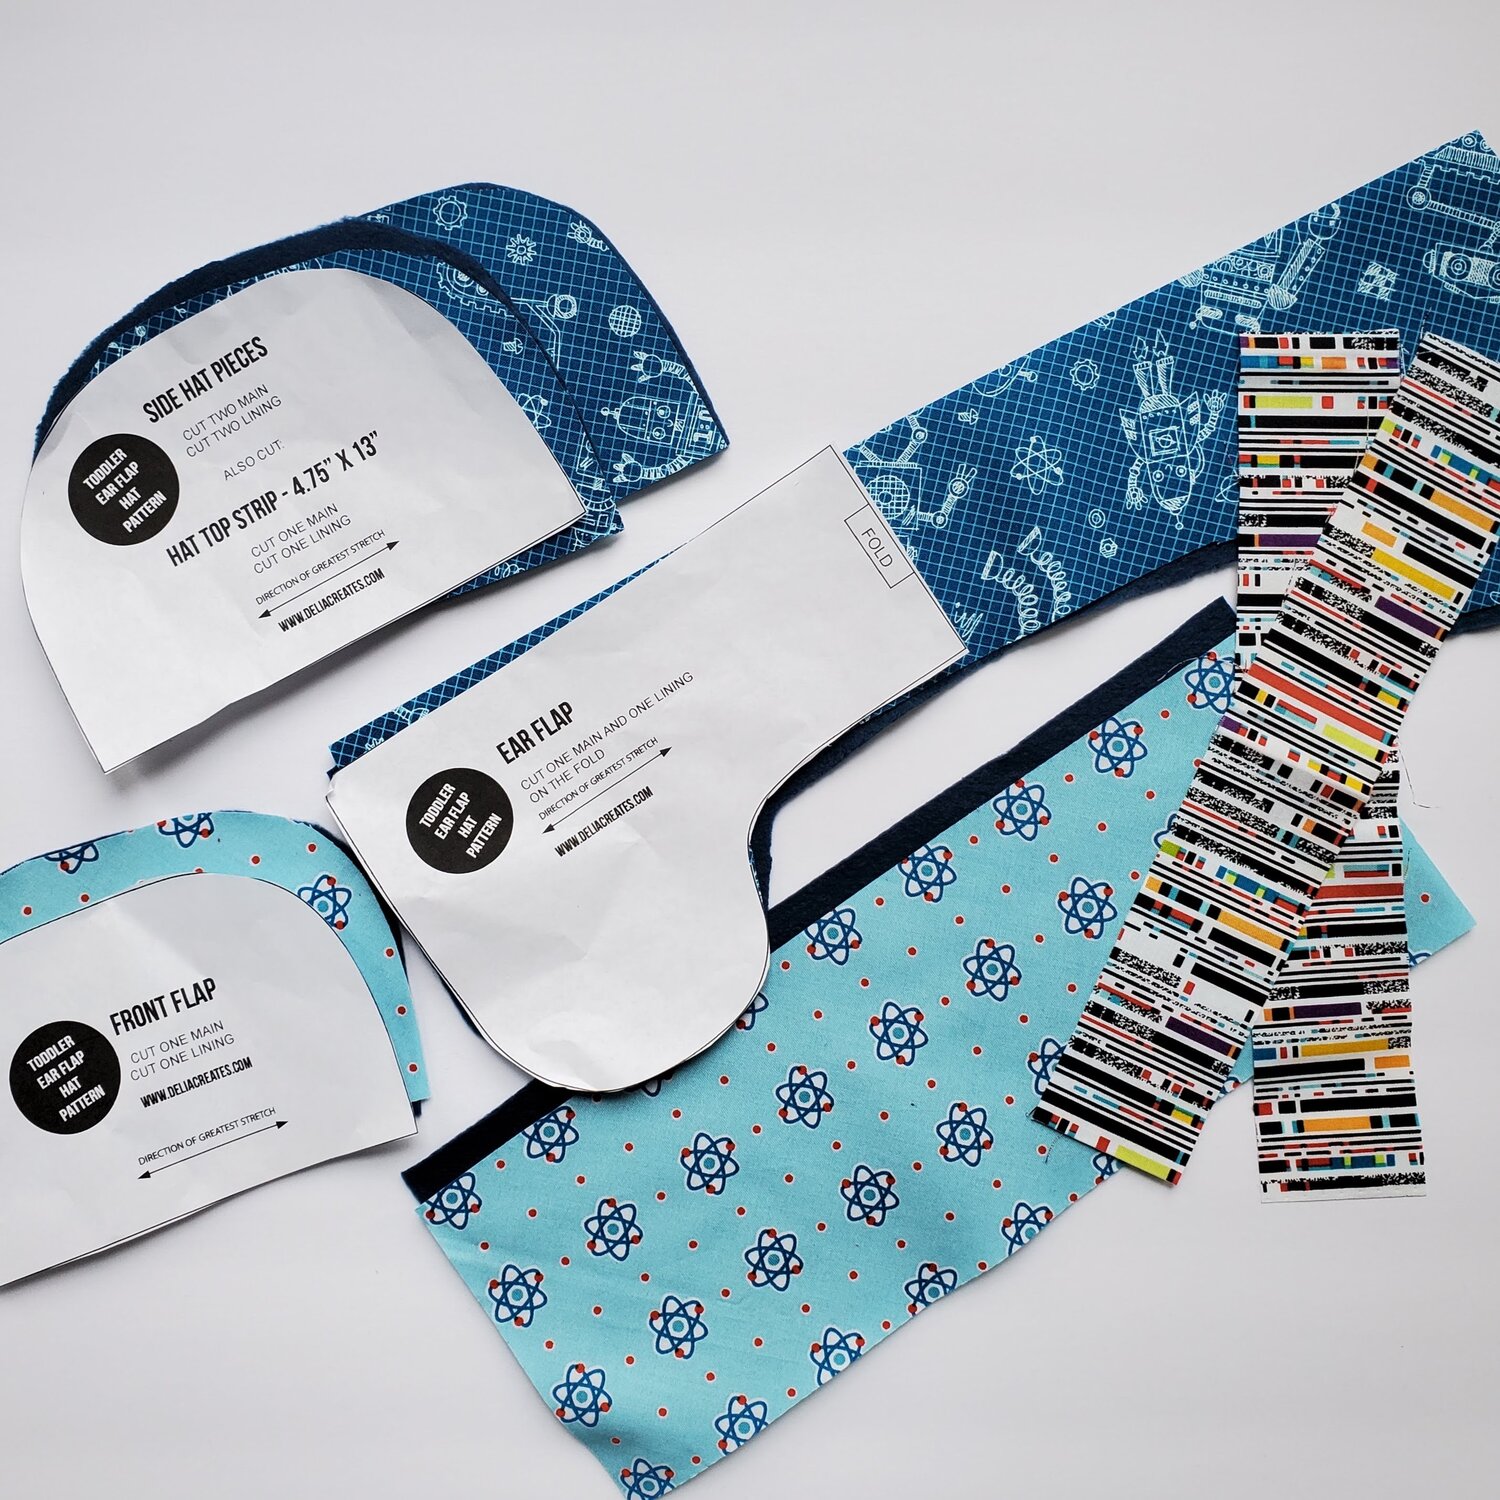
The pattern called for fabric with some stretch. Since I wanted to use this adorable cotton fabric I cut the pieces on the bias using the stretch arrows on the pattern. Fold the fat quarter on the diagonal to cut on the bias. Keep in mind the direction of the fabric design as you plan out the pieces.

Cut out the printed pattern pieces for the outer fabric and the lining. Next cut two strips 2” x 12” for straps. Then cut one rectangle 4 ¾” x 13” from outer fabric and lining for the top center piece of the hat. For this hat I used all three coordinating fabrics for the hats center strip, flaps and the ties. You could choose to use just one fabric for all the pieces.
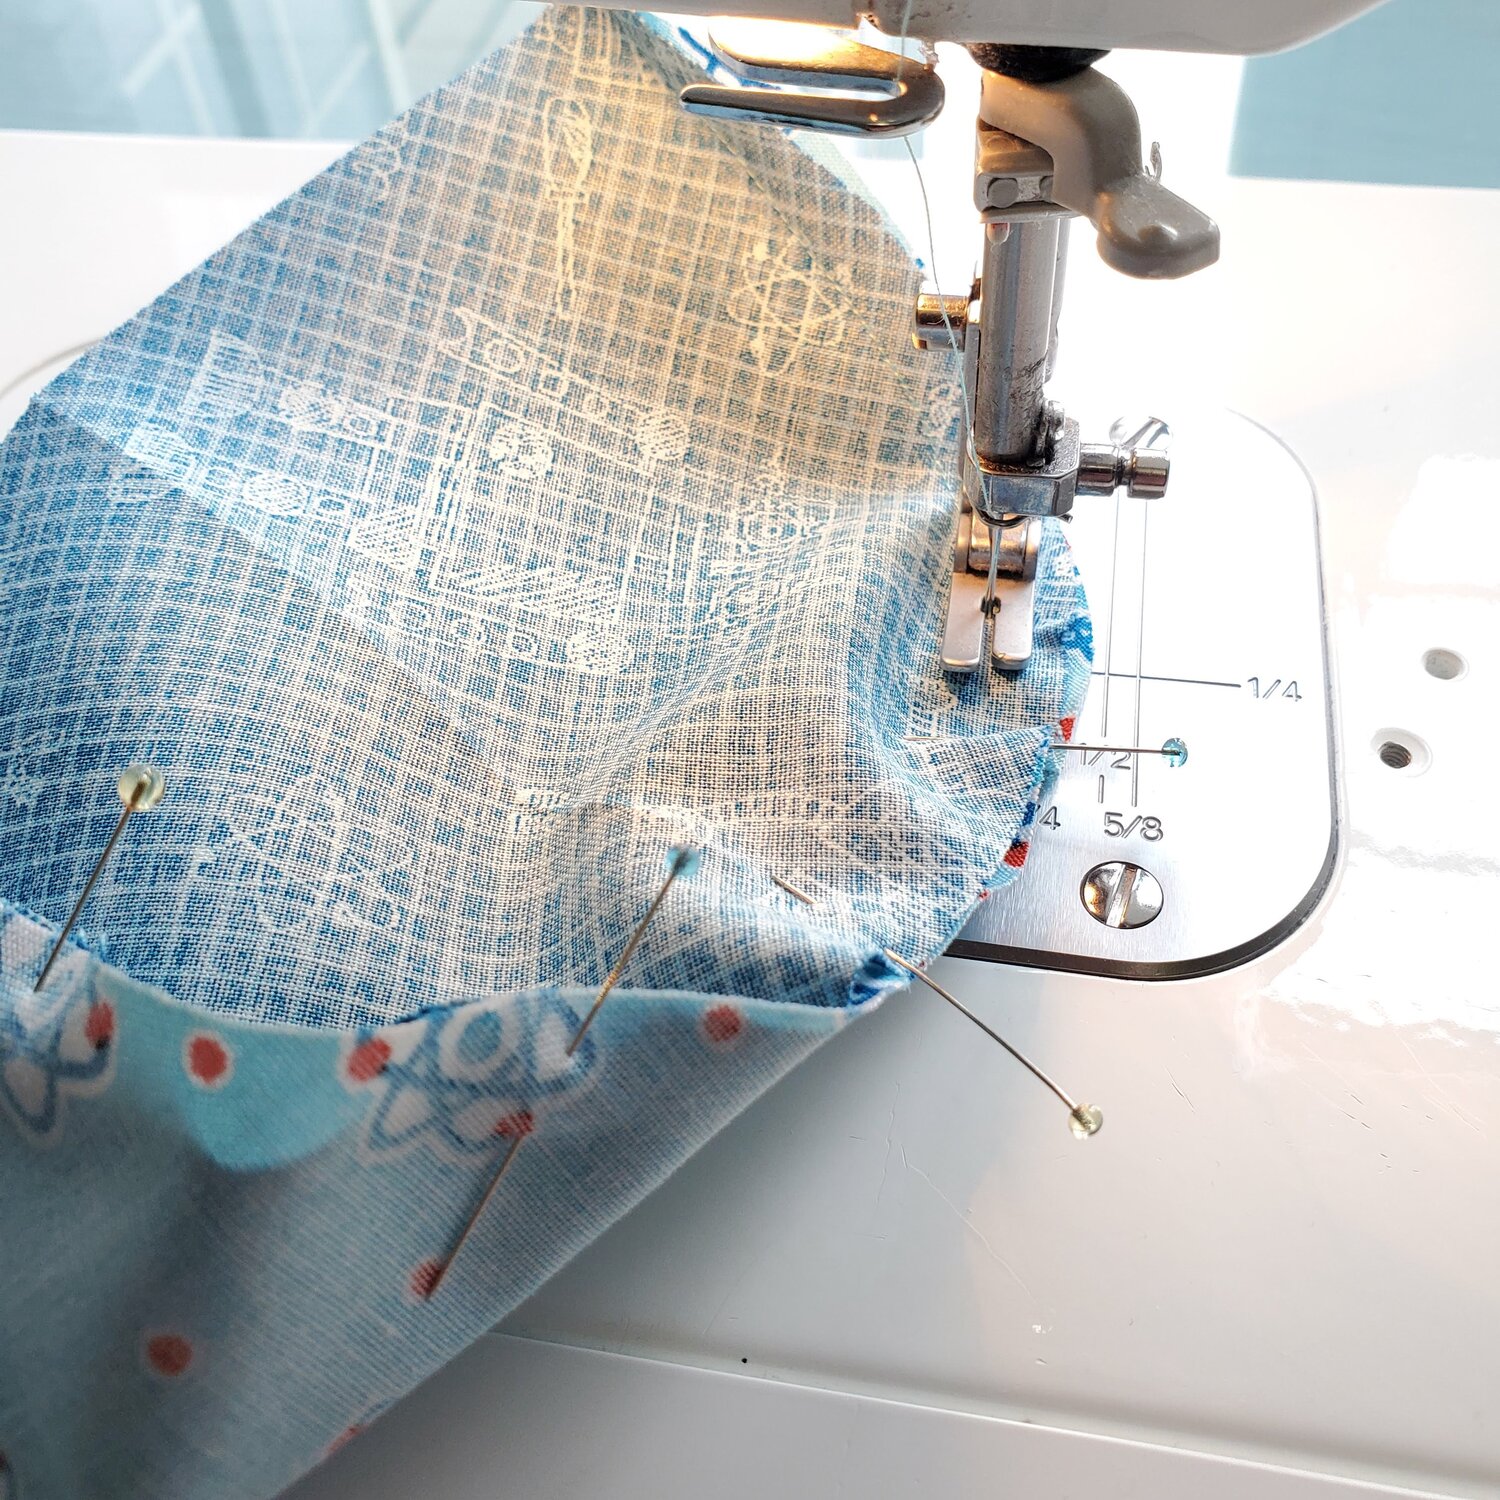
After you cut all the pattern pieces you are ready to sew. Start with the outer center fabric strip and the side hat pieces. Place the right sides together. Find the center of each piece by folding fabric in half and matching center and the ends. Pin in place.
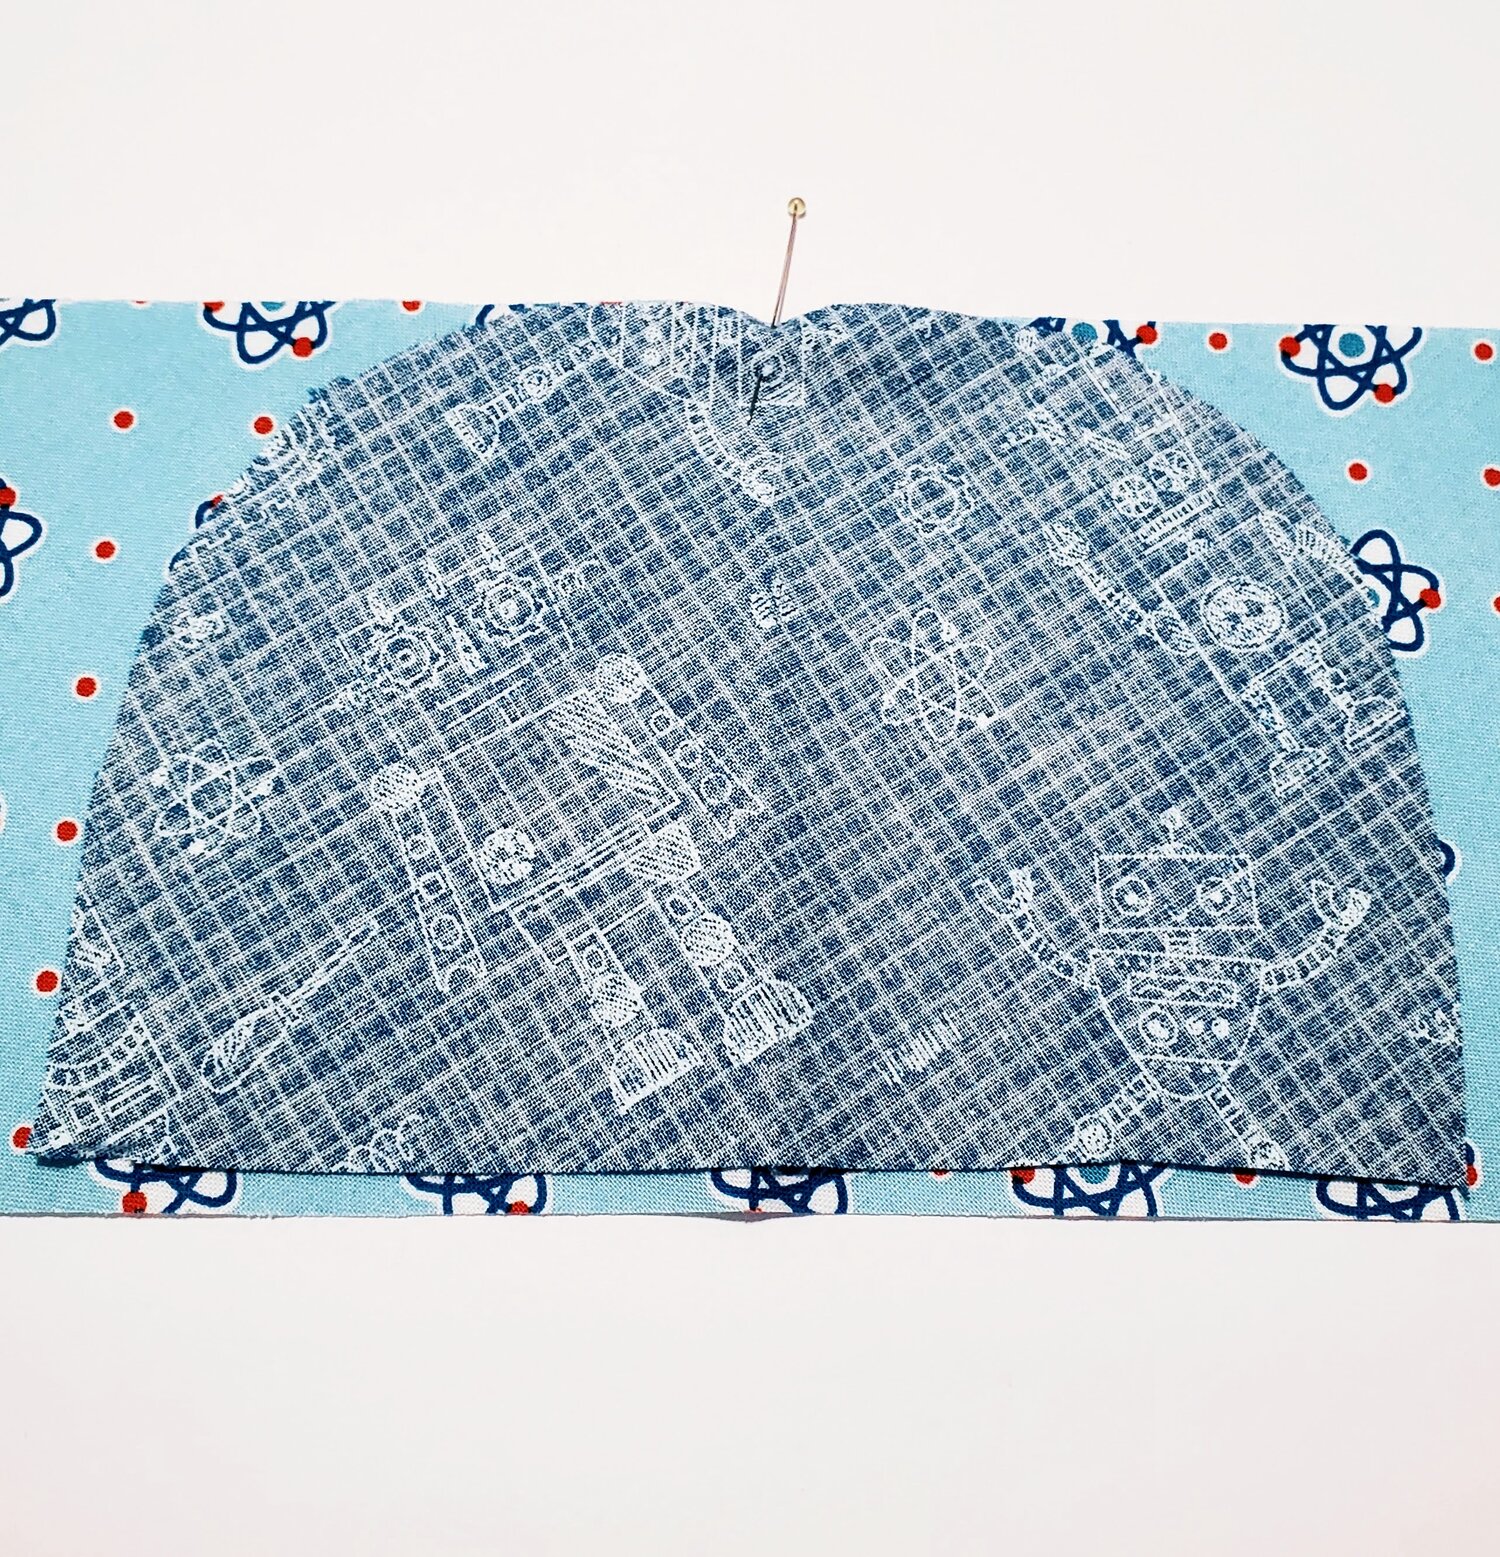
You may need to gently ease the fabric to fit into the curved shape, All the seams will be sewn at ⅜”.
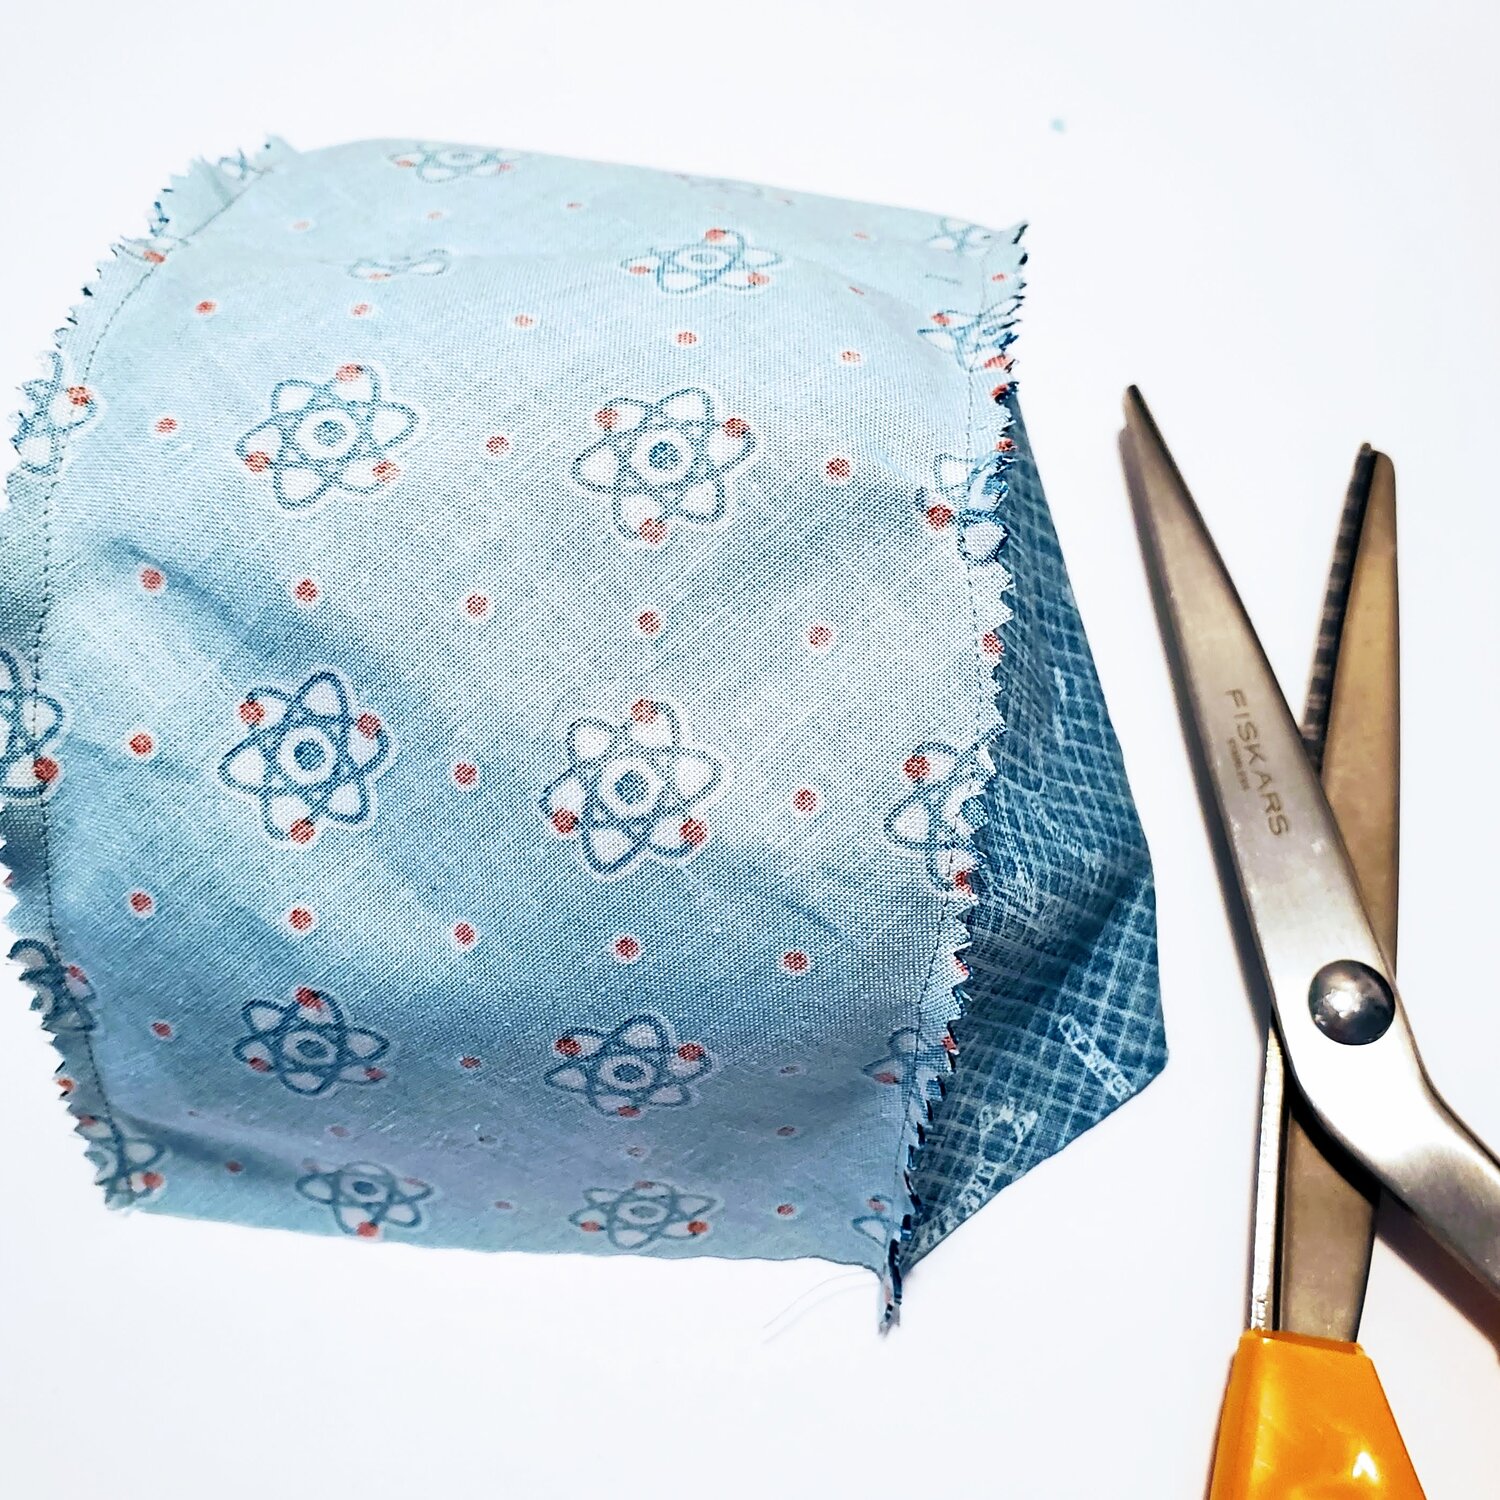
Repeat this process on the other side. Trim the seams with pinking shears to help the fabric lay flat.
Repeat the steps with the fleece lining, trimming the seams to ⅛” to reduce the bulk.
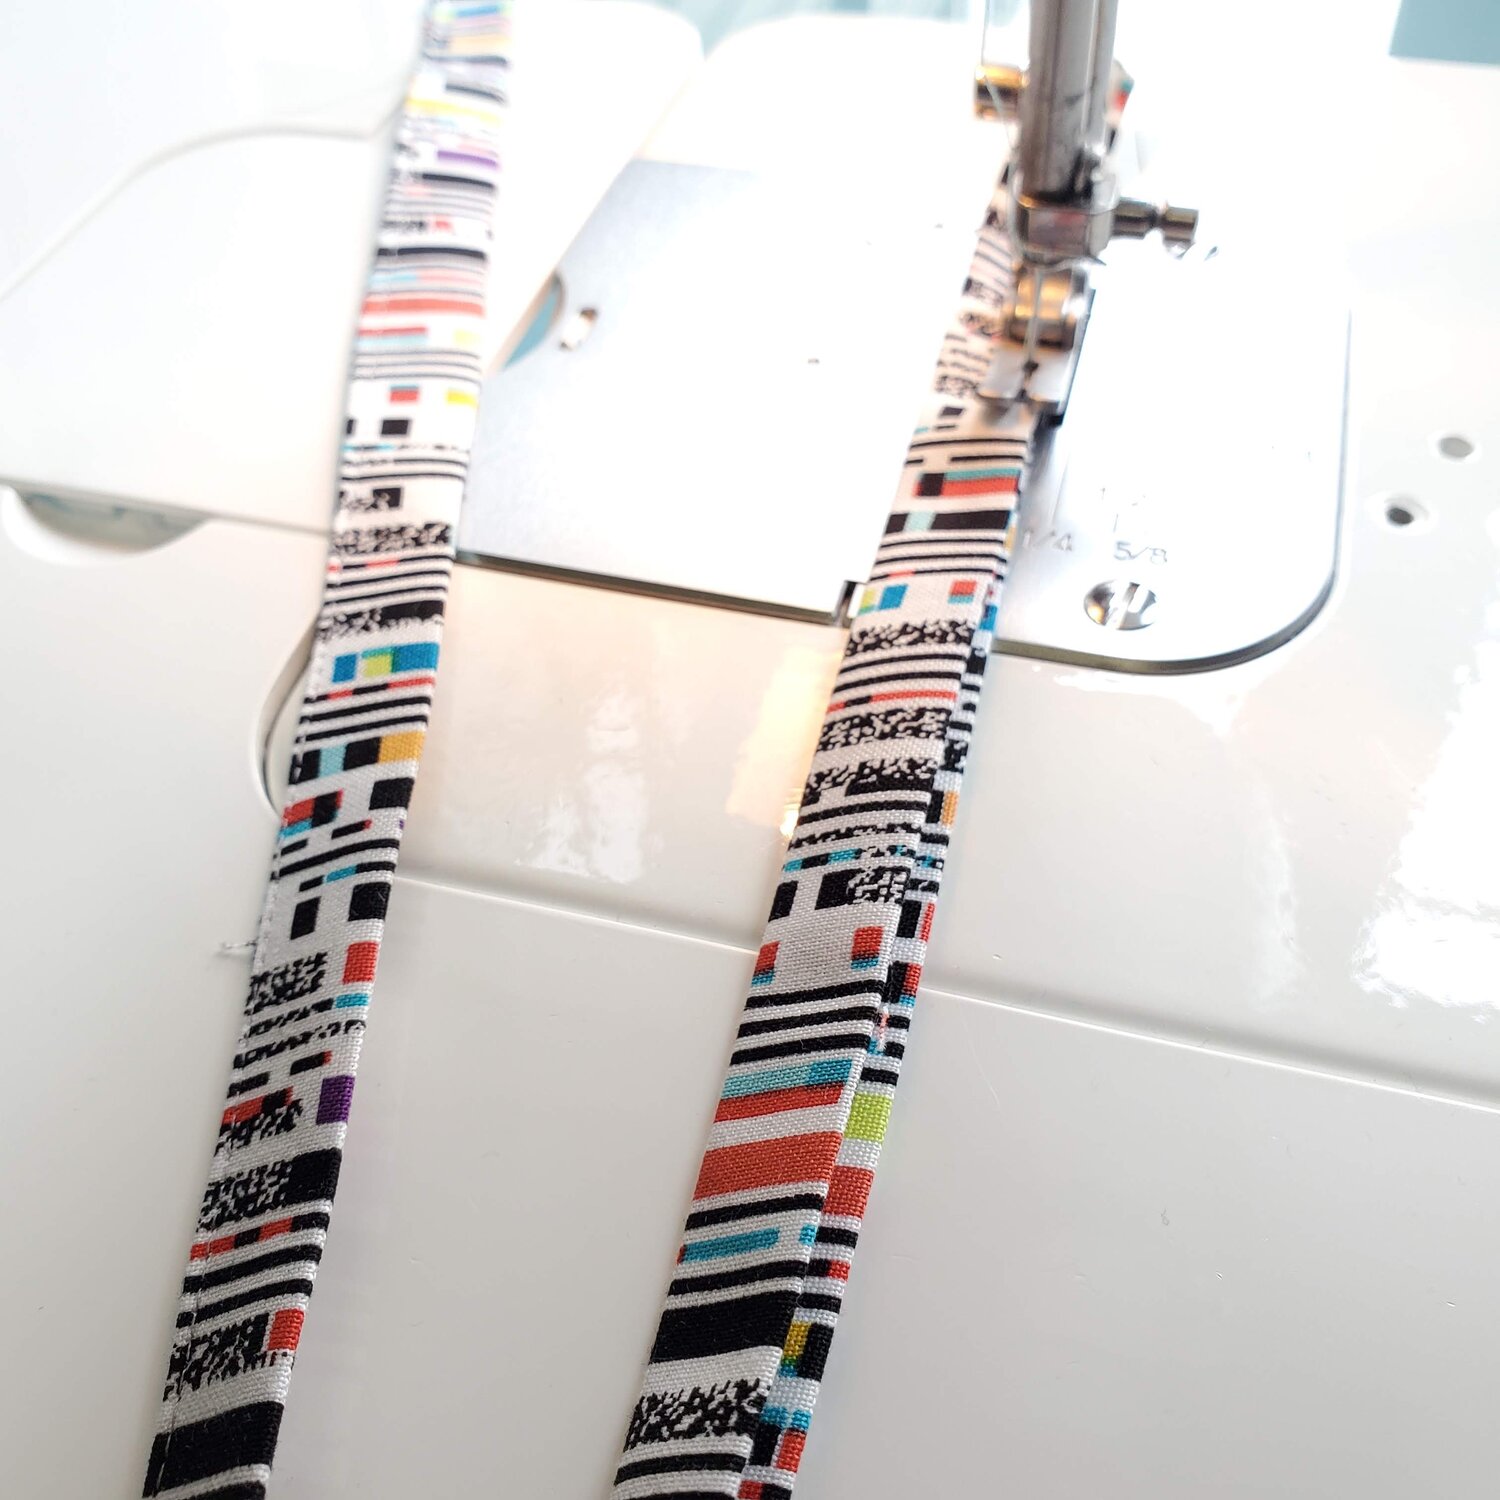
Next sew the front flap with right sides together leaving the straight edge open. Trim the seam with pinking shears. Prepare the ties by folding the strip in half lengthwise, open it up and fold the raw edges to the fold line and press. Topstitch along the open edge and the bottom.
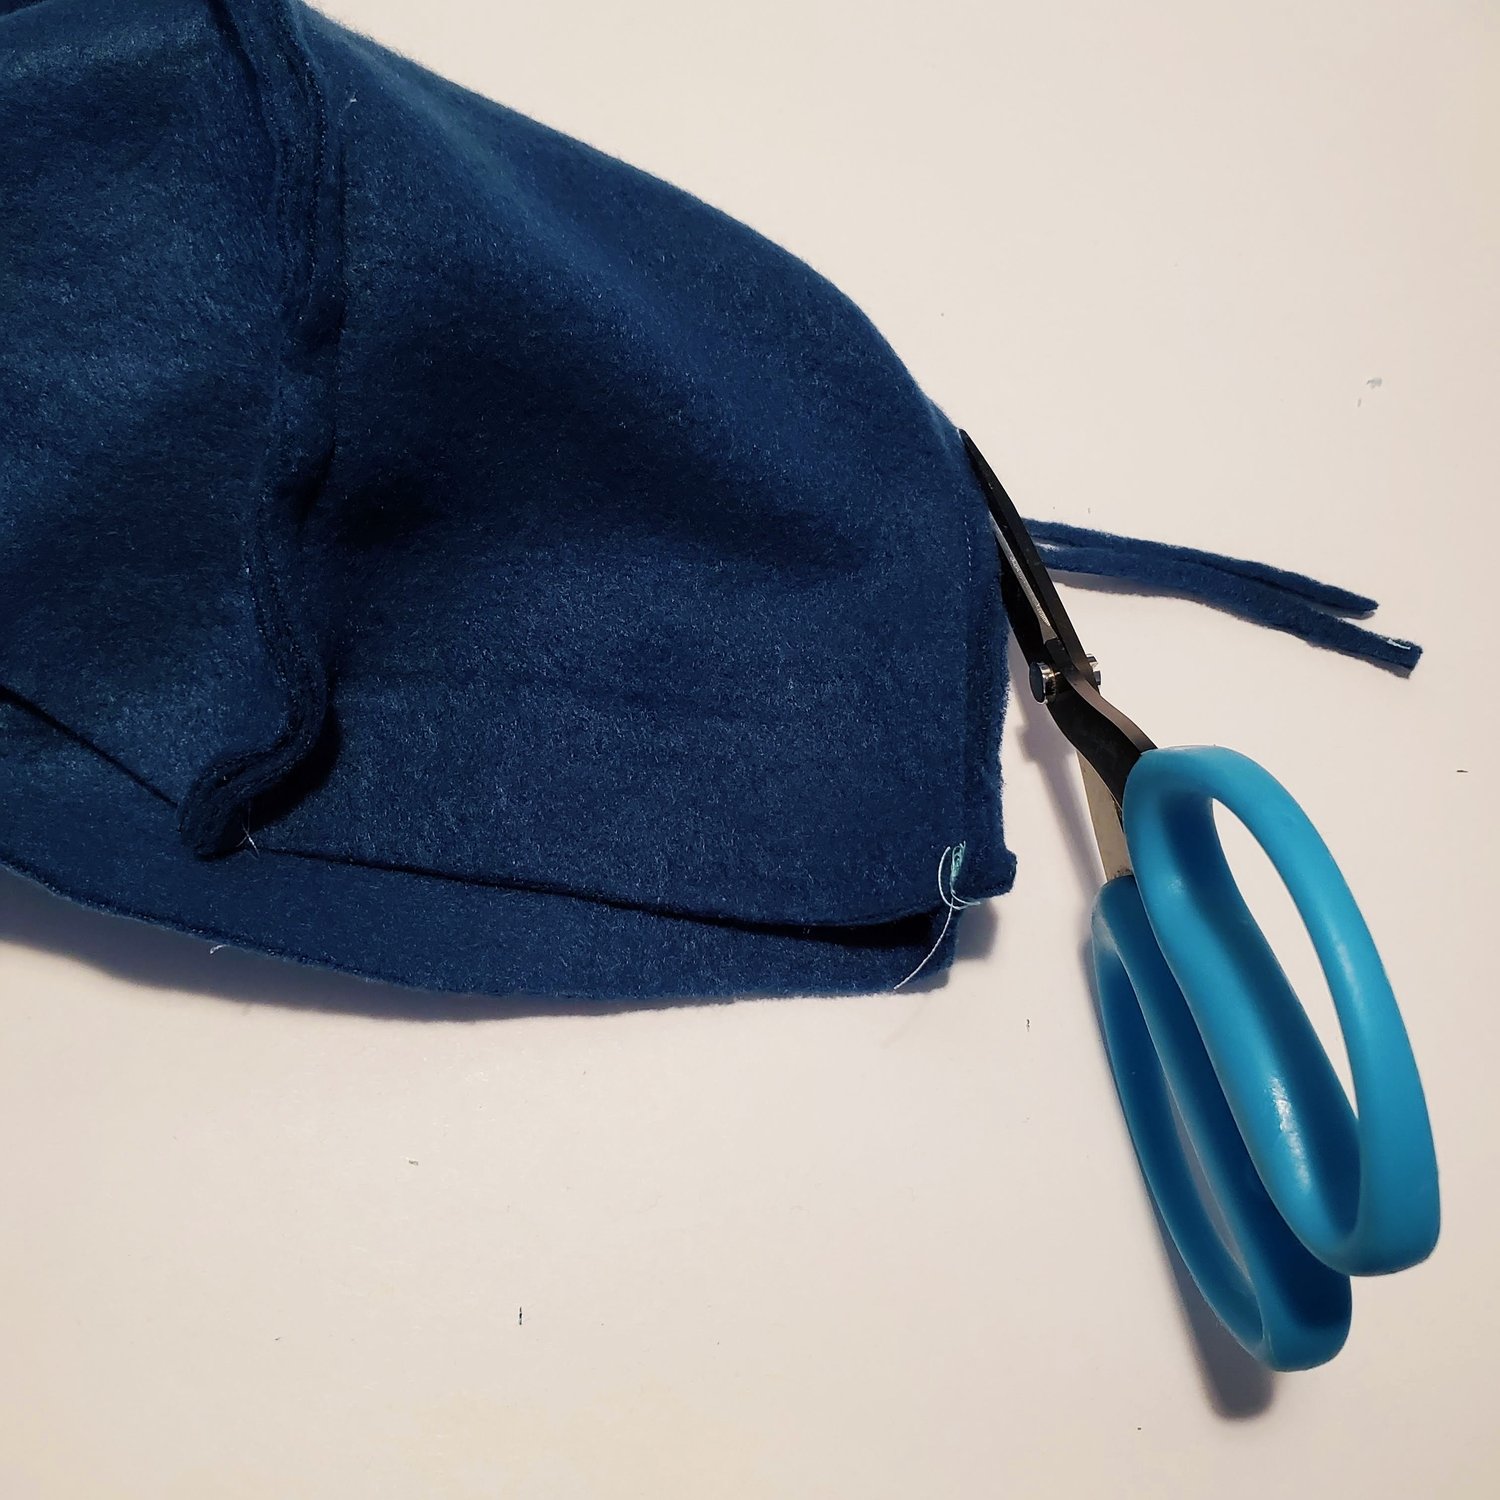
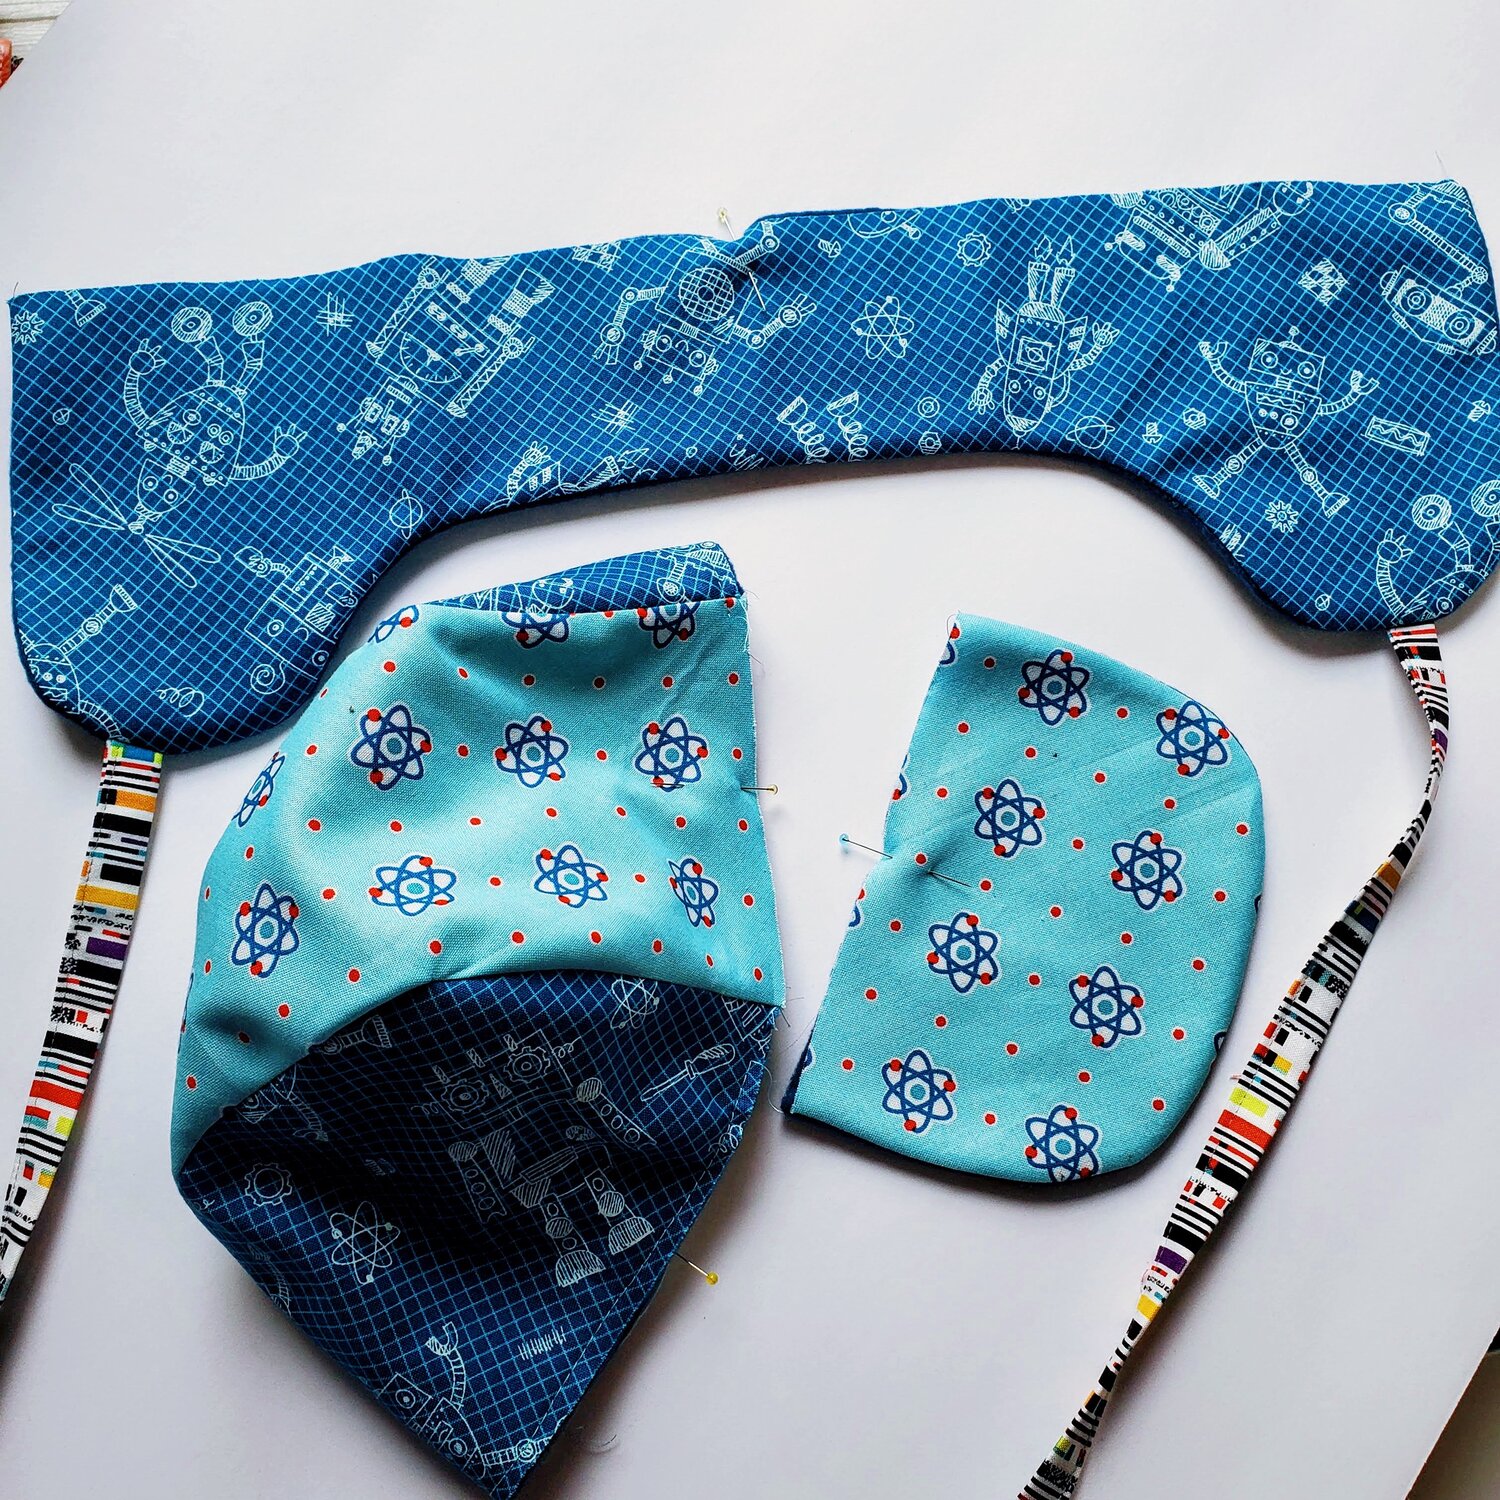
Take the ear flap pieces and place the right sides together. Pin the ties in place on the top of the curved piece. It is a good idea to sew back and forth over the ties to keep them secure within the seam. Sew together leaving the straight edge open. Trim the curves with the pinking shears and turn the right sides out. Here are the pieces you should have ready to sew the hat together.
Mark the center of each piece to help align the pieces as you sew. Pin the front flap in place with right sides together to the front of the hat. Pin the ear flap piece in place with the right sides together.
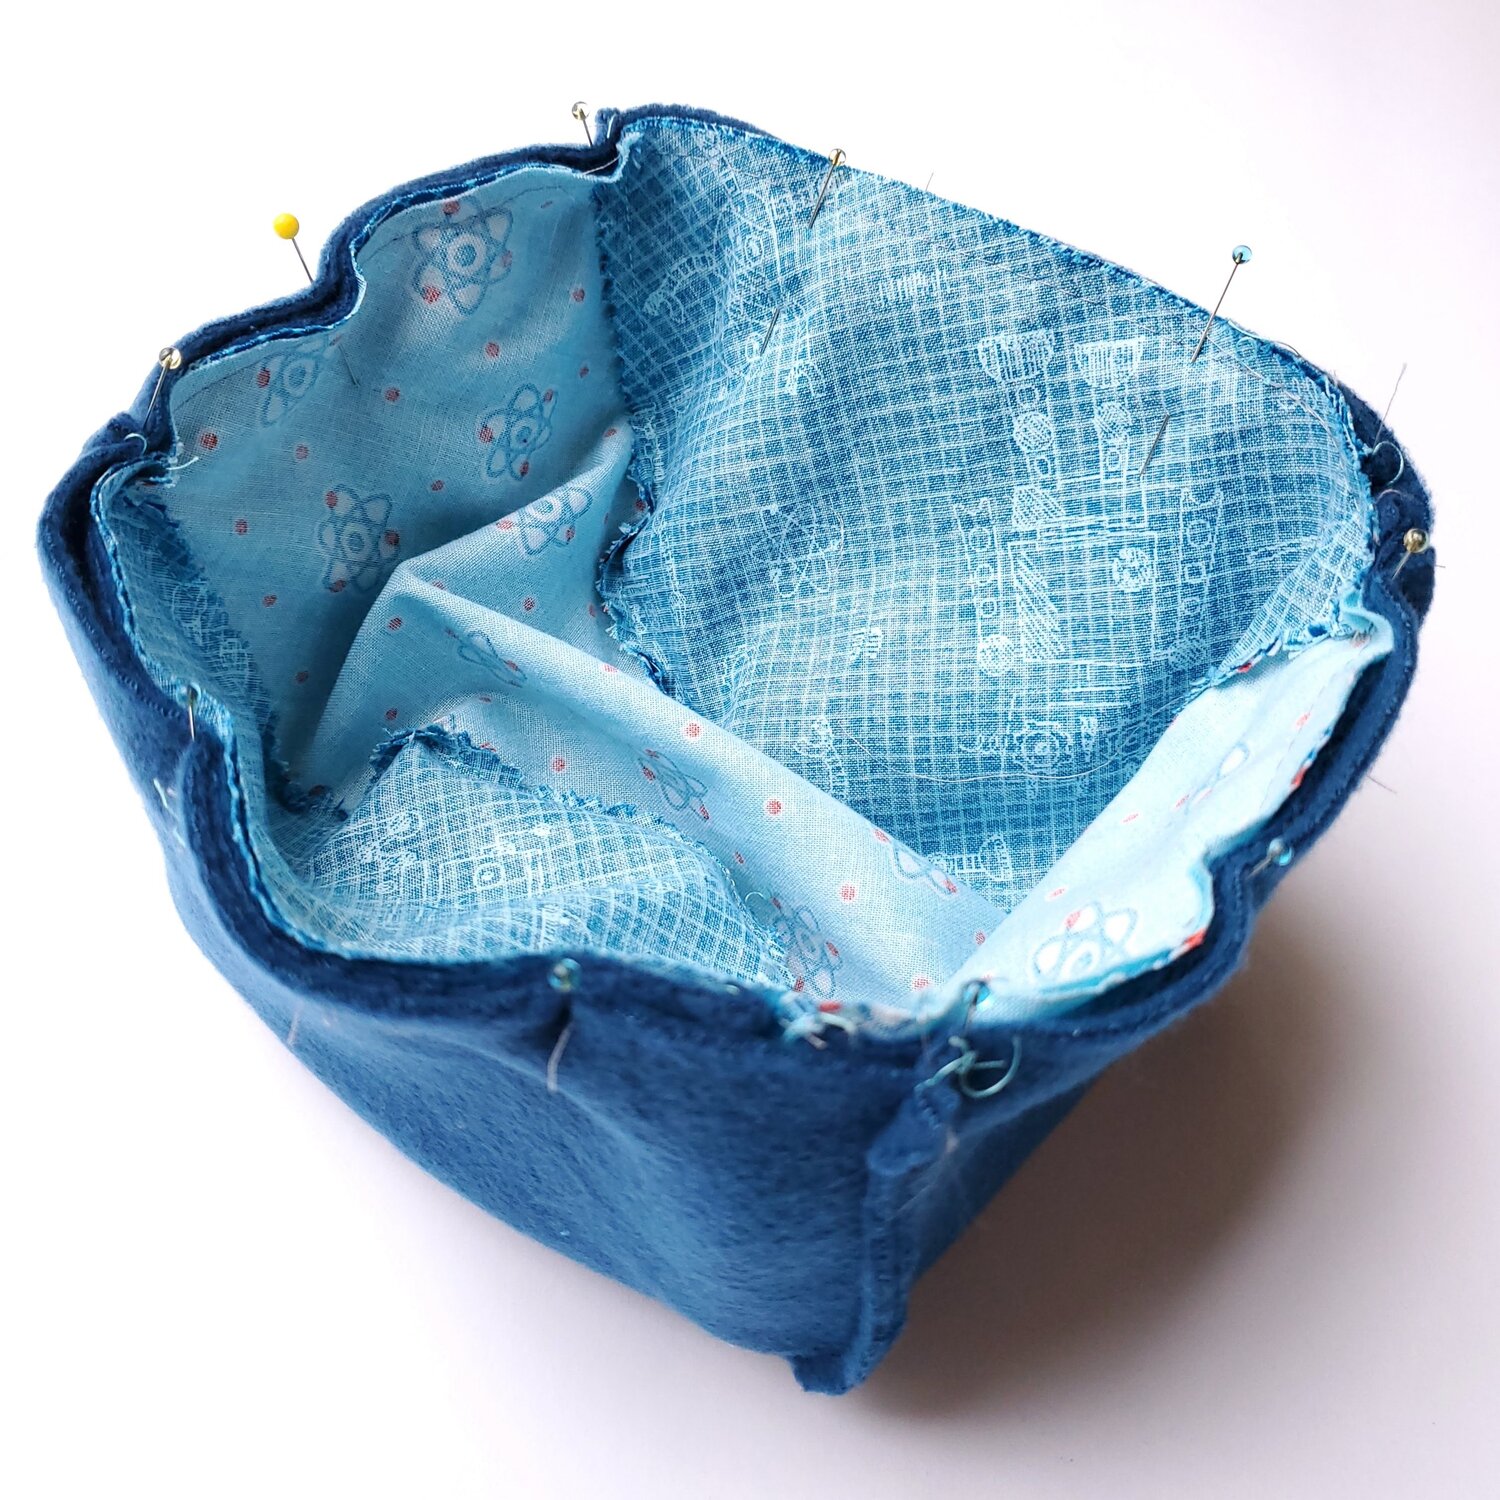
Baste in place using a longer stitch length and ¼” seam. With right sides together place the lining hat so that the outer hat fabric is nestled inside the lining piece, pin in place. Be sure the ties are positioned so that they do not get caught in this seam. You will leave about a 3” opening at the back of the hat to turn.
Turn the right sides out, pushing out all the seams completely. You can topstitch or hand stitch the opening closed.
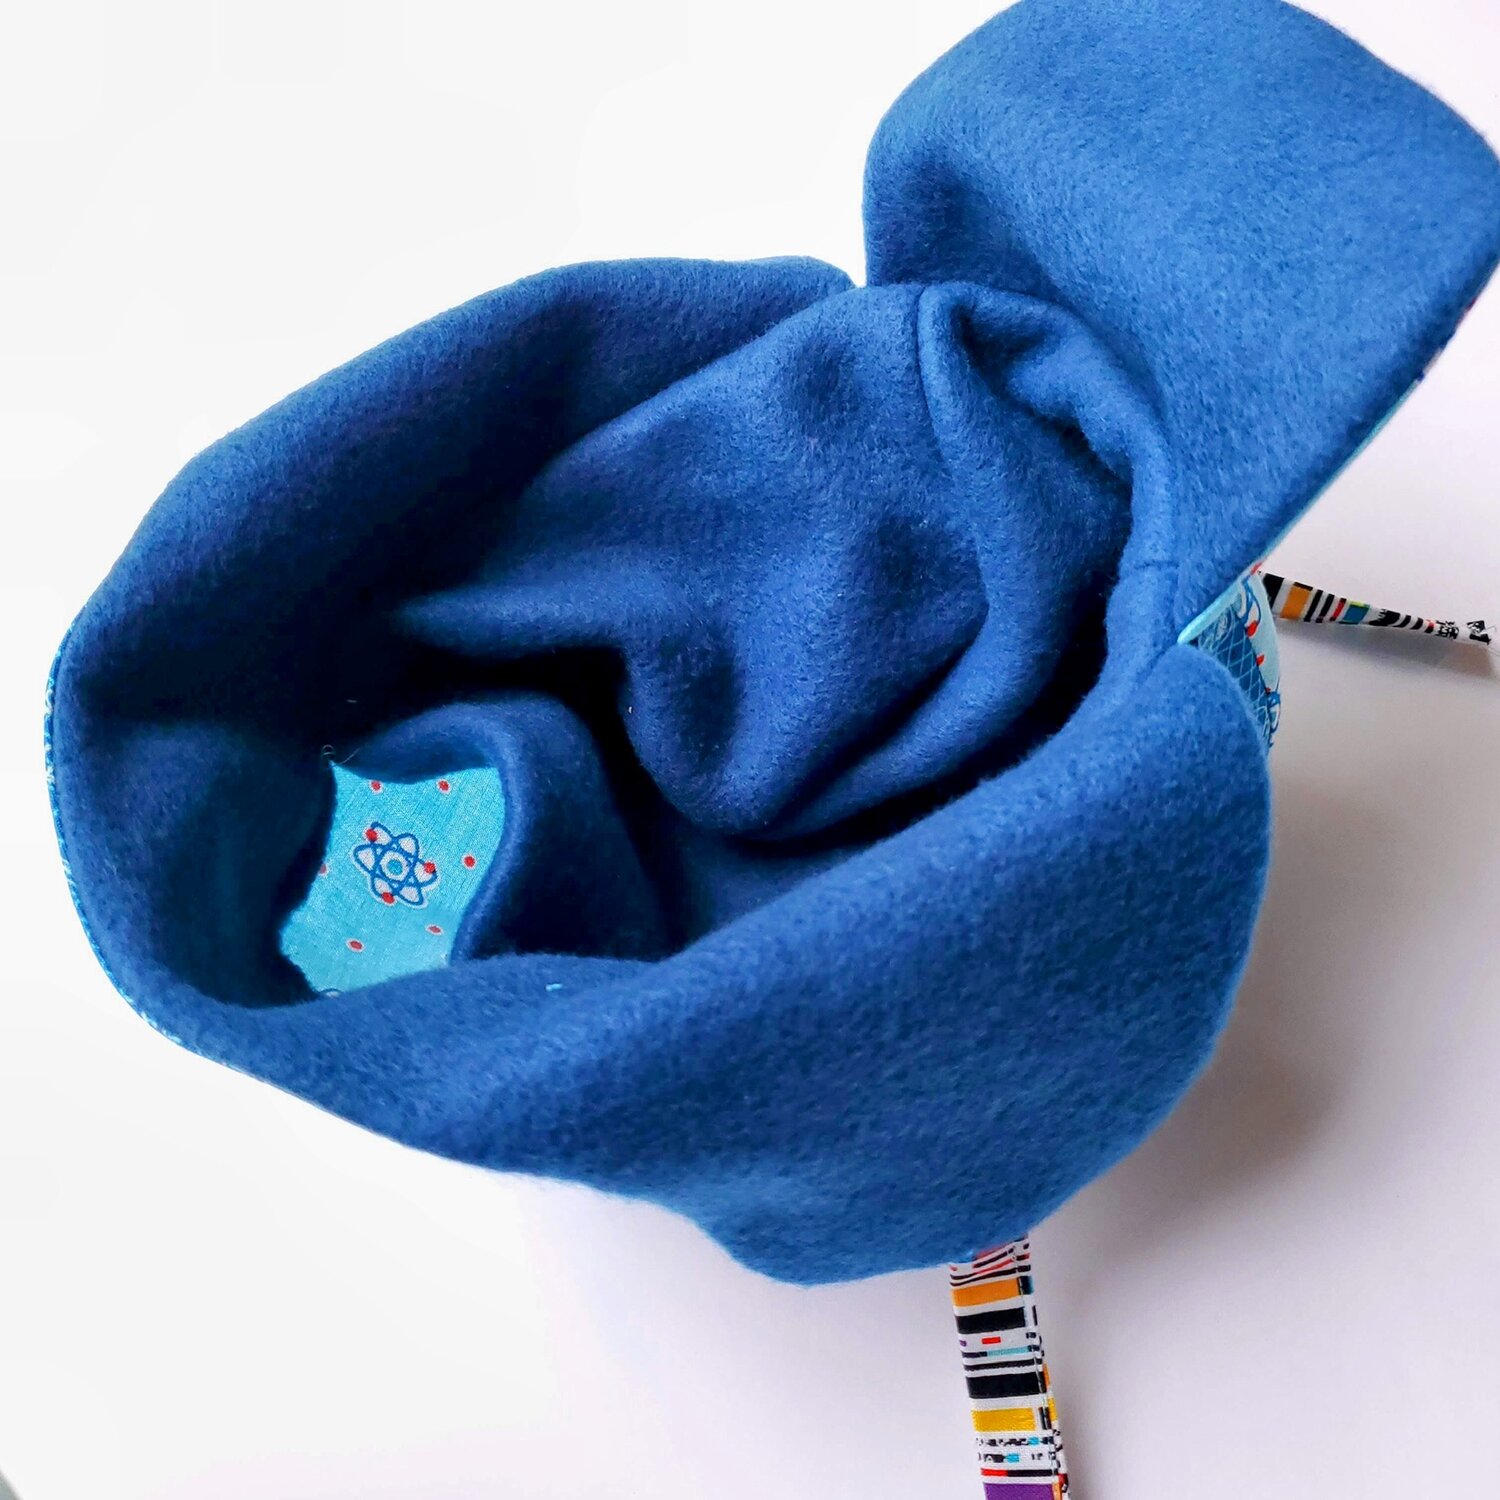
I find it helpful to carefully press the shape of the hat using a pressing ham to accommodate the curves. A rolled up towel works as a substitute. Pressing gives it a more finished professional look. This is a picture of the back of the hat showing the topstitching to close the opening.
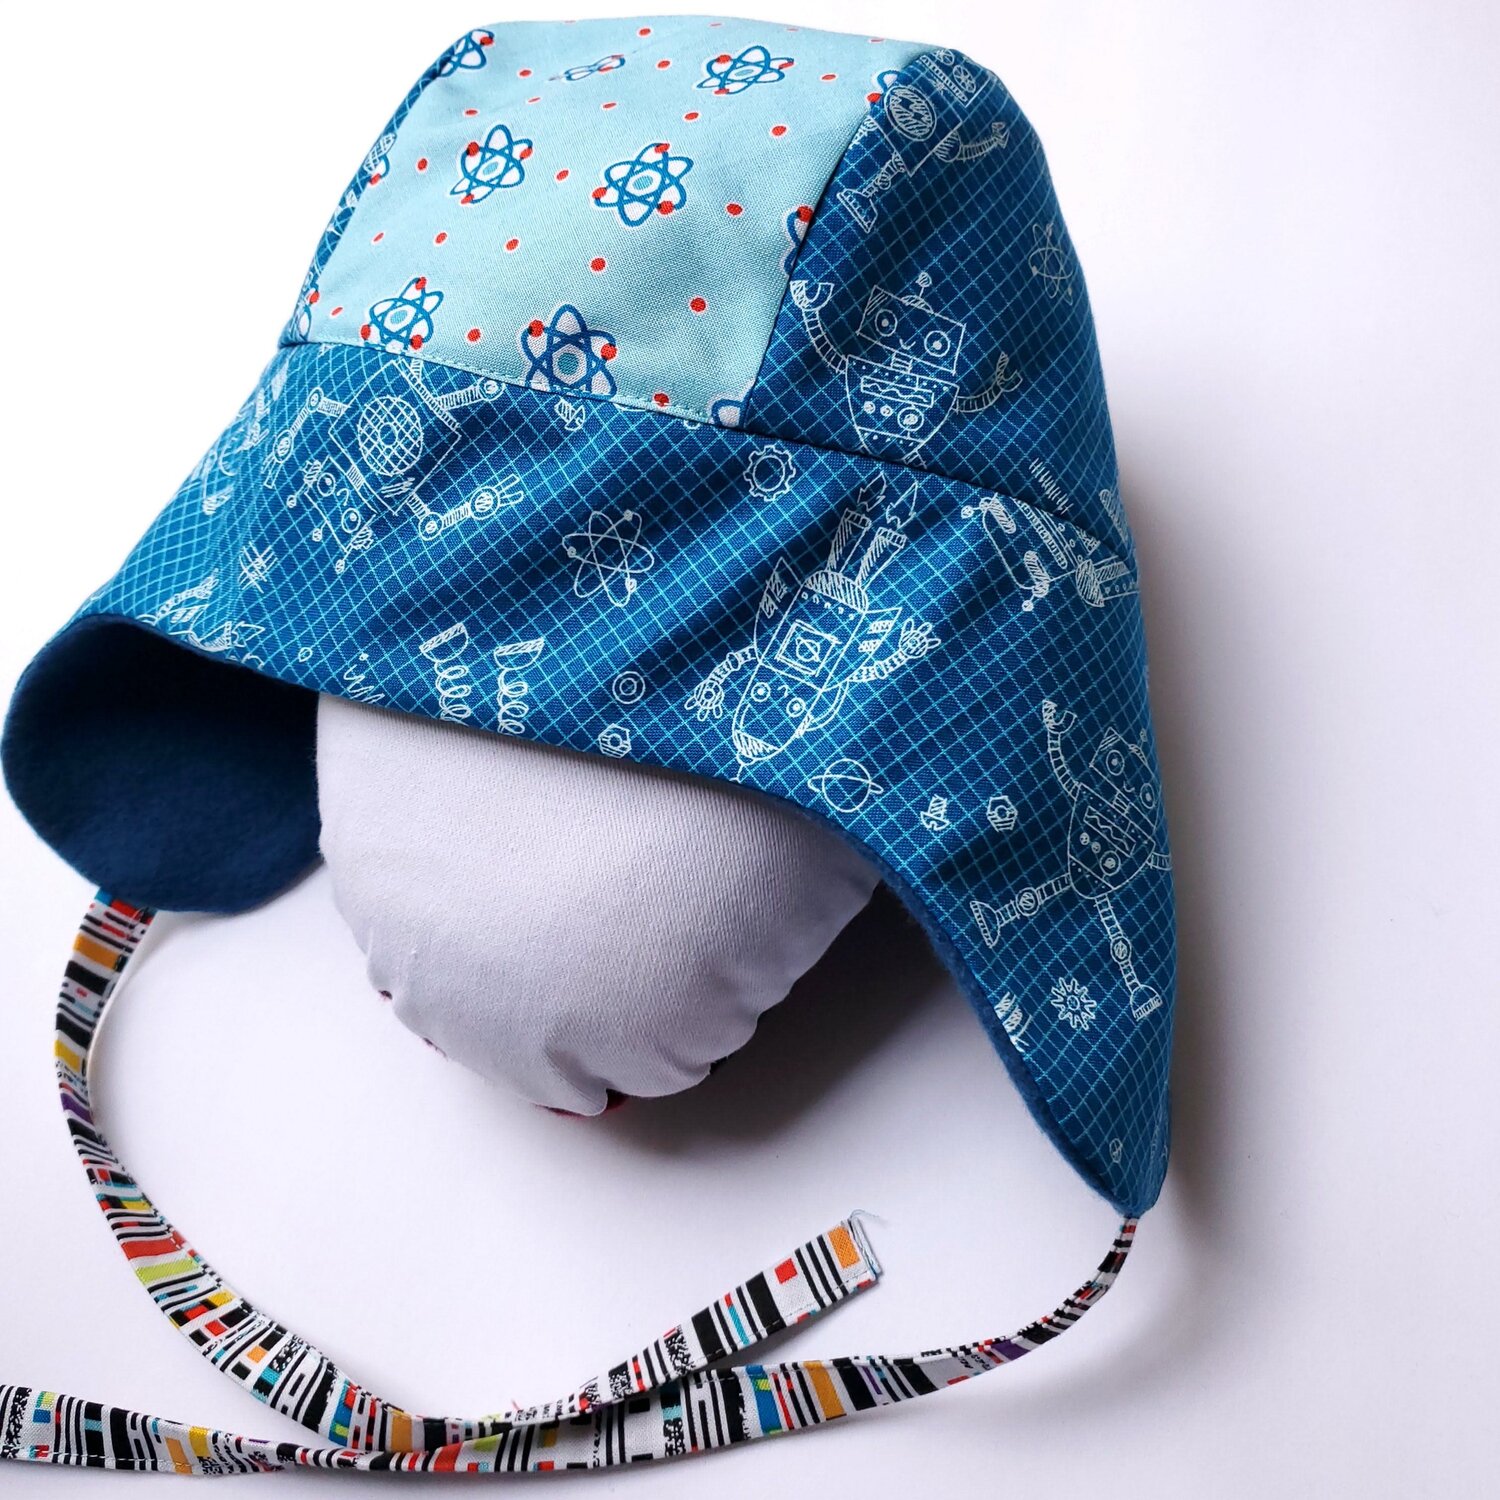
The hat is complete! This is an easy slip on and off style hat to keep you kiddo warm this winter. Best of all he likes it so he is happy to wear it when he is outside playing.