DIY Zipper Bag Organizer
8th Jan 2021
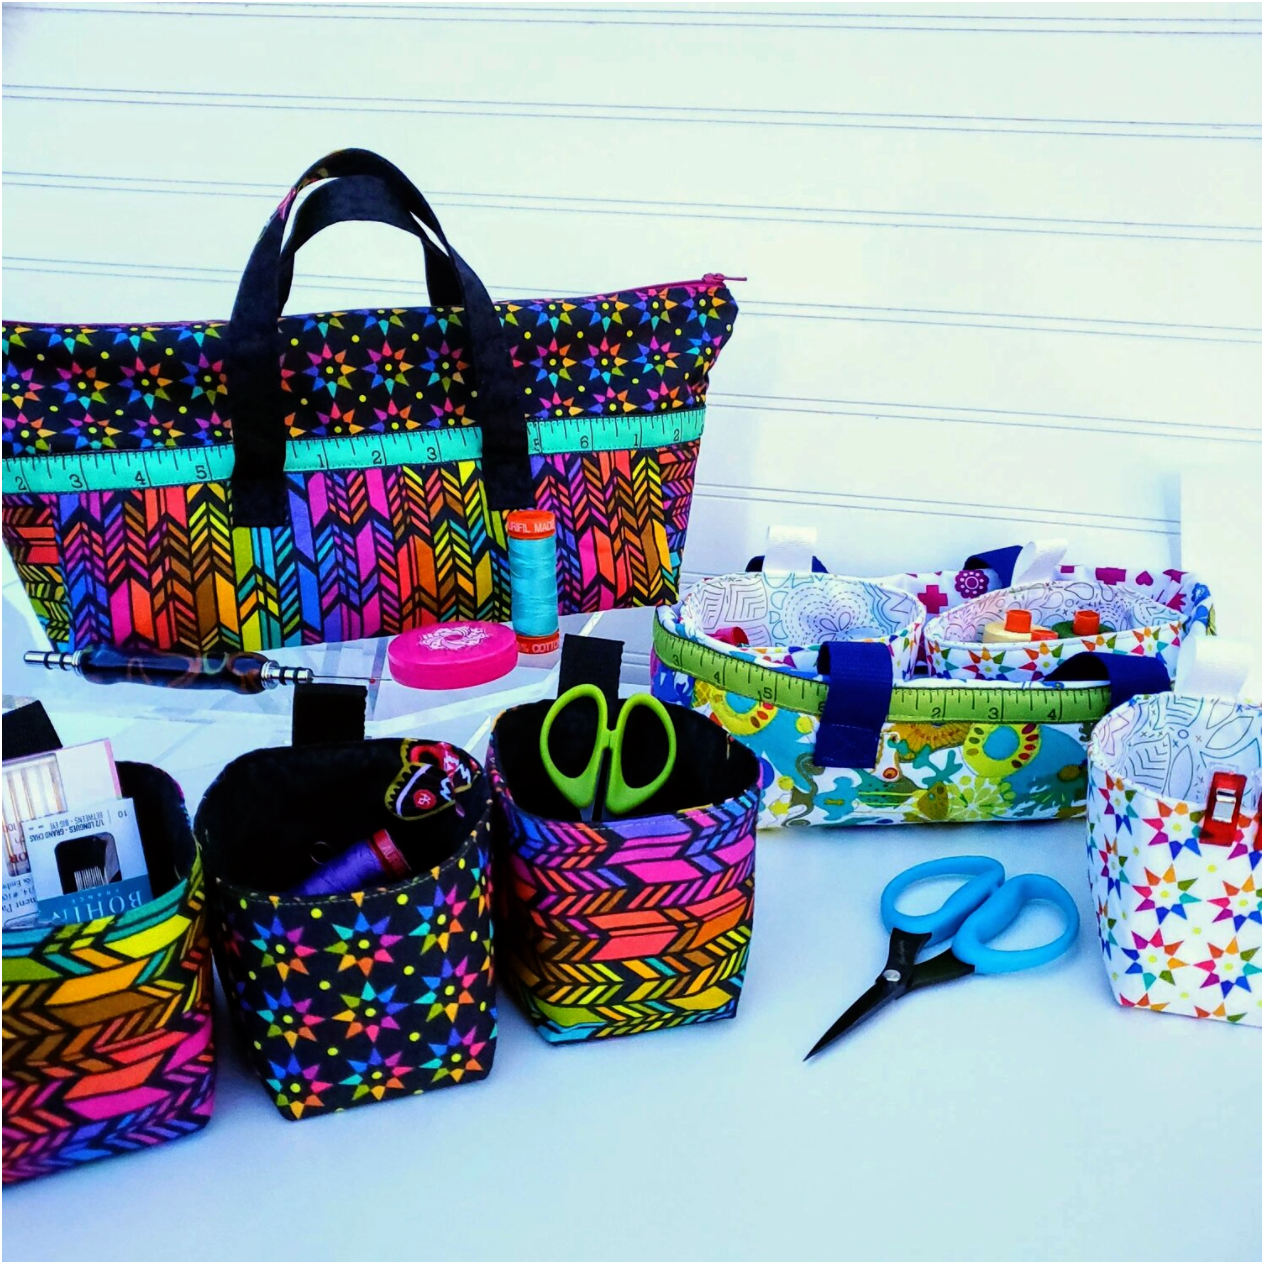
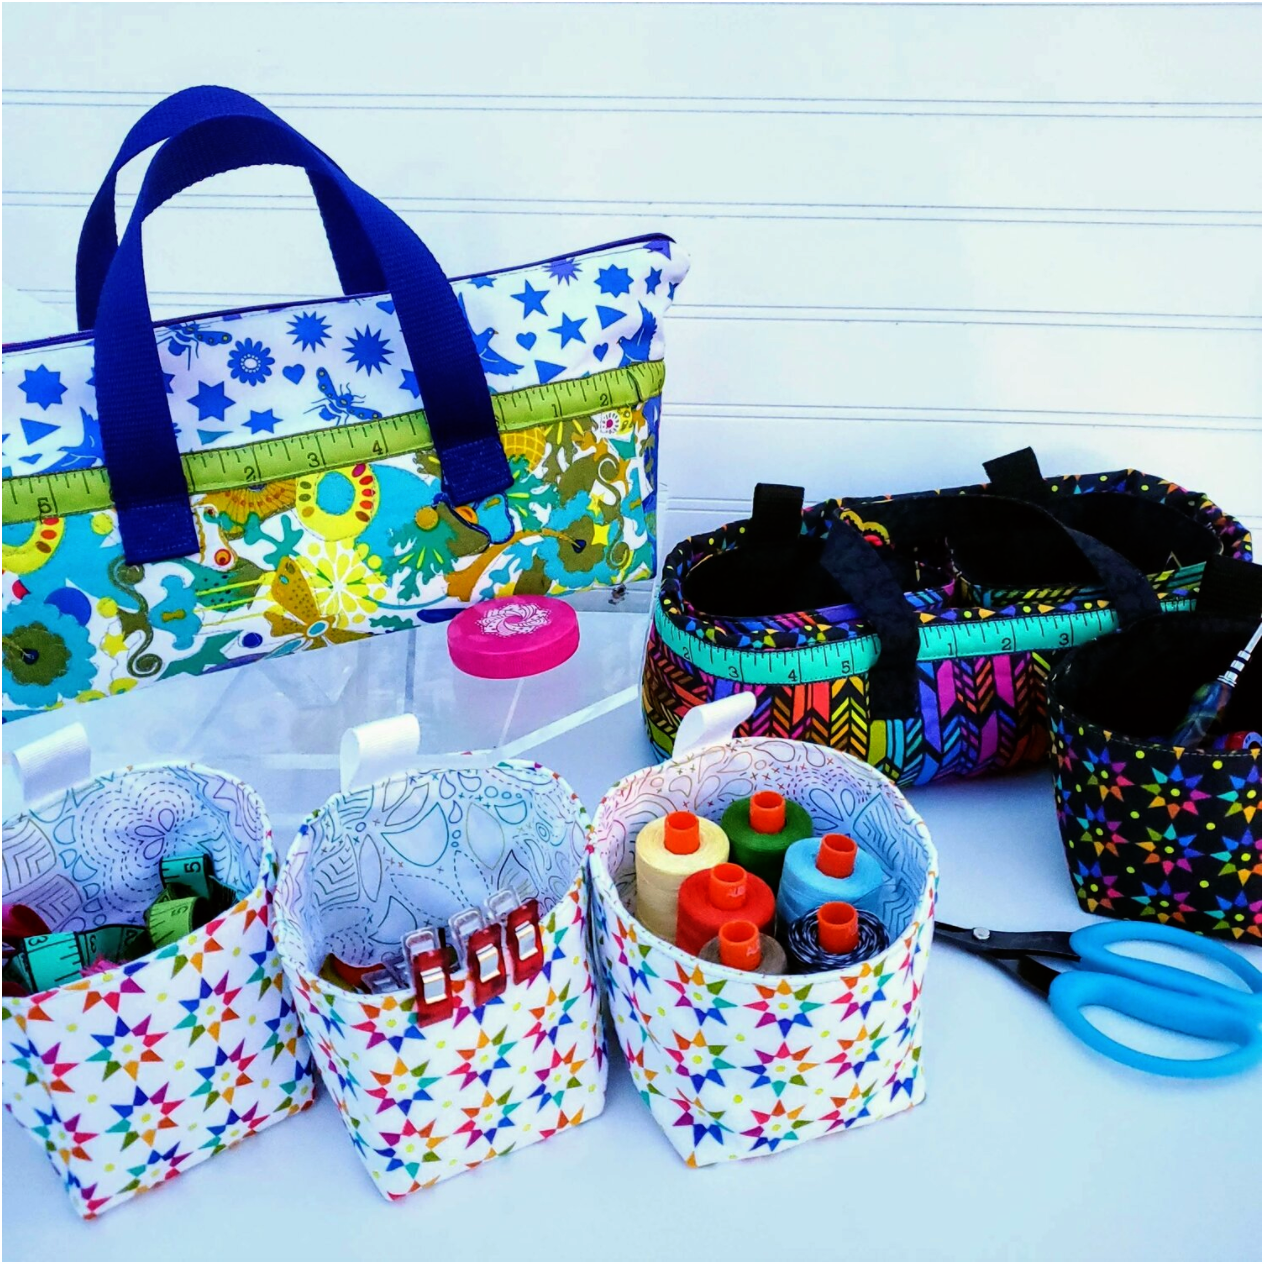
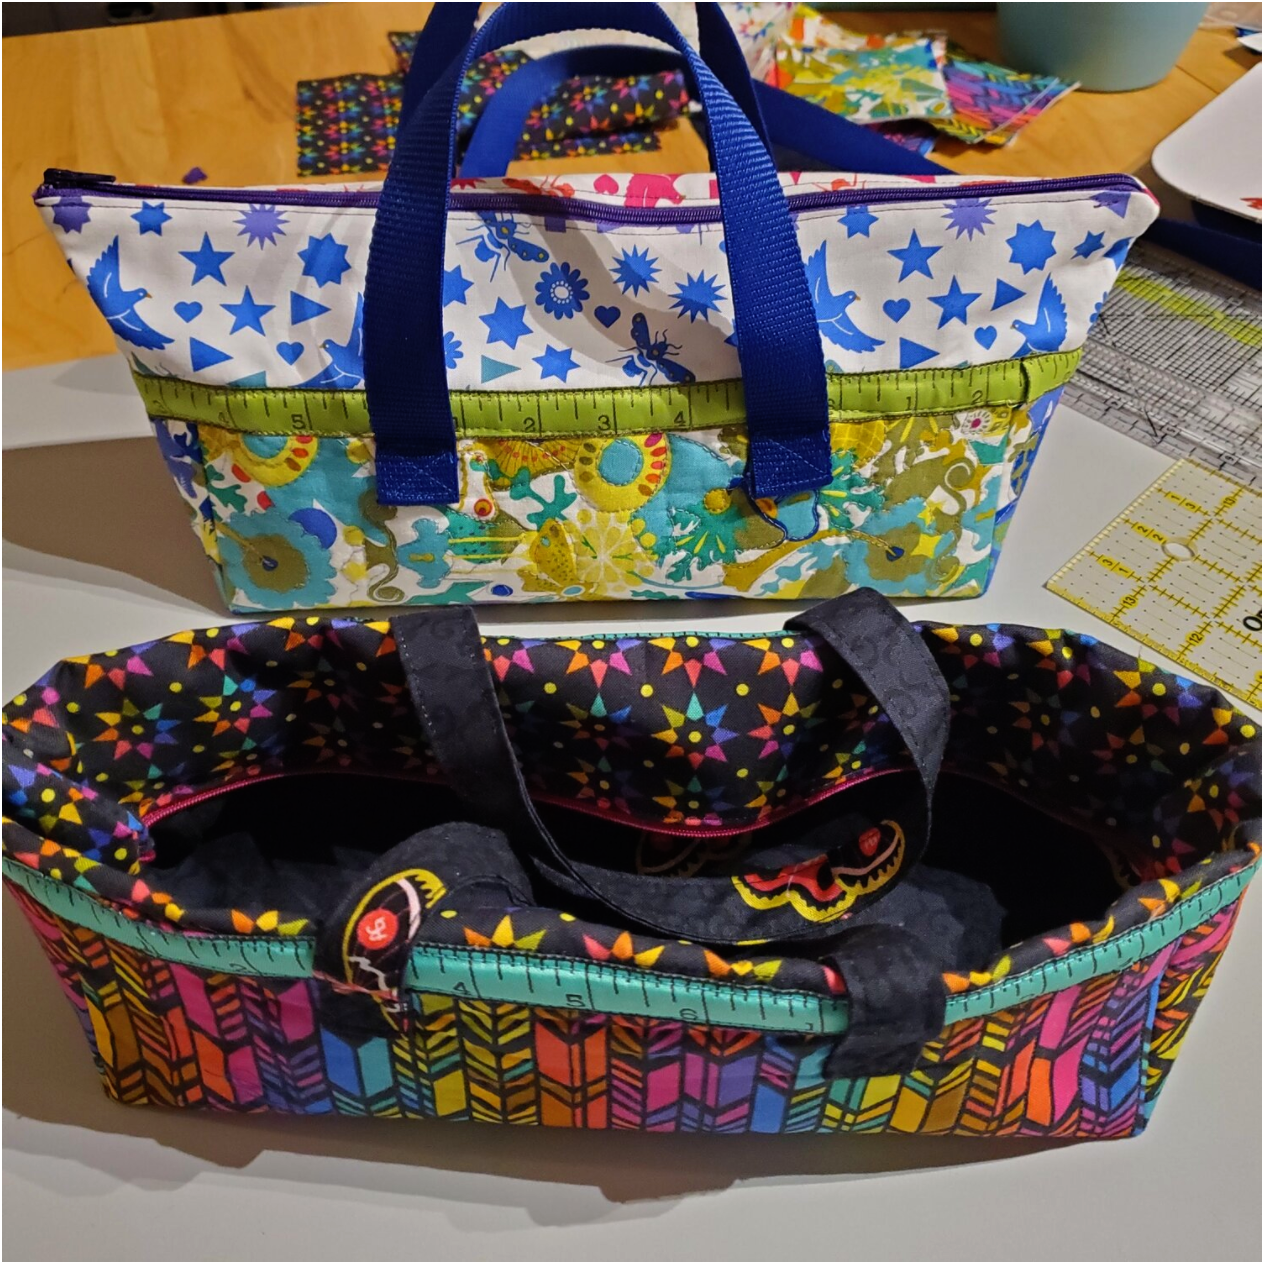
January is the perfect time to get organized. We are inside for the winter and it gives us a great opportunity to focus on organizing our space and making it more functional. Creating this project from the new Alison Glass fabric in the upcoming January Classic box will certainly brighten up your space. The zipper bag has three individual mini baskets easily accessible and ready to travel. The perfect size to hold thread, notions and sewing tools close to your work space.
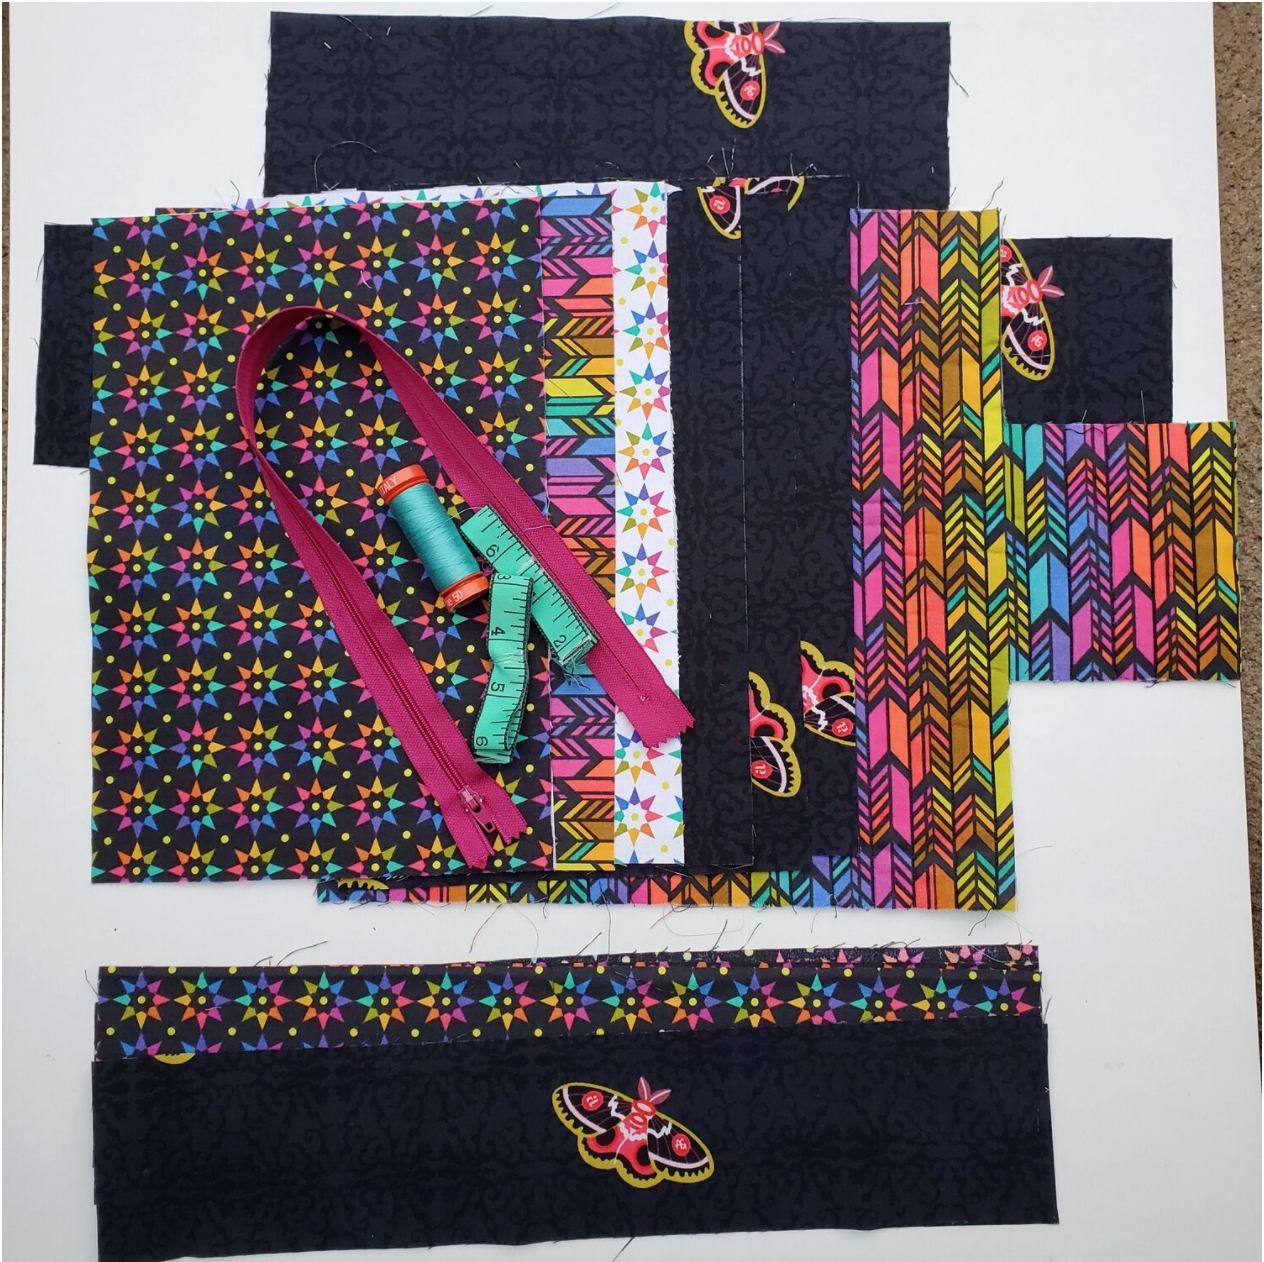
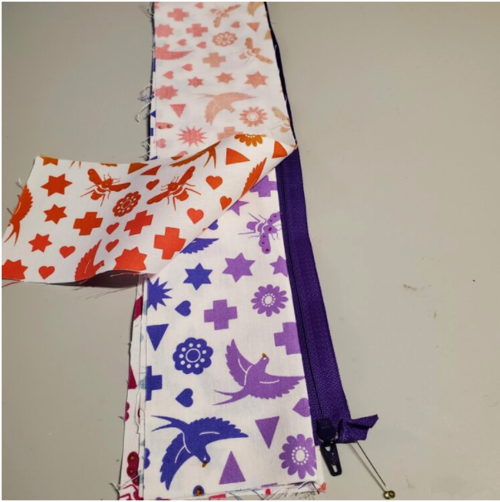
Materials needed
18 ⅝” x 11 ½” cut 1 each for main bag, lining and Pellon shape flex interfacing
15” x 3 ⅛” cut 2 strips for outer fabric top gusset and 2 for lining
7 ½” x 10 ⅞” cut 3 pieces each for the outside of basket, lining and interfacing
3” x 15” two pieces for handles (can be fabric or webbing)
2 ½” x 7” for basket tabs subcut into 3 pieces ( can be ribbon or webbing)
14” zipper
Don’t forget your coordinating Aurifil thread from the Chroma Subscription
I found this You Tube video from Sewing Times with the pattern and visual tutorial. The pattern does not come with step by step written instructions. If you are using directional fabric be sure to pay attention as you cut the pieces. I used the same lining fabric for the main bag and the baskets. You will need about a ½ yard of lining fabric and if you use Pellon shape flex interfacing it is only 20” wide so you will need about a yard for all the pieces.
After you have your fabric cut, iron on the interfacing to the wrong side of the matching fabric piece. Using a quilting ruler and fabric marker measure a 3 ⅝” square on each corner of the main bag and lining. Cut the squares with a rotary cutter or scissors. I decided to do some simple quilting with coordinating thread on the main bag so I used fusible fleece as the interfacing.
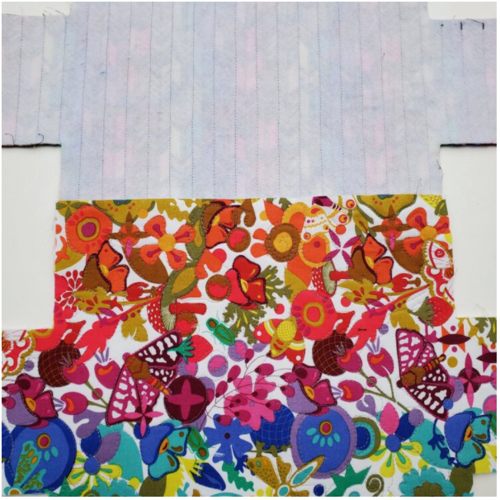
This extra step will add some texture and interest to the finished bag and it takes only about 15 minutes to sew. Use a walking foot for straight line quilting. The fabric design provided the lines to evenly space the quilting on the dark fabric. Changing out the sewing foot on the white background piece I did some free motion quilting around the flowers.
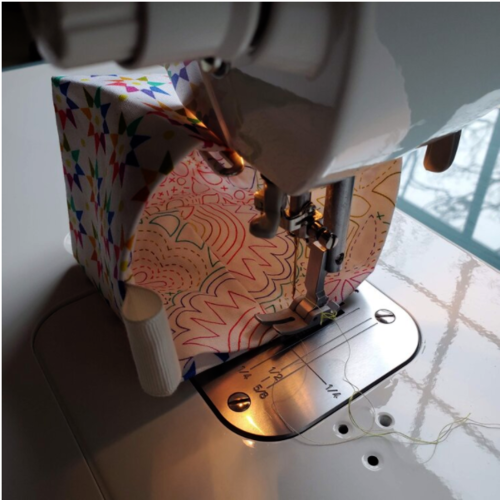
All the seams in this pattern will be ⅜”. Bring the right sides together to form the side seams on the main bag from the four corners you just cut. Do this for the outer fabric and the lining.
To help the seams lay flat cut the bottom of the seam to the stitching line. Press the seams open. I found that if you press the shape of the bag in place now with some steam and starch it holds the shape and helps line up the pieces as you construct the bag.
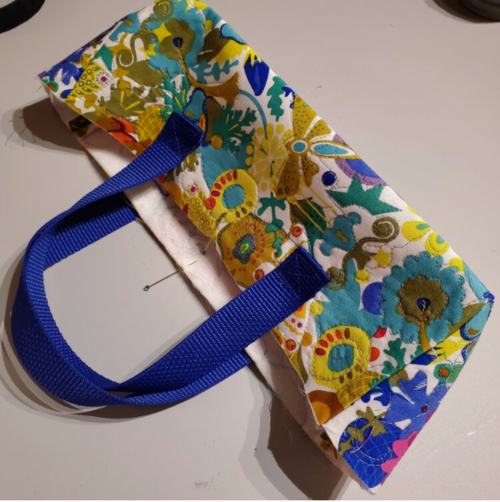
To make the handles from fabric take the pieces and fold in half and press. Open it up and fold the raw edges to the center line and press. Fold in half. You should have two handles about 1” wide by 15” long. Topstitch ⅛” from the edge on the long edges. I usually set the stitch length to 3 and use a coordinating thread in the top and bobbin since this will show on the bag handle. If you use the 1” webbing just cut two 15” pieces. Measure and mark for the placement of the handles on the outer bag. Mark a line 1 ¼’ from the top edge and 2 ½” from the side seam. Pin the handles in place. Sew a seam across the handle about ½’ from the raw edge.
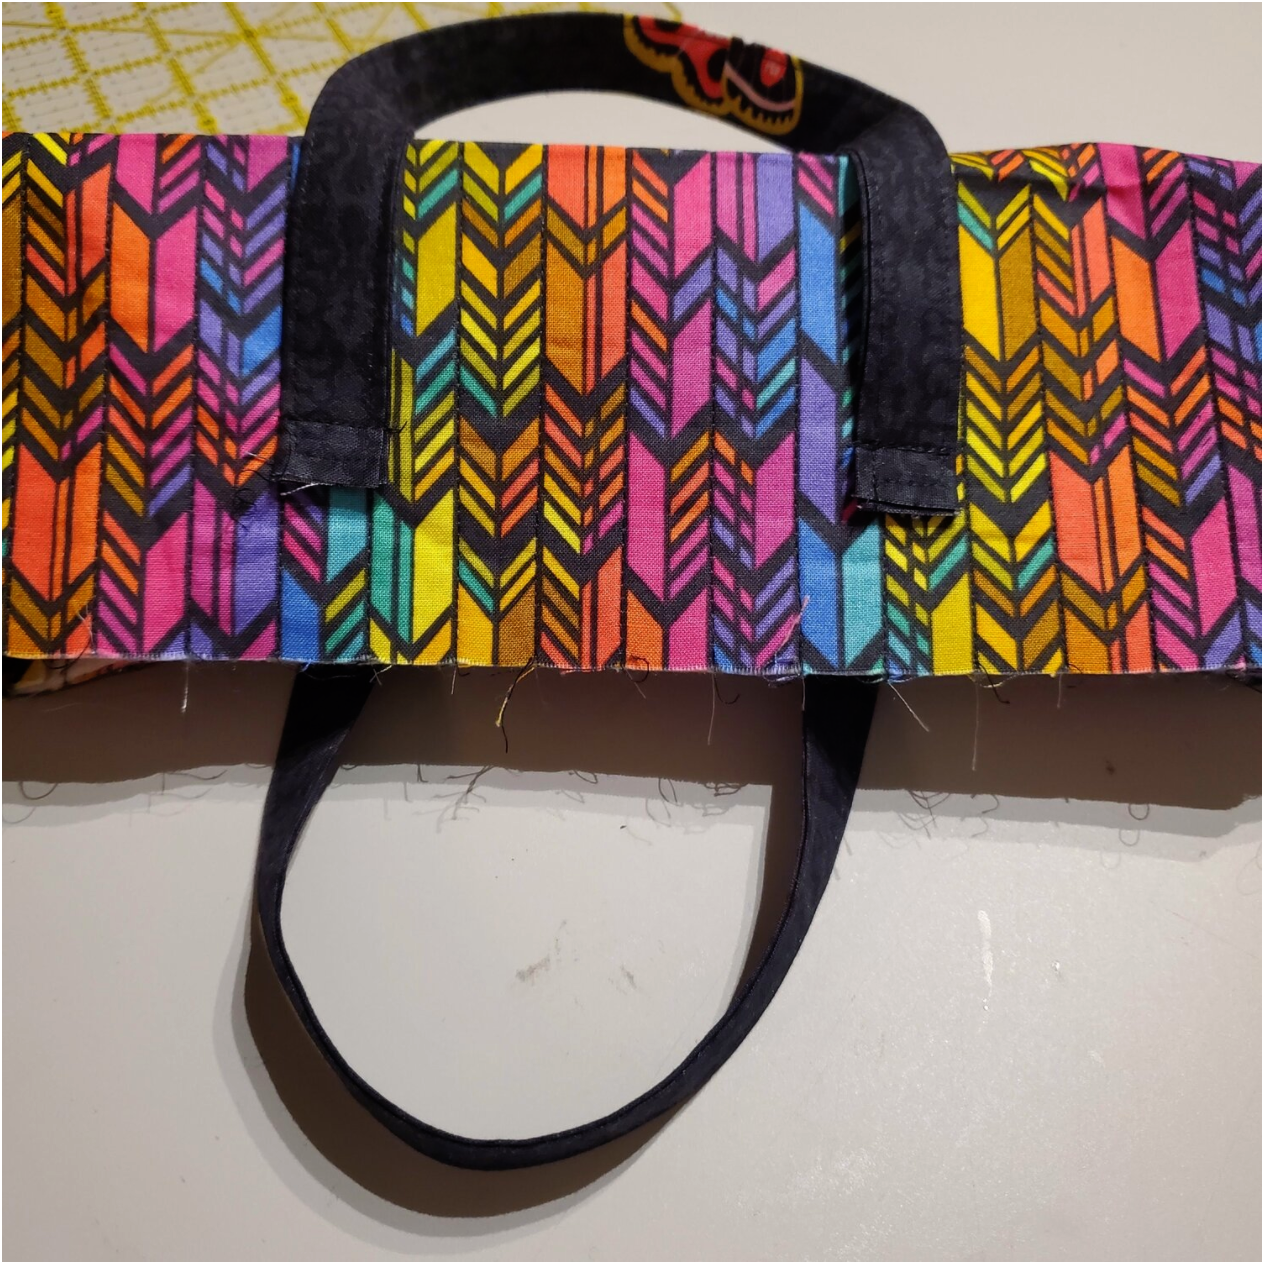
Fold the handle up towards the top edge and sew around all four sides making a square with an “X” in the center. This is the same process for the webbing handles.
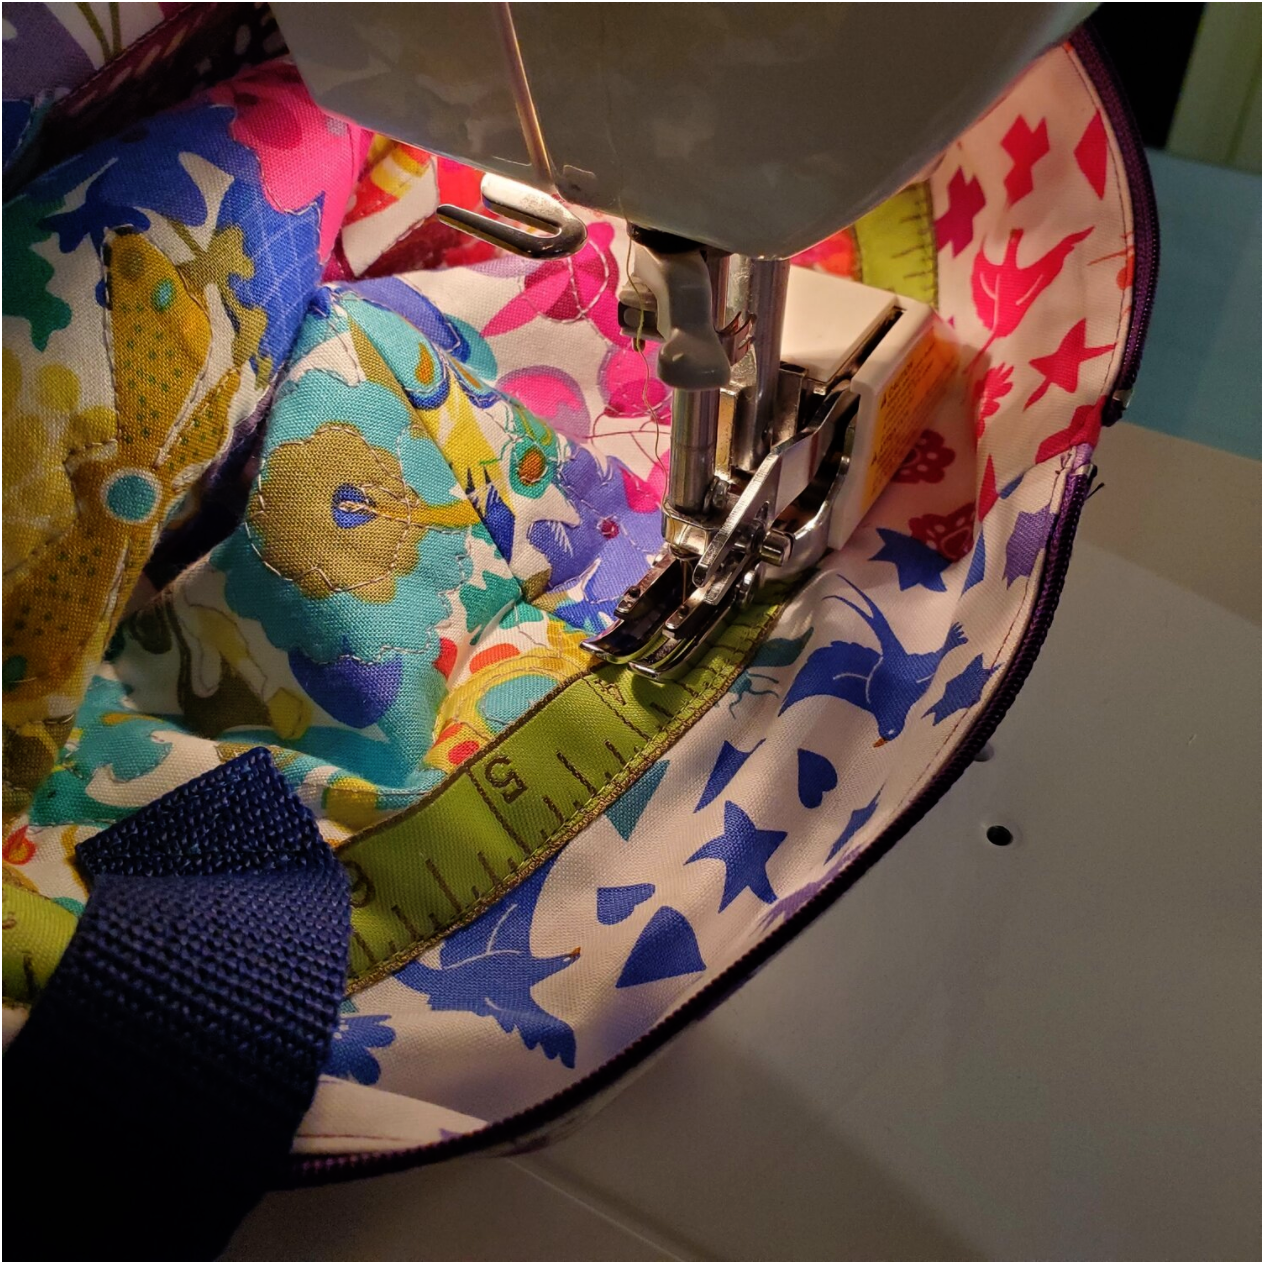
Next you will prepare and sew the top gussets with the zipper. Mark the centers of the pieces and top edge of the bag to help align the pieces. Lay the lining piece right side up, zipper facing up and outer fabric right side down. Pay close attention to the visual in the video showing how to fold the edge of the zipper and pin in place.
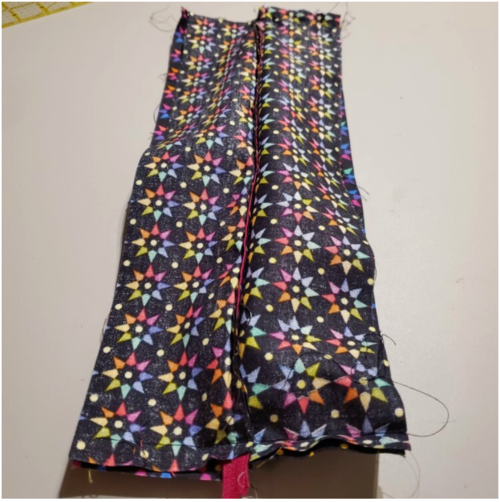
You want to be sure you have at least ½’ of space for the ⅜’ seam in the next step on each end of the gusset. It was tricky to keep it pinned in place as you put it under the zipper foot. Double check before you start to sew and go slowly at first. After sewing both sides of the zipper press with right sides out and topstitch ⅛” from the edge with a coordinating thread.
Now open out the pieces with right sides together and stitch the side seams lining up the seams on the outer and lining pieces.
Press seams open and turn right side out so the zipper is showing on the top. Press and then stay stitch ¼’ around the bottom edge.
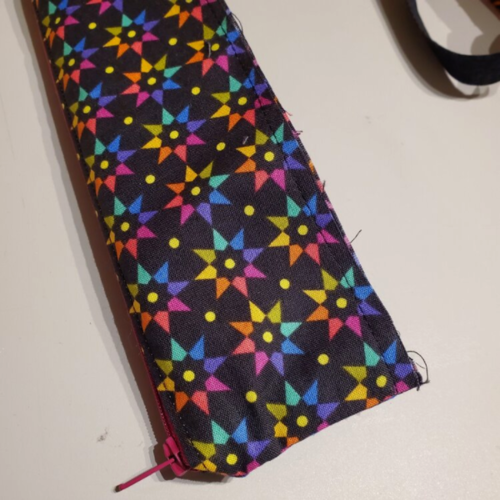
Unzip the zipper and turn so that the right sides are together as you line up the centers on the main bag. Pin in place. Be sure the handles are away from the seam.
Sew in place using a walking foot. Turn right sides out and press the inside seam towards the bottom of the bag. Using a hot iron with steam will really help press this into place. Take the lining piece and press the top edge under ⅜” of an inch all the way around. Place the lining inside the bag with the wrong sides together matching the centers and seams. Pin in place.
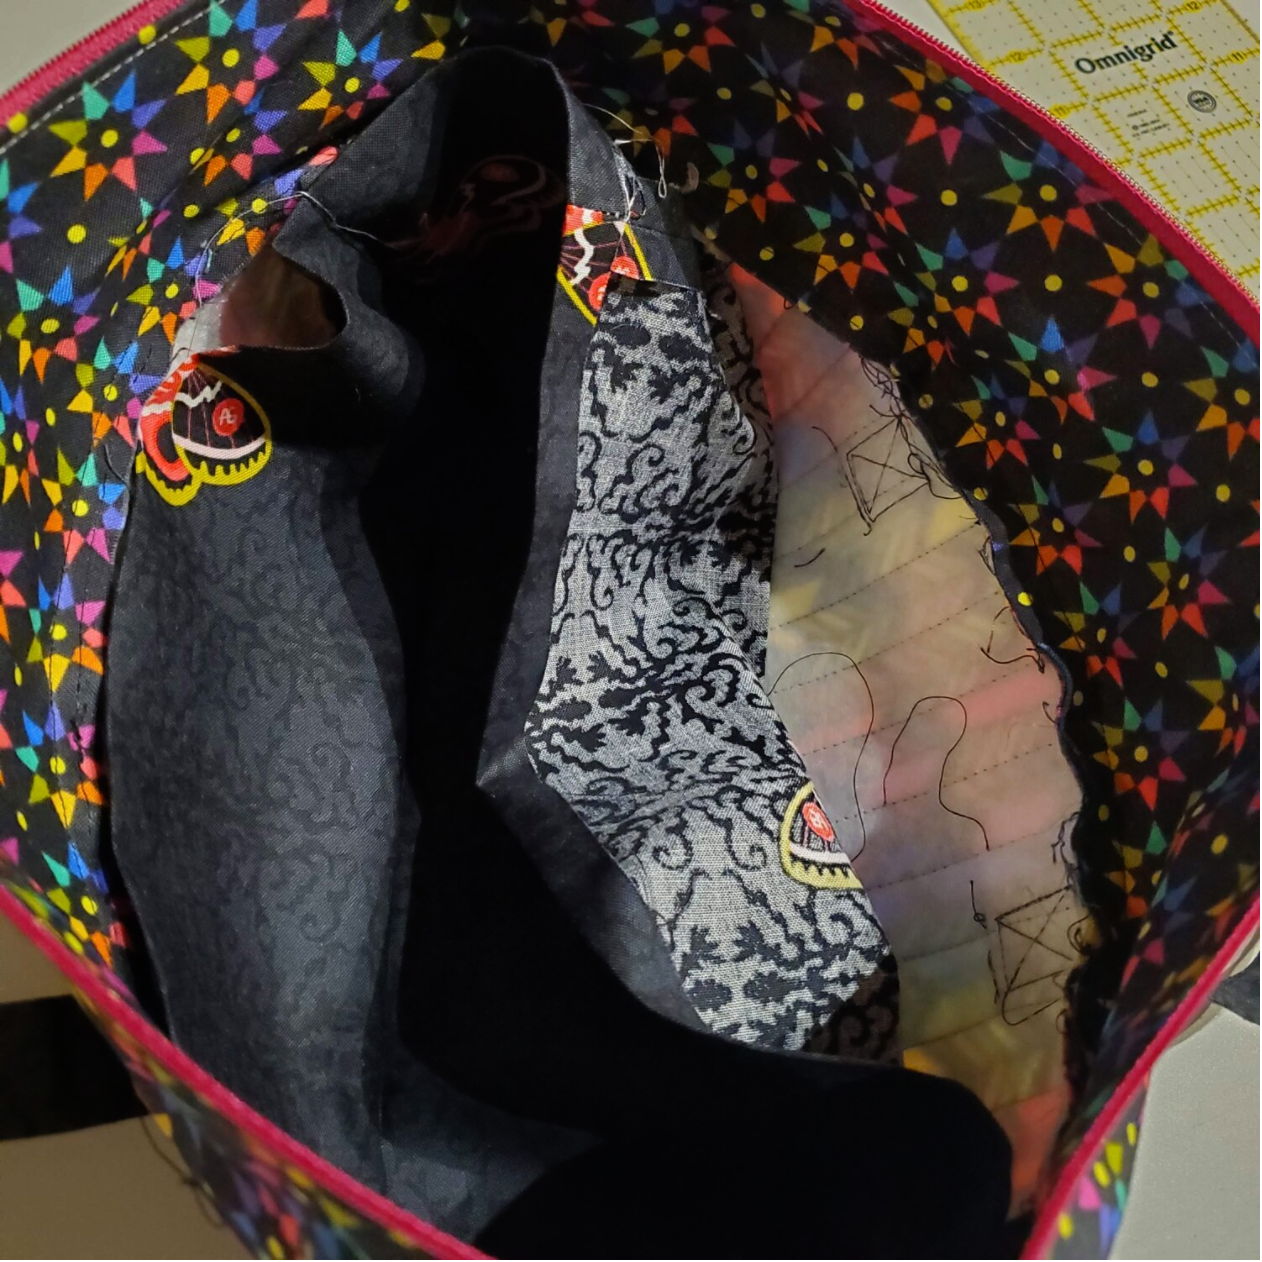
Sew from the inside of the bag with the walking foot about ⅛” from the edge of the lining. I added an extra step here to add a ½” ribbon to the outside of the bag at the junction of the two fabrics to give it a more finished decorative look. I started at the handle folding under the edge of the ribbon top stitching on each side of the ribbon all the way around the bag. This covers up the stitching line needed to attach the lining. If you choose not to do this be sure to use a matching thread so it blends well with your fabric when you sew the lining seam. If you use a ribbon wider than ½” you will need to adjust the handle placement.
This completes the zippered bag!
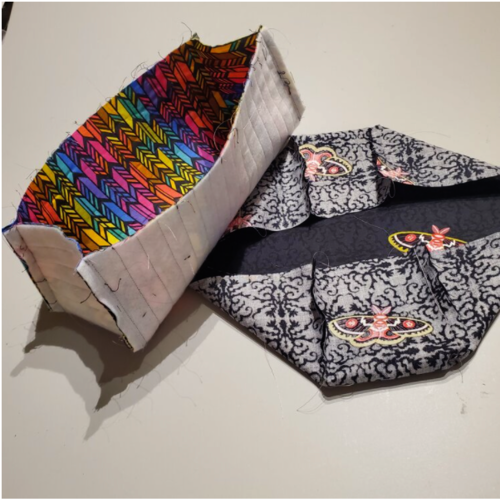
The baskets are very quick and simple to sew. You can make any size basket using this method by adjusting the starting size of the rectangle pieces. You will need to make the fabric tab pieces in the same way as the handles. After sewing a strip cut it in three equal pieces. I used the webbing for one and grosgrain ribbon on the other basket.
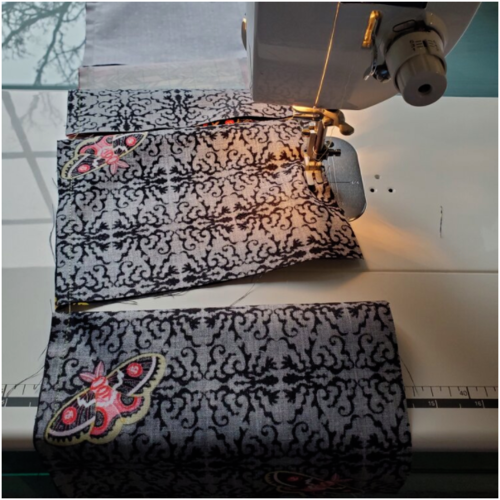
Fold the basket piece in half and sew the side seams. You can easily chain piece the six pieces needed to make the three baskets.
Press the seams open. Box the corners measure and mark 3 ⅜” width. Sew the seam and then trim to ¼”.
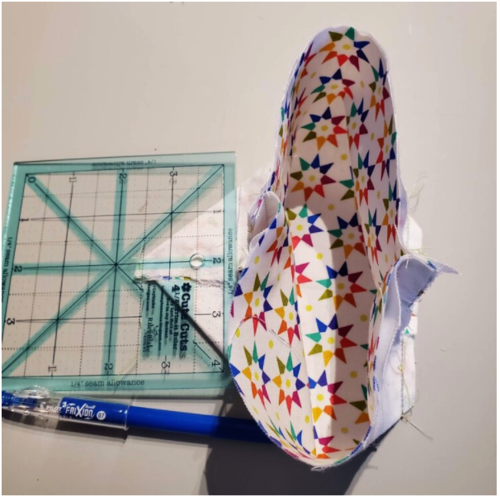
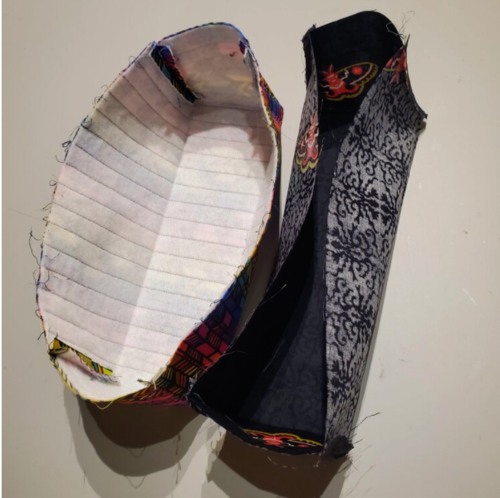
Press the square shape into the baskets. Fit the lining basket and outer basket into one another with right sides together aligning the side seams. Pin the tab in the center between the side seams. Sew the top seam leaving about a 2” opening to turn the basket. Turn right sides out and press the top edge folding the opening to the inside to stitch close as you topstitch along the edge in a coordinating thread.
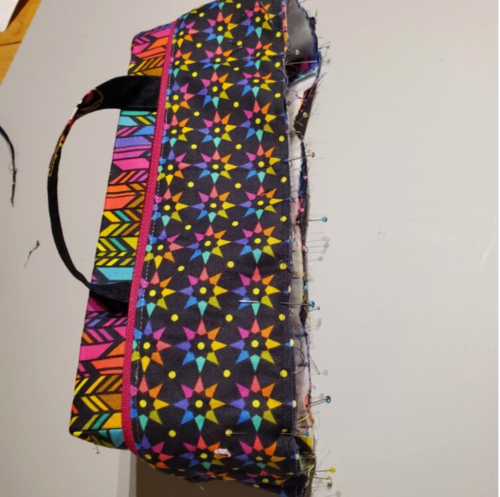
Give the baskets and bag a final press and fit the baskets into the zippered bag. Proper ironing along the way will help give your project a more professional finished look. You can use a rolled up towel to help press odd shapes.
It is surprising how much you can fit into the baskets and they look so cute on my sewing table! This would be a great gift that could also be used for a child’s toys or teen’s makeup bag. There is plenty of space on the bag/baskets that could be personalized with embroidery or Cricut iron on transfers.