

DIY Sewing Machine Mat
21st Jan 2021
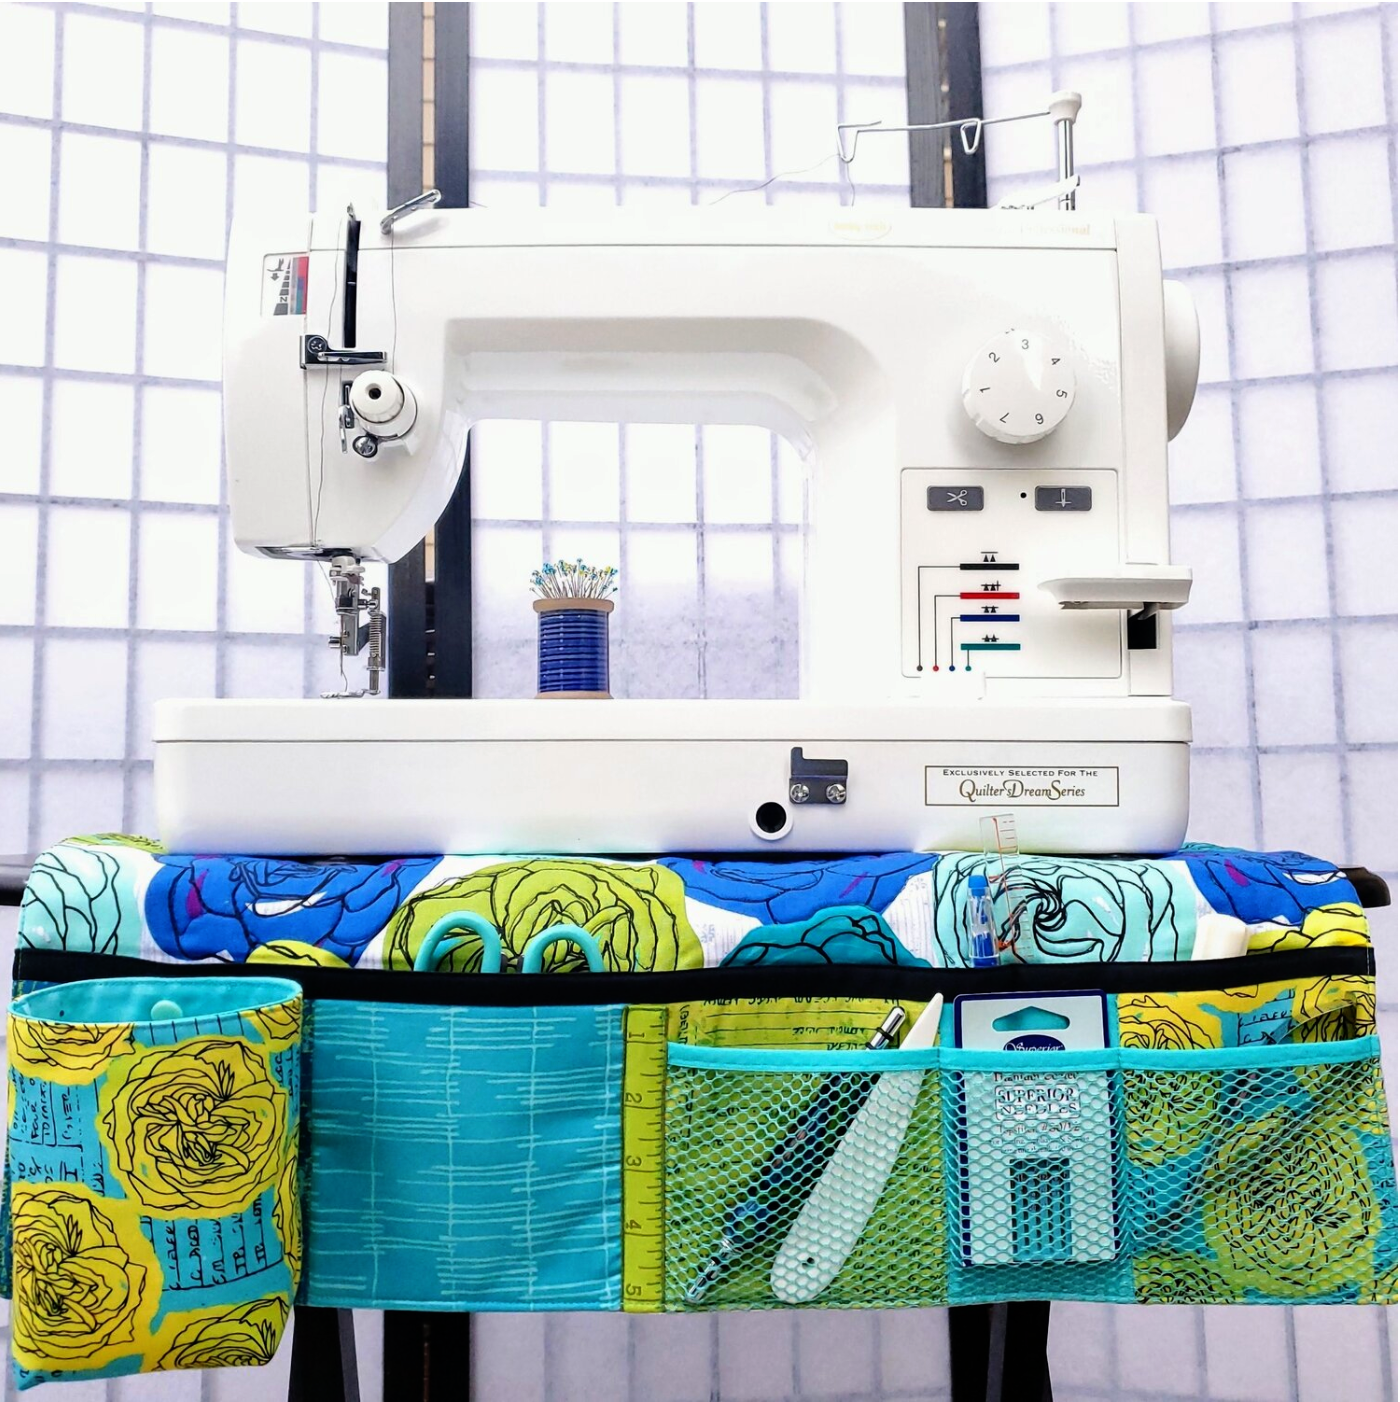
The start of the new year tends to get us thinking about tidying up our homes. If you are new to sewing or using a shared space to sew this tool organizer will help keep your notions close at hand and will be easy to pack up and put away. I was inspired to create this mat after seeing the Lilly Ella undercover maker mat. I will share with you how I constructed the sewing mat in this bright and cheery Windham Norma Rose fabric from the Classic box subscription. The finished size is 16” x 20 ½ “ a perfect size under my machine to keep my tools handy.
Materials needed
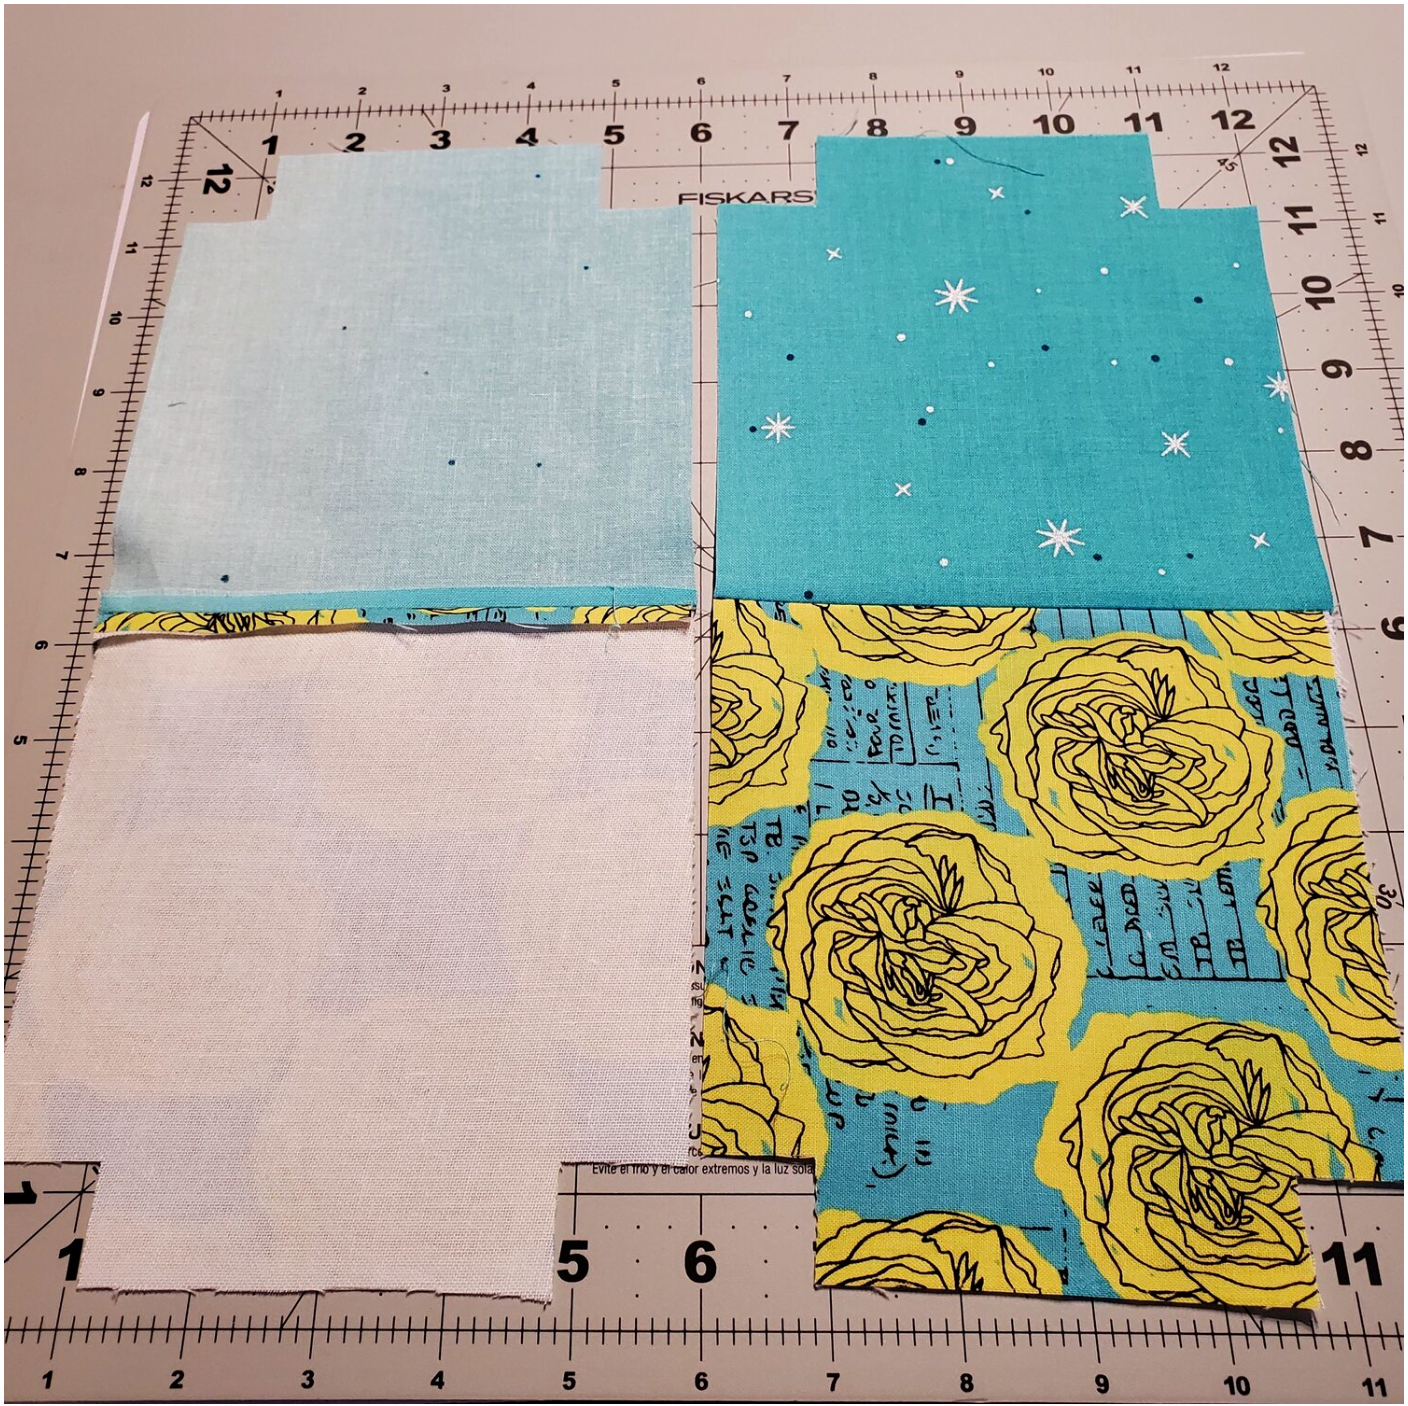
Fat Quarter for the front and back Navy and Green Roses
Assorted fabrics for pockets 5 ¼ “ x 5 ¼”
Fat quarter for thread catcher Teal and Green Roses
Coordinating Aurifl thread from Chroma subscription
Fusible fleece
Pellon Shape-Flex fusible interfacing
Mesh fabric piece and fold over elastic for pocket from By Annie
Decorative ribbon for pocket
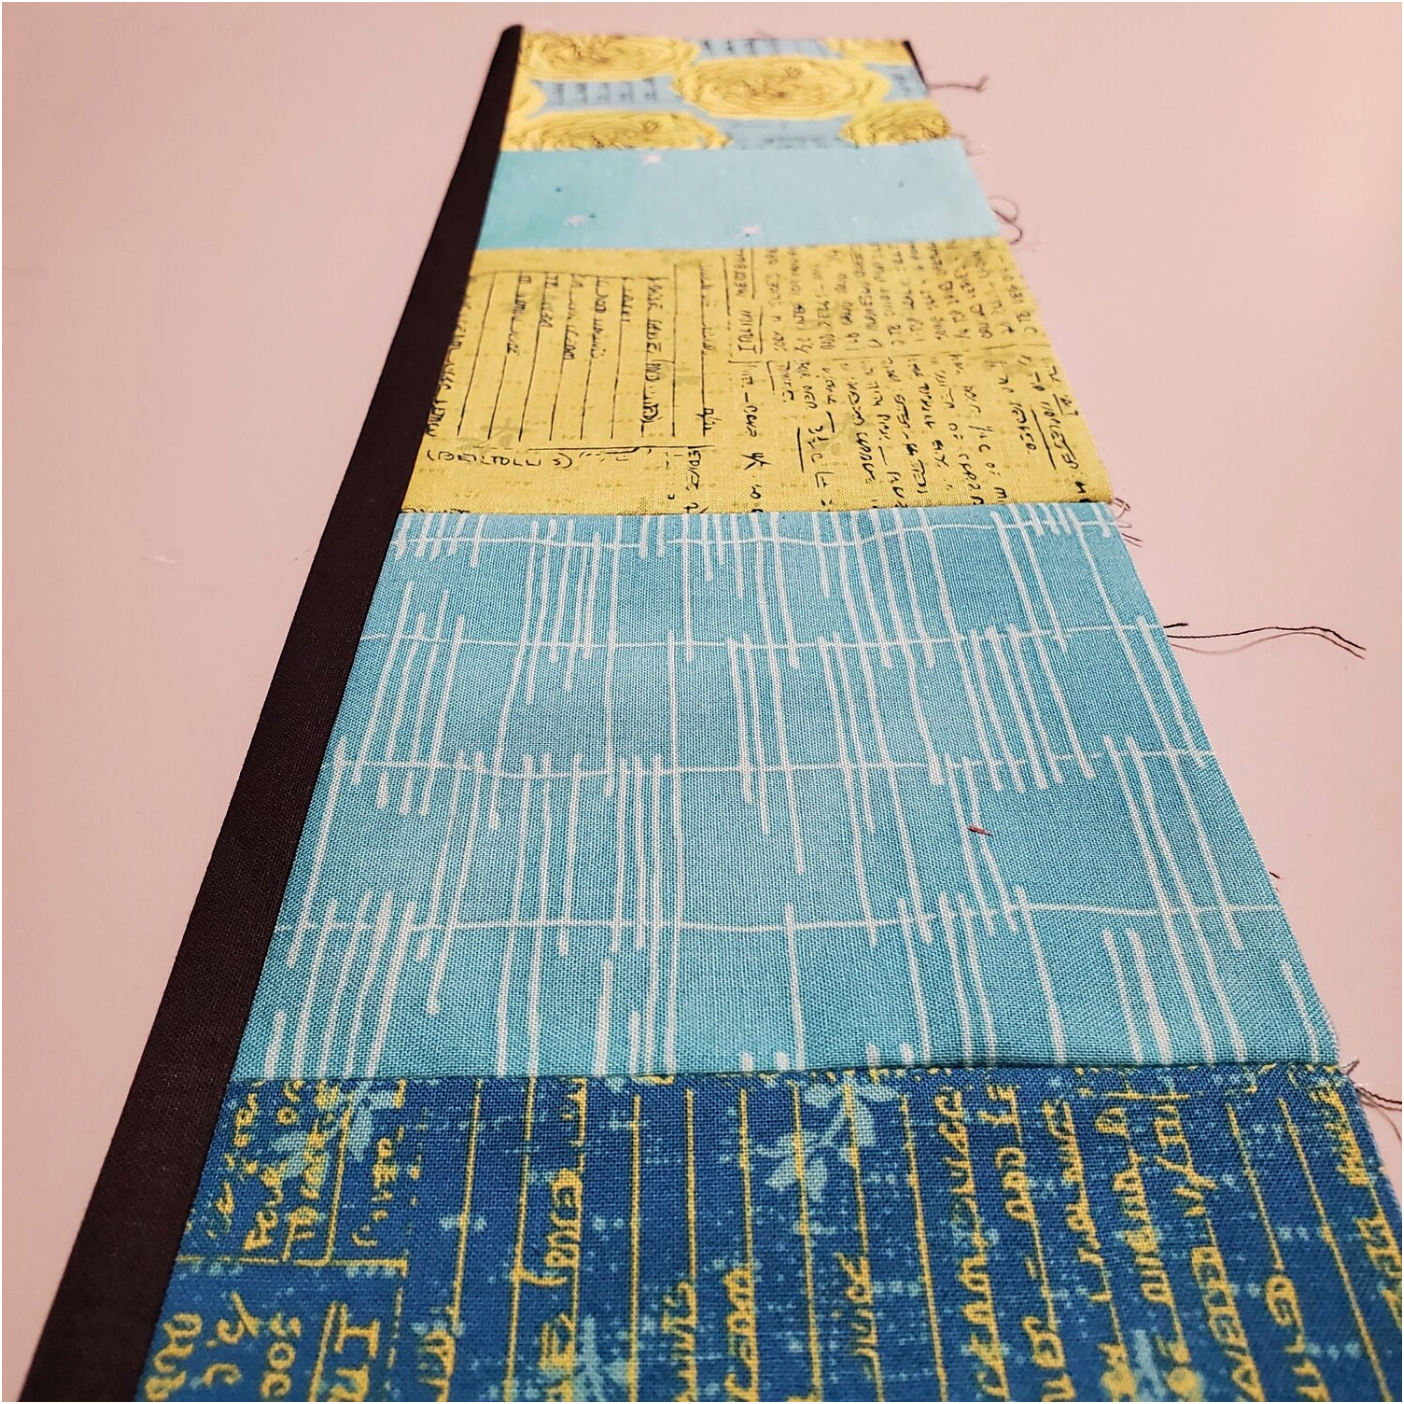
All seams will be ¼”. I started with planning the pockets. I cut three at 5 ¼” x 5 ¼” and one 4 ¼’ x 5 ¼” and the smallest pocket at 3 ¼” x 5 ¼”. Sew the pockets together in order and press the seams open. Cut and fuse the fleece on the wrong side of the pockets. To make the faux binding cut the pocket lining at 6’ high by the length of the row of pockets. Sew the lining to the pockets along the top edge with the right sides together. Fold over with wrong sides together aligning the bottom to create the look of contrasting fabric binding. Stitch in the ditch and topstitch close to the edge along the faux binding.
Next cut a piece of the mesh fabric 12”x 4¼” and a piece of the fold over elastic about 1” shorter than the mesh. Sew the elastic to the edge by topstitching the folded elastic to the mesh fabric. The trick to sewing the fold over elastic to the mesh is to sew the first two inches without stretching the elastic, then stretch slightly in the middle section and end as you started. The elastic gives just a little bit to keep the outer pocket held snug as you store tools in the mesh pocket. The mesh piece allows the pocket fabric to show and keeps the contents visible. You will need to have your main outer fabric piece cut to 17 x 21 ½ “ ready to sew the pocket pieces together. I usually cut just a bit larger by ½” on both sides to allow for squaring up the pieces so that they align properly. Trim as needed to even up the edges.
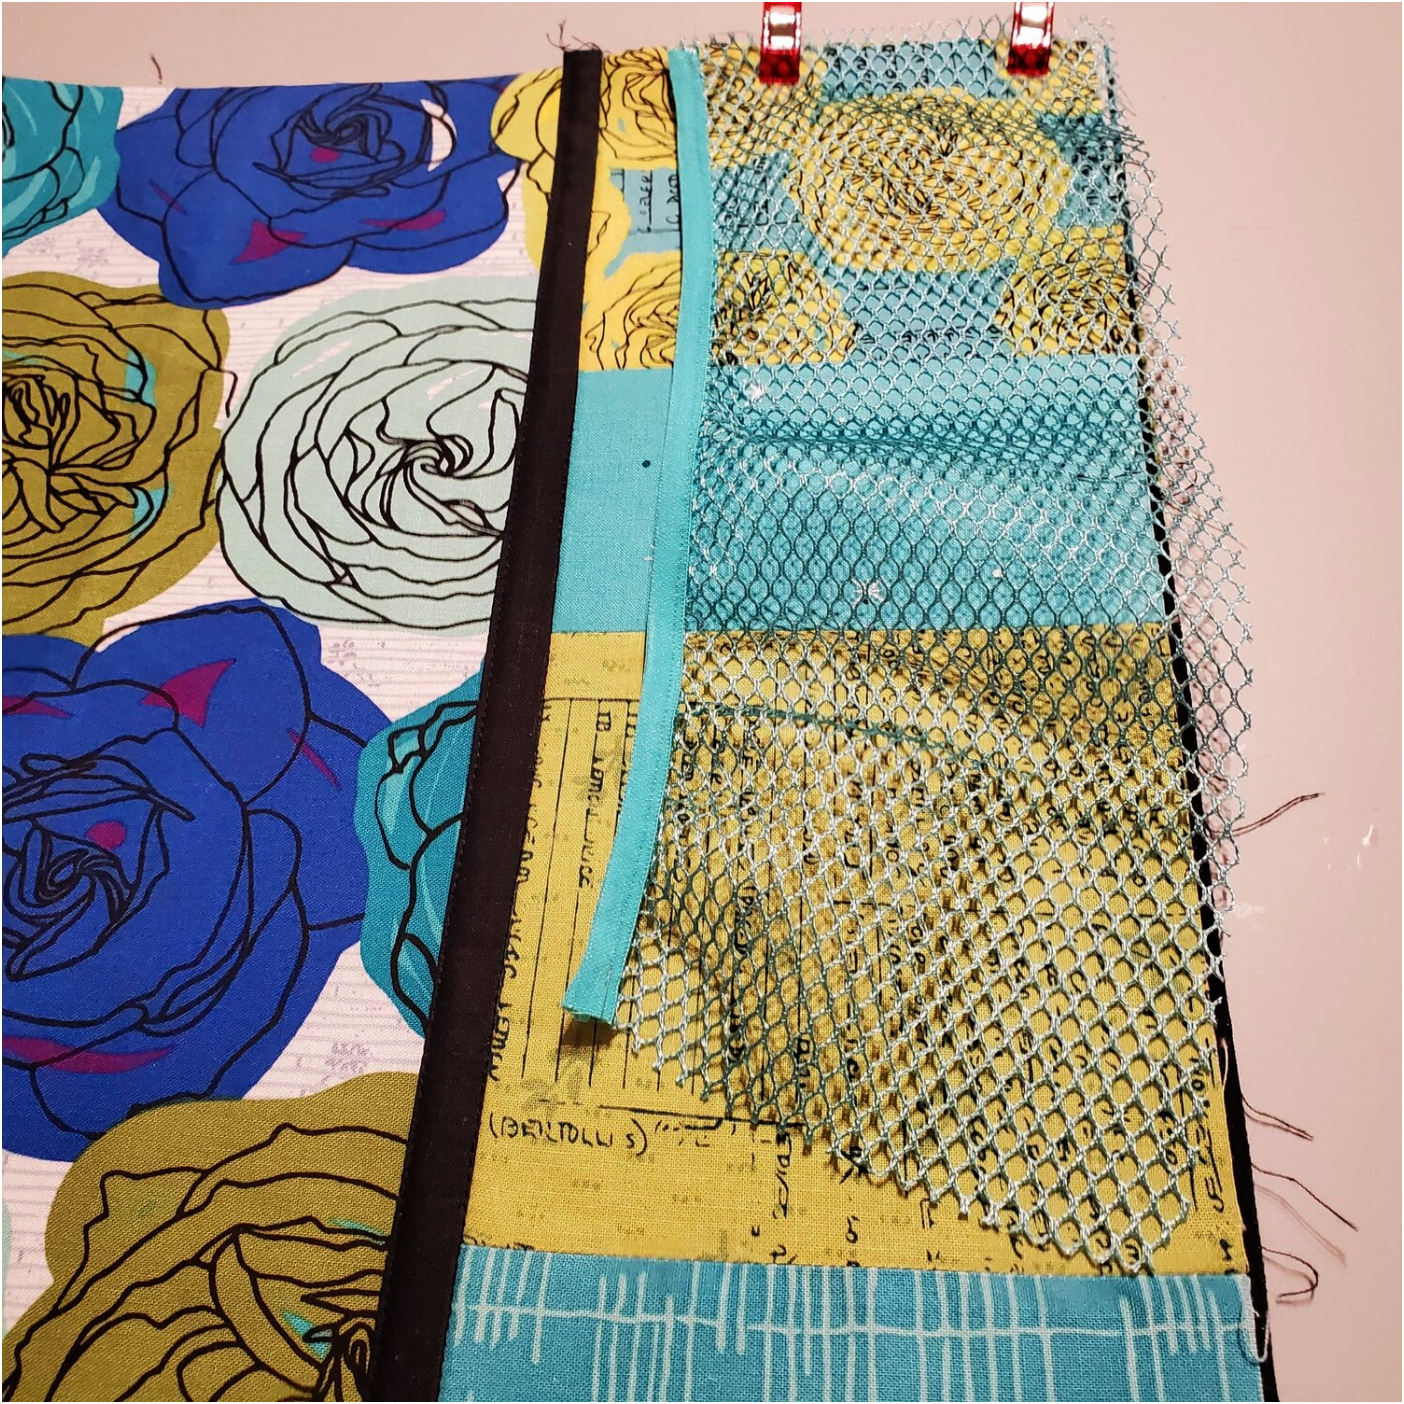
Clip the mesh pocket in place and shorten your stitch length to sew the pocket in place. You will need to gently stretch to sew it in place to end at the seam of the adjoining pocket. Sew the vertical seams to make the pocket sections starting just below the binding. Back stitch a few times to reinforce this area. To cover the raw edge of the mesh fabric I topstitched a piece of ribbon with coordinating thread.
![]()
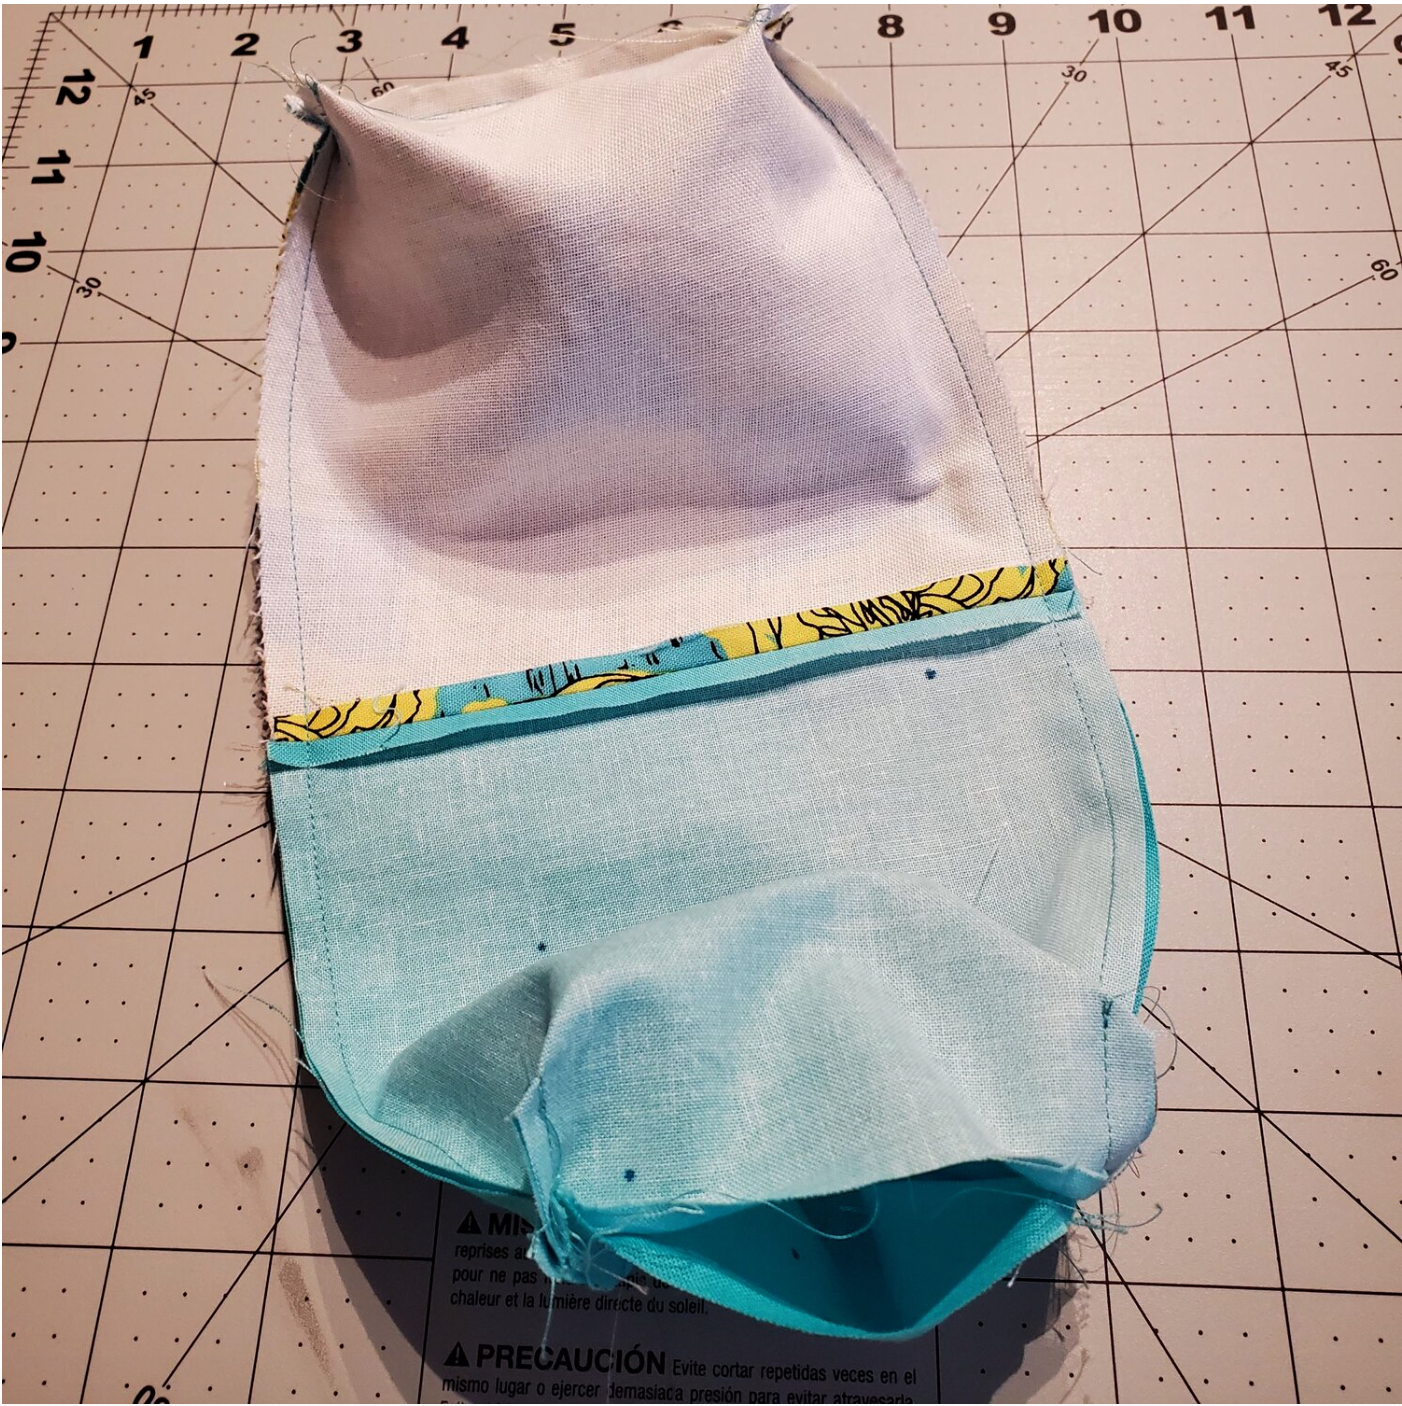
At this point you should have the row of pockets sewn in place on the main outer fabric with the vertical seams and the seam along the bottom edge. Next cut a piece of batting and your backing fabric 17 x 21 ½”. Layer with the fabric right side together and the batting on the bottom layer.
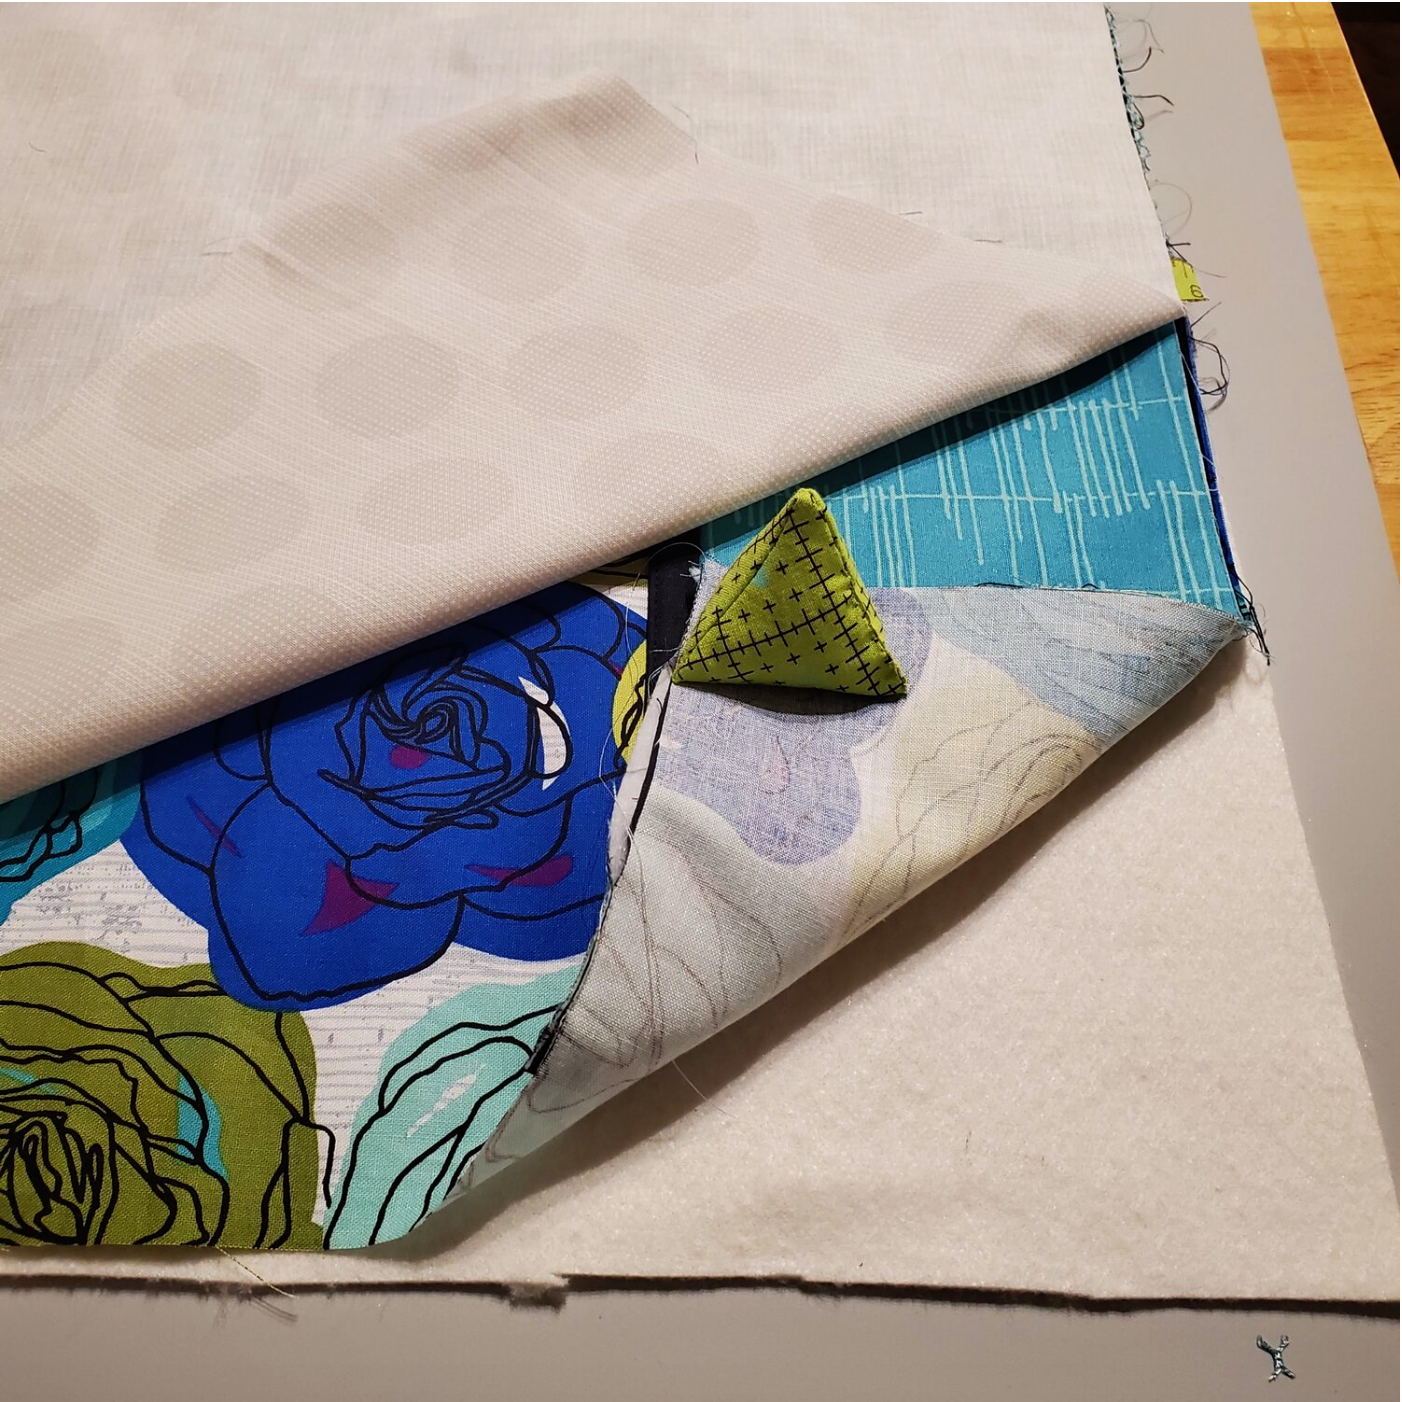
Starting in the middle of the top edge sew all the way around taking care that the bottom edge with the pockets is properly aligned. Stop sewing at the top leaving a 3’ opening to turn. Trim the corners and turn right sides out and press. Press the edges of the opening under. With a coordinating thread topstitch close to the edge all the way around.

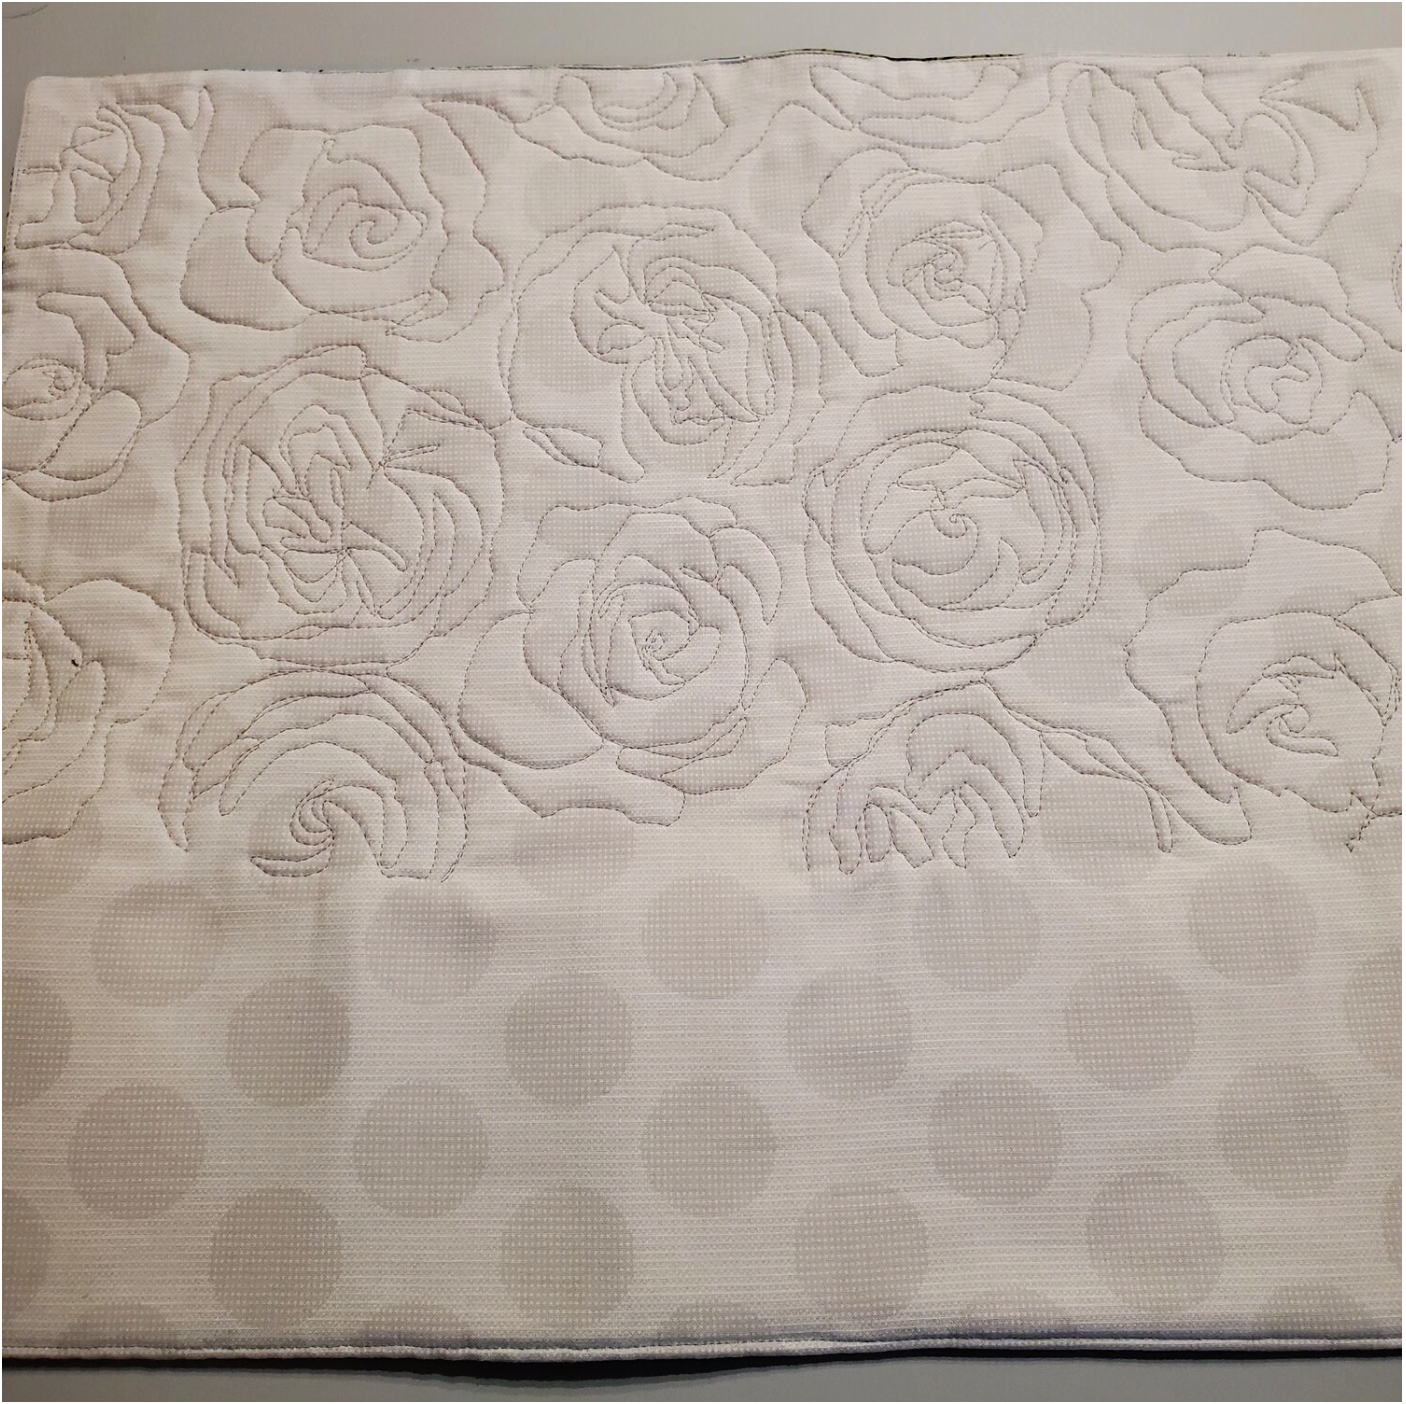
To add some texture and secure the layers I added some free motion quilting to the flowers on the main part of the mat. I used black thread and followed the lines of the flower petals.
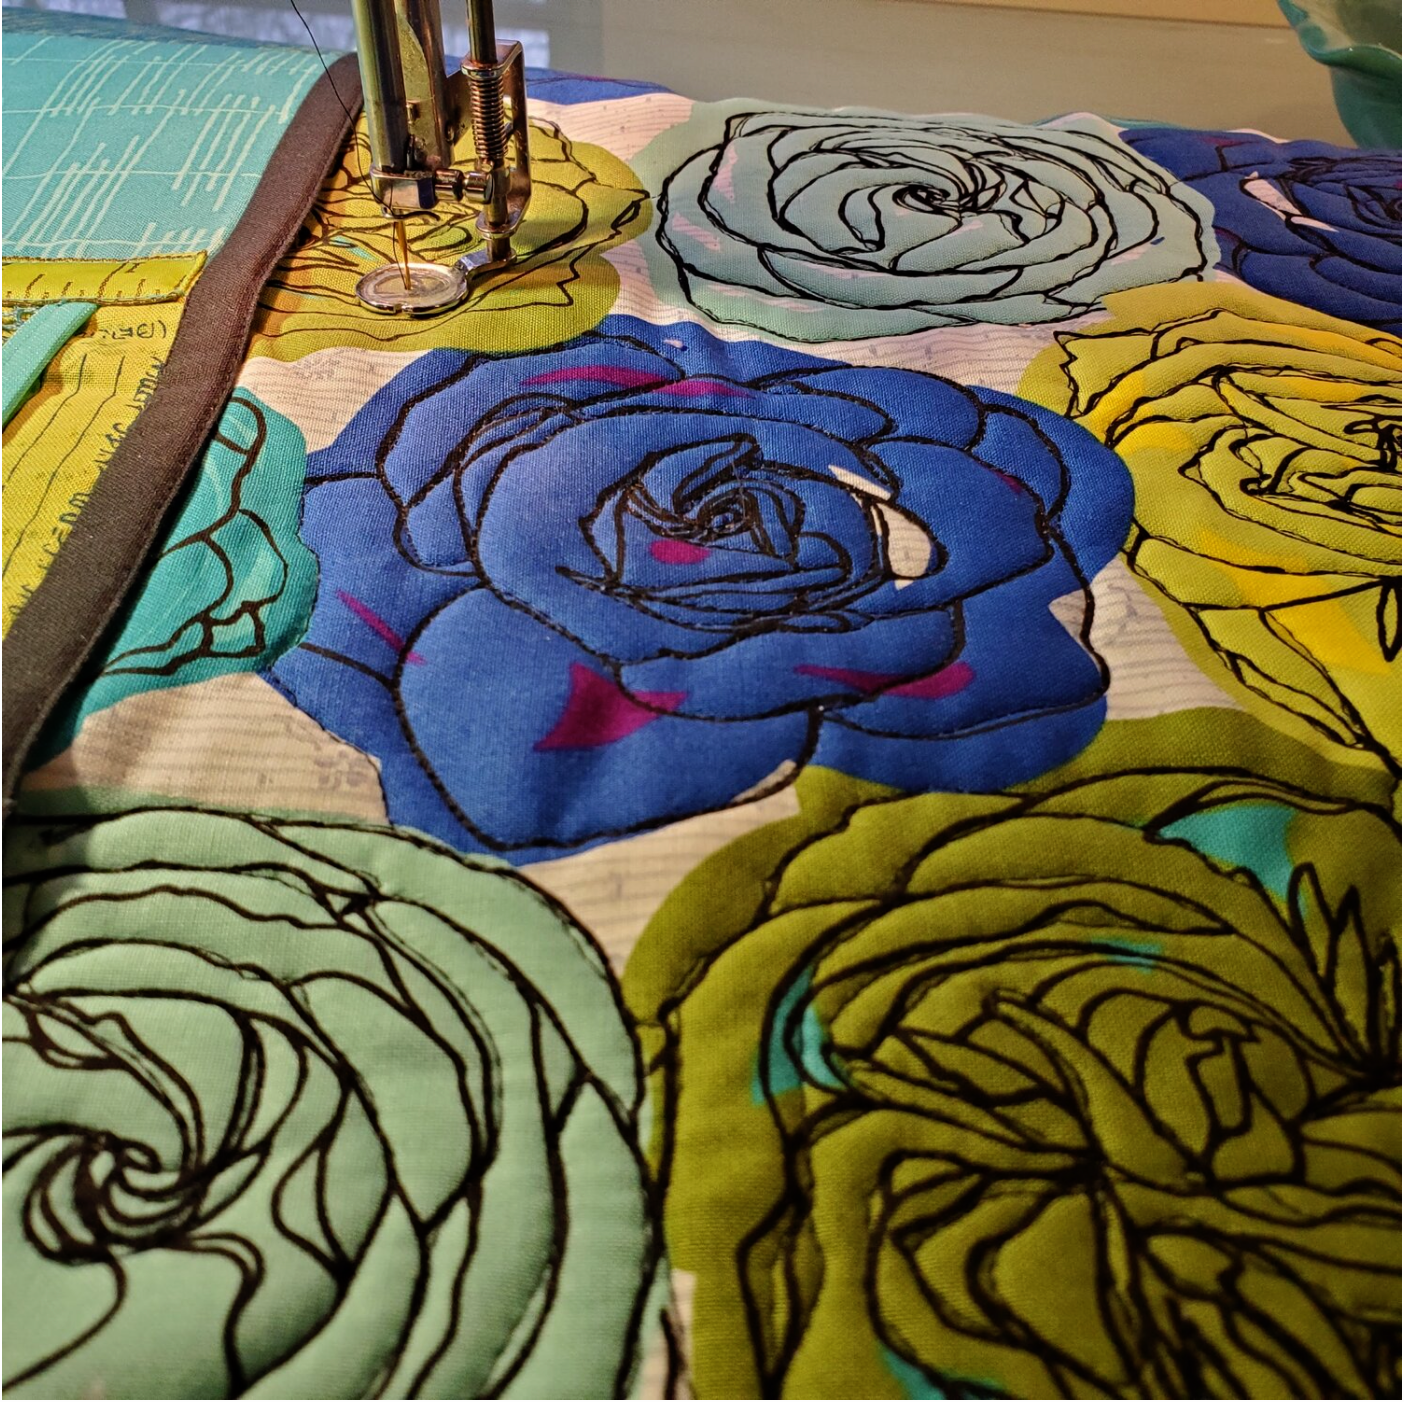
I did not add any additional quilting to the pocket area. You can see more clearly the quilting from the back side of the mat.
Now it is time to make the thread catcher. Cut two pieces of outer fabric, lining and Shape-Flex fusible interfacing 5 ¾” x 6 ¼”. Fuse the interfacing to the wrong side of the outer fabric. Mark and cut 1” squares from the bottom edge. I lined up the pieces and cut them all at the same time.
Line up the lining and outer fabric right side together and sew the top edge. Do this for the two pieces. Press the seams open.
Place these two panels right sides together and sew matching the seams. Do not sew in the 1” cut out areas. On the bottom edge leave a 2” opening in the lining to turn the piece. Box the corners by matching the seams in the corner cut out.
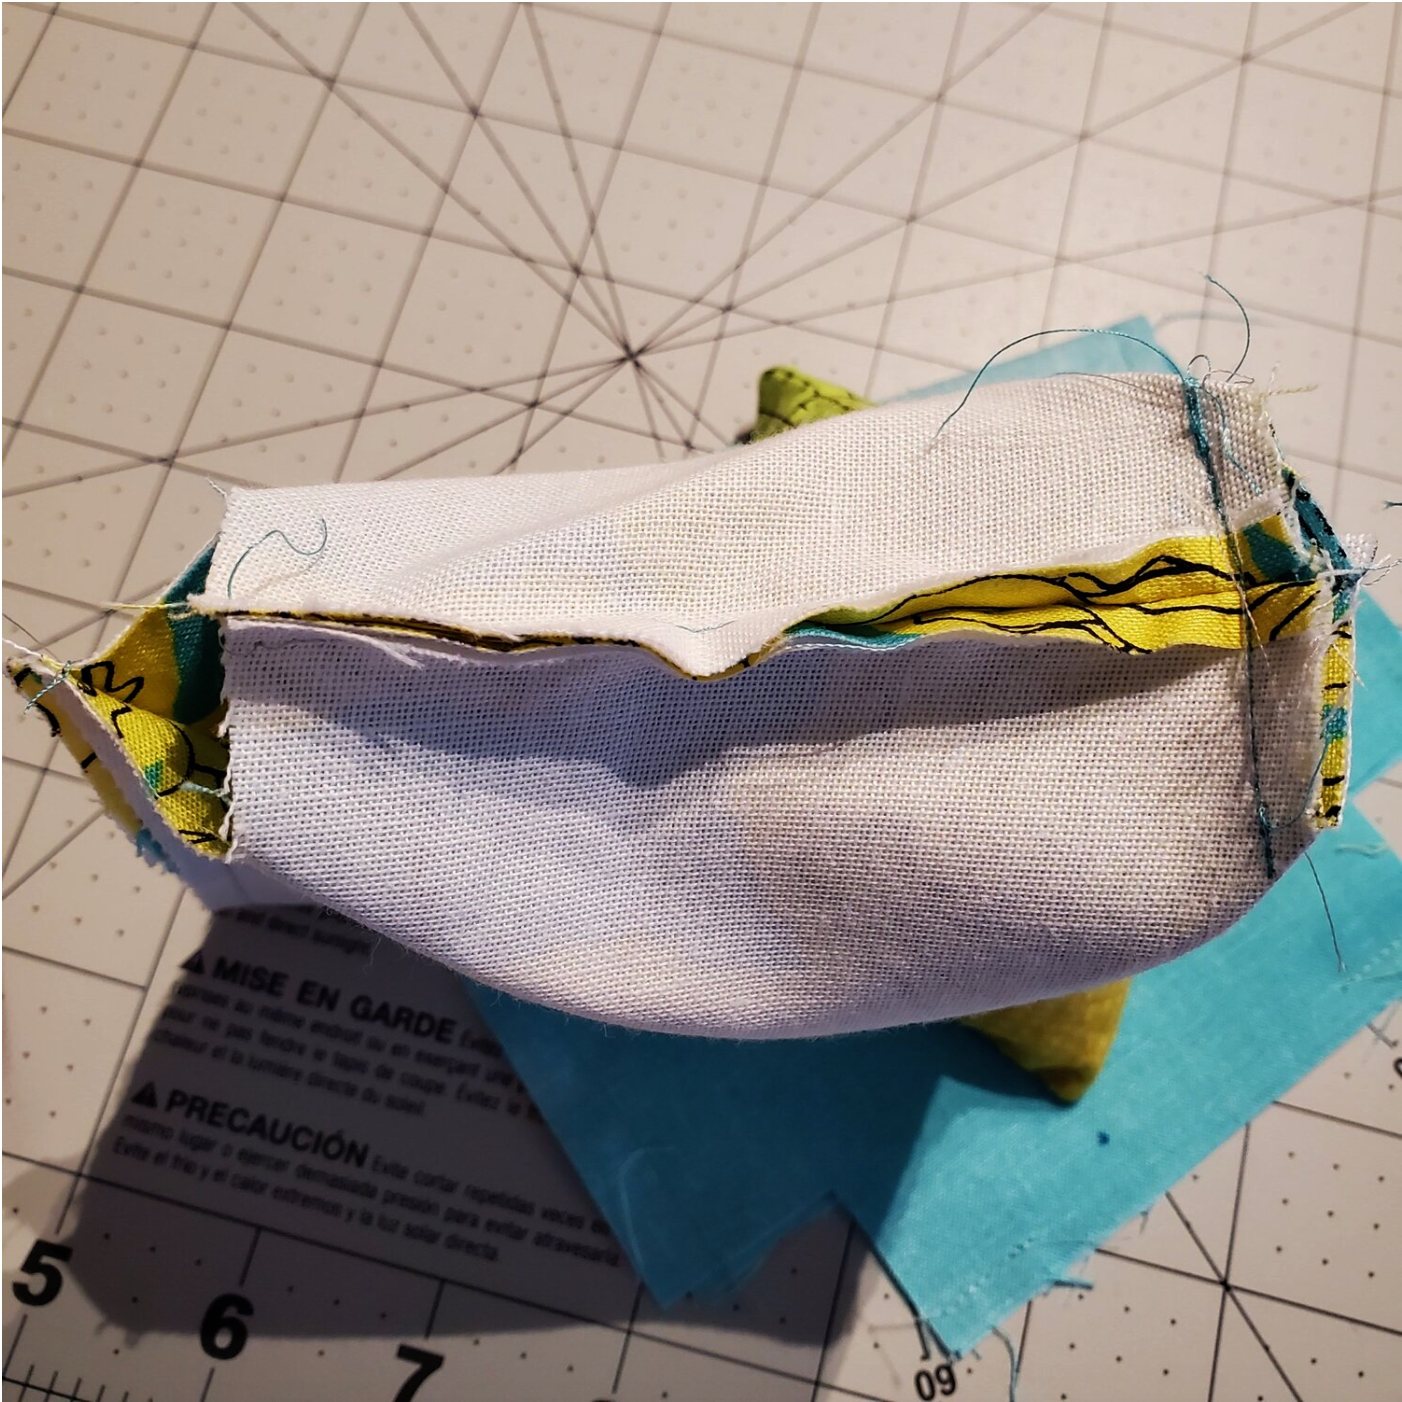
Do this on all four corners. Here is what it should look like before you turn the right sides out.
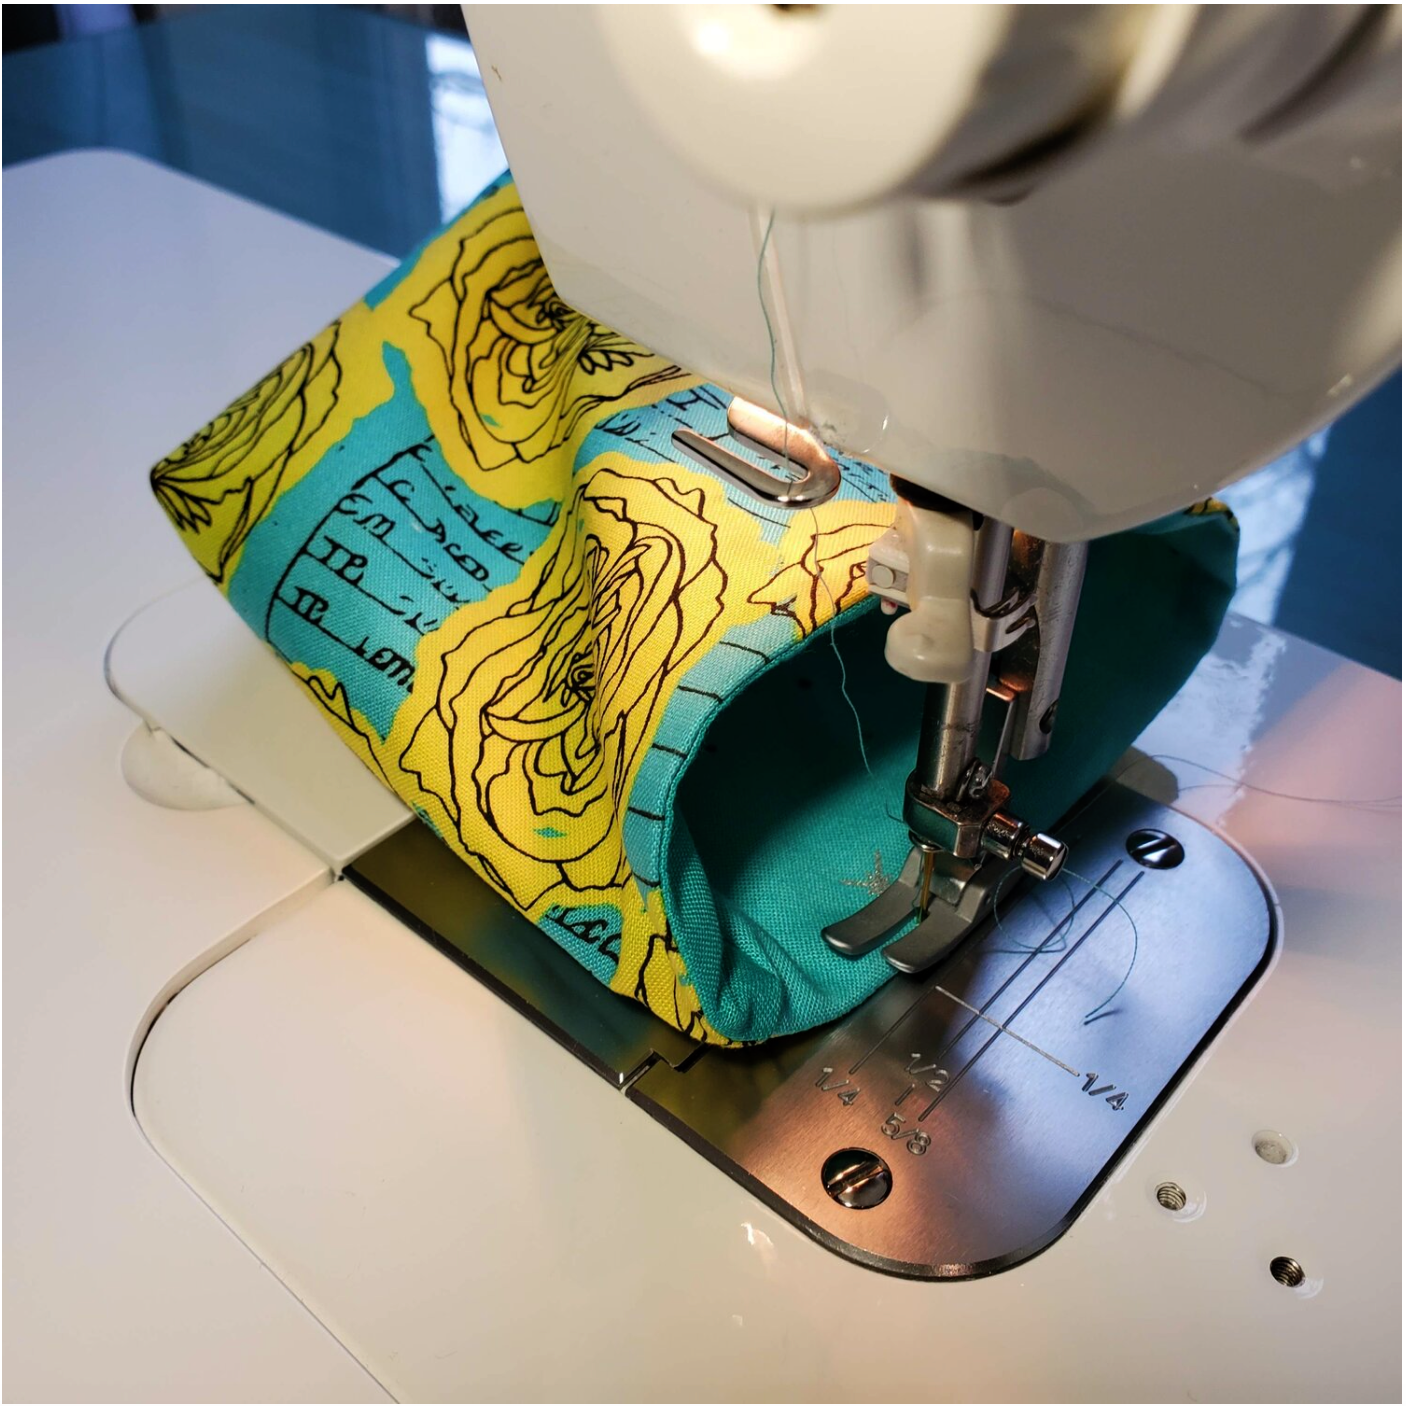
After turning, press the seams carefully. Sew the opening closed at the bottom of the lining by topstitching it close to the edge with a matching thread. Push the lining to the inside of the basket. Press the top edge nicely keeping the lining on the inside. Topstitch around the top edge to finish the basket.
I added a matching plastic snap on the inside of the basket and on the pocket to make it easy to remove.

Now you will be able to set up your sewing station at any table keeping your tools close at hand and organized. Reggie approved the new addition to my sewing table!
