DIY Head Rest Pillow
24th Jun 2021
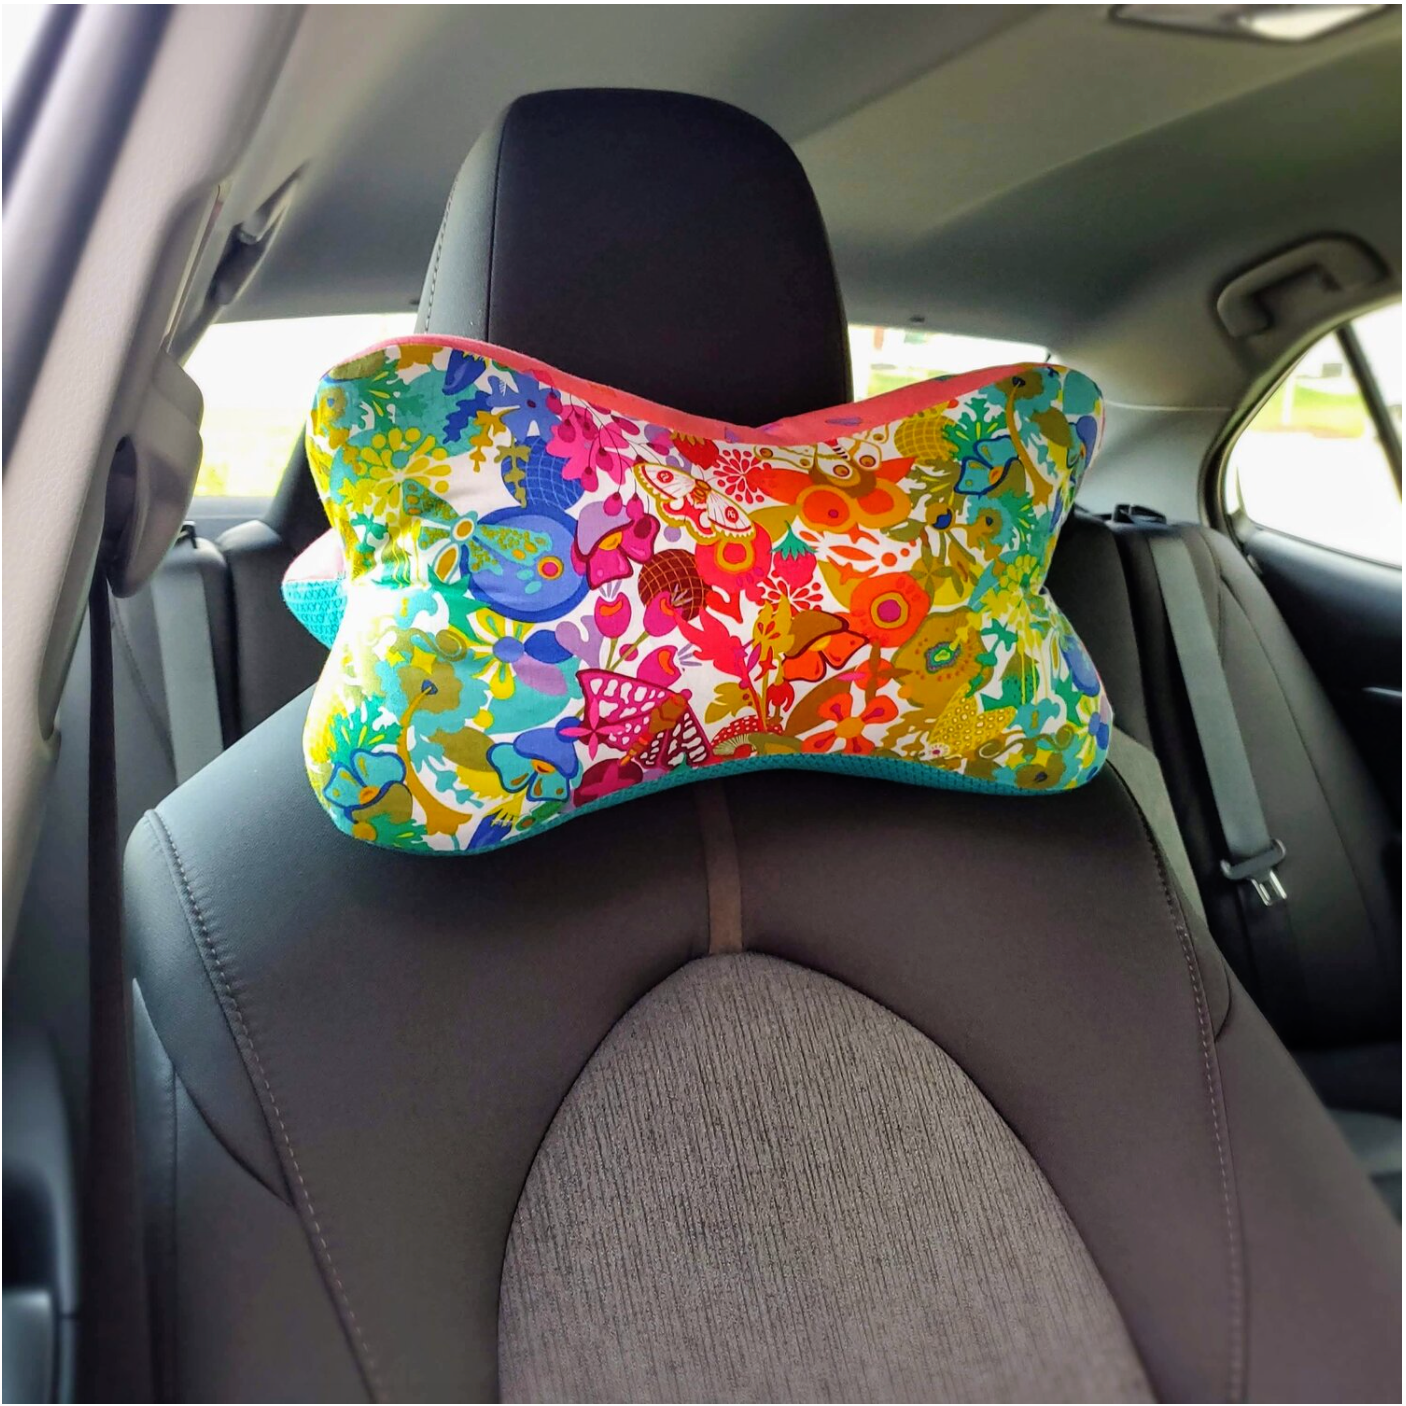
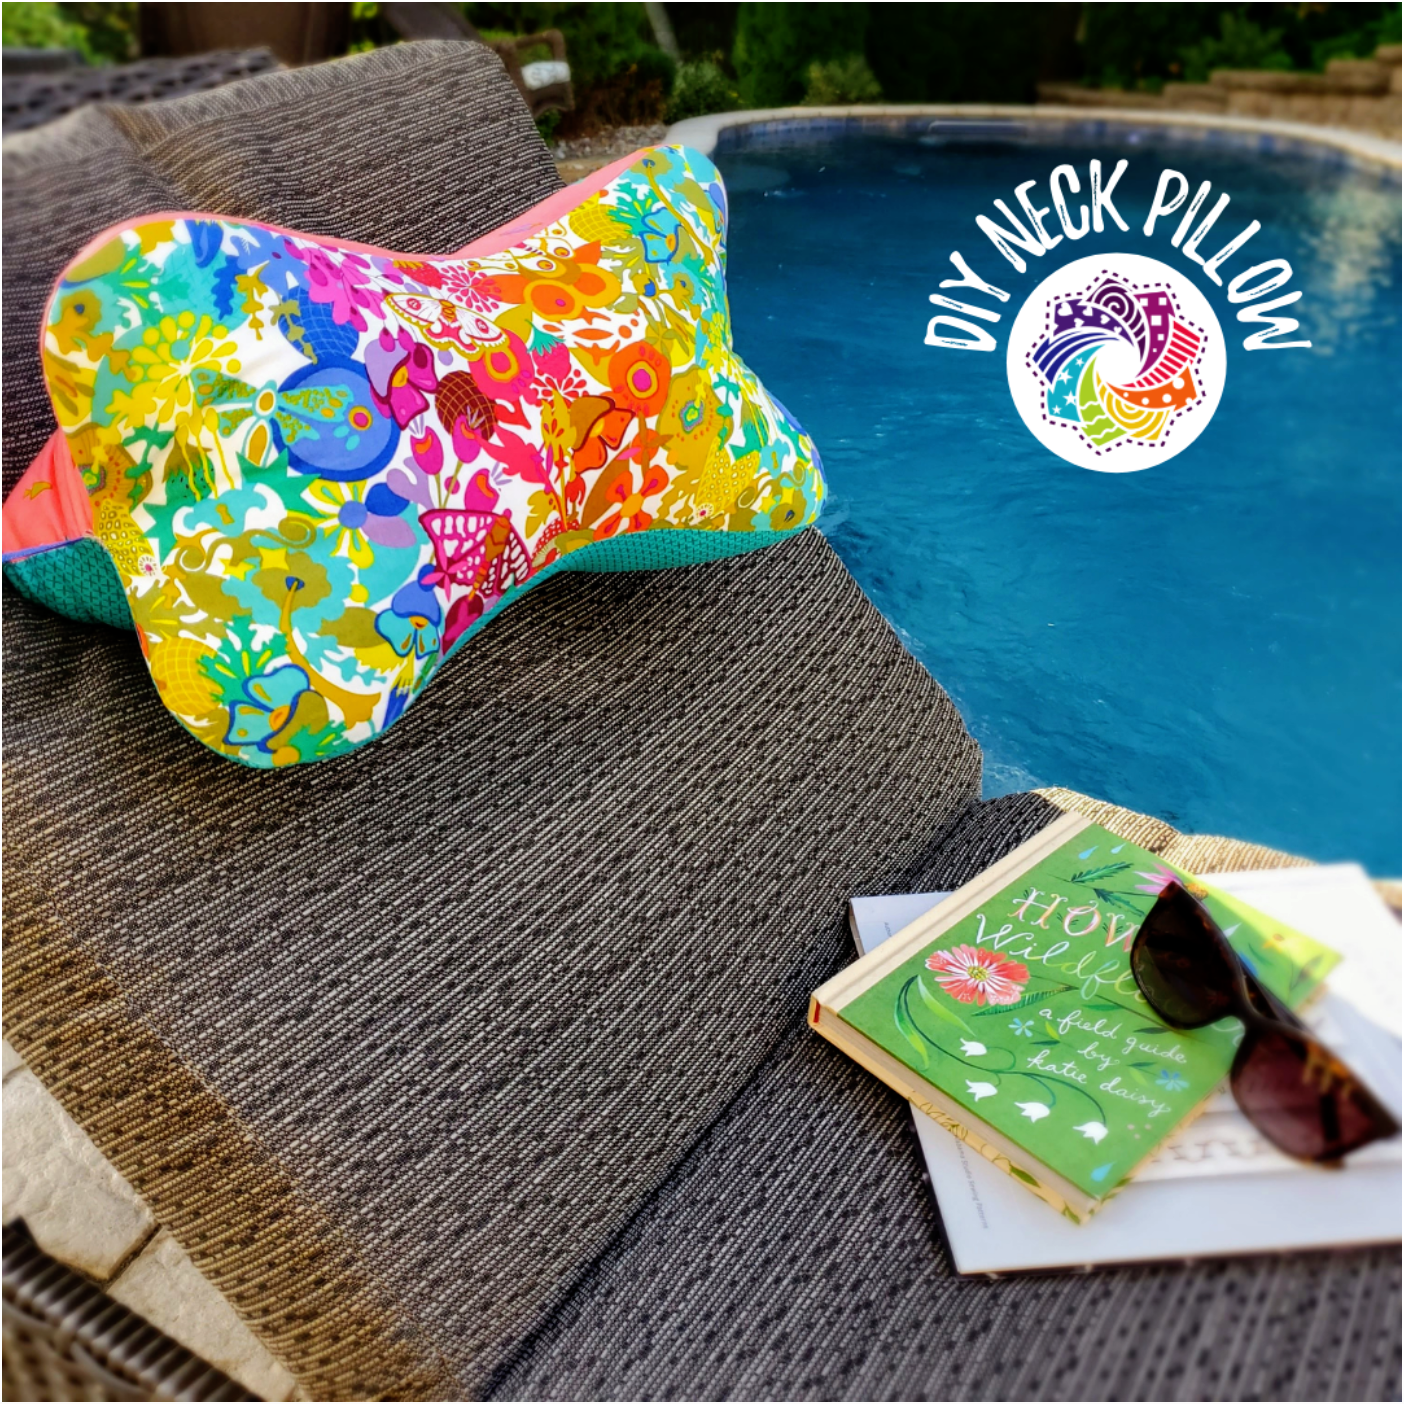
Many people are ready to get out and do some traveling this summer. This dog bone shaped pillow will be perfect to keep you comfortable as you travel. It is a quick and easy project made from three coordinating fat quarters, and you will have enough fabric to sew two - one to keep and one to share! I found this free pattern from the American Quilter’s Society blog and decided to use this colorful Andover fabric from Alison Glass available on the Cotton Cuts website. This is such a useful pillow you will want to keep it handy for reading poolside as you enjoy the warm summer days. I added an elastic strap to keep it in place and make it easy to attach to your luggage.
Materials needed:
Three fat quarters of fabric
Coordinating thread from the Chroma membership
Poly-Fil stuffing
Optional elastic
To get started, download and print the pattern. Choose your three fabrics or if you prefer it can be made of all the same fabric design. Lay the pattern in place and trace the shape and cut out the pieces. Be sure to clip each piece according to the pattern.
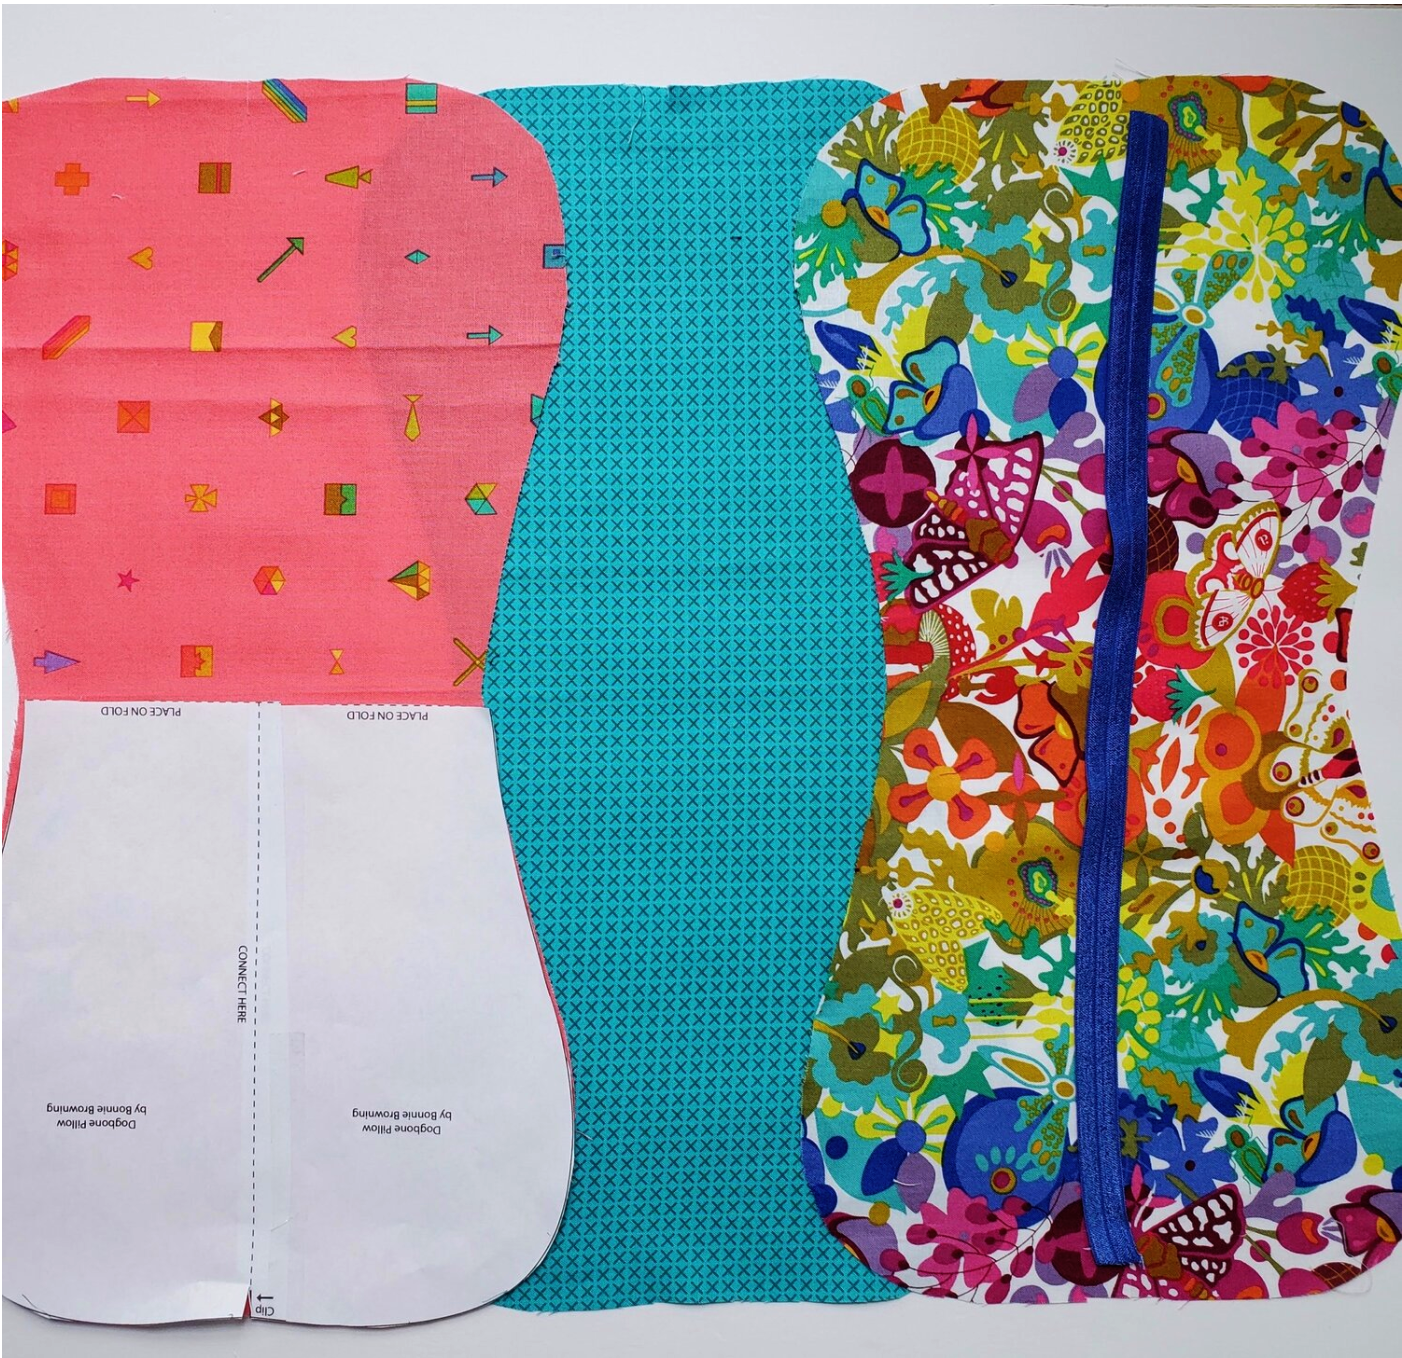
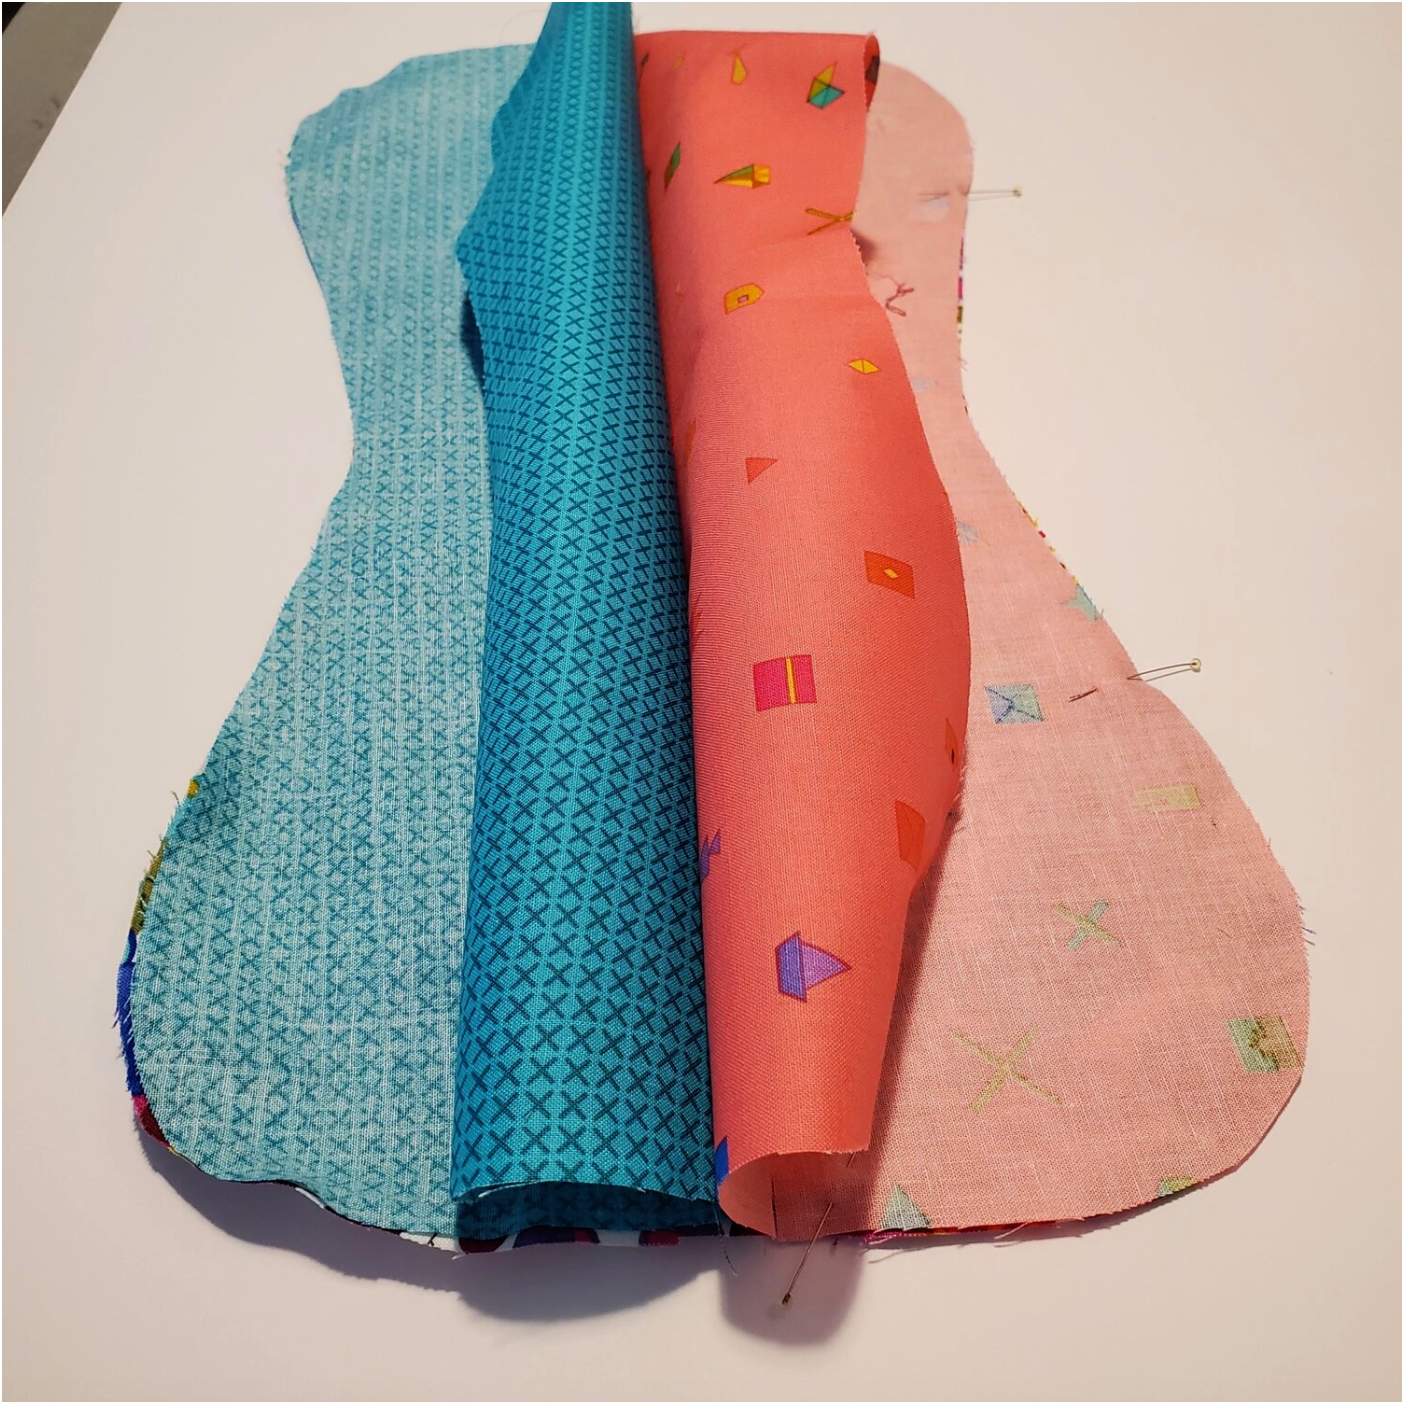
Line up two of the pieces with right sides together and pin from top clip mark to the bottom clip mark. I measured and cut a piece of elastic about 1 inch shorter than the piece of fabric, set aside for now. Sew with a ⅜” seam allowance making sure to back stitch at the beginning and end to secure the treads. Start and stop sewing at the clip line.
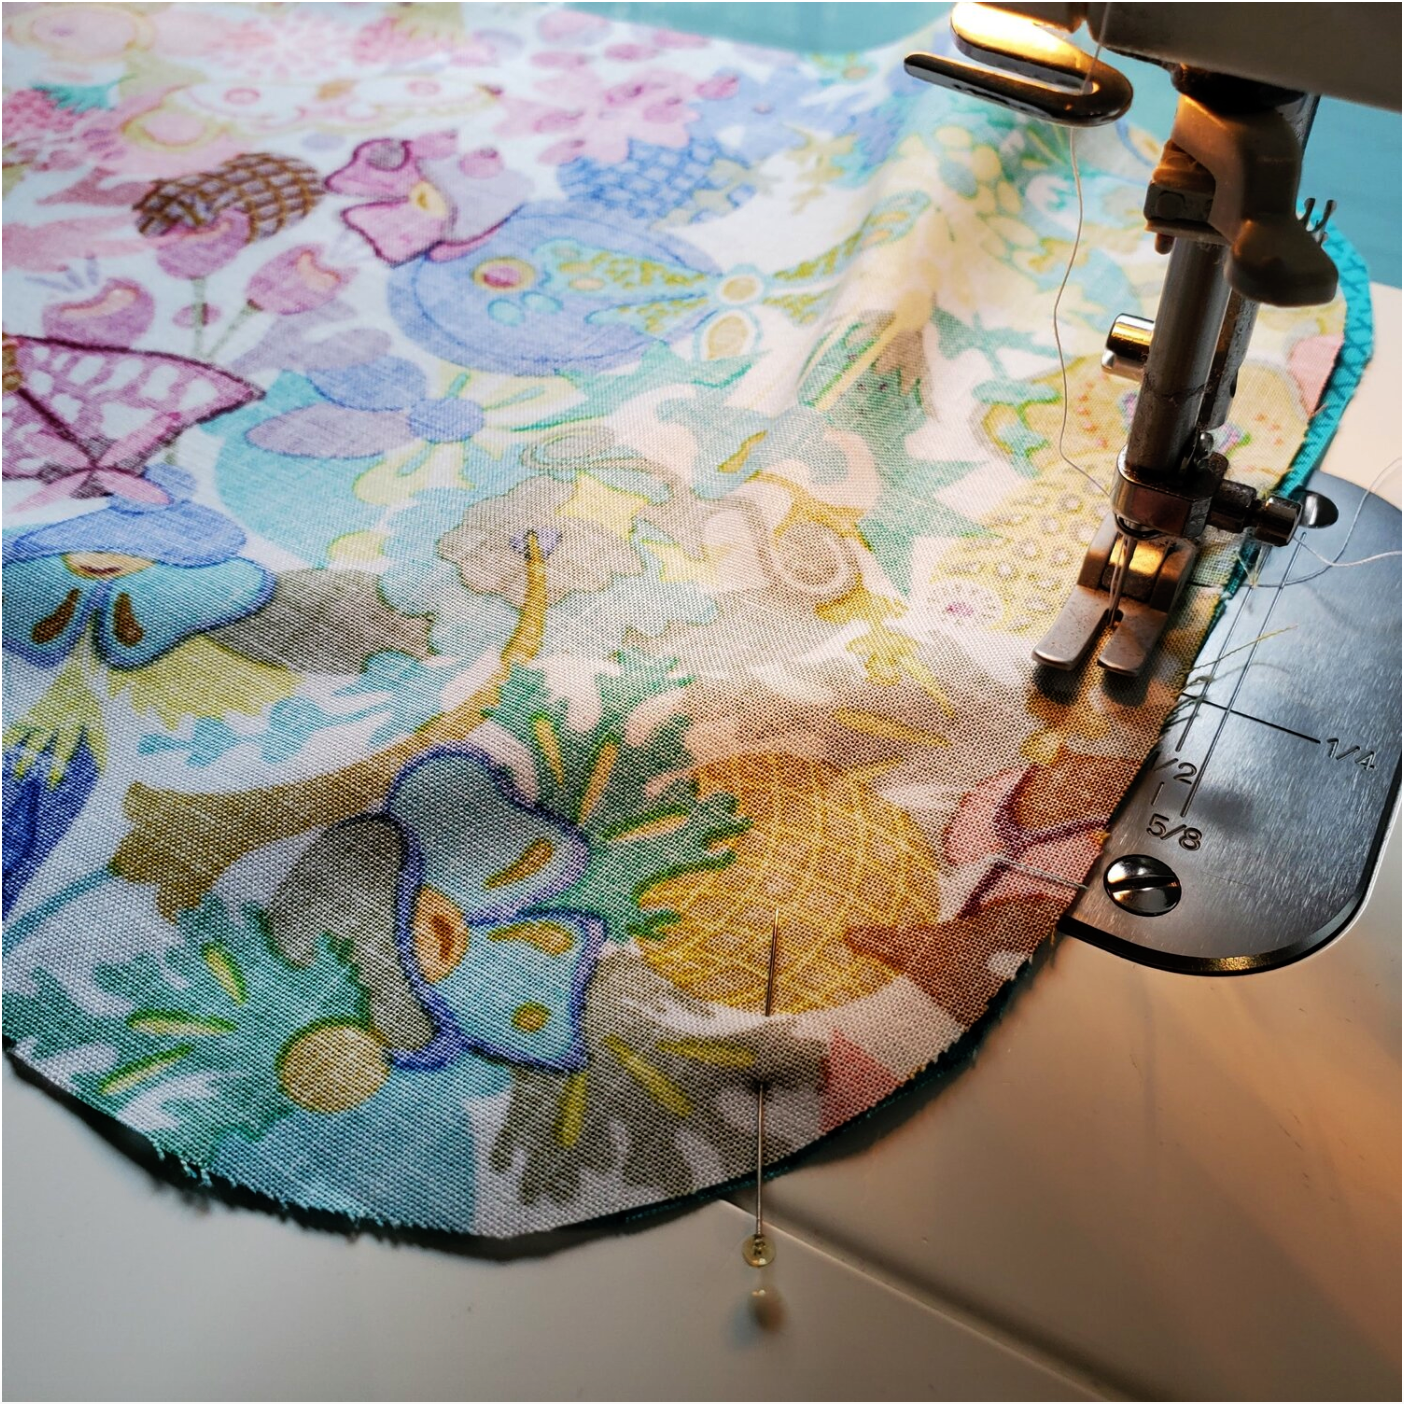
Add the third color piece pinning in place and sewing in the same way.
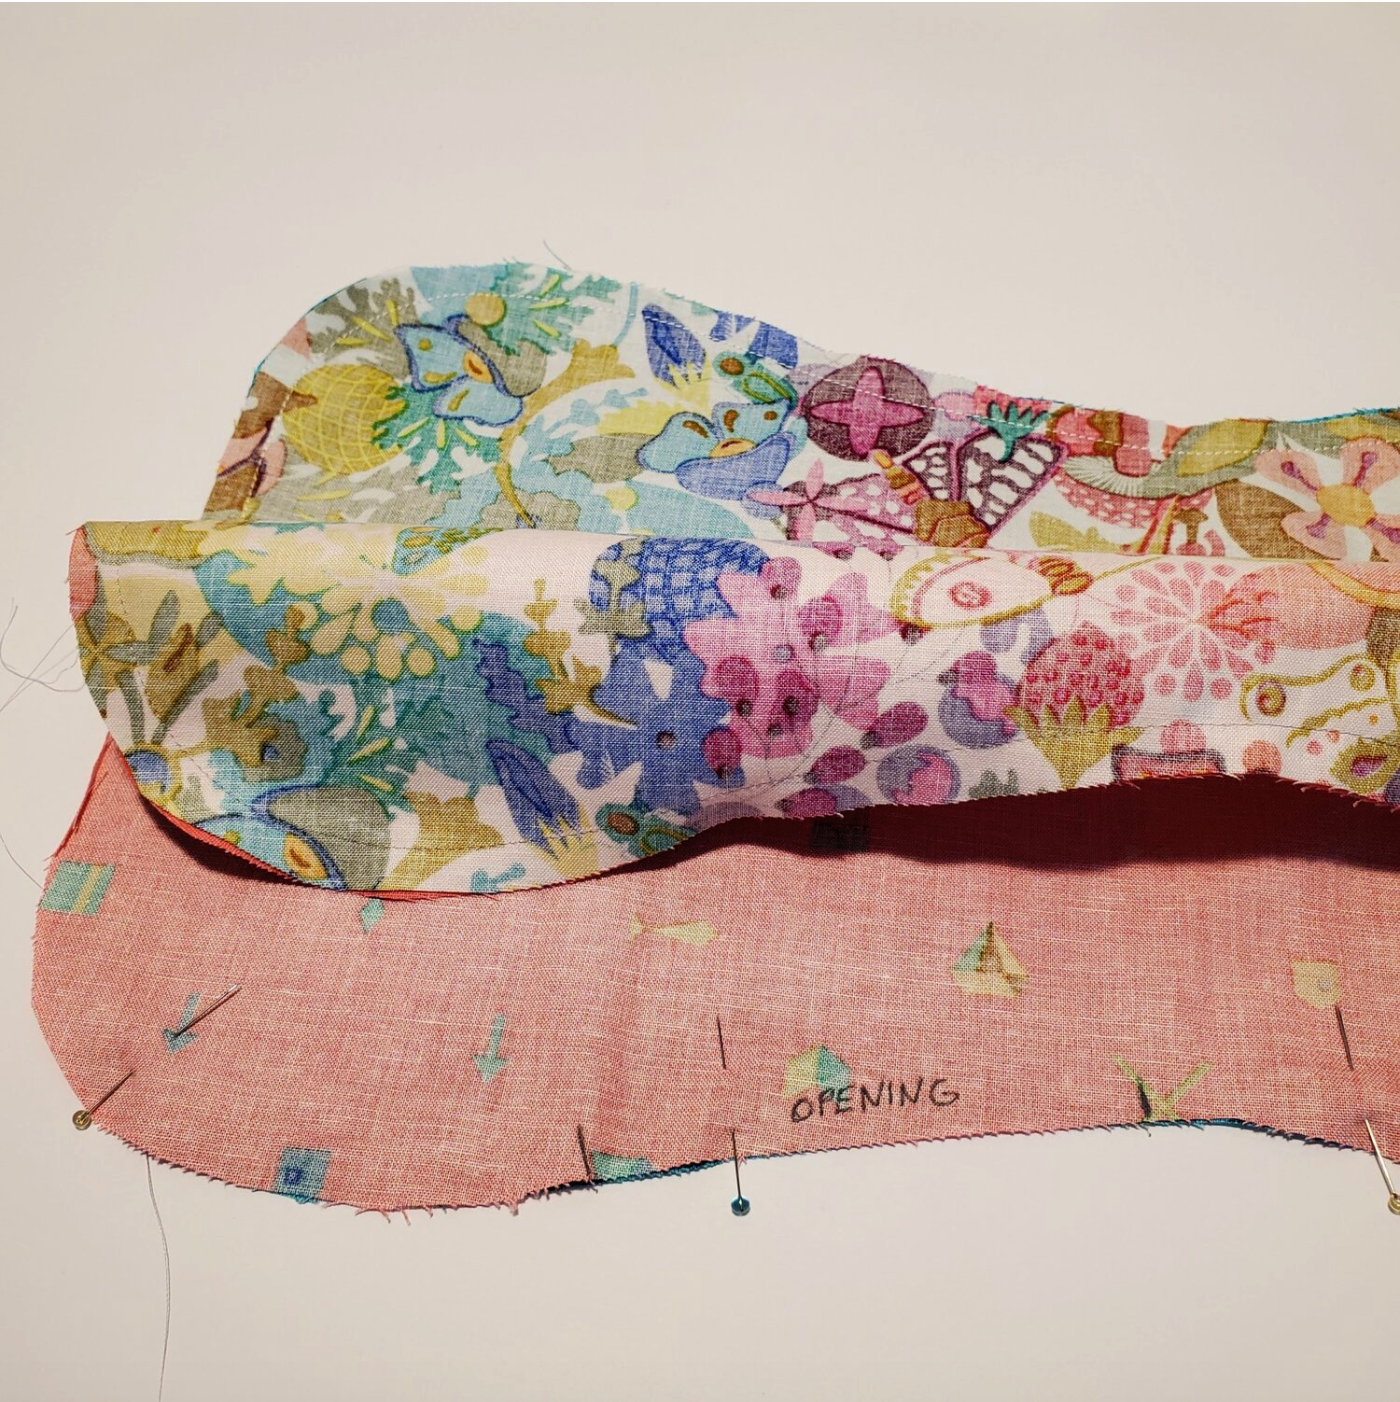
To prepare for the last seam you will need to mark about a 4” opening in the middle to fit your hand inside to adjust the pillow as you add stuffing.
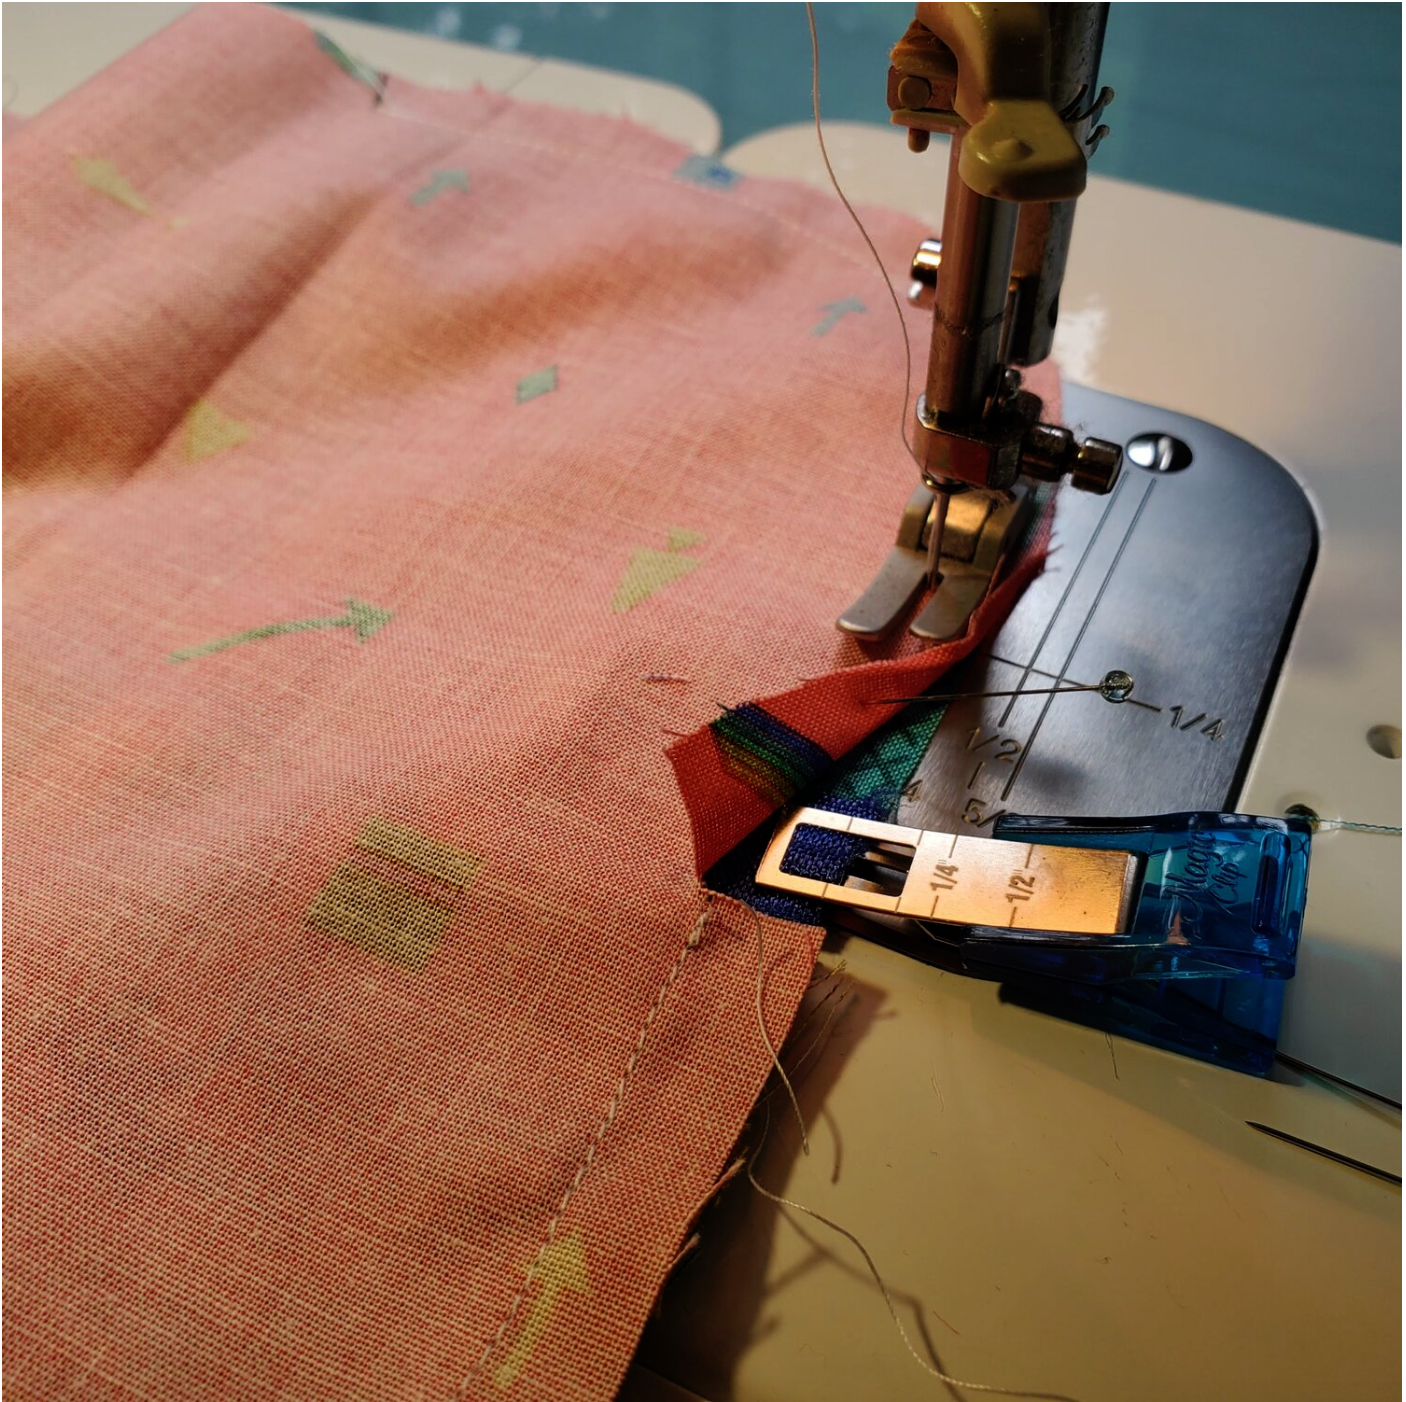
For the final seam you will want to add the elastic to the seam at the clip mark on each end. I used a clip to secure in place as I sewed, back stitching to reinforce the seam.
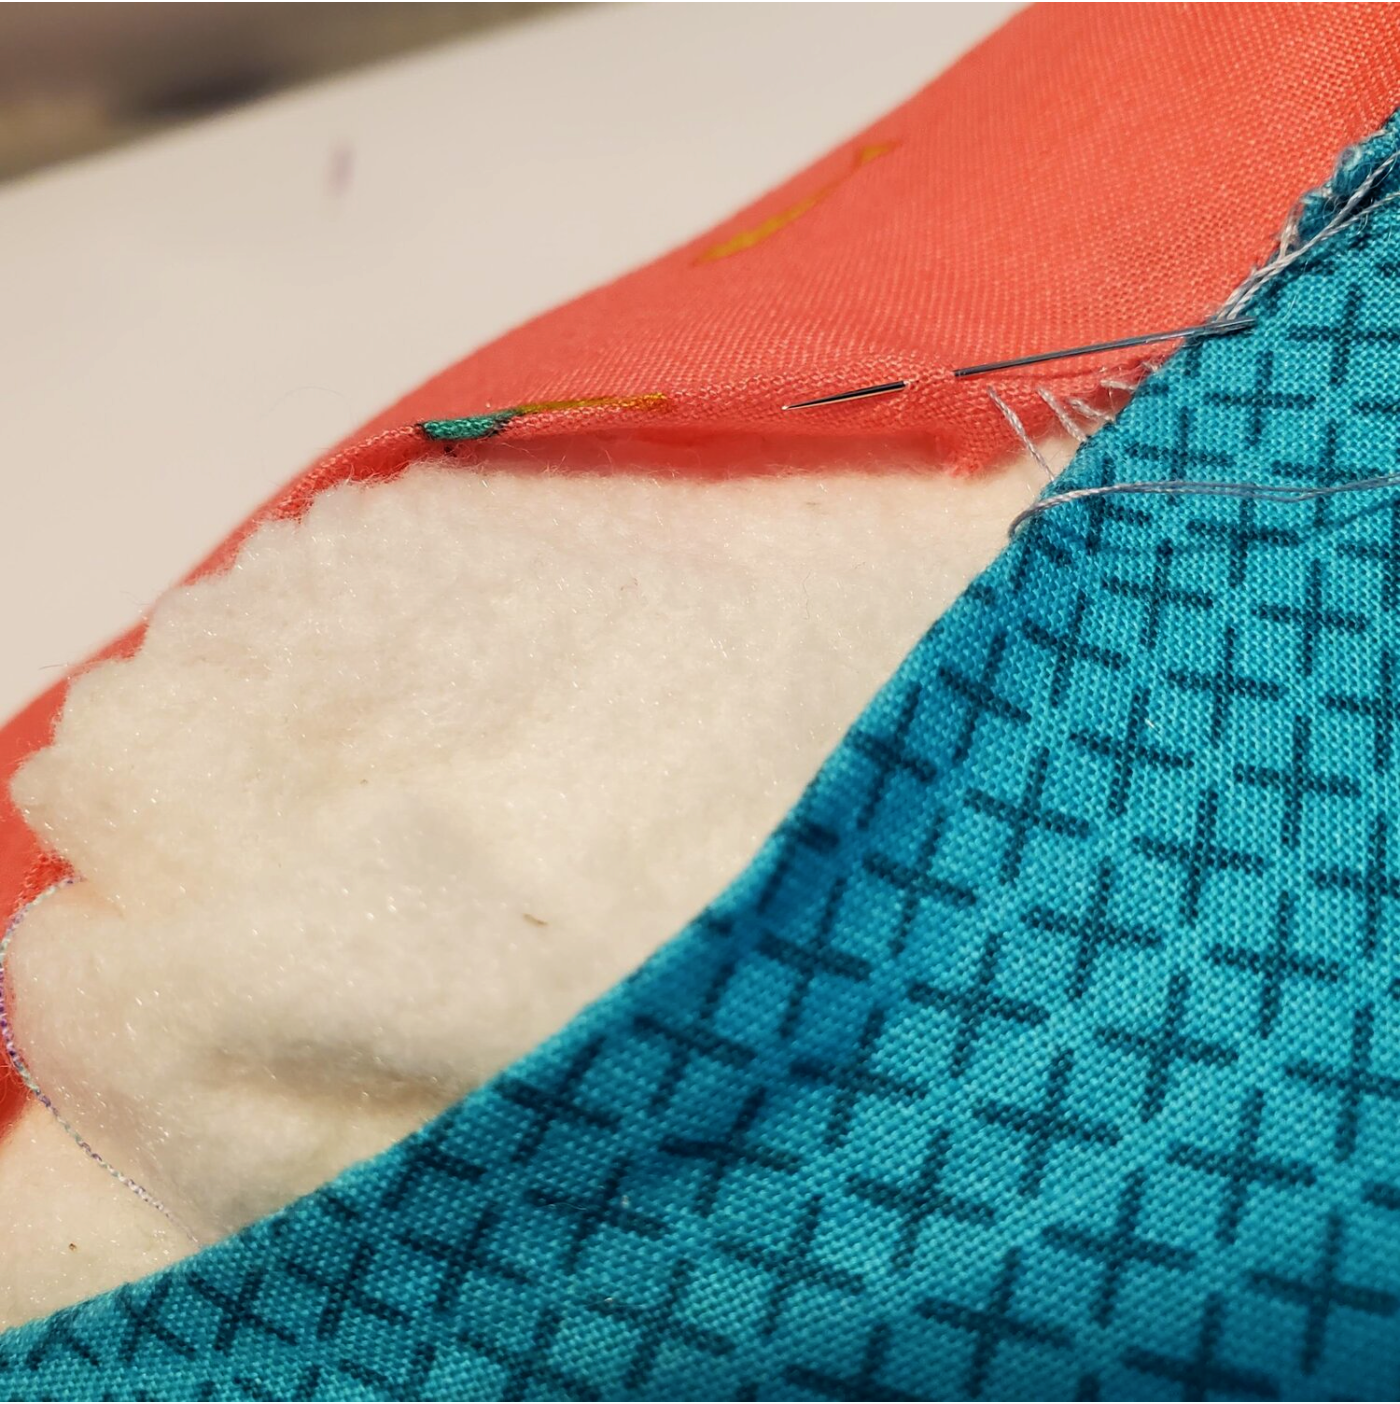
Trim all the seams with pinking shears to help the curves lay flat. Turn right sides out and carefully press aligning the edges evenly.

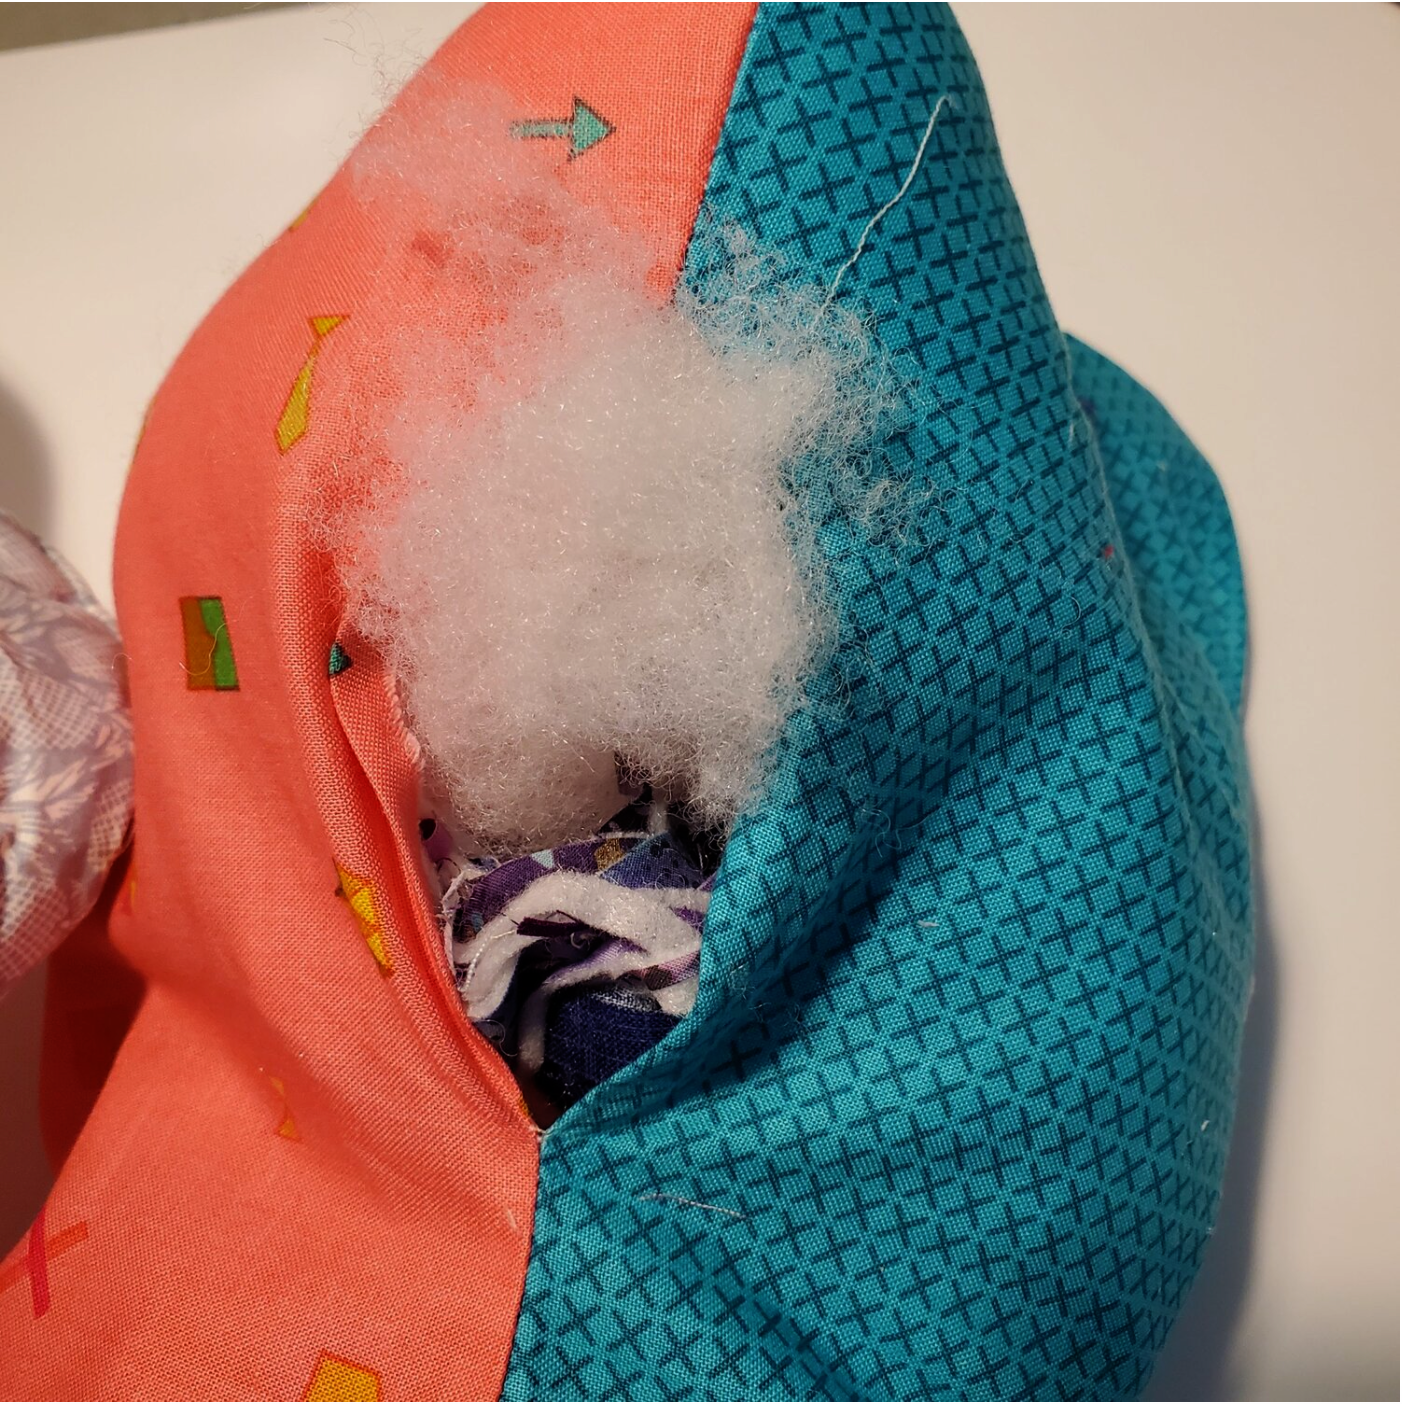
Add the stuffing. This is a great way to use some of your snippets of fabric and batting to fill the pillow. I used fabric scraps for the inner filling and then added Poly-Fil around it to give it a smooth appearance.
When it is filled to your desired plumpness, hand stitch the opening closed using a coordinating thread and a ladder stitch. I found this helpful tutorial from Melly Sews if you need information on how to hand sew an invisible seam.
I also did a few hand stitches at the top intersection of the fabrics where you start and stop stitching to close the small opening.

This was a great project to use my fat quarters from my Classic membership box. I think this versatile pillow has so many great uses like for a new mom or to keep you in a proper sleeping position after a surgery. I will be using mine in the car as we drive 800 miles north to enjoy Lake Superior in July!