DIY Birthday Banner
13th May 2021
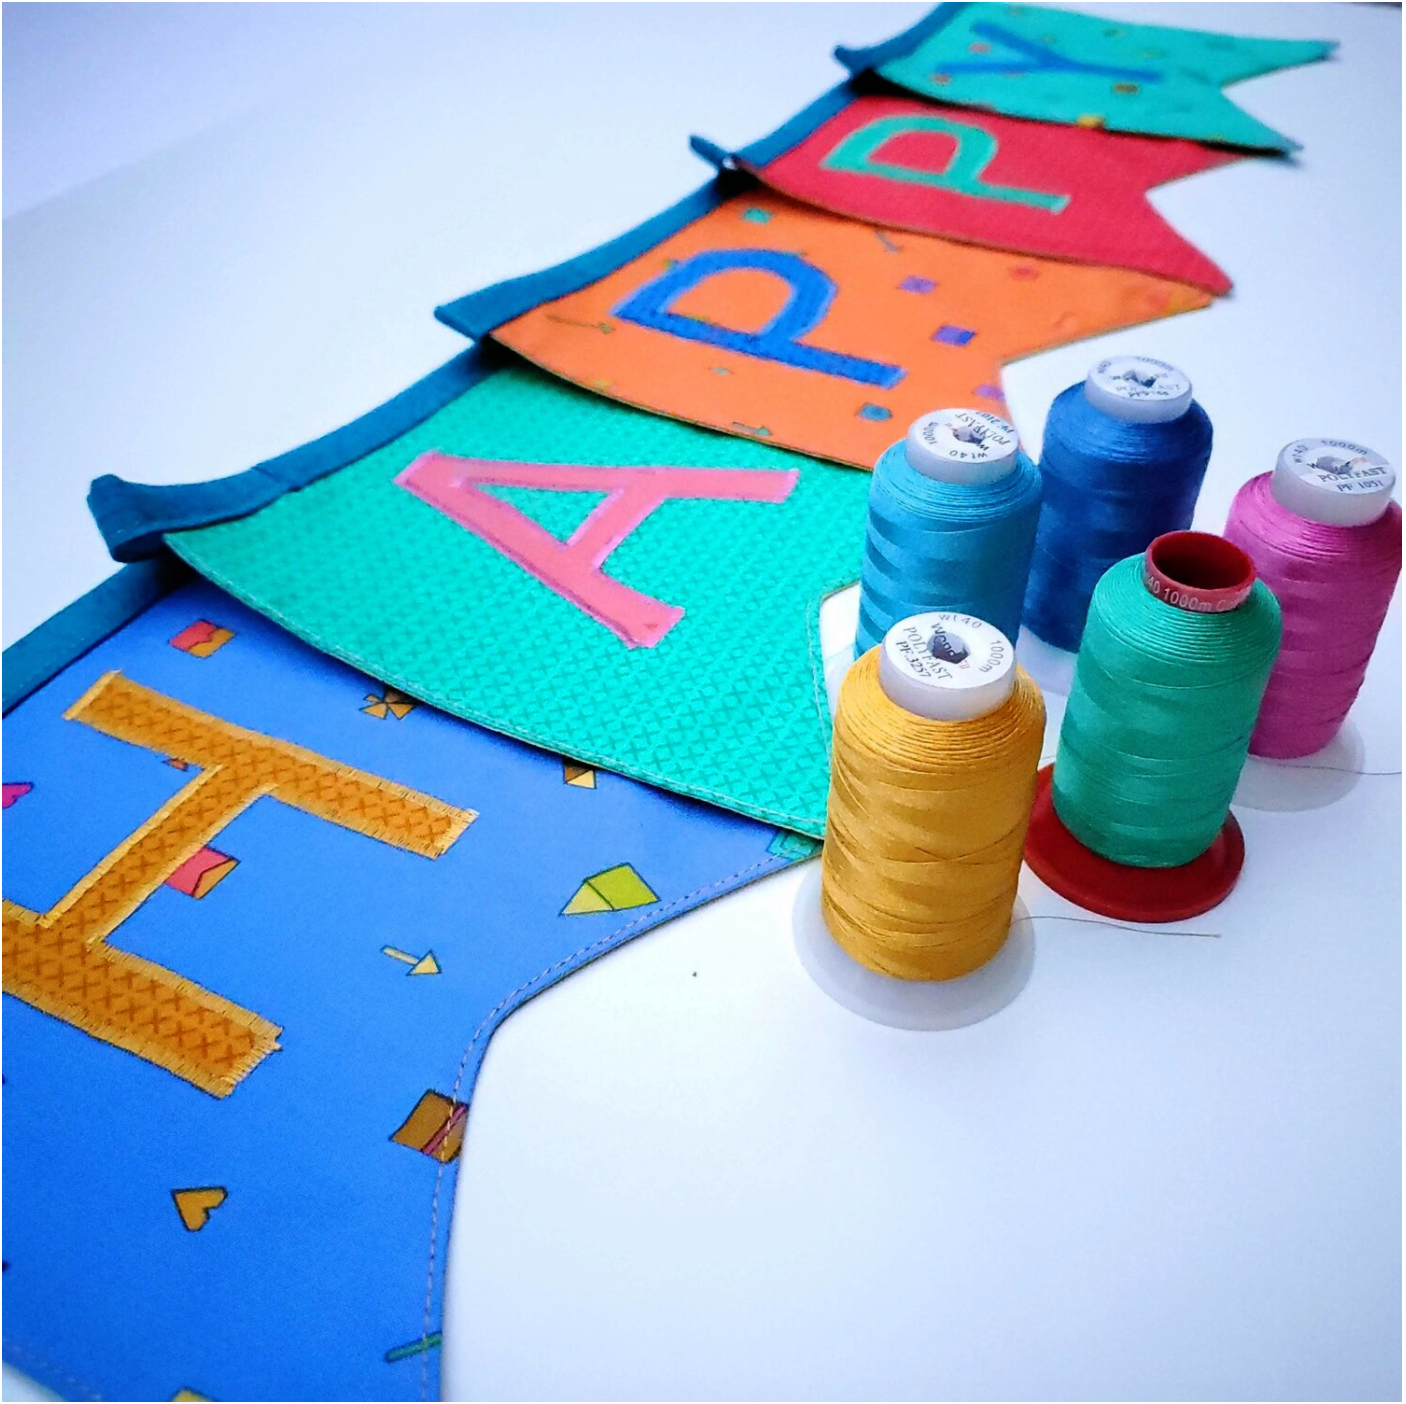
Life gives us so many reasons to celebrate, and I think birthday celebrations are the best! Taking an afternoon to make this for someone in your life will make them feel special year after year. This birthday banner would be a great gift for new parents to start the tradition of hanging the banner for each birthday. It is a great beginner project using larger scraps or fat quarters. It can be made in many different ways allowing for personalization. It would be fun to write a message at each celebration on the back of the flags and given as a sentimental gift to your grown child. This project features the Alison Glass Sunprint and Cross Stitch fabrics using this free Robert Kaufman pattern. The Wonderfil threads add the extra touch with the vibrant color and sheen.
Materials needed
13 different fat quarter fabrics Alison Glass Sunprint 2021
⅓ yard fabric for binding Alison Glass Sunprint 2021
Coordinating Wonderfil Thread
Heat N Bond light
Tear away stabilizer
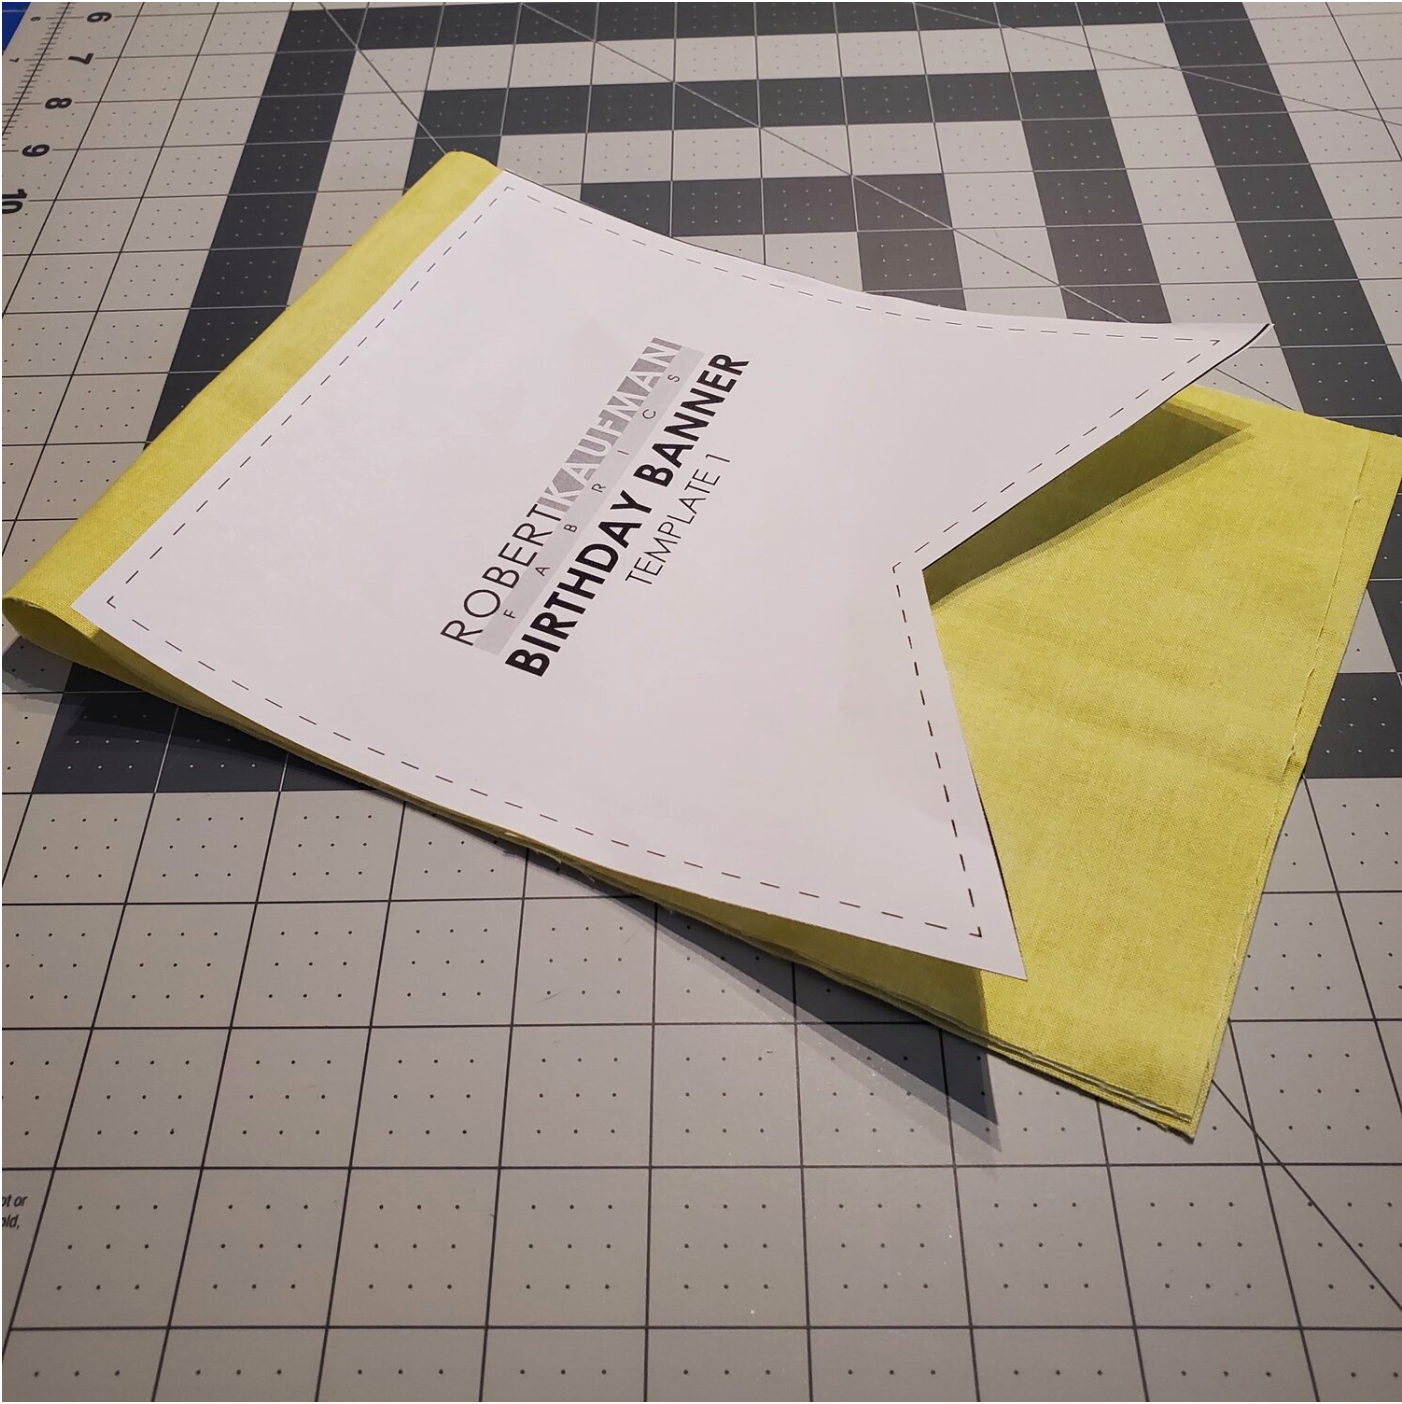
To get started, download and print the free pattern. Cut out the template for the banner flag. You can cut matching front and back pieces for a total of 26 cut pieces. I decided to cut all 13 of the back pieces from the same fabric and then use 13 assorted fabrics for the front. You will need ⅔ of a yard to do all 13 back pieces. I cut 7” strips WOF and folded the fabric to get a rectangle that fit the template cutting through all four layers at once.
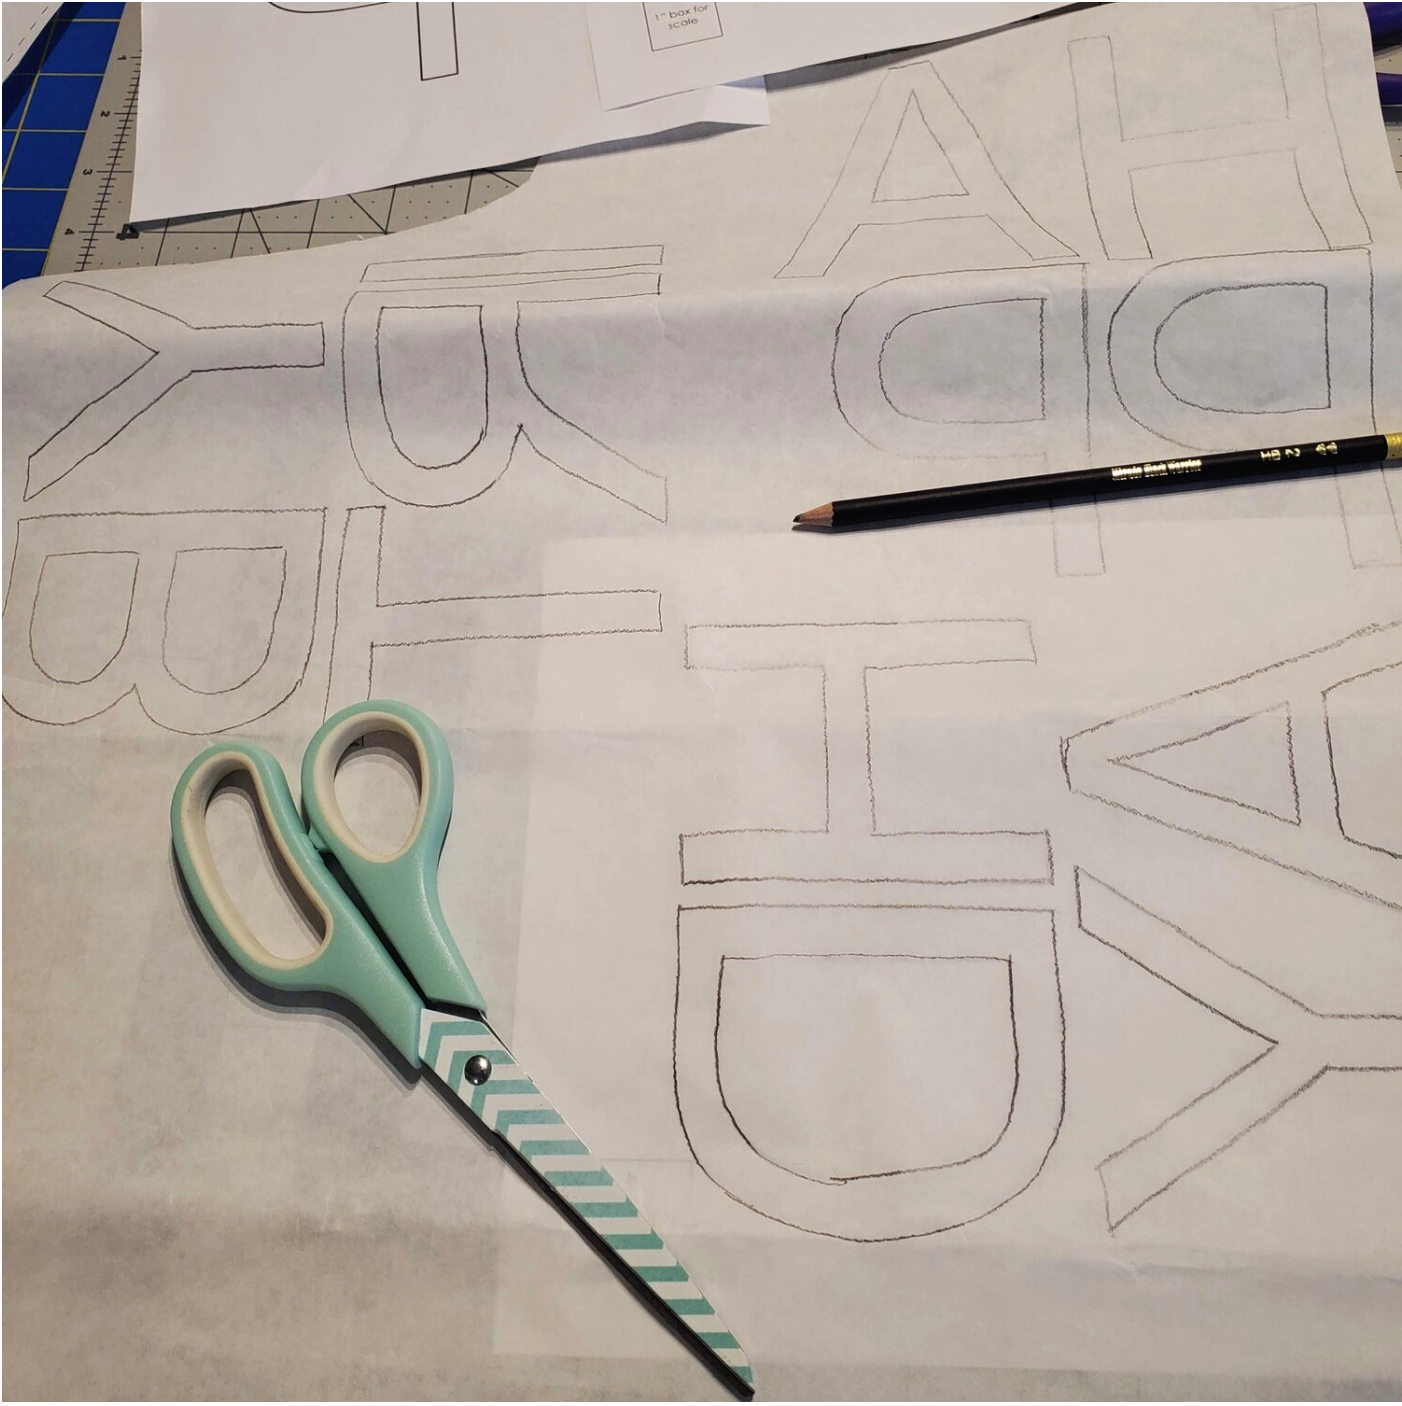
Cut all the flag pieces and lay them out in the order you want for the finished banner. Choose the fabrics to cut the letters from. For this project I tried to use contrasting fabrics so the letters would be visible against the background fabric. You could choose to make the letters all from the same fabric. The printed pattern makes it easy to transfer by tracing the letters onto the paper side of the Heat n Bond.
Cut out the Heat n Bond letters and iron on to the back of the fabric. Cut out the fabric letters from the fabric.
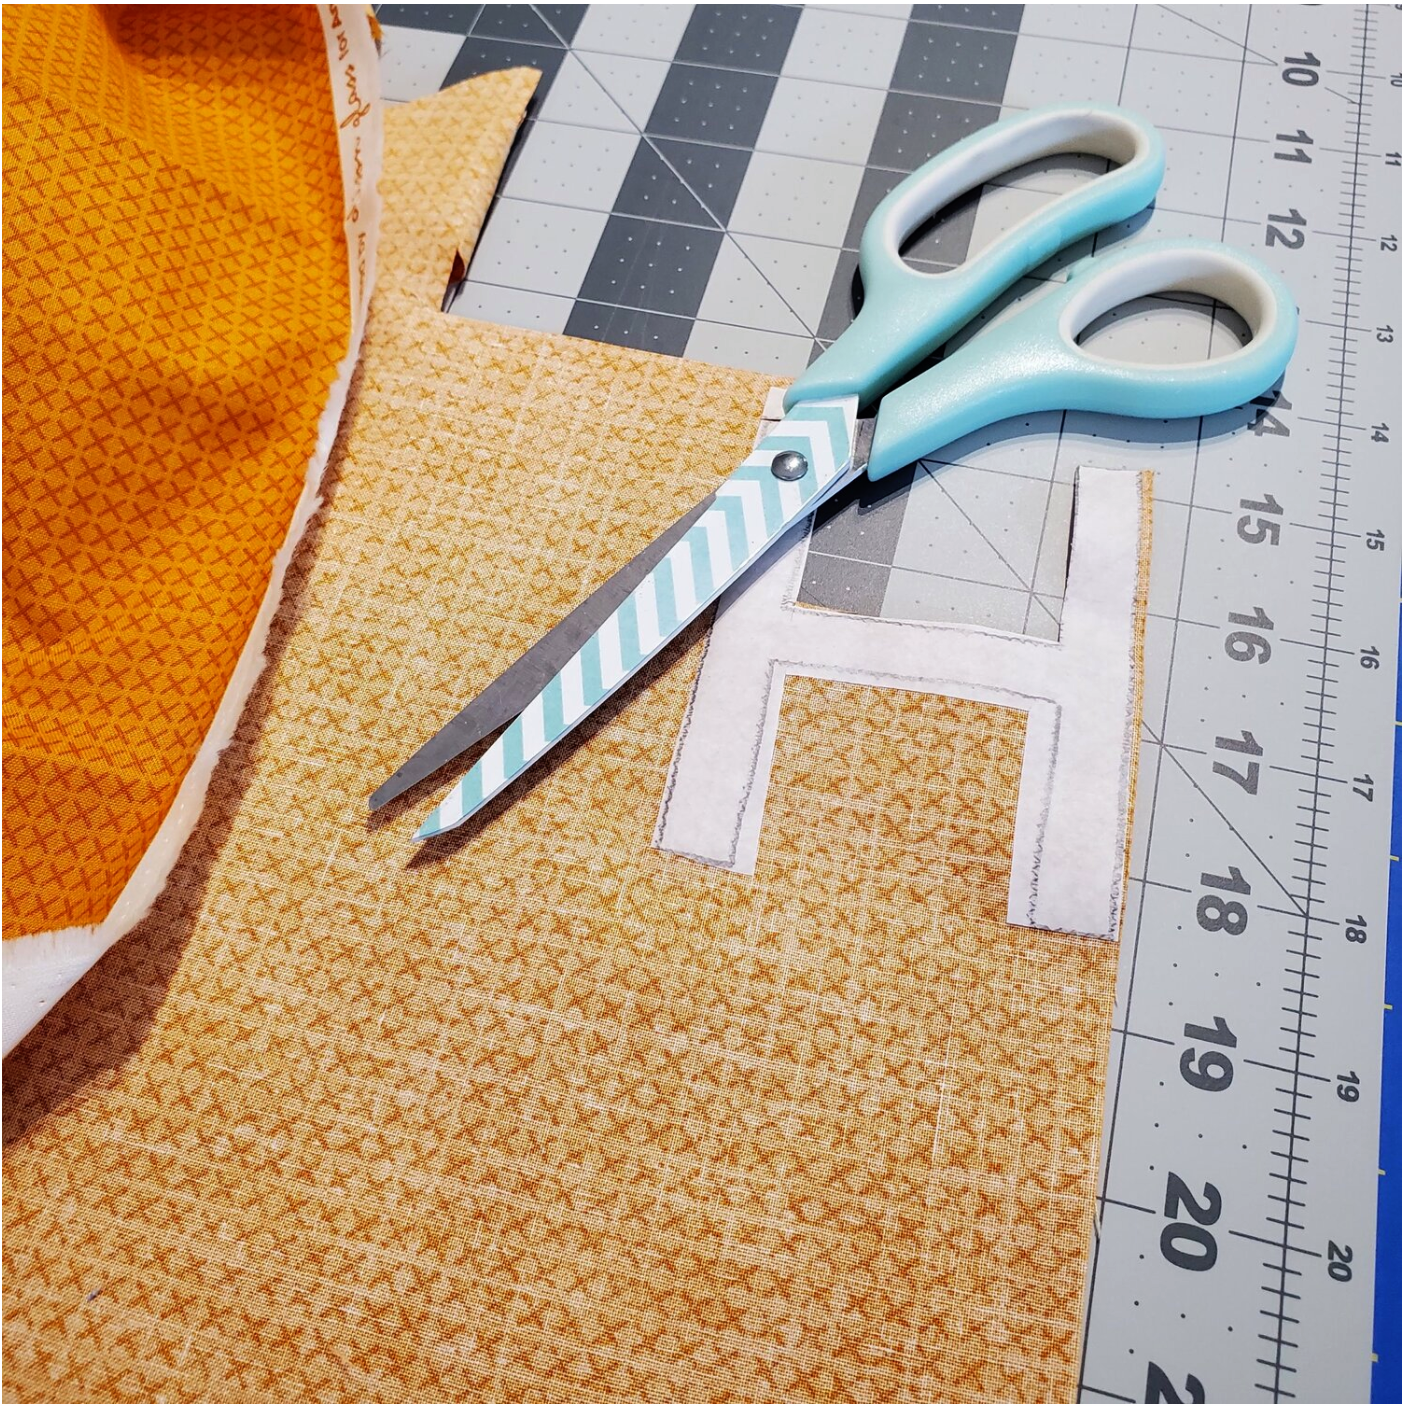
Lay out the banner pieces to see if you are pleased with how it all looks before it is permanently ironed on.

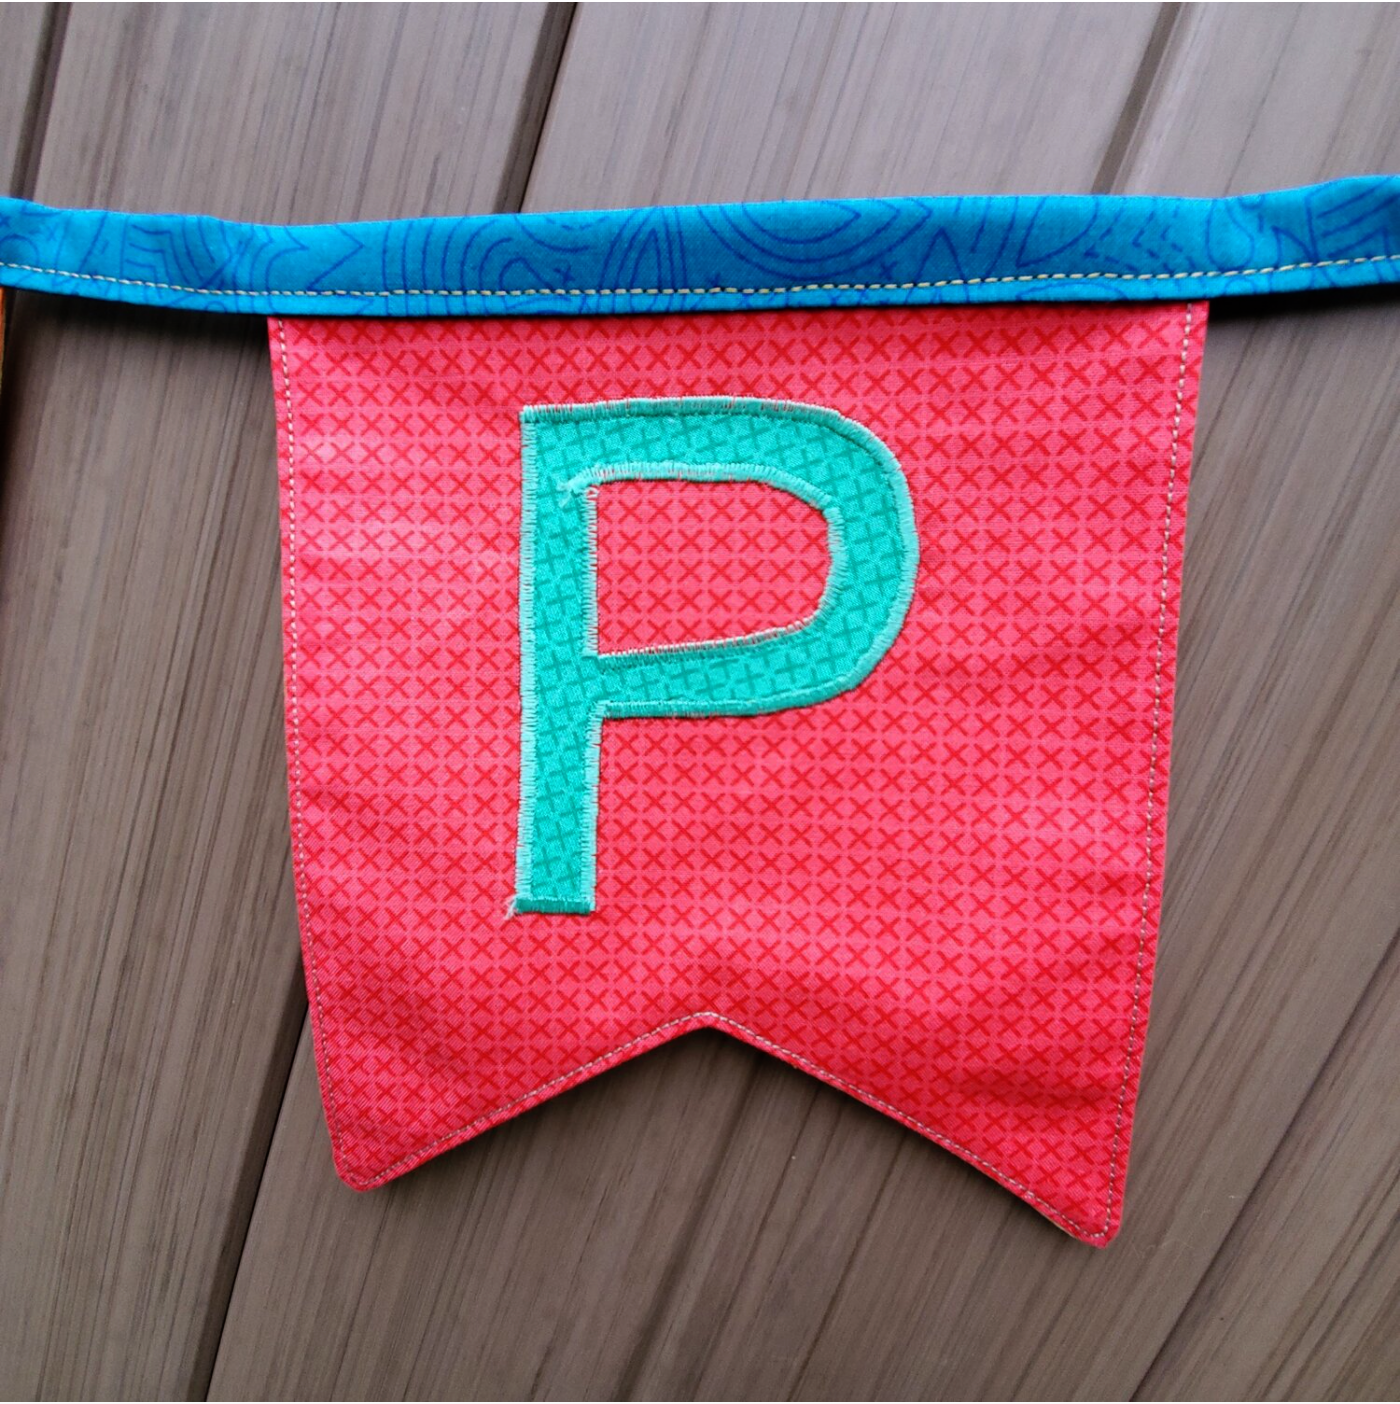
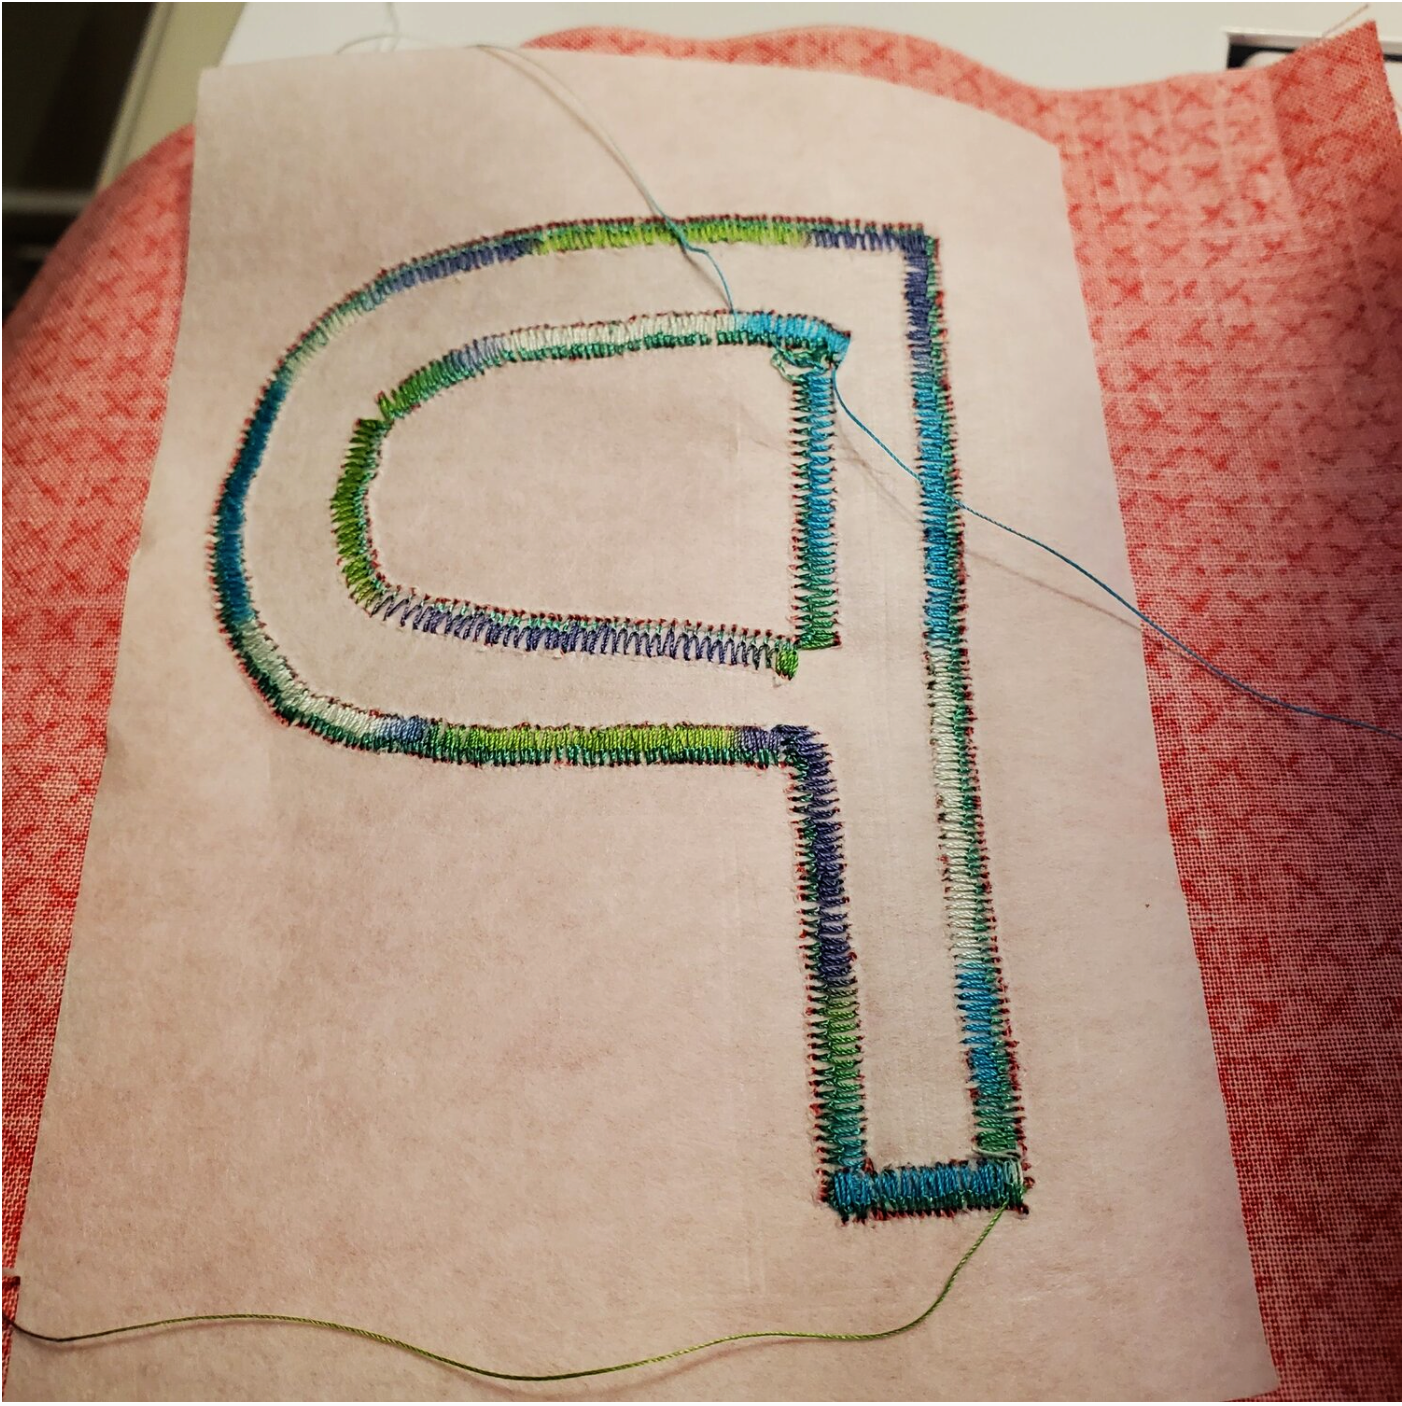
Place the letters centered on the flag 1” from the top edge of the flag and iron in place. Next you will set your machine stitch to a zigzag satin stitch using a matching Wonderfil thread. Practice on an extra piece of fabric to adjust the stitch length and tension before you start on your flags.

You will want to use a piece of tear away stabilizer on the back of the flag to prevent puckering as you sew on the letter to each flag. After you sew the letters in place, tear away the stabilizer from around the stitched letter.
After all the letters are satin stitched using the matching Wonderfil thread it is time to sew the front and back flags together. Line up the edges with right sides together and sew ¼” seam. Leave the top edge open. Clip the center point to the stitching line and trim the points off the tips of the flags to help the seams lay flat.
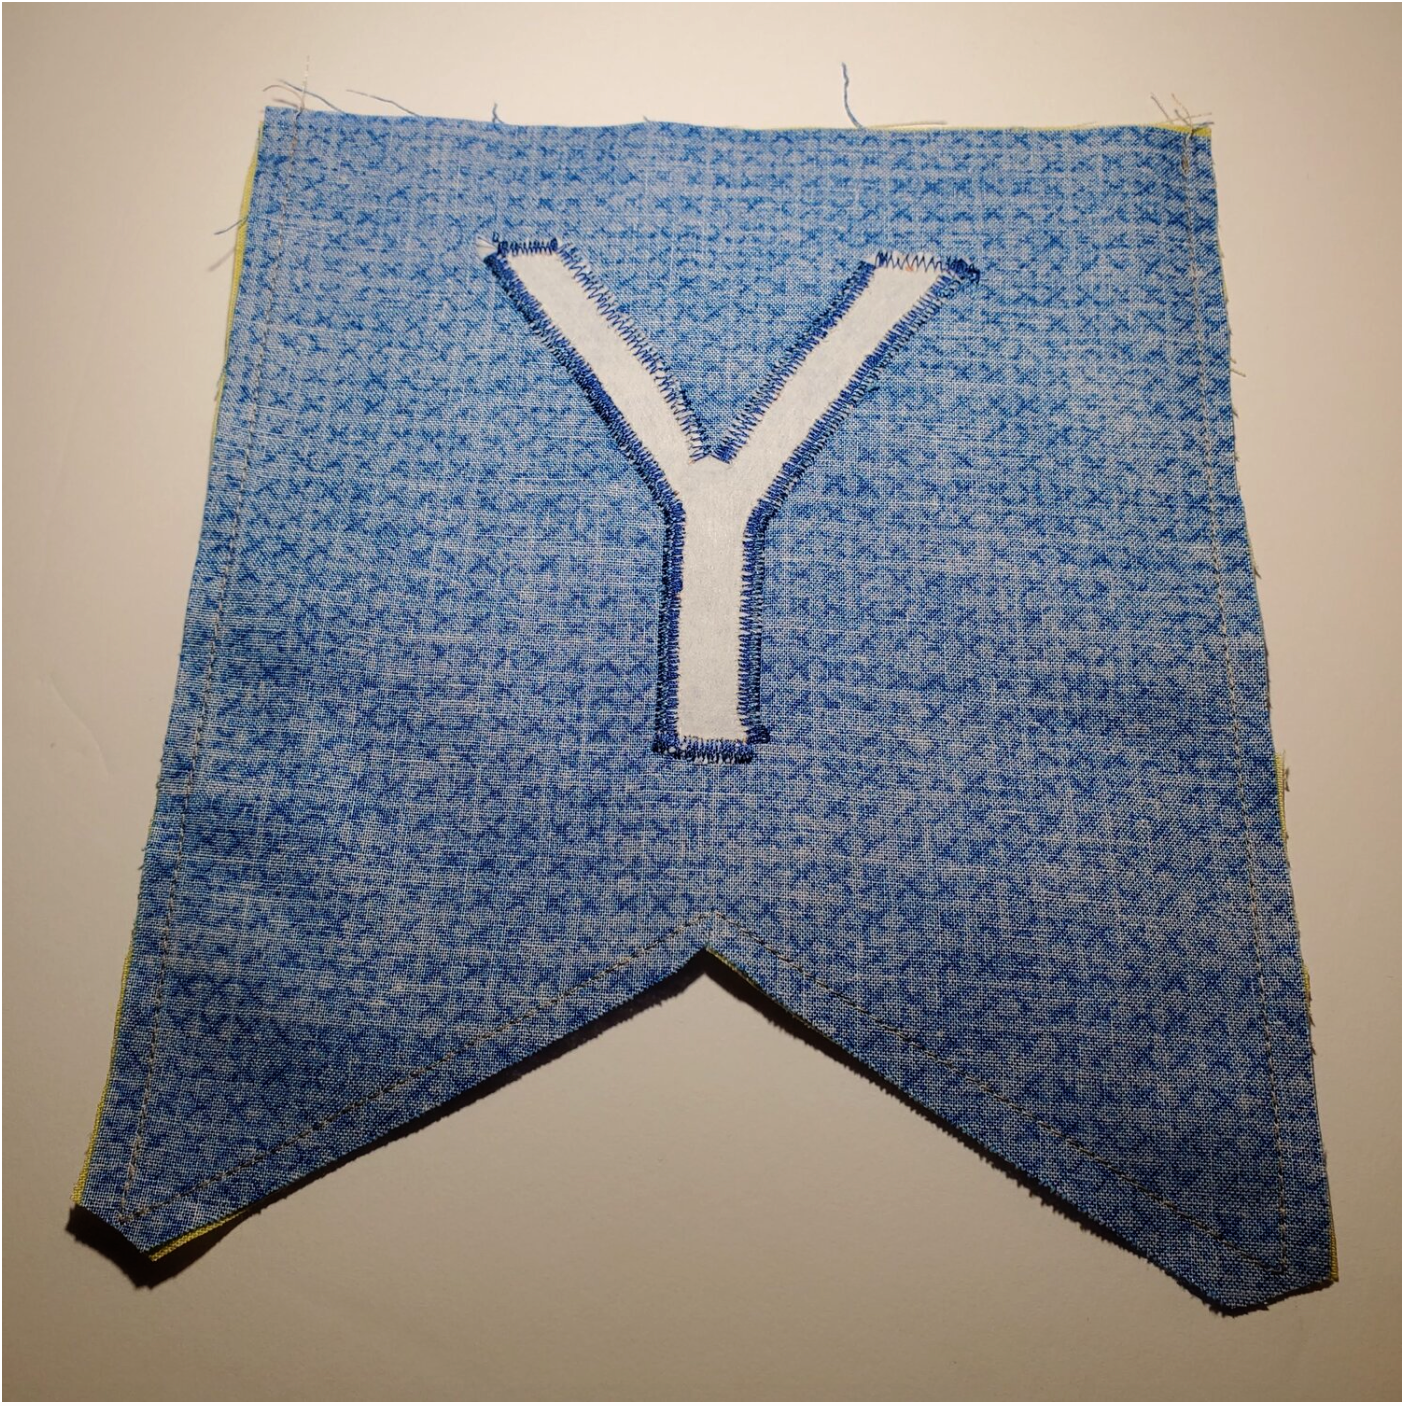
Turn right sides out gently pushing the points out. Press aligning the edges of the fabric evenly. Topstitch around the flag with a contrasting Wonderfil thread ⅛” from the edge. This is optional but it gives it a more finished look, and it will keep the layers in place with repeated use.
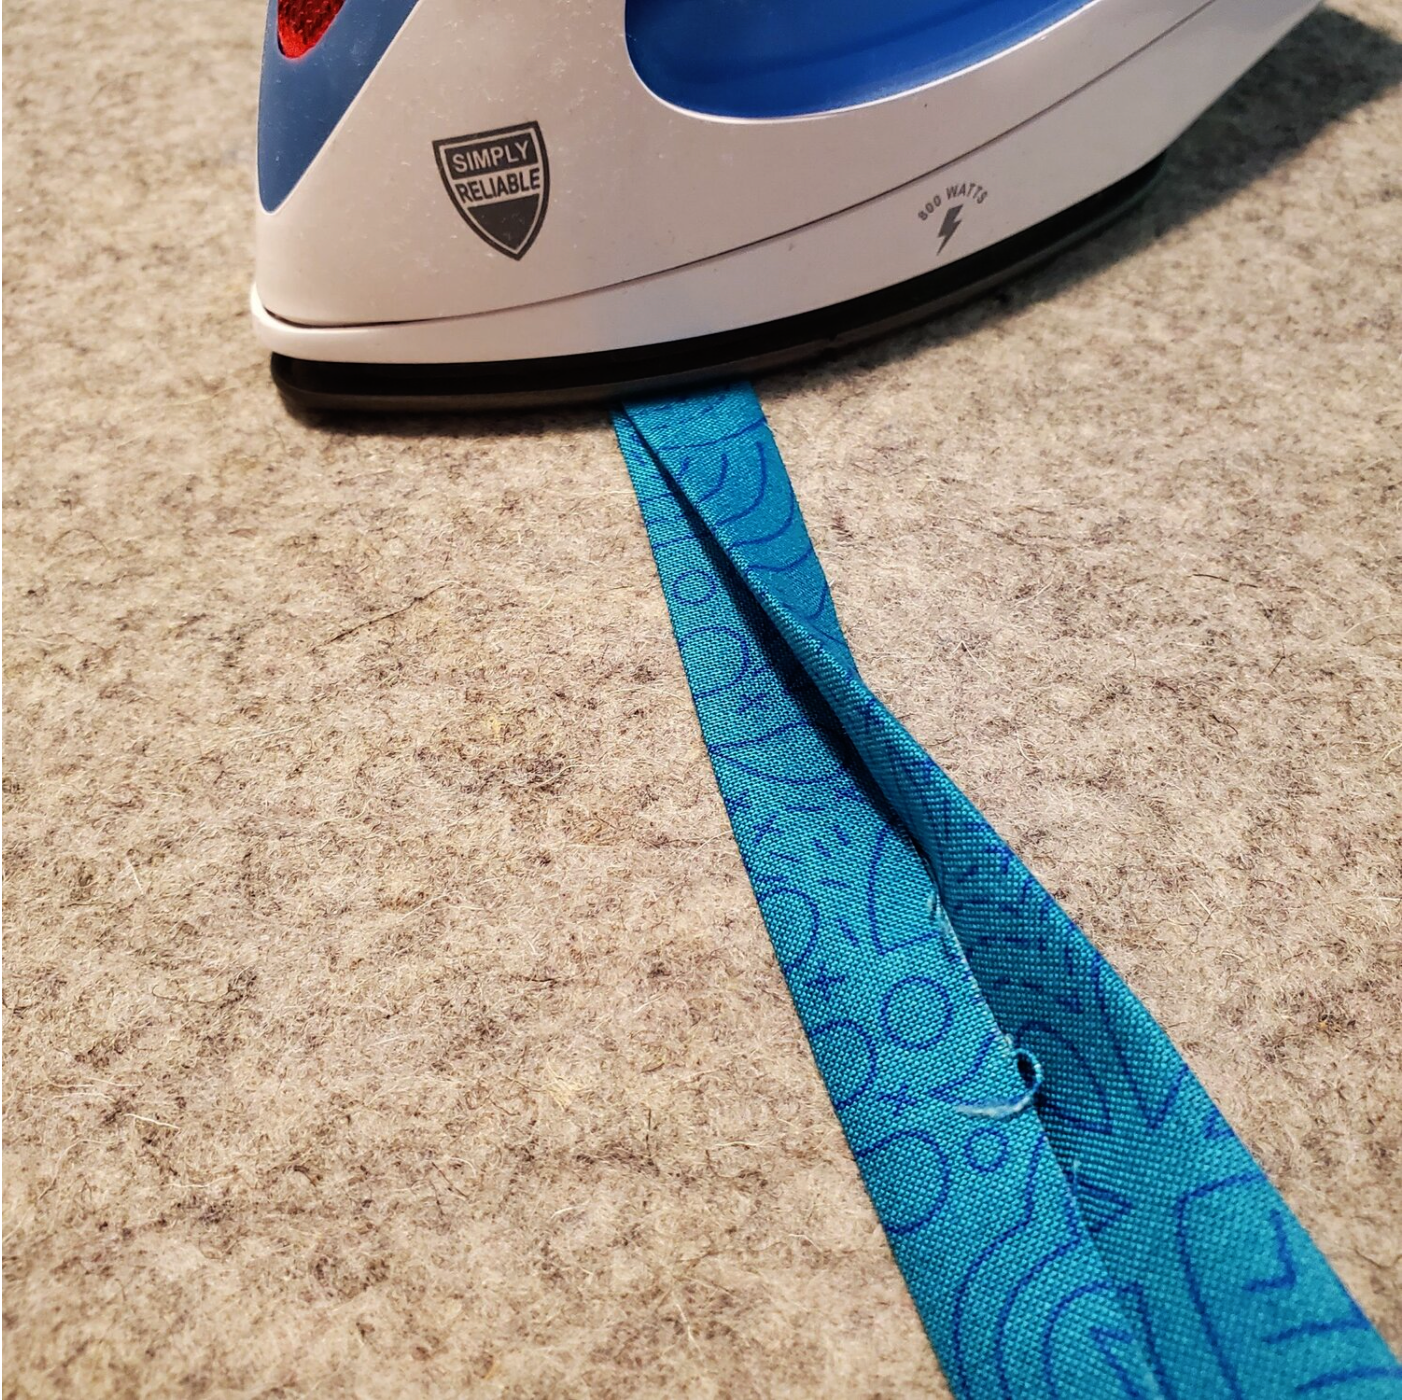
Now it is time to prepare the binding. You will need to cut four 2 ½” strips width of fabric. Sew ends together to create one piece 62” long and one piece 86” long. These can be adjusted if you would like longer pieces to tie. Fold in half lengthwise and press. Open out and press raw edges to the middle line and press.
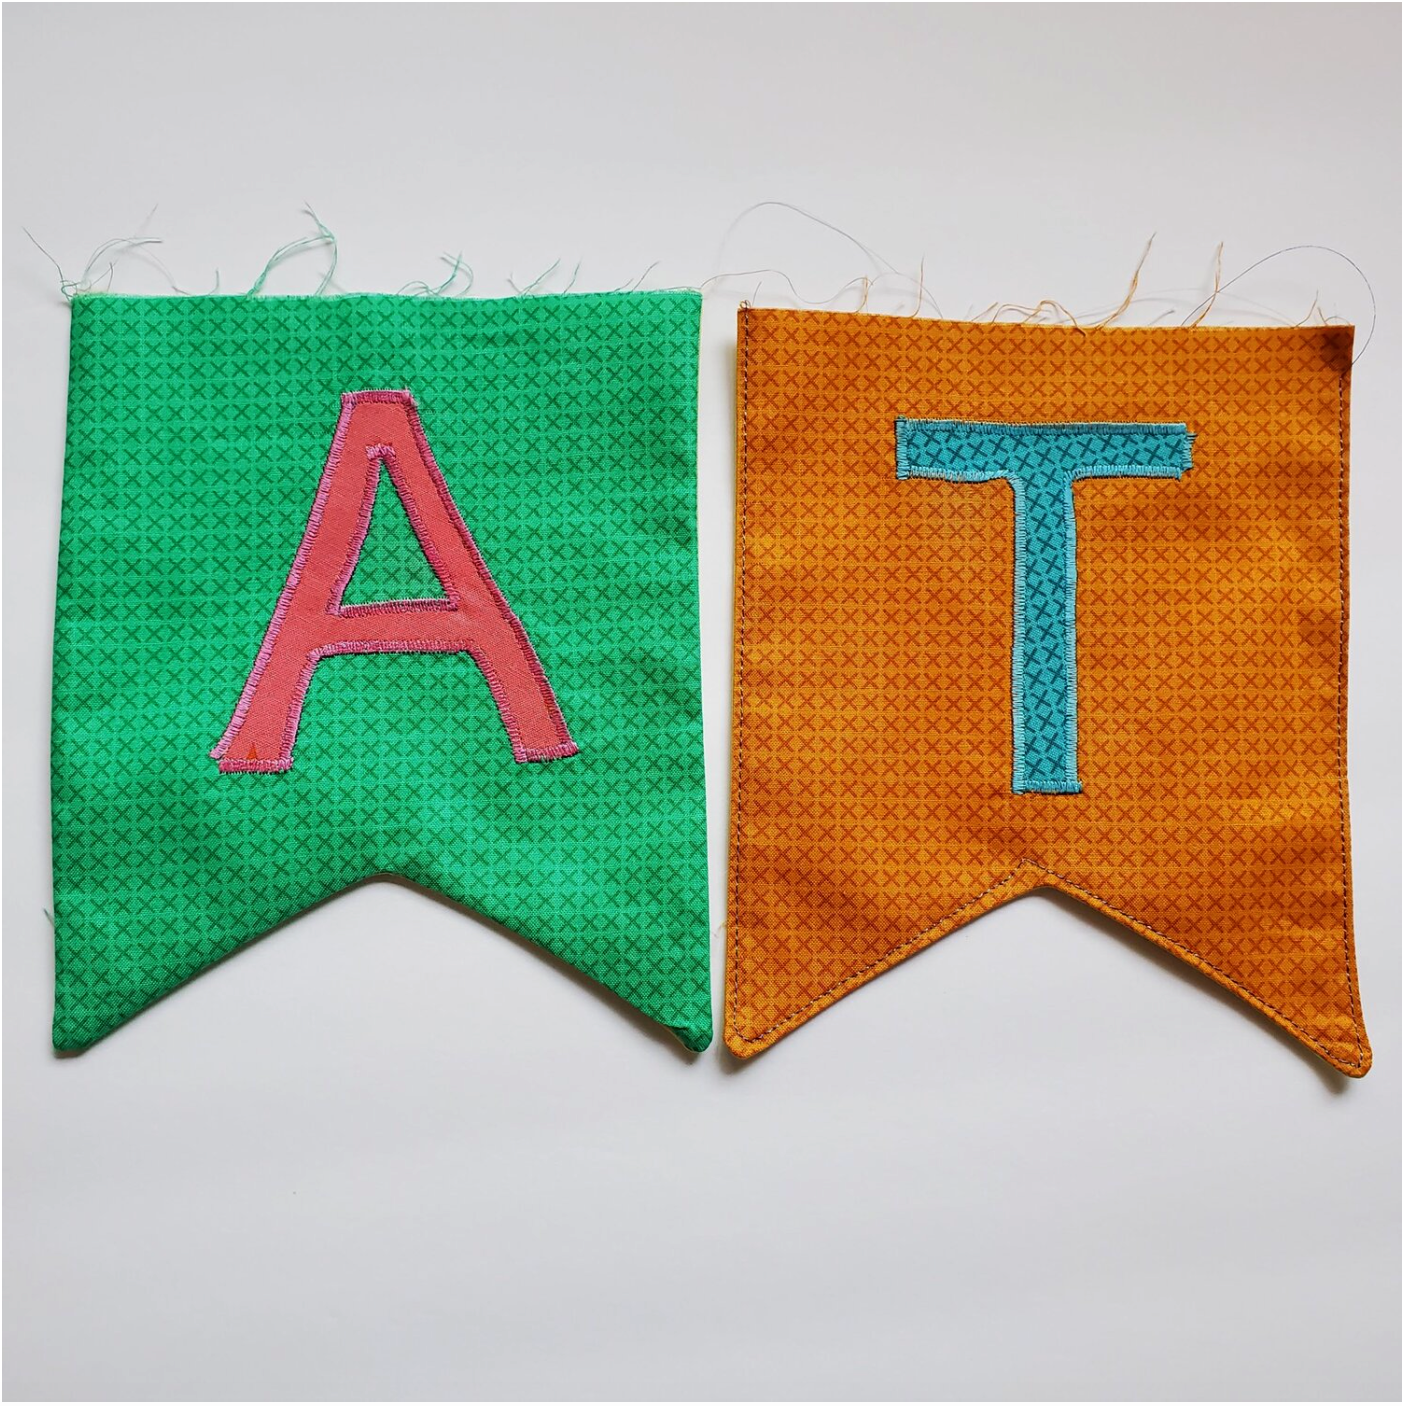
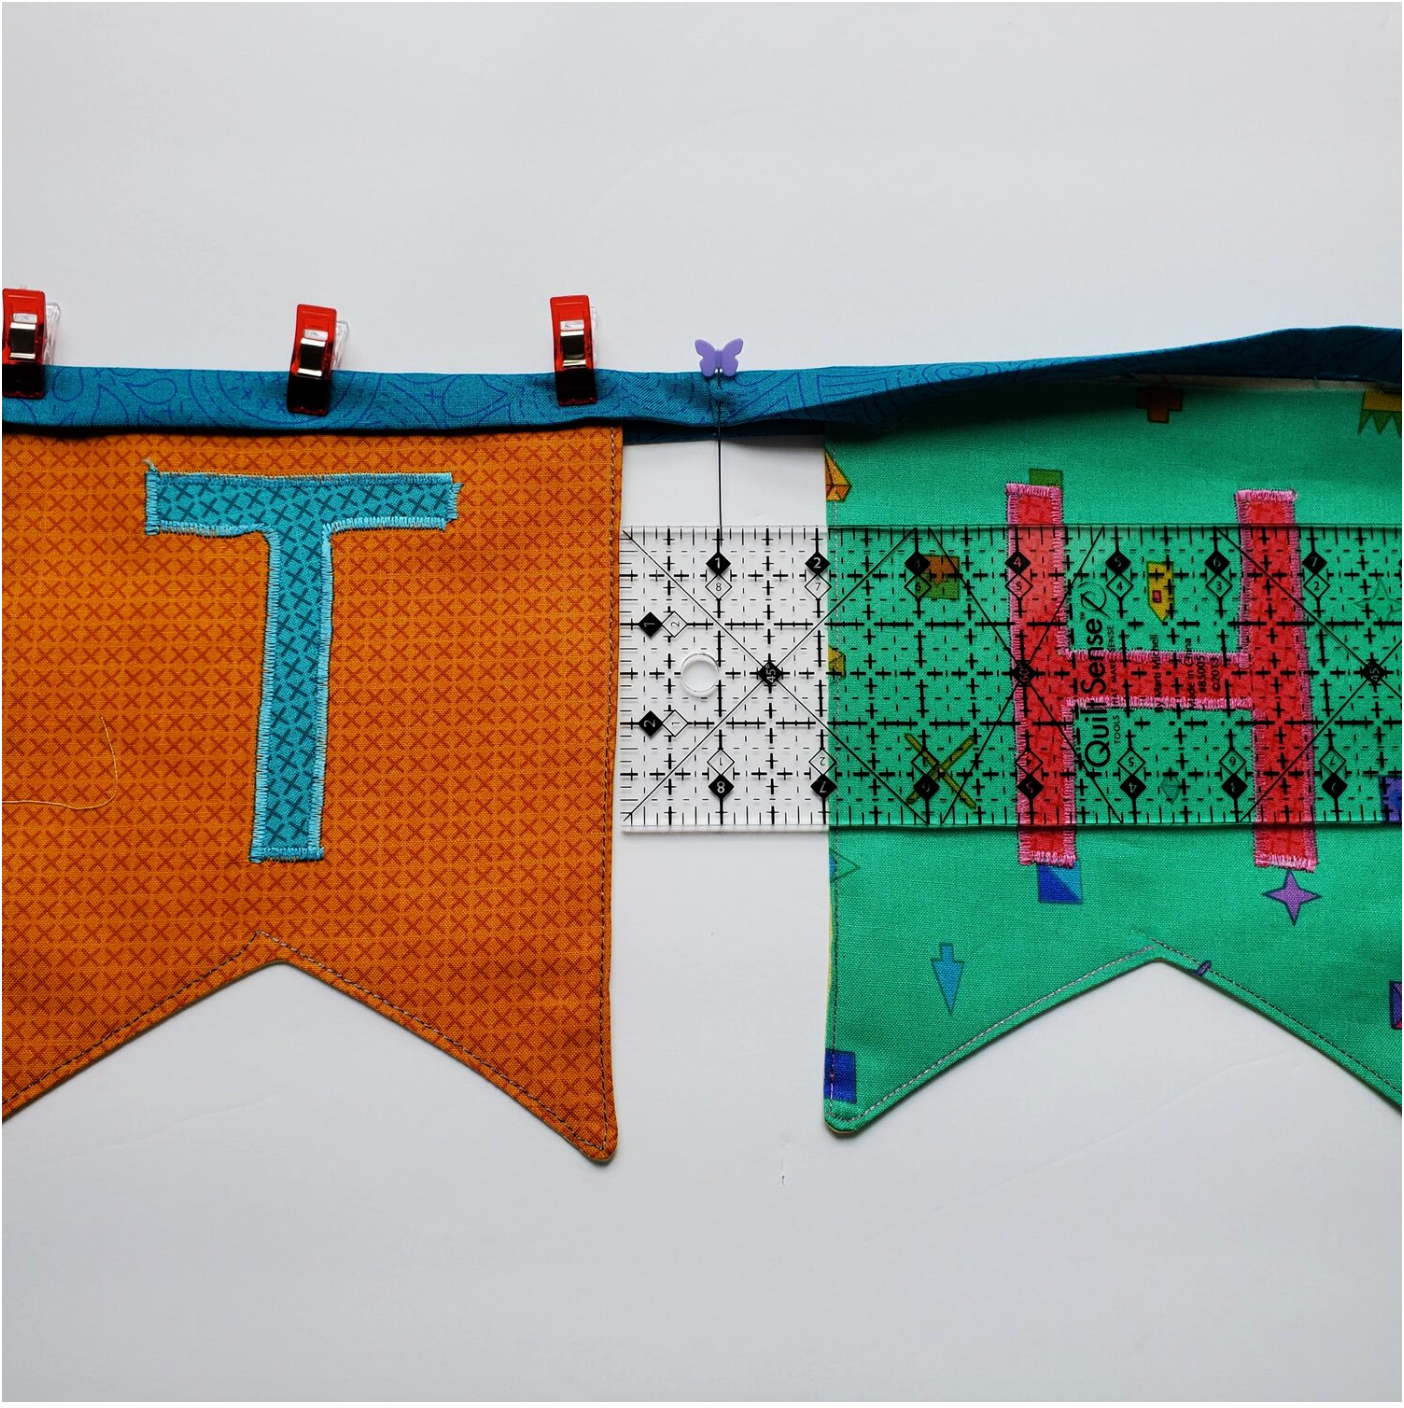
Lay the binding pieces out and mark the middle point for each on. For the 62” piece the letter P is in the middle. Clip in place. Add the letters allowing 2” in between the flags. For the 86” binding the middle is between the T and H.
After you have all the letters clipped/pinned to the binding you are ready for the final step! Topstitch in a contrasting Wonderfil thread about ⅛” from the open edge of the binding attaching the flags to the binding. Give it a final press and you are ready to hang at your next celebration!