

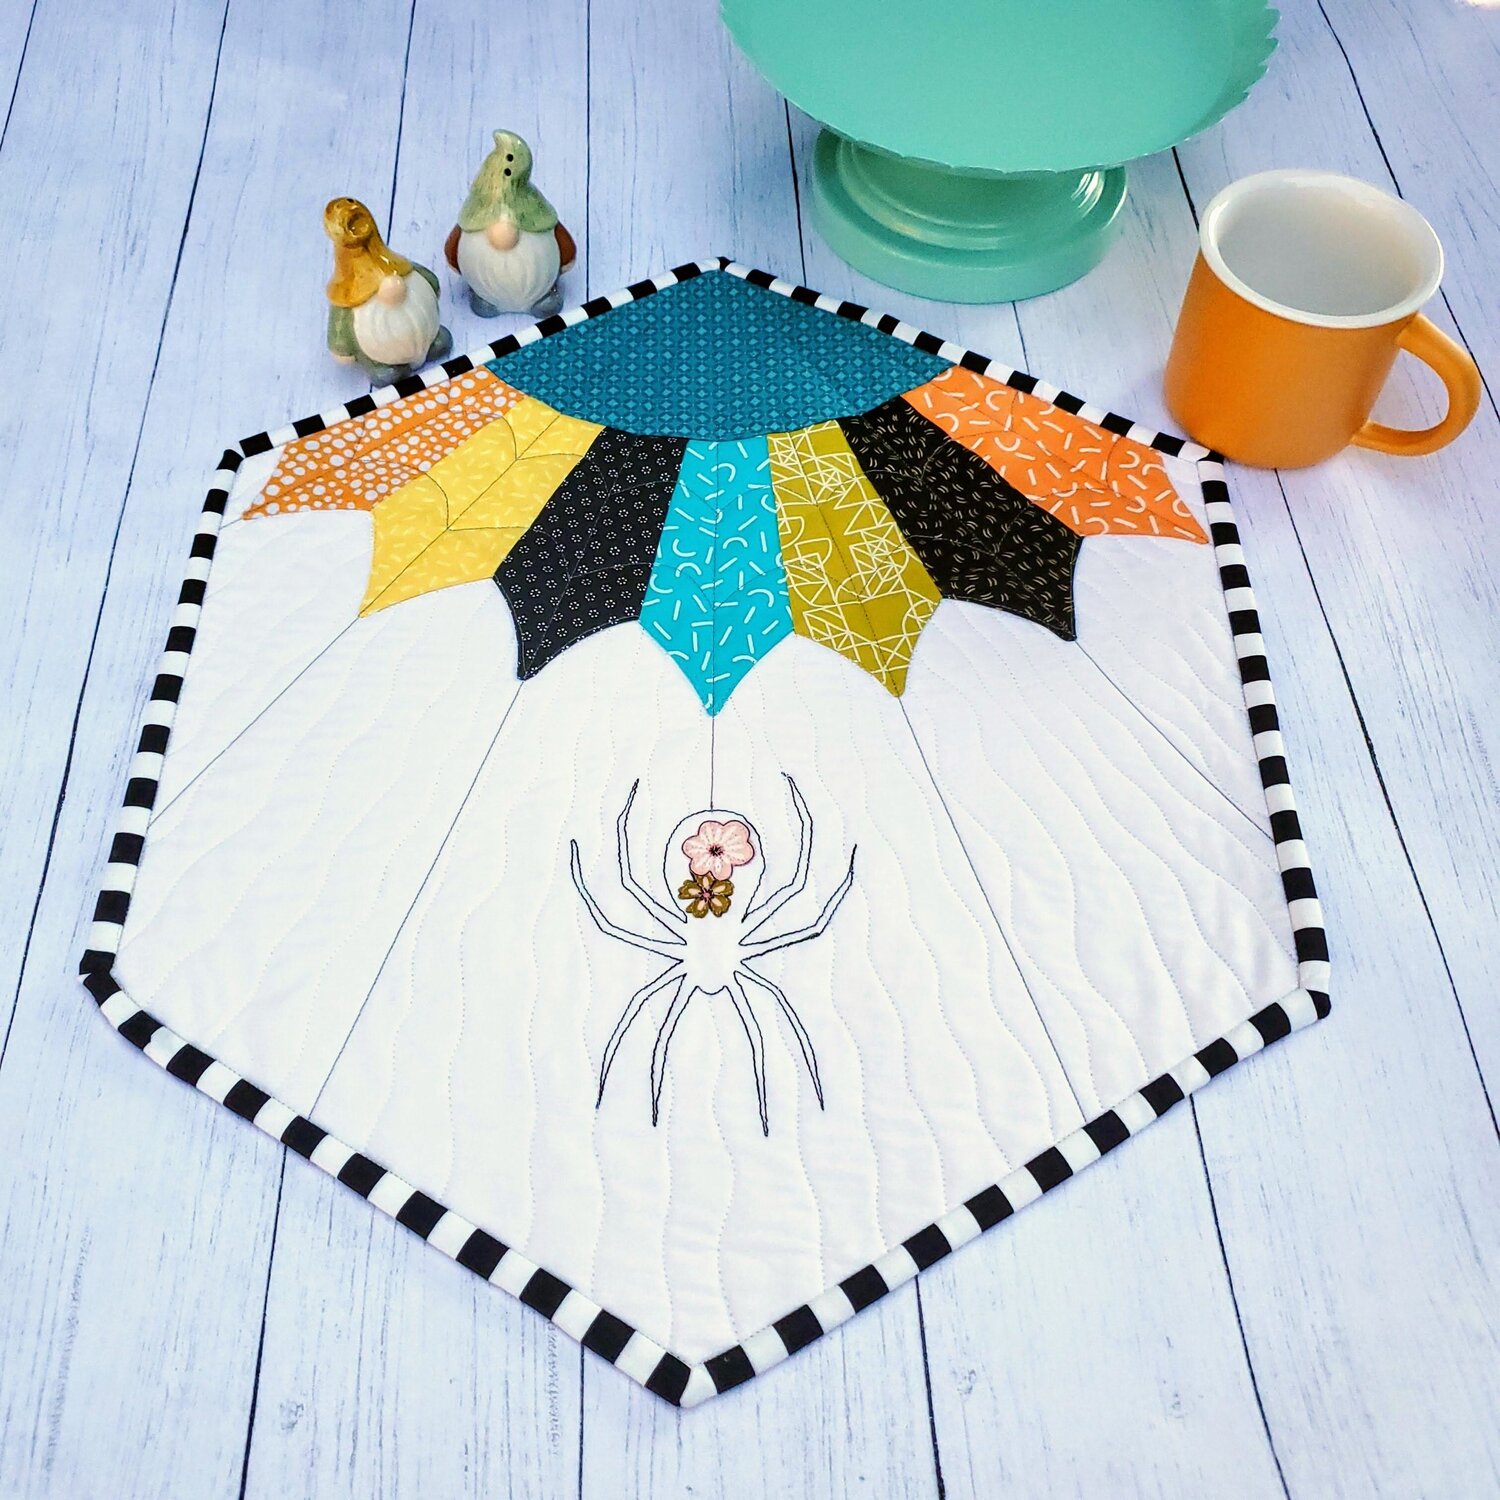
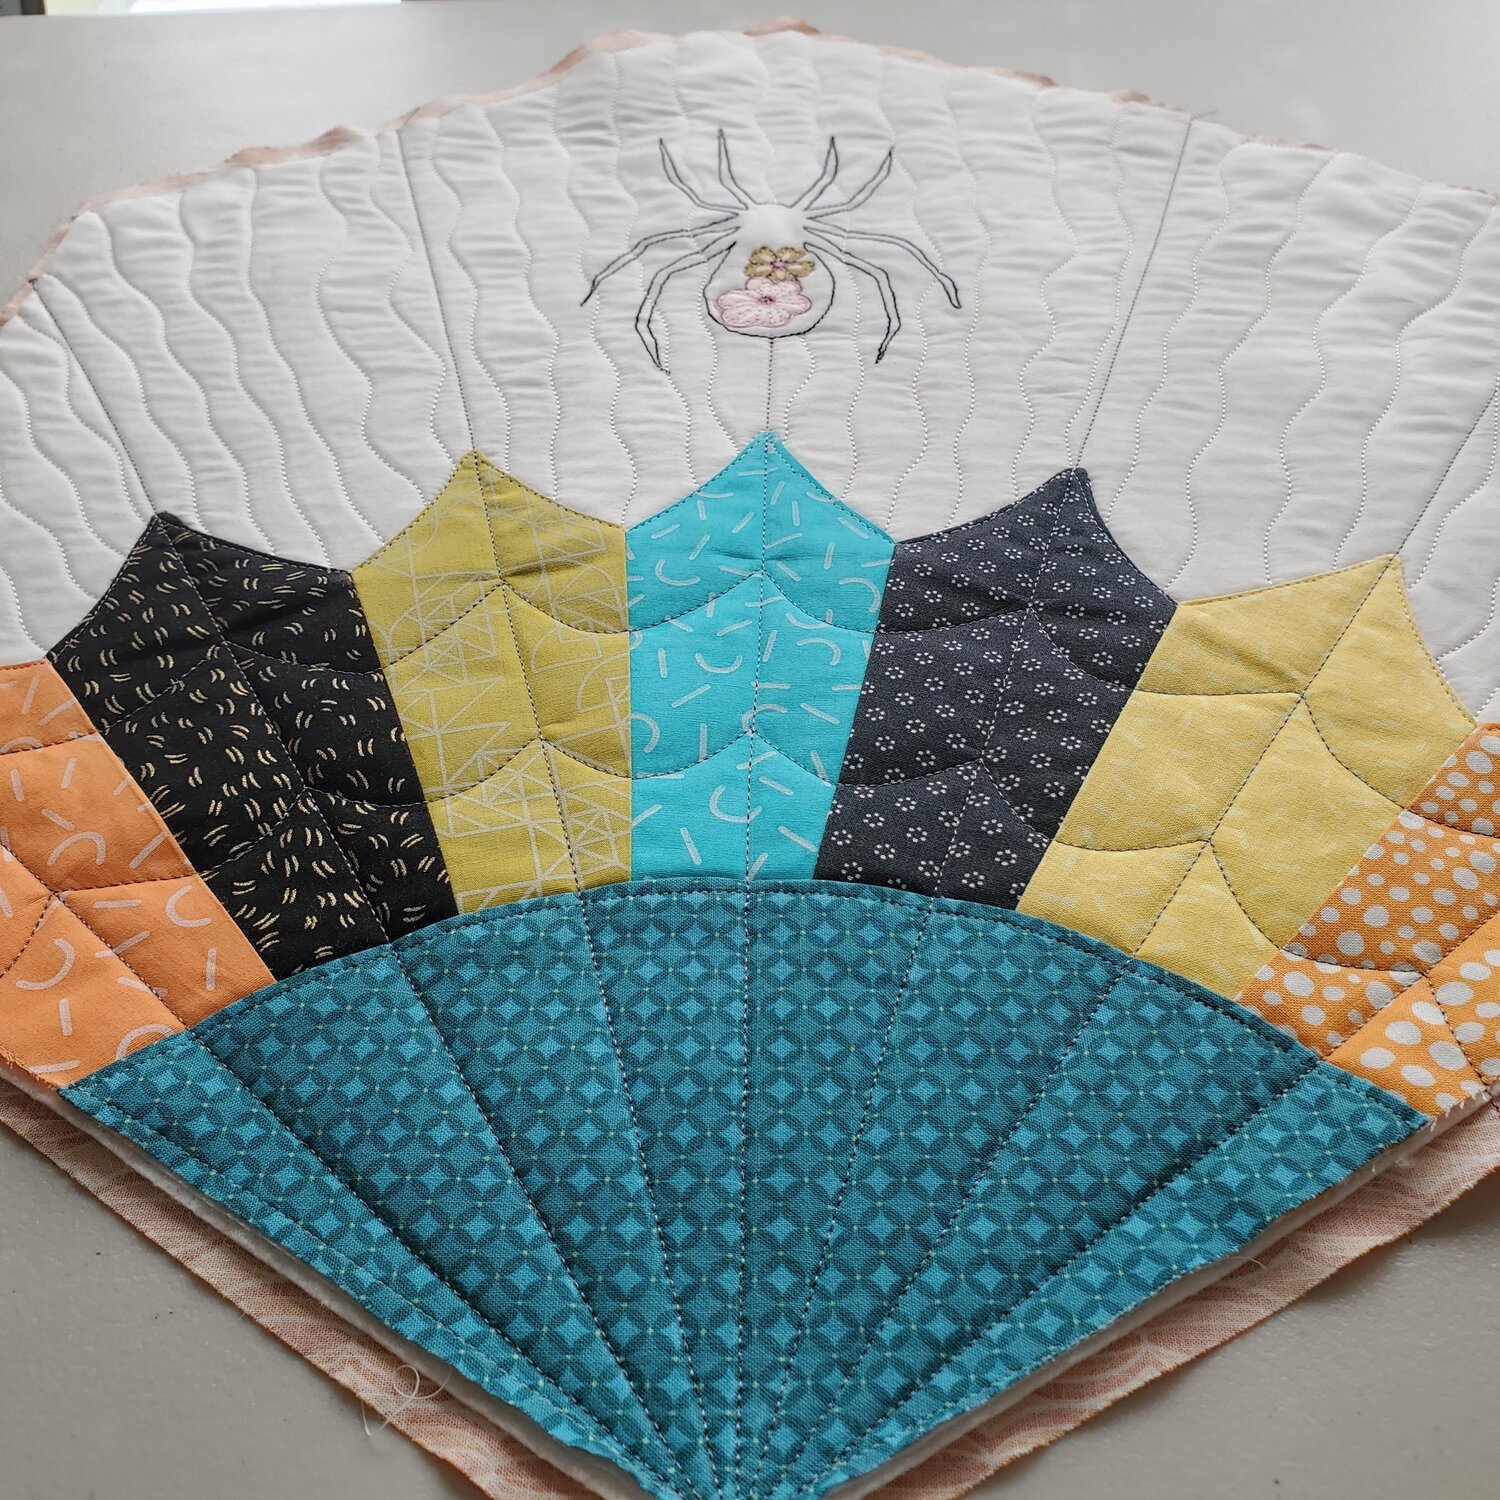
Floral Spiderweb Mini Quilt
29th Jul 2021
When I saw the new assortment of fun fabrics in the Classic membership box, I knew it was the perfect match for this Floral Spiderweb Mini Quilt. This free pattern caught my eye as a different take on the Dresden plate quilt block. I learned some new techniques as I made this table topper that I will share with you, like binding a hexagon shape. I really enjoyed making this project with the fabric from Libs Elliott for Andover Fabrics and some Mystery fat quarter bundle fabrics. I hope you will give it a try too.
Materials needed:
24” square for background fabric and backing fabric
Assorted fat quarters 7 coordinating fabrics
¼ yard binding fabric True Colors by Tula Pink
Aurifil black thread from Chroma Essentials
Wonderfil White ThreadFor quilting
24” square of batting
10” piece of light weight fusible interfacing
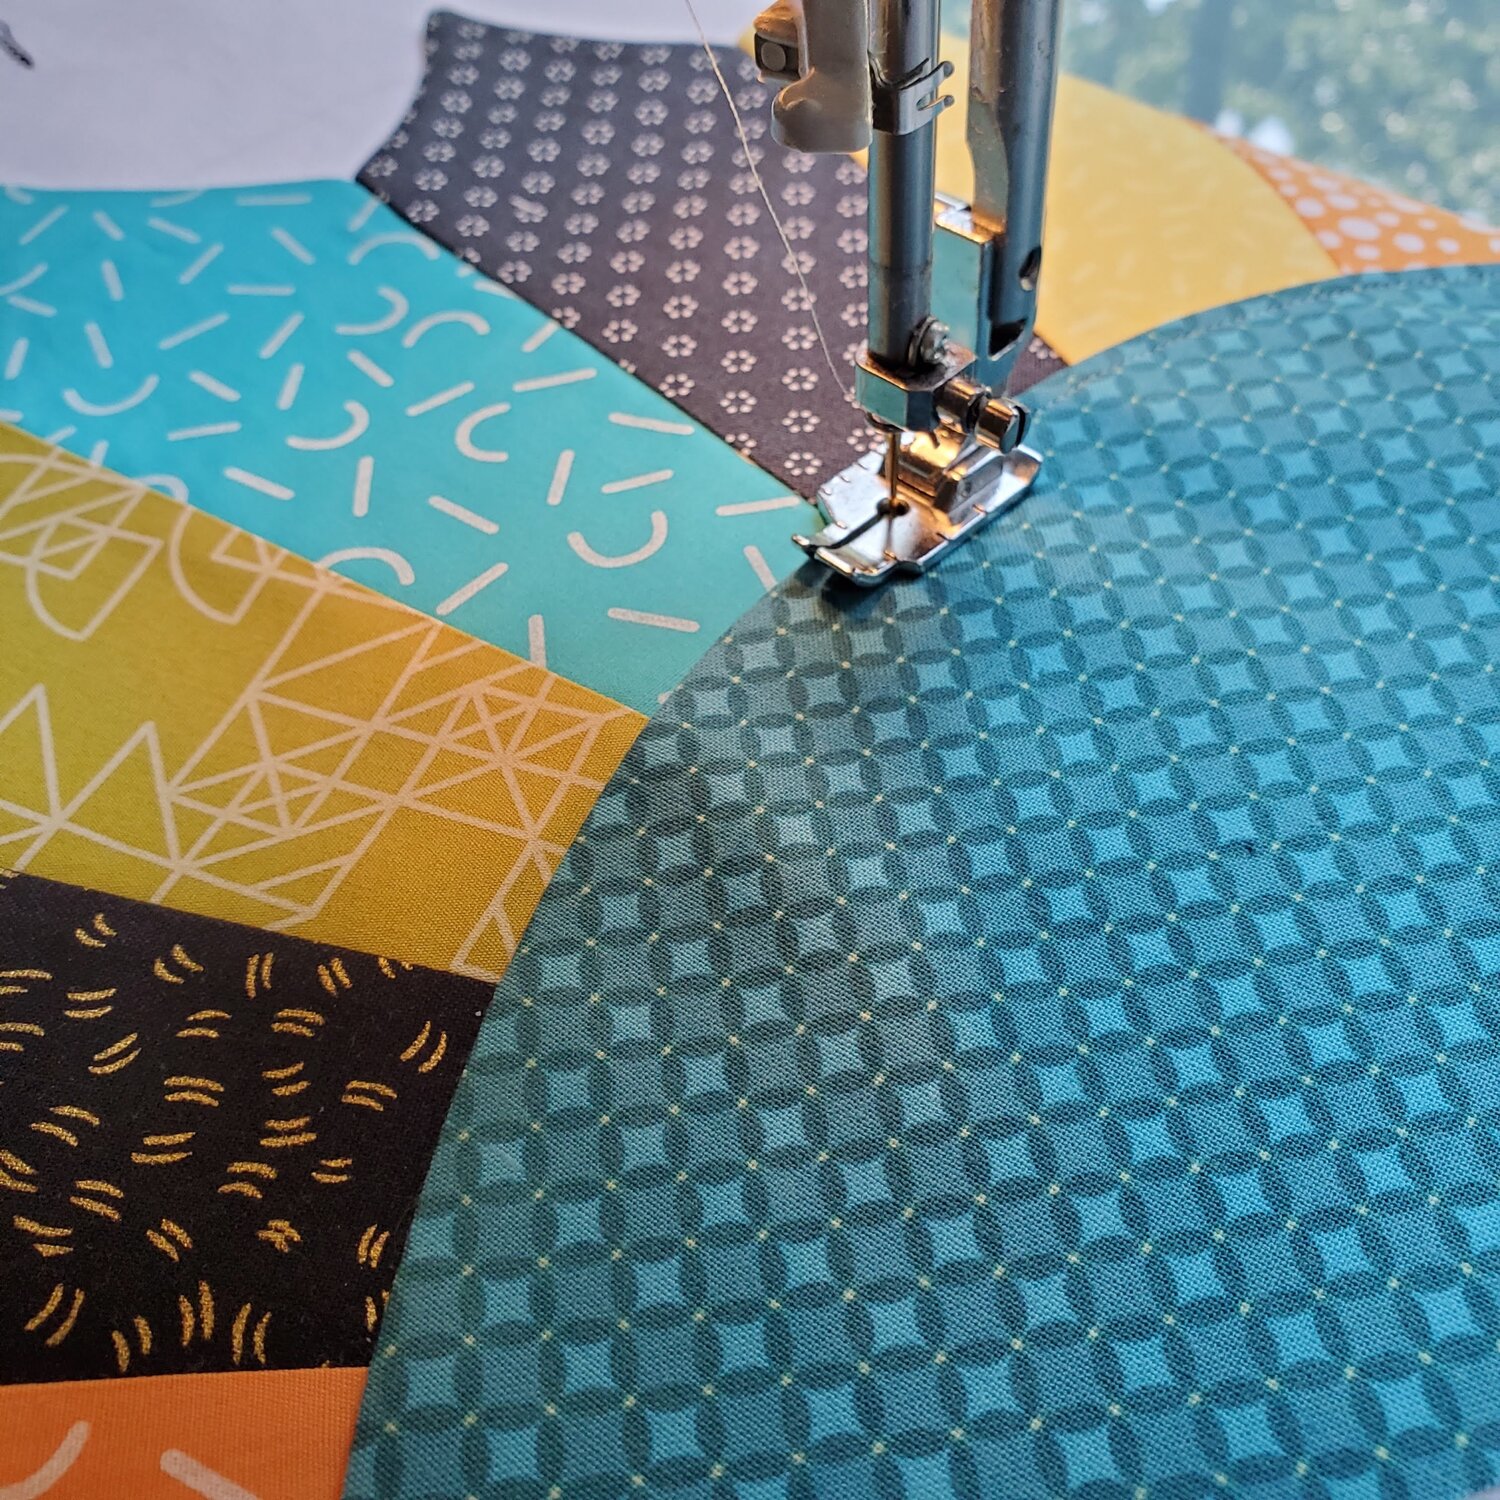
To get started download and print the free pattern from Baby Lock website. You will need the template pattern pieces for the Dresden plate. Cut the seven fan and facing pieces for the web. It can be difficult to sew an even ¼” seam on a curve. I found it helpful to draw the stitching line on the wrong side of the facing using the facing pattern piece to keep the points of the fan even.
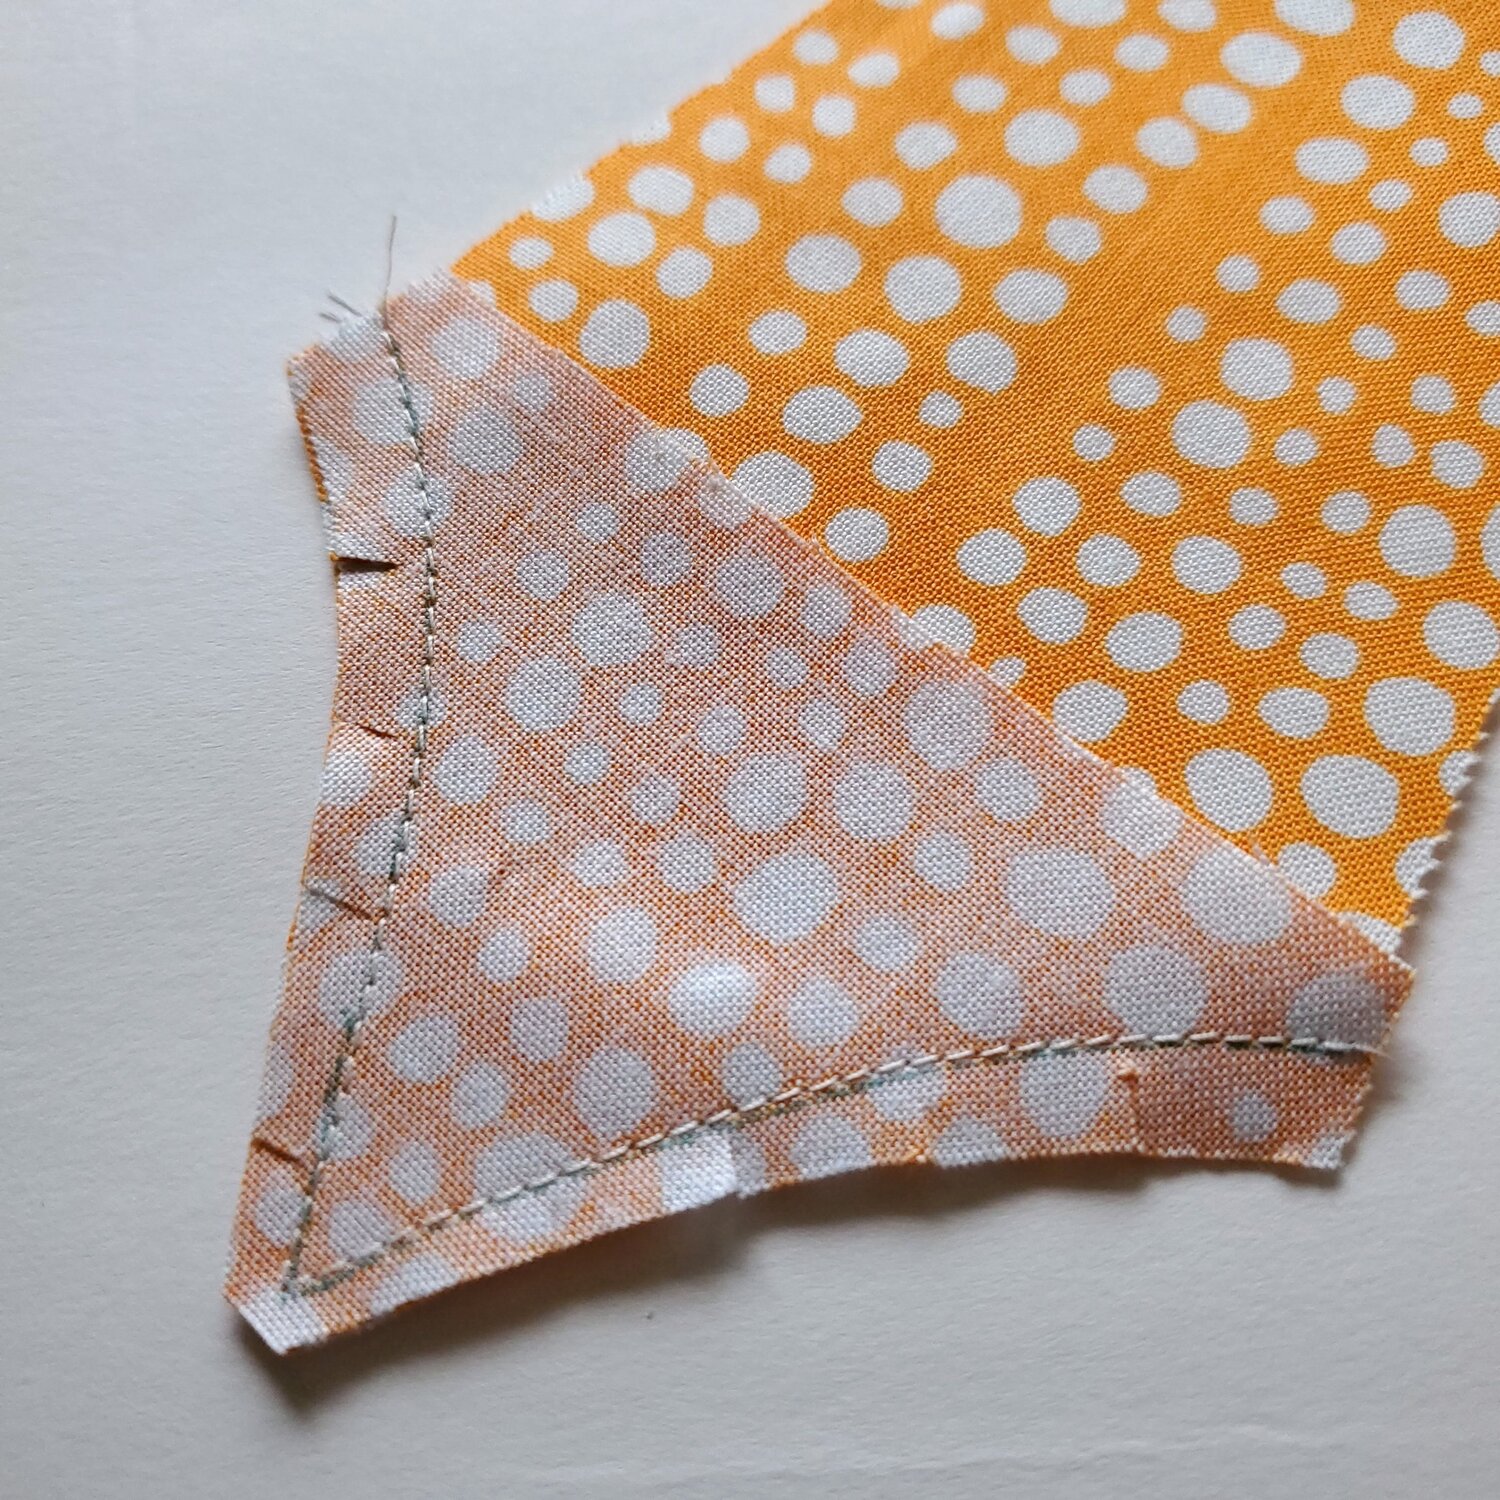
Sew the facing on each of the fan pieces. Trim the point and make small clips along the curve to help it lay flat. Turn right sides out and push the point out carefully and press.

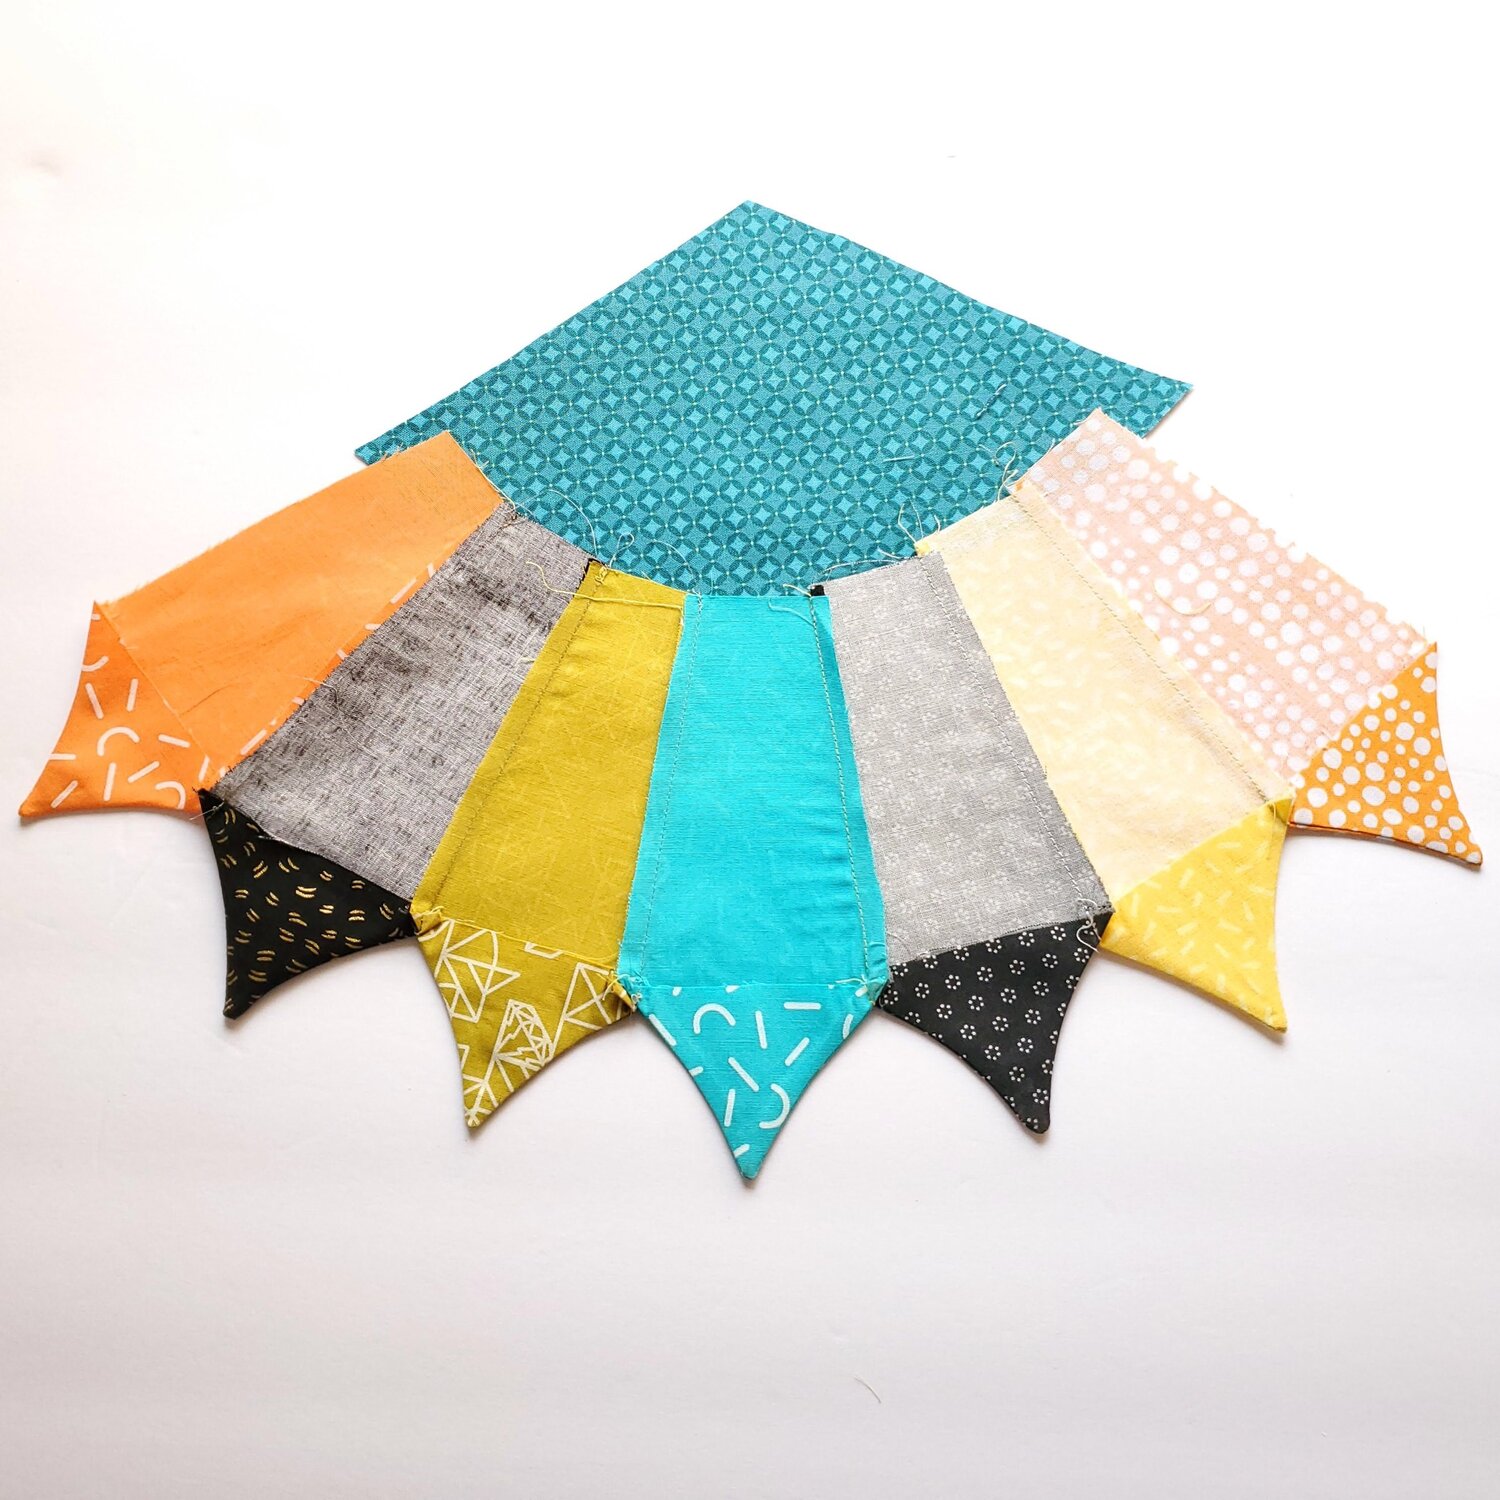
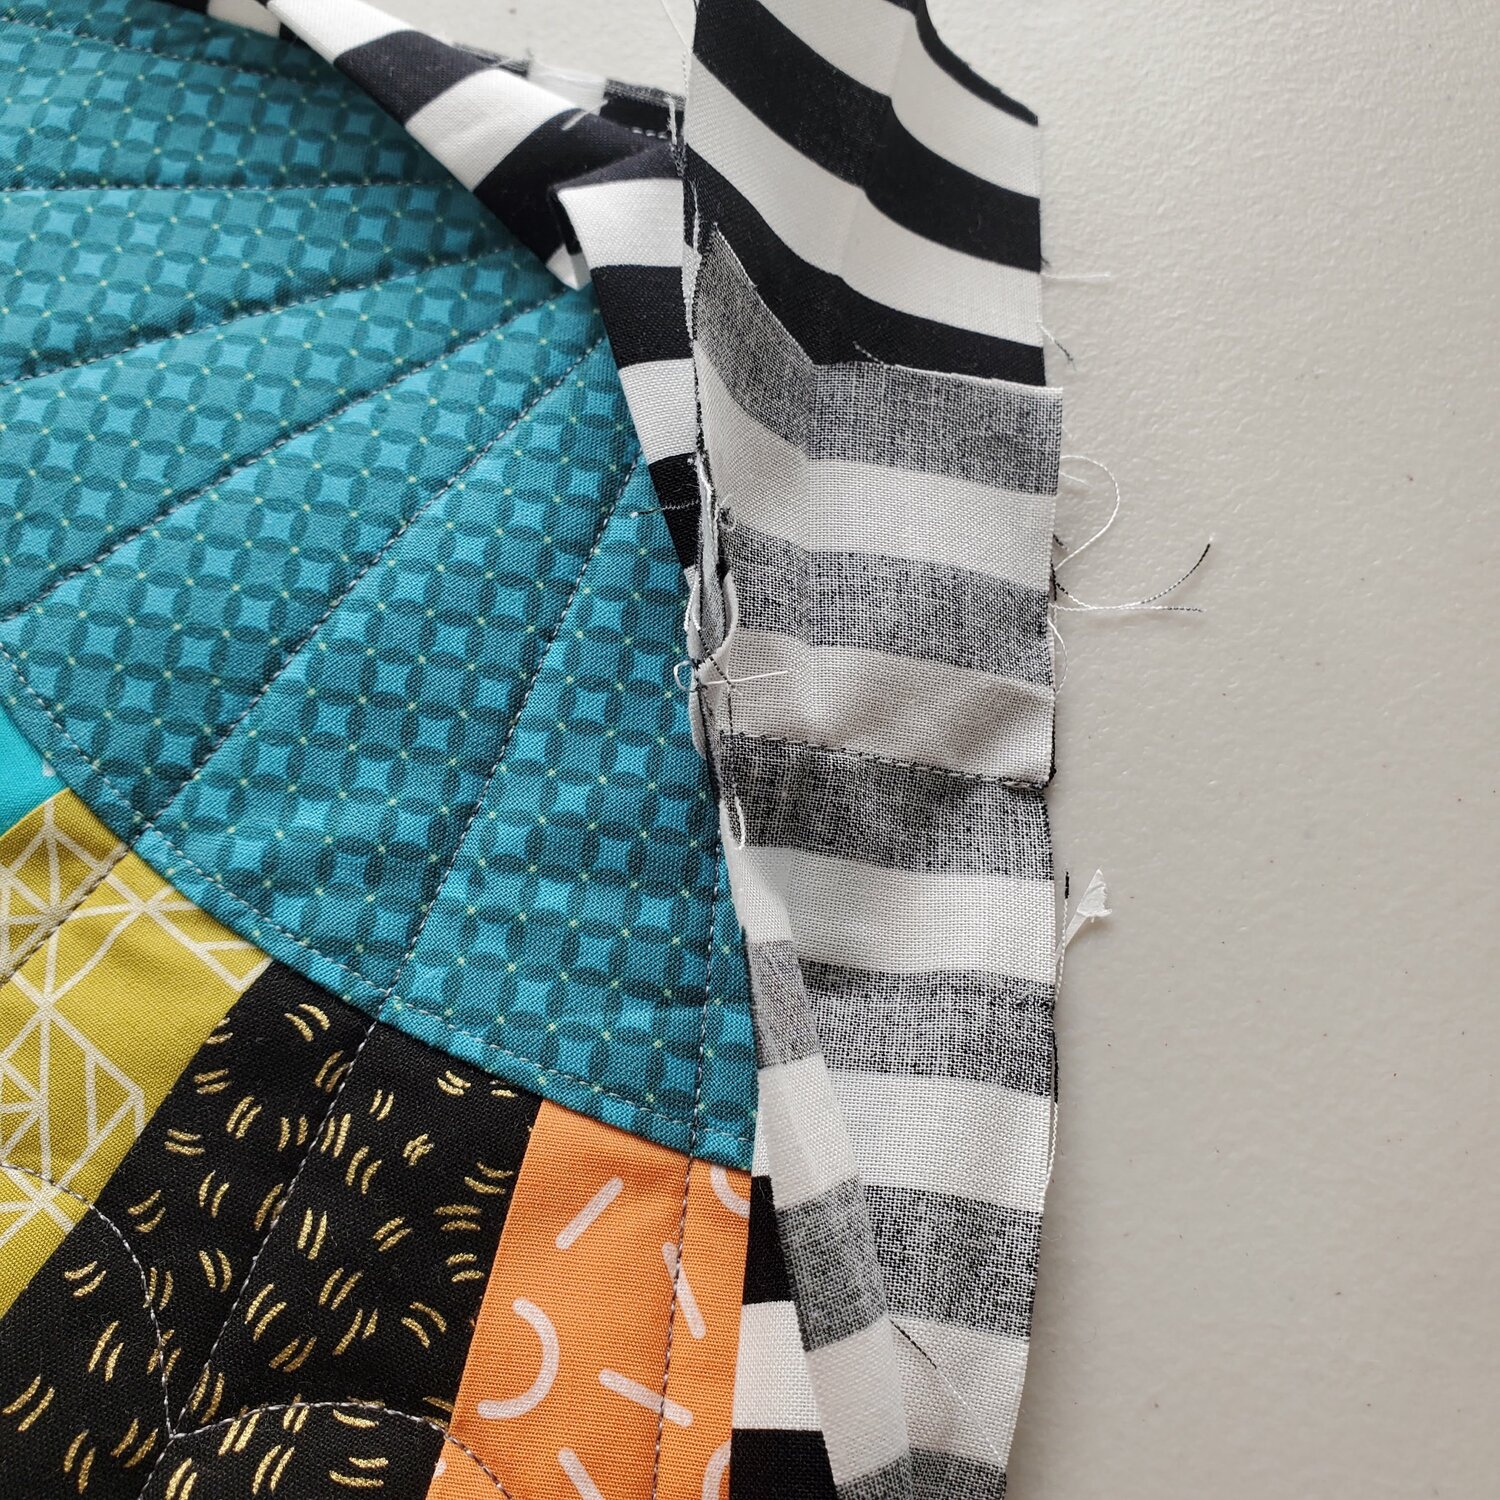
Decide on the order of the fan pieces and sew into pairs, and sew the pairs together to form the Dresden web. Press the seams away from the center fan piece.
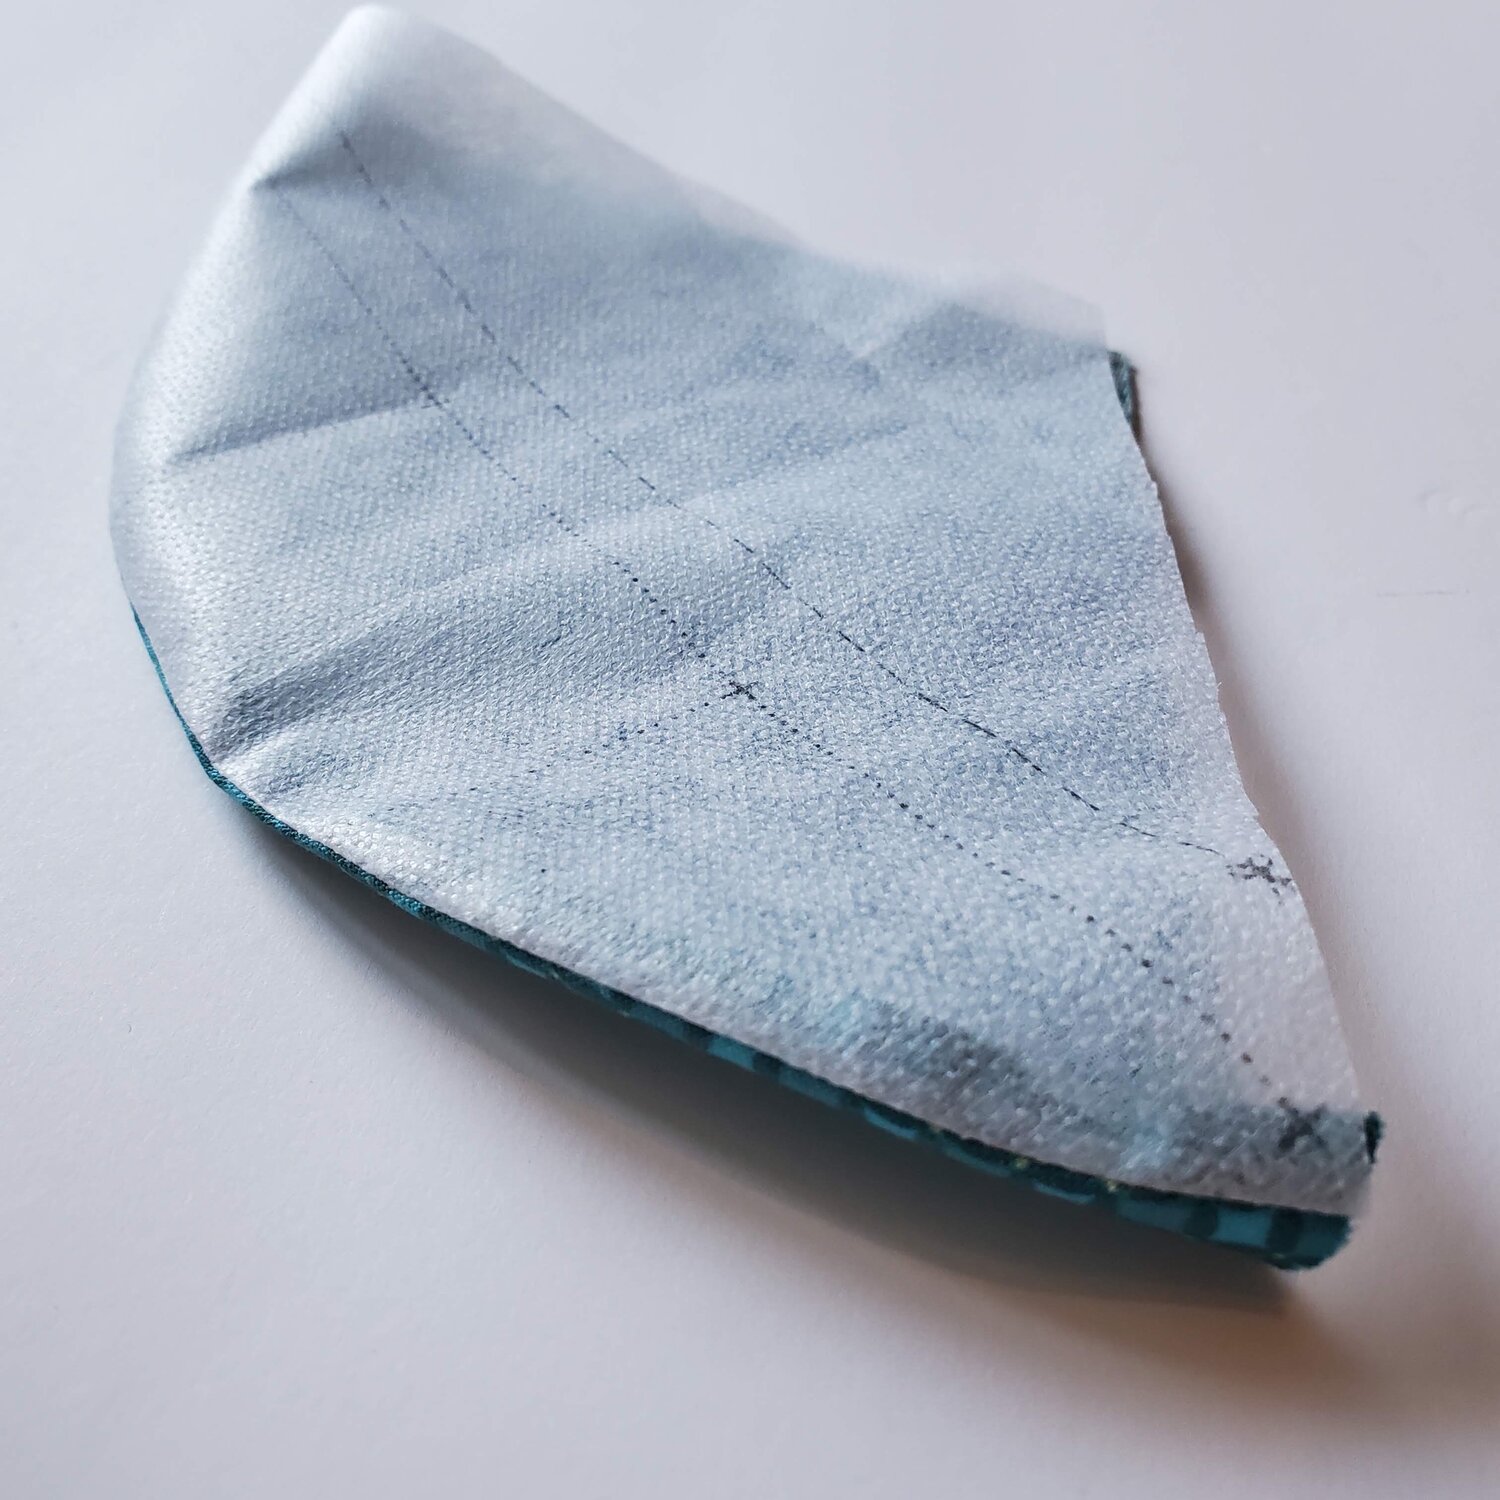
To make the top of the web, trace the shape onto the fusible interfacing and cut out. Place the fusible side of the interfacing on the right side of the fabric and sew just the curved side. Trim the seam to ⅛” and turn the right sides out and finger press.
Next you will use the paper pattern guide to cut out the background fabric. I added ½” all the way around to give some wiggle room as I laid out the fan of the web.
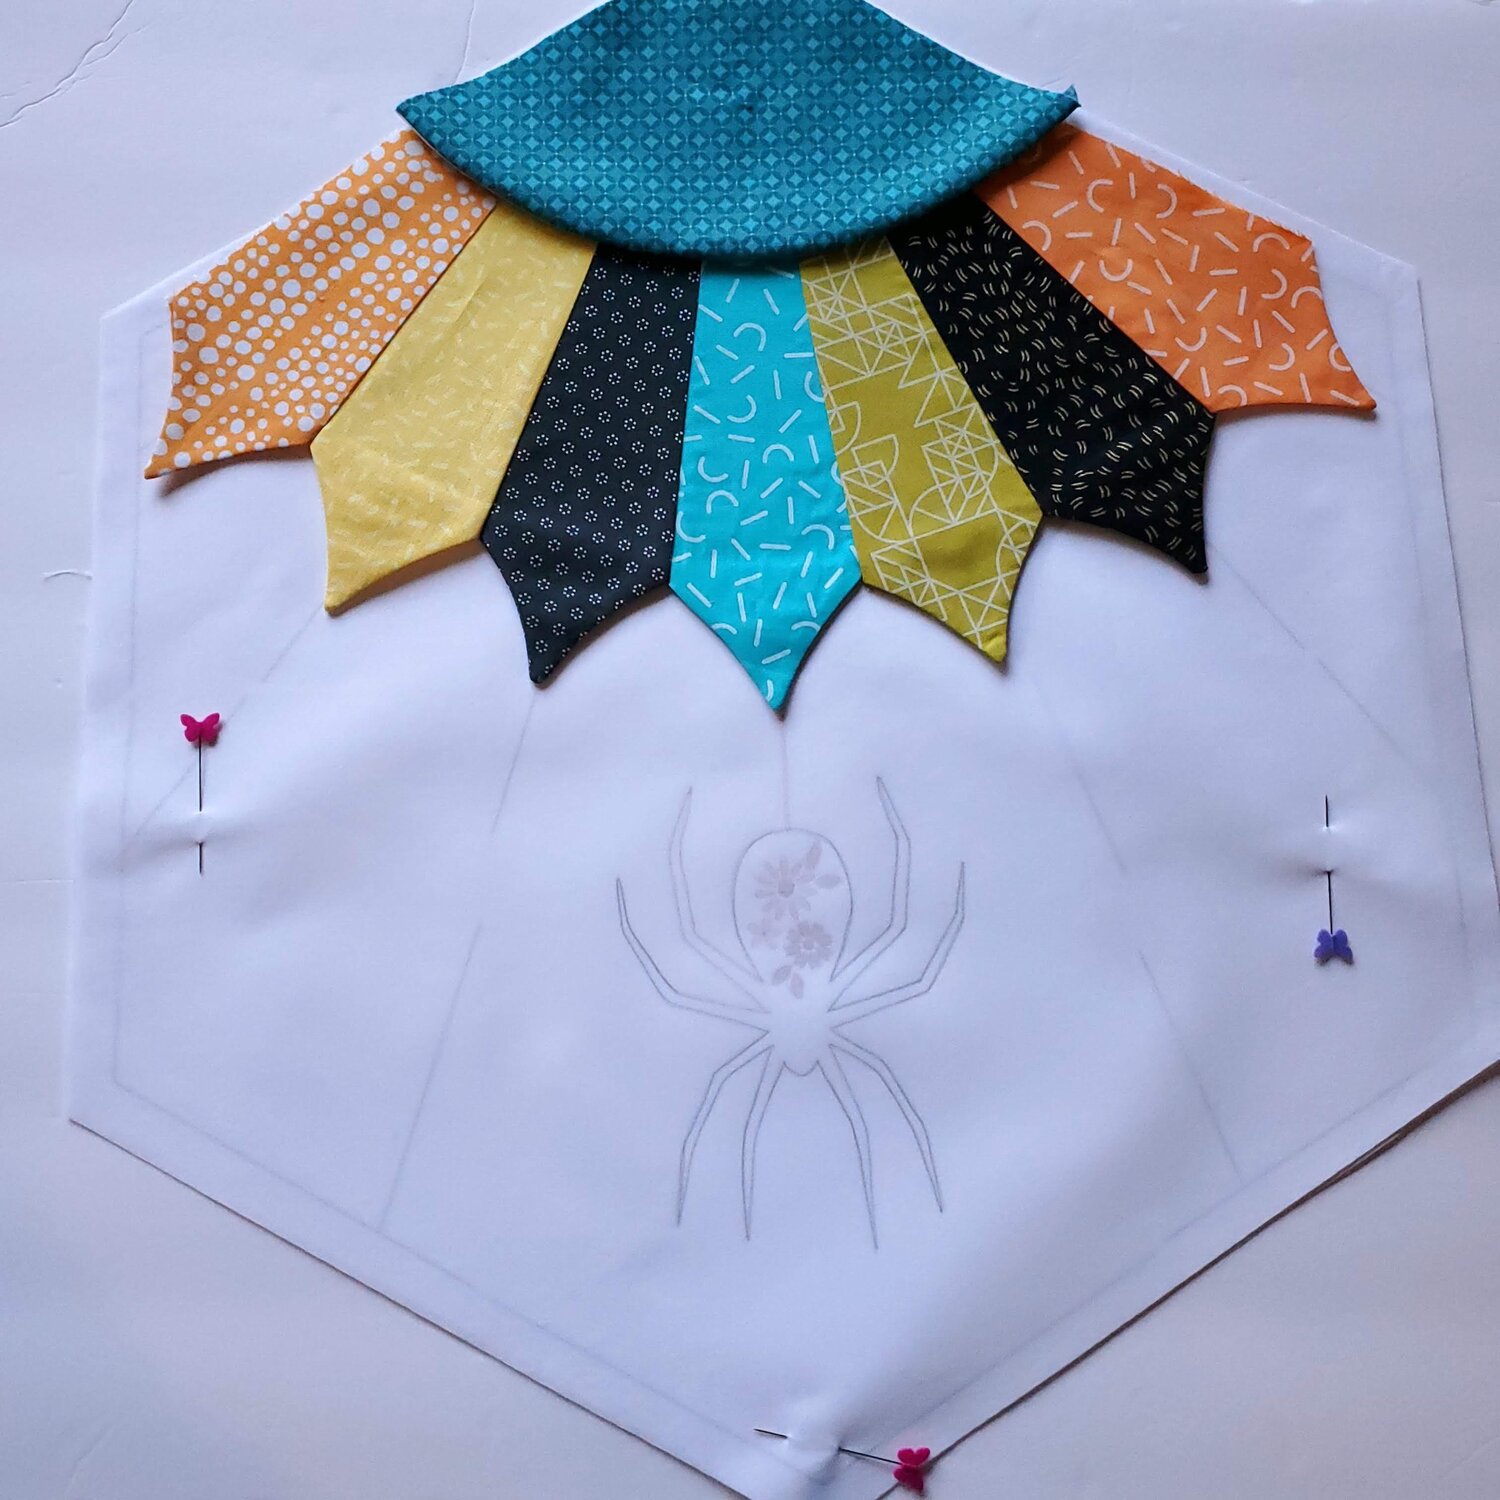
For this next step, you have several options for how to transfer the spider. You can use a Micron permanent pen and just outline the spider and stop there. For my project, I outlined it then did free motion quilting to outline with the black Aurifil thread. I used some tear away stabilizer on the back to prevent puckering.
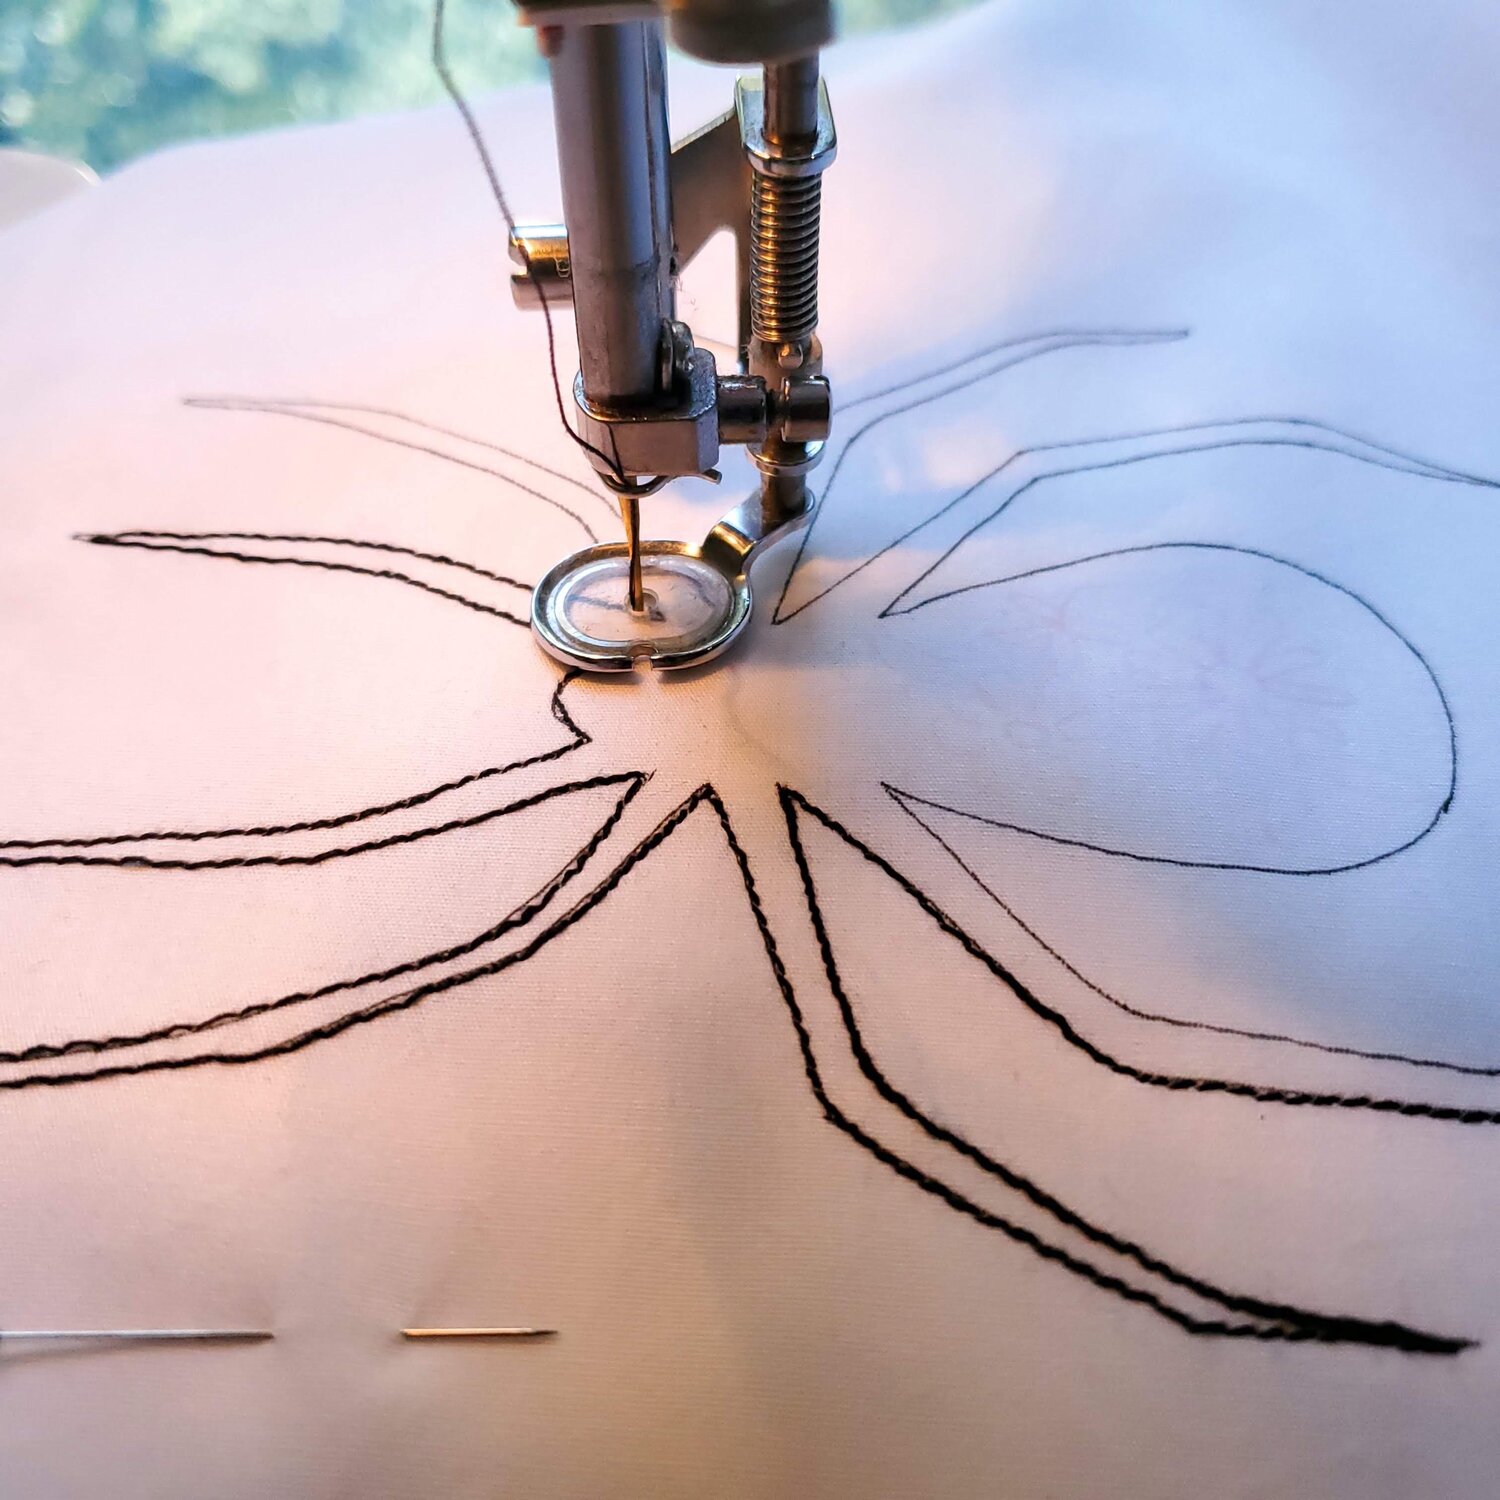
If you have an embroidery machine, you can just download the file and sew the spider in the center of the design. To add the flowers to the spider's body, I fussy cut some flowers and used Heat-n-Bond to adhere to the fabric then added some free motion quilting to enhance the shape. You could also do some hand embroidery to add the flowers using 12wt Aurifil from the Chroma 12wt Membership. I then laid out the web pieces according to the pattern guide and pinned them in place. For the top of the web, align the curve so it covers the raw edges of the fan pieces and press in place with the iron. Topstitch in place ⅛” from the edge around the curve and the inside edge of the fan pieces.
You will want to lay the paper pattern under the spider web to mark the quilting lines. You can use a fabric pen or my personal favorite, the Hera marker.
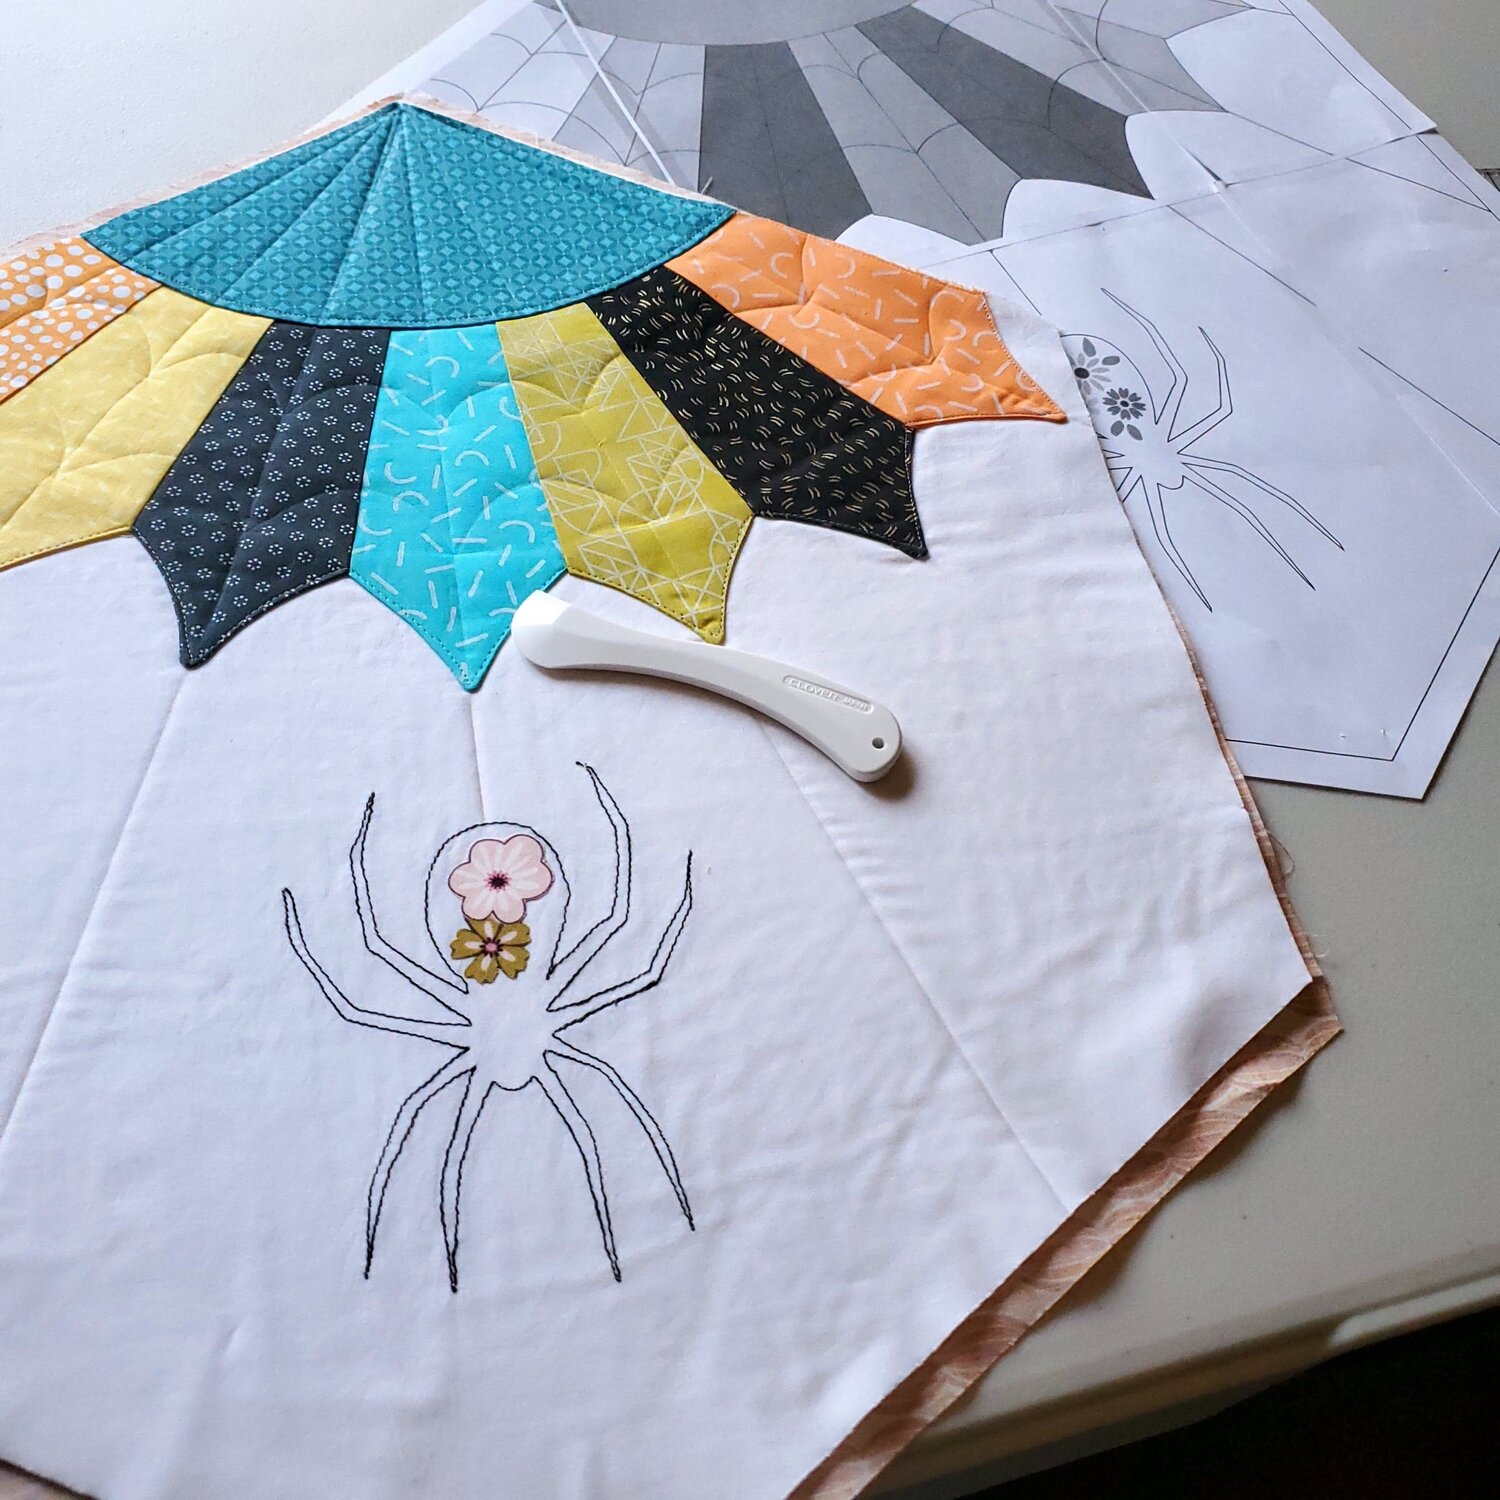
In this picture, you can see I have already cut the backing fabric and batting making the quilt sandwich. I like to use spray baste, but you can also use pins to hold the layers in place as you quilt. I used a charcoal grey thread to quilt the lines marked on the pattern with a walking foot. Then, I used the WonderFil white thread to quilt the curvy lines on the white fabric.
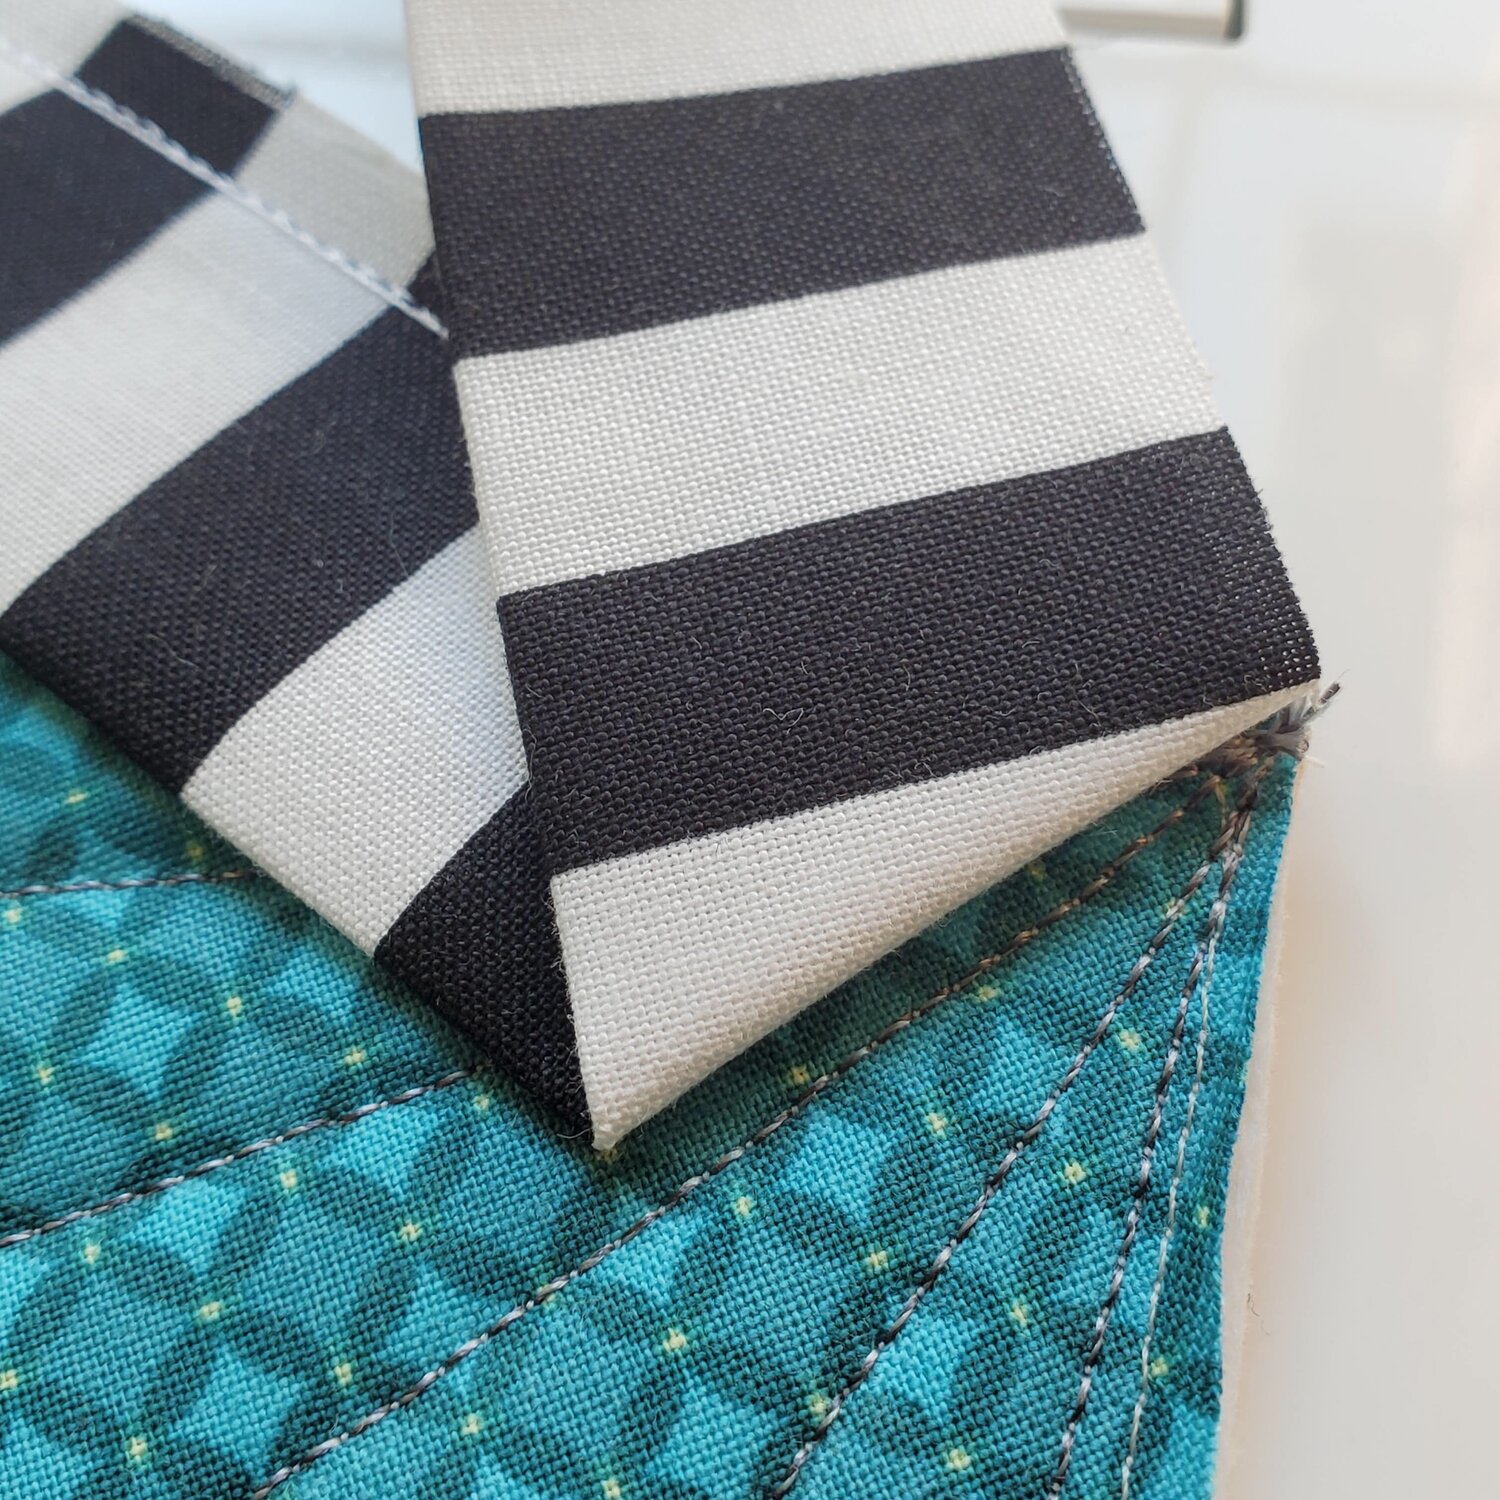
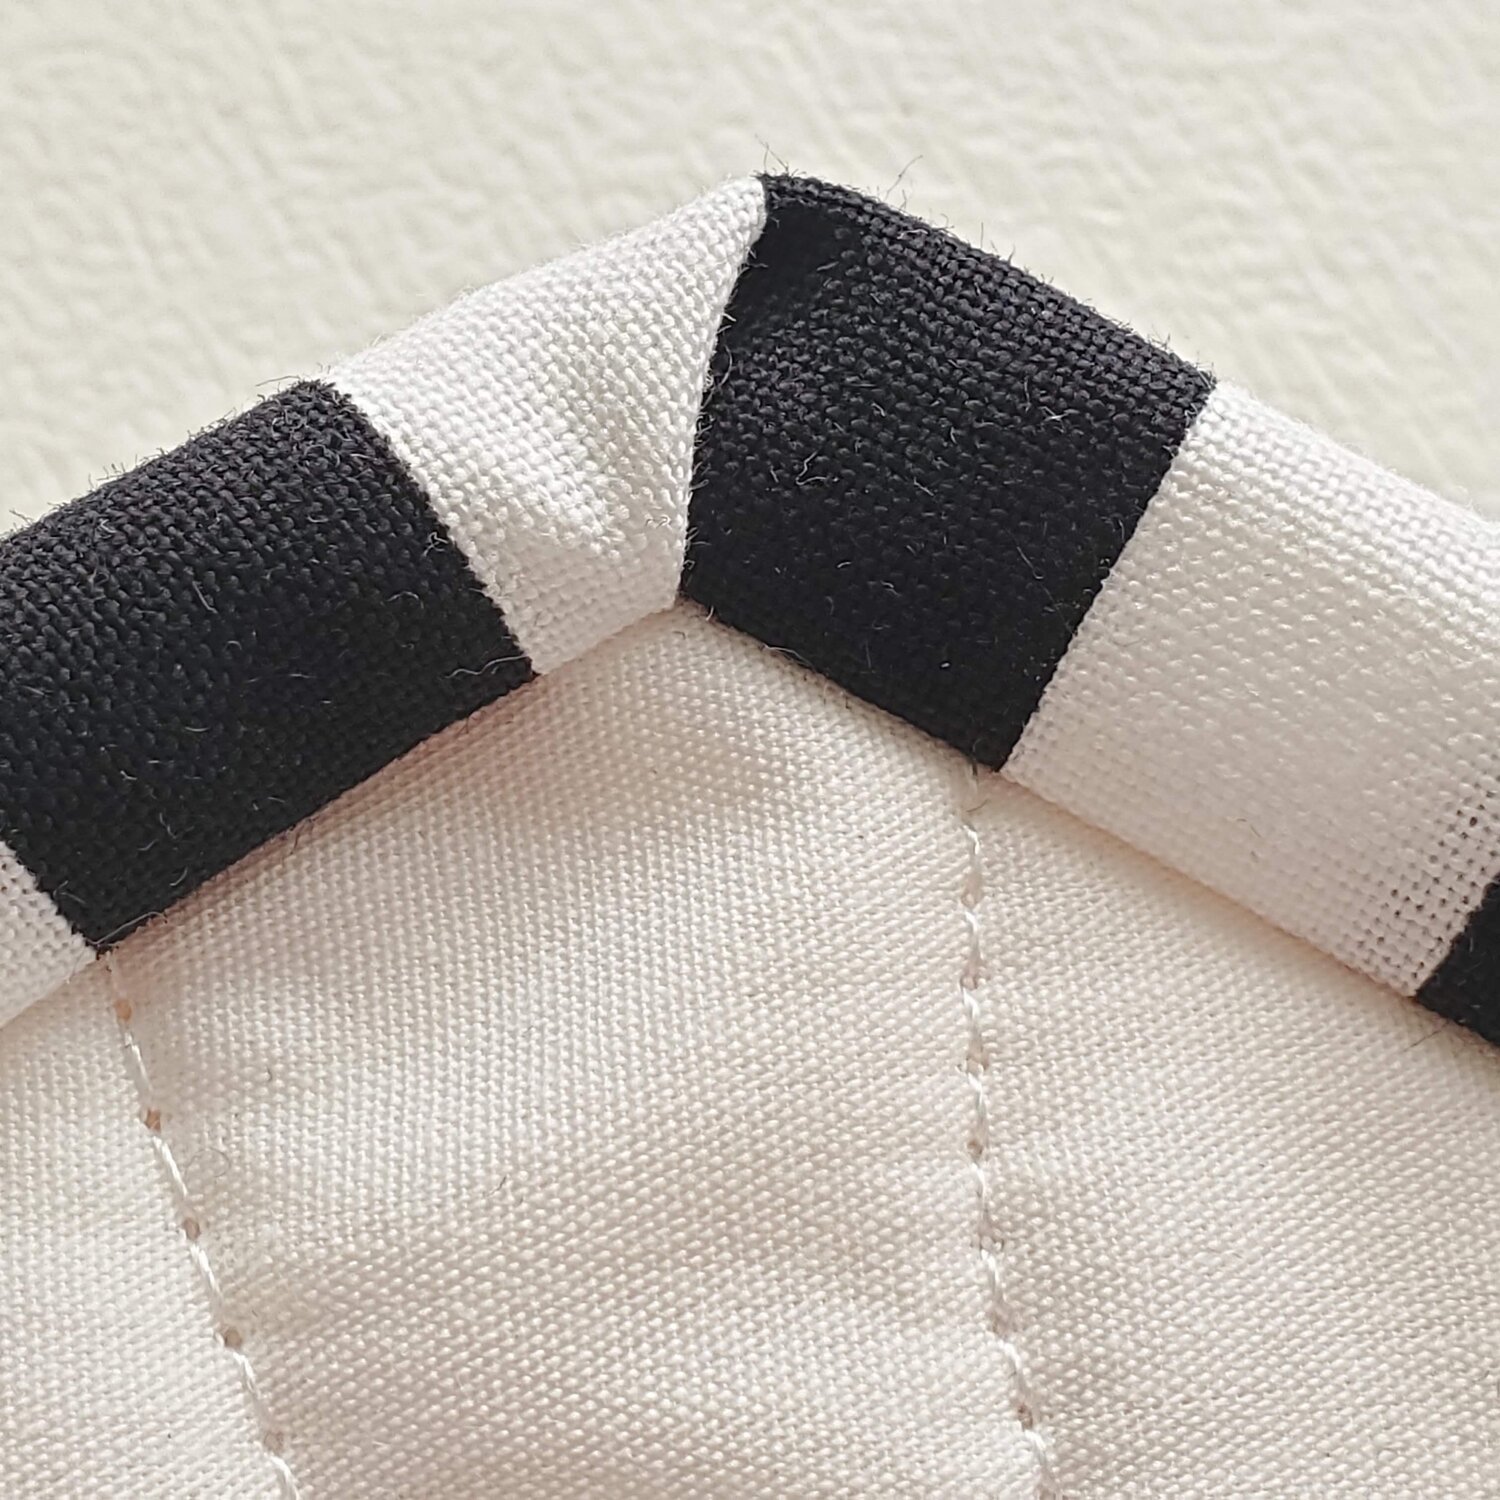
Trim the excess fabric and square up the quilt. To prepare the binding cut two WOF strips 2 ½” wide. Sew the pieces together to make one long strip. This was my first time sewing binding on a hexagon quilt. I found this great tutorial From the Blue Chair that gave great pictures and an easy explanation of how to do this technique. I started sewing the binding in the middle of one the sides leaving about a 5” tail to connect the binding at the end. Sew with a ¼” seam stopping ¼” from the corner. Lift the foot and cut threads. Fold the binding back on itself toward the side you just stitched at an angle lining up the corner with the fold.
Then fold it the opposite direction aligning the raw edges.
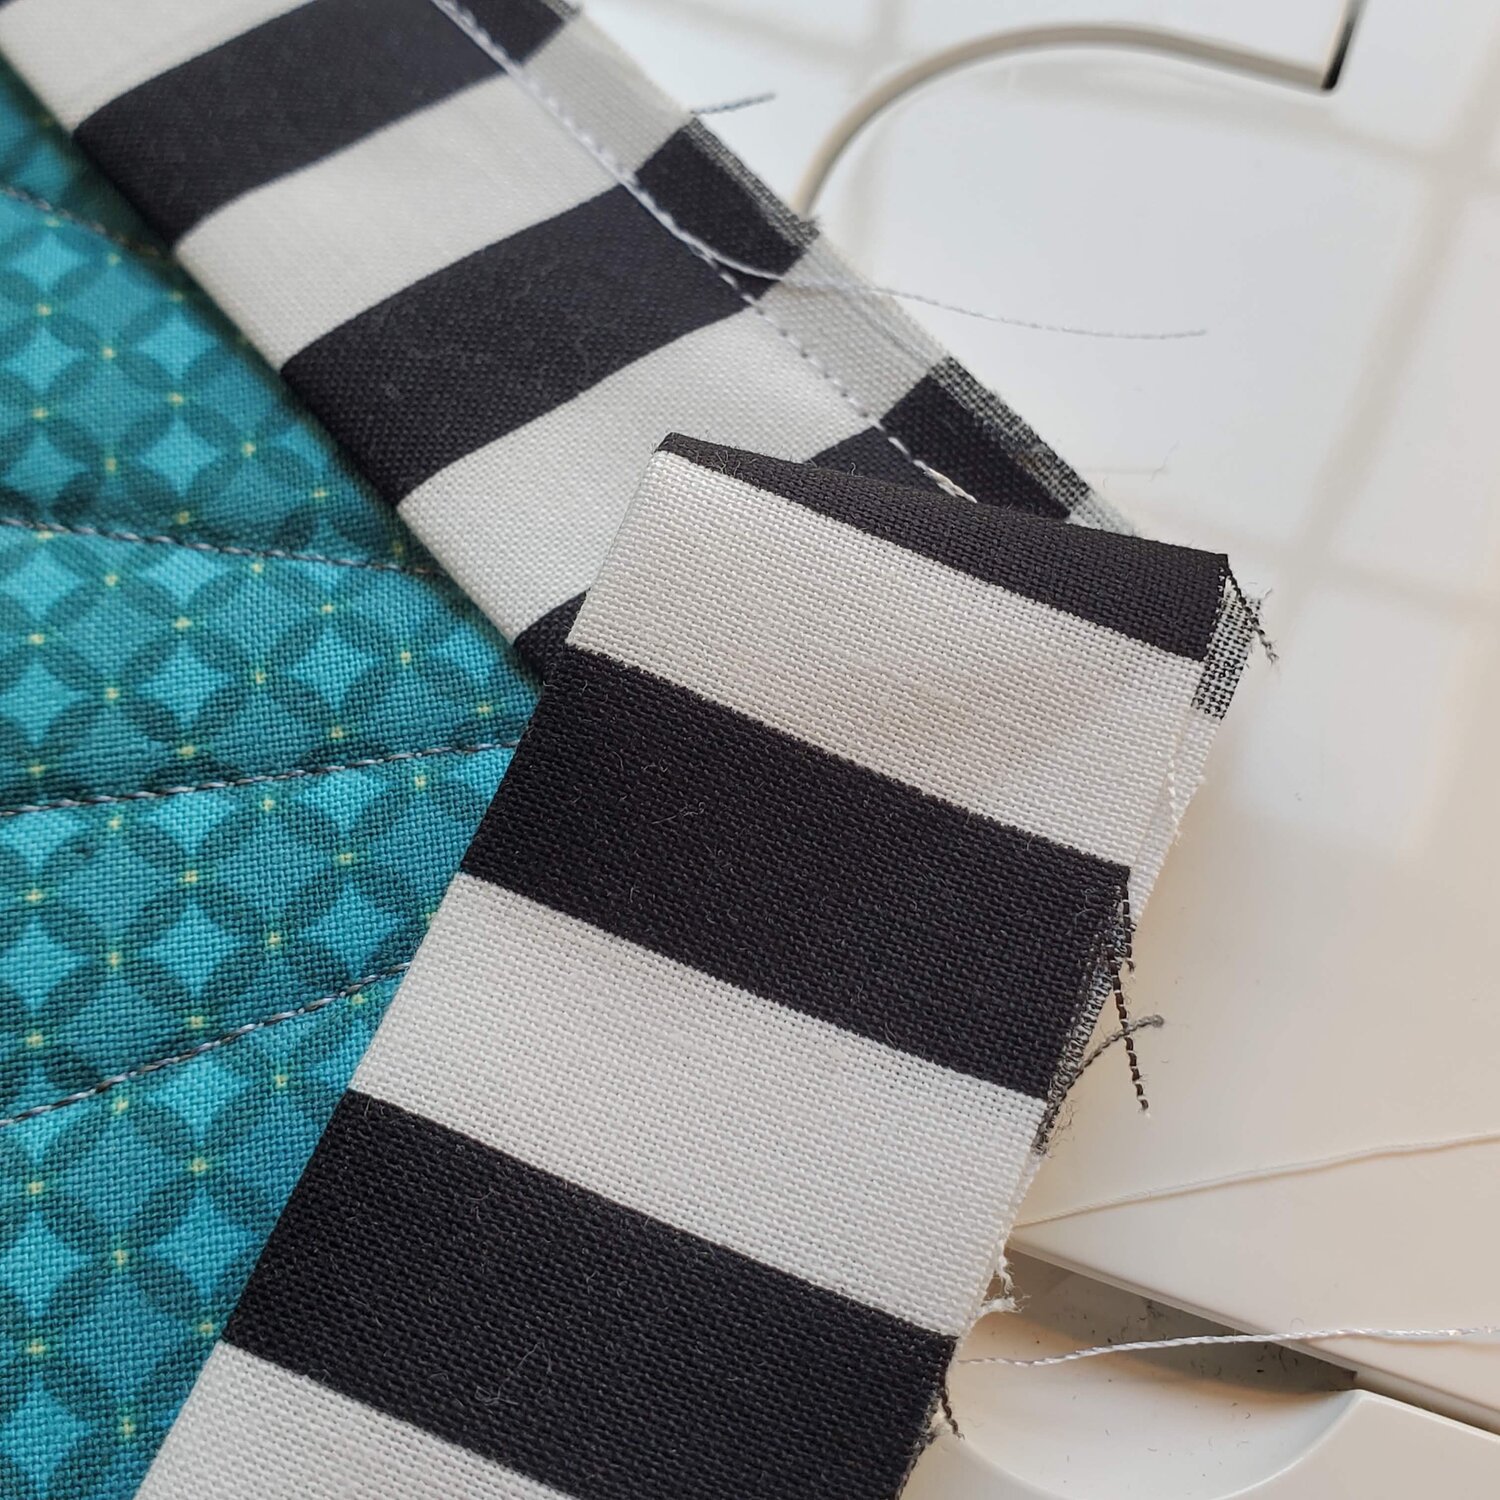
Start stitching from the corner edge, sewing till you get to ¼” from the next corner. Repeat the process for each corner
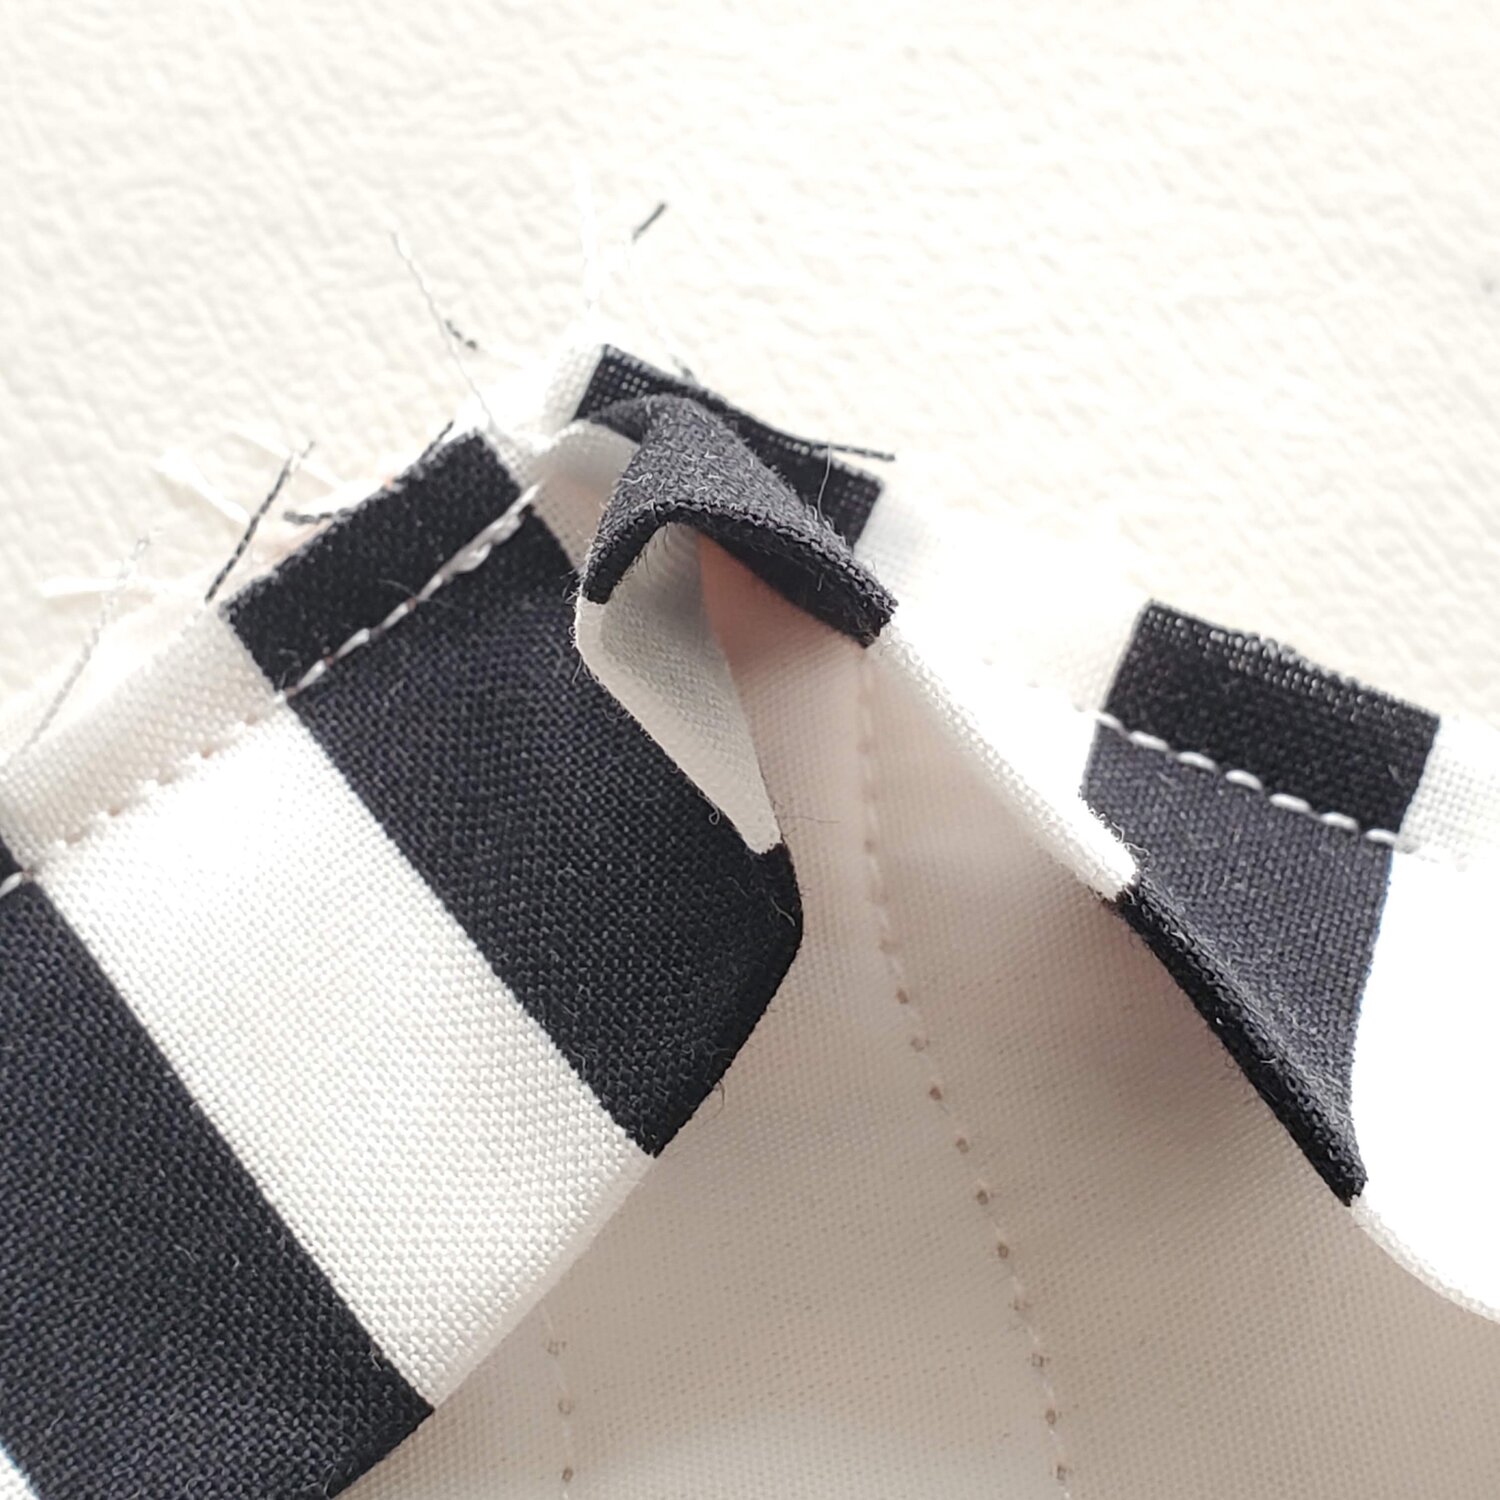
As you approach the place where you first started the binding, stop sewing, leaving about a 6” gap to allow space to connect the binding pieces. I laid the two ends over each other and marked a line in the middle. With the right sides together, sew on the line to connect the binding.
Trim to a ¼” seam and press. Continue to sew the binding in place. I machine stitched the binding in place by stitching in the ditch from the front but you can also hand stitch in place for a nice clean look on the back. I really was surprised at how well the corners came out using this technique.
I plan to use this as a table topper this fall. For the backing, I used a fun orange patterned fabric to extend the use past Halloween.
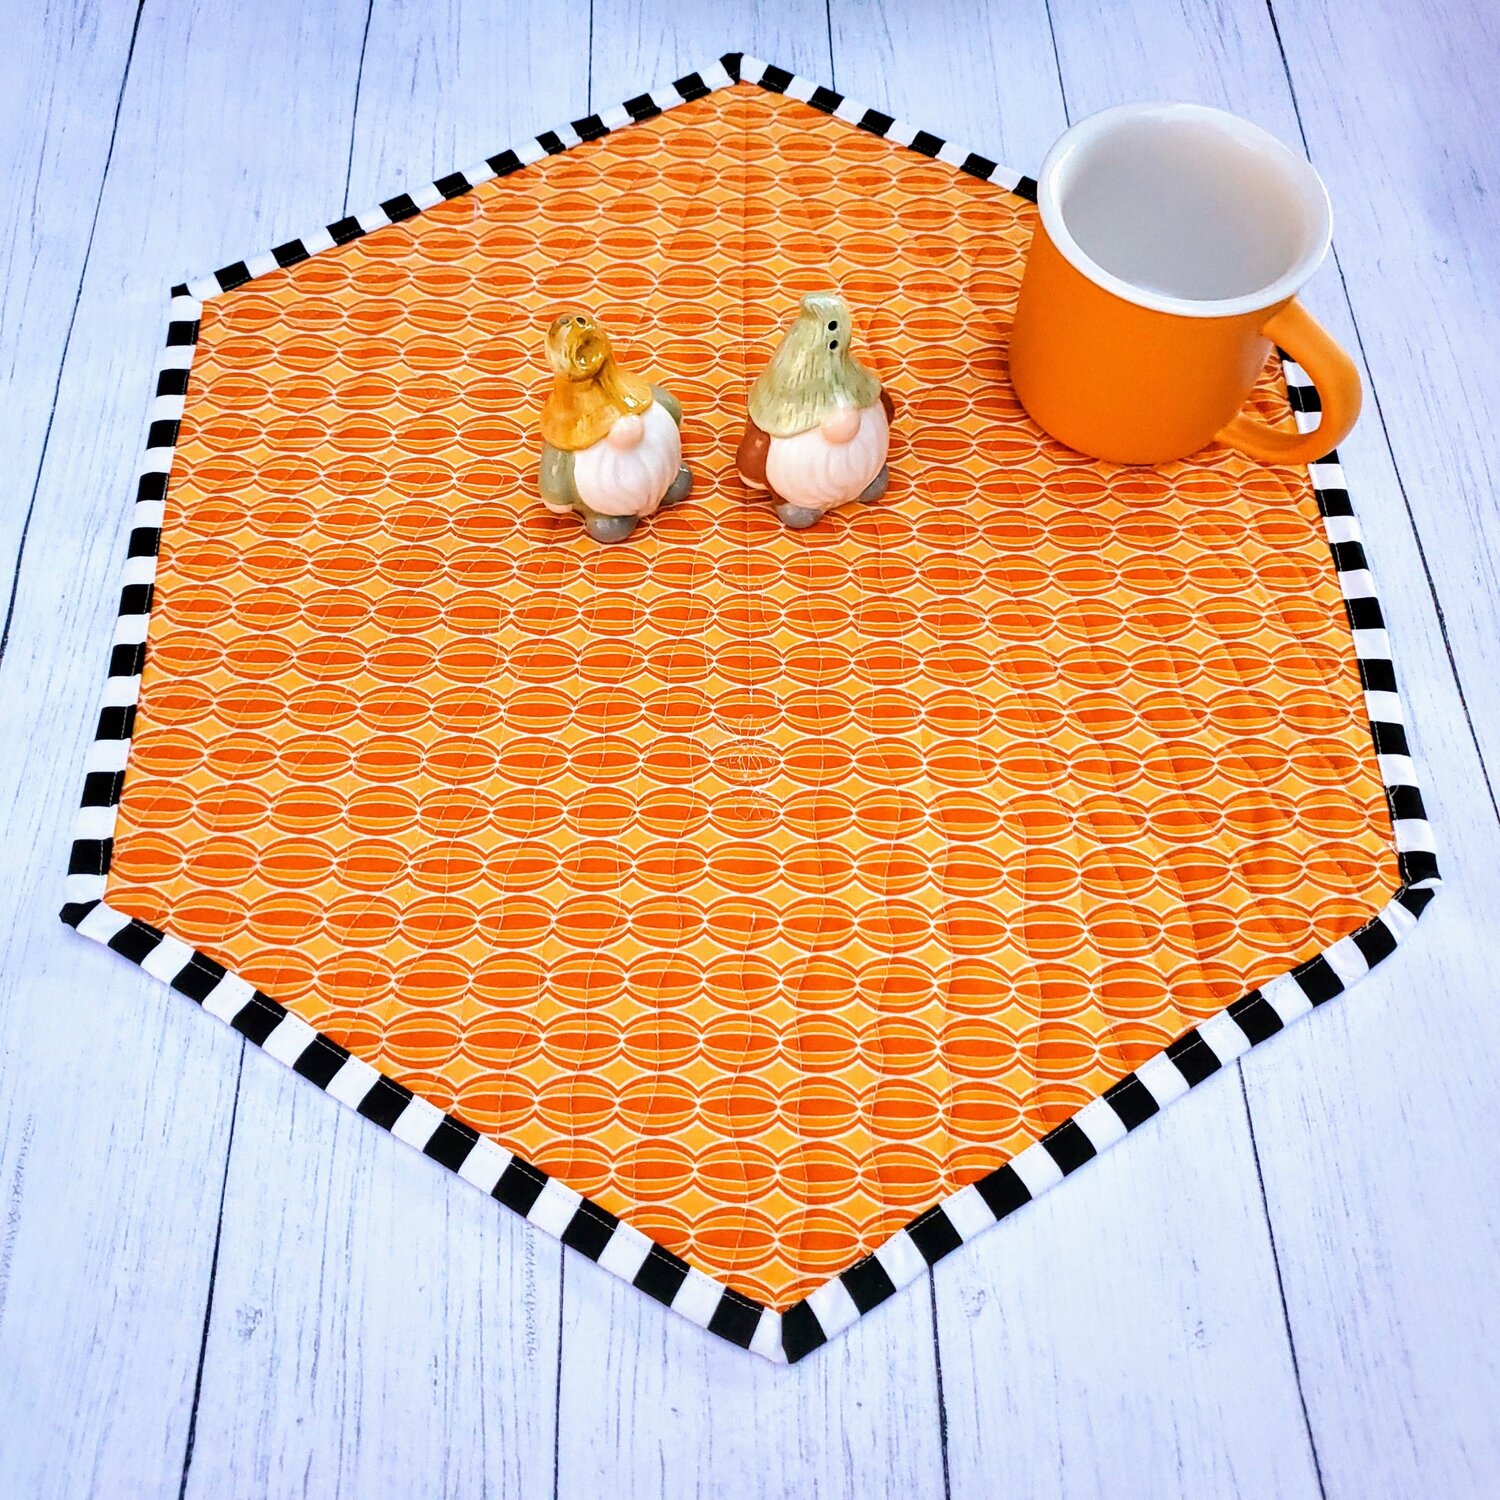
Have fun with this versatile and festive piece!