

Carving Your Own Path Wall Hanging
25th Jul 2022
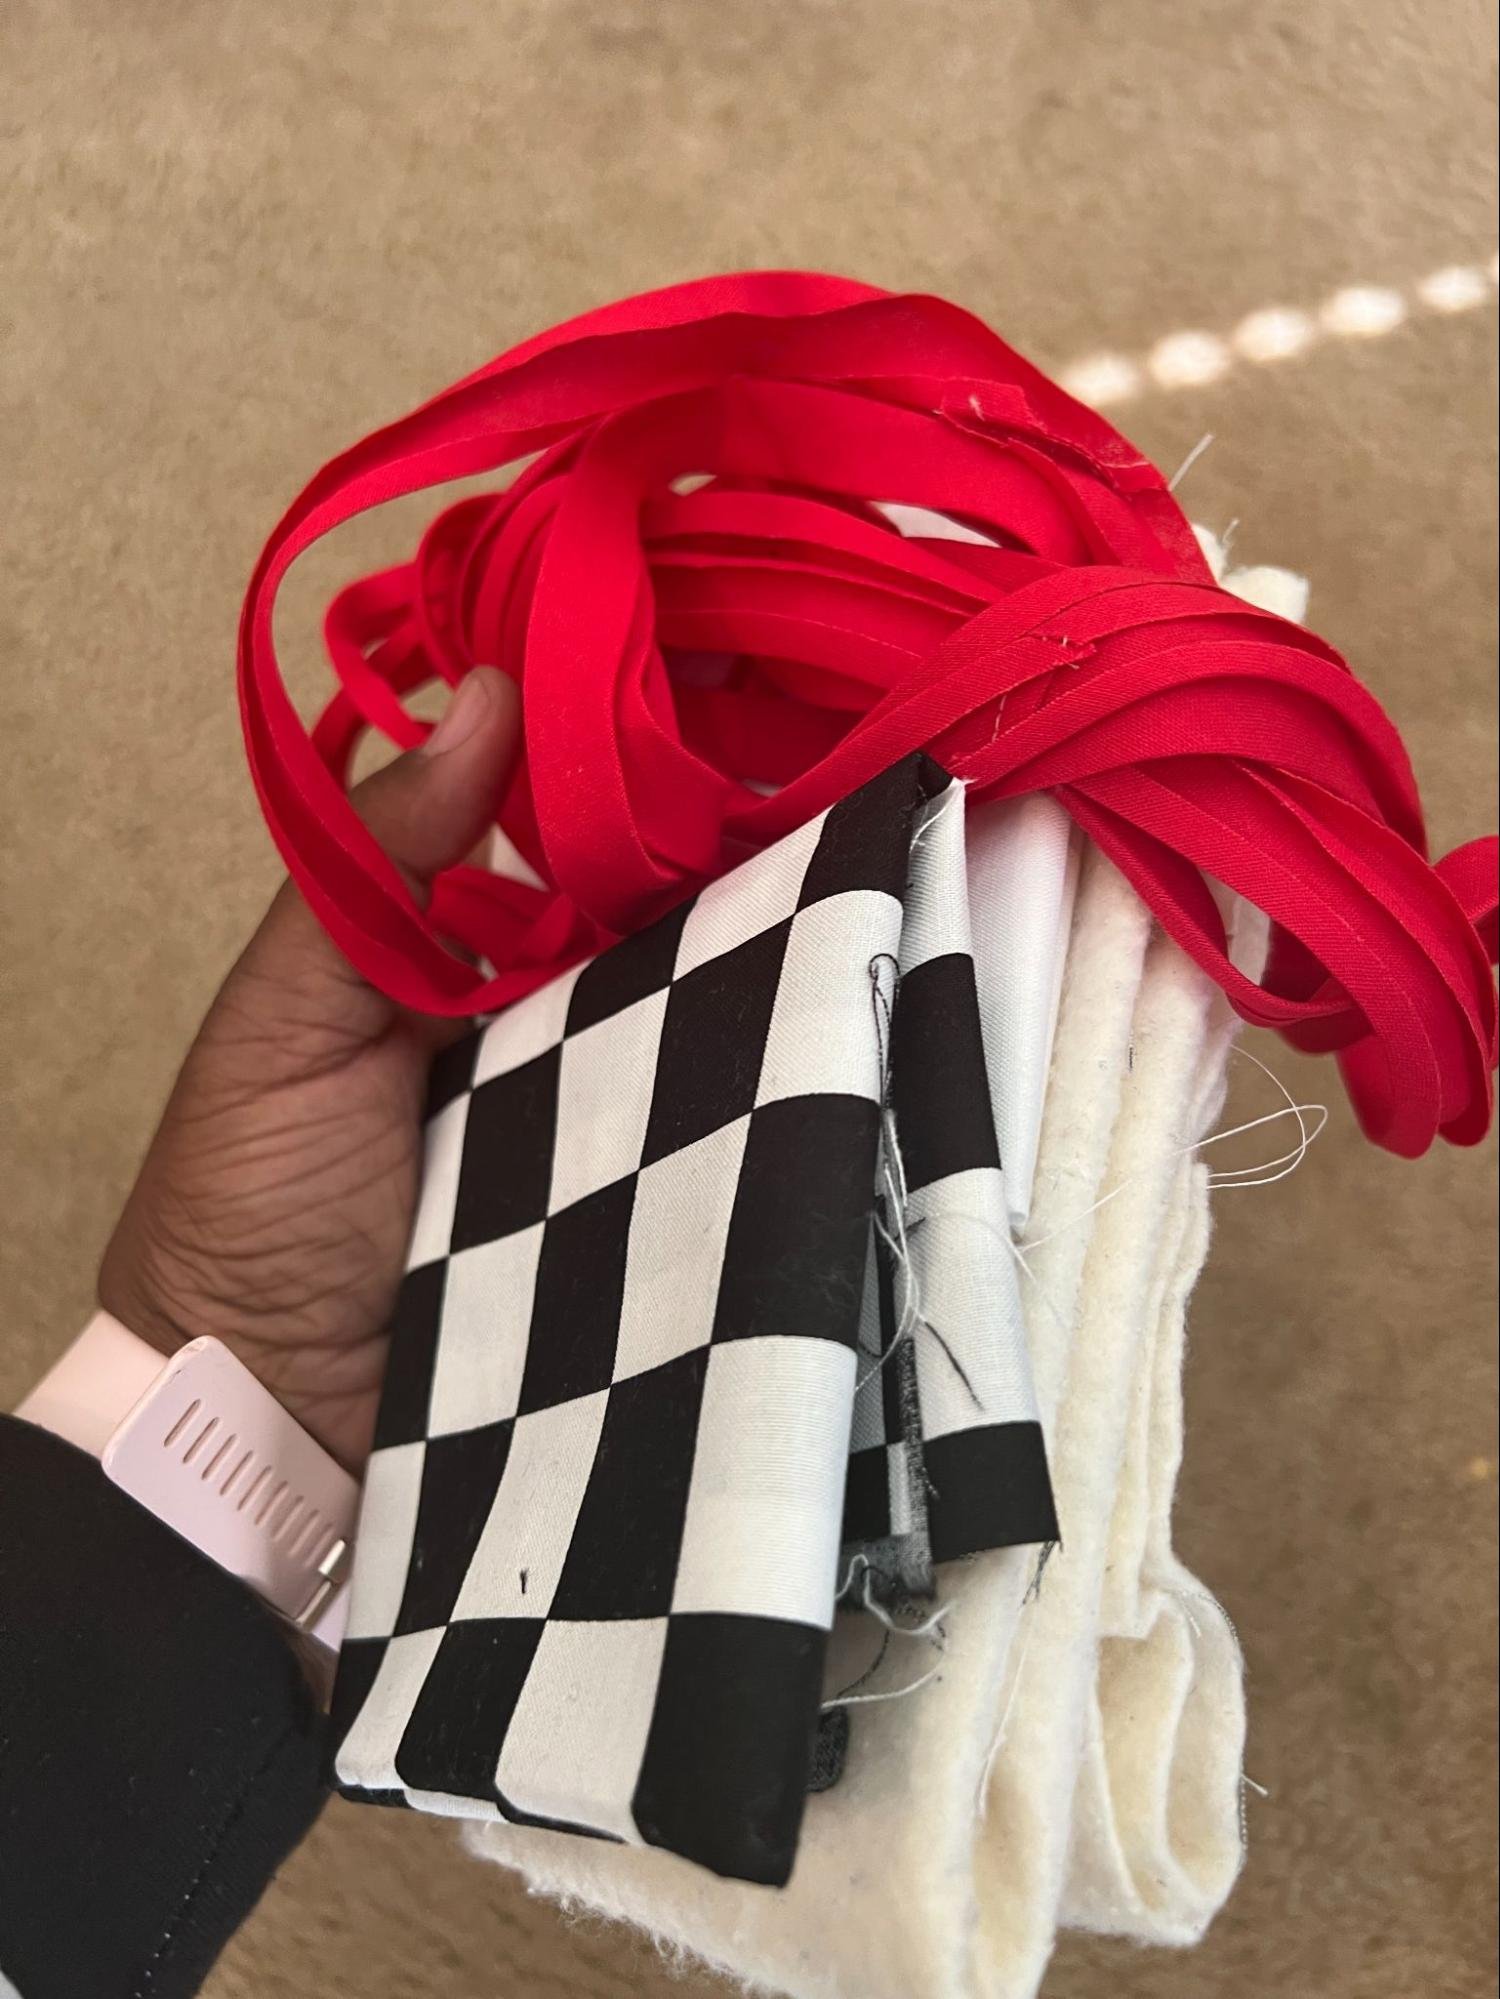
Materials:
Main Fabric: one fat quarter or 1 Fat quarter
Batting- Slightly Larger than Fat Quarter
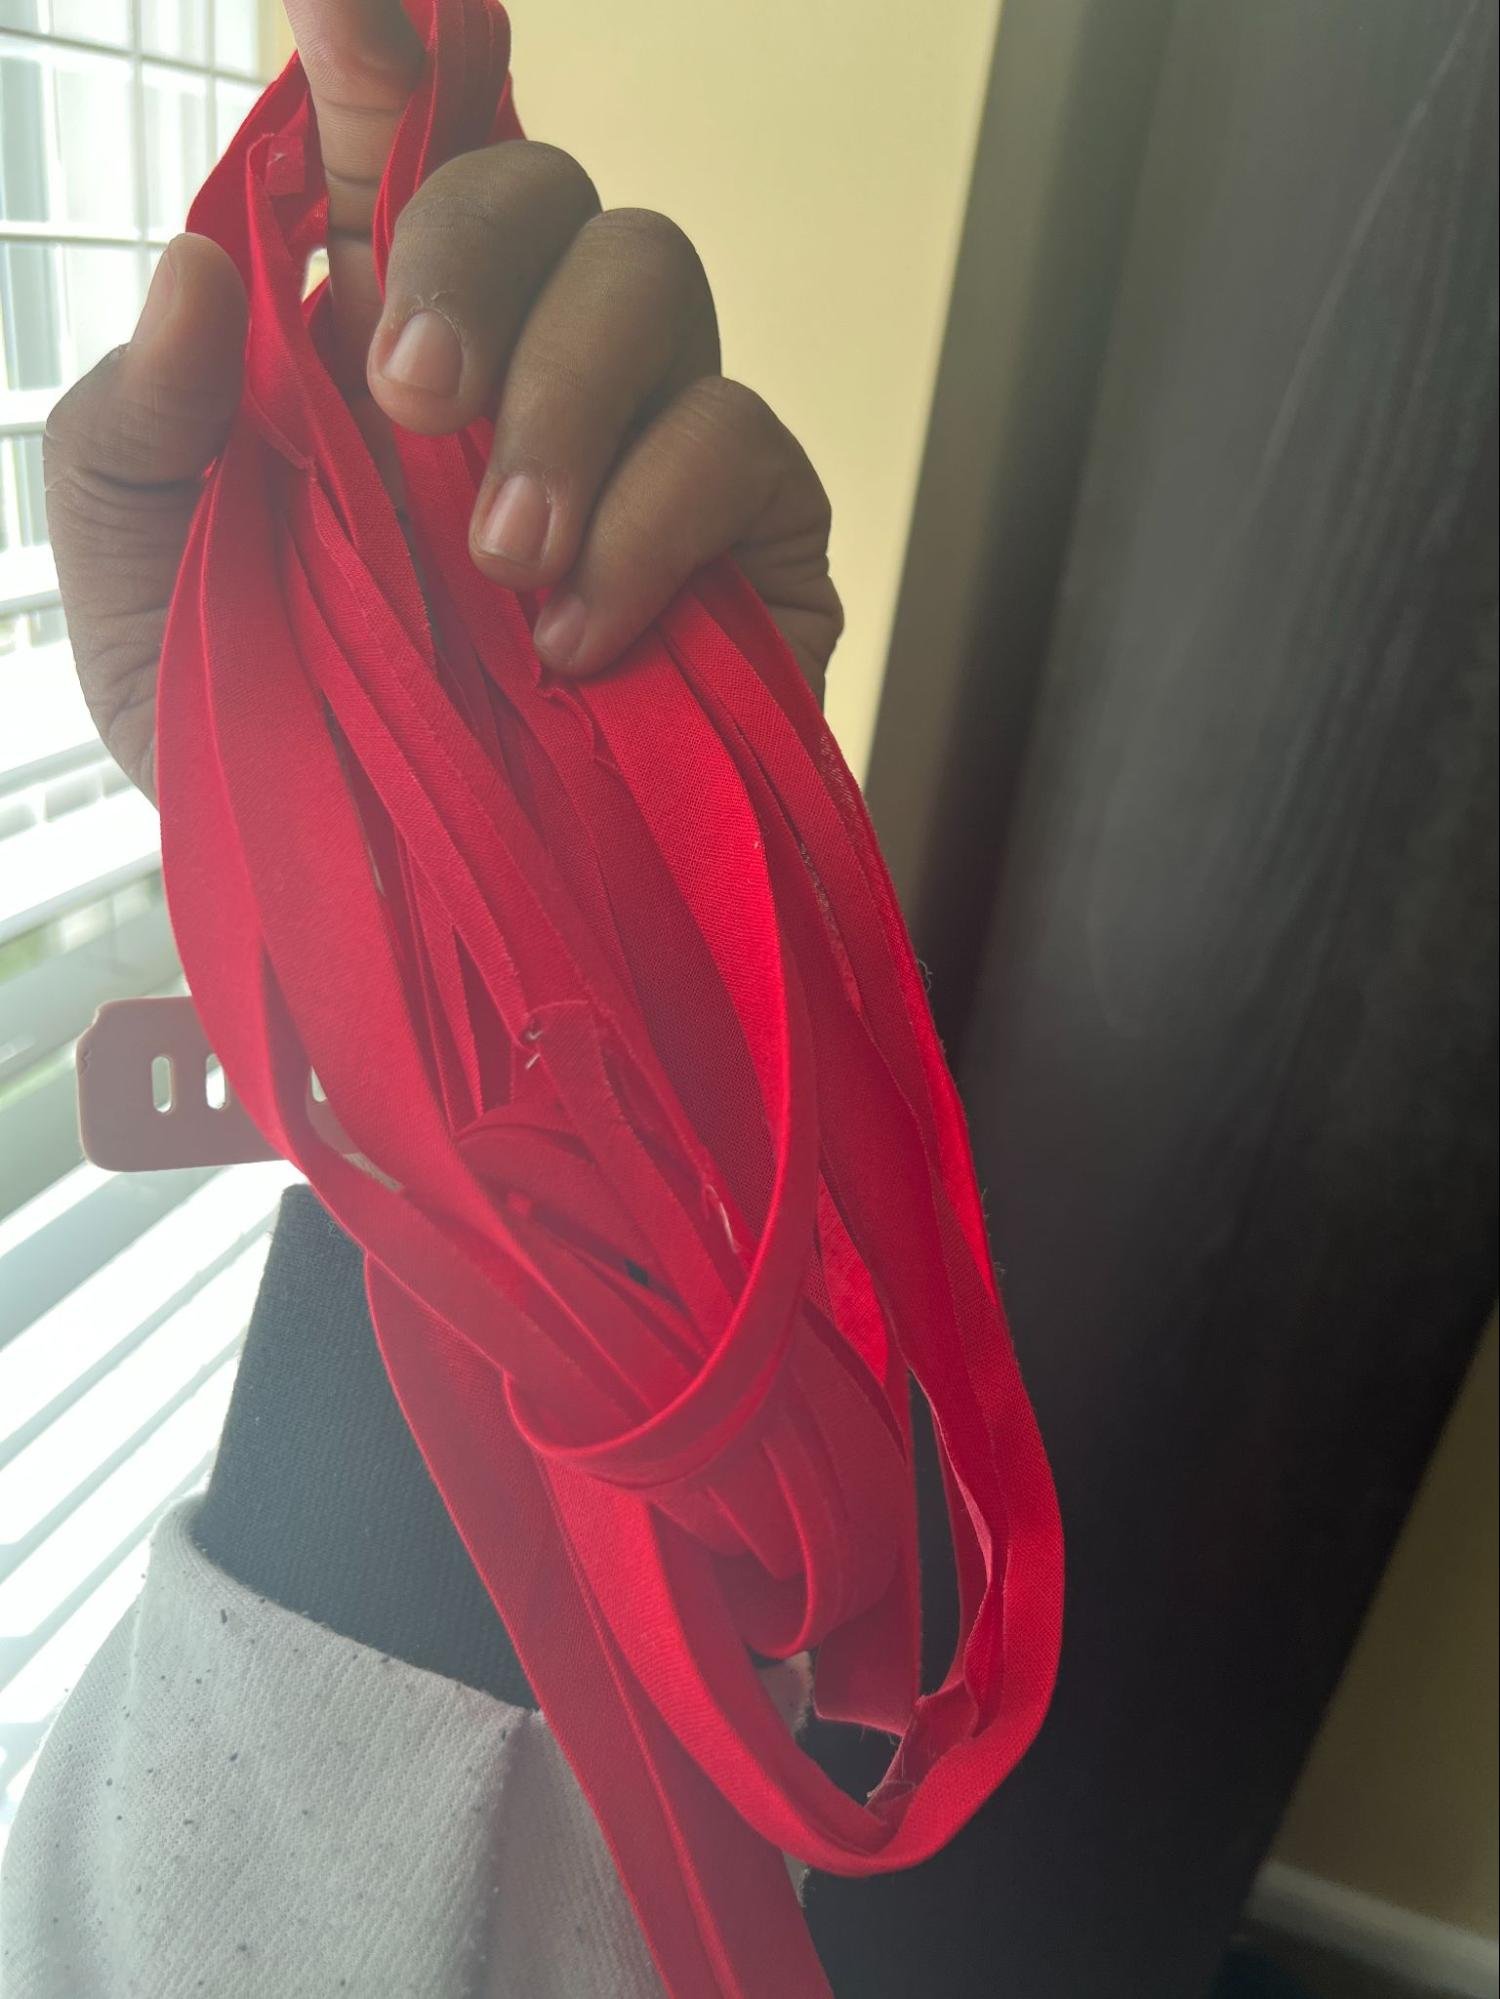
Bias tape- 1 Package or 1 Fat Quarter (if making your own)
Bias Tape Maker (optional)
Walking foot (optional)
Thread
Hey Maker! It’s Jaszmine and I am back with another project to give you some new quilty ideas to add to your makes. Lately, I have seen some continuous line art and it got me thinking “How can we translate this to fabric?” Of Course, we have the famous Ric-Rac you can place onto your work but I was looking for something more modern and different. Should I use yarn to applique? Try piping? How could I execute what I had planned on paper? Within an hour or so of pondering, I found the perfect solution, Double fold Bias tape, and knew that it was going to be the perfect way to get this vision out into the world.
This project is a fun and easy way to practice a variety of skills in your quilting journey and can be used in many ways once completed. Some ideas would be to practice a new quilt style, applique, Make bias tape, and perfect your binding application. Here, we will be creating a size that is good for a placemat or wall hanging but don’t worry, there is plenty of room for you to carve your own path for bags, coasters, and so much more.
Preparation:
To Begin, You will gather your supplies and prep your fabric. I recommend a good press with a little starch to give the fabric a bit more structure and to prewash your fabric if it is a bit older or you have a fabric you fear may bleed.
Make your bias tape: If you have decided to make some yourself or open that package to begin. Here, I made 12mm bias tape by cutting one-inch strips at a 45-degree angle. If you have not done this before, please click HERE for a tutorial
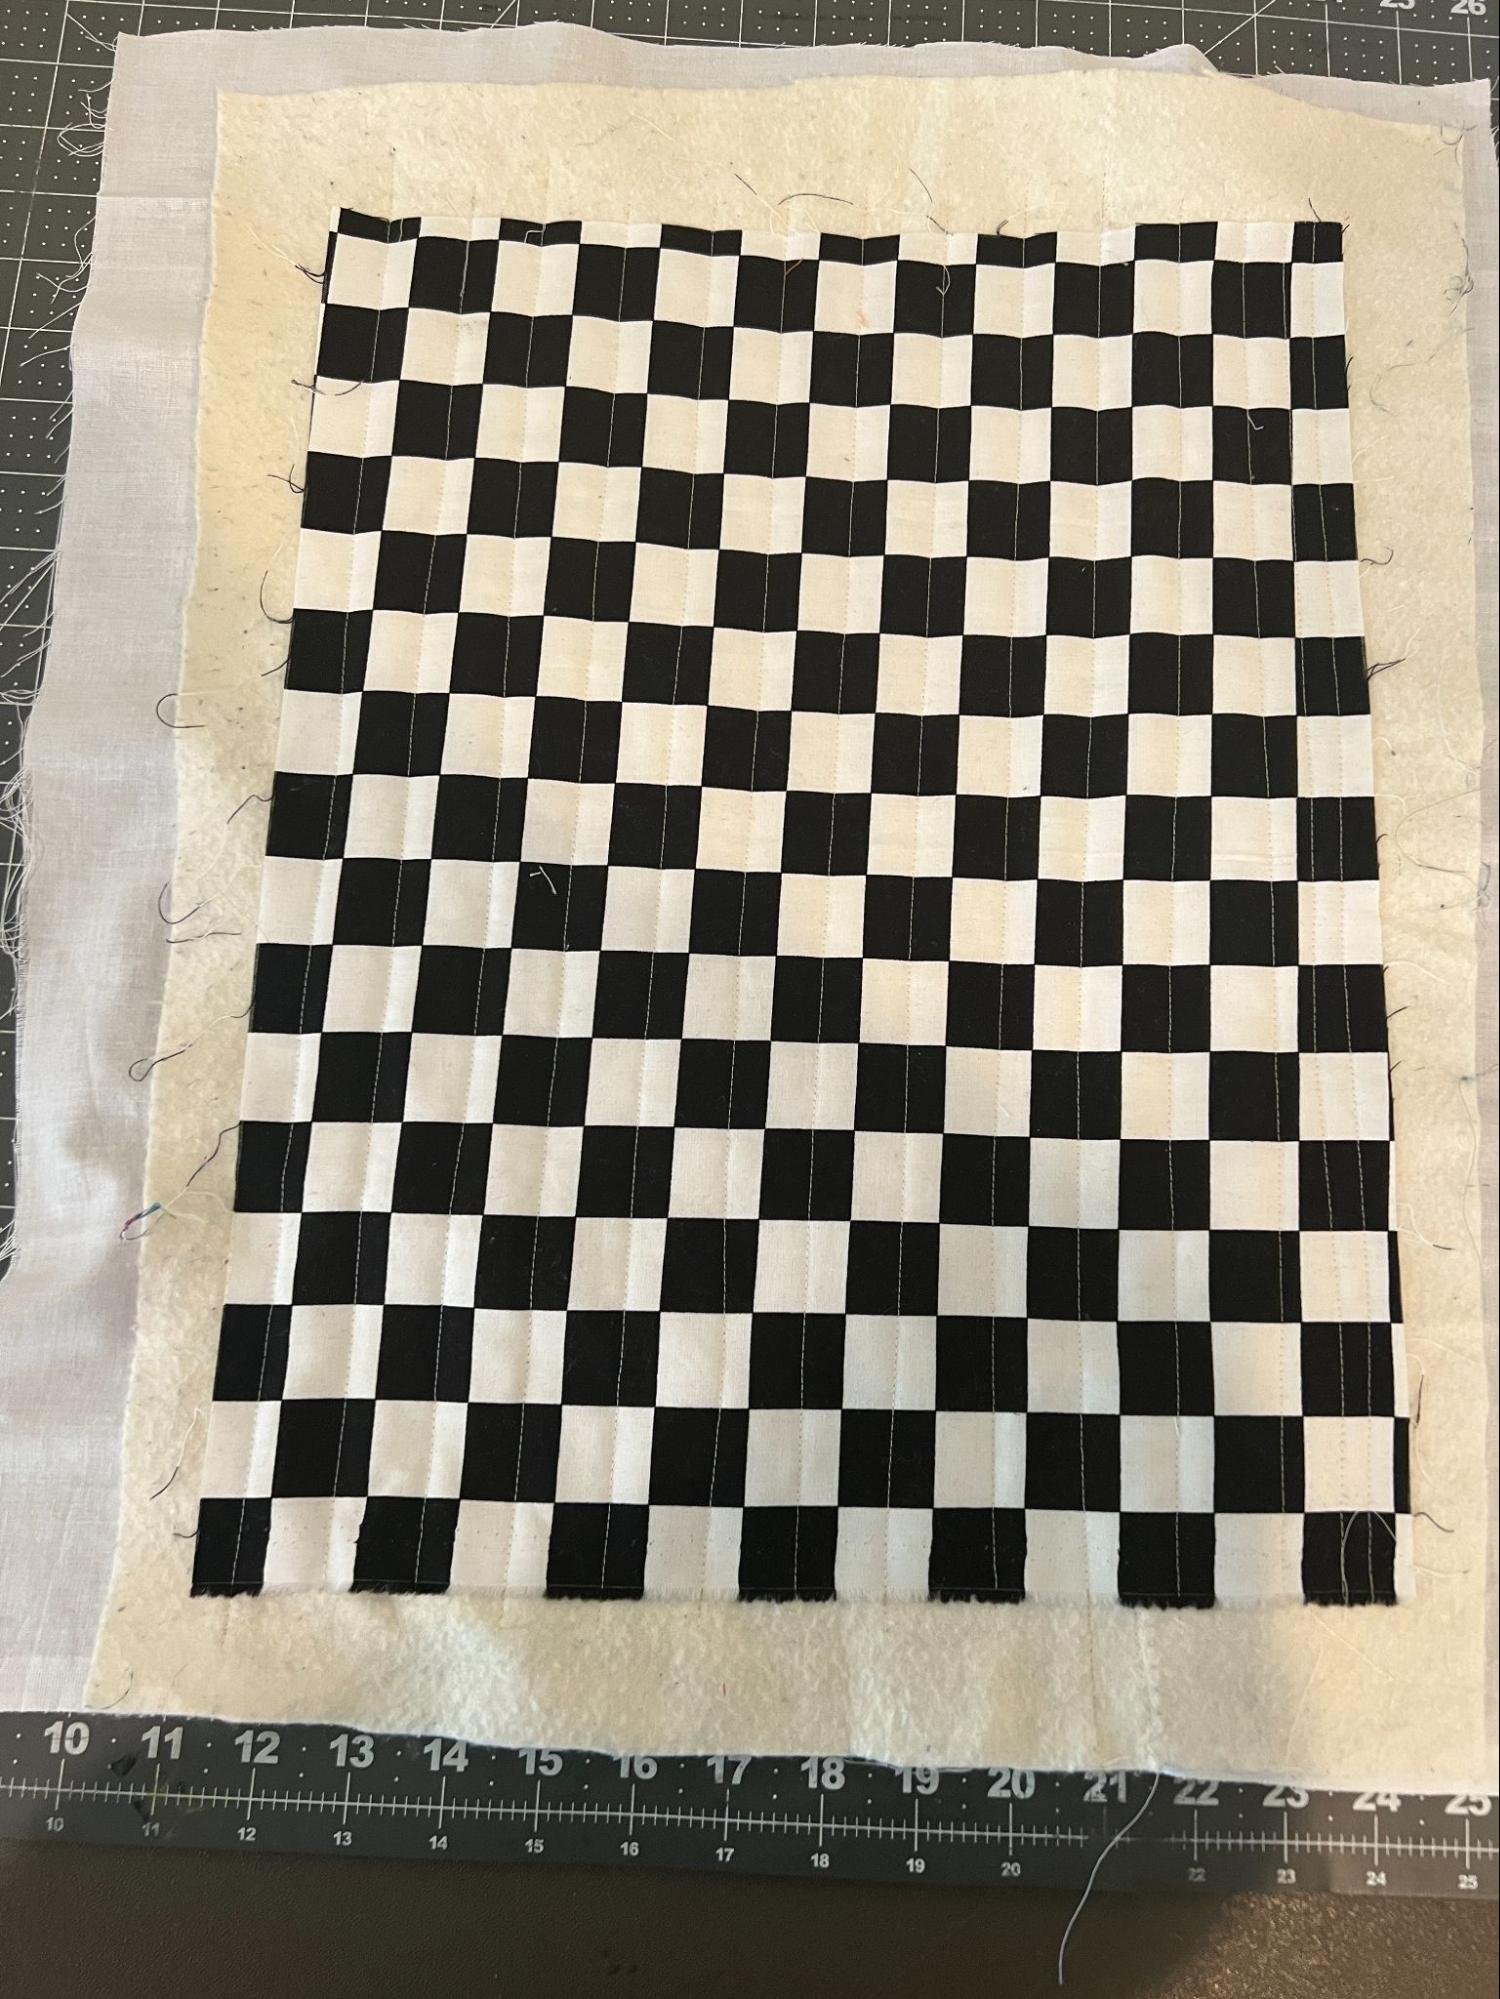
Lay your backing fabric with the wrong side facing you, then lay your batting onto that piece and your main fabric with the right side facing you. From there, you will quilt as desired. I chose to do organic straight lines here but this is a great time to practice any other styles like free motion, ruler work, or even hand quilting.
Time to create!
Now we get to move to the fun part, carving YOUR own path! For this step, I decided to improvise my next move as I went but for those of us that may be a bit more cautious, Use chalk or a washable pen to draw out your path.
Anchor your bias tape ⅛ inch from the edge from a starting point.
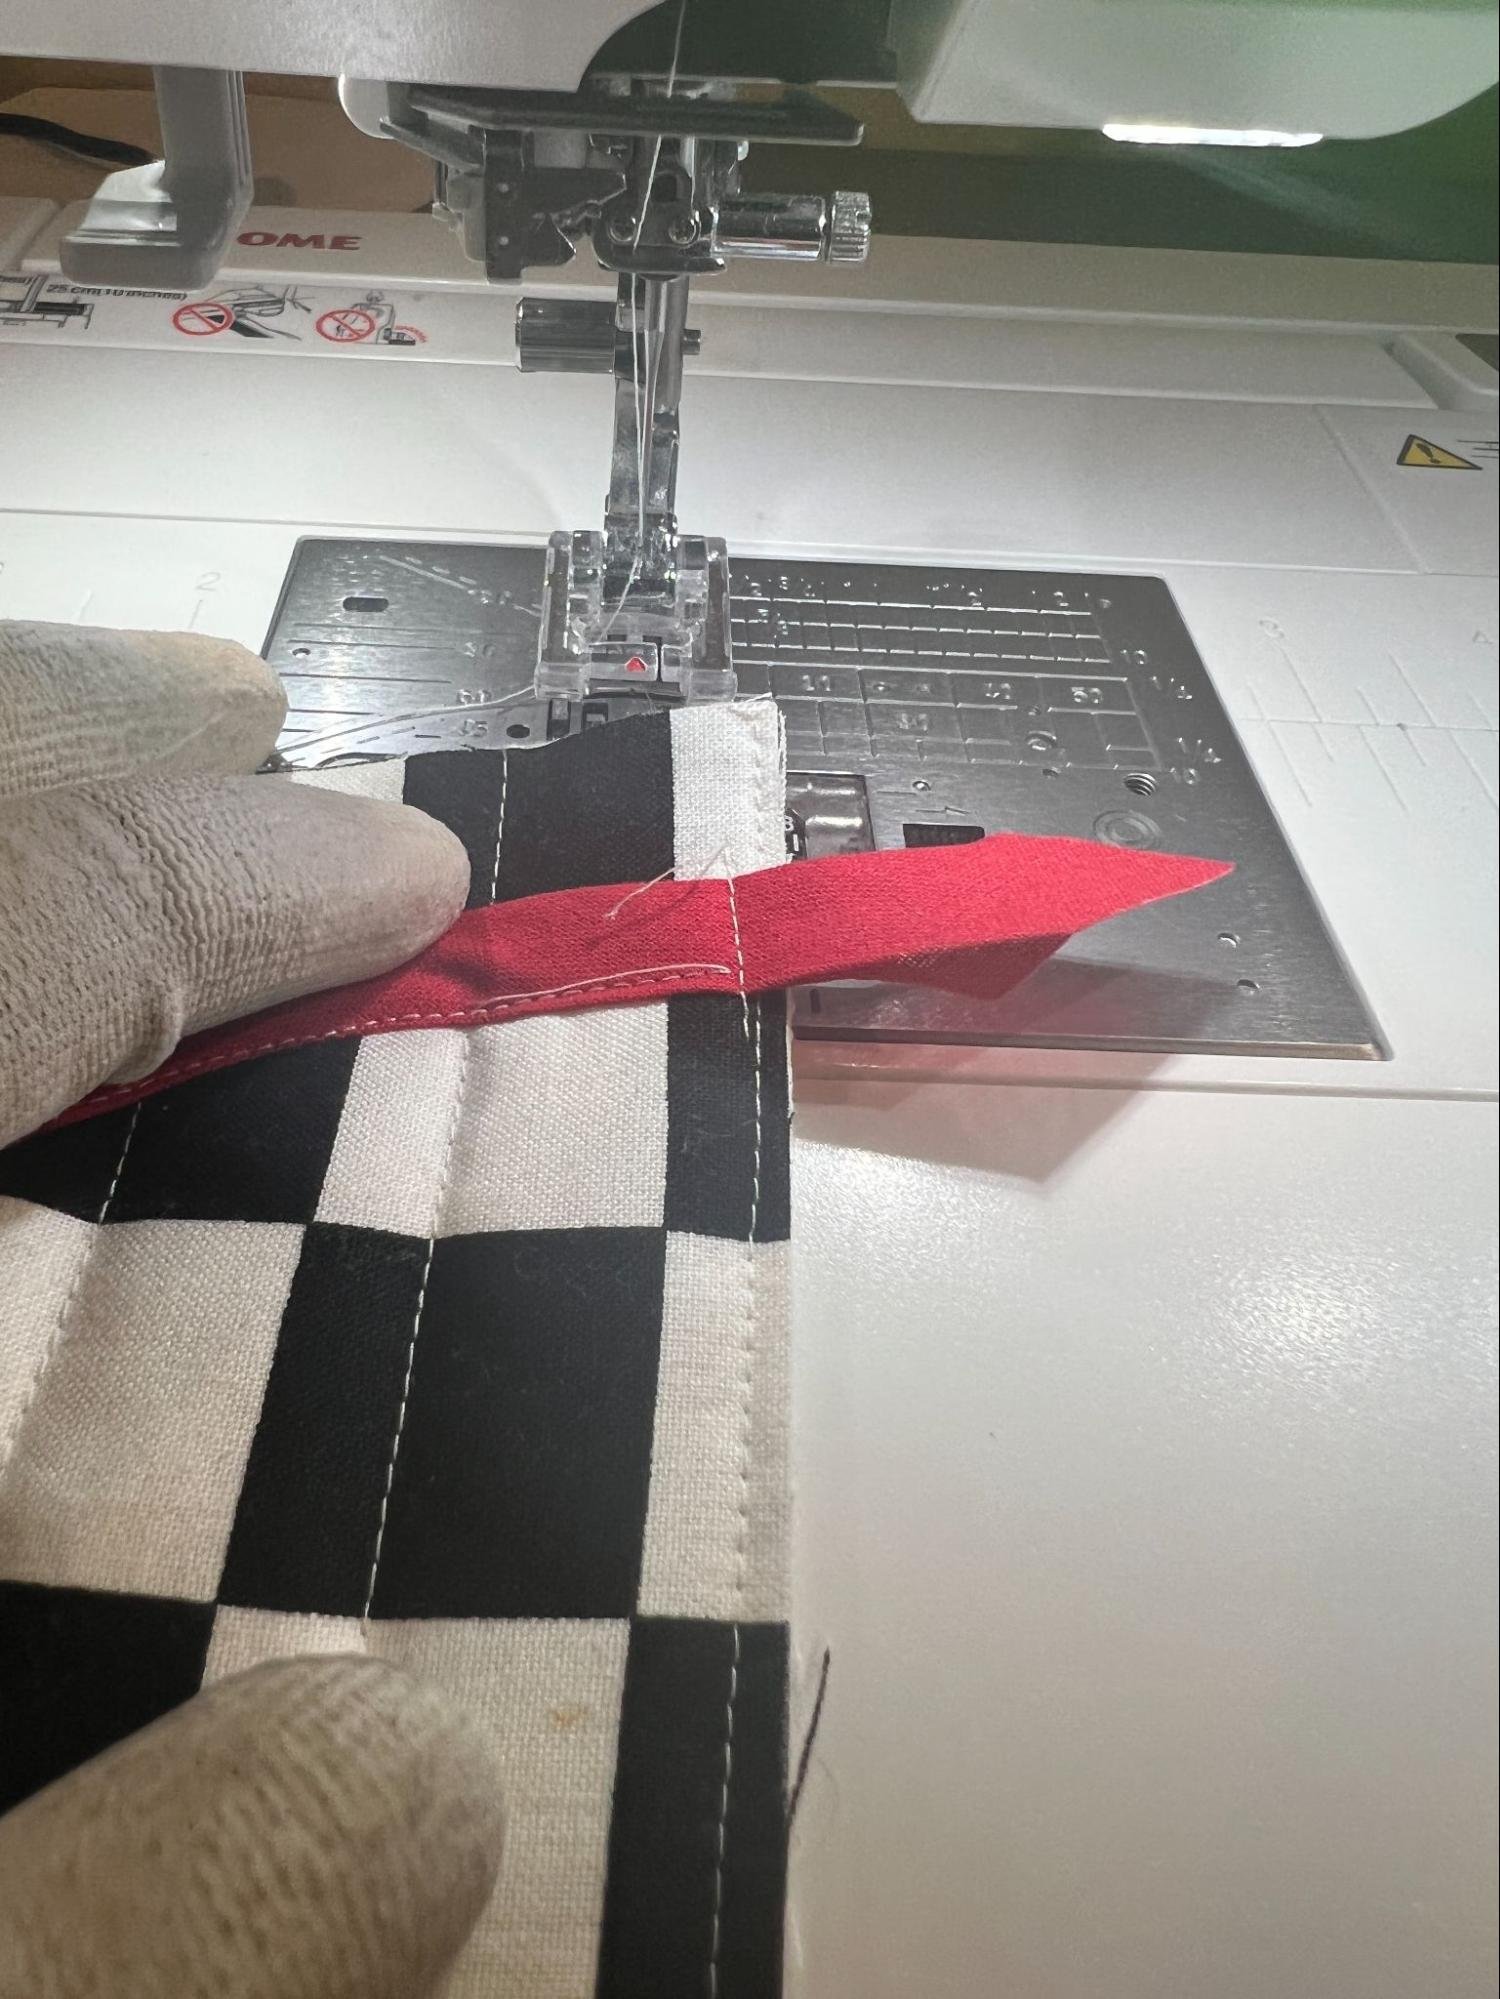
Start sewing in the direction of your lines and sew one side of the double-fold bias tape while pulling the tape taut as you go. You will sew the other side down once you get to the end of your line. I recommend taking your time here and learned my lesson the hard way.
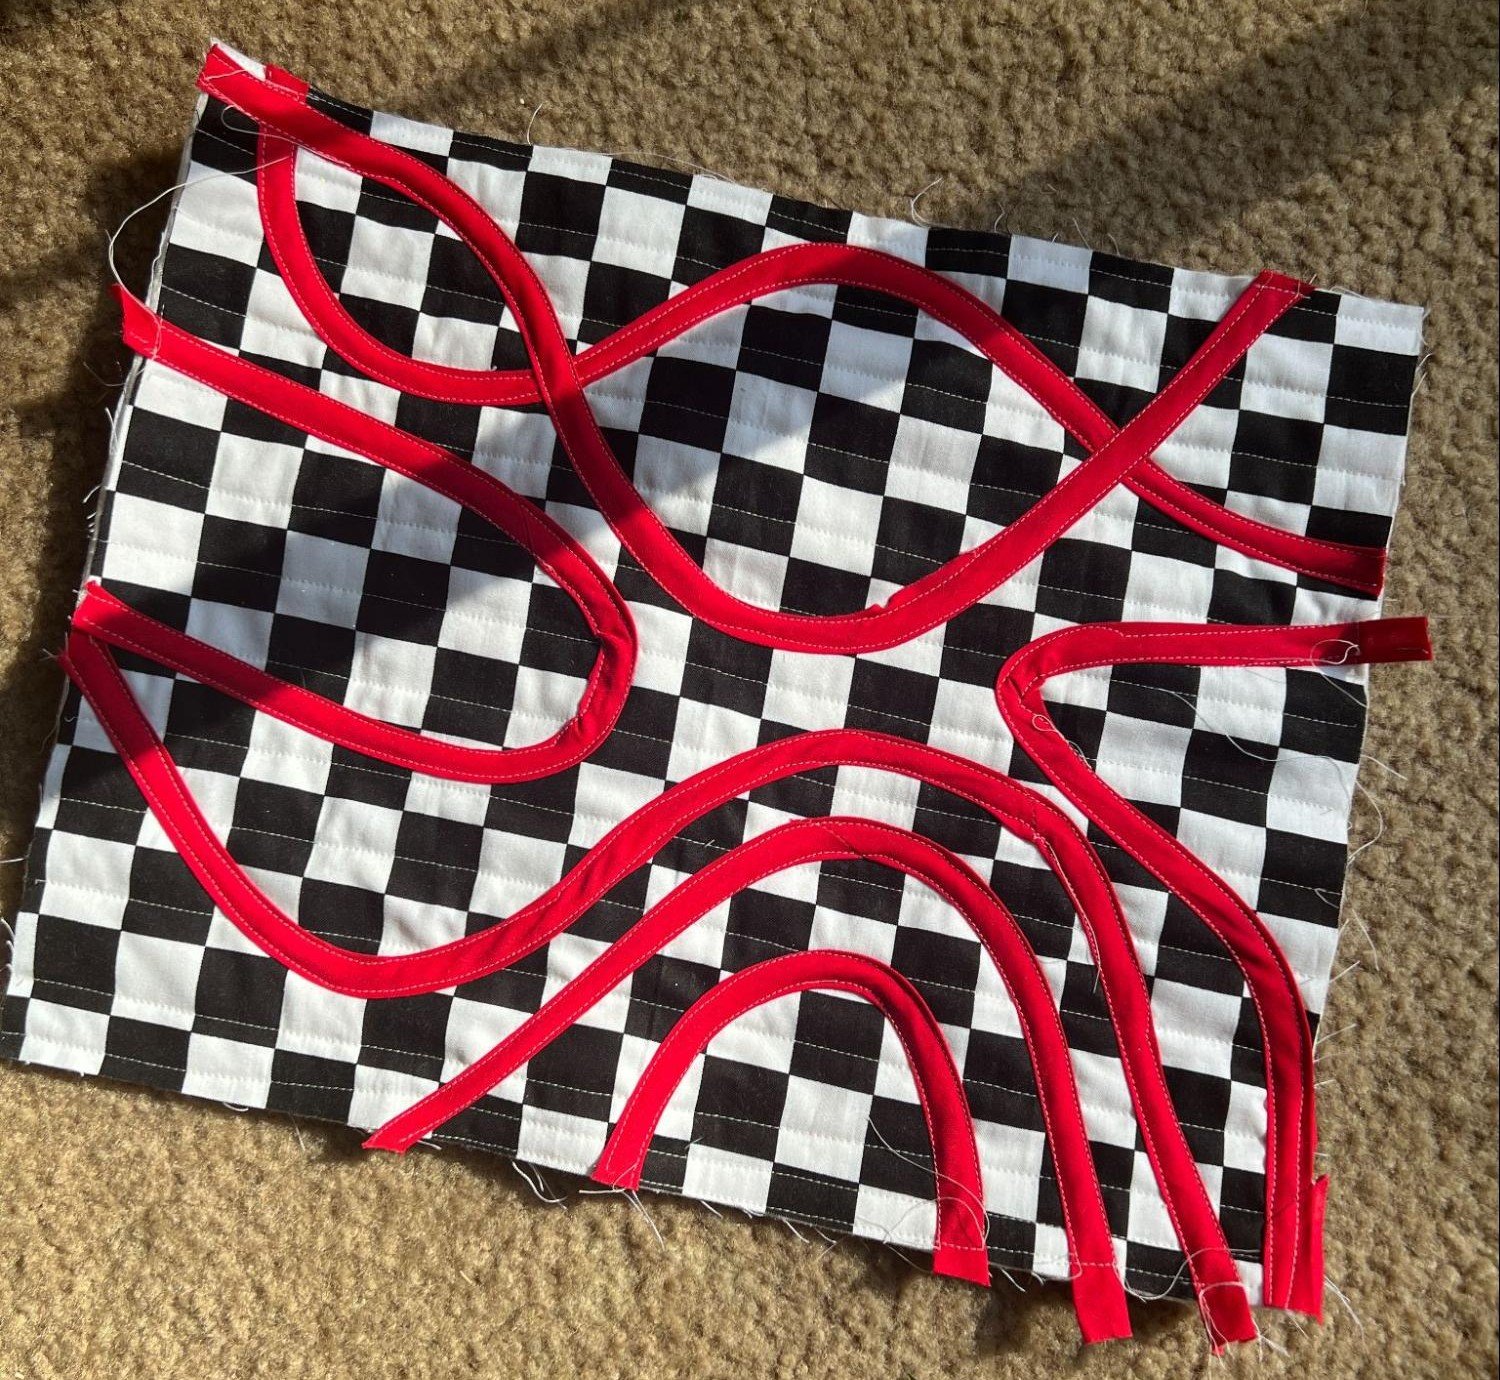 From here, you clip the edges of the bias tape and are ready to bind!
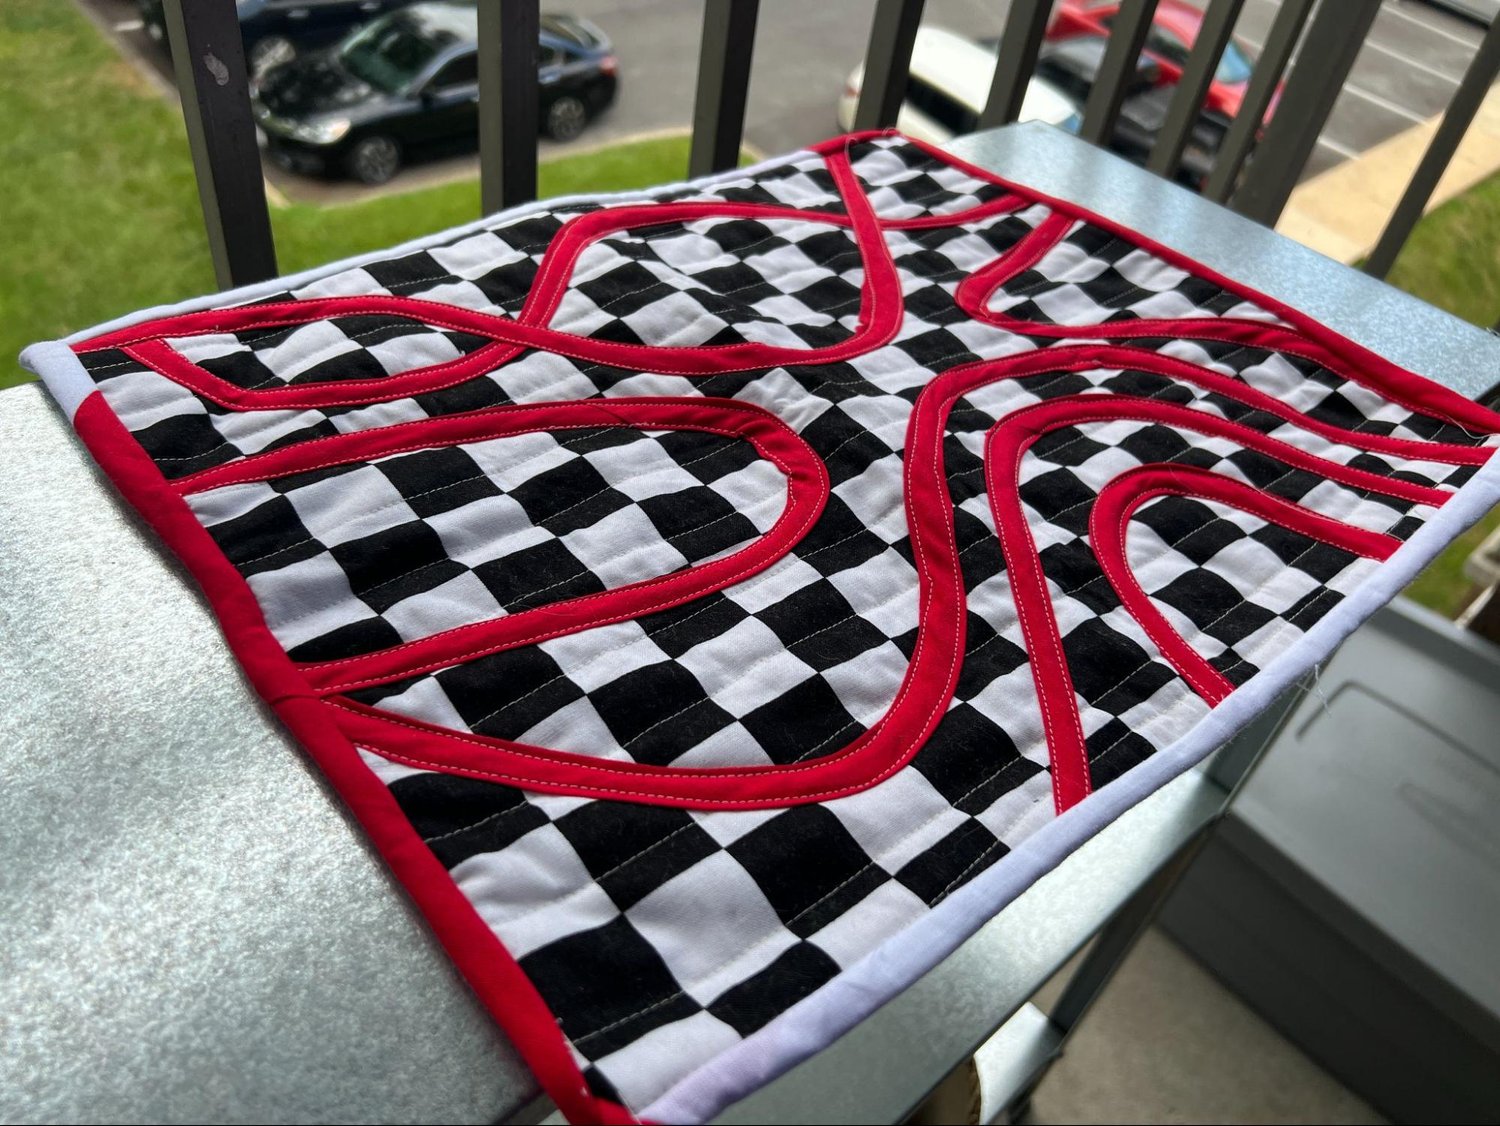
YOU MADE IT! Now go enjoy your new placemat or wall hanging and stare at your new piece of art.