

Quilted Slippers
17th Feb 2022
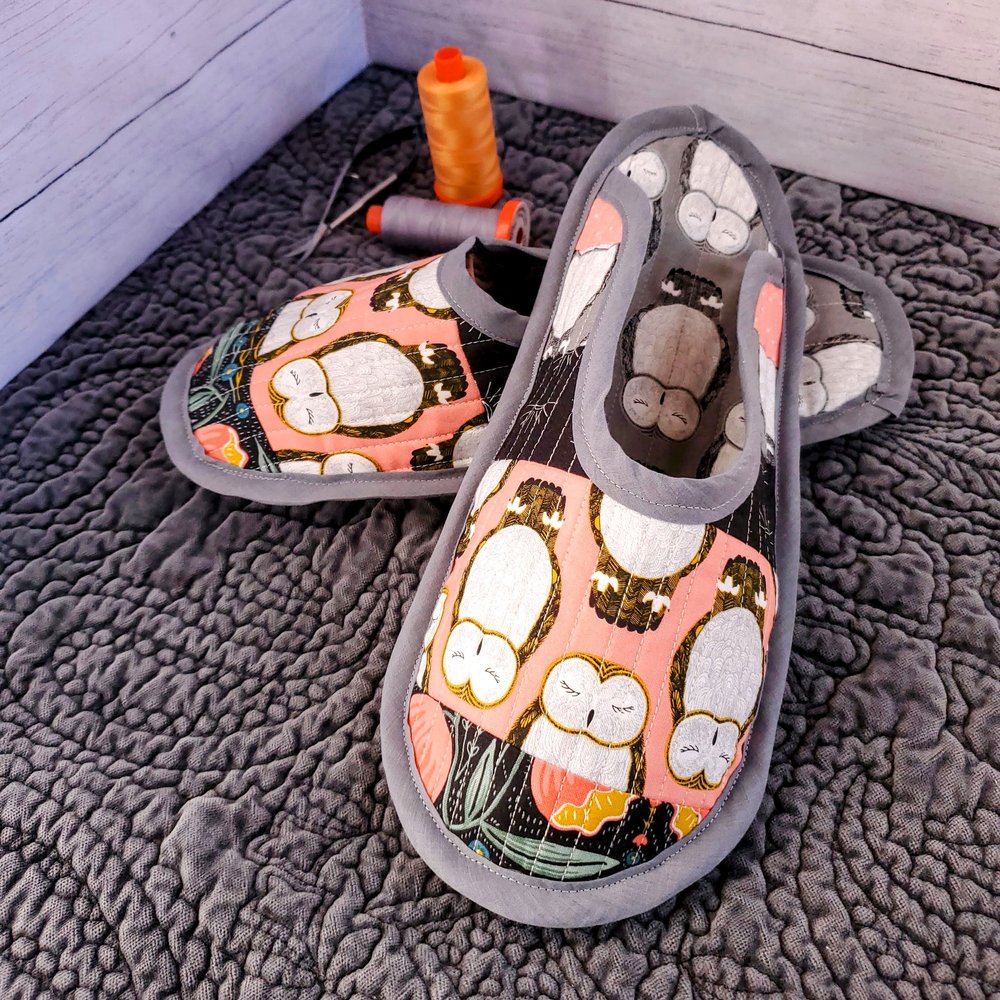
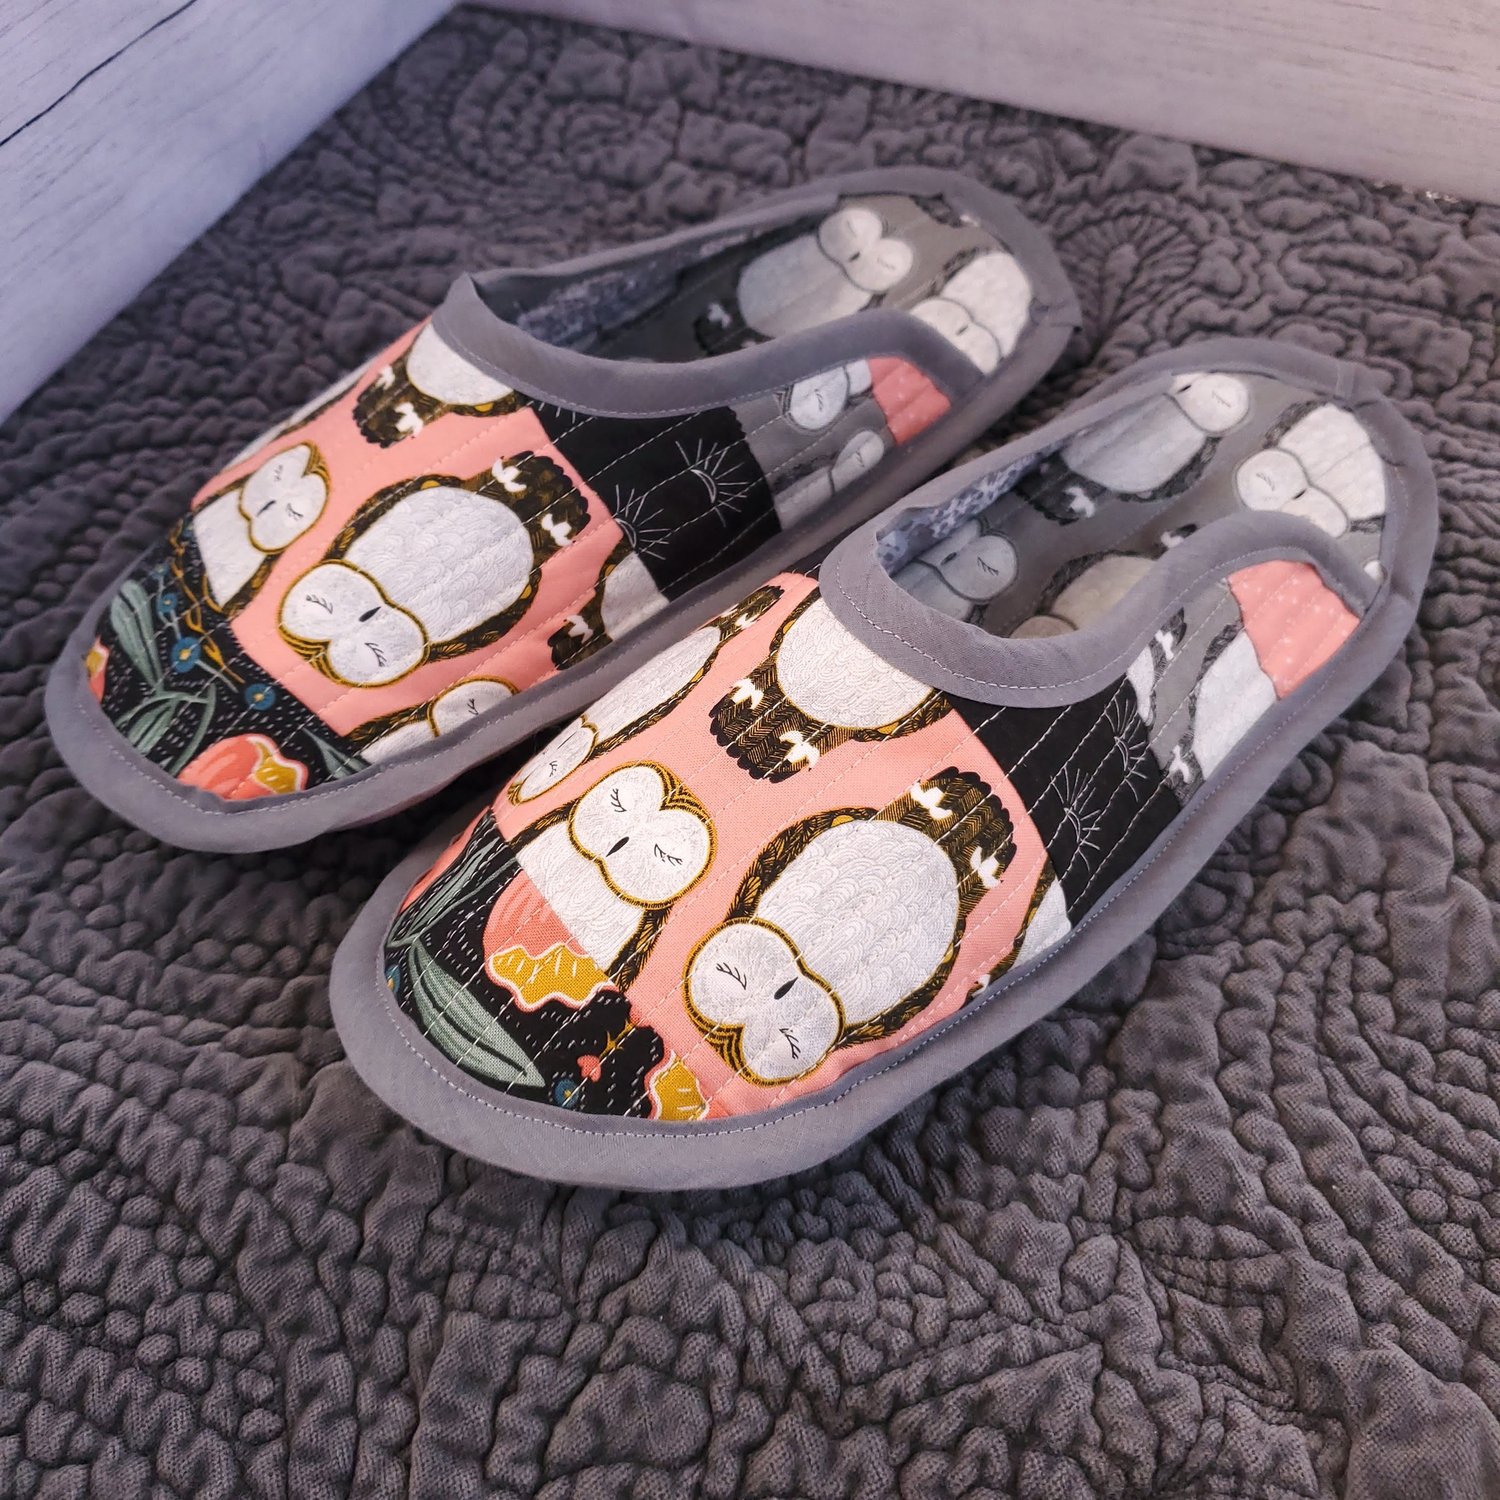
Quilted apparel has become quite popular this past year. So if you are like me, feeling a little too intimidated to go for the quilted coat right now, try out this small scale project to “dip your toes” into the waters by creating these warm and cozy slippers. I am a big fan of owls, so when I saw the new Moda fabric Nocturnal from Gingiber fabric I knew it would be perfect for this project. If you are not already enjoying the benefits of the Modern Maker Membership you are invited to join to receive beautiful quality quilting fabric selected with your preferences in mind and delivered to your door. We can’t wait to see what you create!
Materials needed:
- Assorted fat quarters from Modern Maker Membership
- Coordinating Aurifil thread from Chroma Membership
- Anti-skid gripper fabric by Dritz
- Pellon Flex foam
- Bias tape ½” double fold
- Batting
To get started you will need to create a template for the slipper. I was able to use the pattern from We All Sew with a few minor adjustments. I found directions to easily make your own template for a custom fit is this tutorial from Suzy Quilts.
I printed out the template and taped it together temporarily to try it on for size before I cut the fabric.

Both tutorials have some great tips for construction of the slippers. I will share with you my method of sewing these cute quilted slippers.
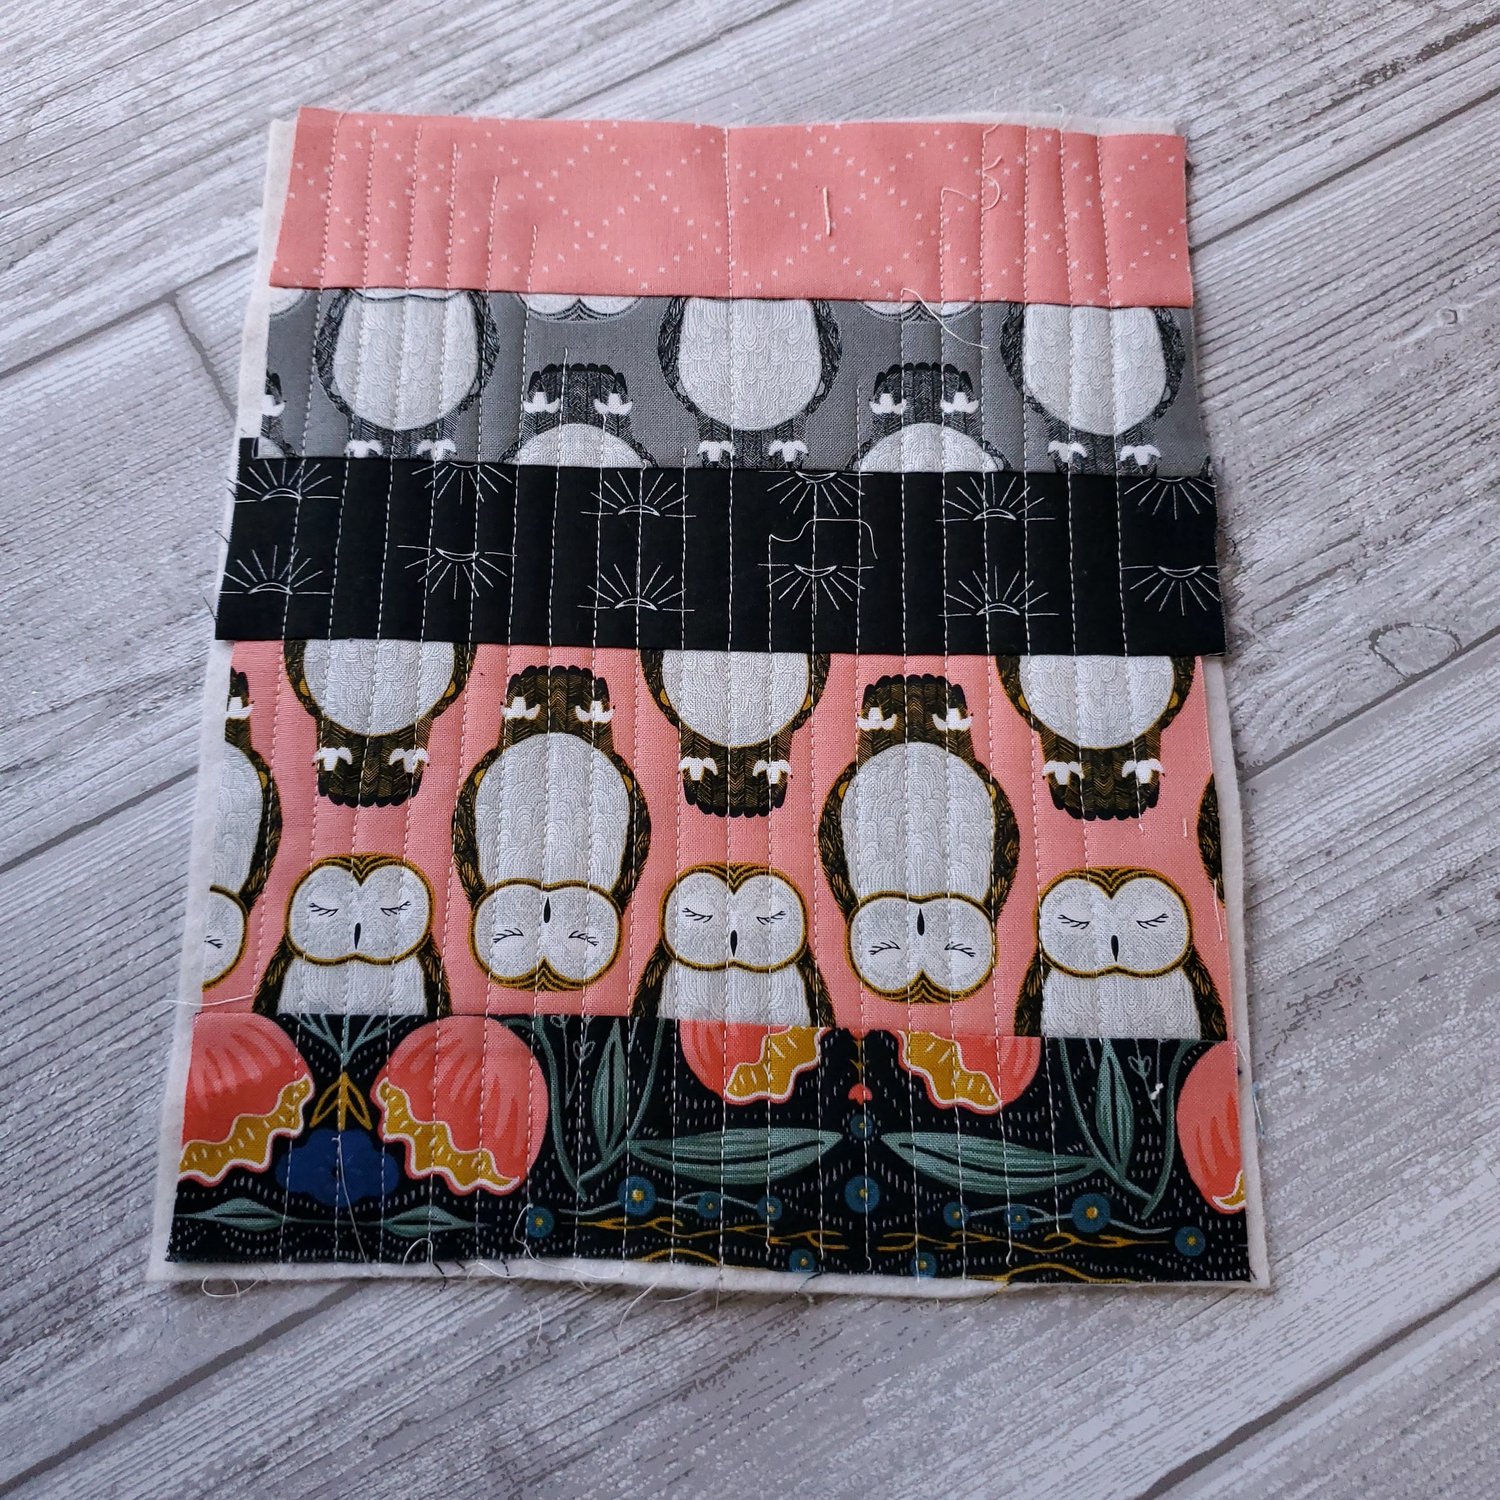
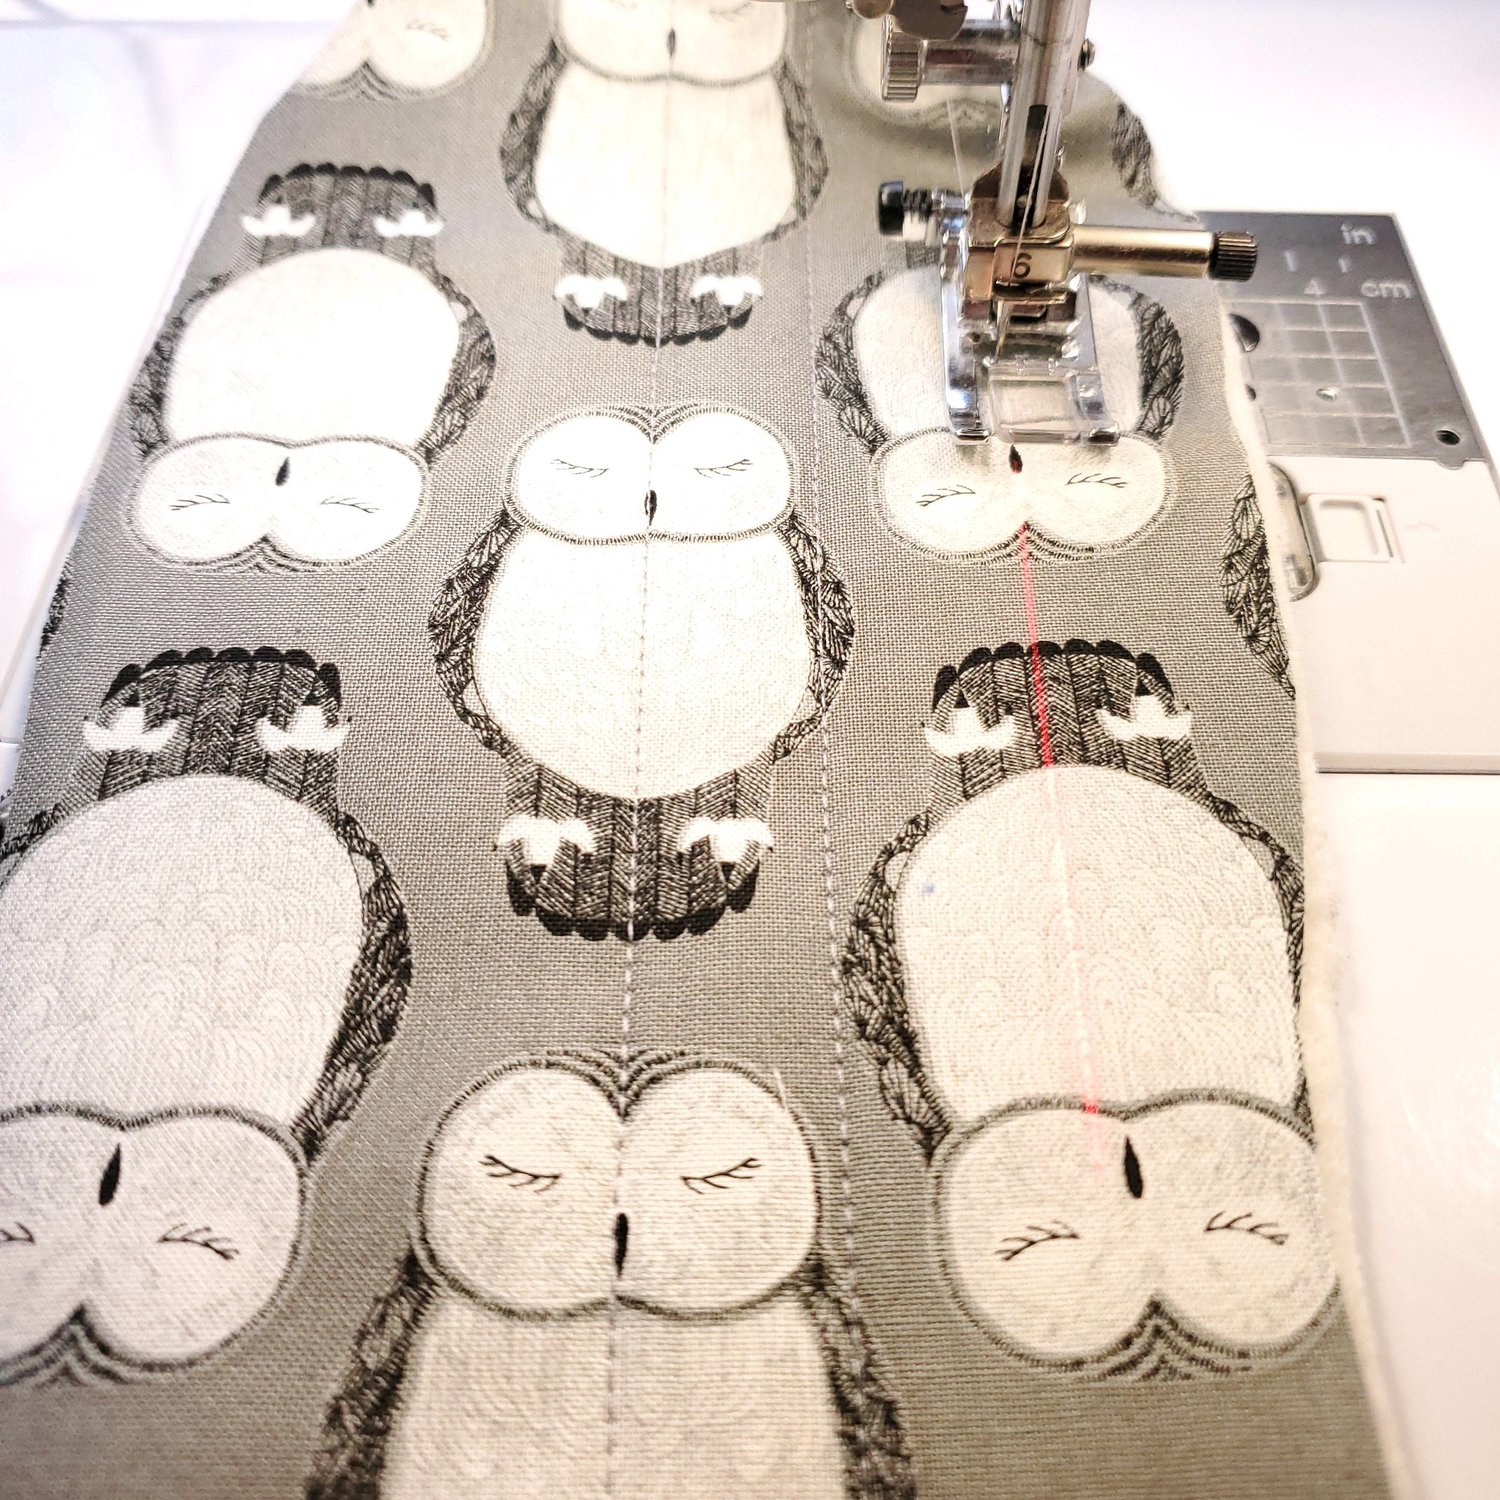
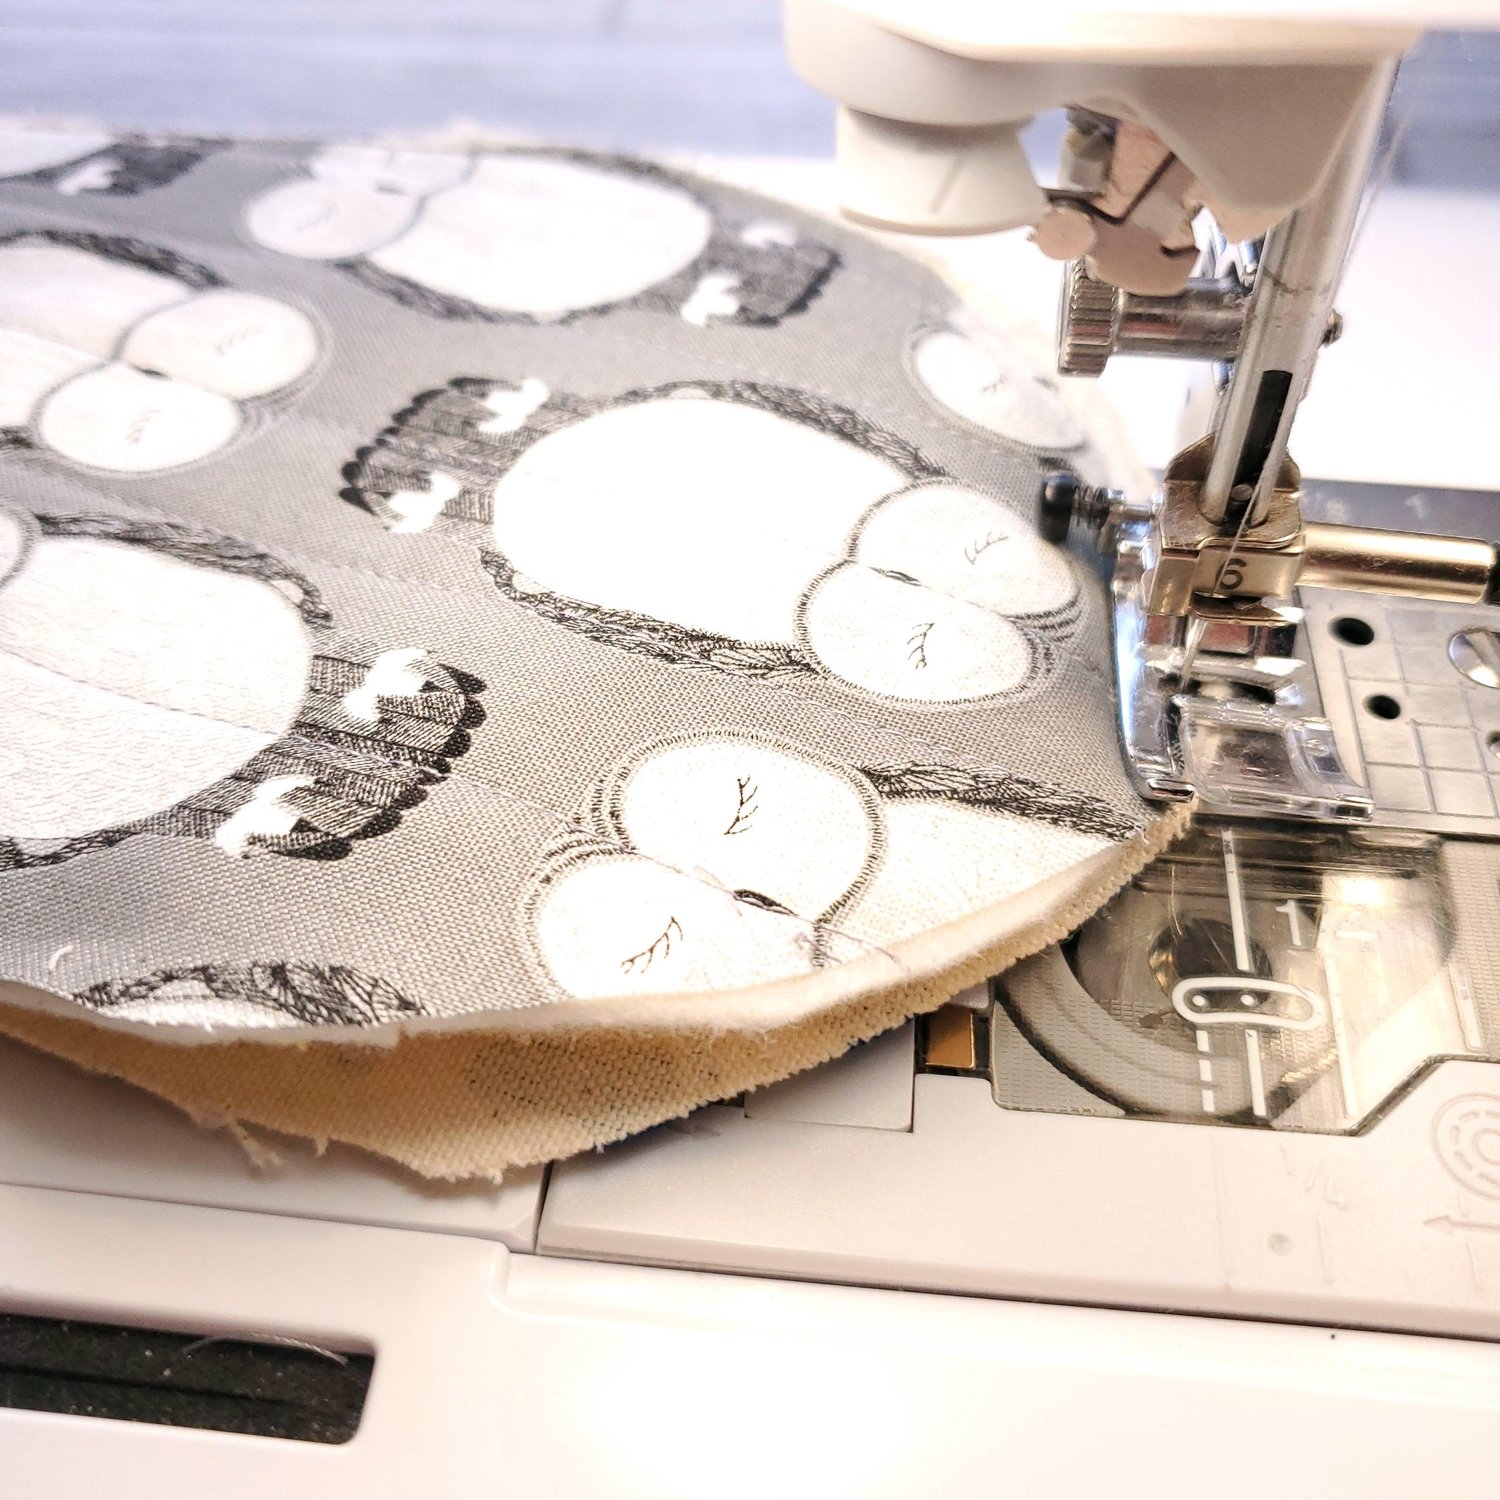
I chose an assortment of fabrics and sewed the strips together with a ¼” seam. For my size 10 foot I cut the pieces for the top of the slipper 2” x 8” with the main owl piece fussy cut to show the design at 3”x 8”. This will vary according to the size of your slipper and the number of fabrics you plan to use. Prepare a small quilt sandwich with batting and backing about the same size and quilt as desired. I did straight line quilting with ¼” spacing with coordinating Aurifil thread.
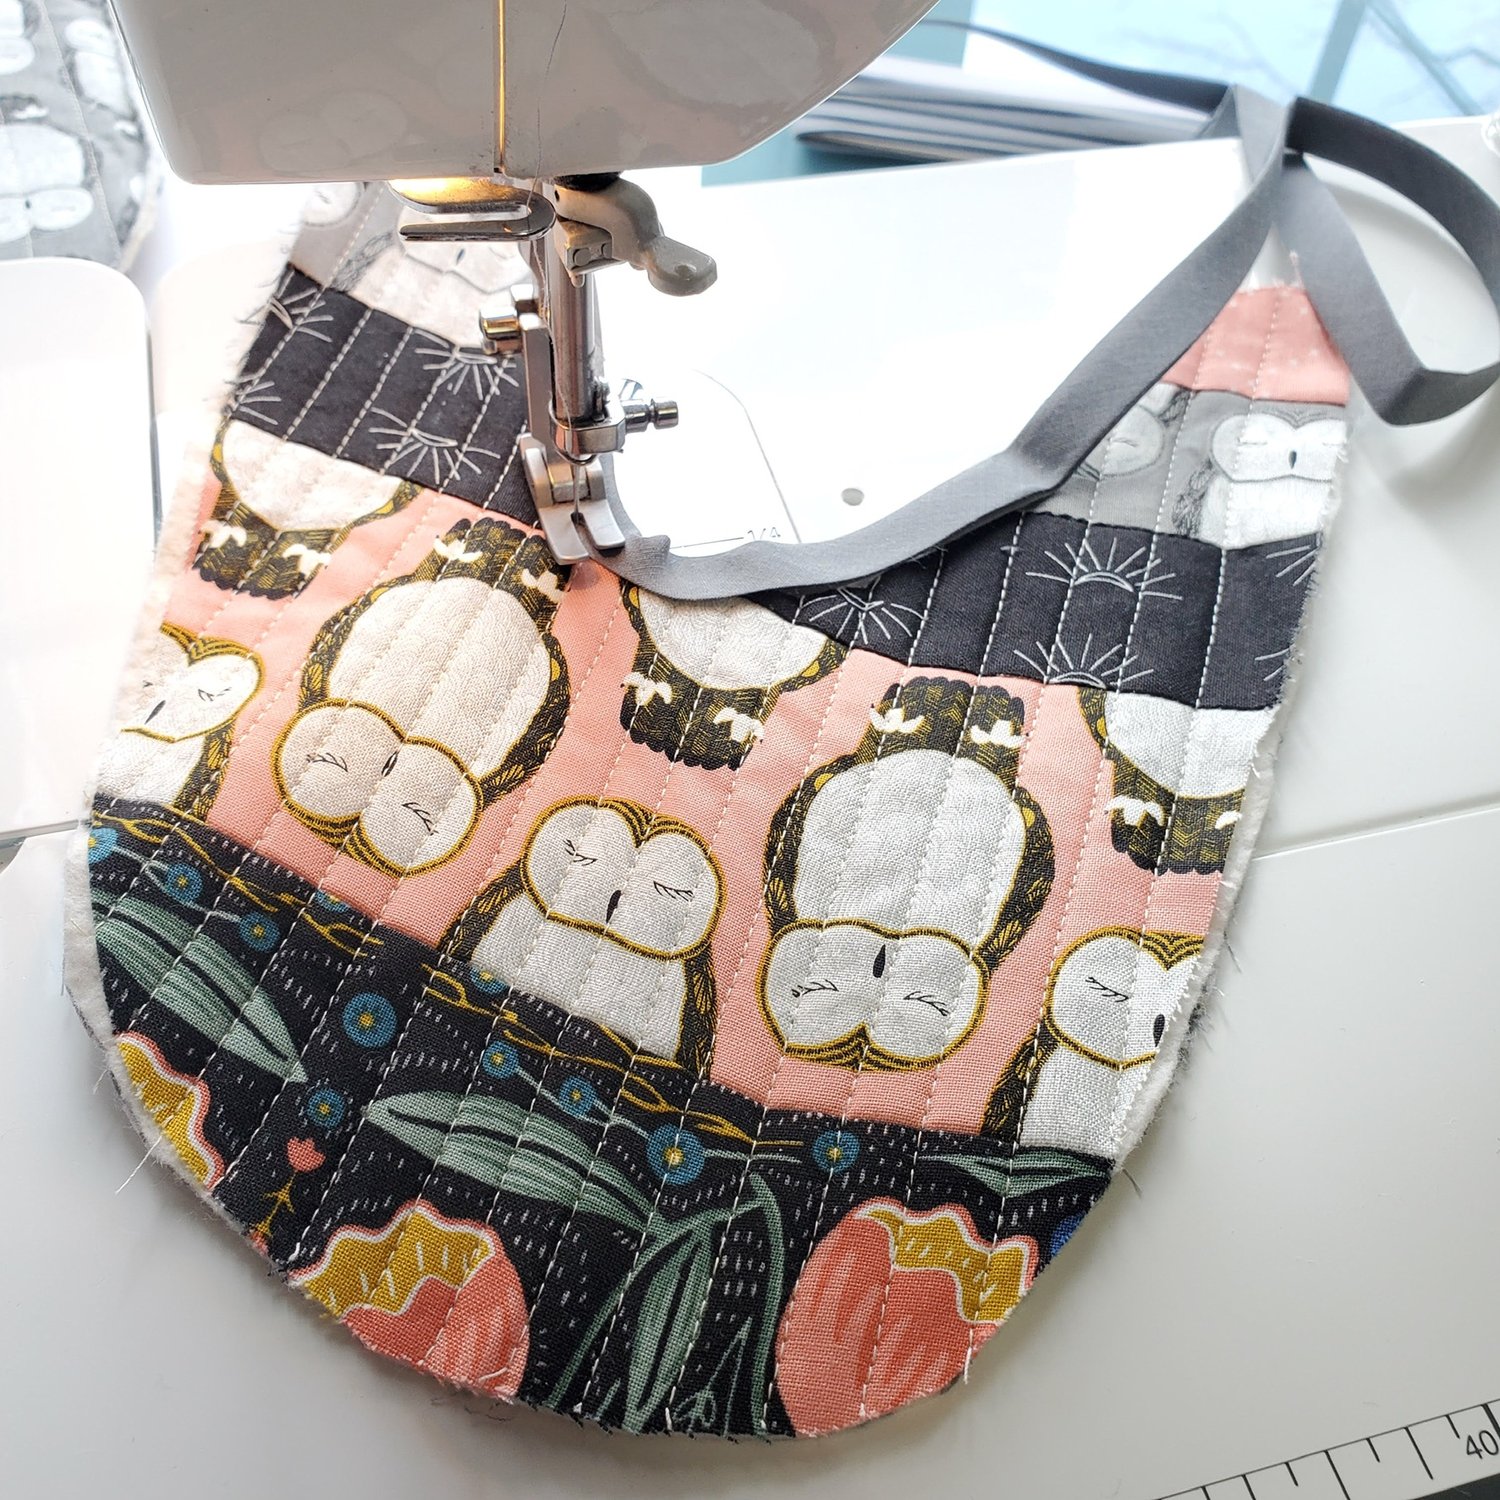
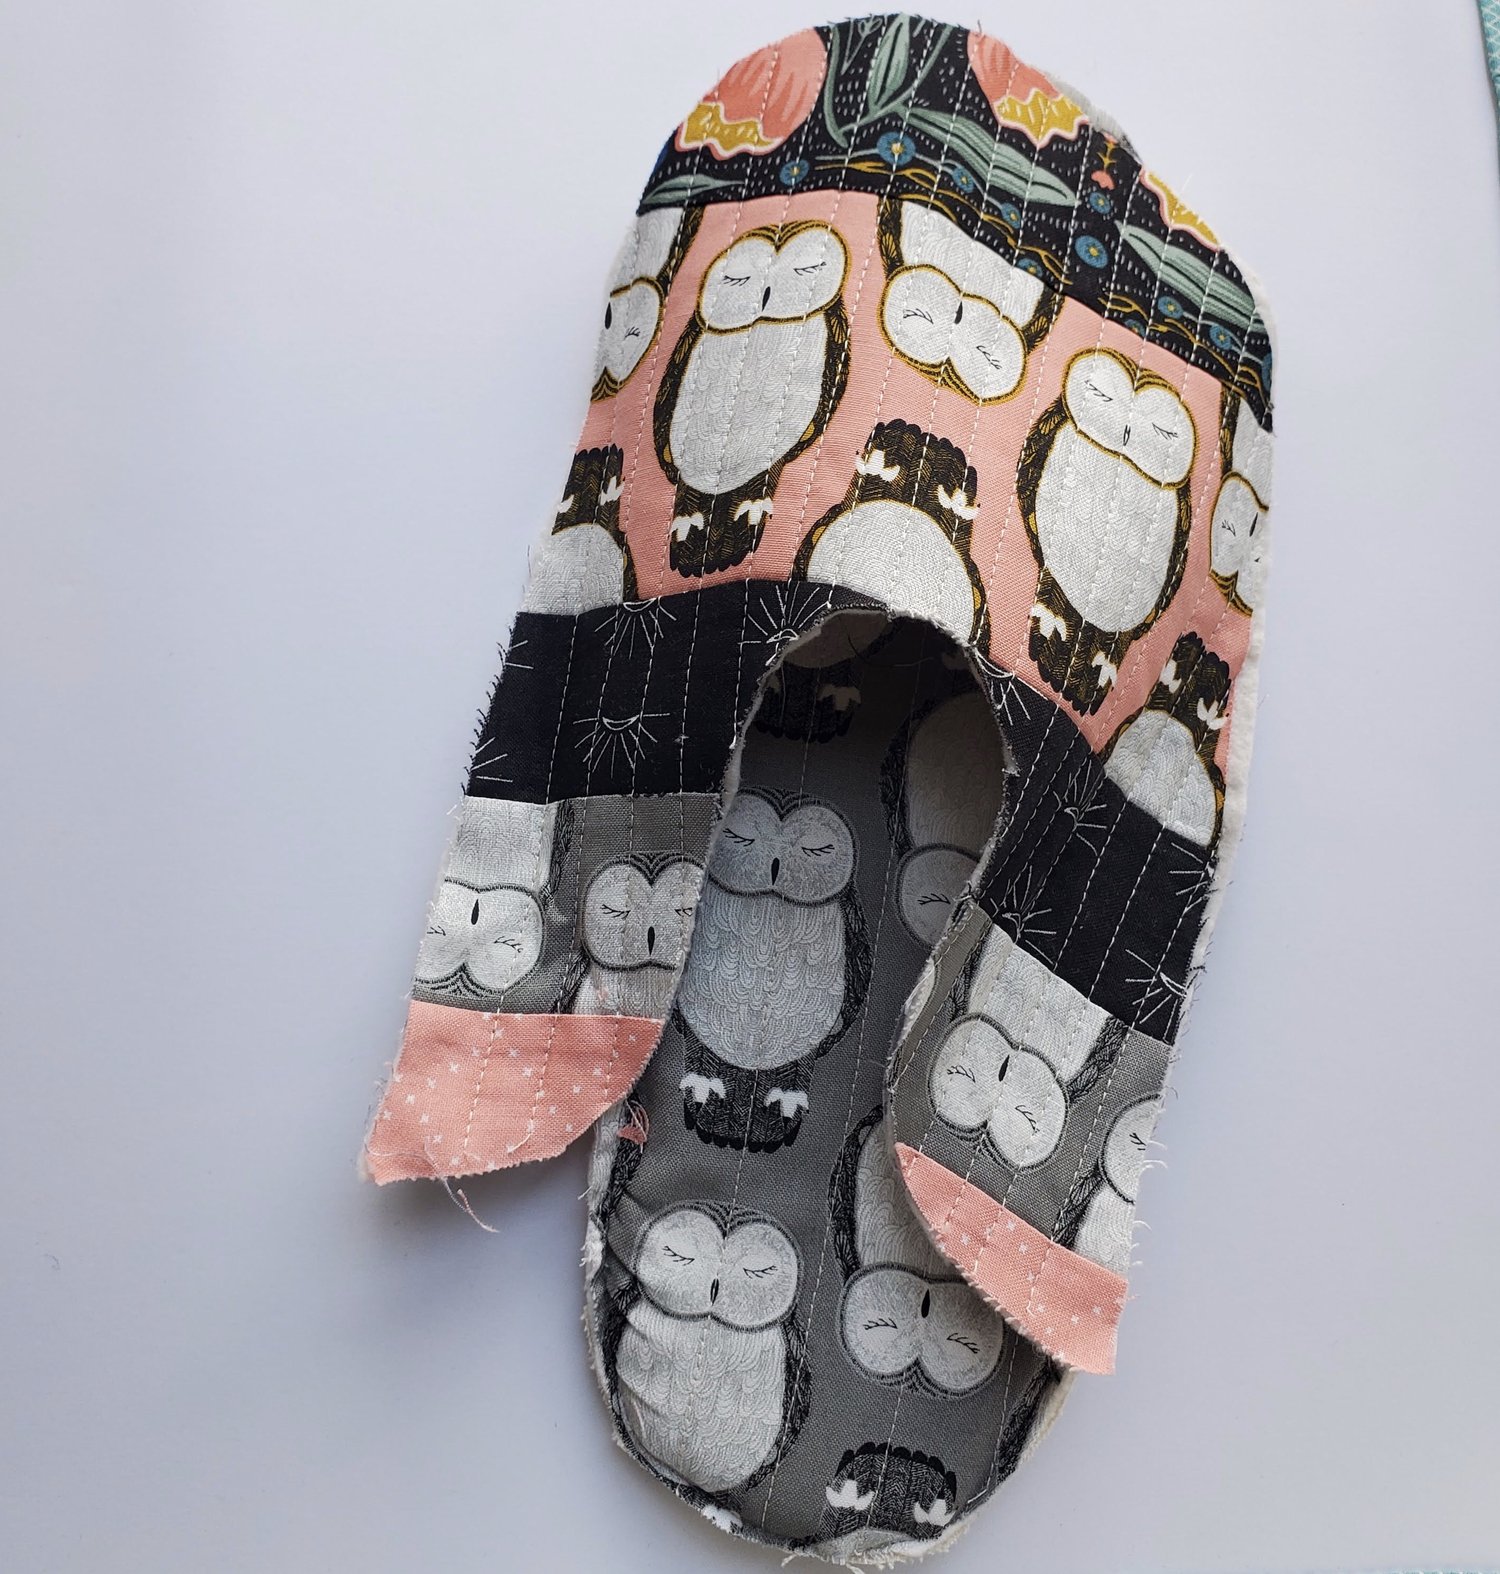
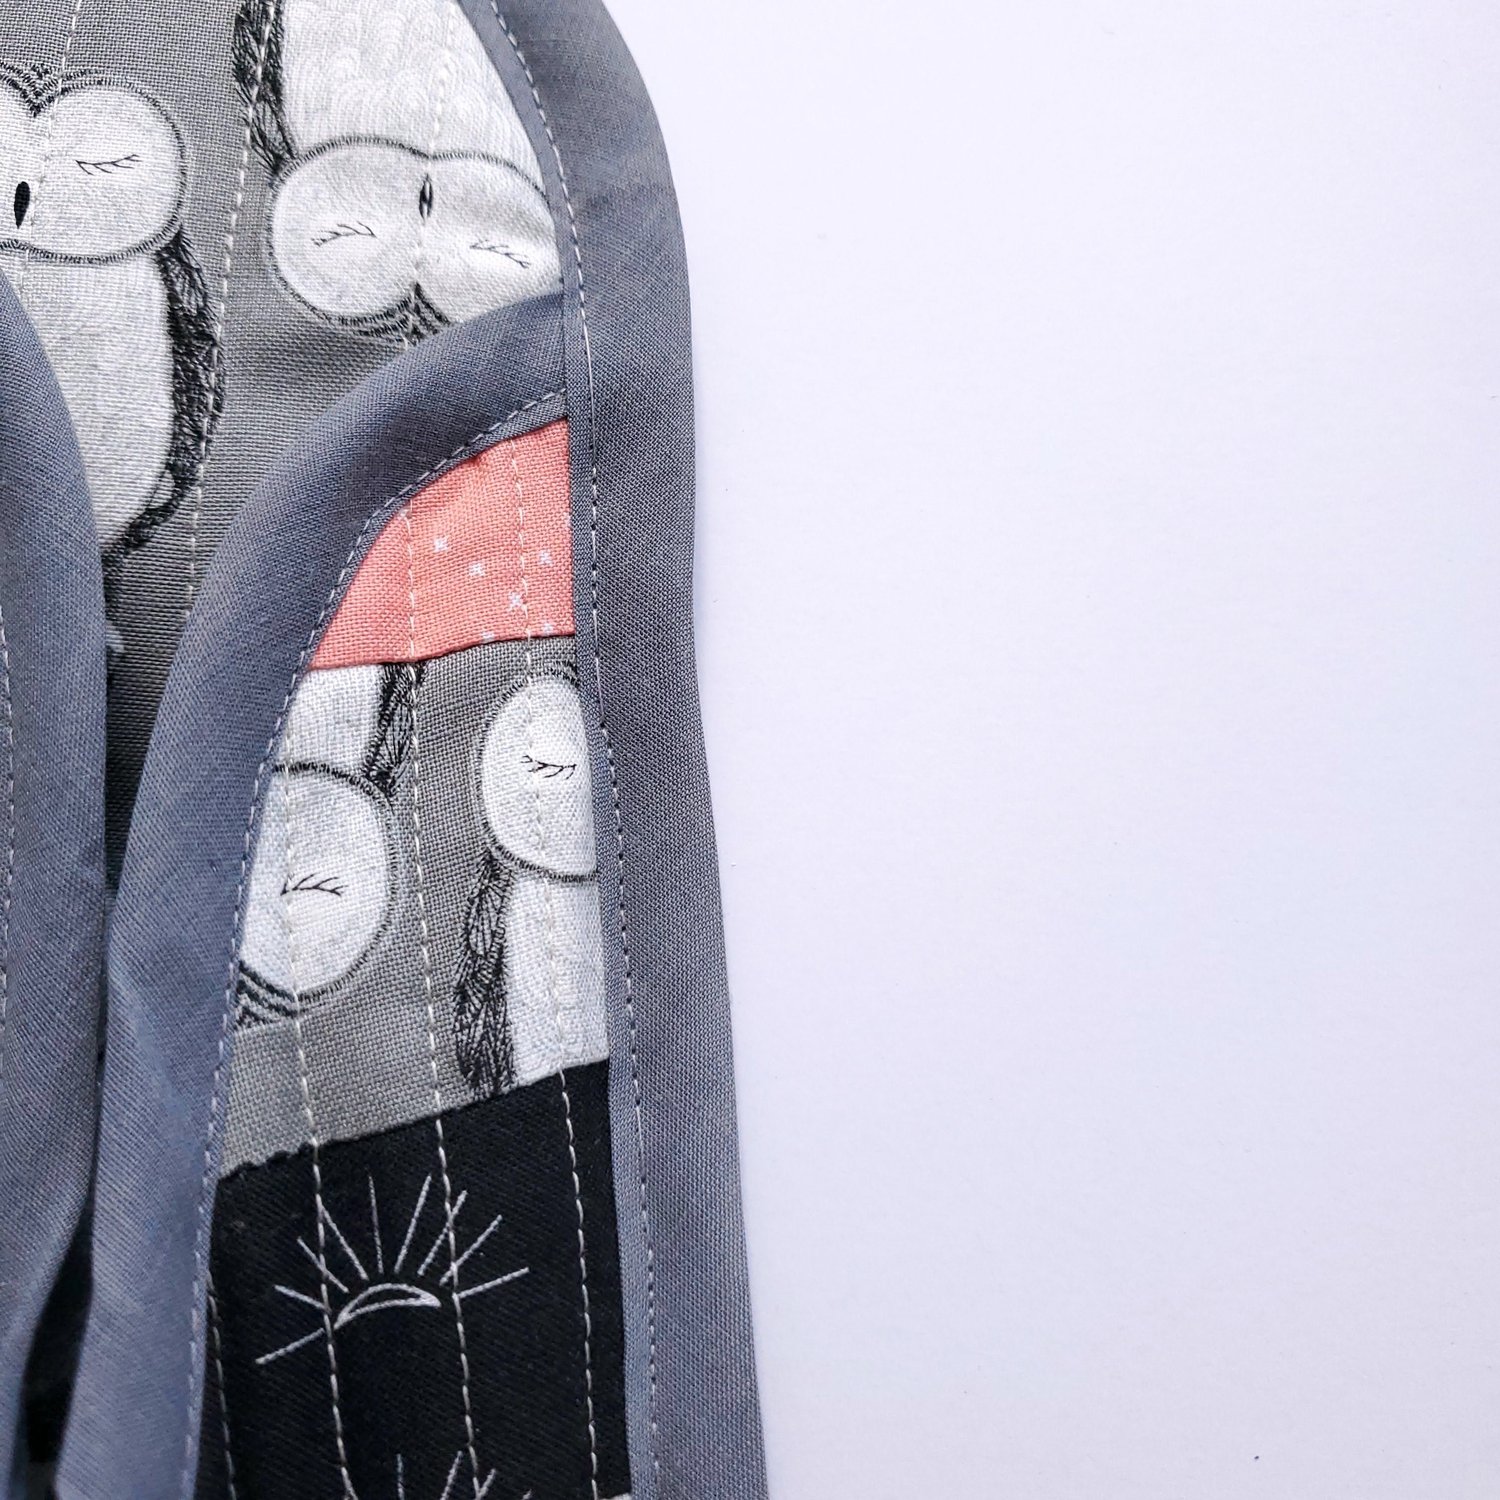
Using the template for the slipper top cut out the shape. Cut a piece of binding to fit the inner curve of the slipper and clip in place covering the raw edges. Topstitch about ⅛” from the edge with a matching thread.
Repeat for the other slipper and set these aside.
To prepare the sole of the slipper cut the no slip fabric, batting and the top of the sole with the template. Next cut the flex foam piece slightly smaller to reduce the bulk in the seam.

Layer the top fabric and the batting together and quilt lines about ½” apart down the length of the slipper base with a matching thread.
Layer the quilted piece with the flex foam and no slip bottom piece and baste together about ⅛” from the raw edge using a longer stitch length. If you are having difficulty guiding the no slip fabric through the machine try laying a piece of tissue paper between the fabric and the sewing machine to help it glide through as you sew.
Now that you have the sole of the slipper ready it is time to align the top of the slipper and clip in place.
I simply folded each piece in half lengthwise and marked the centers for alignment to clip in place.
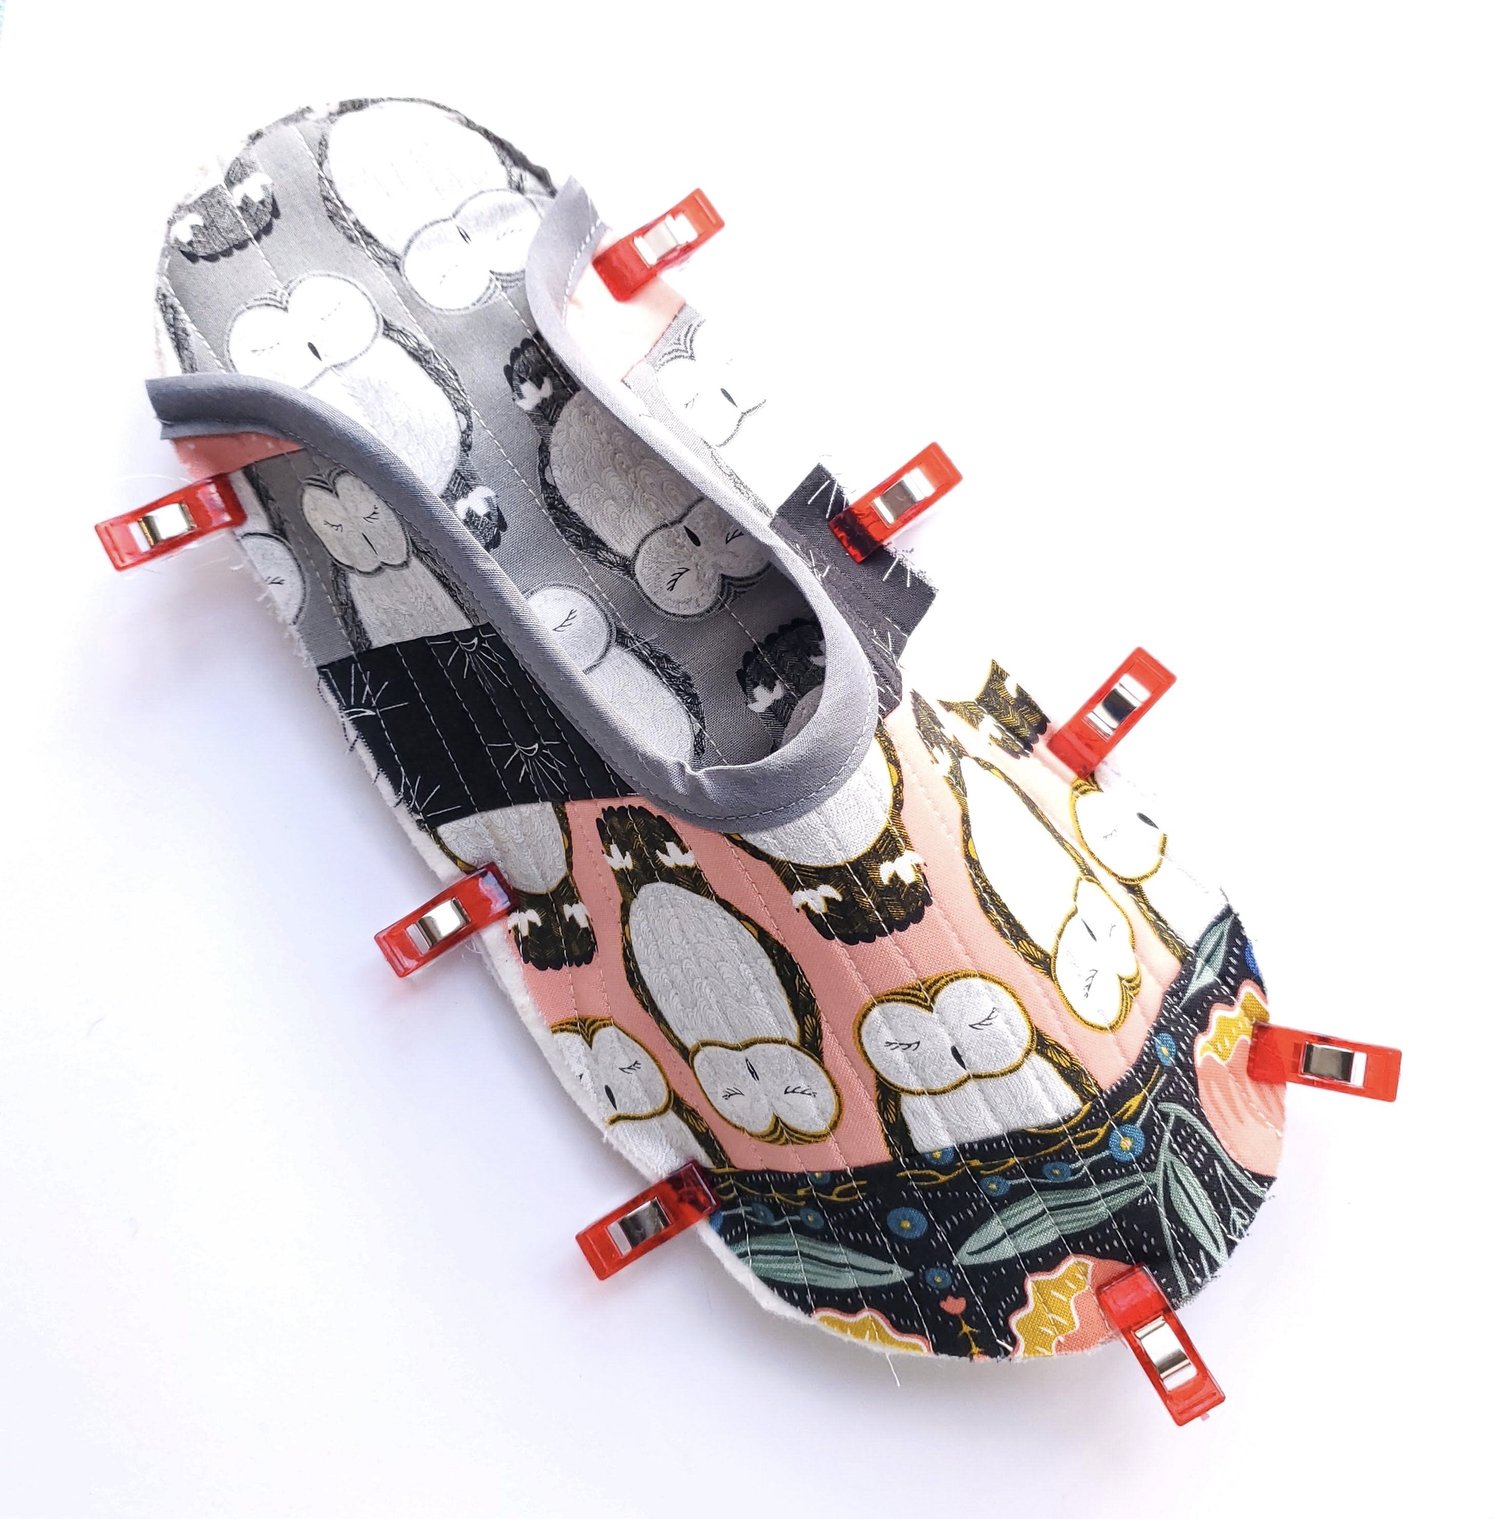
Take this to the machine and carefully baste the layers together. It is helpful to go slowly to keep the layers properly aligned as you sew.
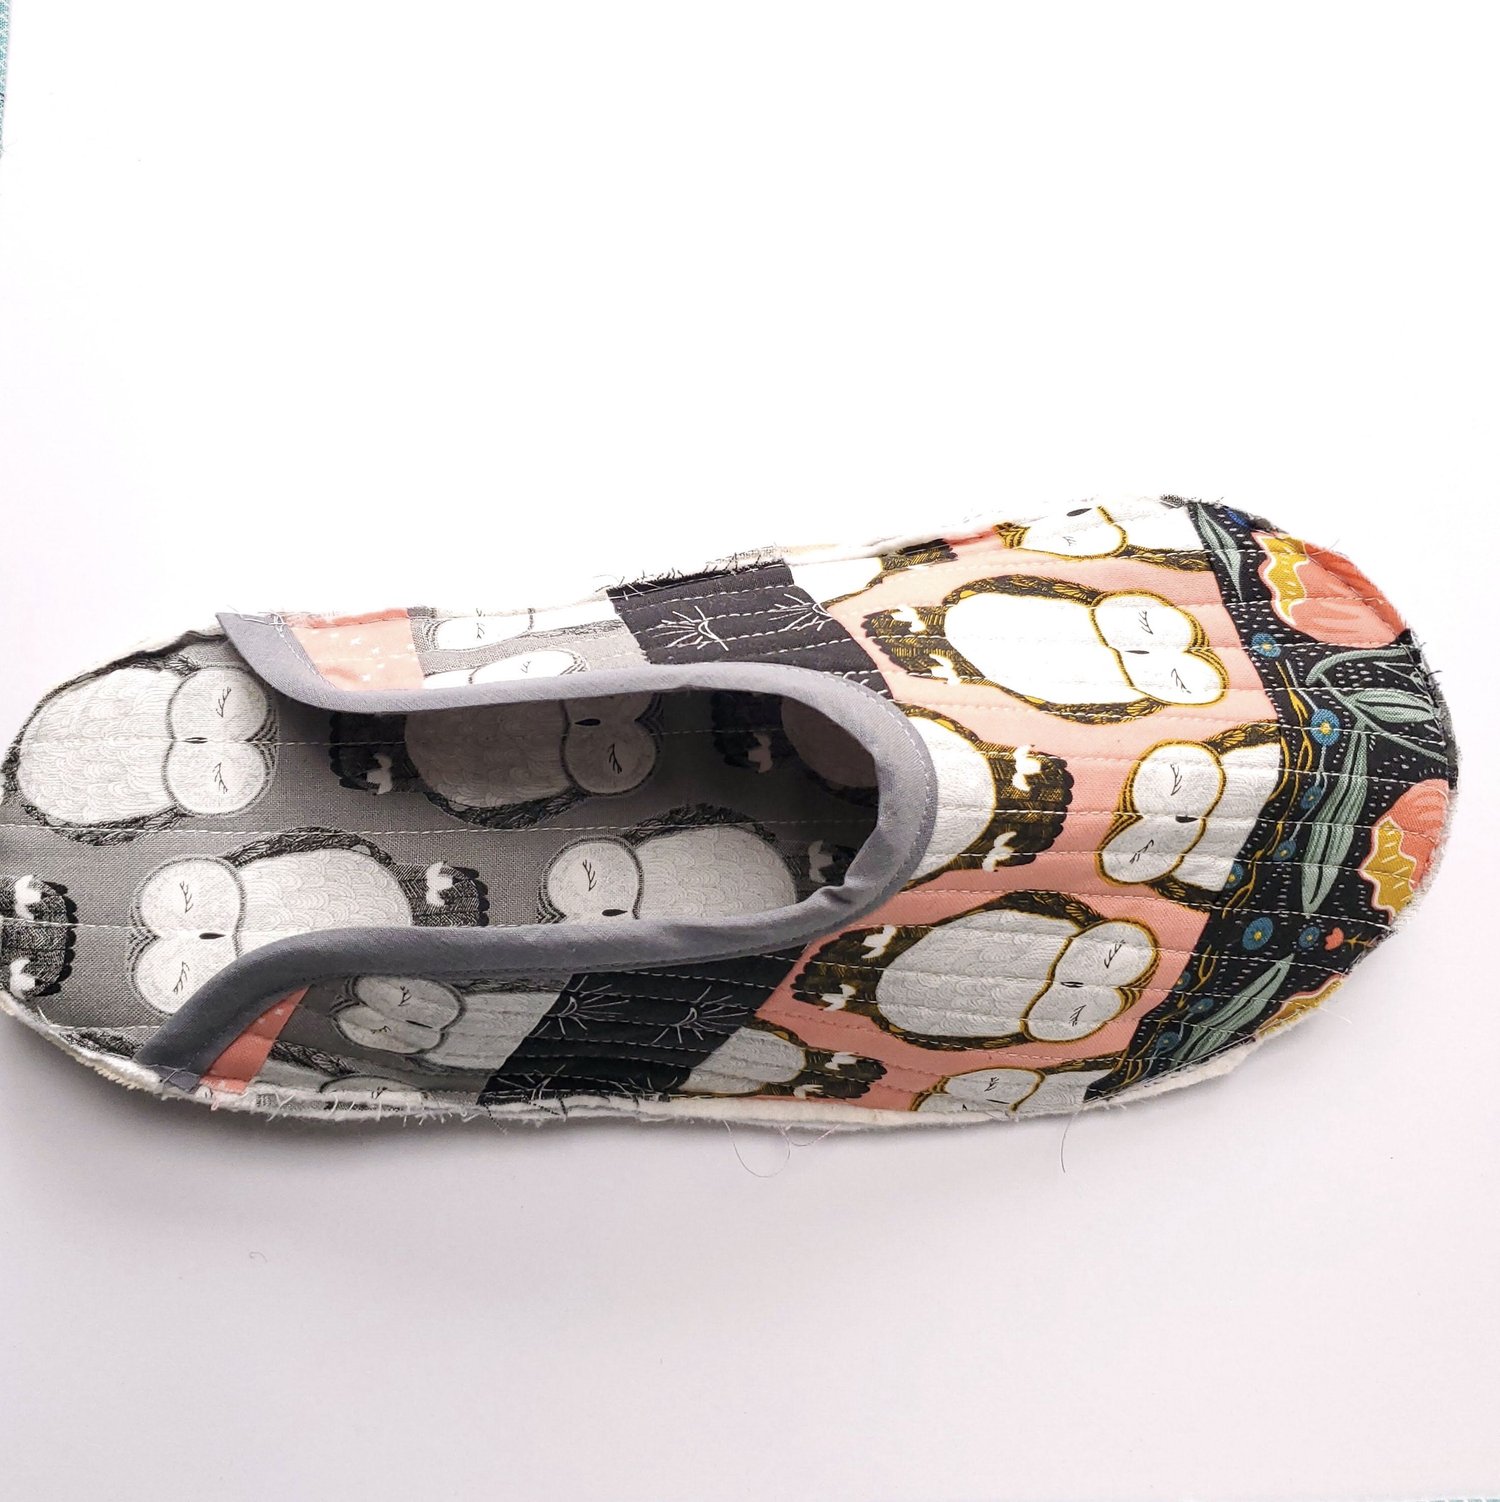
The final step is to add the binding. I prepared one edge by turning under ¼” and top stitched in place. Clip the binding in place over the raw edges and clip in place. Leave about an inch at the end for the final adjustment as you bring the two edges together.

Topstitch in a matching thread about ⅛” to 3/16” from the edge of the binding. Stitch slowly keeping a watch that the bottom side of the binding is caught in the stitching. Since you are sewing through several layers you may need to adjust your tension and use a bigger needle. I used a size 90 needle in my machine. My first attempt had skipped stitches, after a few adjustments it sewed just fine.
Repeat for the other slipper and you now have a new pair of cozy quilted slippers that are machine washable. These would be a great group project at a quilt retreat or to make for the whole family to wear for holiday photos! It would be a good project to use orphan blocks and include a pair of slippers as a gift with a throw size quilt.
Here is another stepping stone project to try DIY Quilted Dog Coat. Your furry friend will love it! When you are ready to tackle the quilt coat check out these resources I put together in The Trendy Quilted Coat blog. Happy sewing!