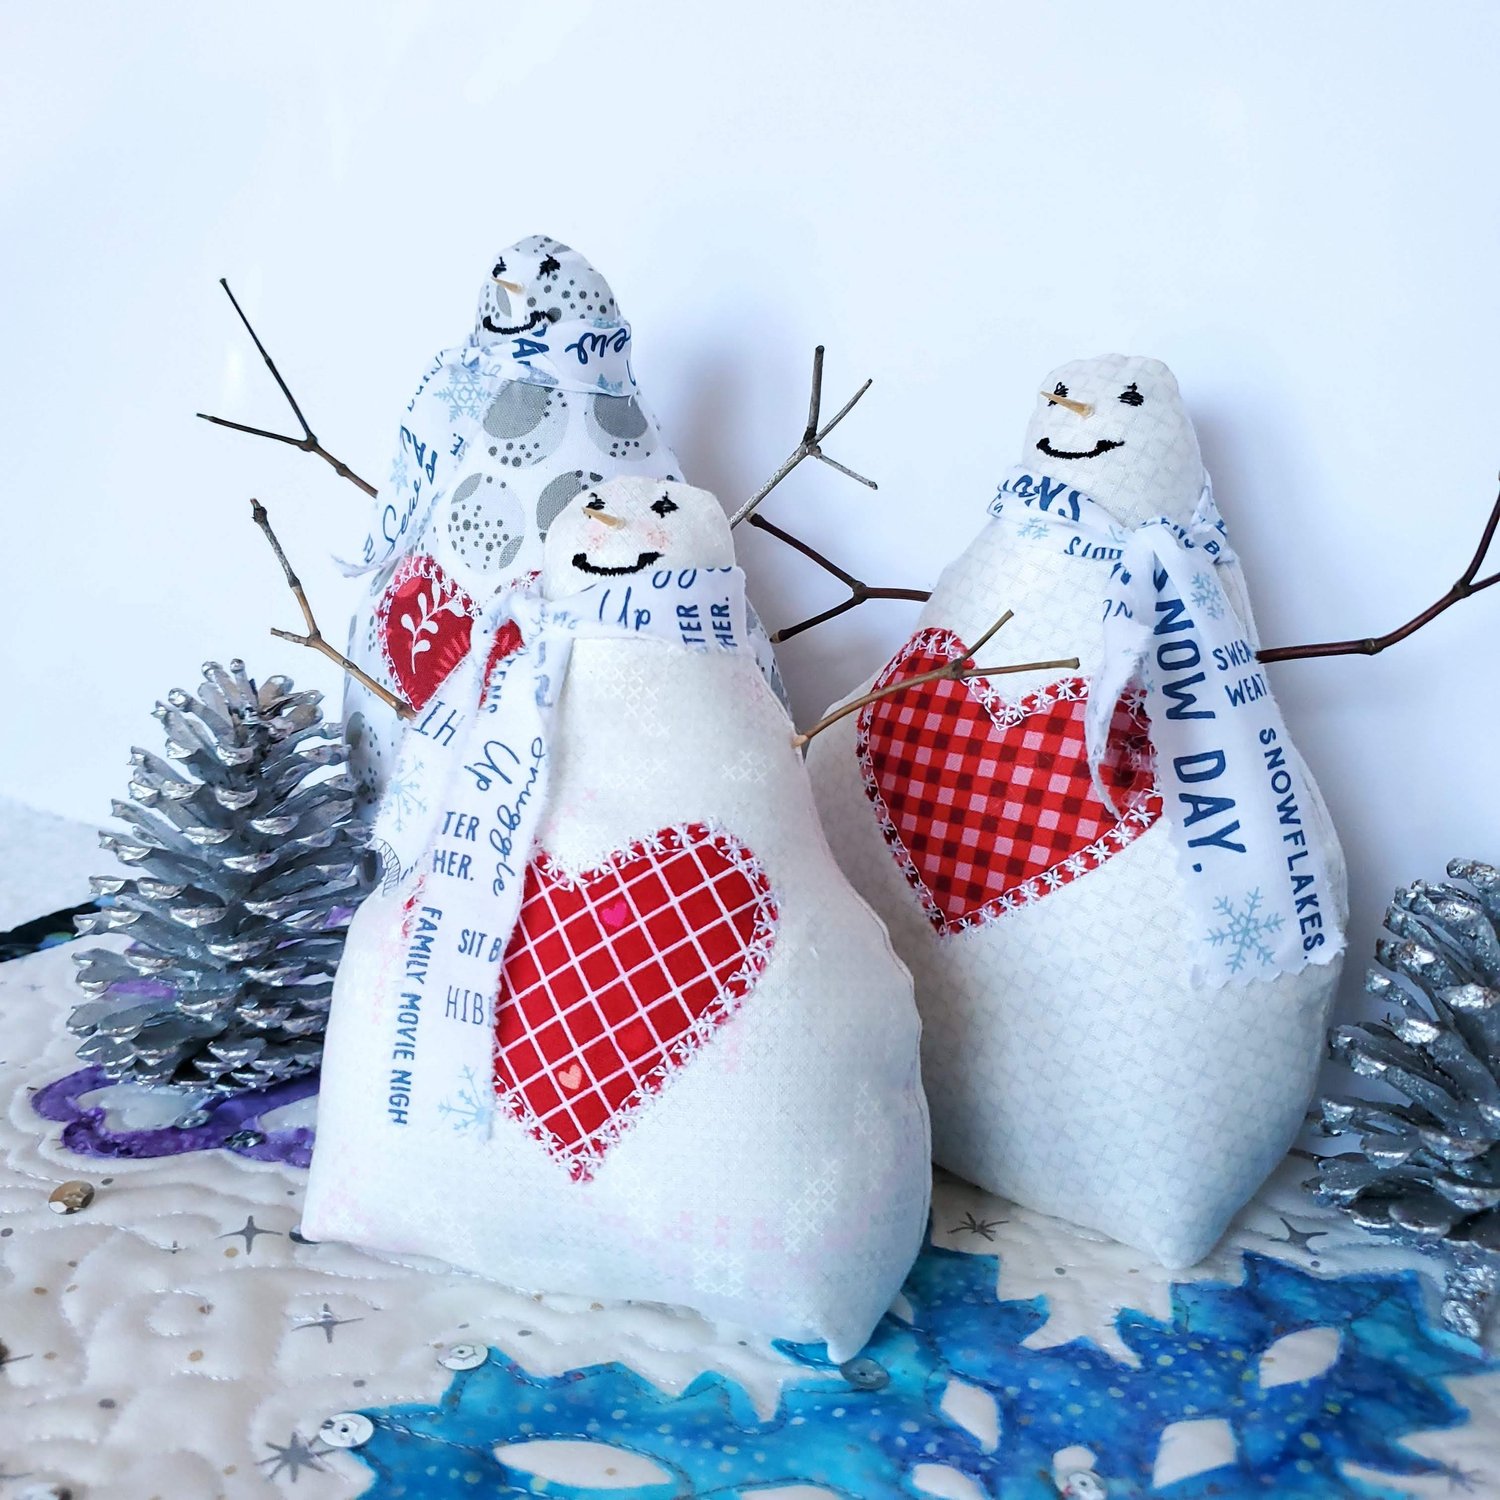
Happy Winter Snowman
20th Jan 2022
Here in the Midwest we are in the heart of the Winter season, the perfect time to make a (fabric) Snowman! January and February tend to be the snowiest months and right on schedule we had our first measurable snow of the season this past week while I was sewing these adorable table top decorations. I discovered the Tildasworld website with so many fun free projects to explore, perfect to pair with fabric from the Cotton Cuts Membership.
Materials Needed:
- Fat Quarter of main fabric. I used Alison Glass by Andover fabrics
- Assorted scrap fabric for hearts
- Poly-fil stuffing or batting scraps to stuff snowman
- Aurifil thread from the Chroma Membership
- Fabric for scarf, I used Snowbound from Art Gallery Fabrics
- Print out template for the Snowman from the free pattern
- ½ yard Pellon 101 Shape Flex 101 fusible interfacing
- Assorted twigs for snowman arms, toothpick for the nose
To get started print and cut out the paper patterns for the snowman figures. Remember to add a seam allowance to the drawn line of the pattern. I did this by cutting on the line of the pattern and when I laid it out on my fabric I drew a line about a ¼” from the paper using a Frixion pen.
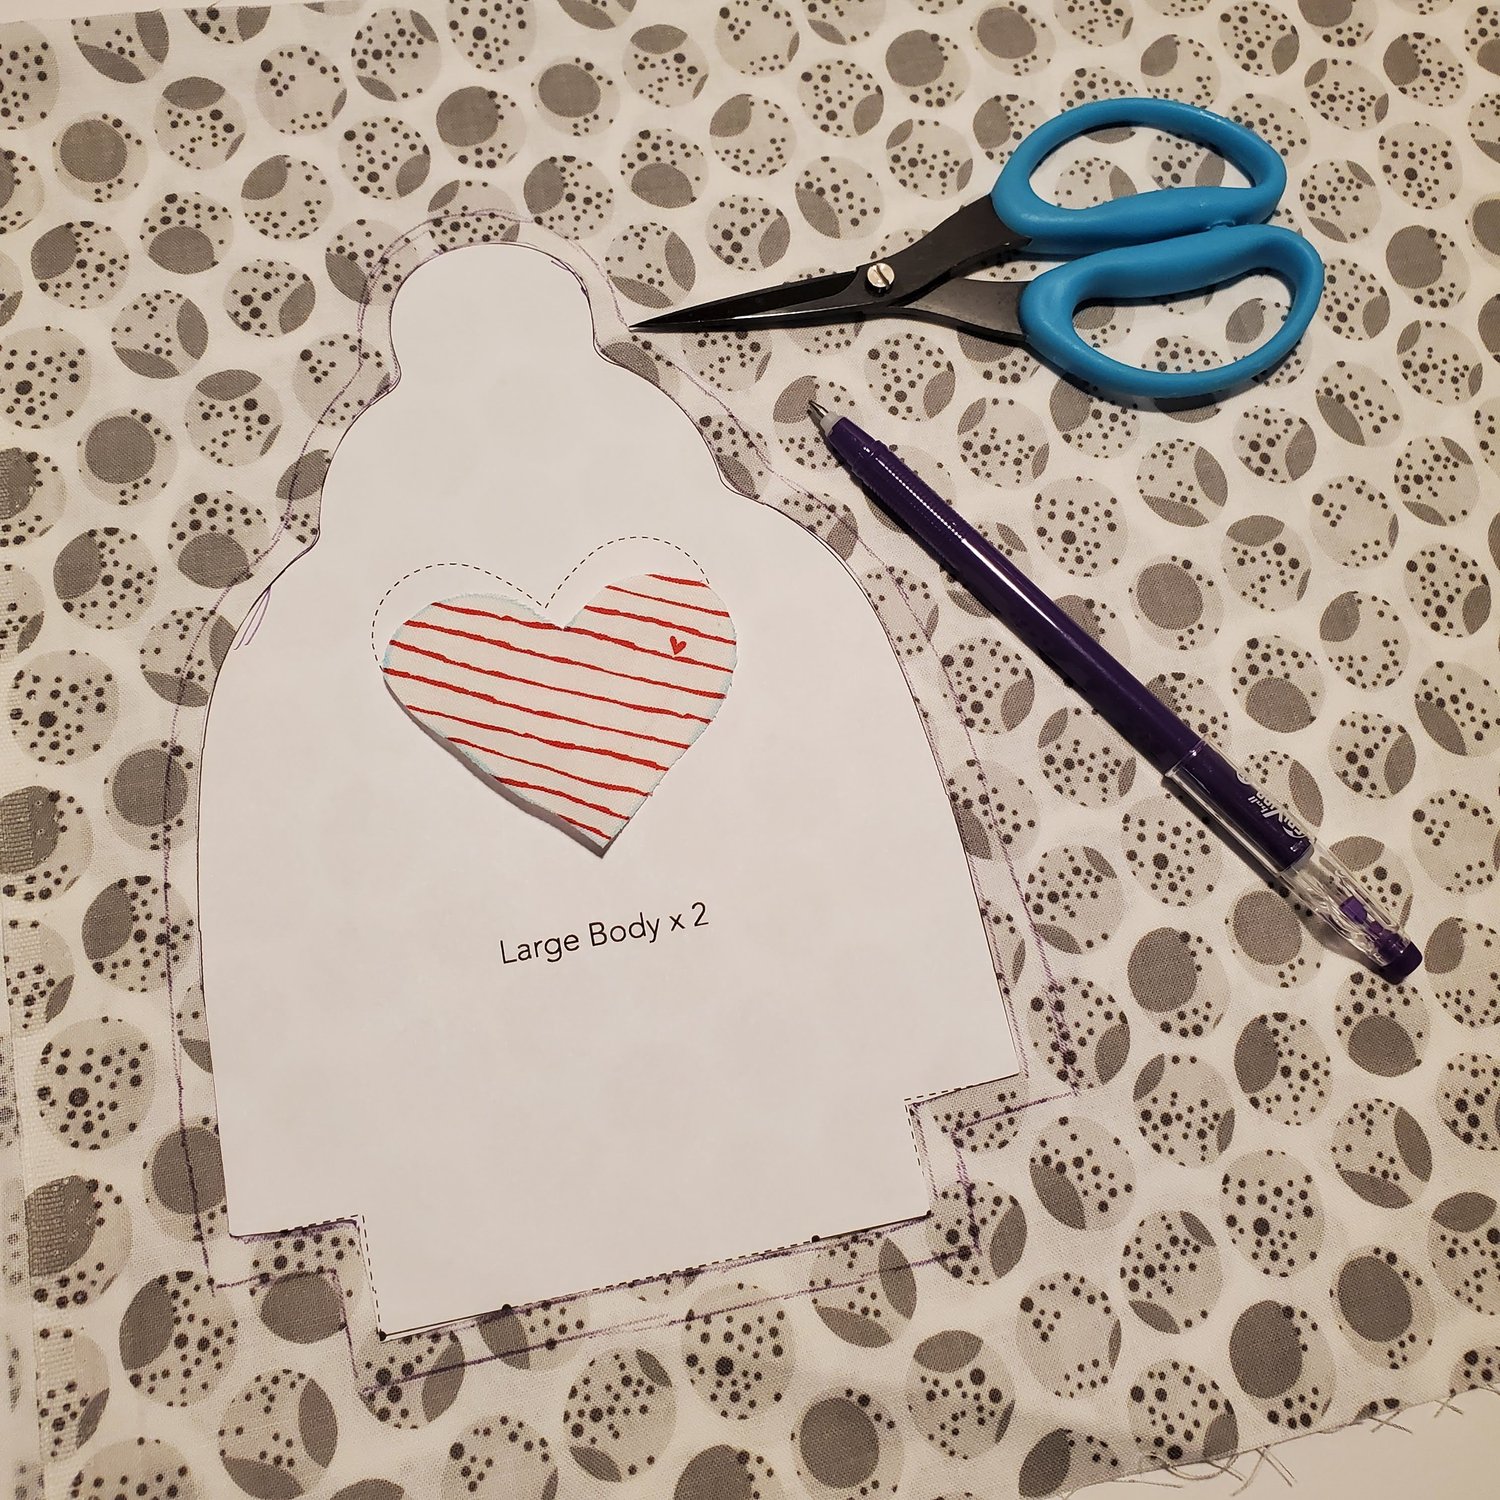
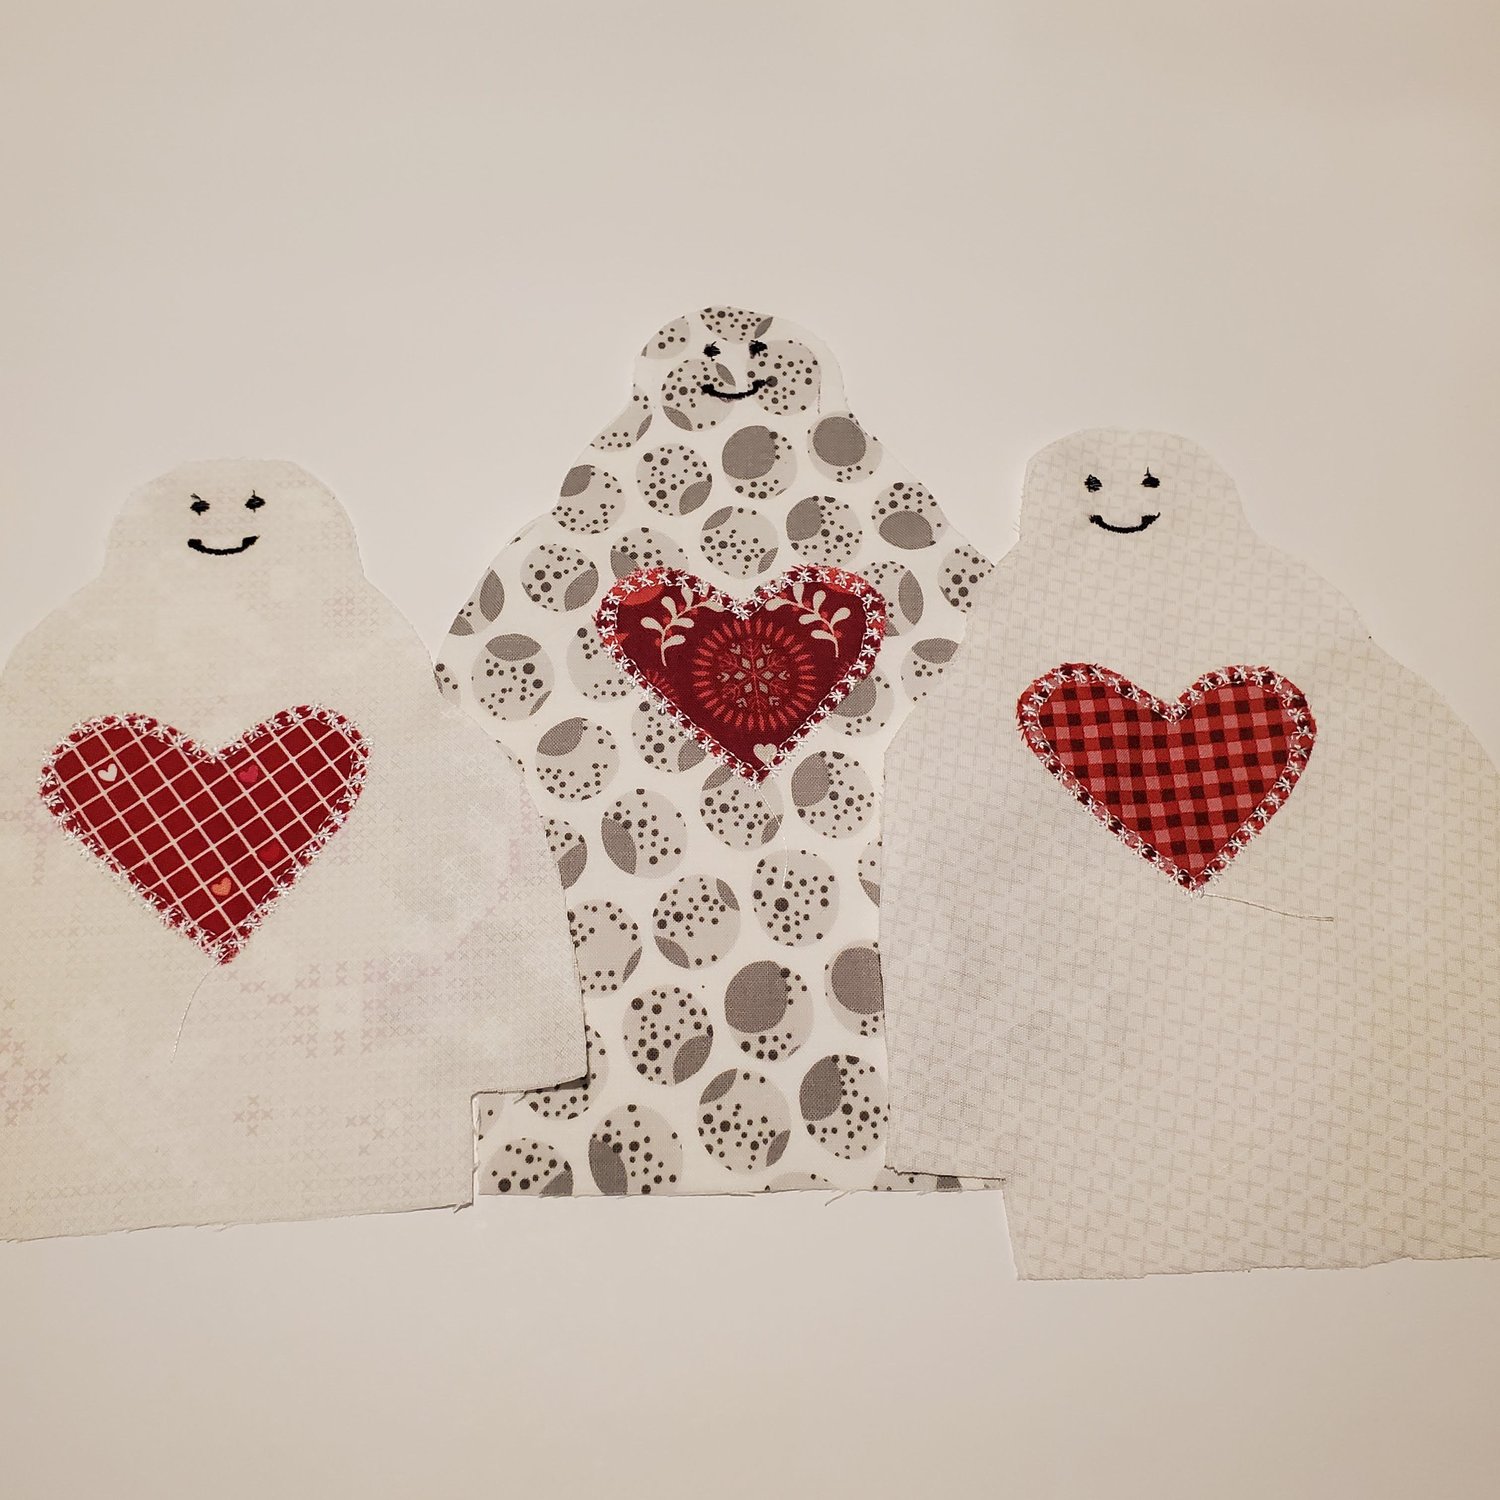
I cut the heart template to size since I was going to do raw edge appliqué. I did not need extra fabric for a seam. I decided to add a layer of Pellon 101 shape flex fusible interfacing to the wrong side of the front of the snowman so the stuffing wouldn’t show through and to stabilize the stitching for the eyes and mouth.
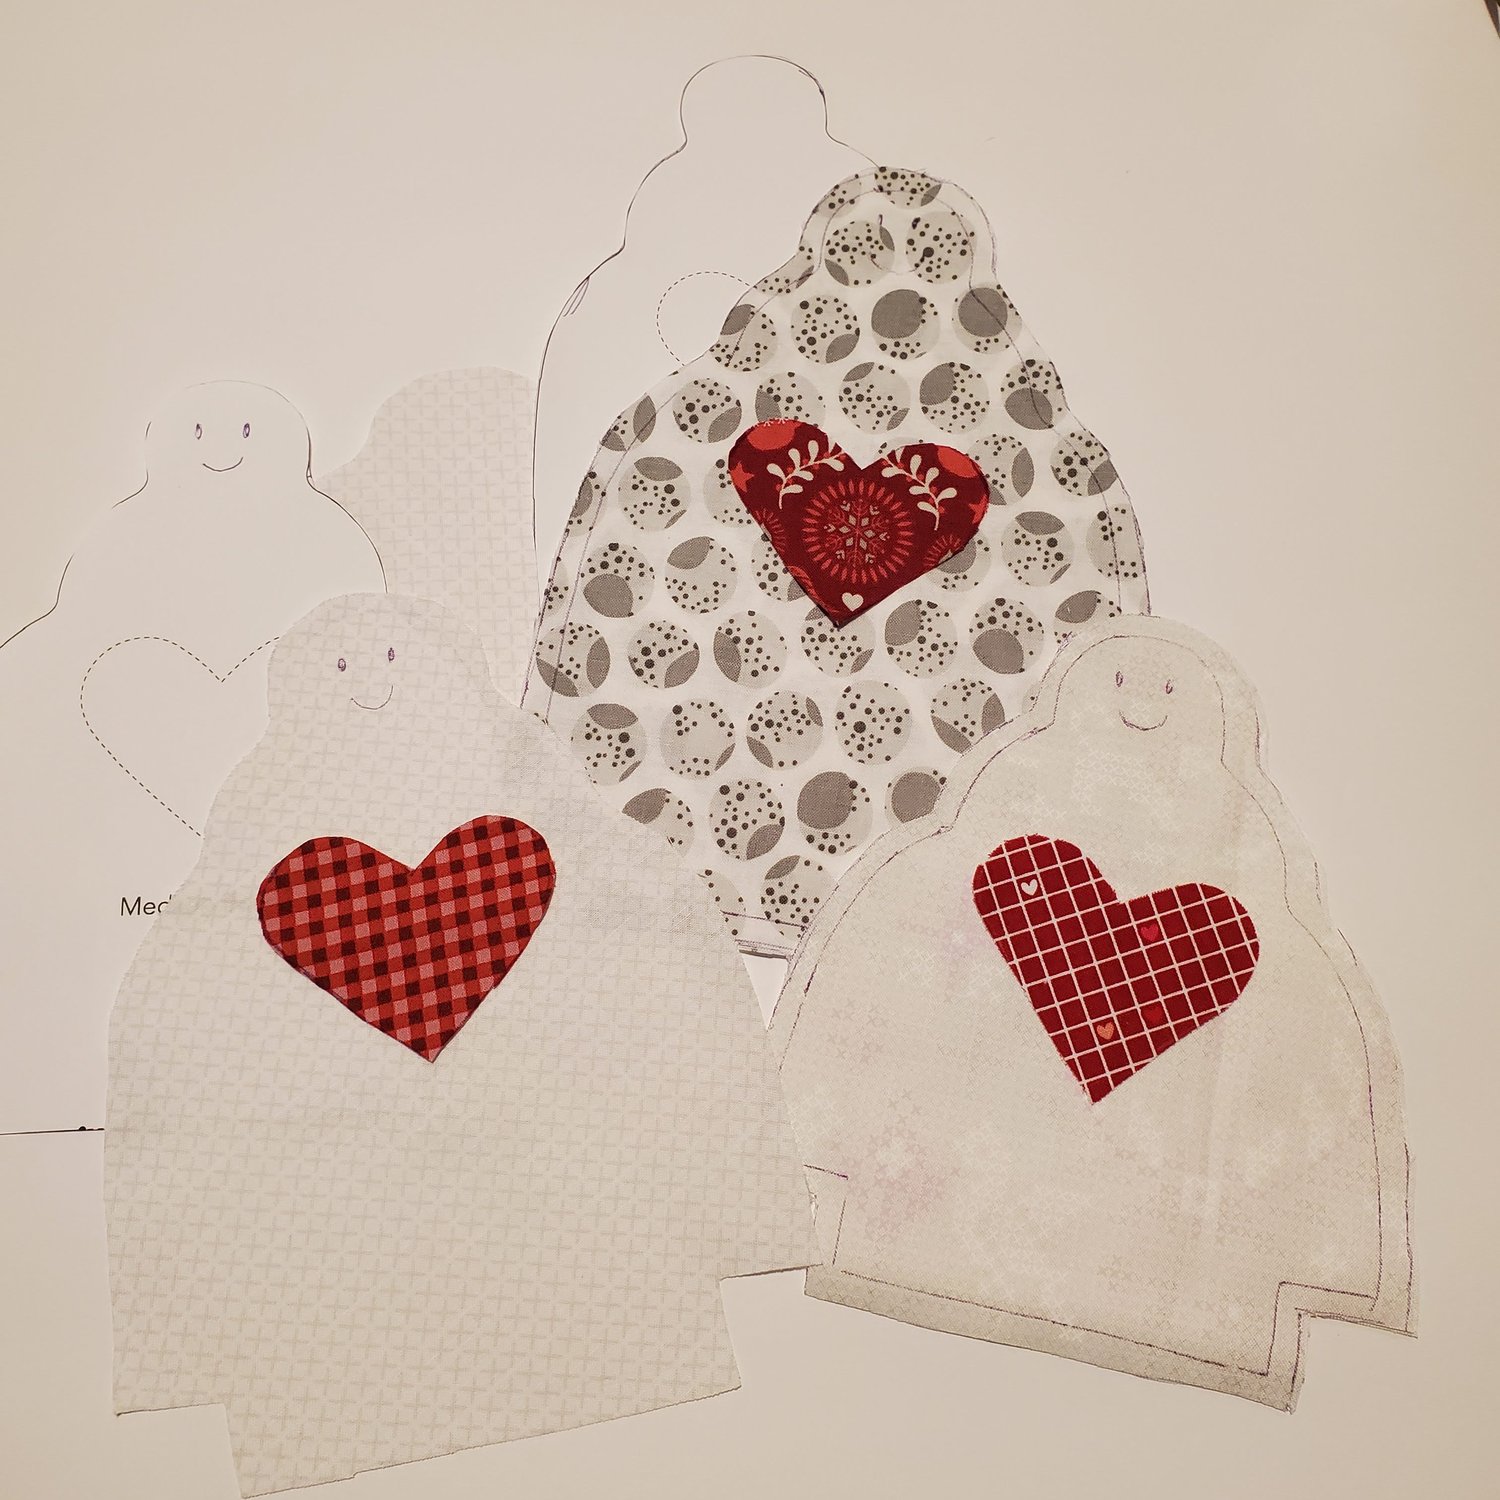
Mark the placement of the heart and stitch in place using a decorative stitch. I chose this one that resembles snowflakes to stitch around each heart.

I used the Frixion pen to mark the placement of the eyes and mouth. I was able to use decorative stitching on my machine to sew the eyes and mouth, but you could easily hand sew or use a Micron pen. Once you are pleased with the face and heart it is time to sew pieces together.
With right sides together sew from the top of the cut out notch all the way around to the other side. On the bottom sew about 1” from the notch on each side. Leave the center of the bottom edge open to turn.
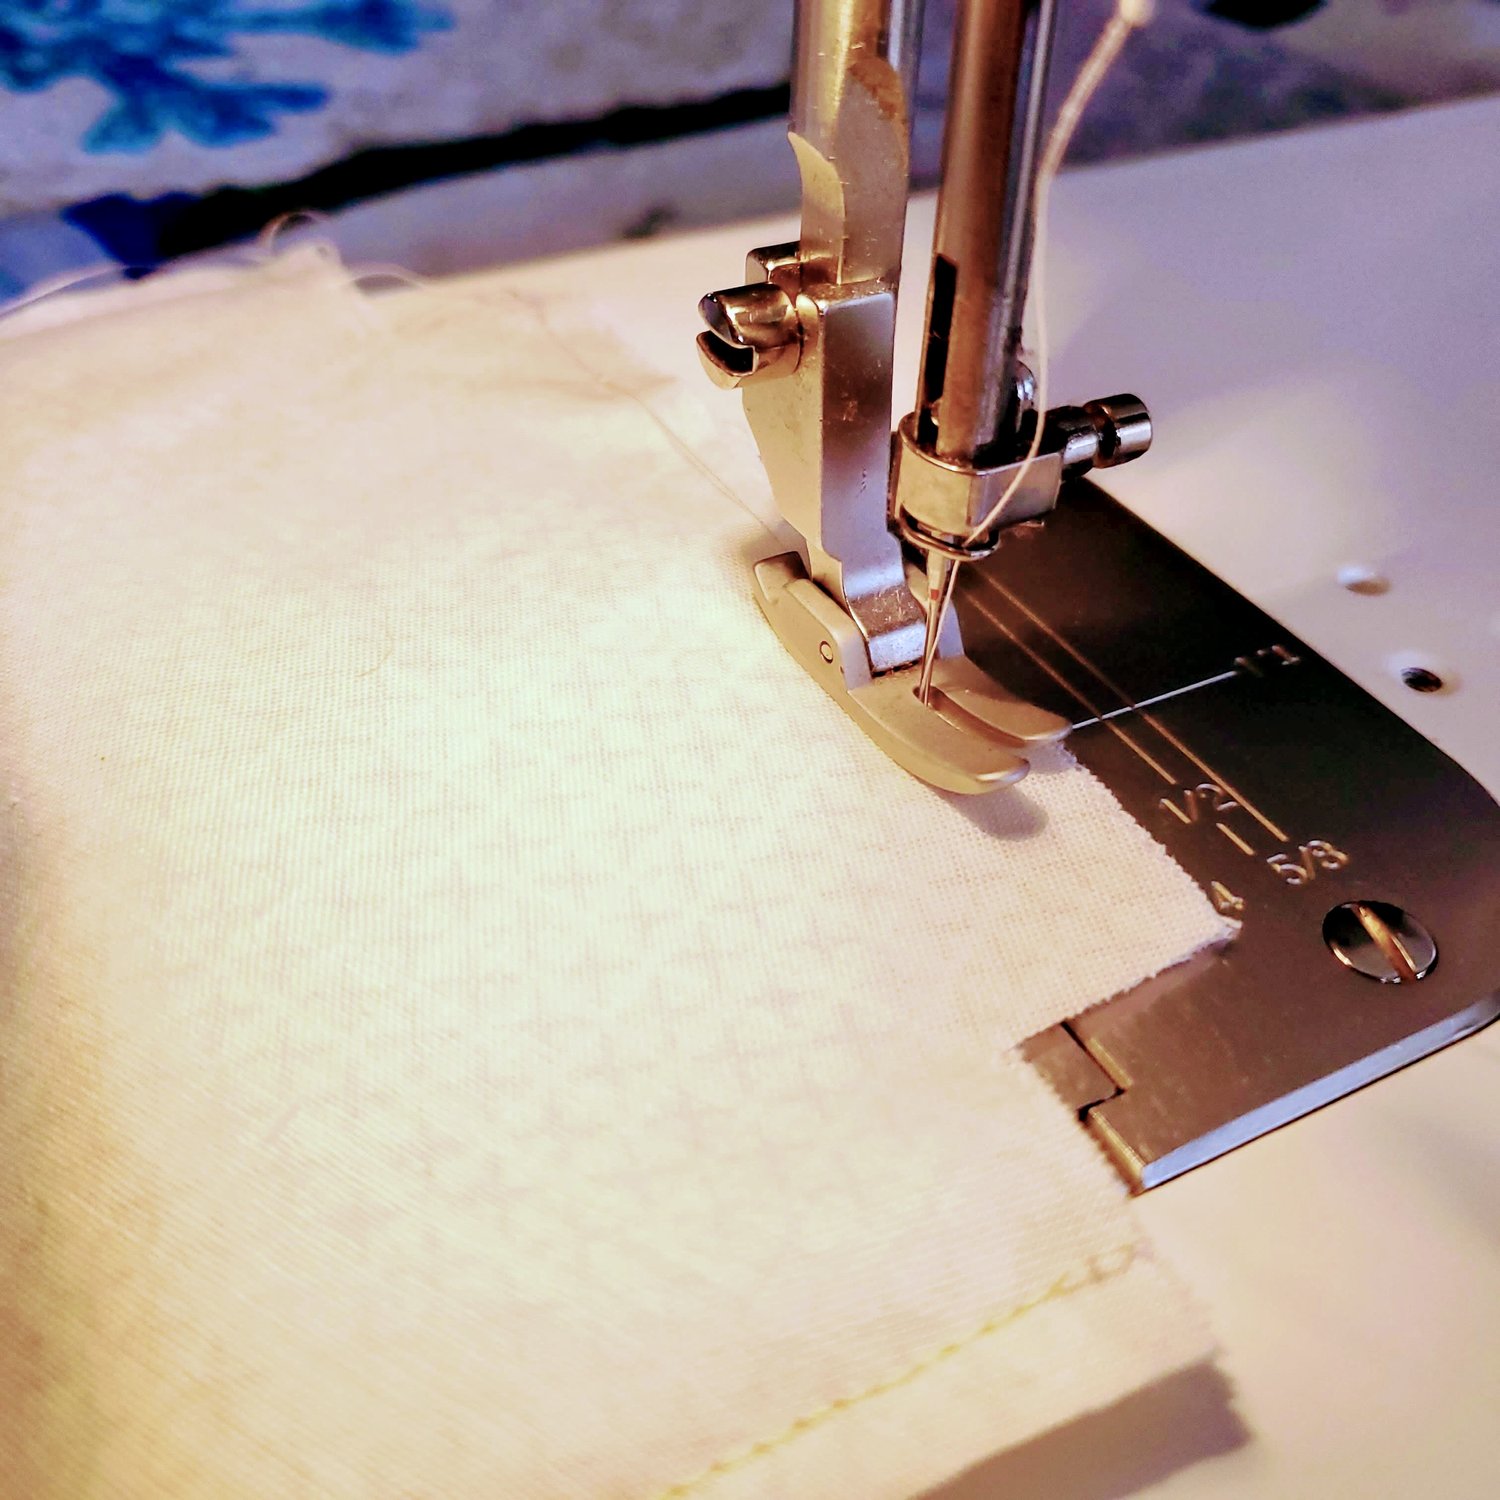
Box the bottom corners by nesting the seams together and sewing a ¼” seam.
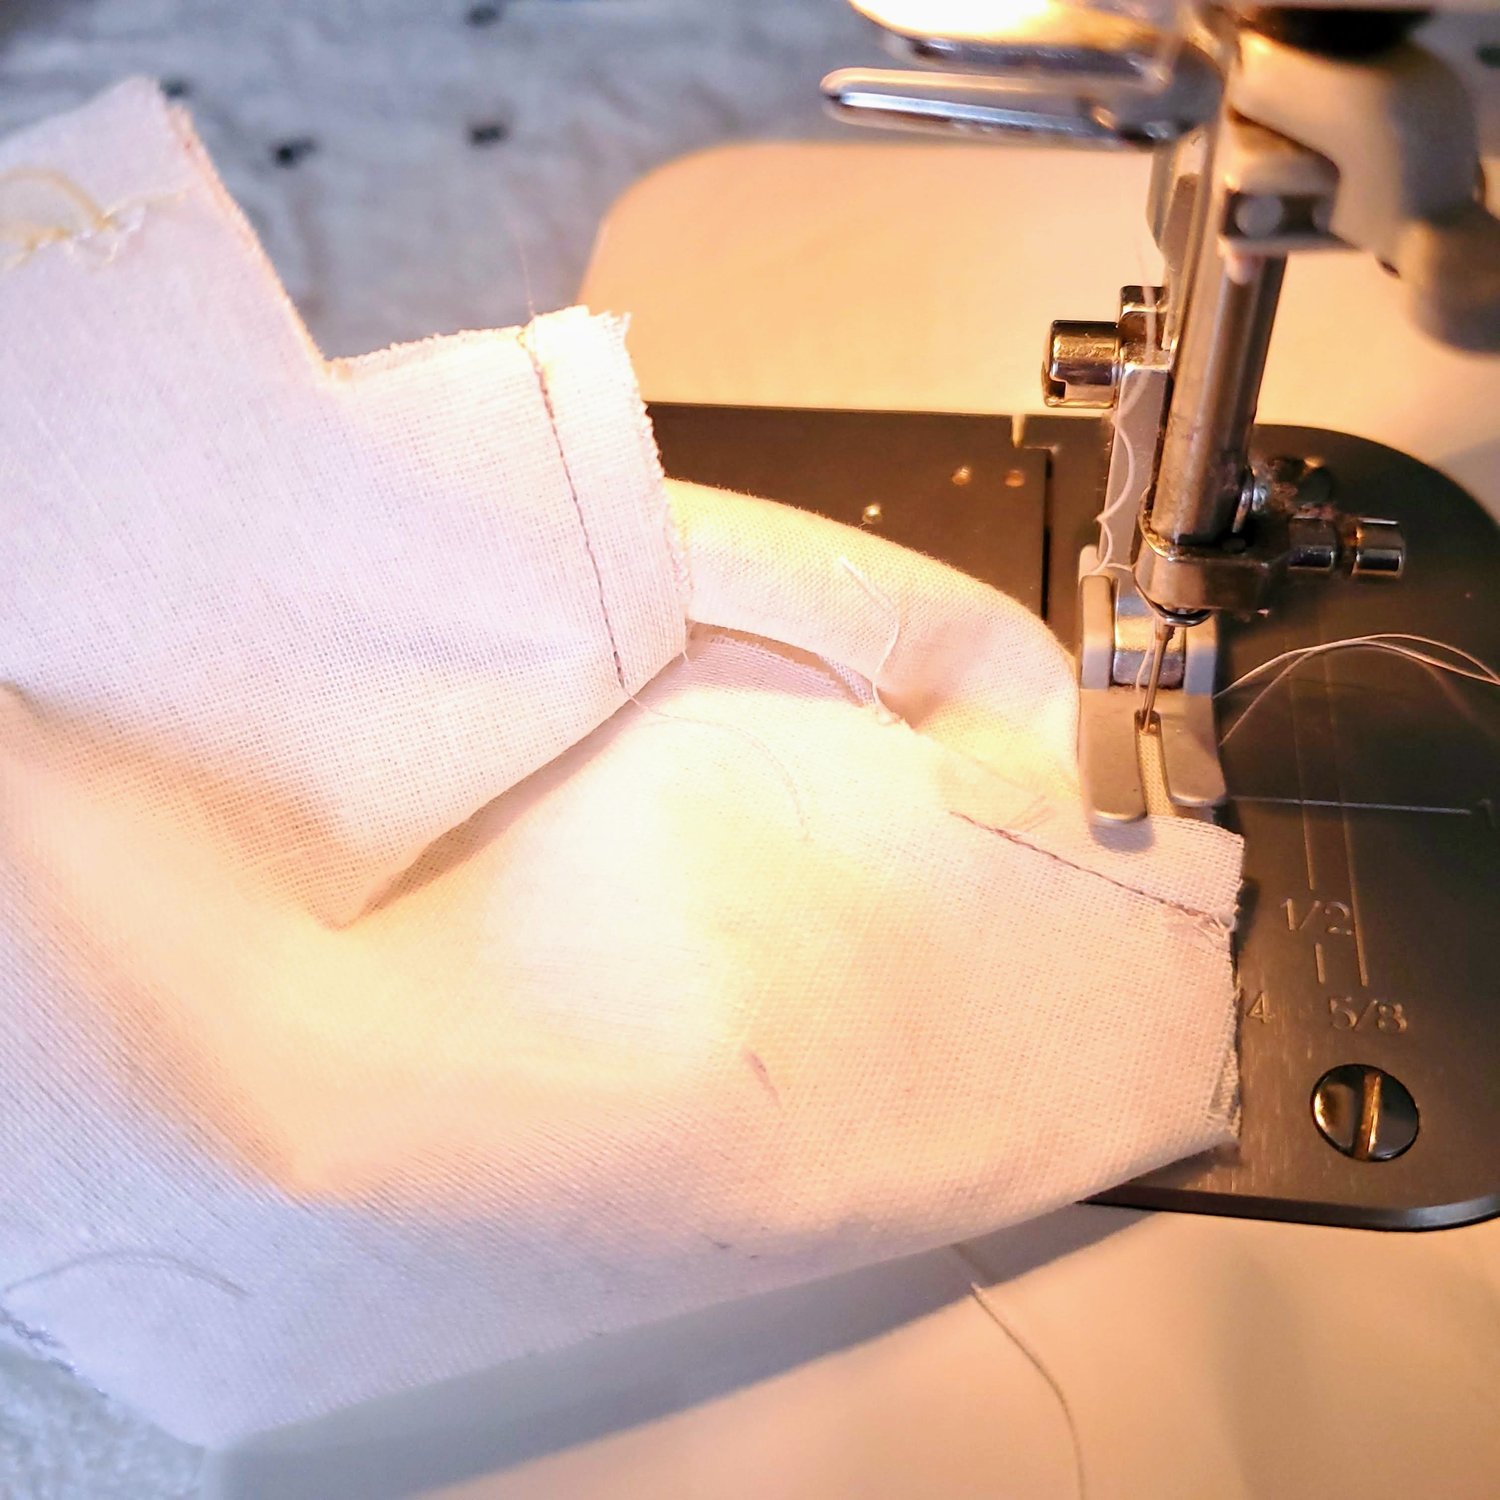
Use pinking shears on the outward curves and clip the inside curves. Be sure not to cut through your stitching. Turn the right sides out and give it a press.
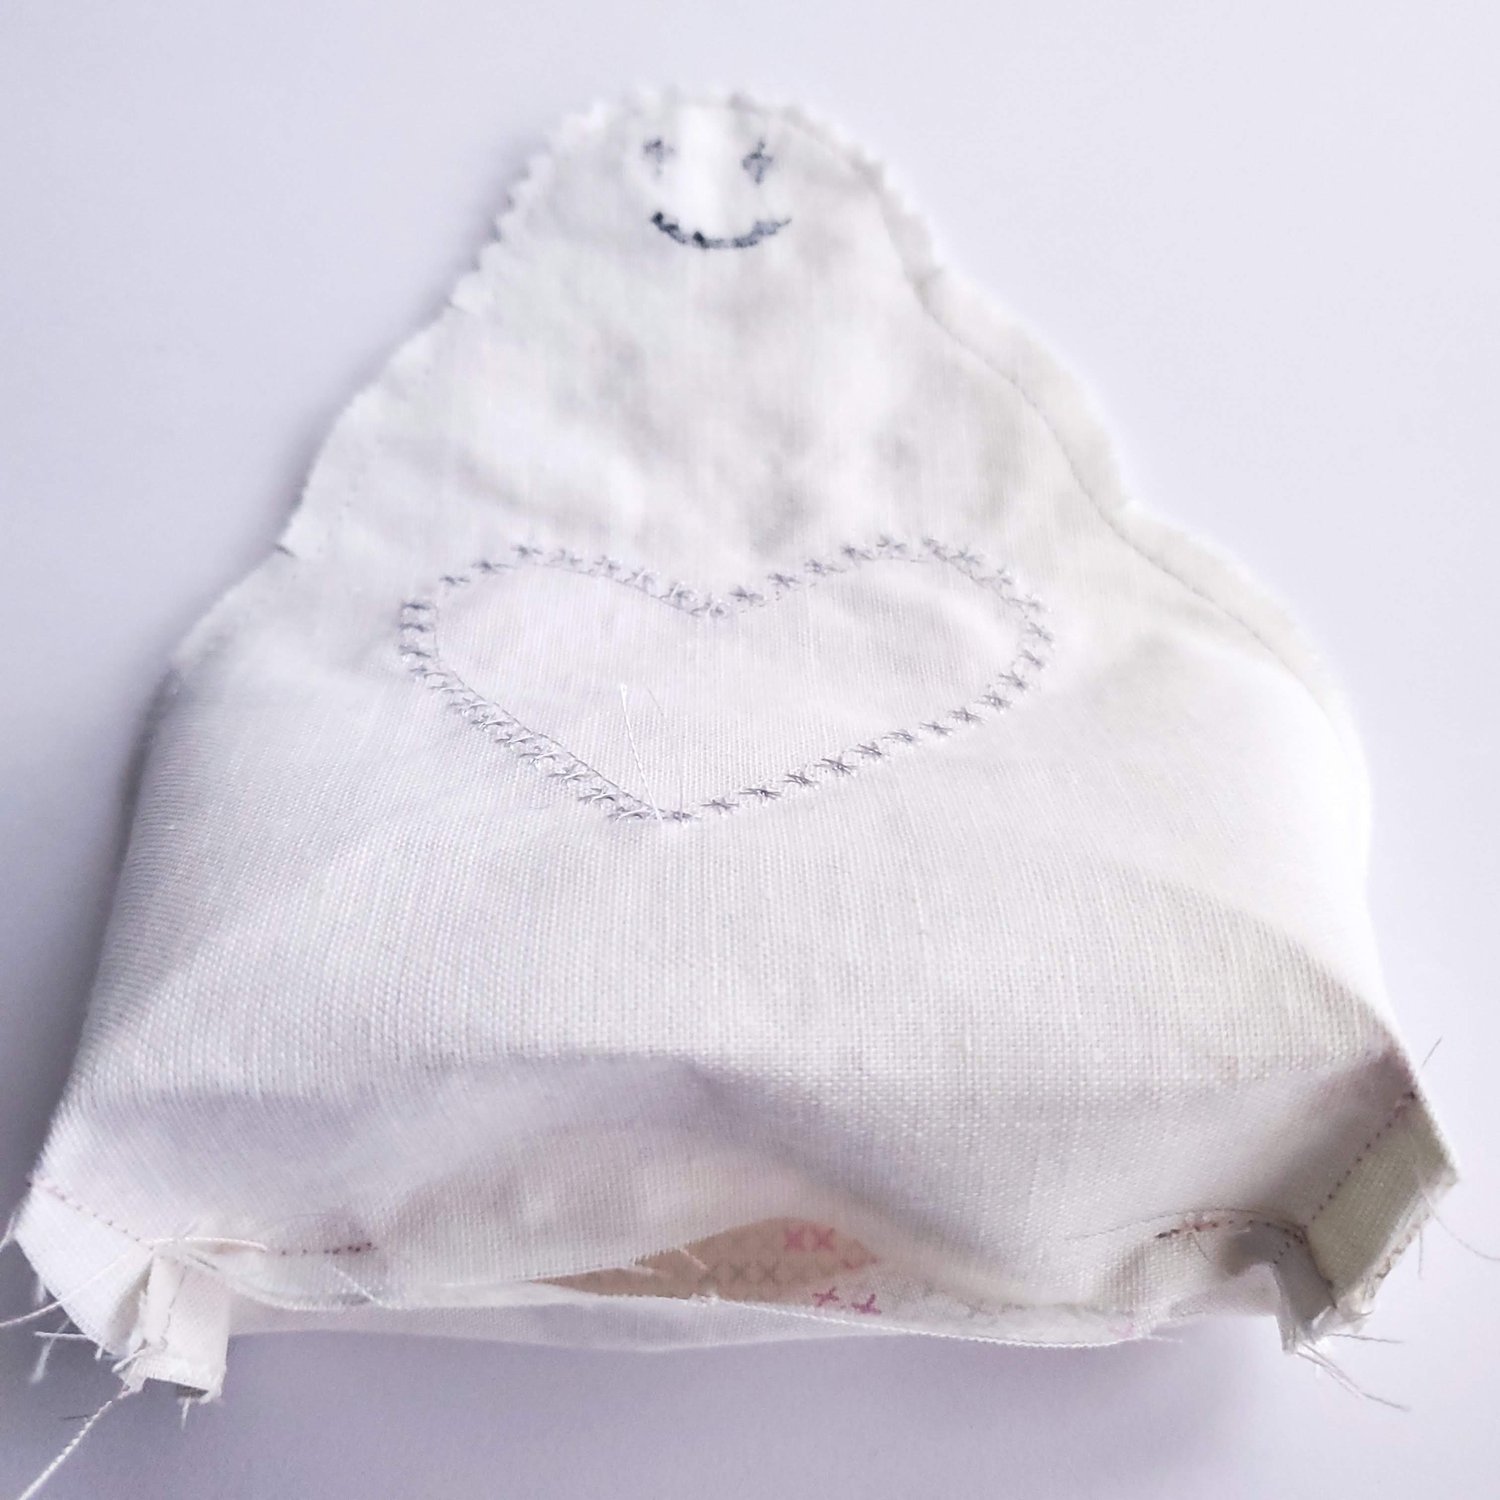
Using the Poly-Fil stuff the snowman making sure to get plenty in the head portion so that it fills out evenly. Taking small fluffs at a time and pushing it in will give it a smooth looking appearance. You can add a small bag of sand pushed in the bottom to help it stay upright. Once you are happy with the look of the stuffed snowman hand stitch the bottom edge closed.
To make the set of matching scarves I took a width of fabric piece of Snowbound and ripped the fabric along the grain line. This gave me about an inch wide by 42” piece with the frayed edges to cut into three scarves for the snowman family. I tied them in place with a bit of hot glue.
I used some twigs from my yard to hot glue in place for the arms. I then cut off the point of a wooden toothpick and hot glued it in place for the nose. If you want to make your snowman child safe you could use fabric or felt for the snowman’s arms and add a stitched nose.You could also use a pipe cleaner with felt mittens for the arms.
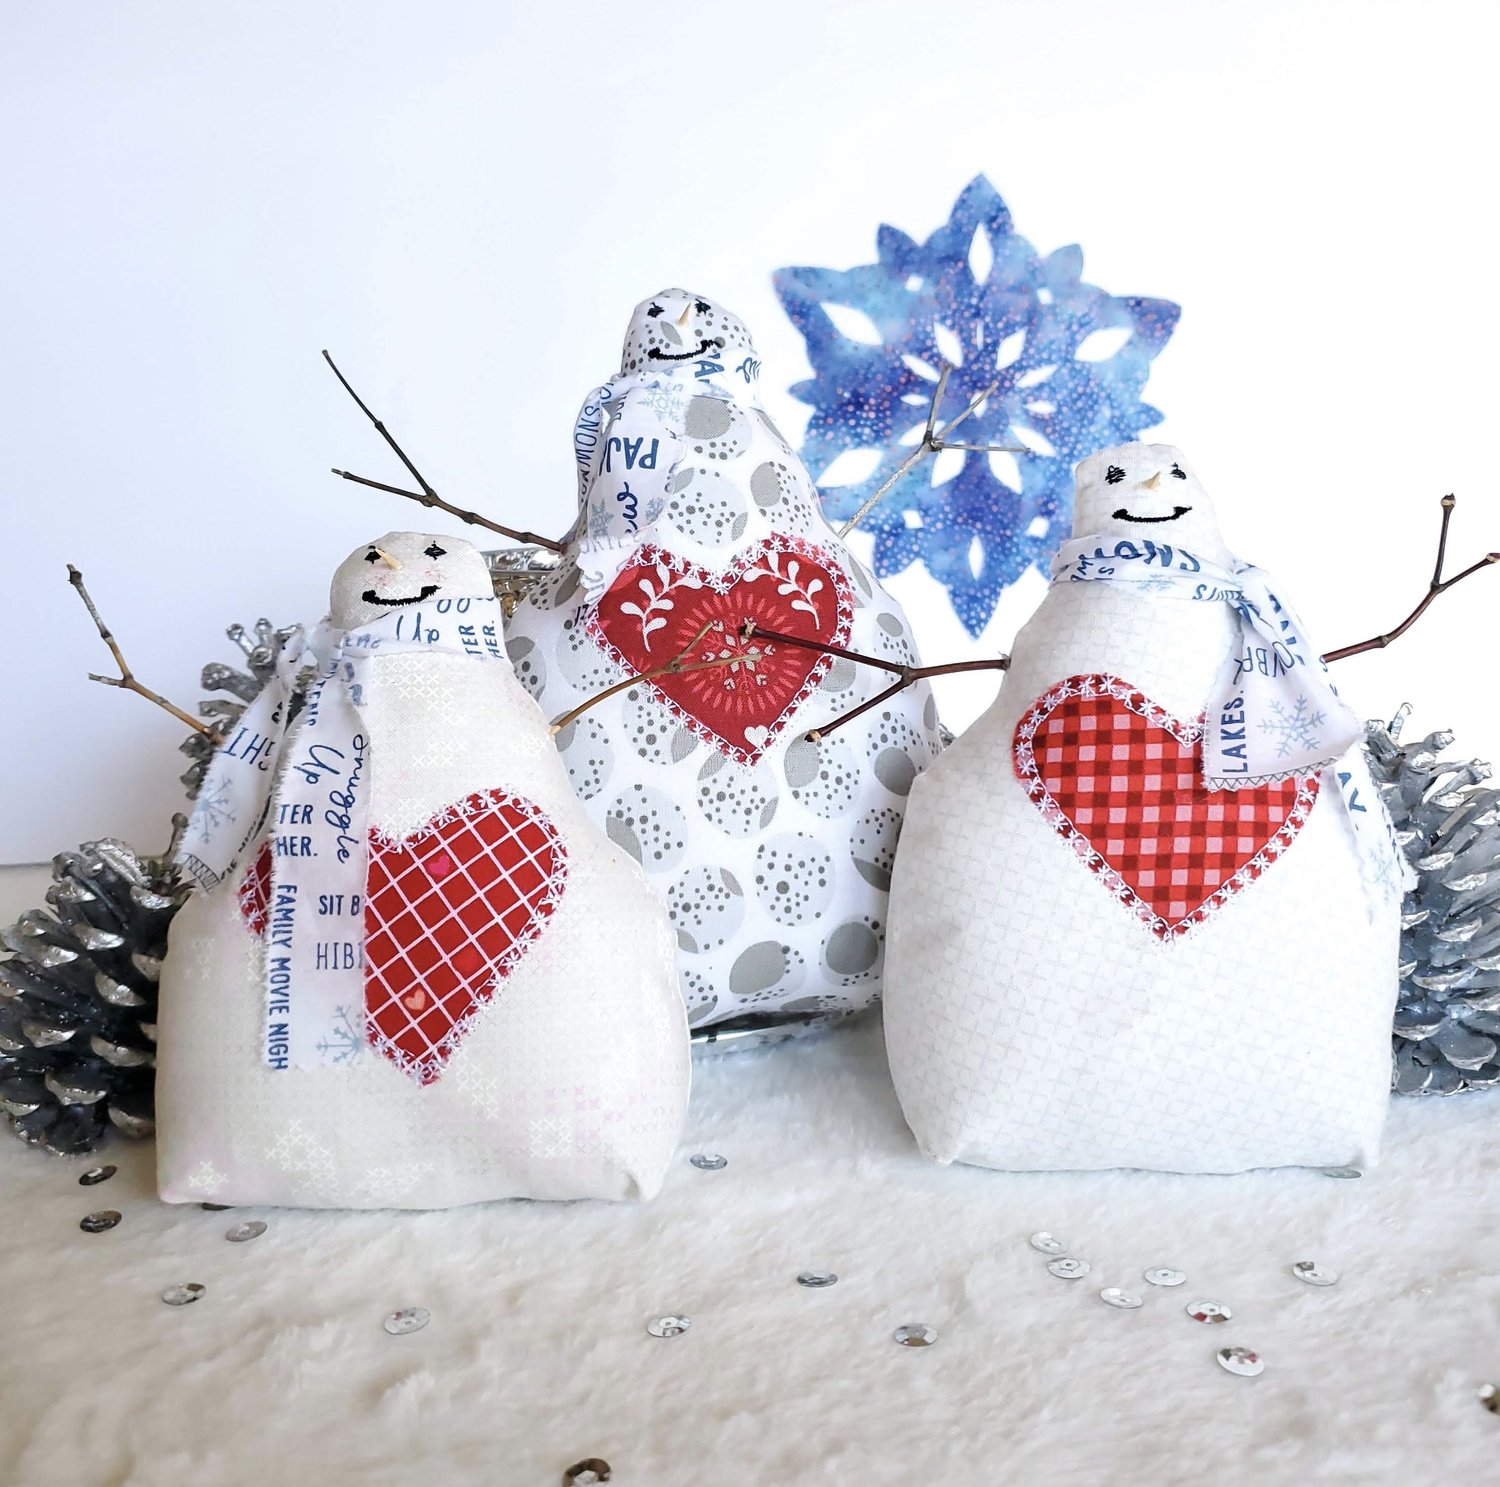
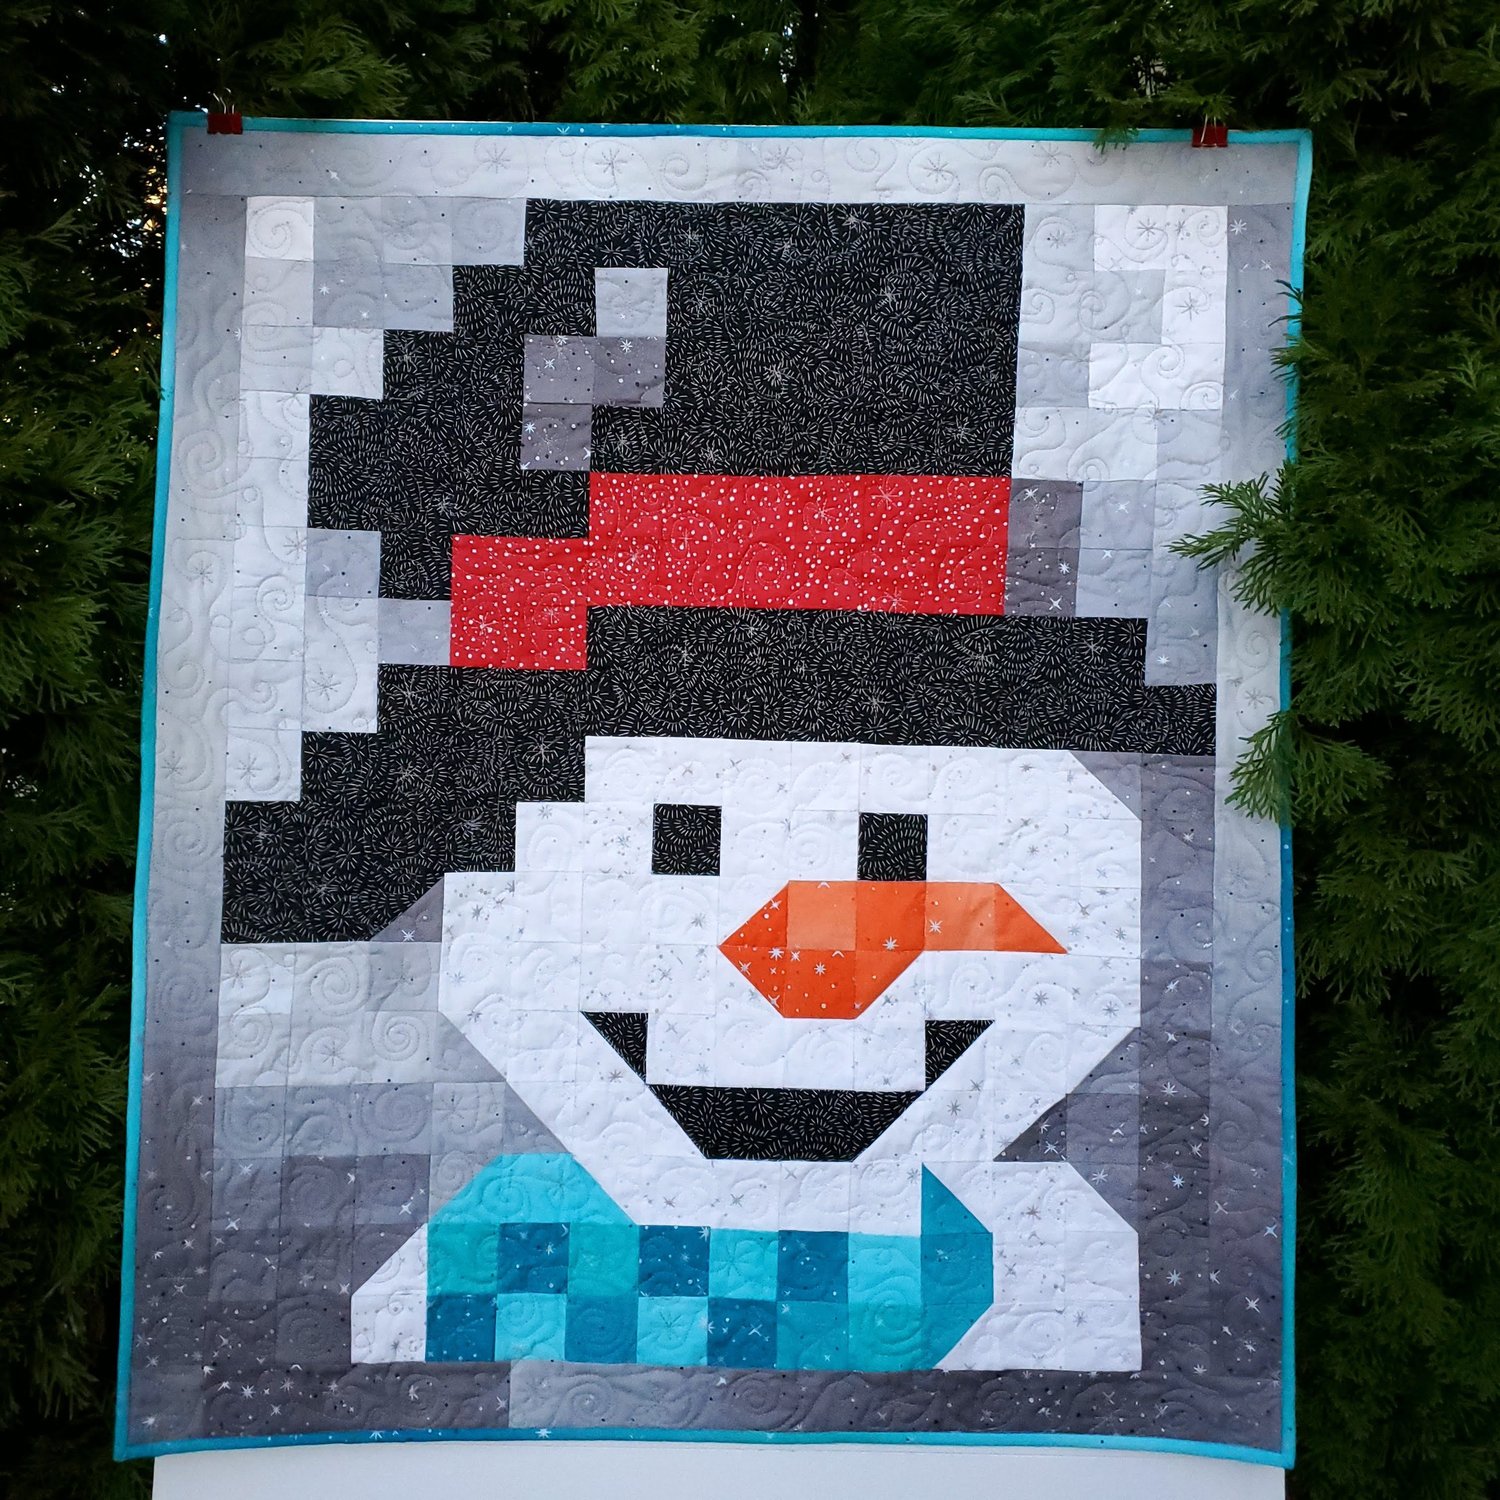
There you have it, a happy snowman family to enjoy for the winter! These would be cute to make for Valentine’s Day gifts and perfect for a tabletop decoration. If you would like to add a snowman wall hanging check out this Jolly Snowman blog from last winter. He is sure to brighten your winter day with his happy smile!