DIY Glitter Zip Pouch
4th Feb 2021
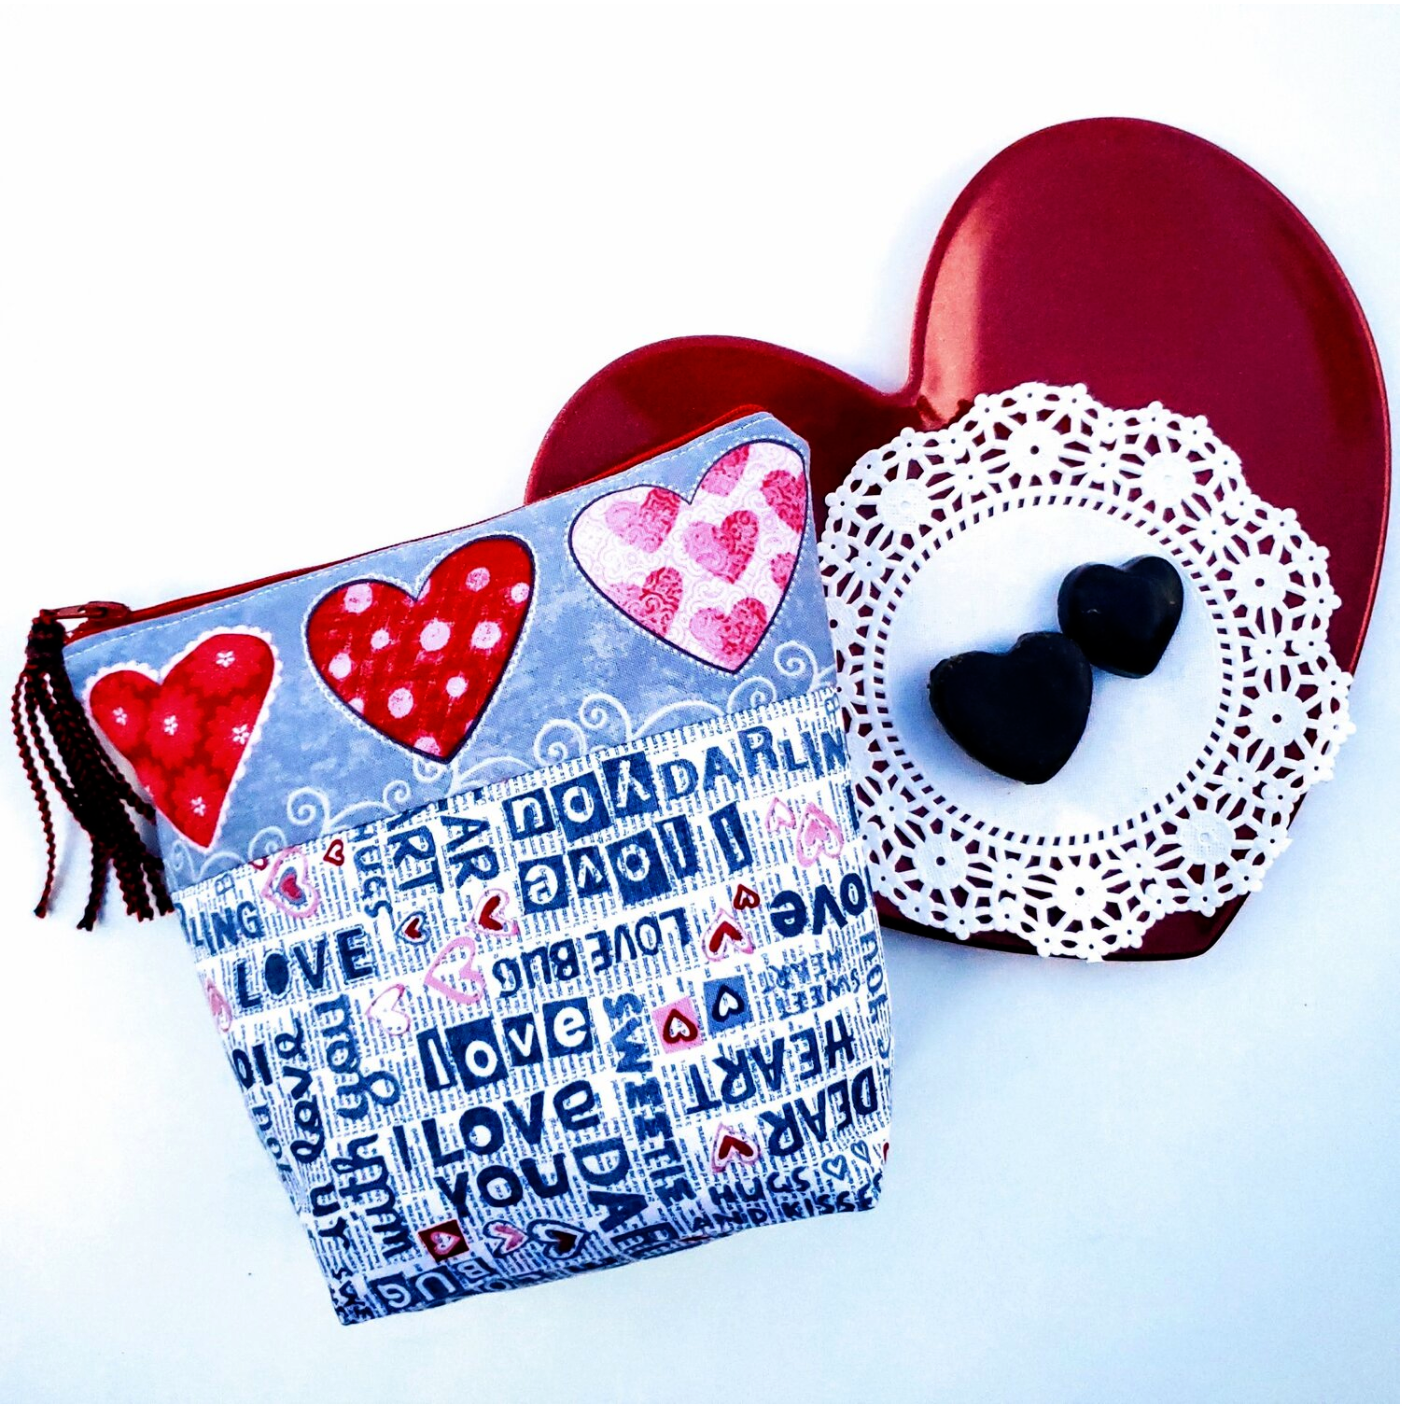
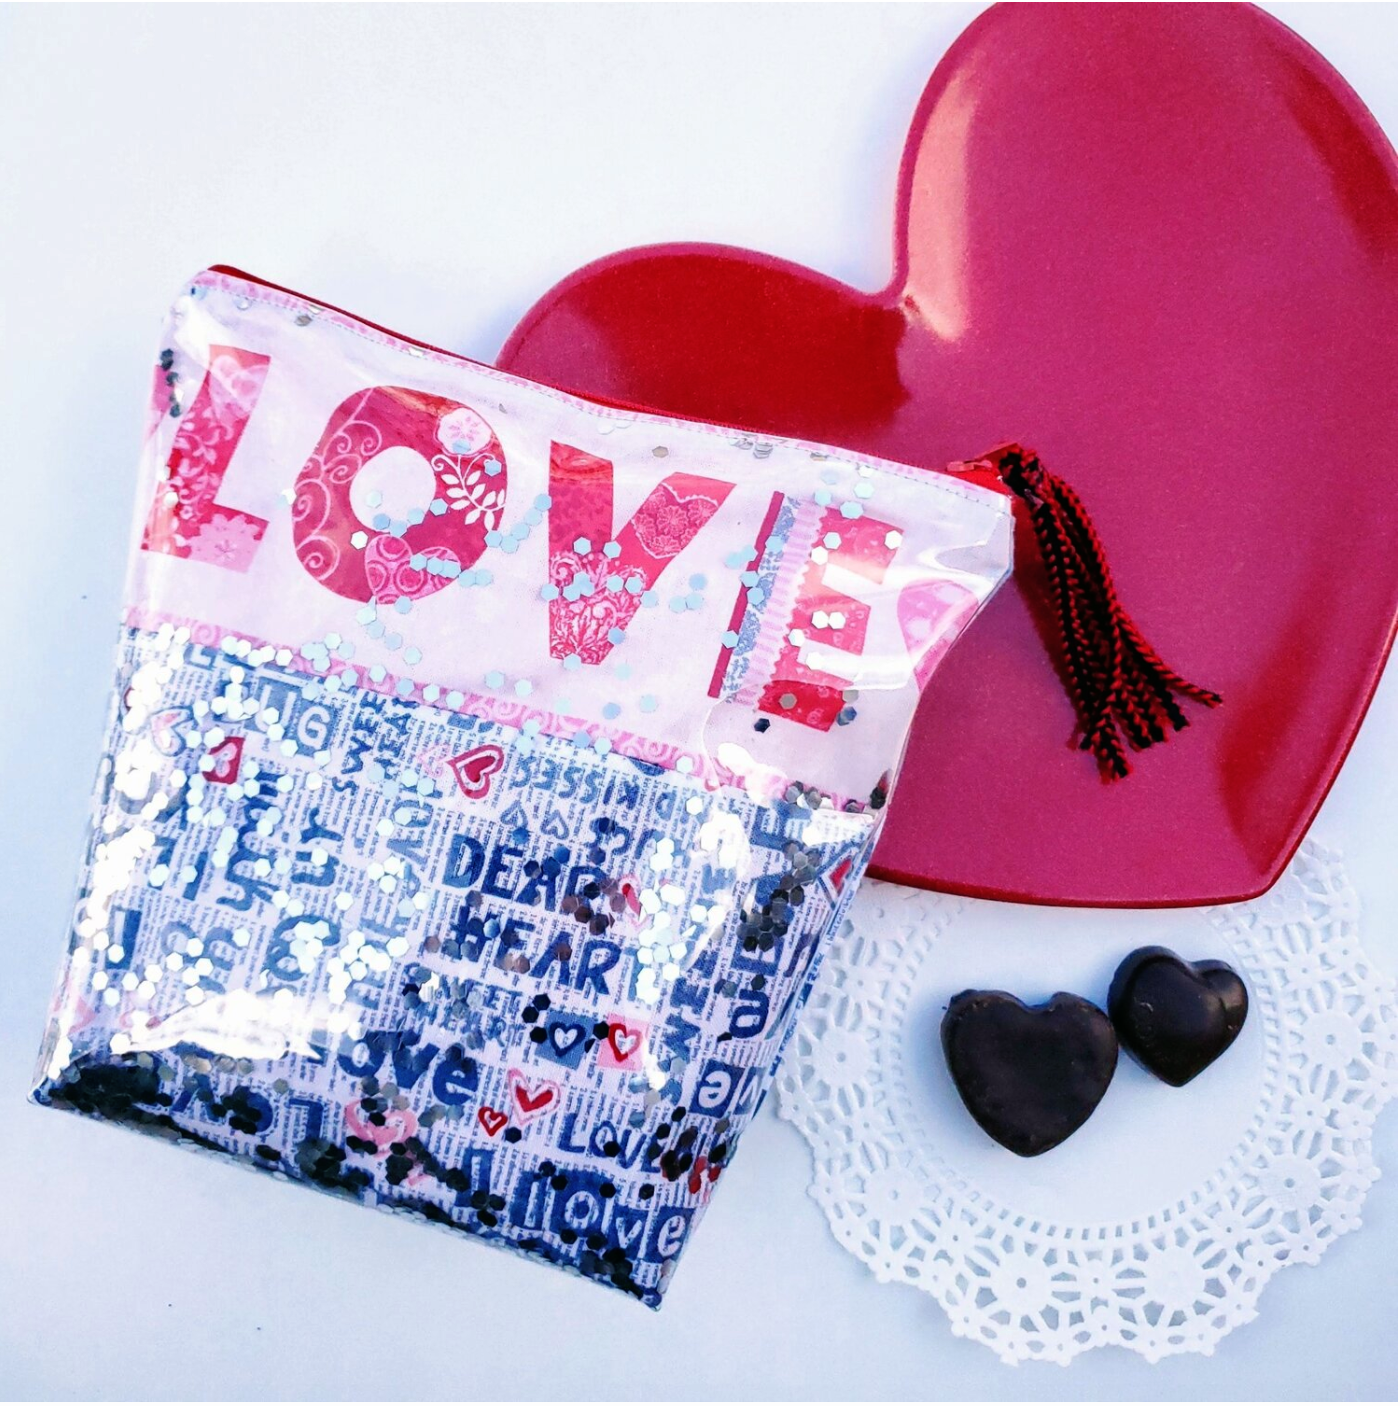
Add a little sparkle for a fun and functional zippered pouch! This is such an easy way to make your own glitter zipper bag for everyday essentials and travel. This would be a great little gift for Valentine’s Day to fill with some goodies and of course some heart shaped chocolates.
Materials needed
Fat Quarters one for exterior and one for lining Mystery Fat Quarters Bundle
Coordinating Aurifil Thread Chroma Subscription
9” zipper
12 gauge clear vinyl for home decor
Glitter
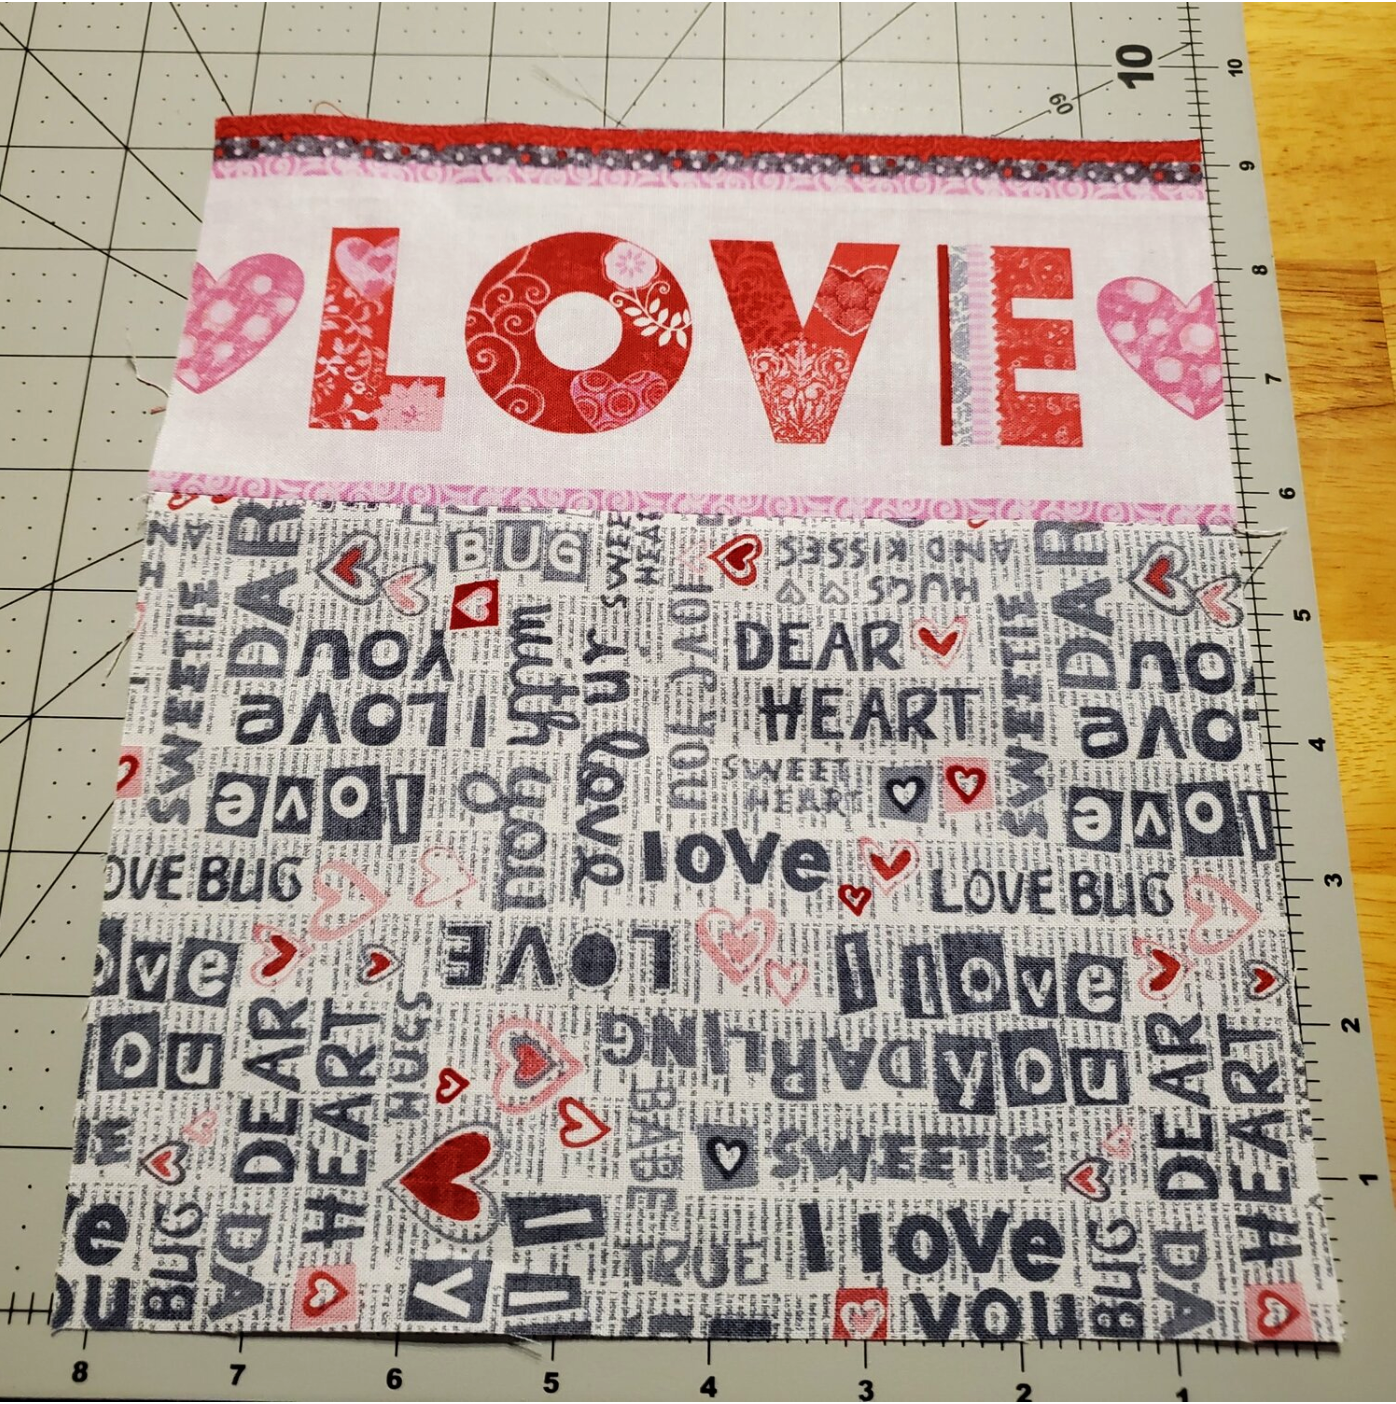
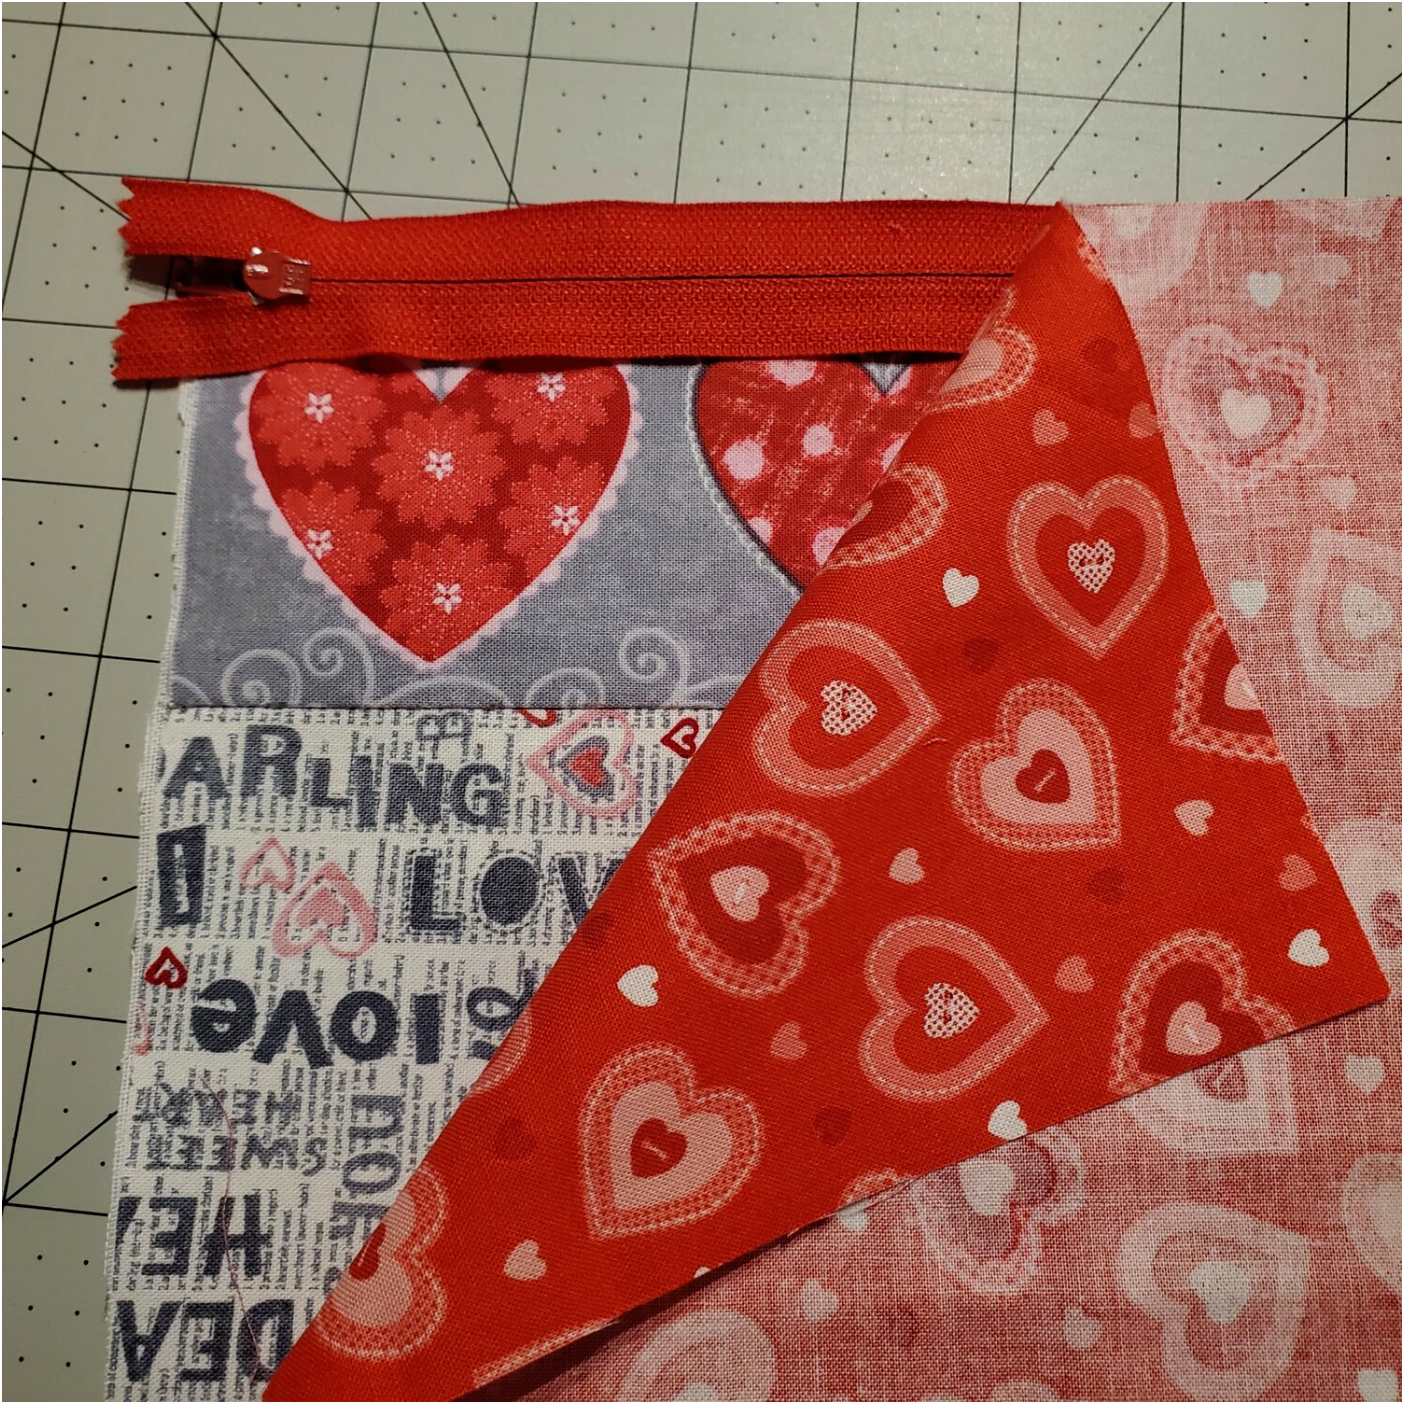
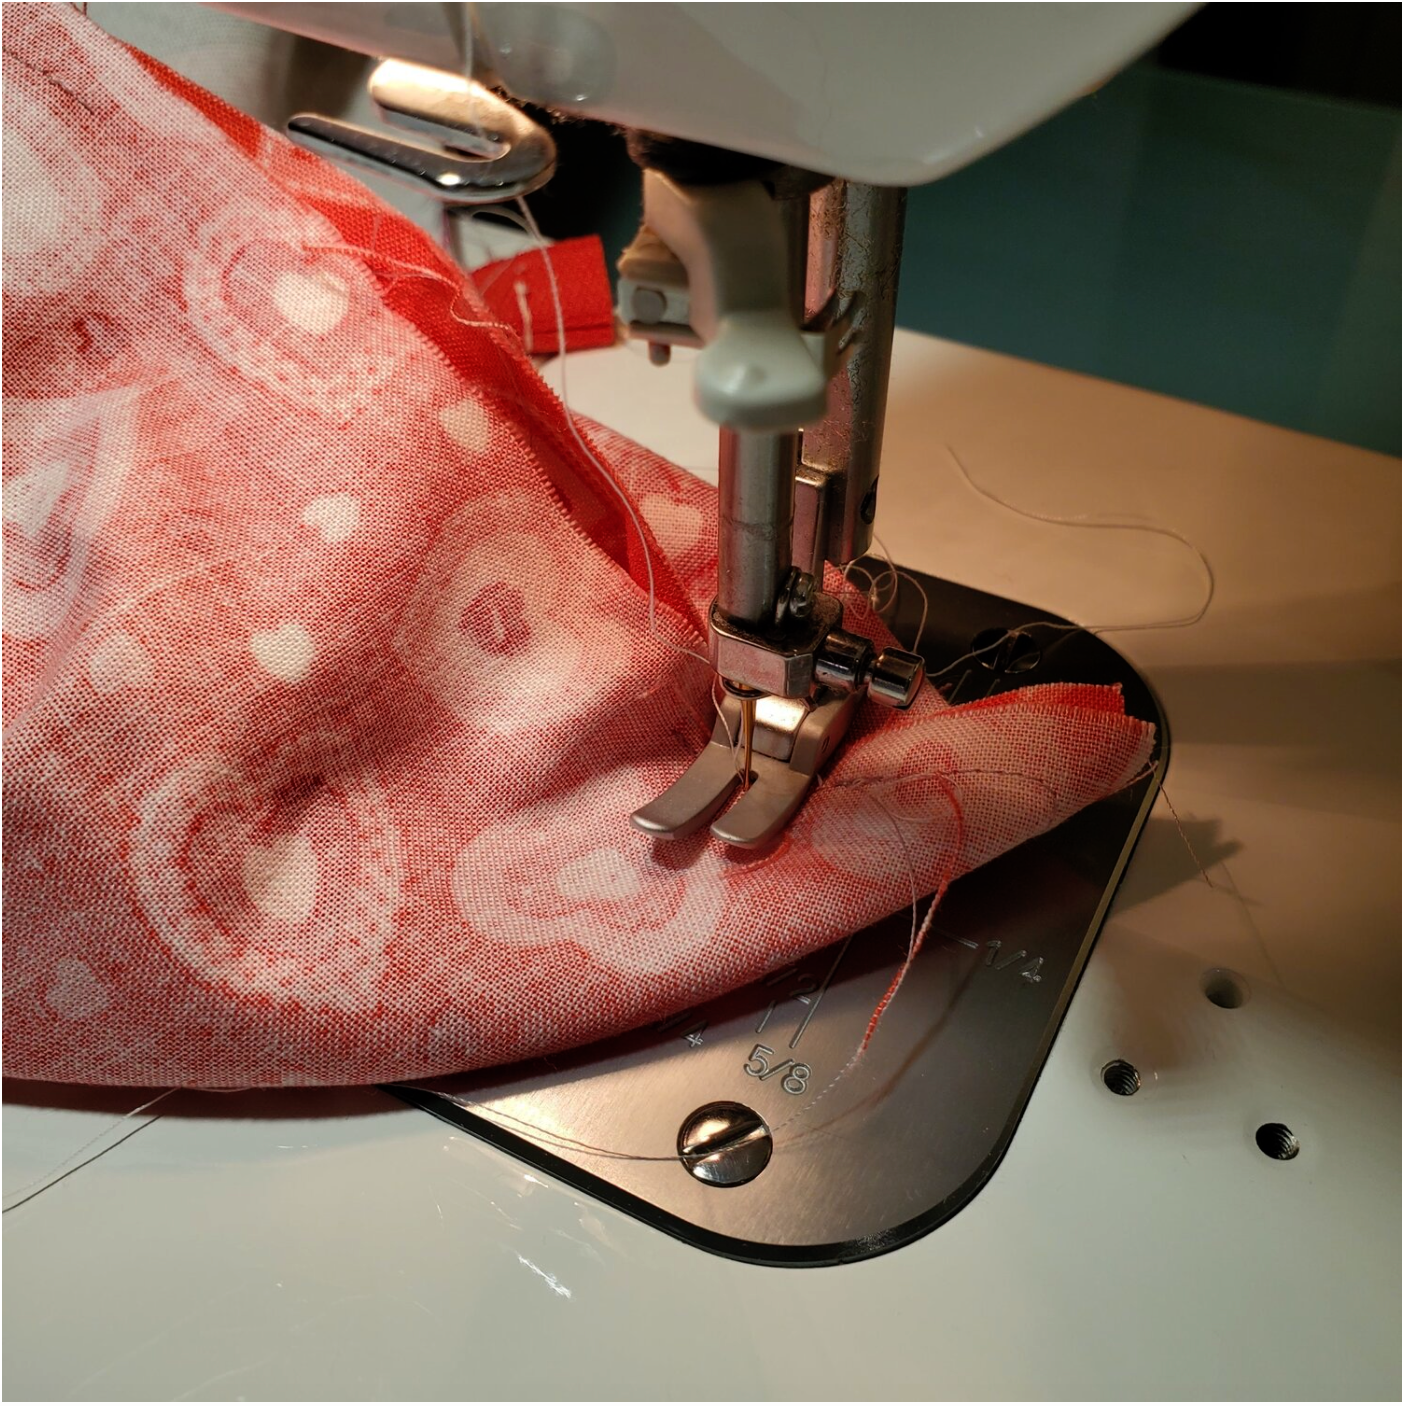
To get started cut two outer and lining pieces of fabric 8” x 9”. For this bag I fussy cut the word LOVE from a coordinating fabric and sewed it to the top with a ¼” seam then trimmed it to size. Do the same for the other side of the bag.
Cut a piece of the clear vinyl the same size and sew to the right side of the bag front using a ¼” seam. Leave about a 2” opening to sprinkle the glitter into the opening.
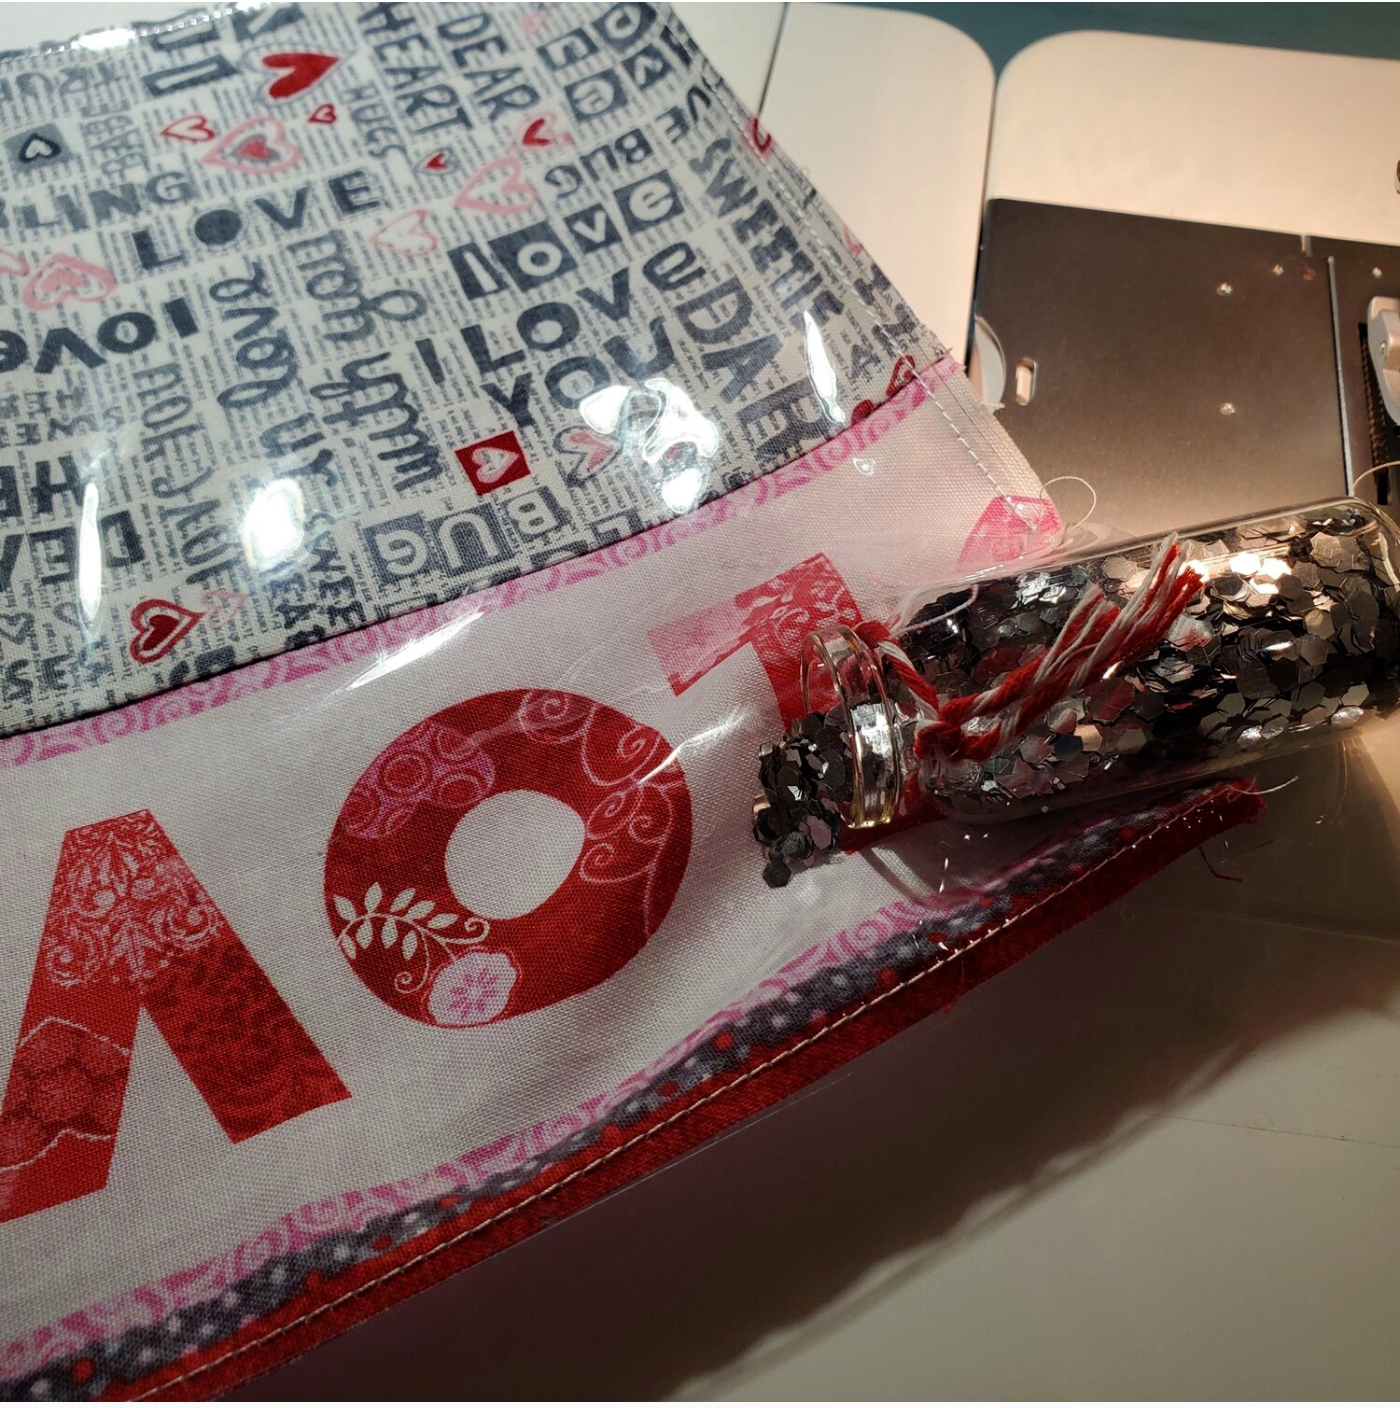
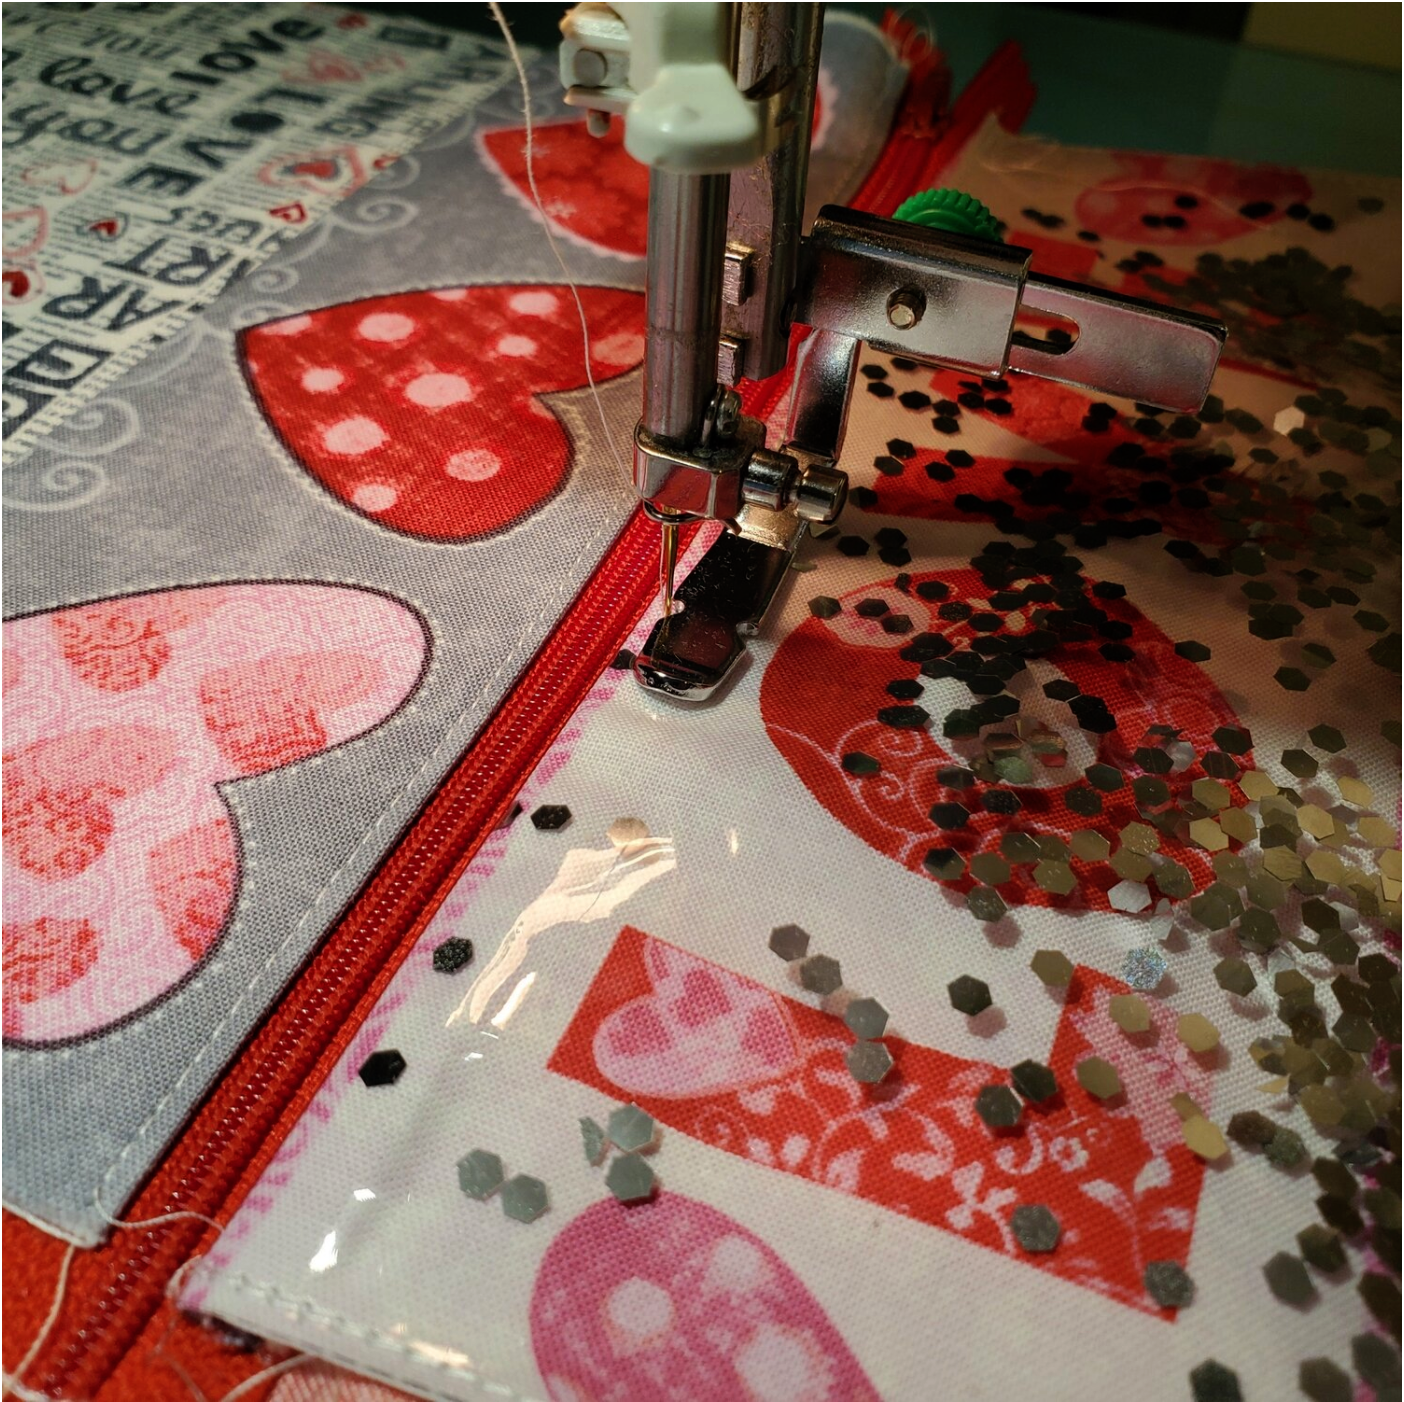
Sew the opening closed to keep the glitter between the layers. You can give it a little shake to evenly distribute the glitter. I found the static electricity on the clear vinyl held the glitter in place. Now it is time to add the zipper. Lay the top piece right side up with the zipper right side down and finally the lining right side down. Use clips to secure if needed. If you use pins it will leave permanent holes in the clear vinyl.
Using the zipper foot sew the zipper in place. Turn right sides out and finger press the fabric in place to prepare for top stitching. Use a slightly longer stitch length set at 3 in a coordinating thread color.
Repeat the process for the front of the bag with the glitter vinyl piece.
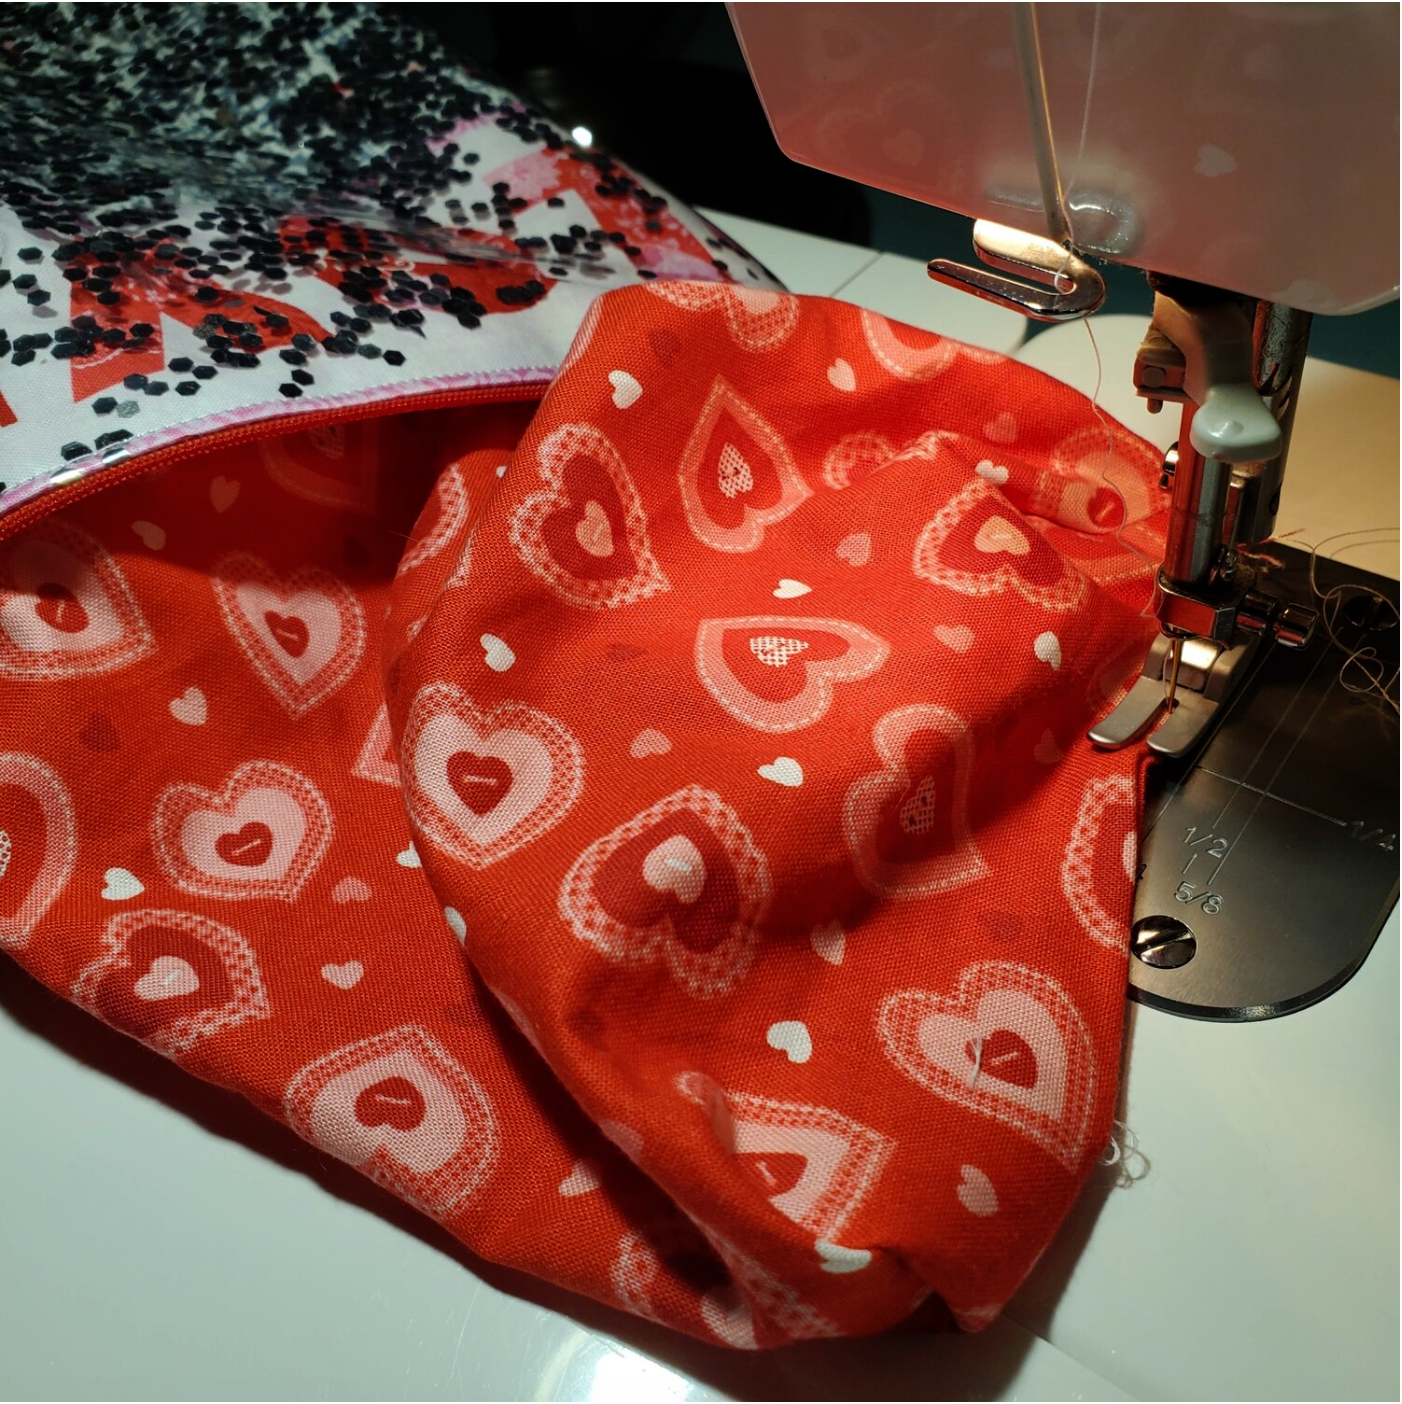
In this next step it is very important to UNZIP the zipper first then lay the bag so that the lining layers and the front pieces are right sides together.
It is very helpful to use clips at this stage to be sure all the layers are properly aligned before you begin to sew a ¼” seam starting about 2” from the corner of the lining fabric.
Sew all the way around the bag checking the zipper alignment as you slowly sew across the zipper. You will need to leave about a 2-3” opening in the bottom center of the lining to turn the bag. If you would like to box the corners so that the bag can stand up on its own, now is the time to add this feature.
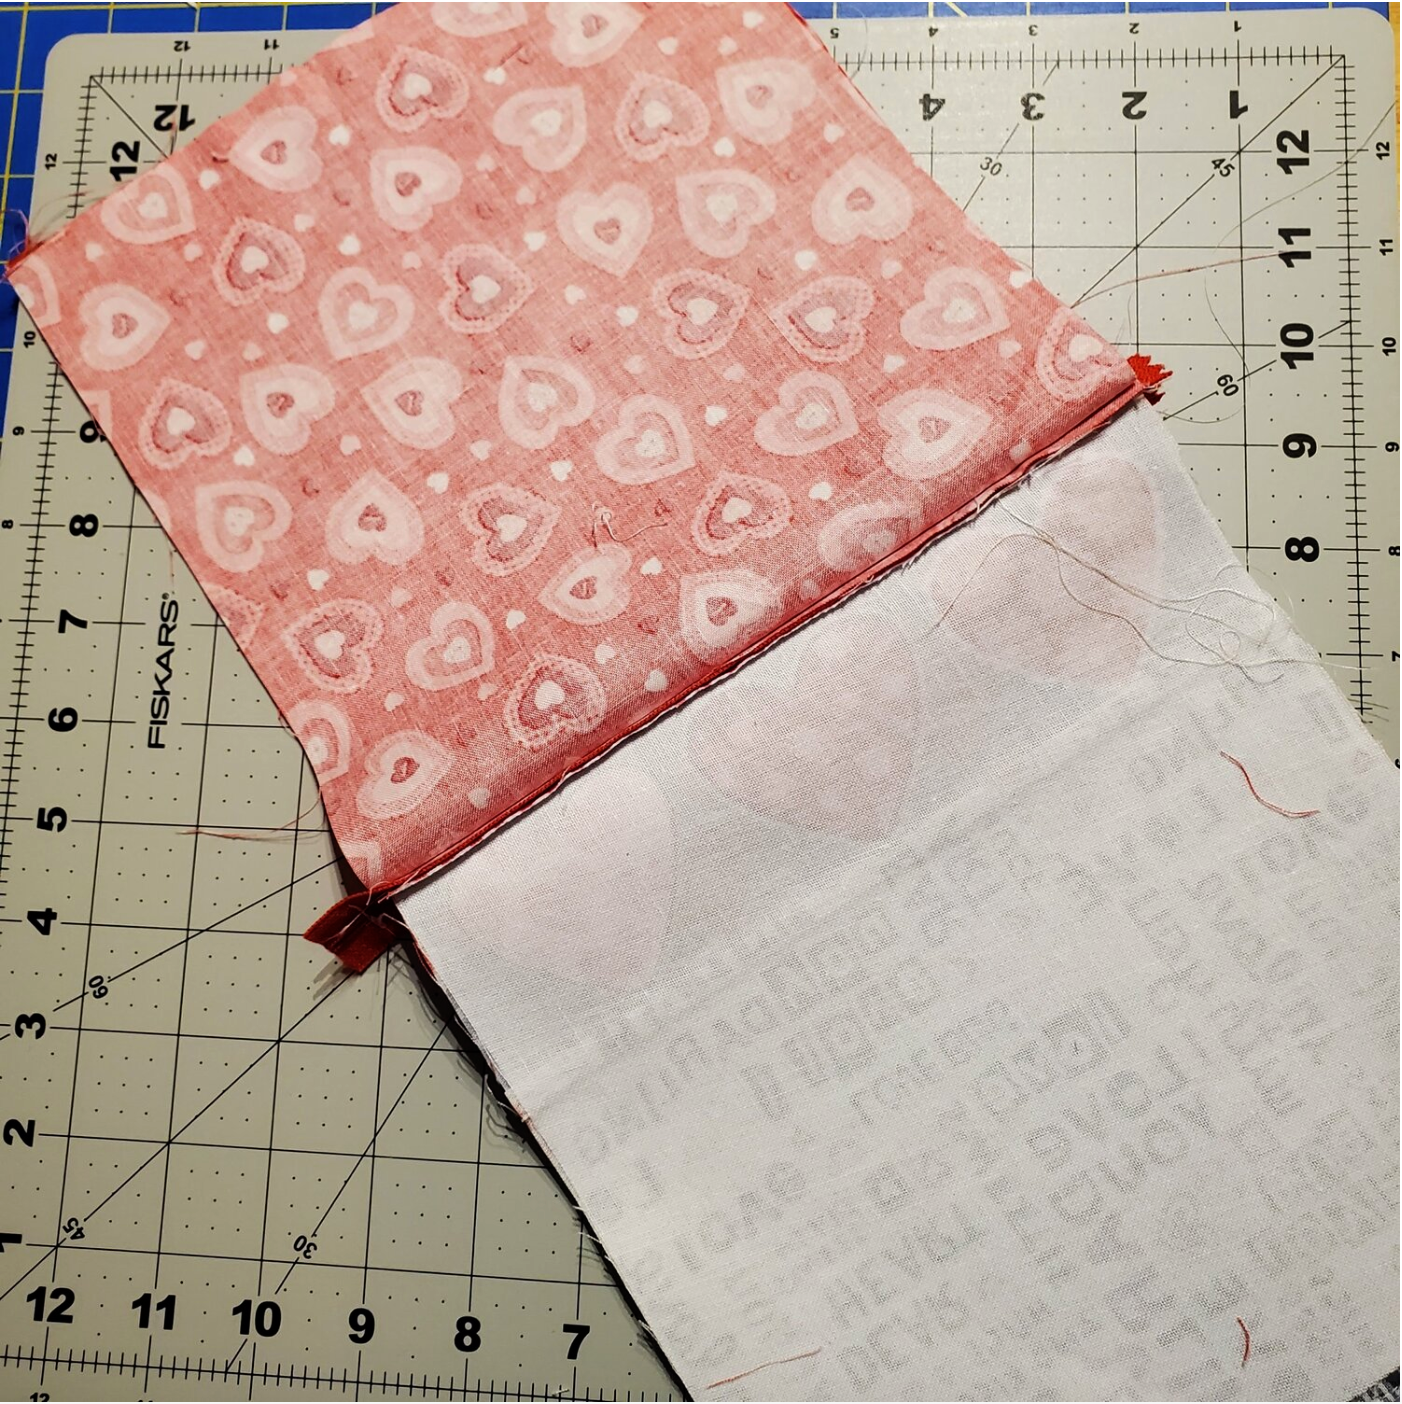
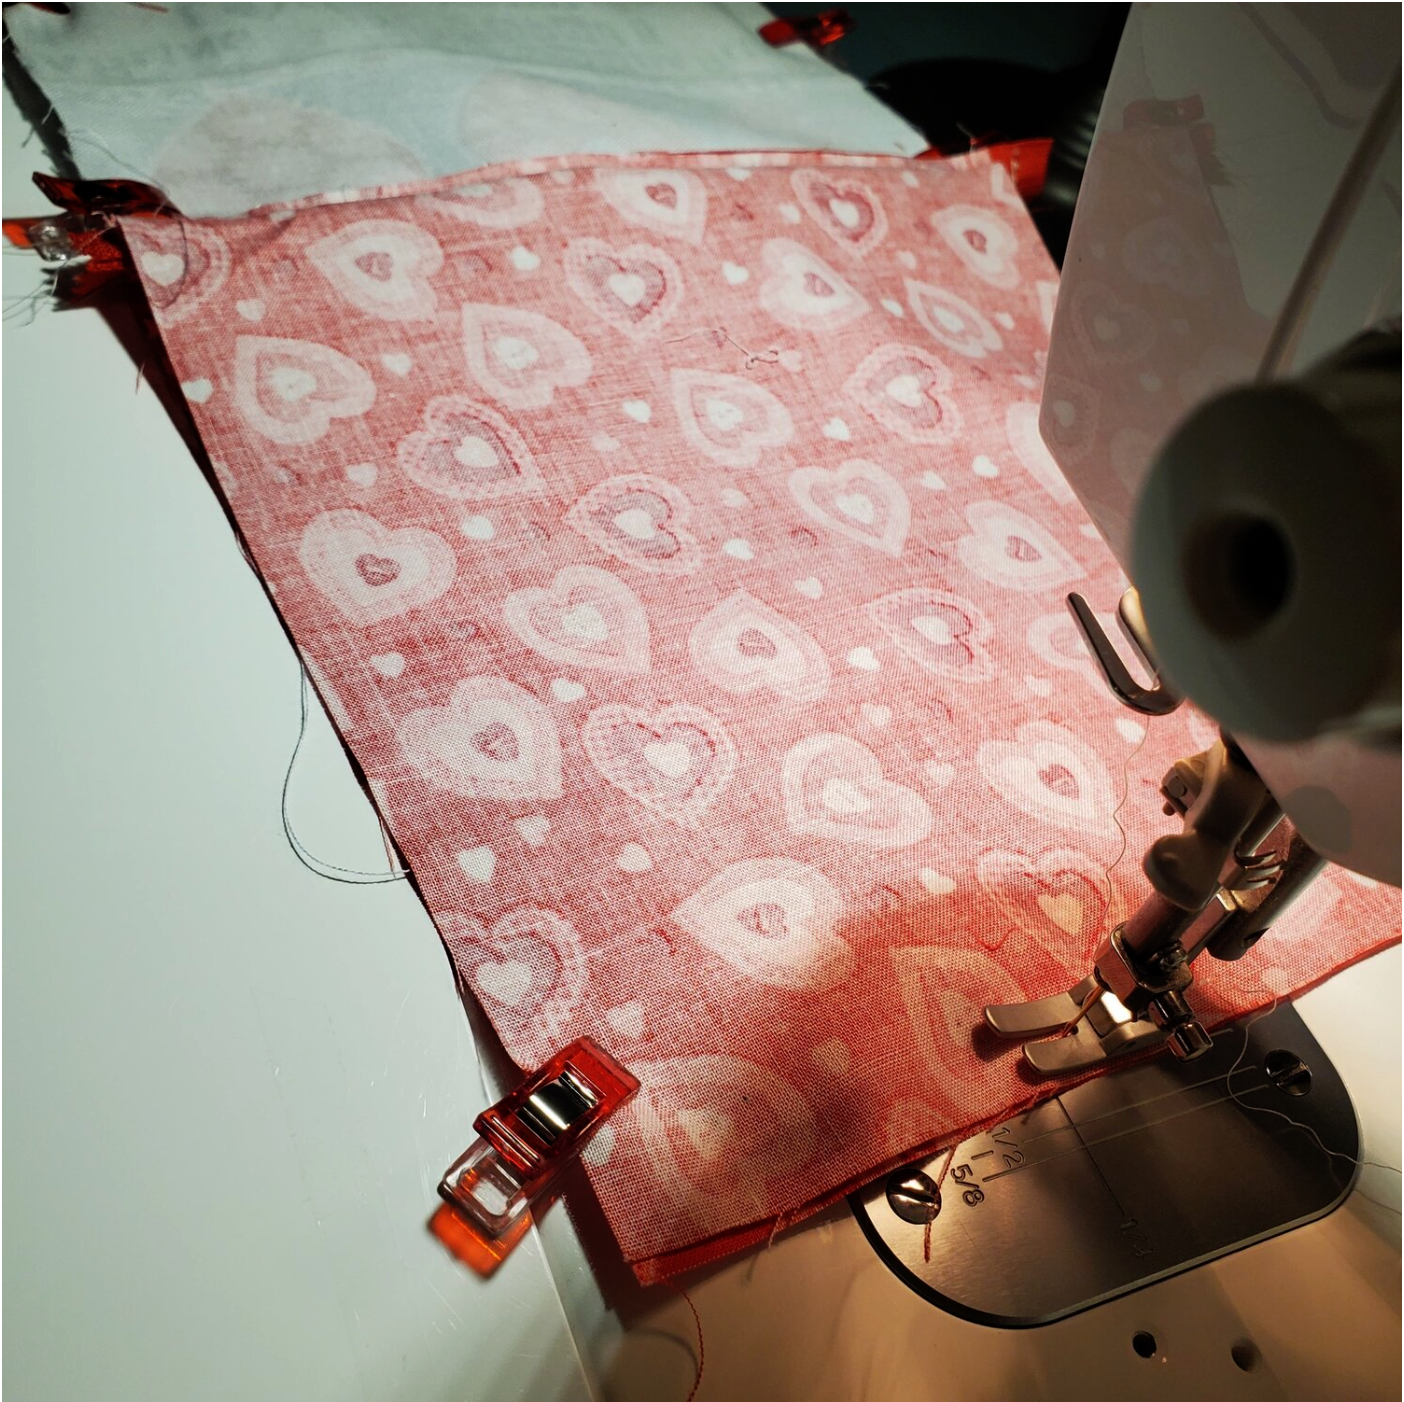
Line up the corners of the lining fabric and sew about 1 ¼” from the corner.
Do this for all the corners. You will need to manipulate the vinyl to conform to the triangle shape to sew this short seam. Trim the excess fabric from the four corners to about a ¼” seam allowance.
Now it is time to turn right sides out taking care to push out the corners and shape the vinyl for the boxed corners. Turn under the raw edges of the opening in the lining and press to prepare for topstitching it closed.
Push the lining in place and admire this cute glitter bag. I tied on a fun zipper pull made from some thin ribbon to complete the look.