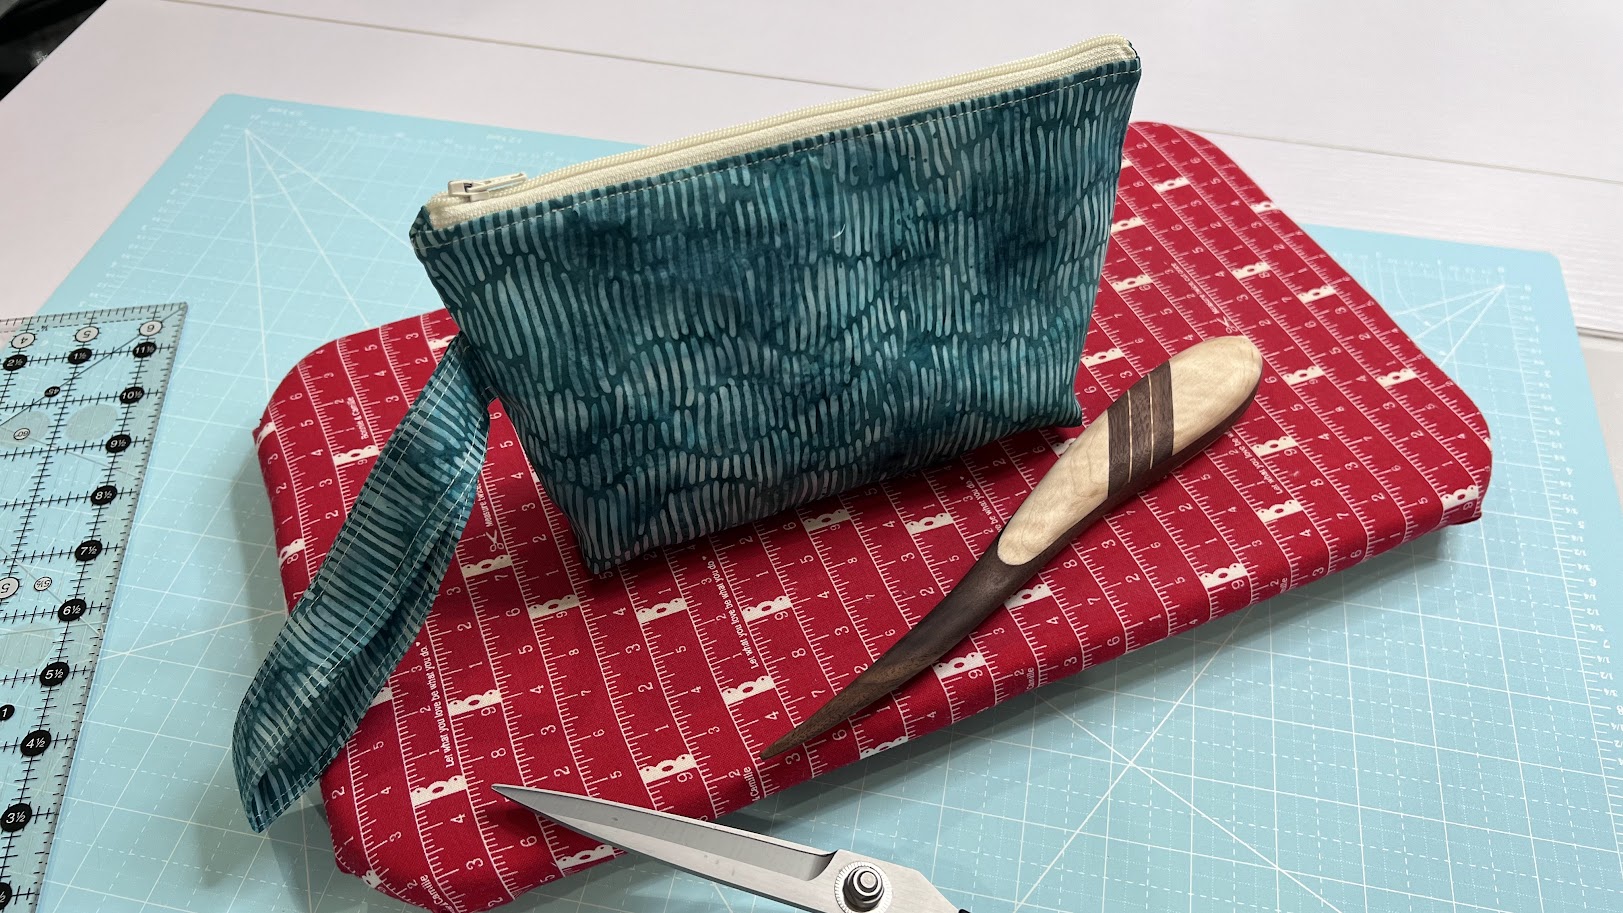
Fat Quarter Project: Wristlet
Posted by Becca Shifflett on 30th Mar 2023
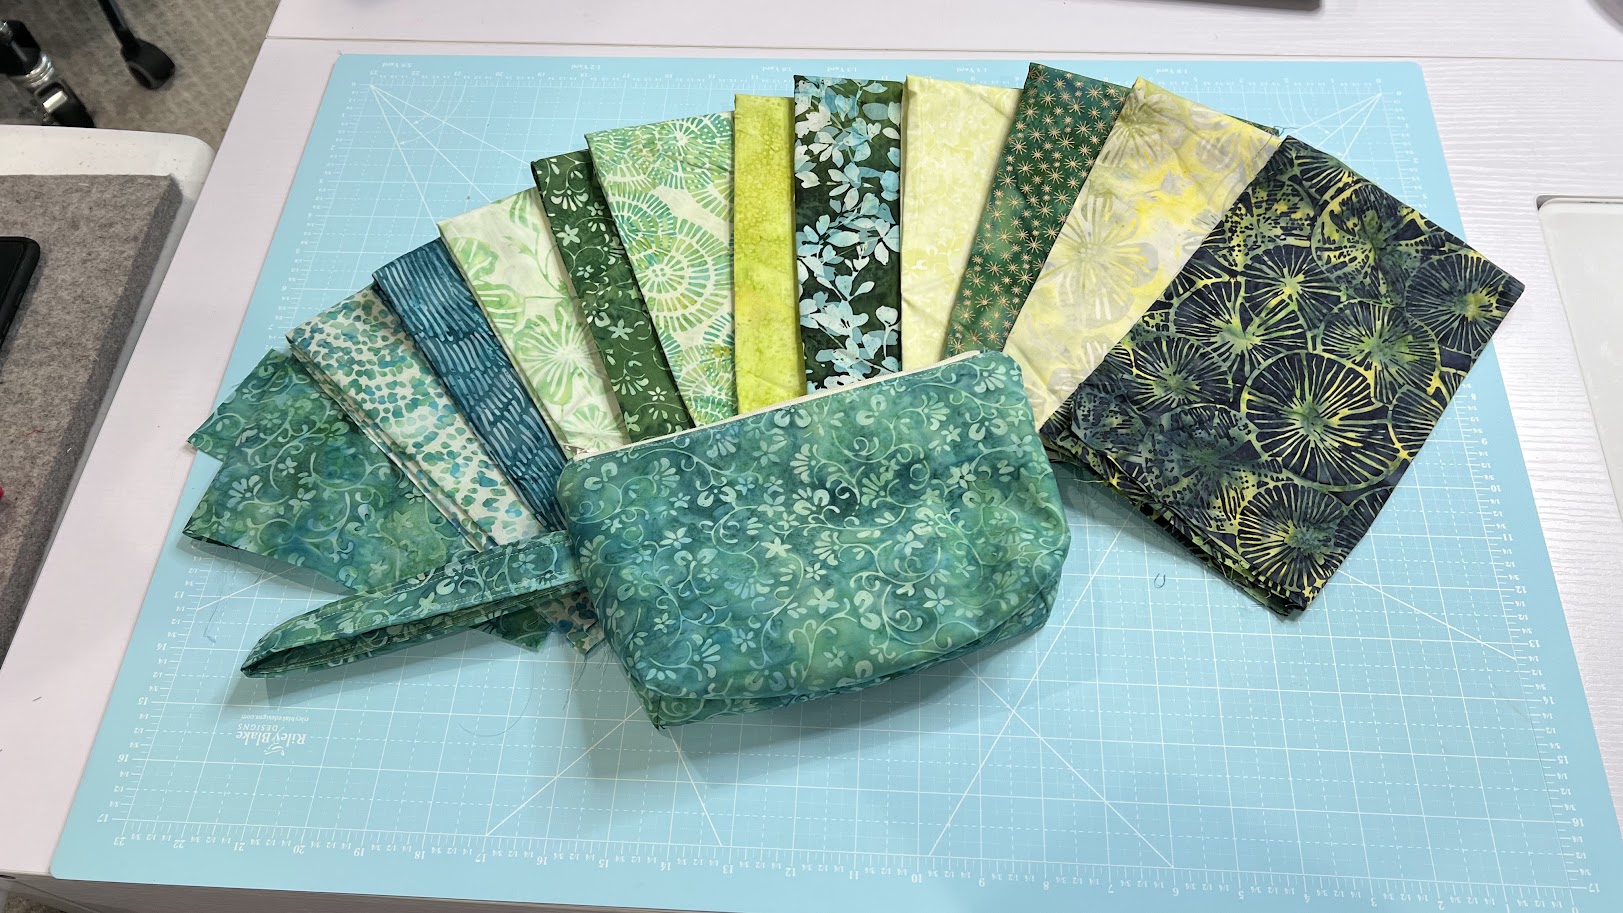
One of my favorite "quick sew" projects to make is a little wristlet - these are the perfect size to hold your phone, keys, and some other miscellaneous items. And since I make them myself, I get to show off a favorite fabric from my stash! In today's blog post, I'm going to walk you through how to put one of these together...but if you're a visual person and you want to see it done in a video - you can catch the replay from my livestream on 03/24/2023. All you need is a zipper, some SF101, and 2 fat quarters of your choice.
Step 1: Prepare your materials
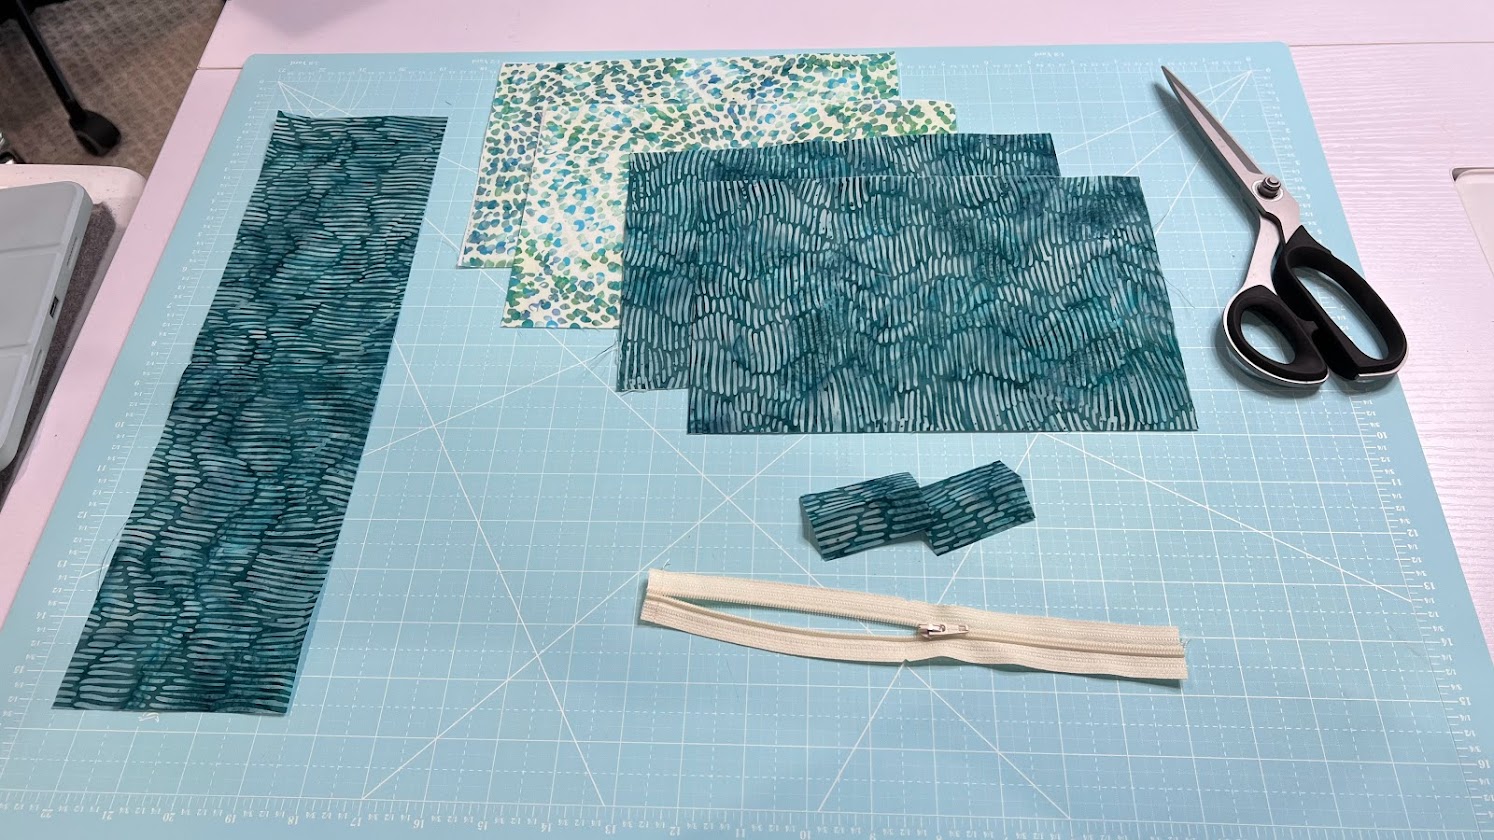
For this project, you'll need:
- (2) 6.5" x 9.5" pieces of exterior fabric fused with SF-101 interfacing
- (2) 6.5" x 9.5" pieces of interior fabric fused with SF-101 interfacing
- (1) 9"+ Nylon Zipper
- (2) 1.5" x 1.5" pieces of exterior fabric for zipper tabs
- (1) 4" x 14" piece of exterior fabric for the wrist strap
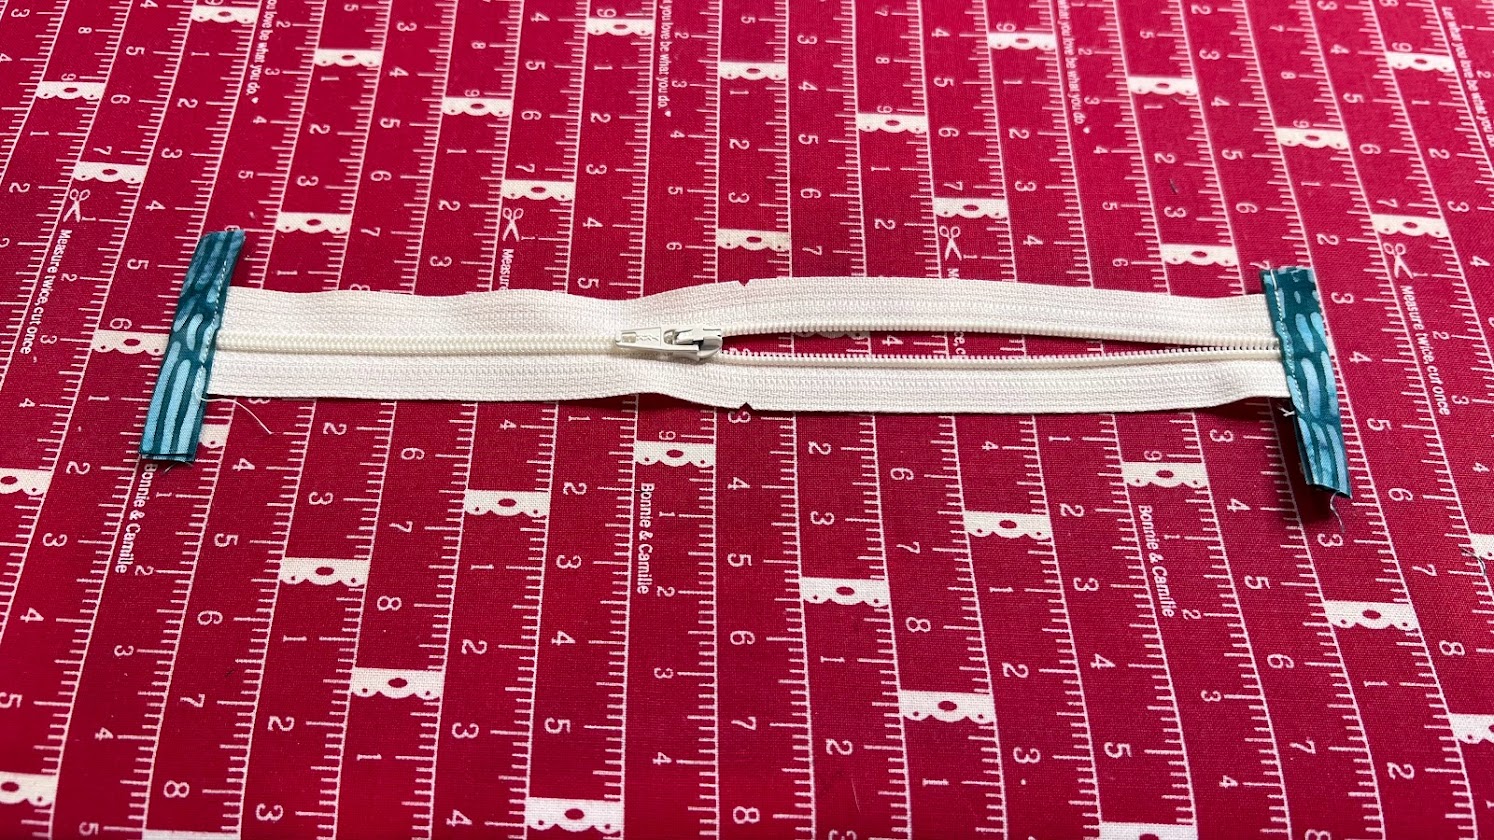
Step 2: Prepare the zipper
First, you'll need to trim your zipper down to 9" - make sure to pull your zipper head into the middle of the zipper and cut off the ends where the metal pieces are. Next, you'll prepare your zipper tabs by taking the 1.5" x 1.5" squares and folding them in half (to find the center) and then folding the raw edges into the center. Take your folder zipper tabs and push the end of your zipper into the folded tab and stitch across the fabric to hold it onto the zipper. Do this for each end.
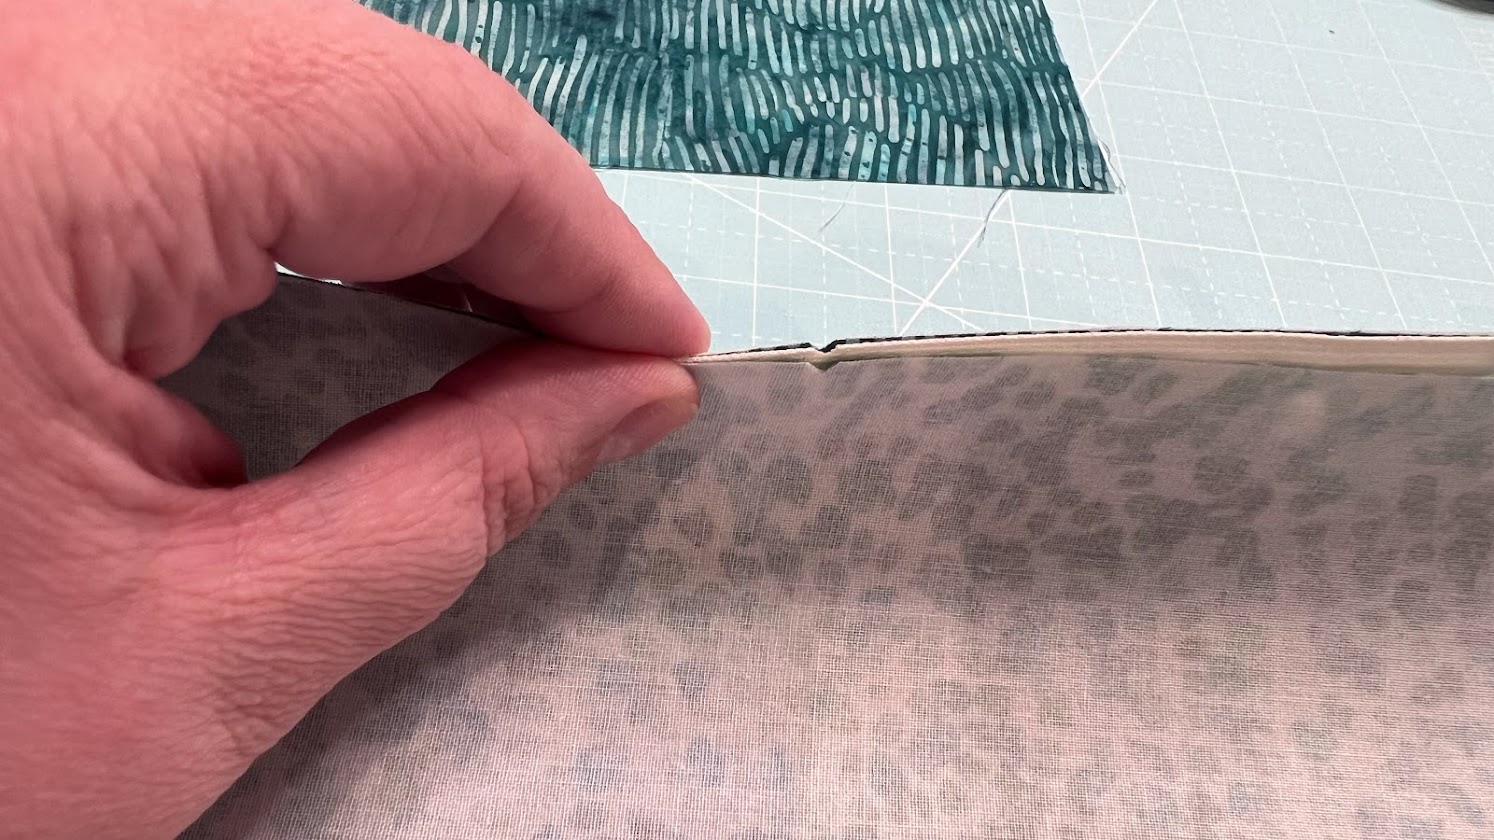
Step 3: Find Center
Before we go too much further, we need to find - and mark - the center of all of our main exterior pieces, our lining pieces, and our zipper. To do this, I fold the zipper in half and take a teeny tiny little nip with a pair of scissors out of the zipper, leaving a super small 'v'. I'll do this on BOTH sizes of the zipper tape, and repeat on the 6.5" x 9.5" pieces of fabric.
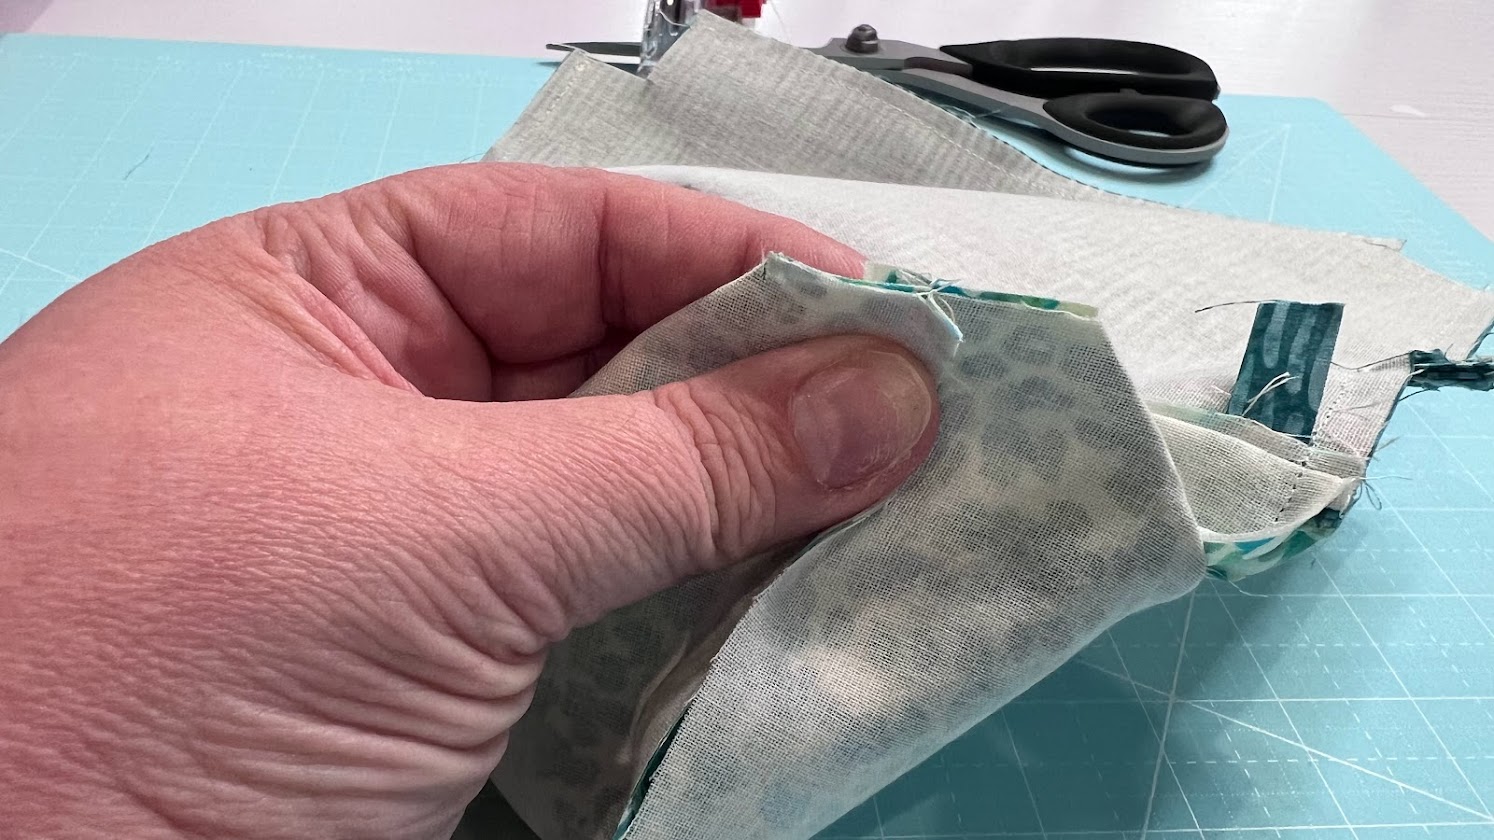
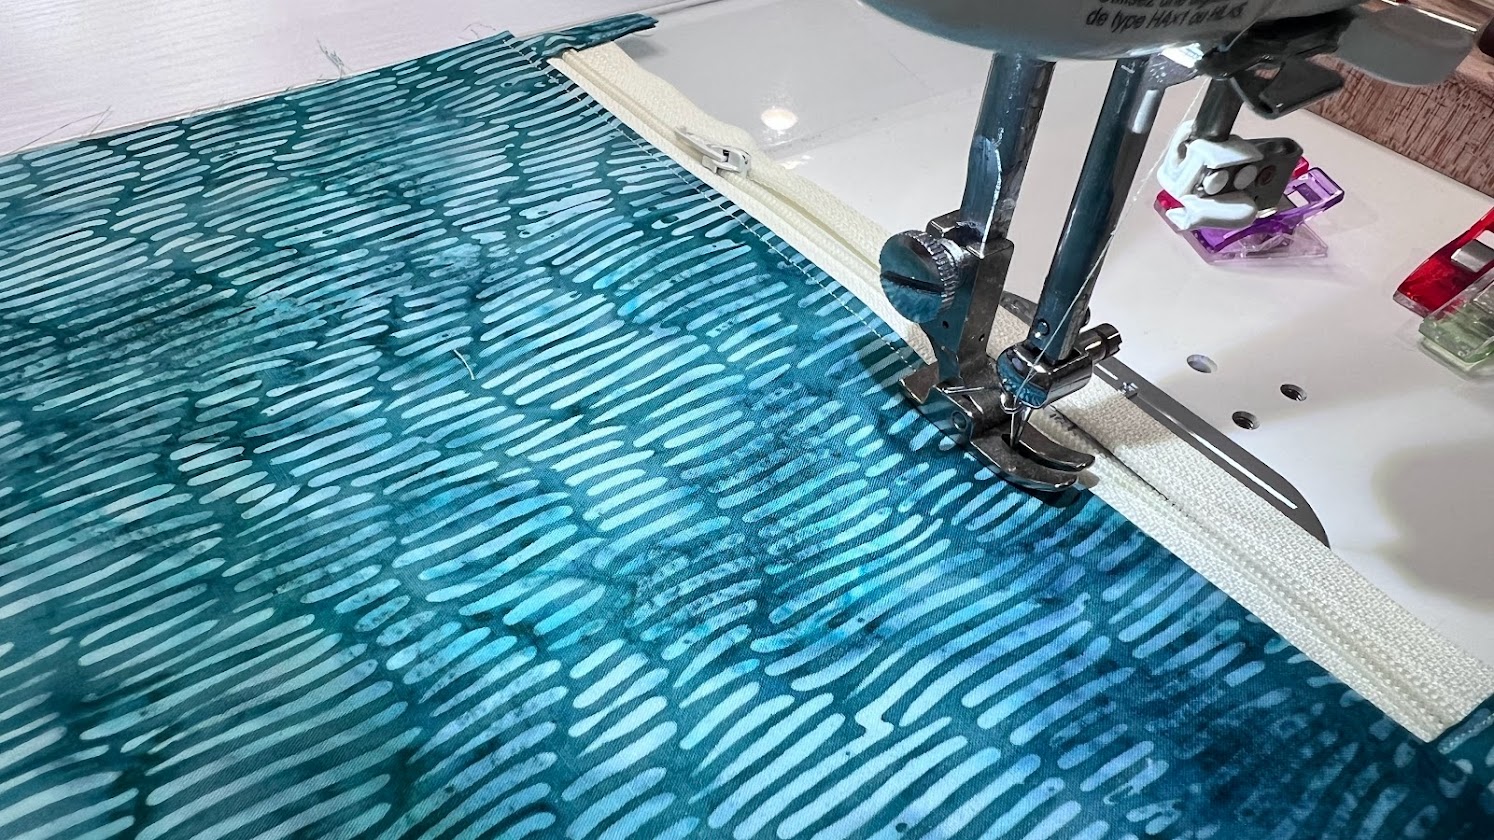
Step 4: Attach the Zipper to the Bag
Place an exterior 6.5" x 9.5" piece of fabric right side up, lay your zipper right side down, and then top with a lining piece right side down. Line up the little v's you made when finding center and clip the raw edges in place along the zipper. Once clipped - you'll sew the three layers together being careful to keep the needle between the edge of the fabric and the zipper teeth. Once the zipper is sewn into place, I fold the fabric away from the zipper and then top stitch along the fold so that the fabric is secured flat and doesn't bunch up when I'm opening/closing the zipper. Repeat this process with the other size of the zipper.
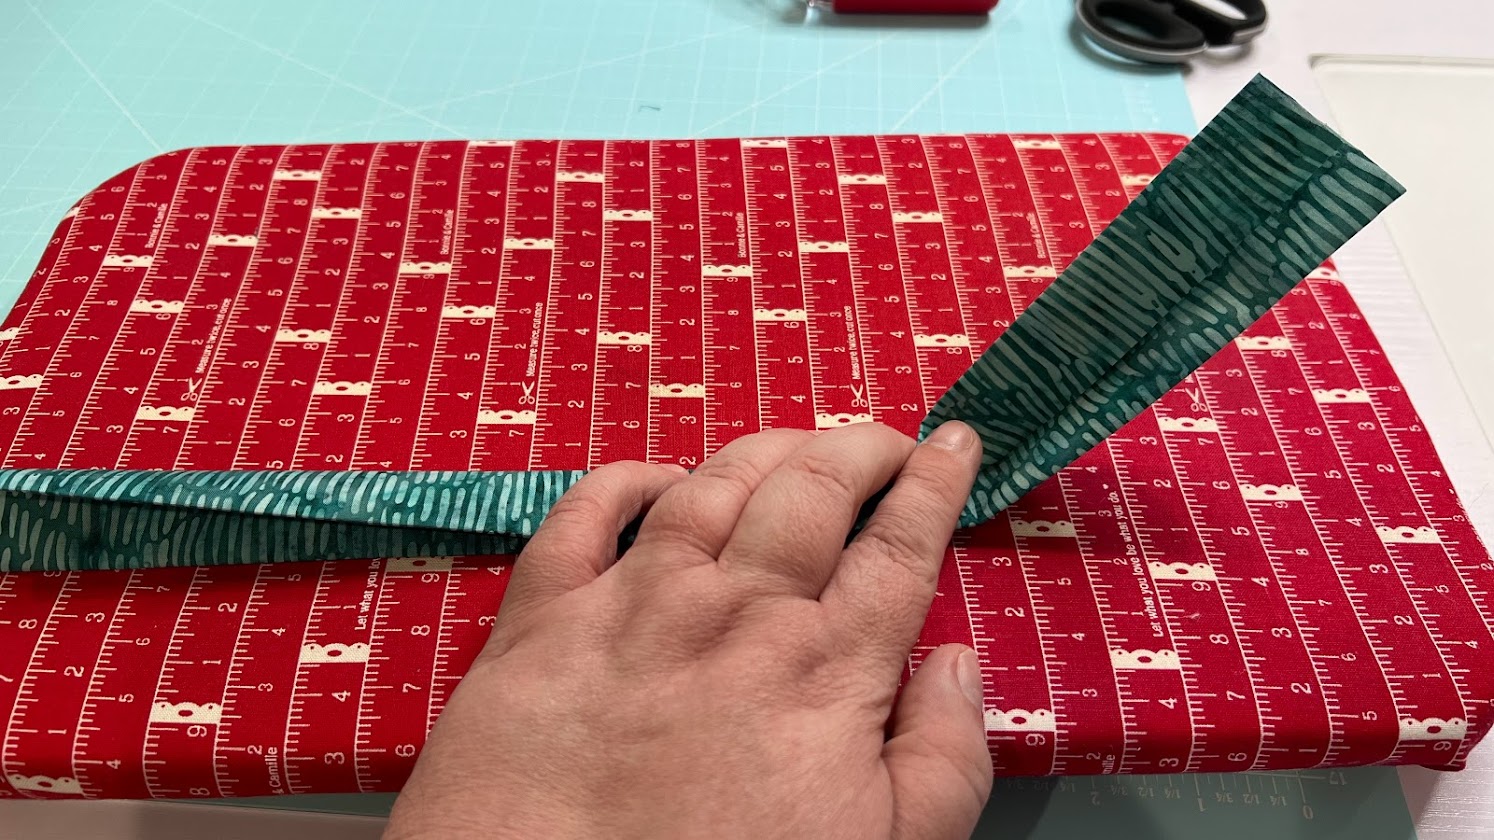
Step 5: Prepare the wrist strap
Along the 14" edge of the wrist strap fabric, fold the fabric to find the center, then fold the raw edges in toward the center, then fold in half. Stitch along the edge of each side to create the wrist strap.
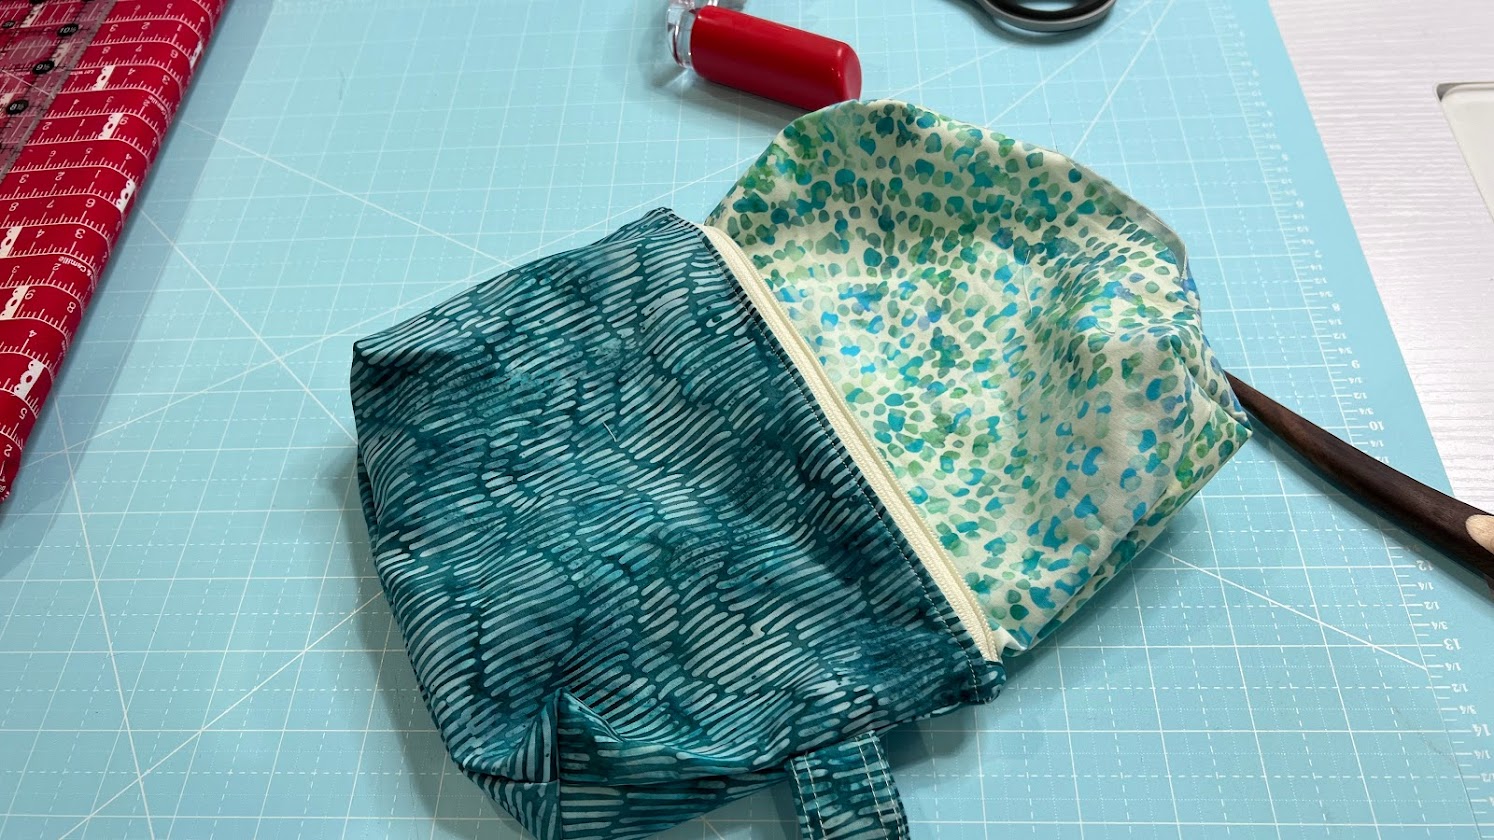
Step 6: Sew the bag together