

Sea Glass Sampler
Posted by Toni Wass on 12th Jan 2023
I’m always up for a challenge. Sew, when Cotton Cuts asked me if I could create something with a Stitch It Box, I said “Challenge Accepted!”.
While I was waiting for my box of “spare parts” to arrive, I tossed some ideas around. Should I make one small project? Should I make something useful? Should I make a bag? Does it need to be a quilted object? Finally, finally, finally…my Stitch-It arrived late on December 28th.
I had to wait until the next day to do an inventory.
Along with taking an inventory, I also took a picture and changed it to grayscale to look at light, medium and dark. By the way, there were 408 pieces in my box. Everything is based on a 3” measurement.
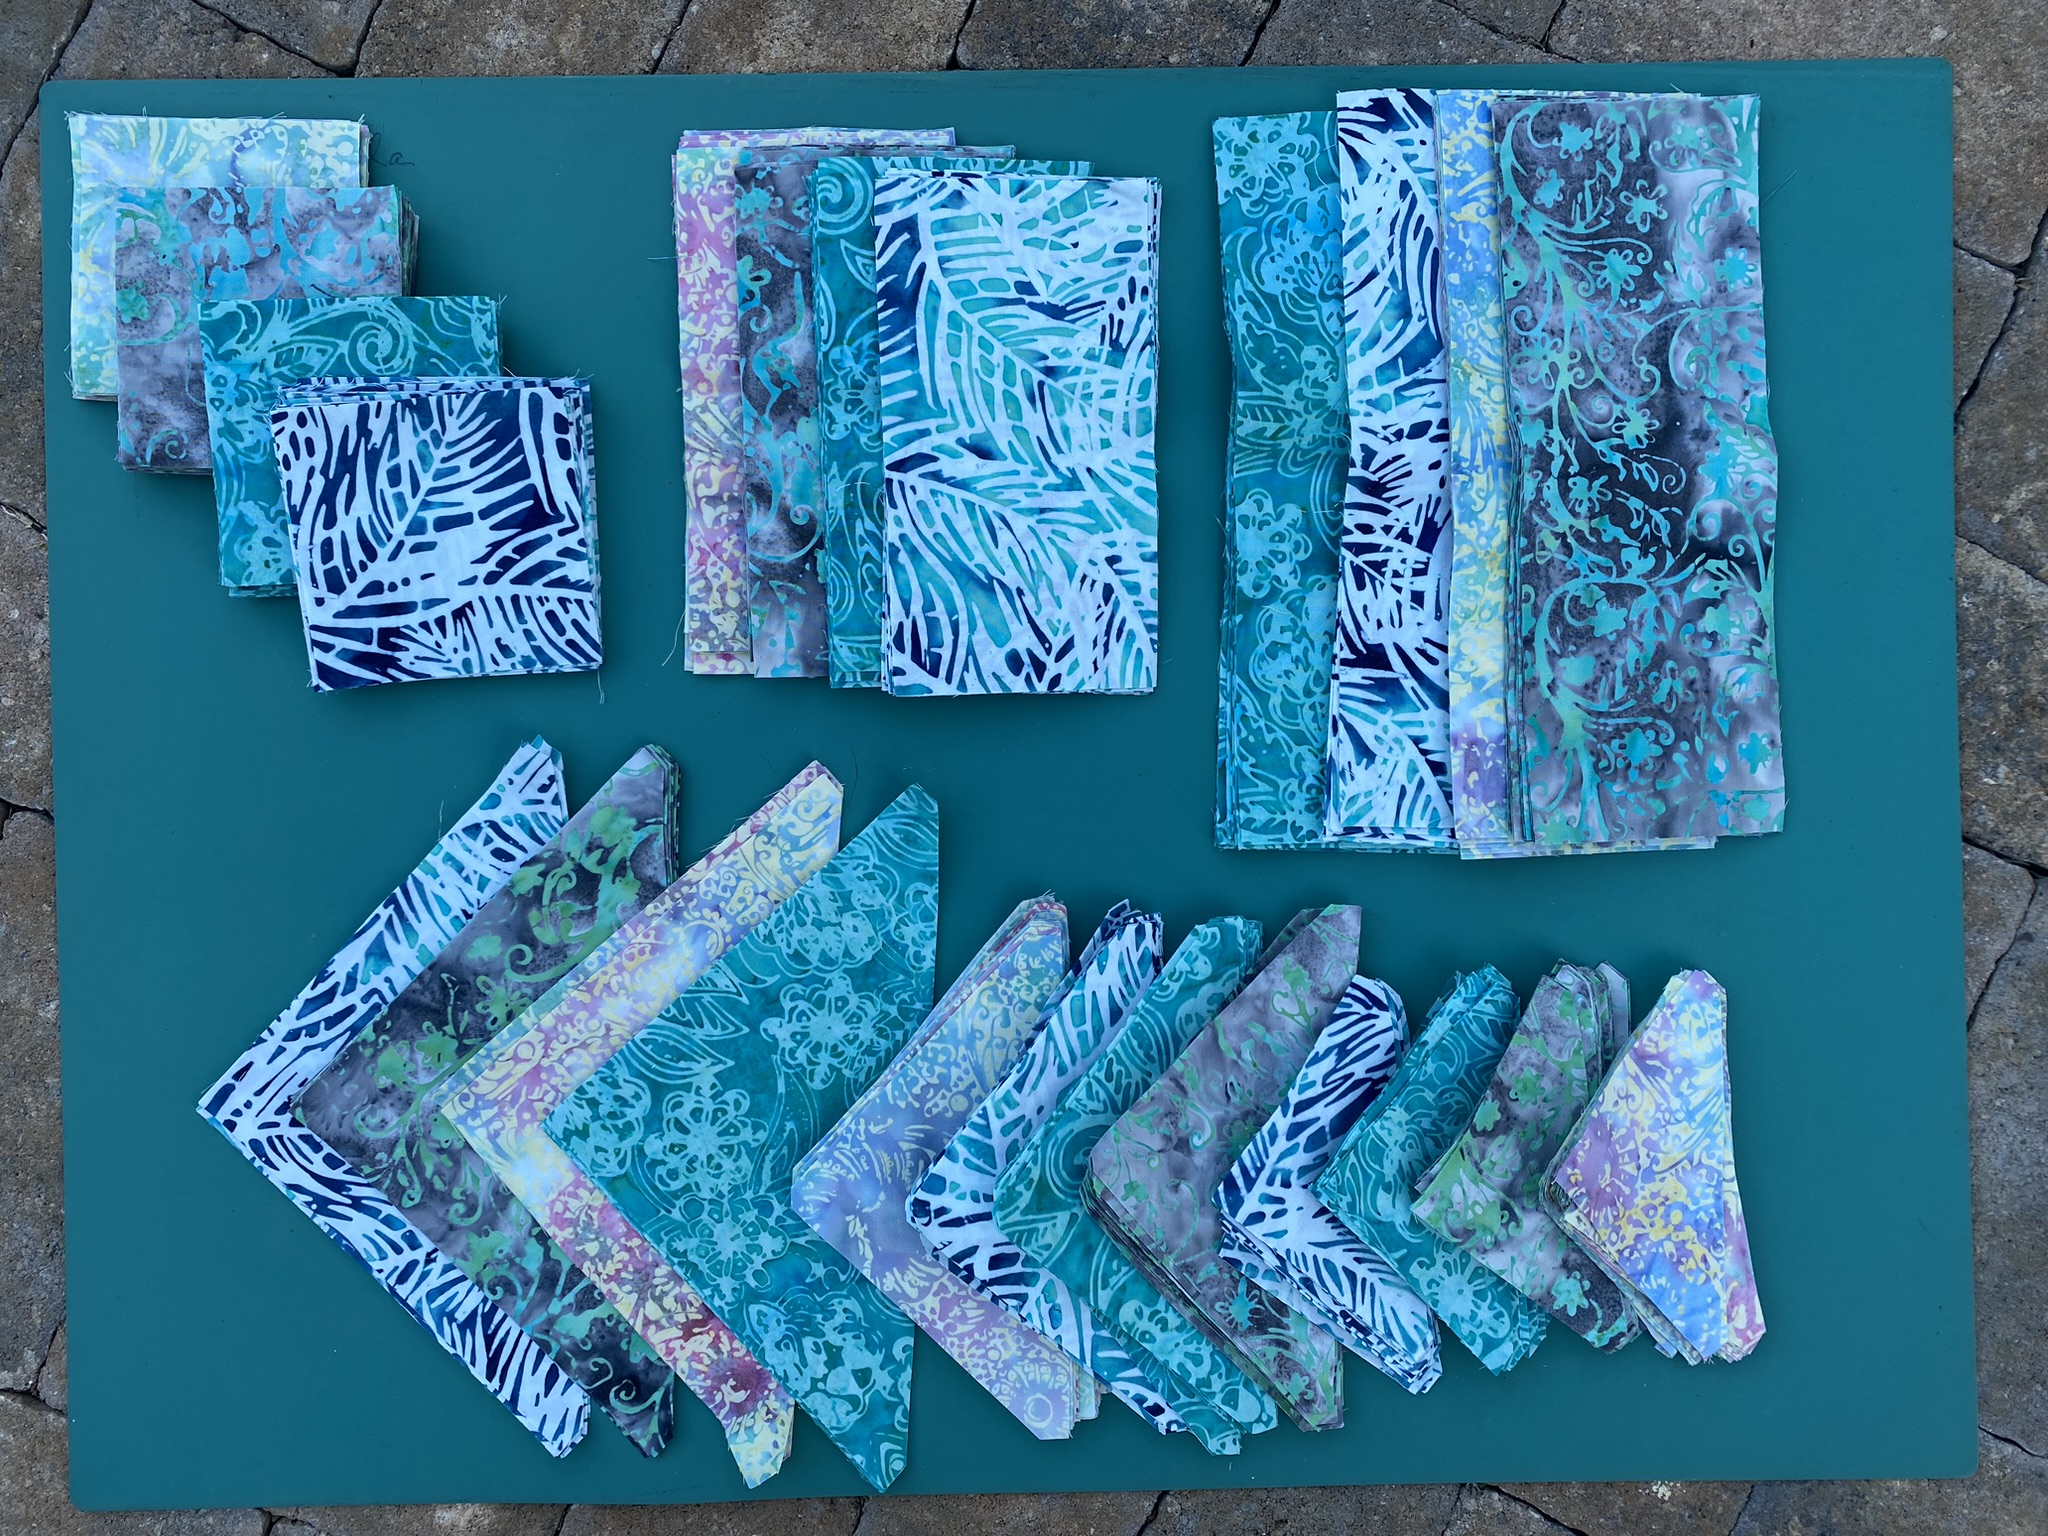
I played around with a few different block designs and decided to make 12” finished blocks (12 1/2” unfinished) and put them all into a small sampler quilt. I was off to the races!!
I pulled out my Ladies’ Art Company Block Tool by Connie Chunn, C&T Publishing (I don’t know if these are in print anymore) and started to flip through it, looking for blocks that used 3 1/2” squares or the variables that accompany them. I had already decided that I would try to not cut down the pieces in the pack if possible.
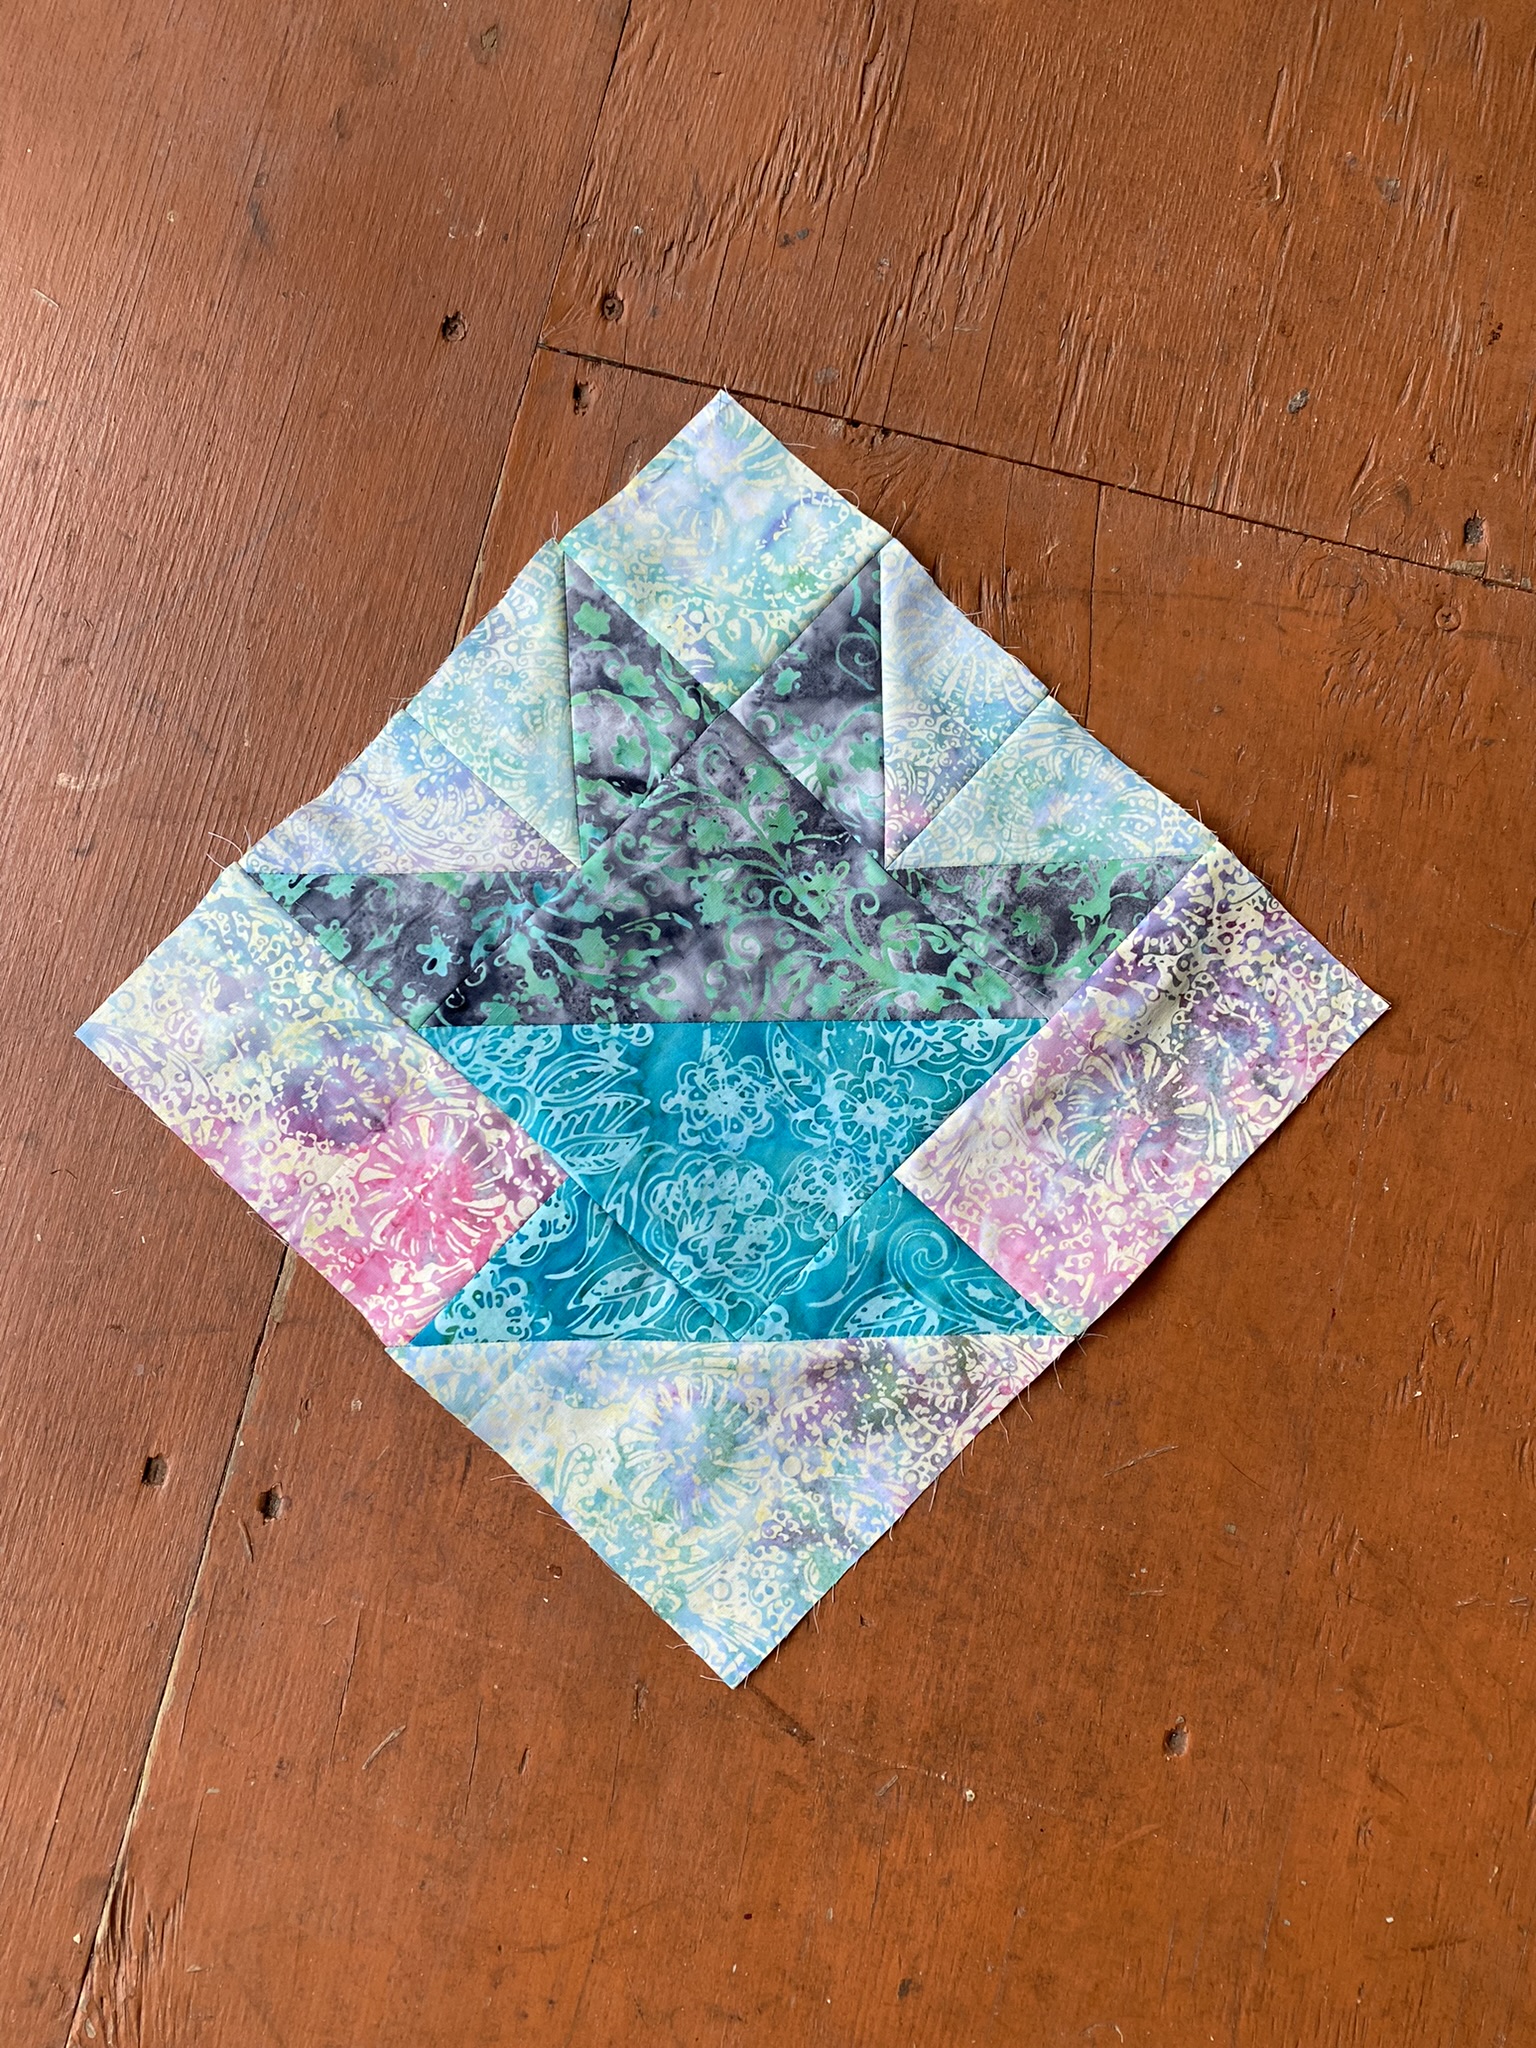
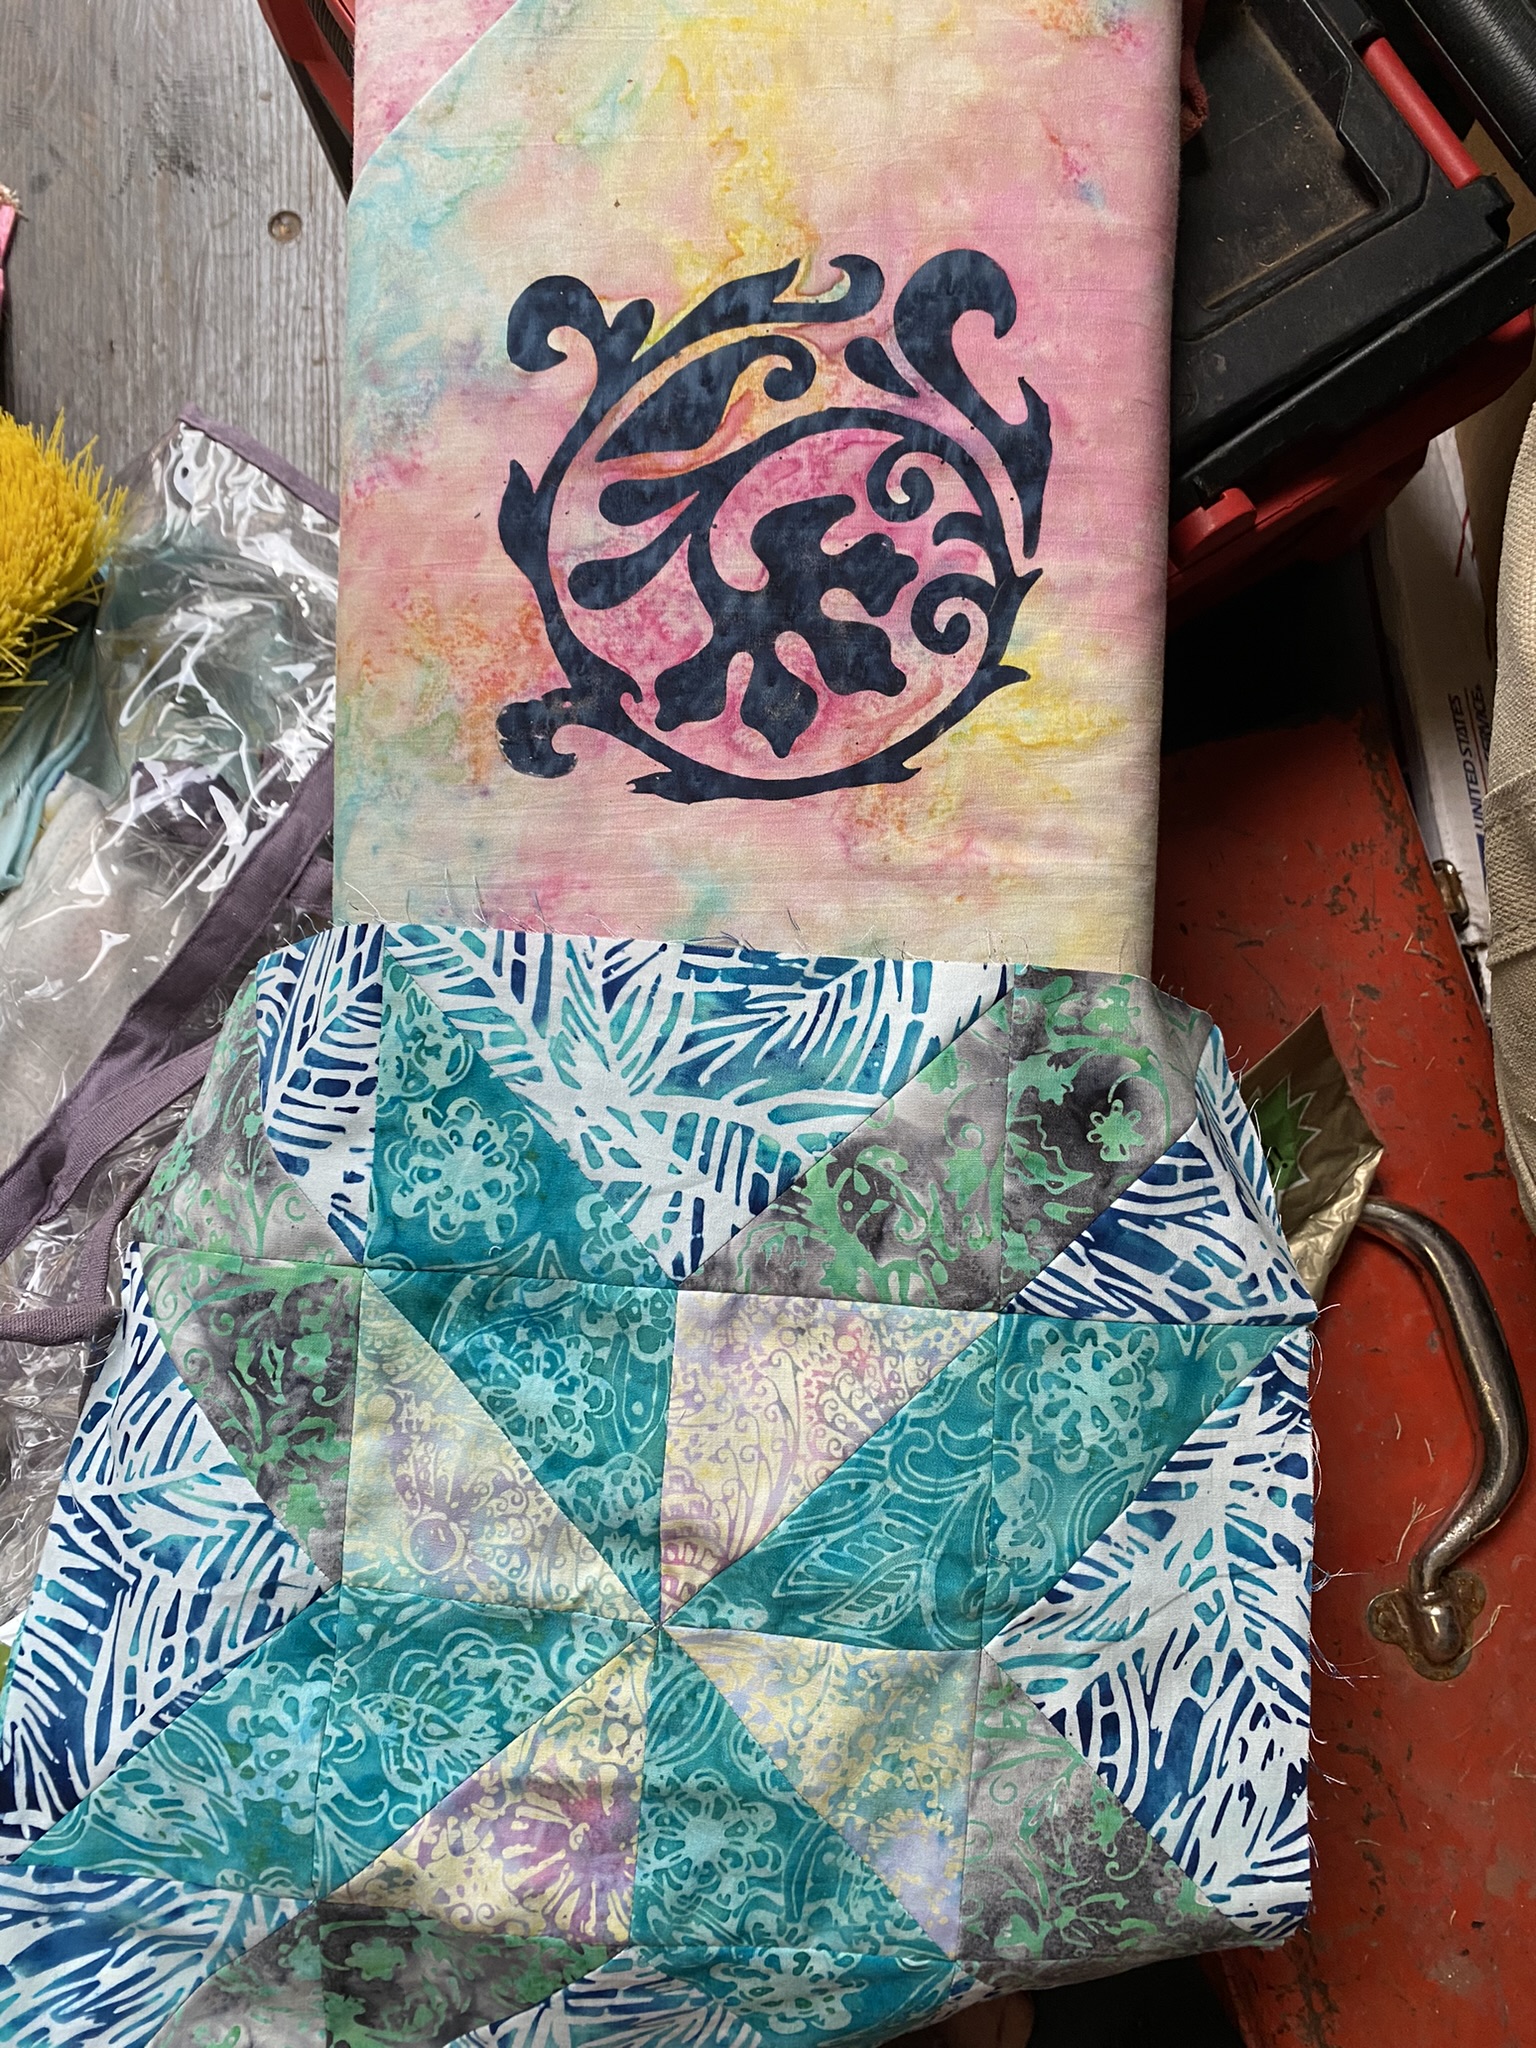
The first block is a basket style block. Traditionally it is pieced using diamond or rhombus shapes. I discovered that I could create it simply with squares and half square triangles and did not have to hassle with “Y” seams.
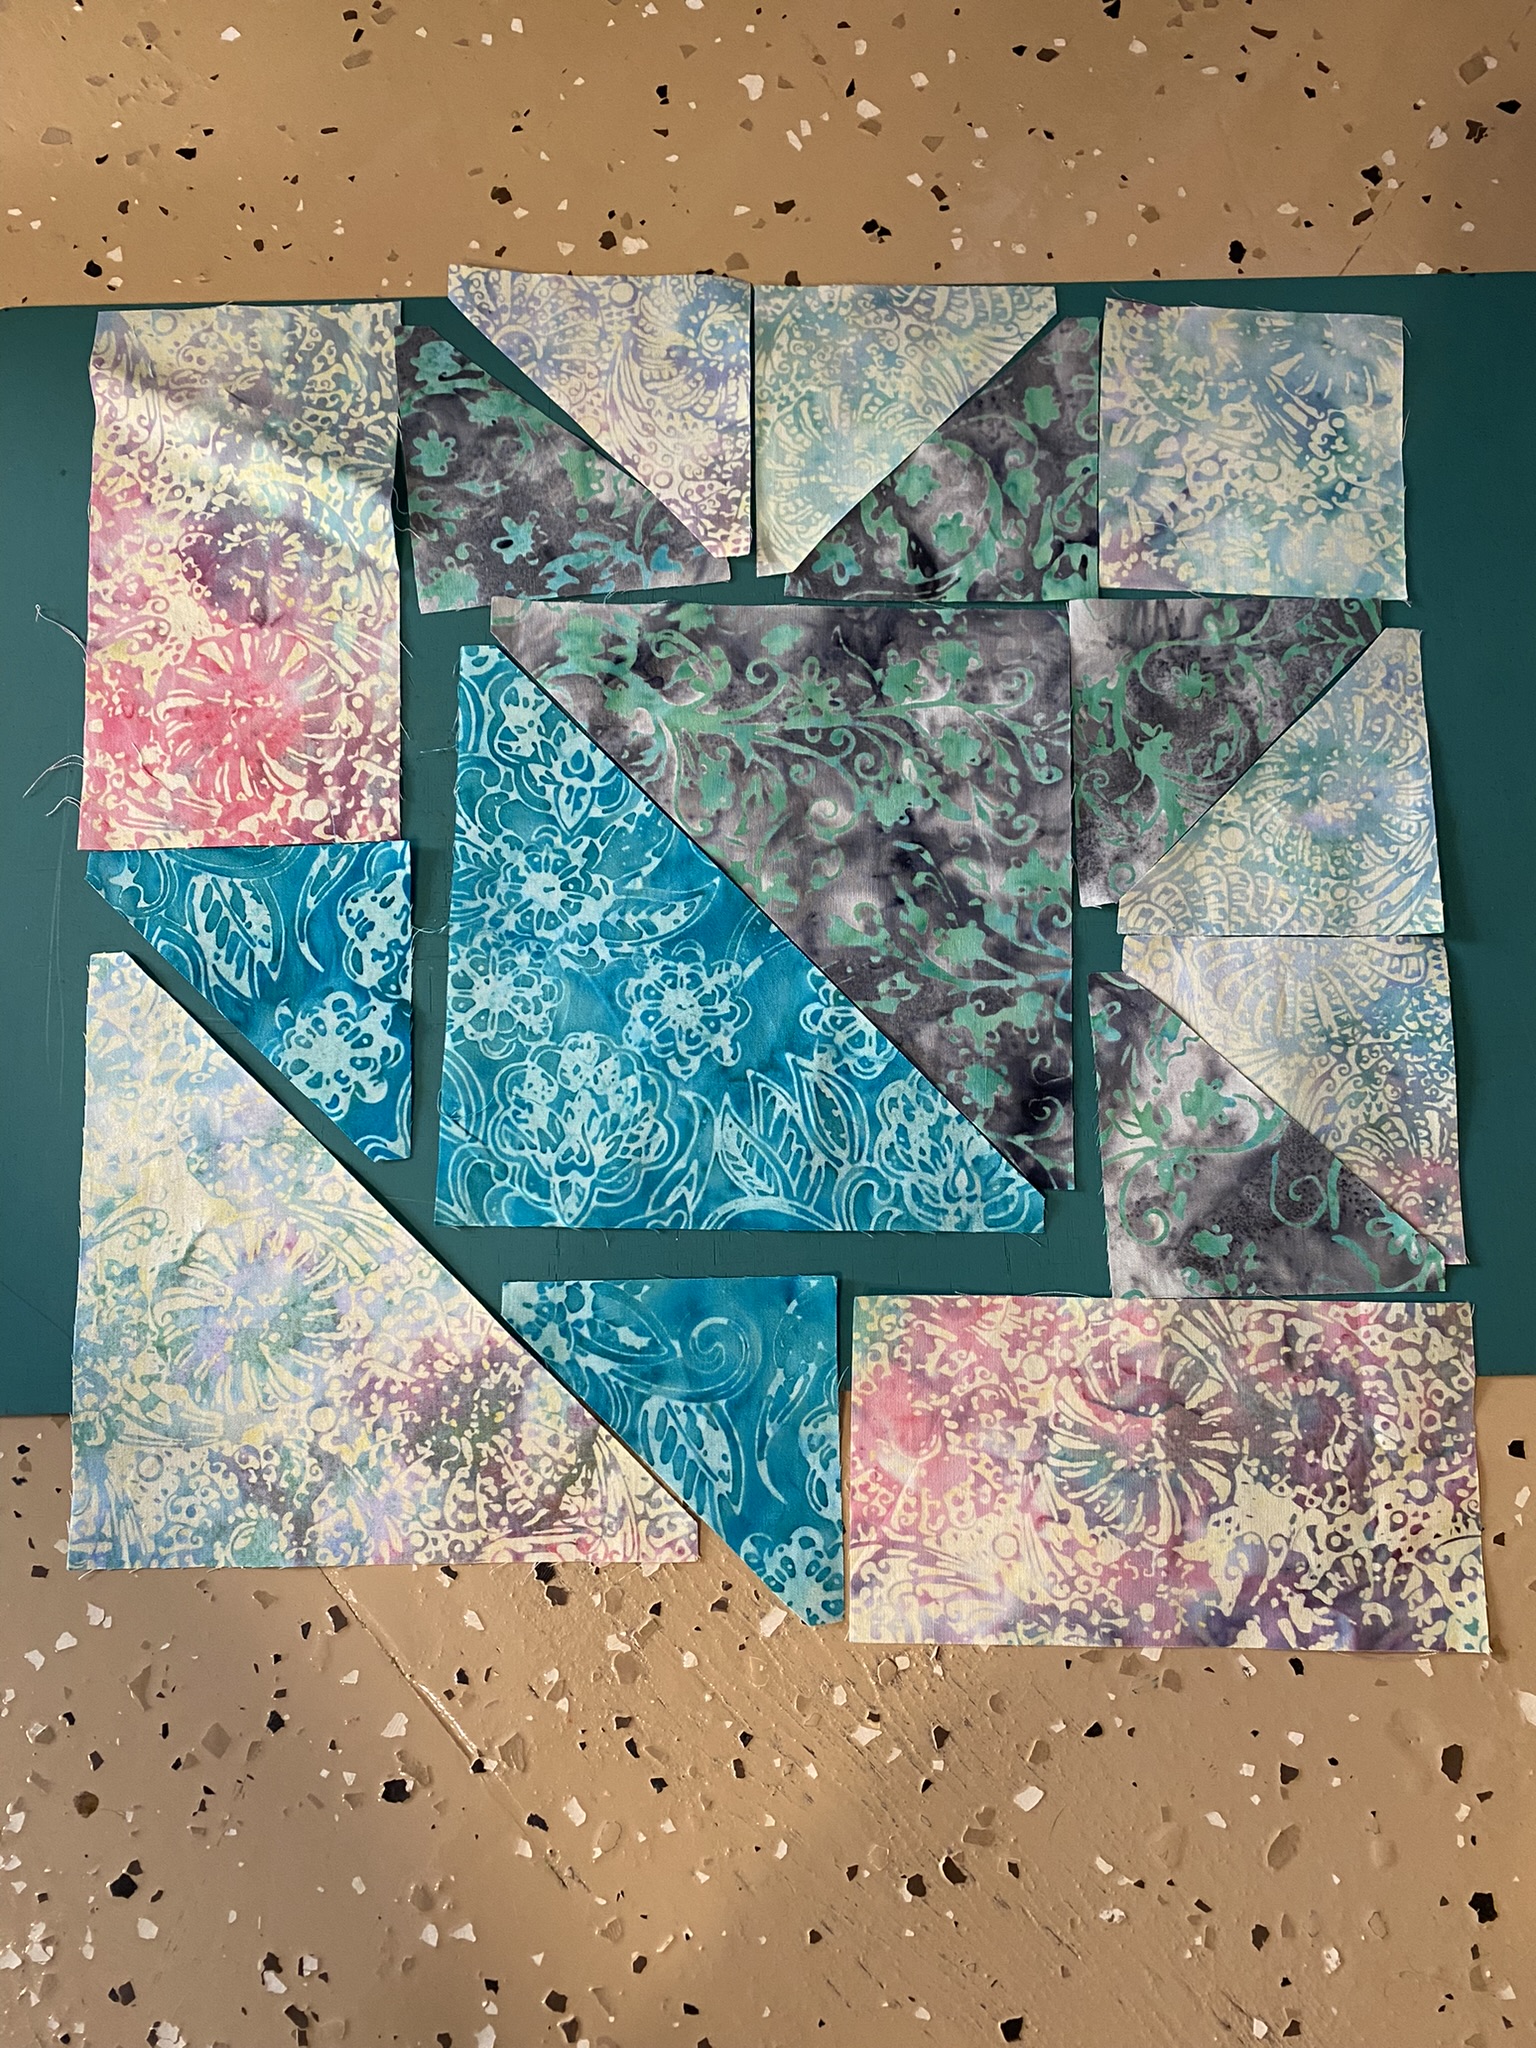
After doing the initial layout of the block, I start by sewing the HST together. Prior to this project, I just finished piecing large quantity of 6” sampler blocks and I am in the habit of pressing my seams open to get points to match. You will see that throughout my blocks.
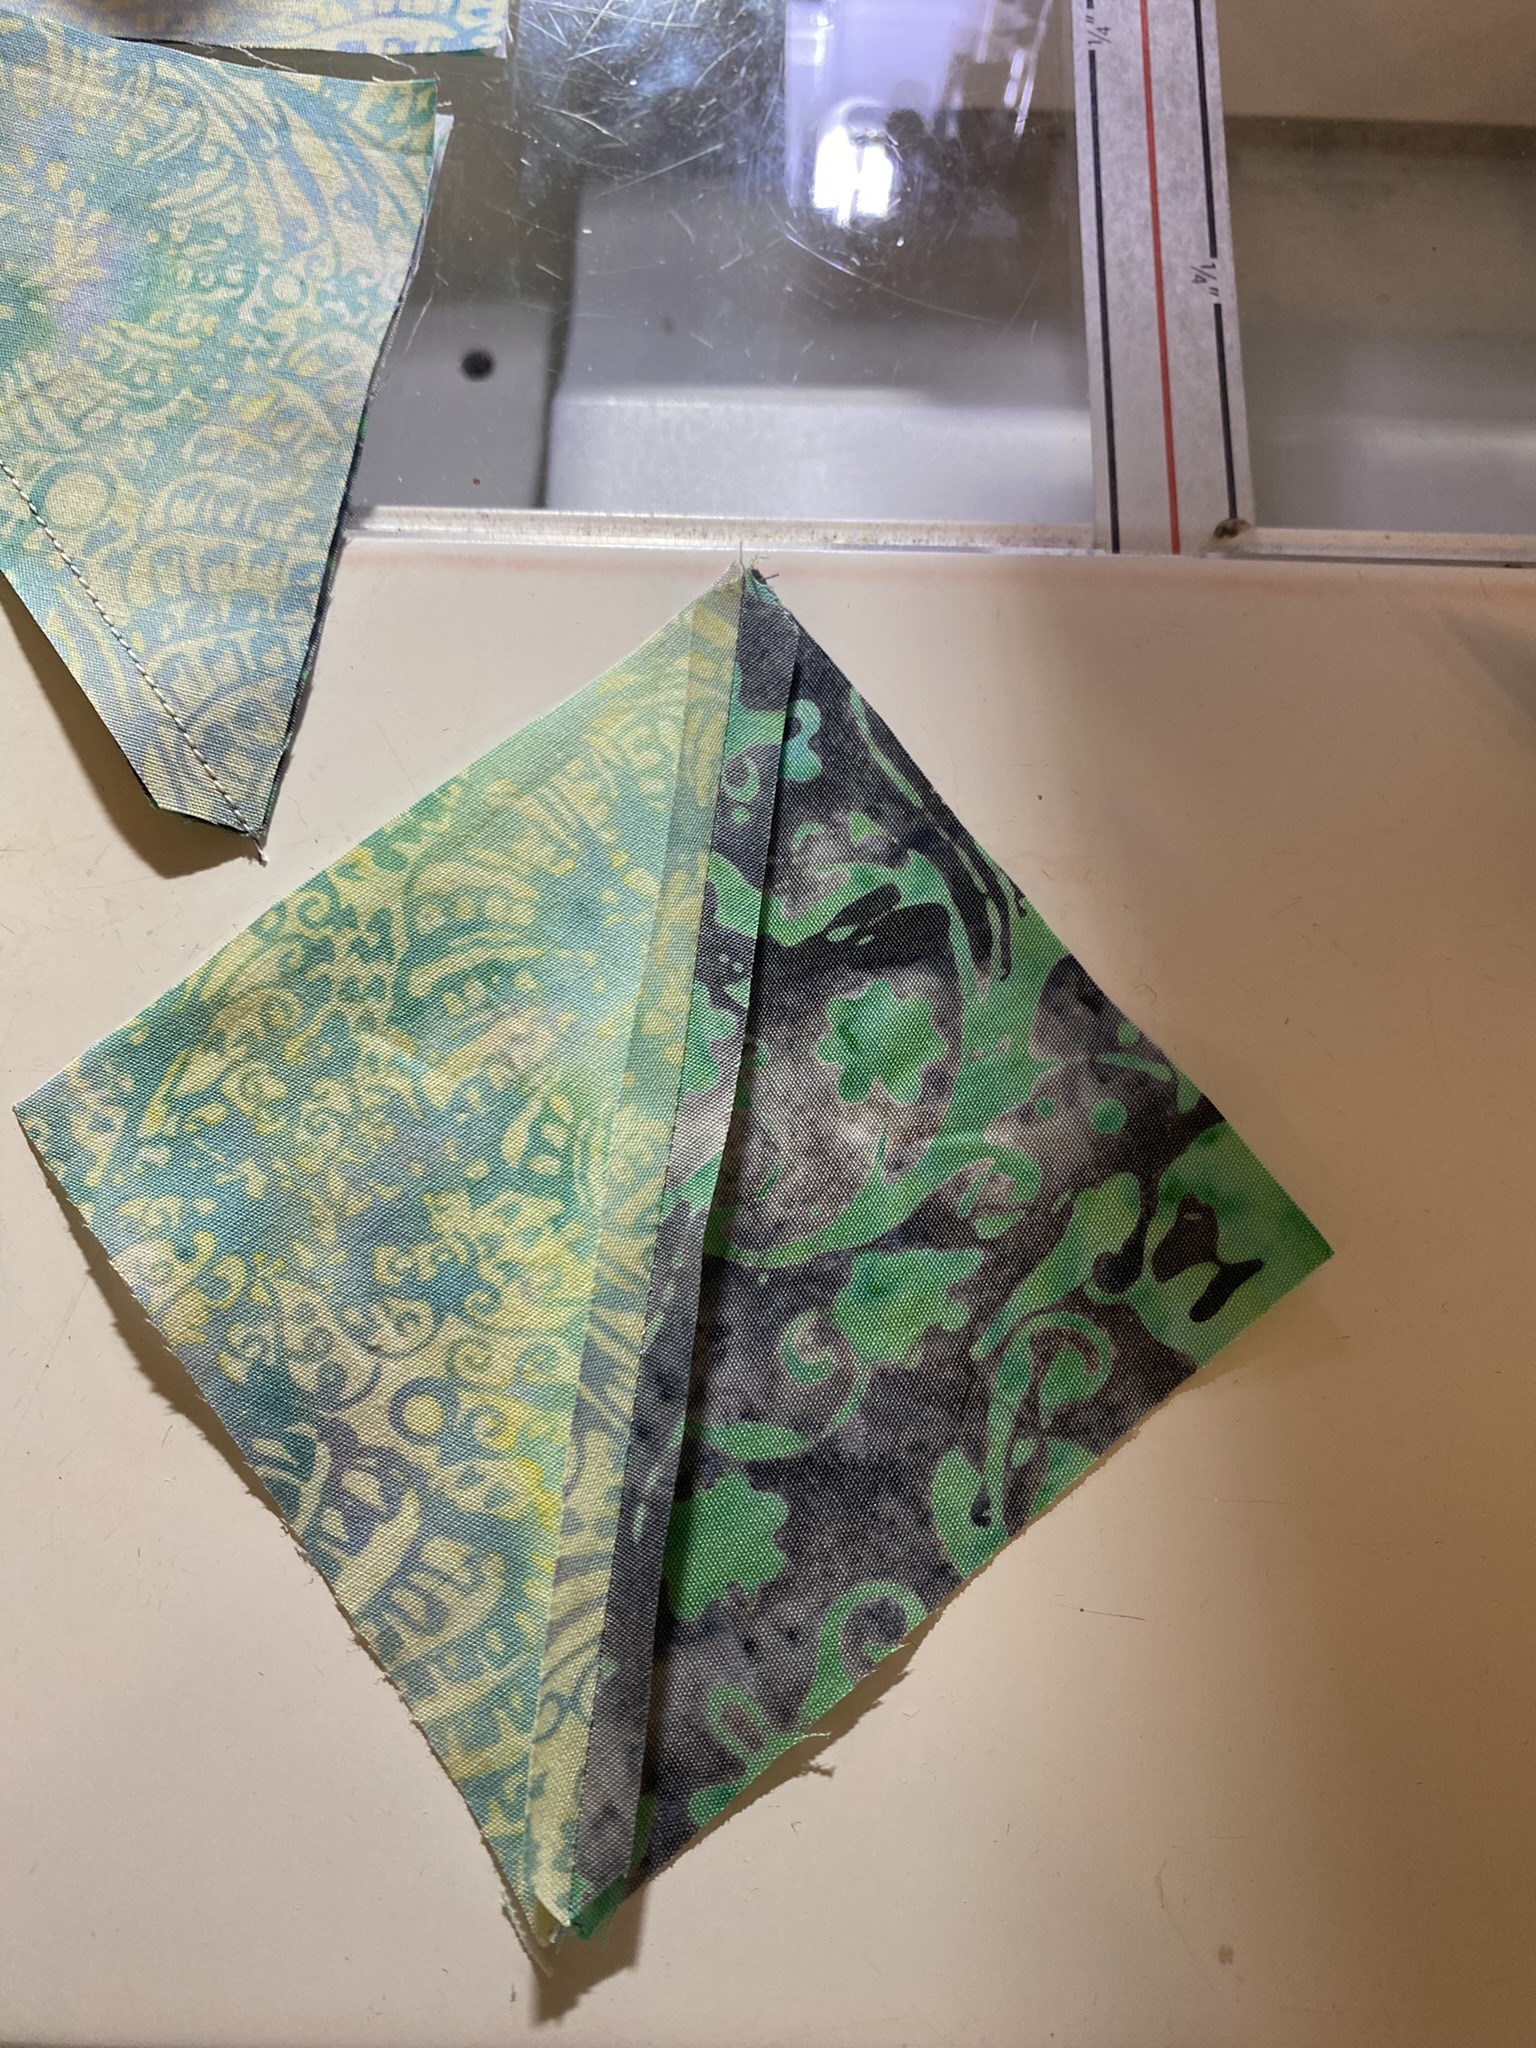
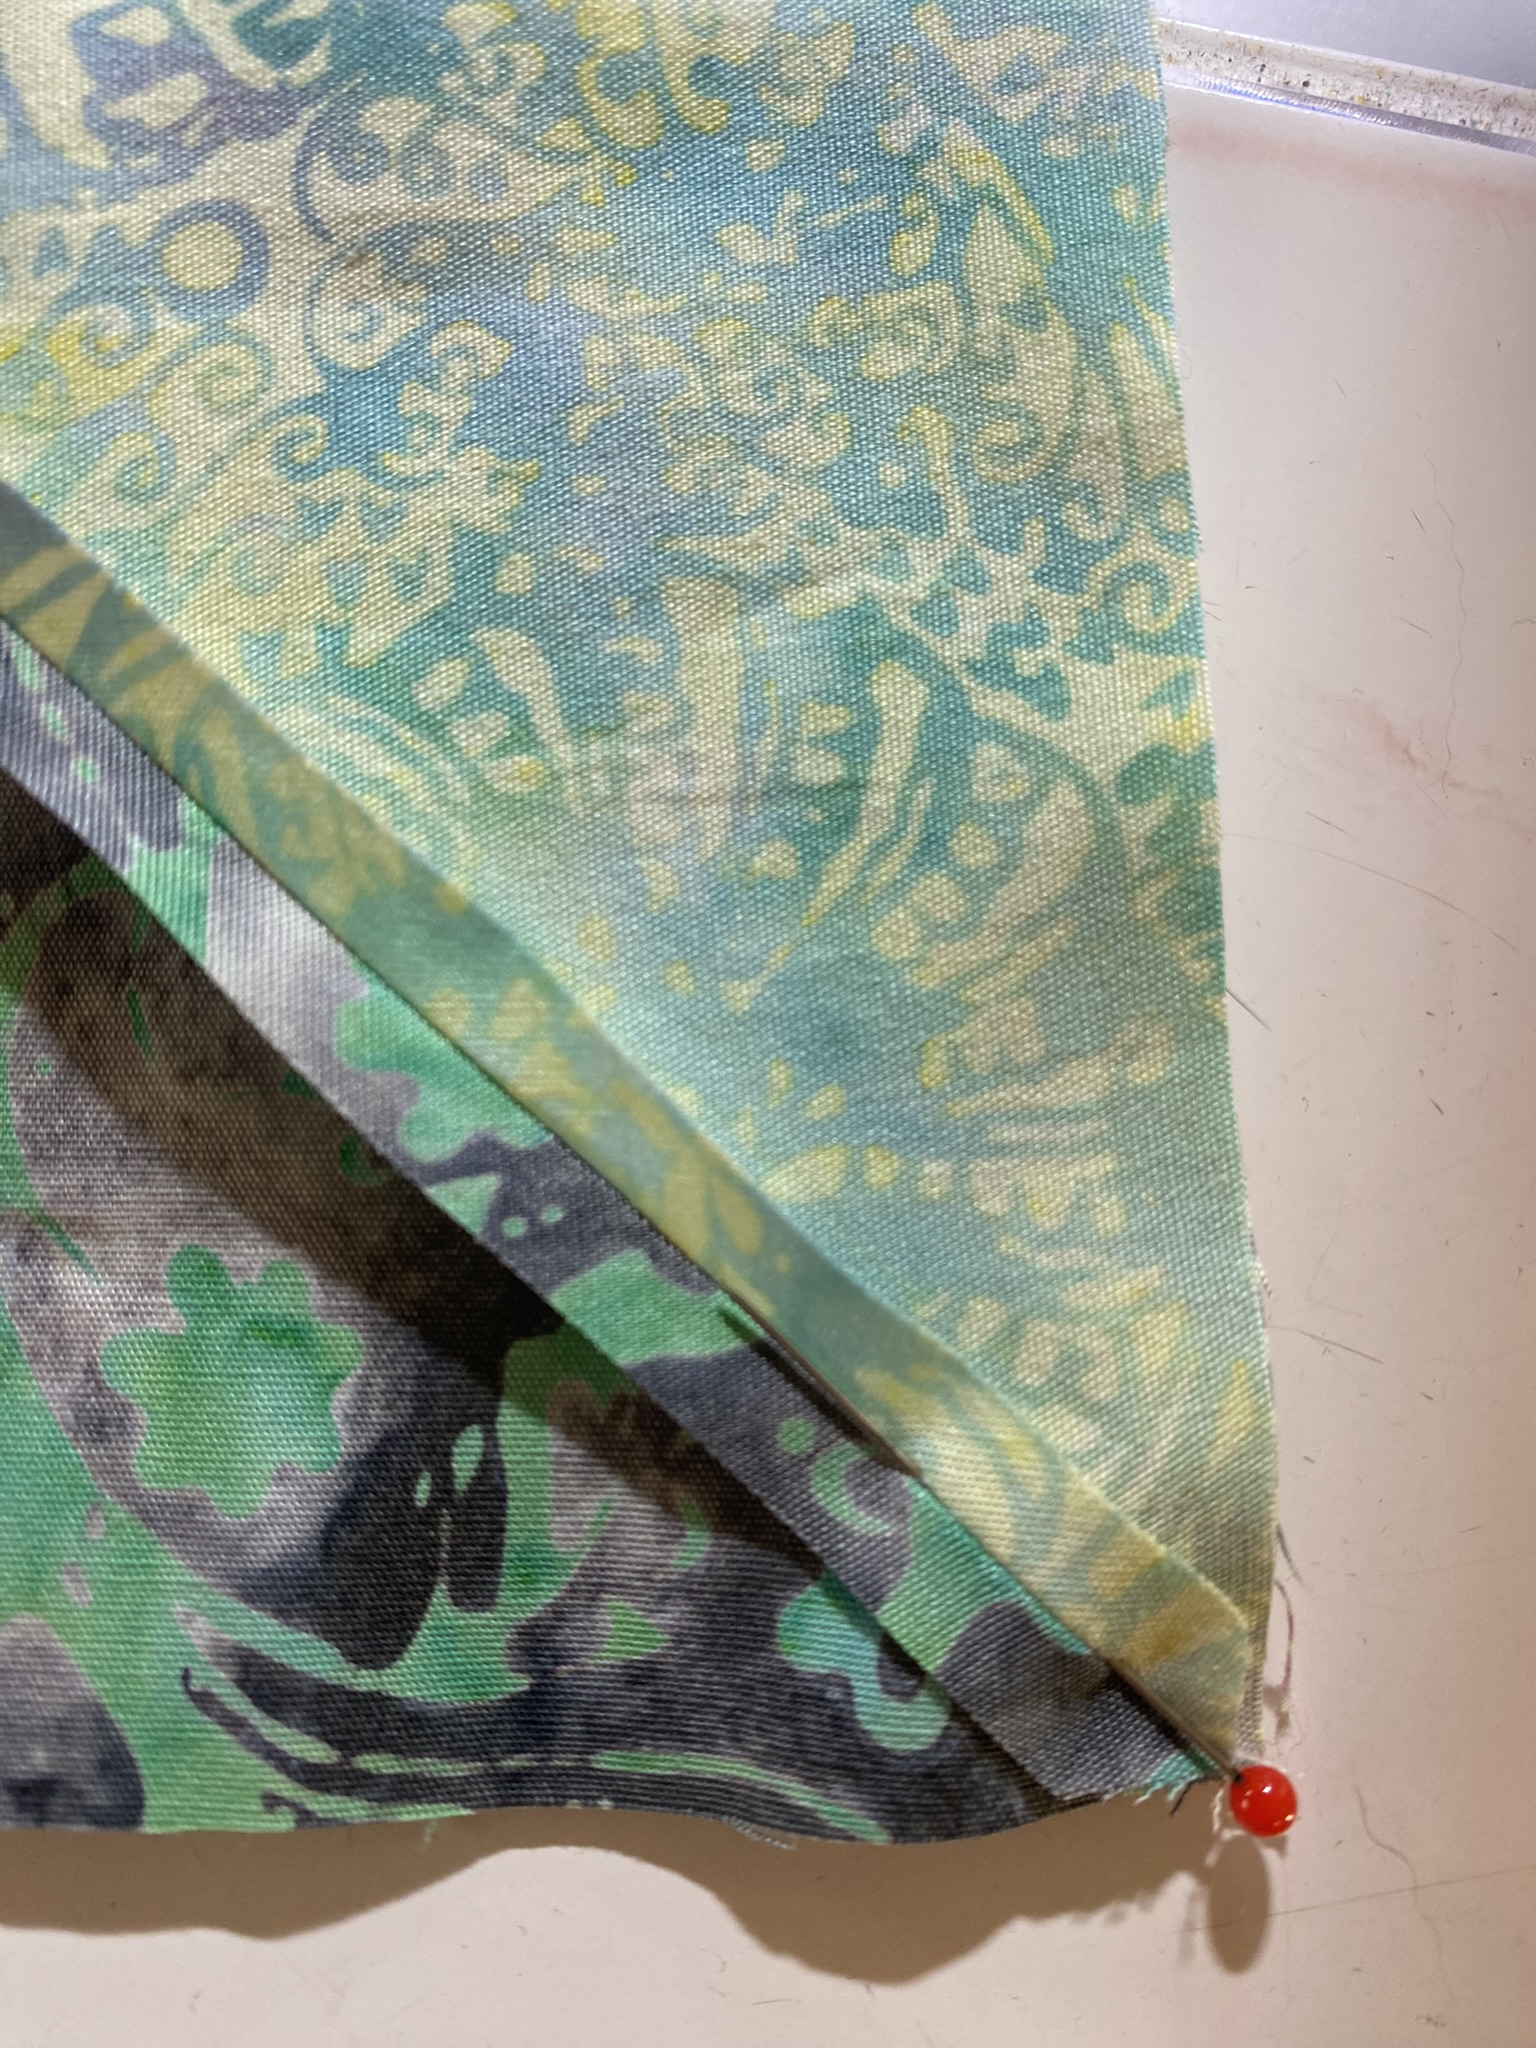
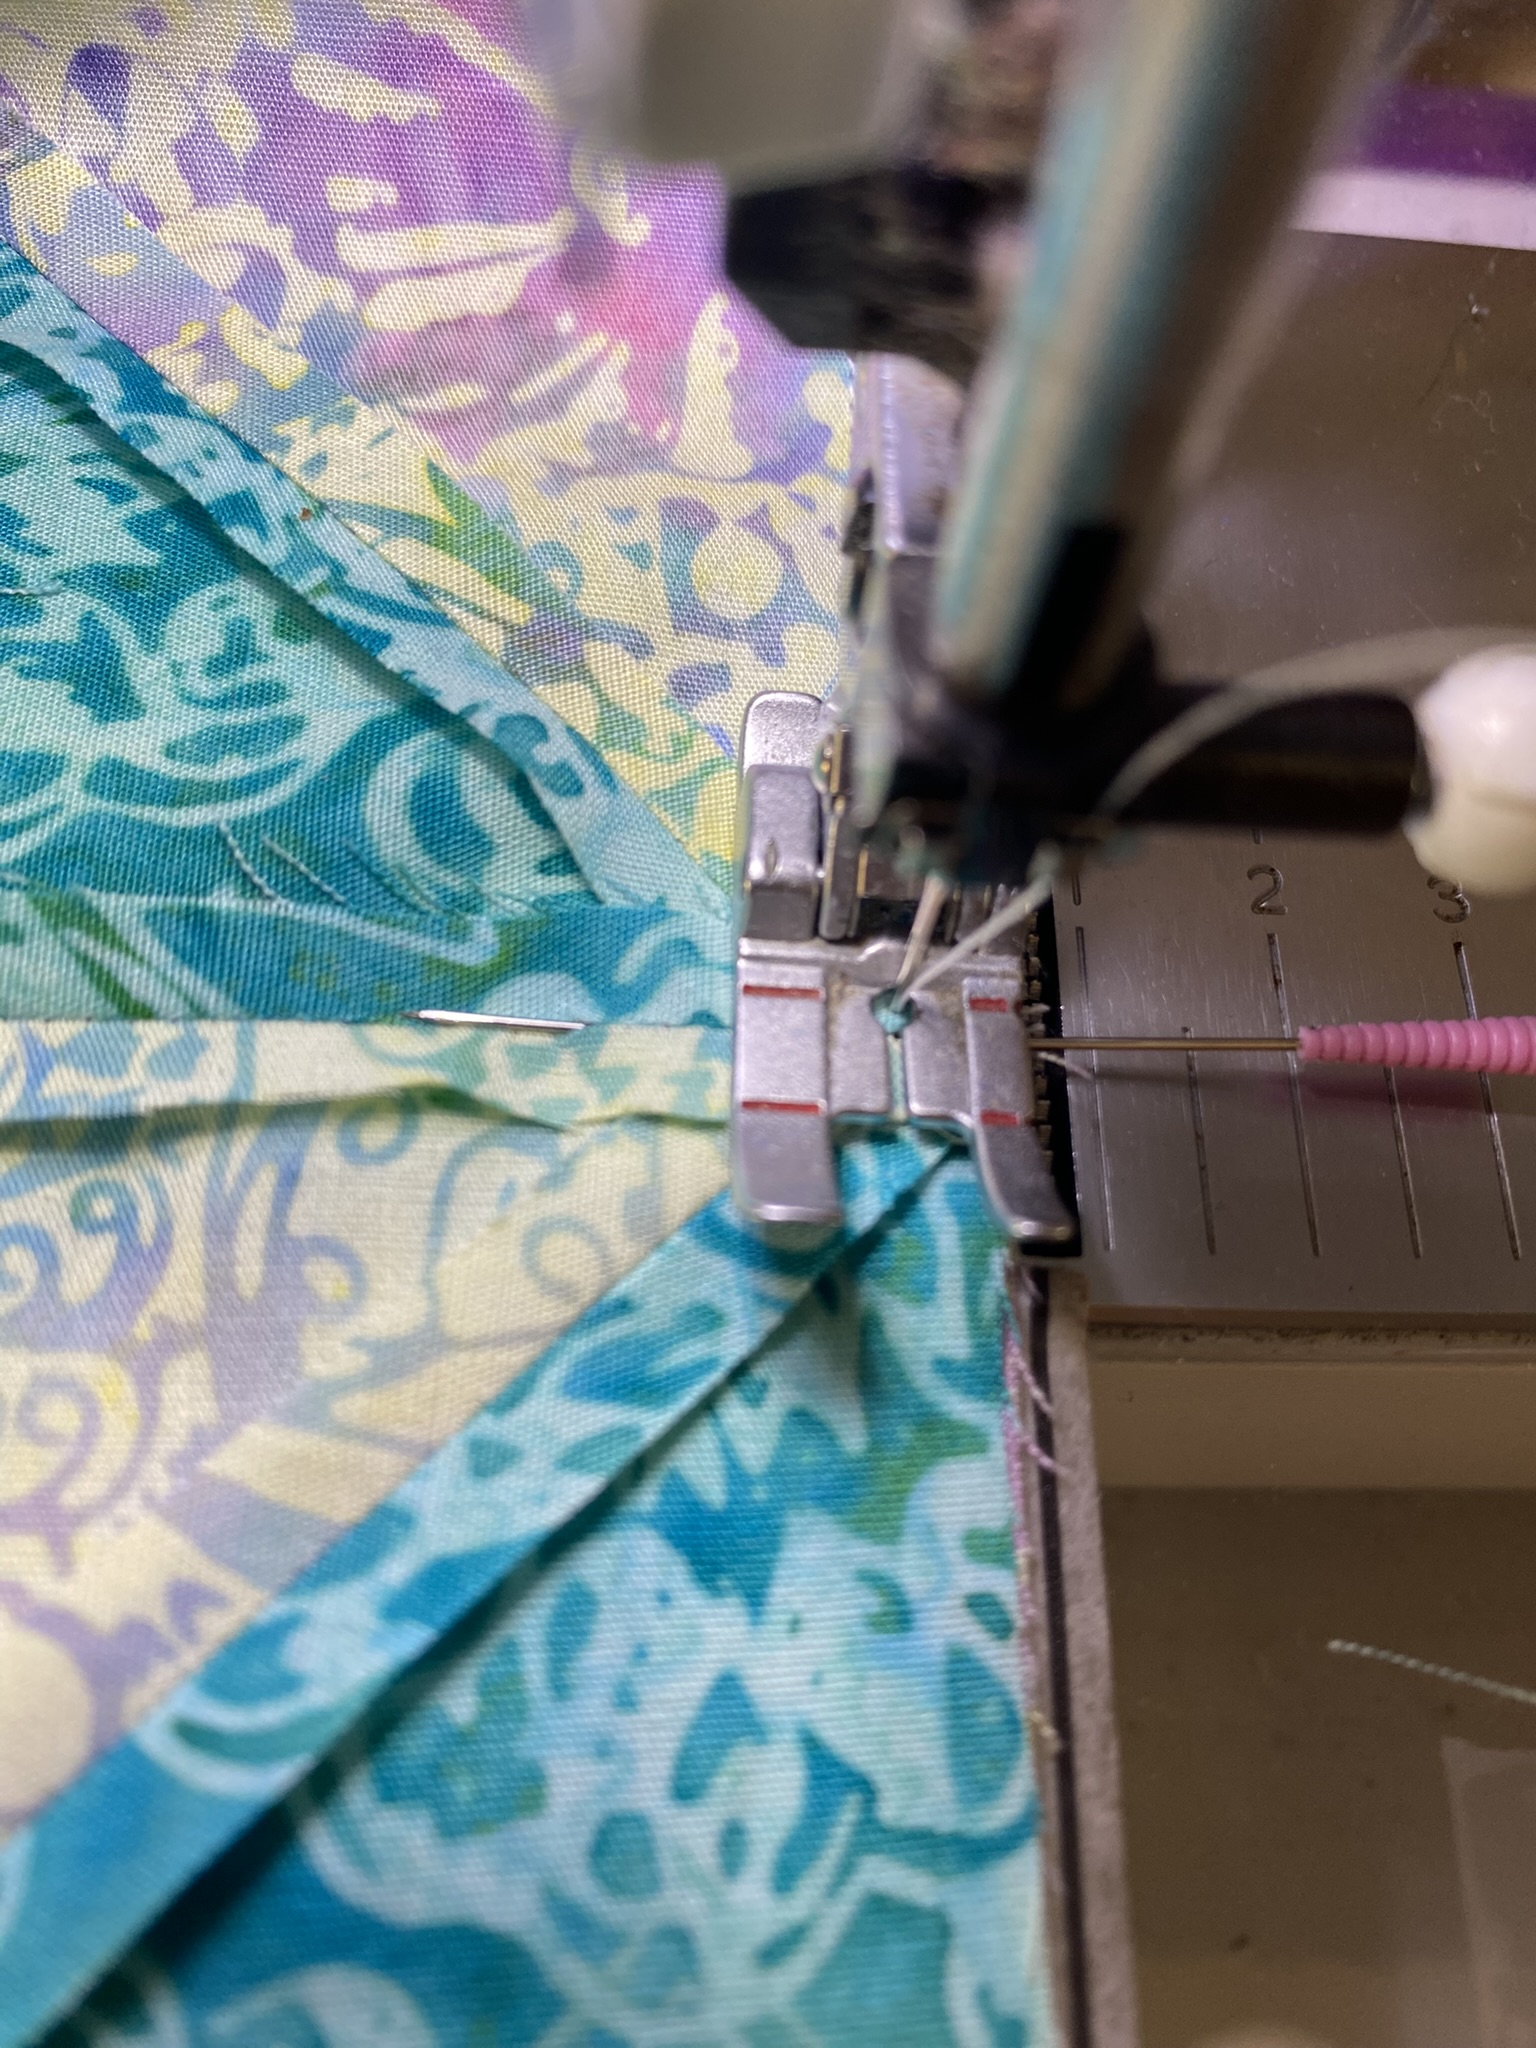
After the HST are pieced and pressed, I move on to putting the “rows” of the block together. To match my seams, I thread a longer pin thru the seams, matching them up where I can. I stitch right up to, but not over the pin, keeping the fabric tight and in place to prevent shifting. I also like to pin at the beginning and end of a row to see if it need to ease anything in.
I attached what has now become a flying geese unit to the top of the middle HST, and the other goose to the corner square is attached to the side. At this point, you can see there are two units that are made up of a 3 1/2 x 6 1/2” rectangle with a HST on one end. They go on each side of your “basket top” thus making the base and you are left with putting a large background triangle on the bottom to define the base of the basket.
I once had a friend tell me that there are some “basic” blocks that everyone should make. That list included a pinwheel. The second block is a spin on the pinwheel (pun intended!!), Mosaic, No. 18. It also normally involves a much more complicated process of assembly using “Y” seams, but, when I broke it down I realized that I could make this entirely from triangles.
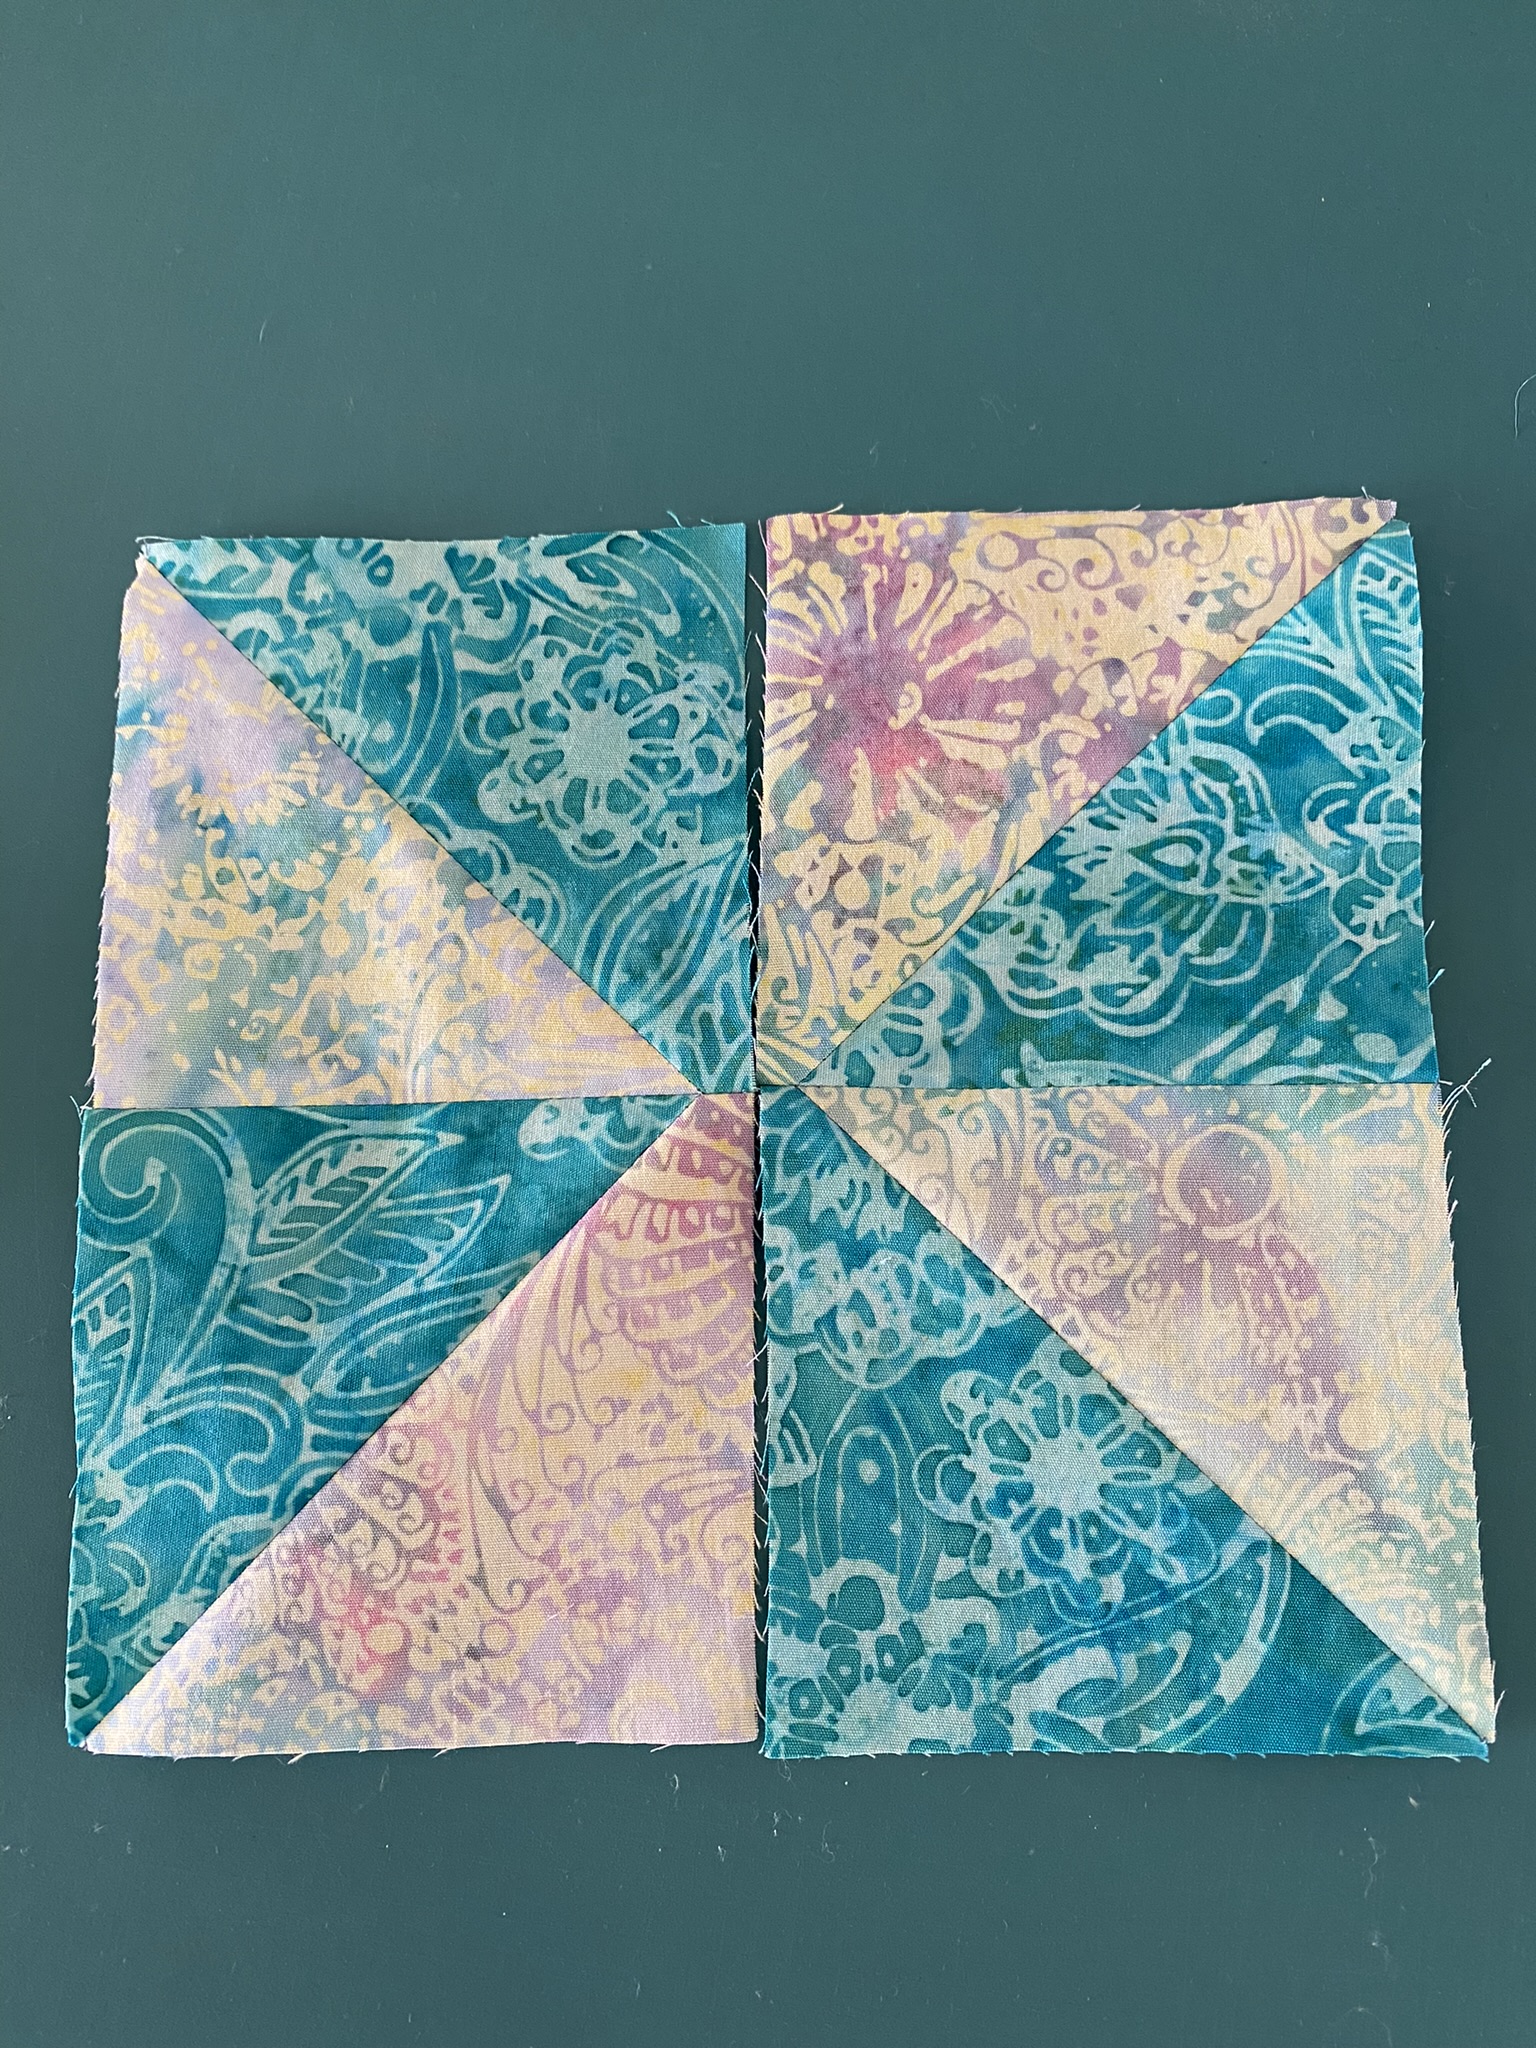
I assembled the pinwheel in the center first and then added components around it. I’m always paranoid about having all those points match in the center. To accomplish that, again, I pin right through the middle of the seam and weave my pin through. I sew up to and not over the pin.
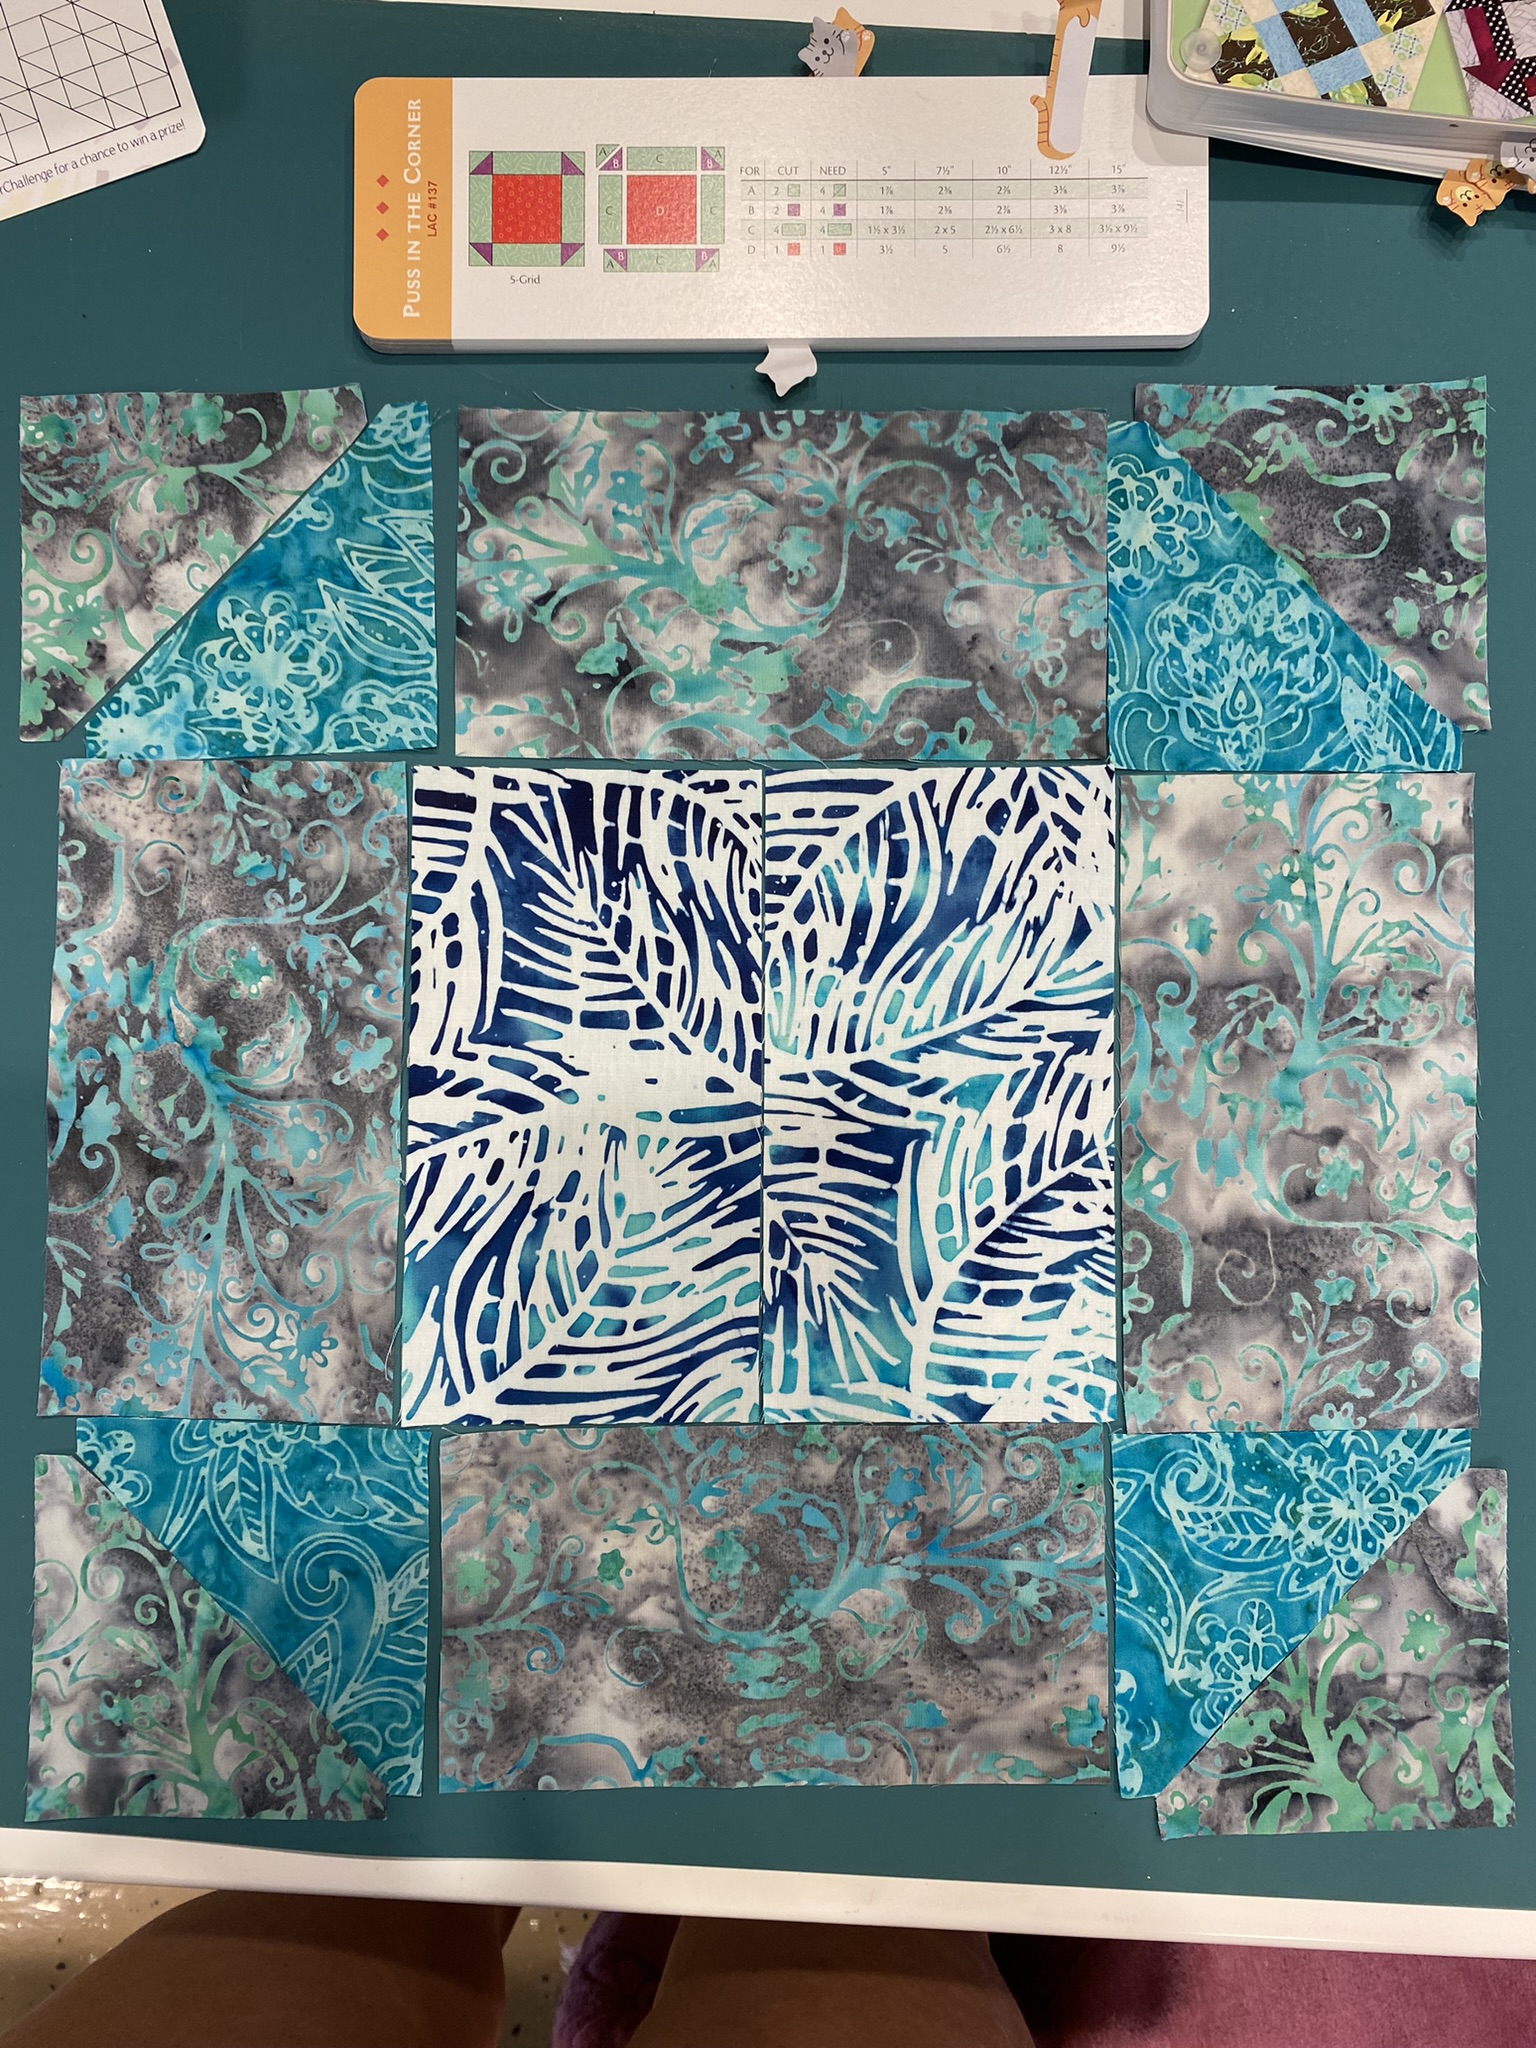
After all that fancy seam matching I sort of wanted something easy and chose Puss in the Corner. BUT, when I started to sew it together I decided to reverse the direction of the HST in the four corners, creating a ring. AND, you will see that I put two 3 1/2” x 6” rectangle units together in the middle to create the big square.
It was at this point that I sort of went rogue for a hot minute on block 4. I haven’t done anything with a curve and really didn’t want to start cutting up pieces for that. I remembered putting a “peel back” into a split rail block a few years ago and landed on the idea of using those 3 1/2 x 6 1/2” rectangles for a rudimentary split rail. I was all good with that since the real feature of this block was going to be the peel back. First I pieced the sets of rectangles.

Then I folded 4 of the 3 1/2” squares in half diagonally and very narrowly stitched them into inside 4 corners of the split rail units. THEN I peel back the loose edge and stitch it down into a curve.

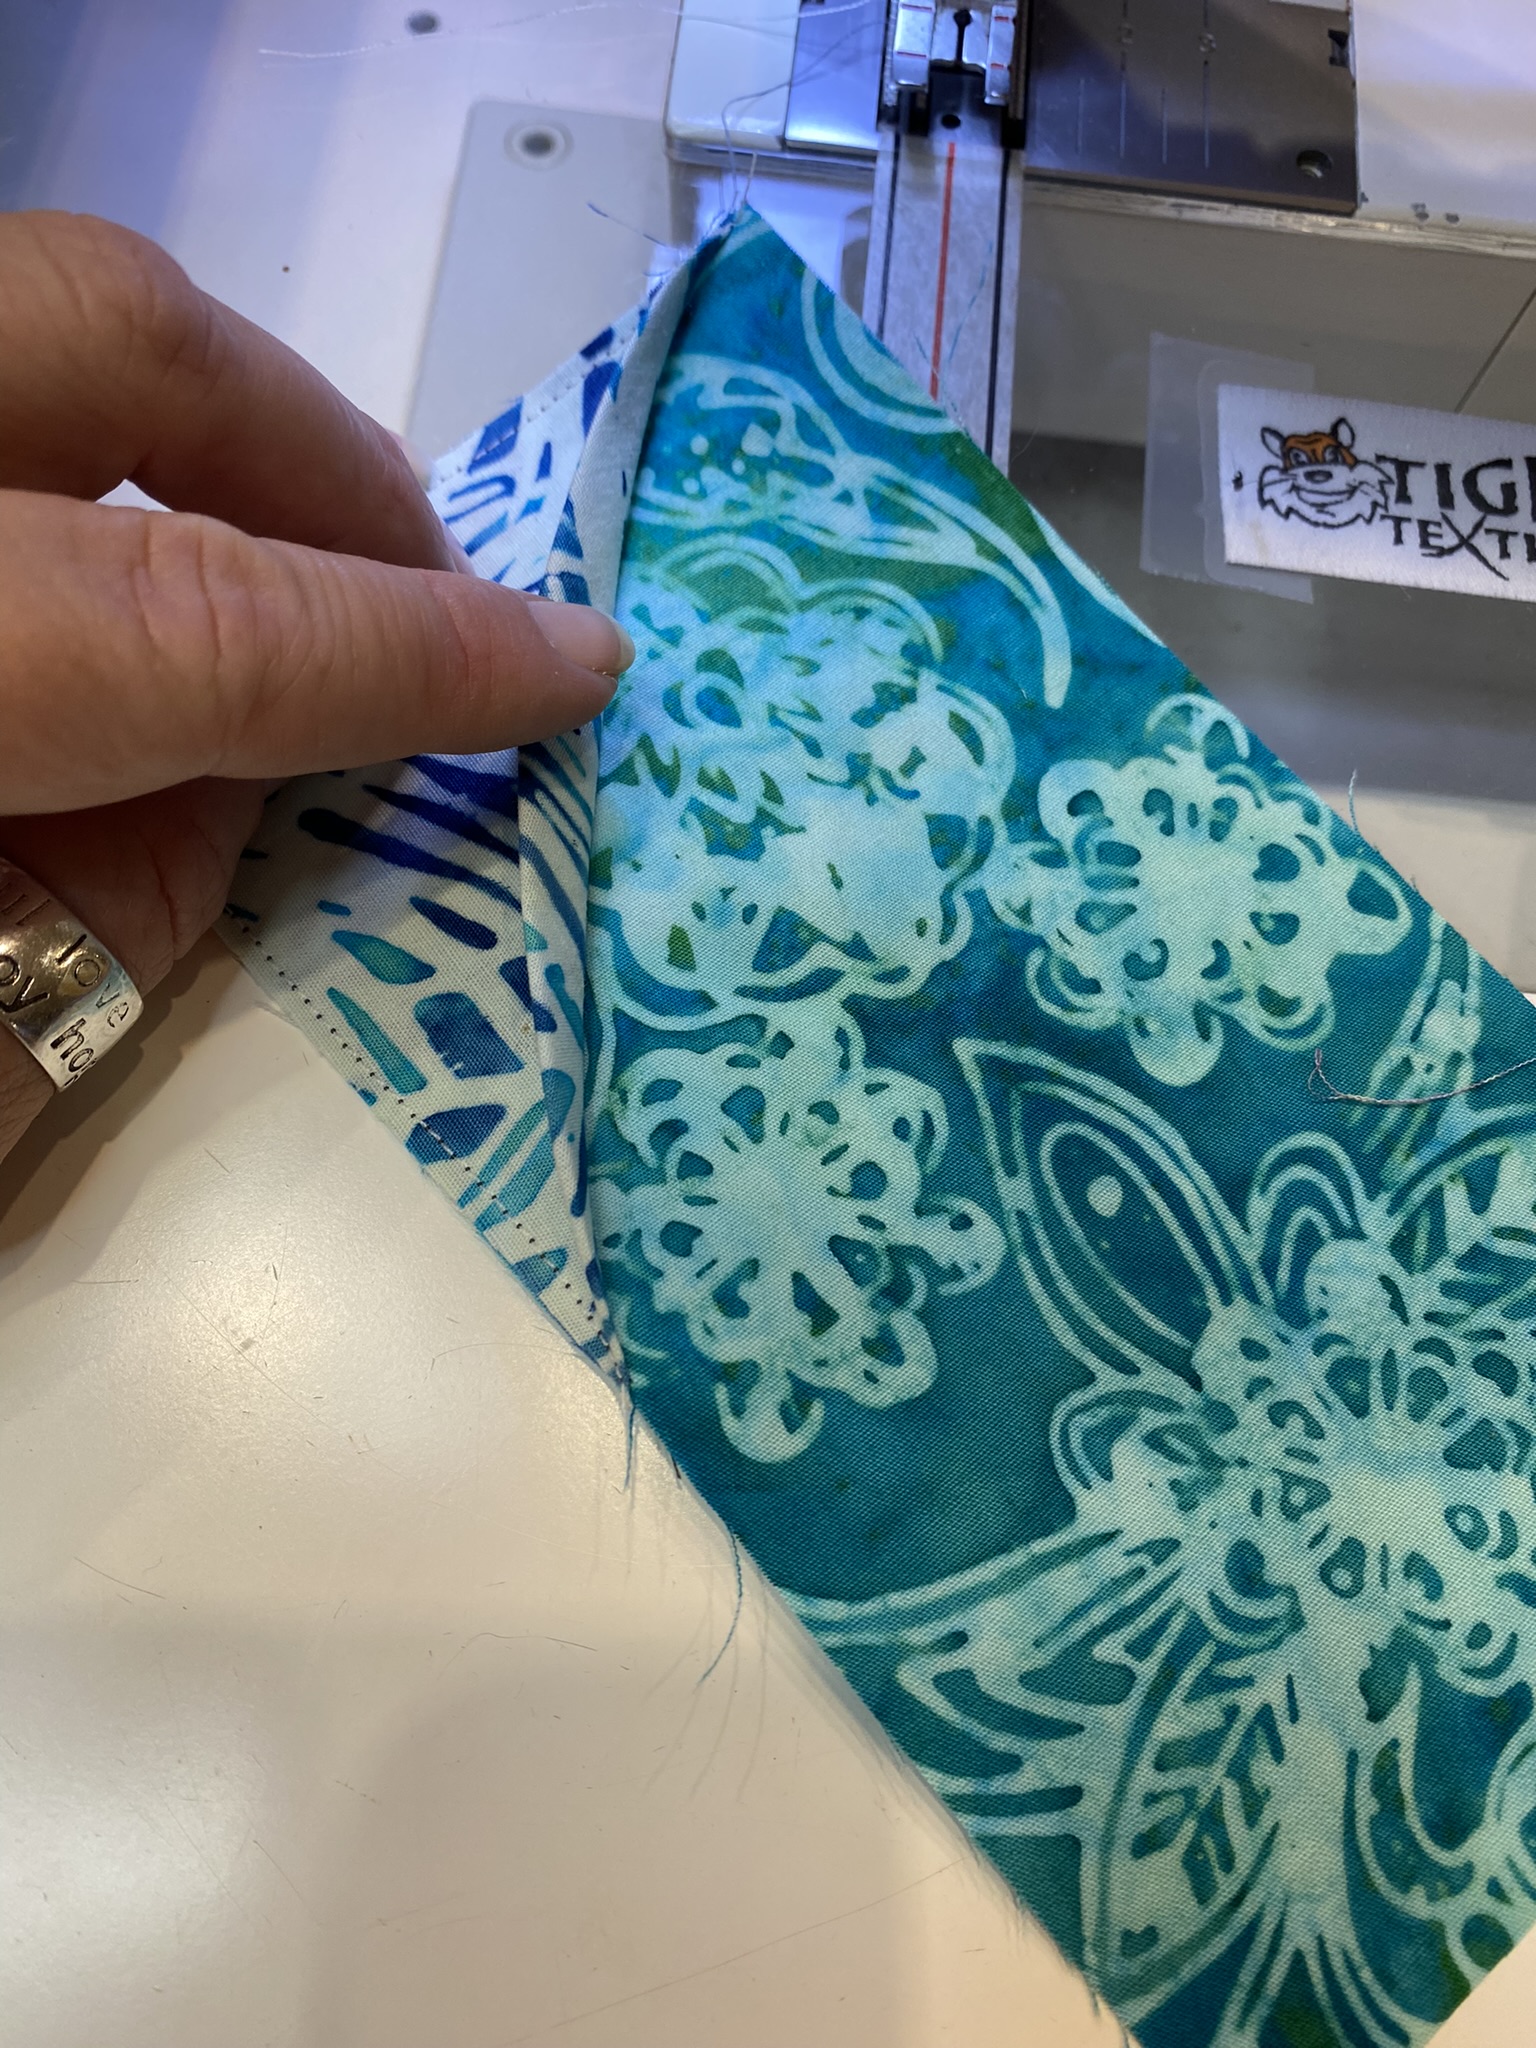
There are a couple other variations of this, but I opted for this in essence of speed. I finished by putting all four units together into the block.
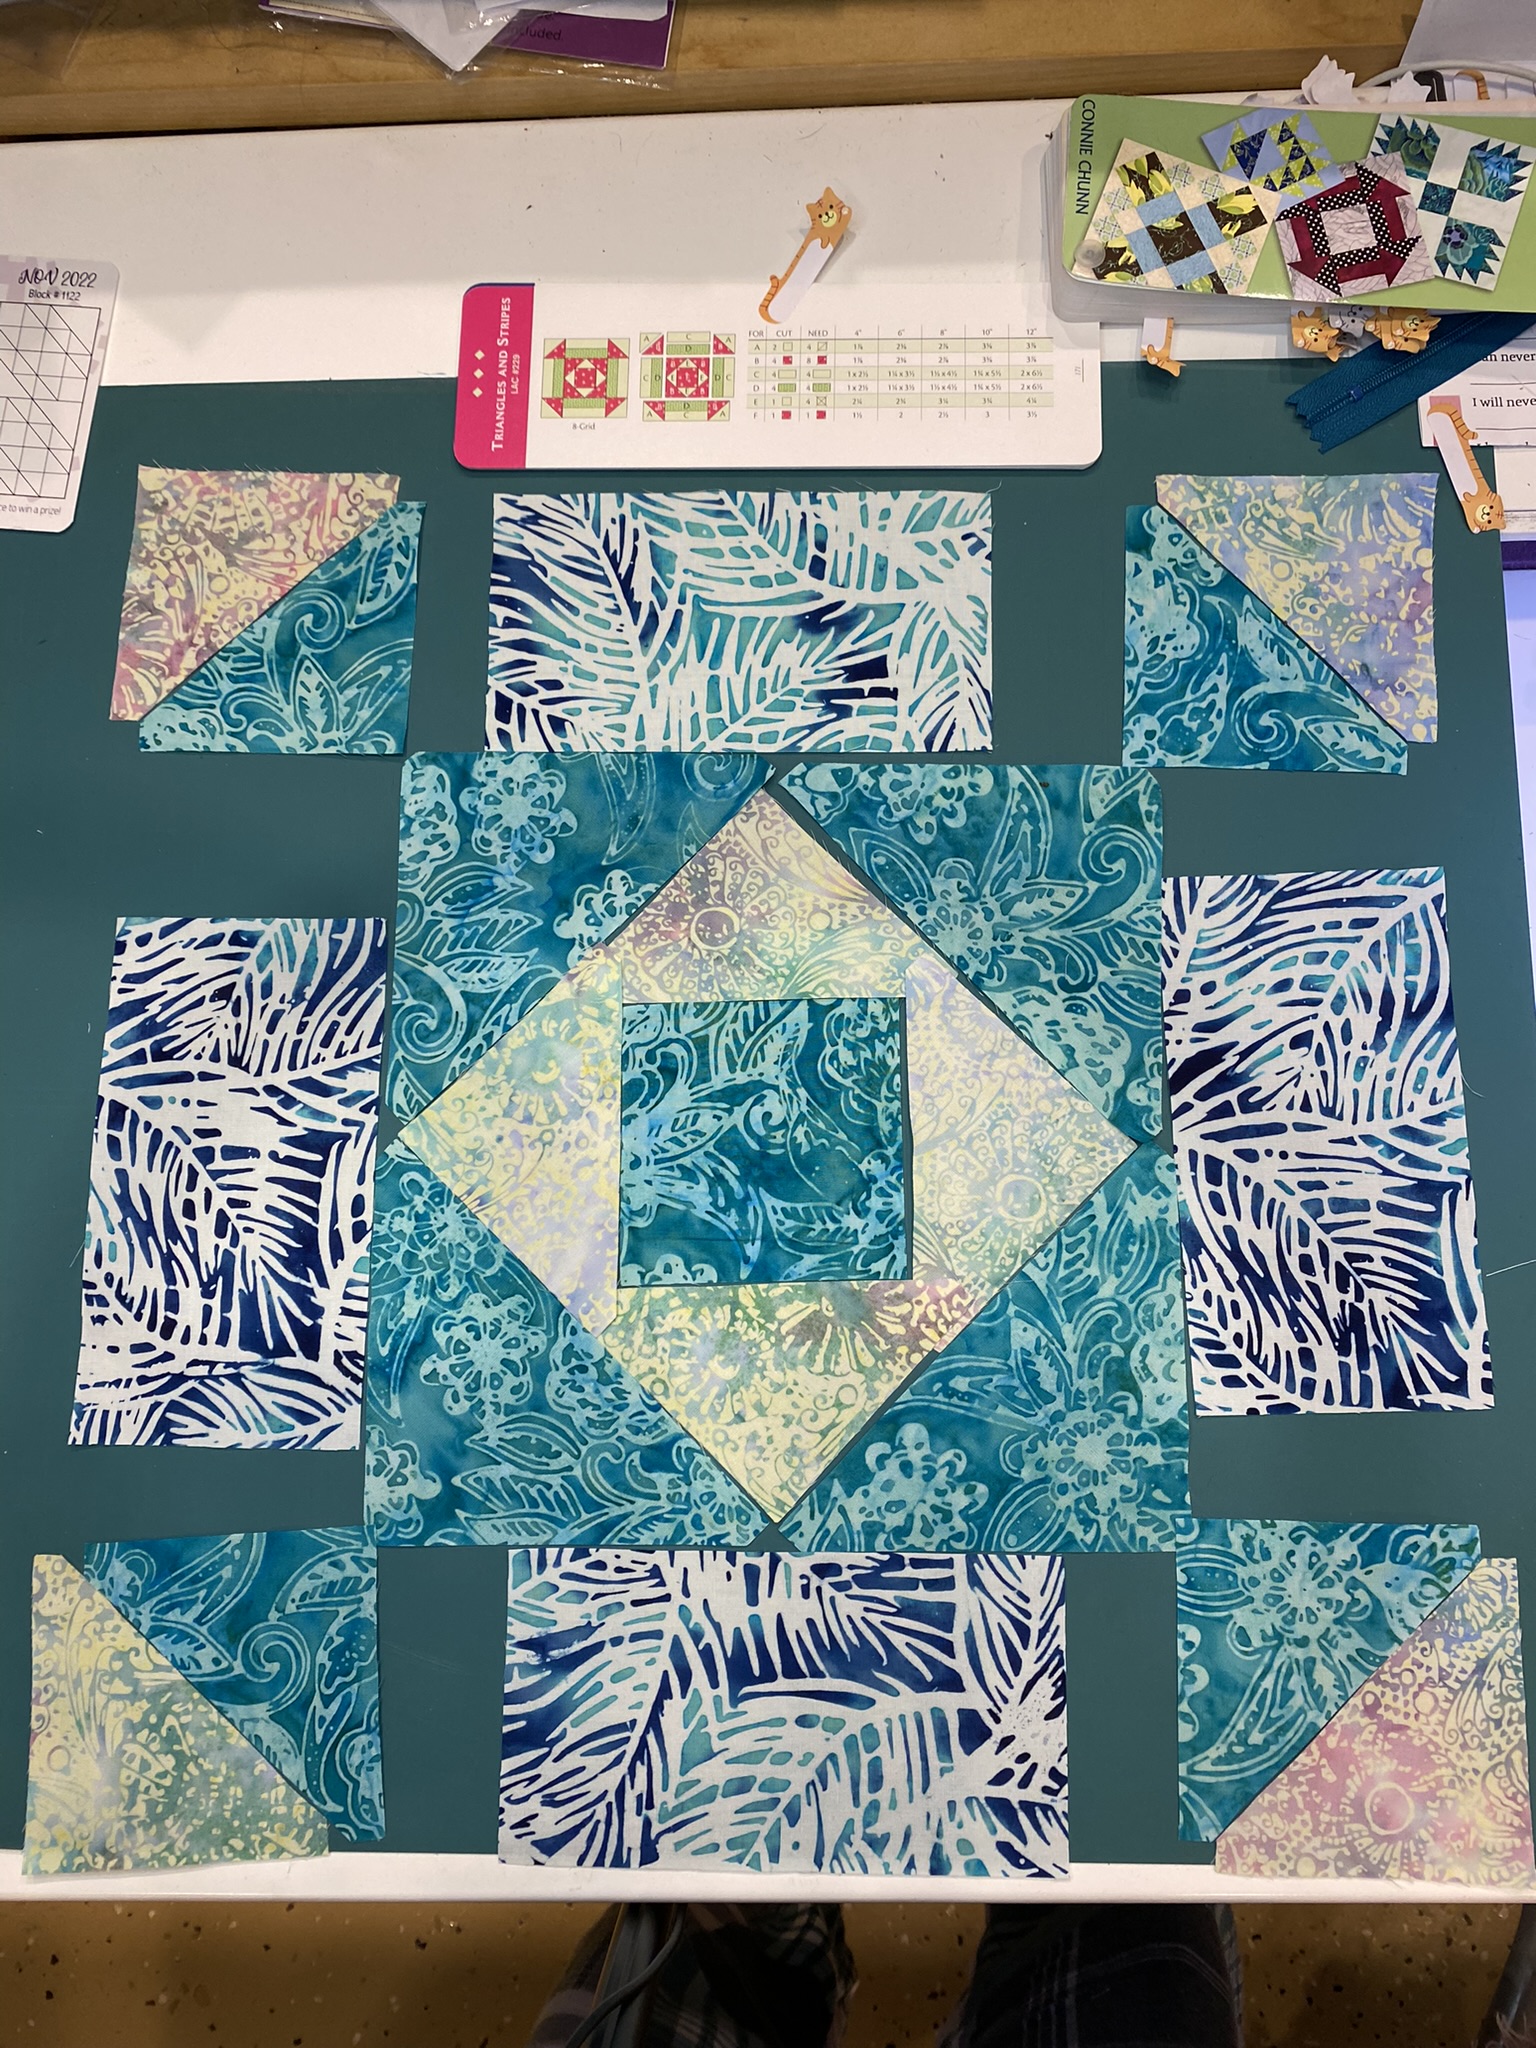
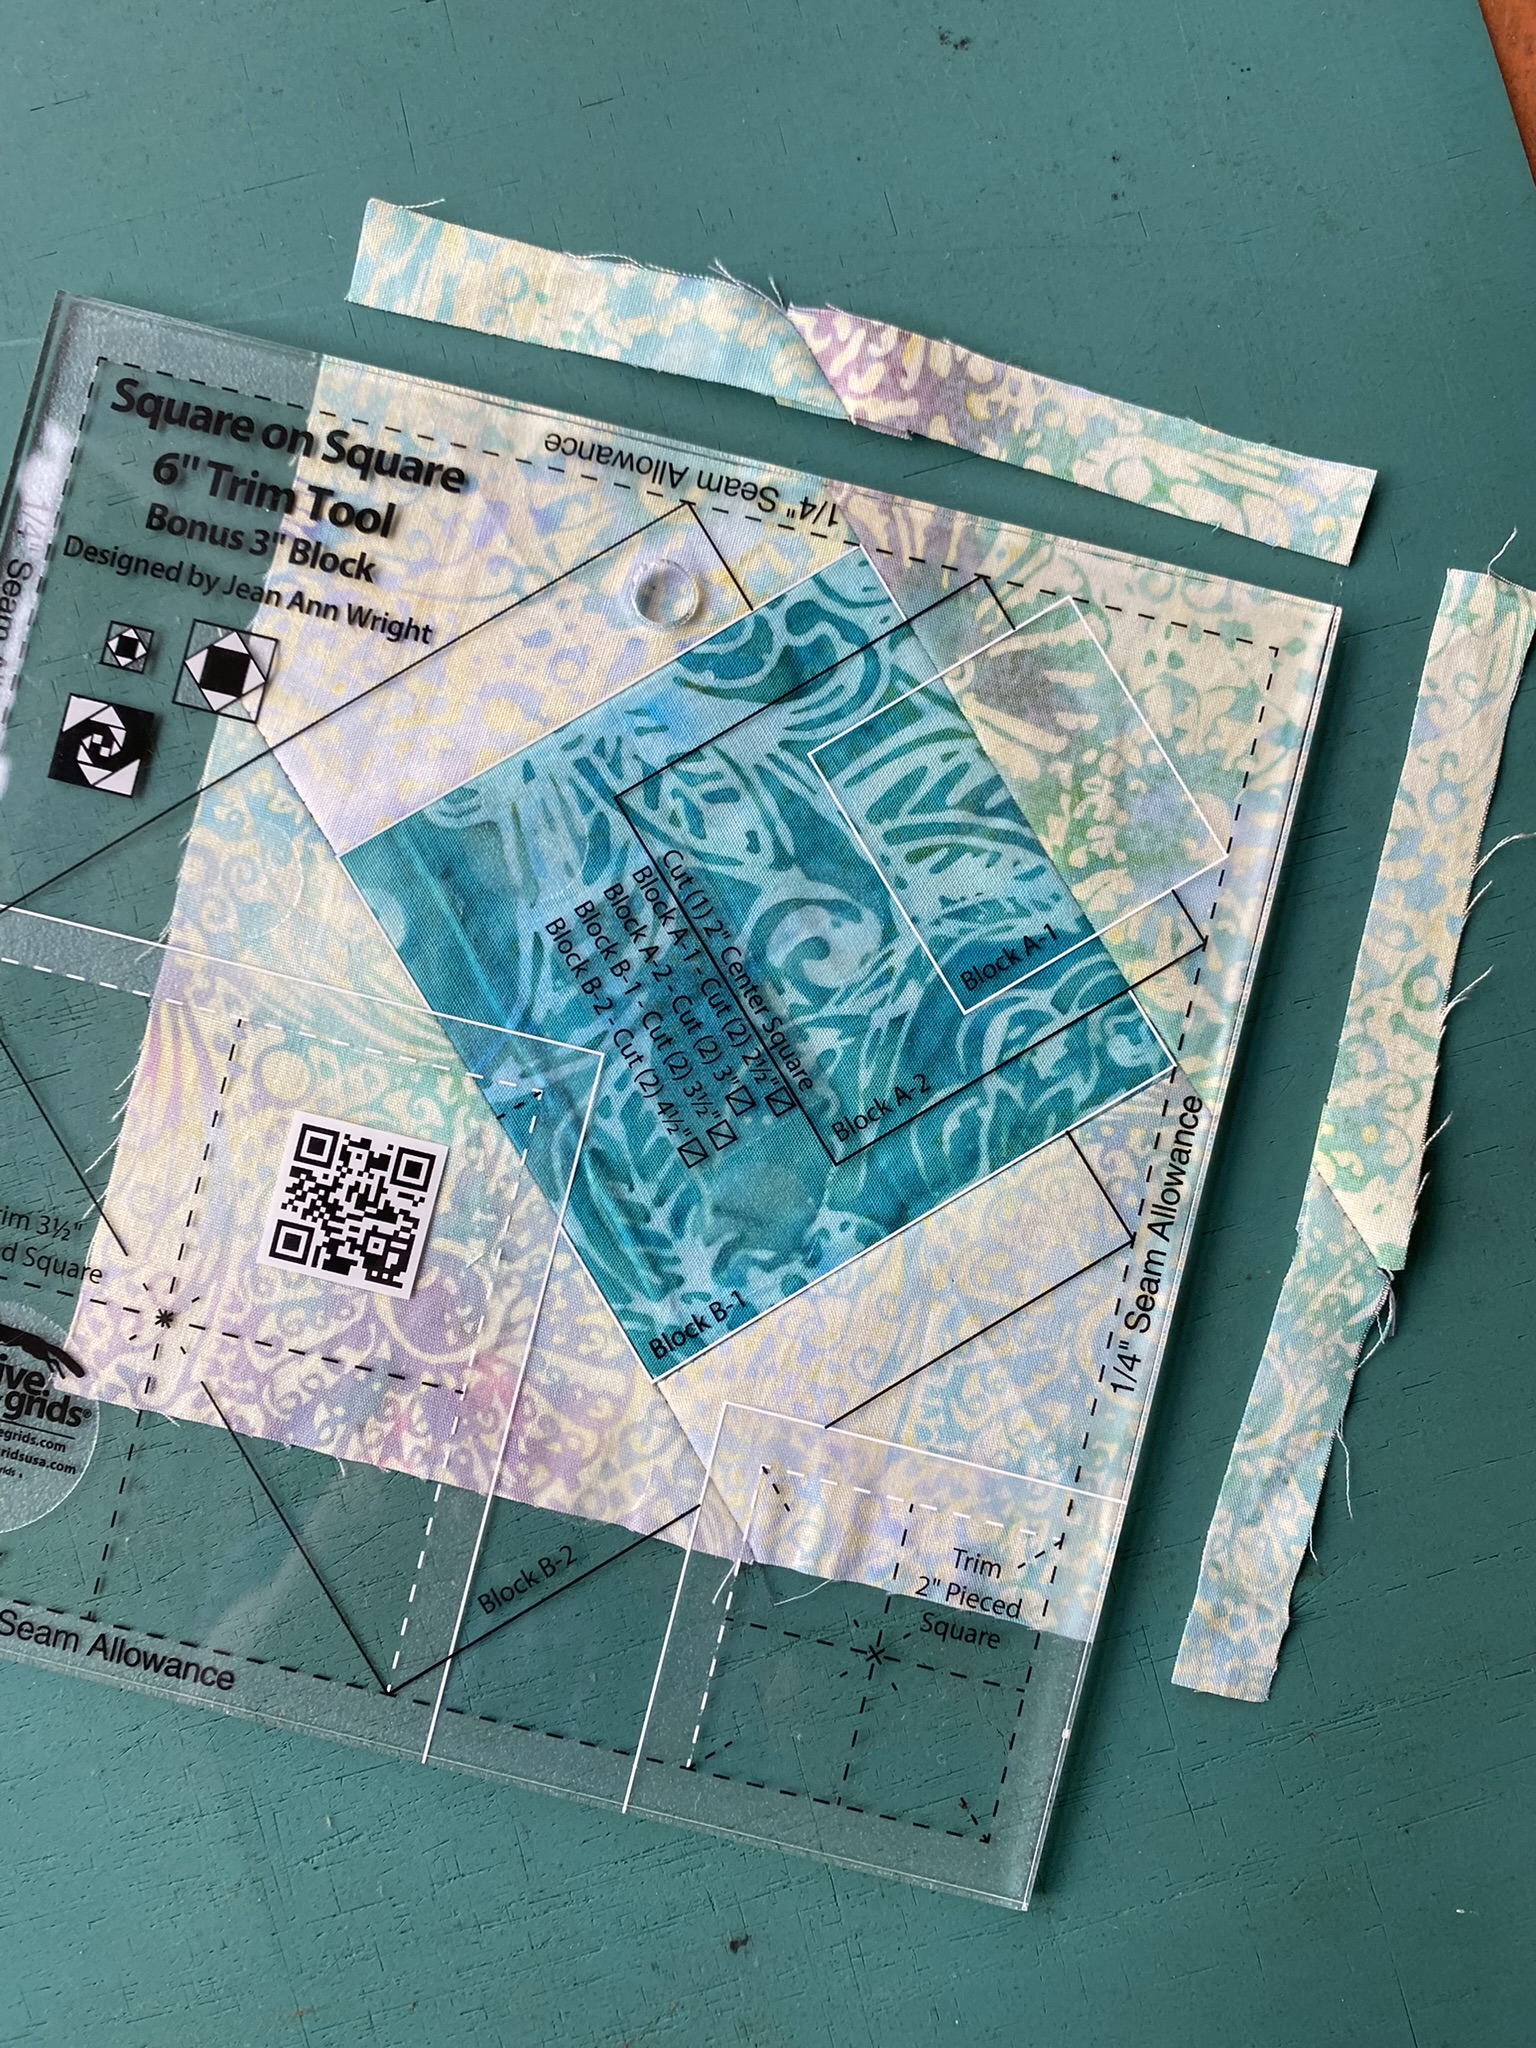
Back to the Block Tool… Triangle and Stripes starts with a 3 1/2” square in the center and you build a square in a square around that. I used my Creative Grids Square in a Square 6” Trim tool to trim both sets of squares down, keeping the block as accurate as possible.
Then I modified the block on the outside perimeter. The pattern suggests two rectangles 2 x 6 1/2”… I already have the 3 1/2 x 6 1/2…why not just leave them?
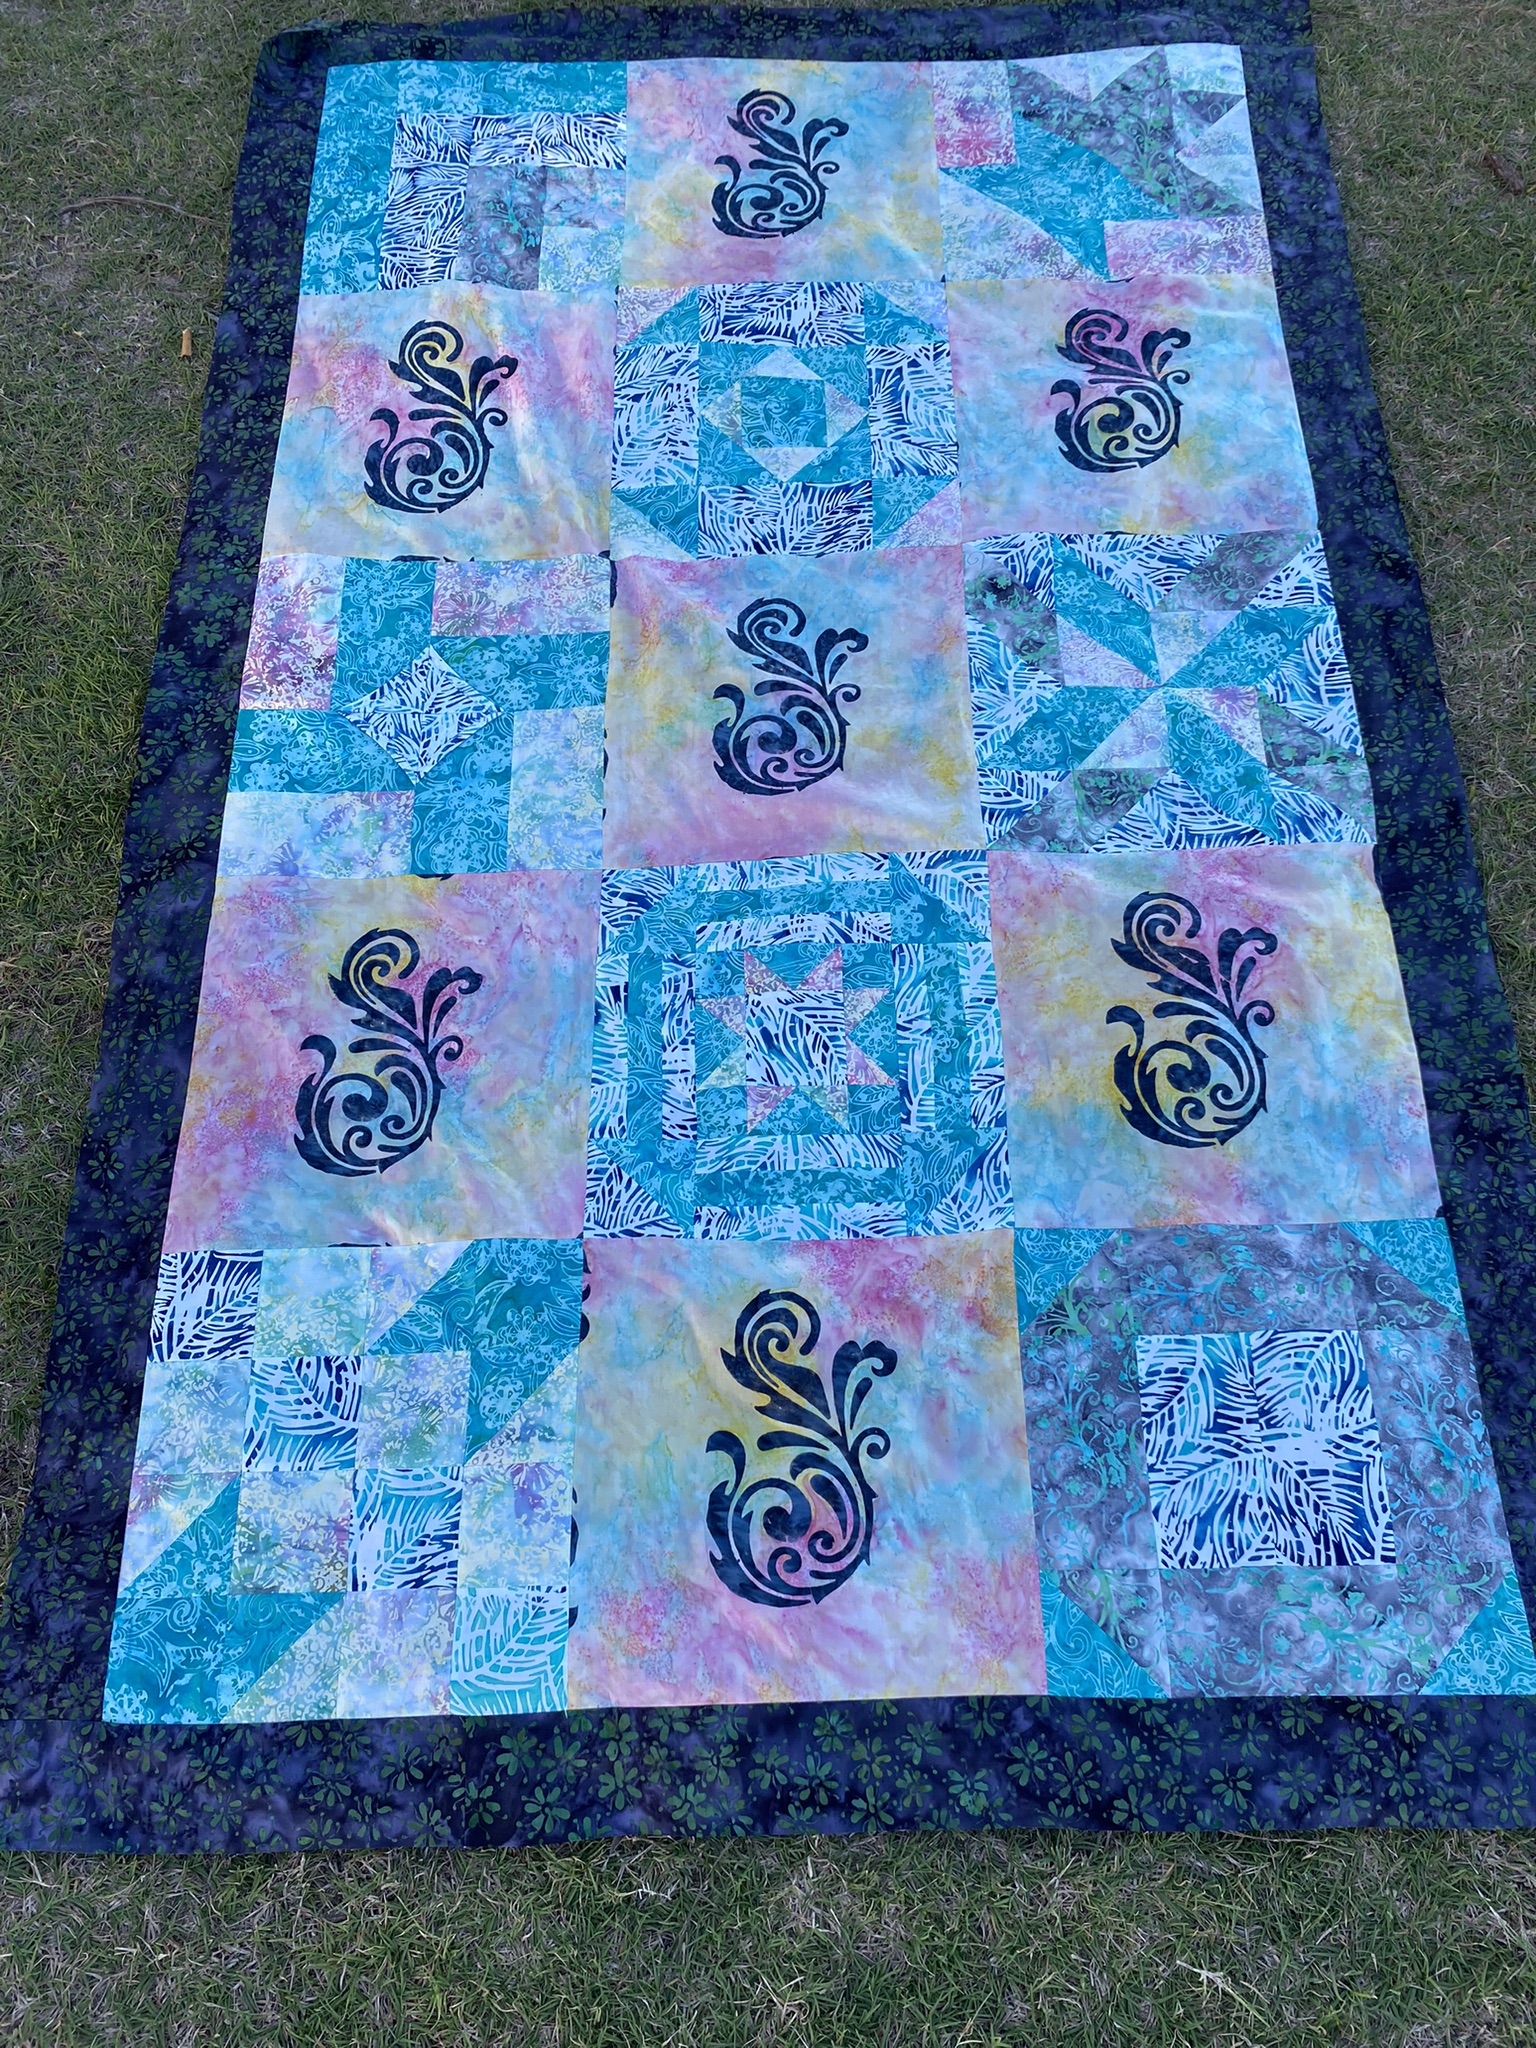
I have five blocks made and now I’m wondering how many I should make. How big do I want this quilt to be? I have enough pre-cut pieces that I could make this a full or queen size, but, I really don’t have enough time. I sketch it out in my notebook… and decide that I need 8 blocks and 7 setting squares.

lock 6 is possibly the most detailed of them all. It is a Burnham Square block. I played around some with fabric selection on this. I auditioned the gray in the star first, then decided to go with the more yellow piece to try to get the star to “pop” off the block. Remember I mentioned grayscale? When I did that, all four fabrics looked medium. They also have the same print value. This becomes challenging when one is making a more intricate block. I also decided it was time to cut some of those rectangles into smaller pieces for the outside border.
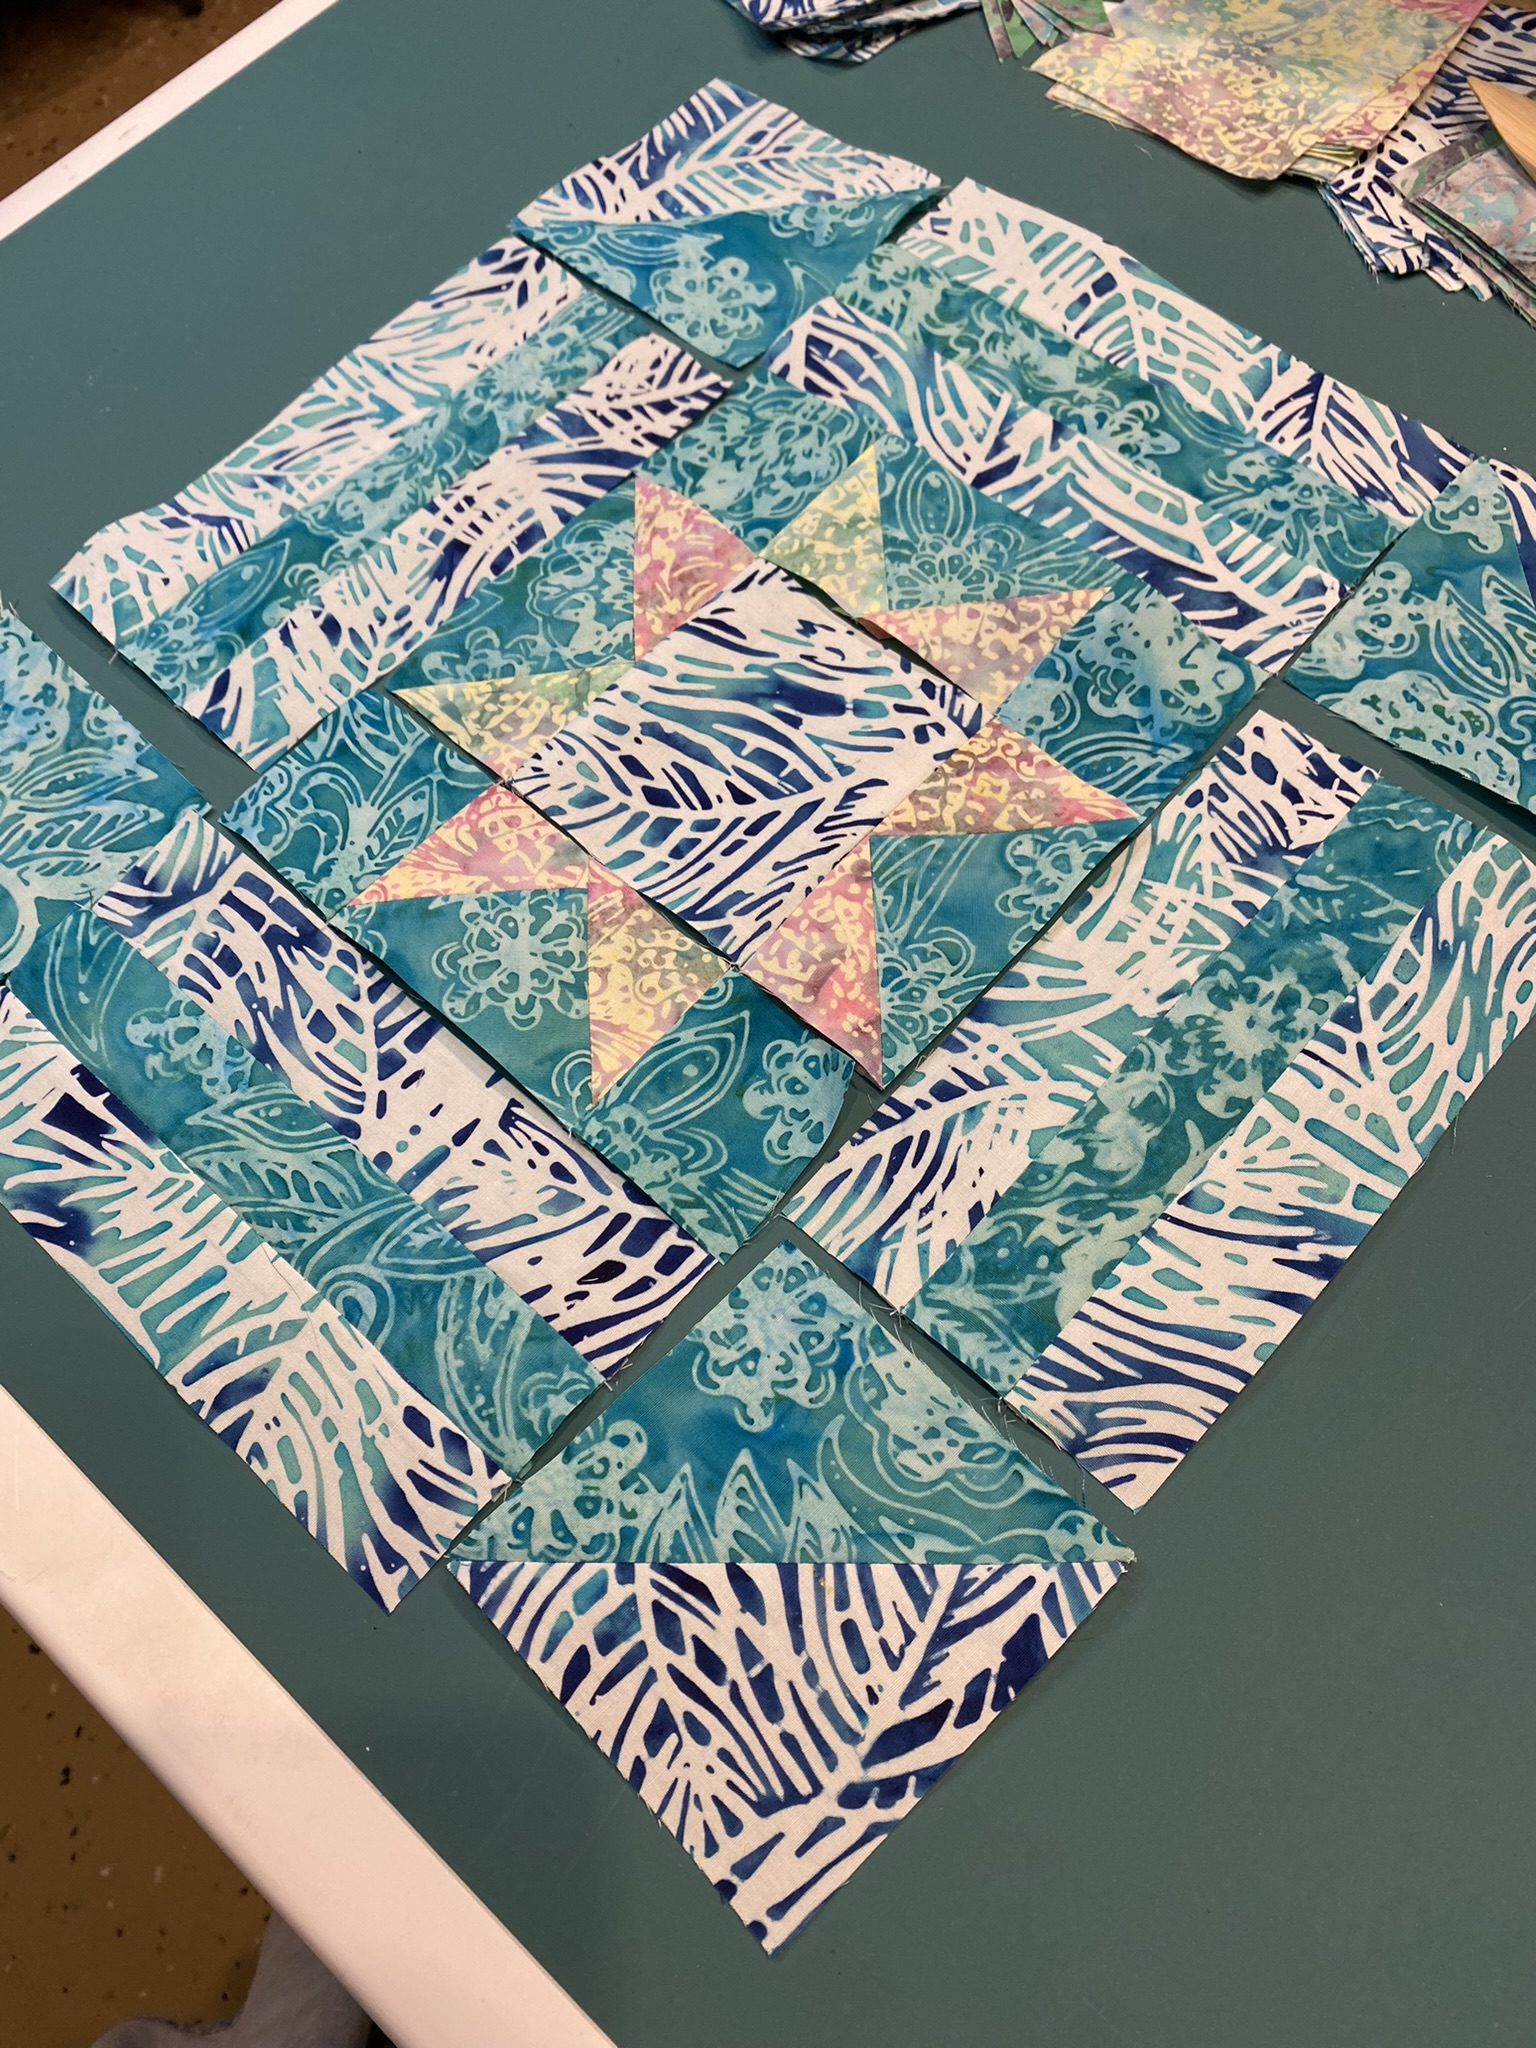
The flying geese units on the star inside had to be trimmed down to 2 x 3 1/2”. I used my ruler and the 45 degree line marking to do that.

I was ready for something a little less challenging now and Road to Oklahoma was chosen for block 7. It is laid out in a 16 patch style with 4 sets of HST and built in rows. Whew!!
Finally, for the last block, again, I wanted to take it back to one of the “root” blocks. A Log Cabin variation it is! I put the chimney in the corner and built out from that. I did play around with putting background squares corner to corner, but, decided that would be a cool block to do a bunch of for another quilt on another day.
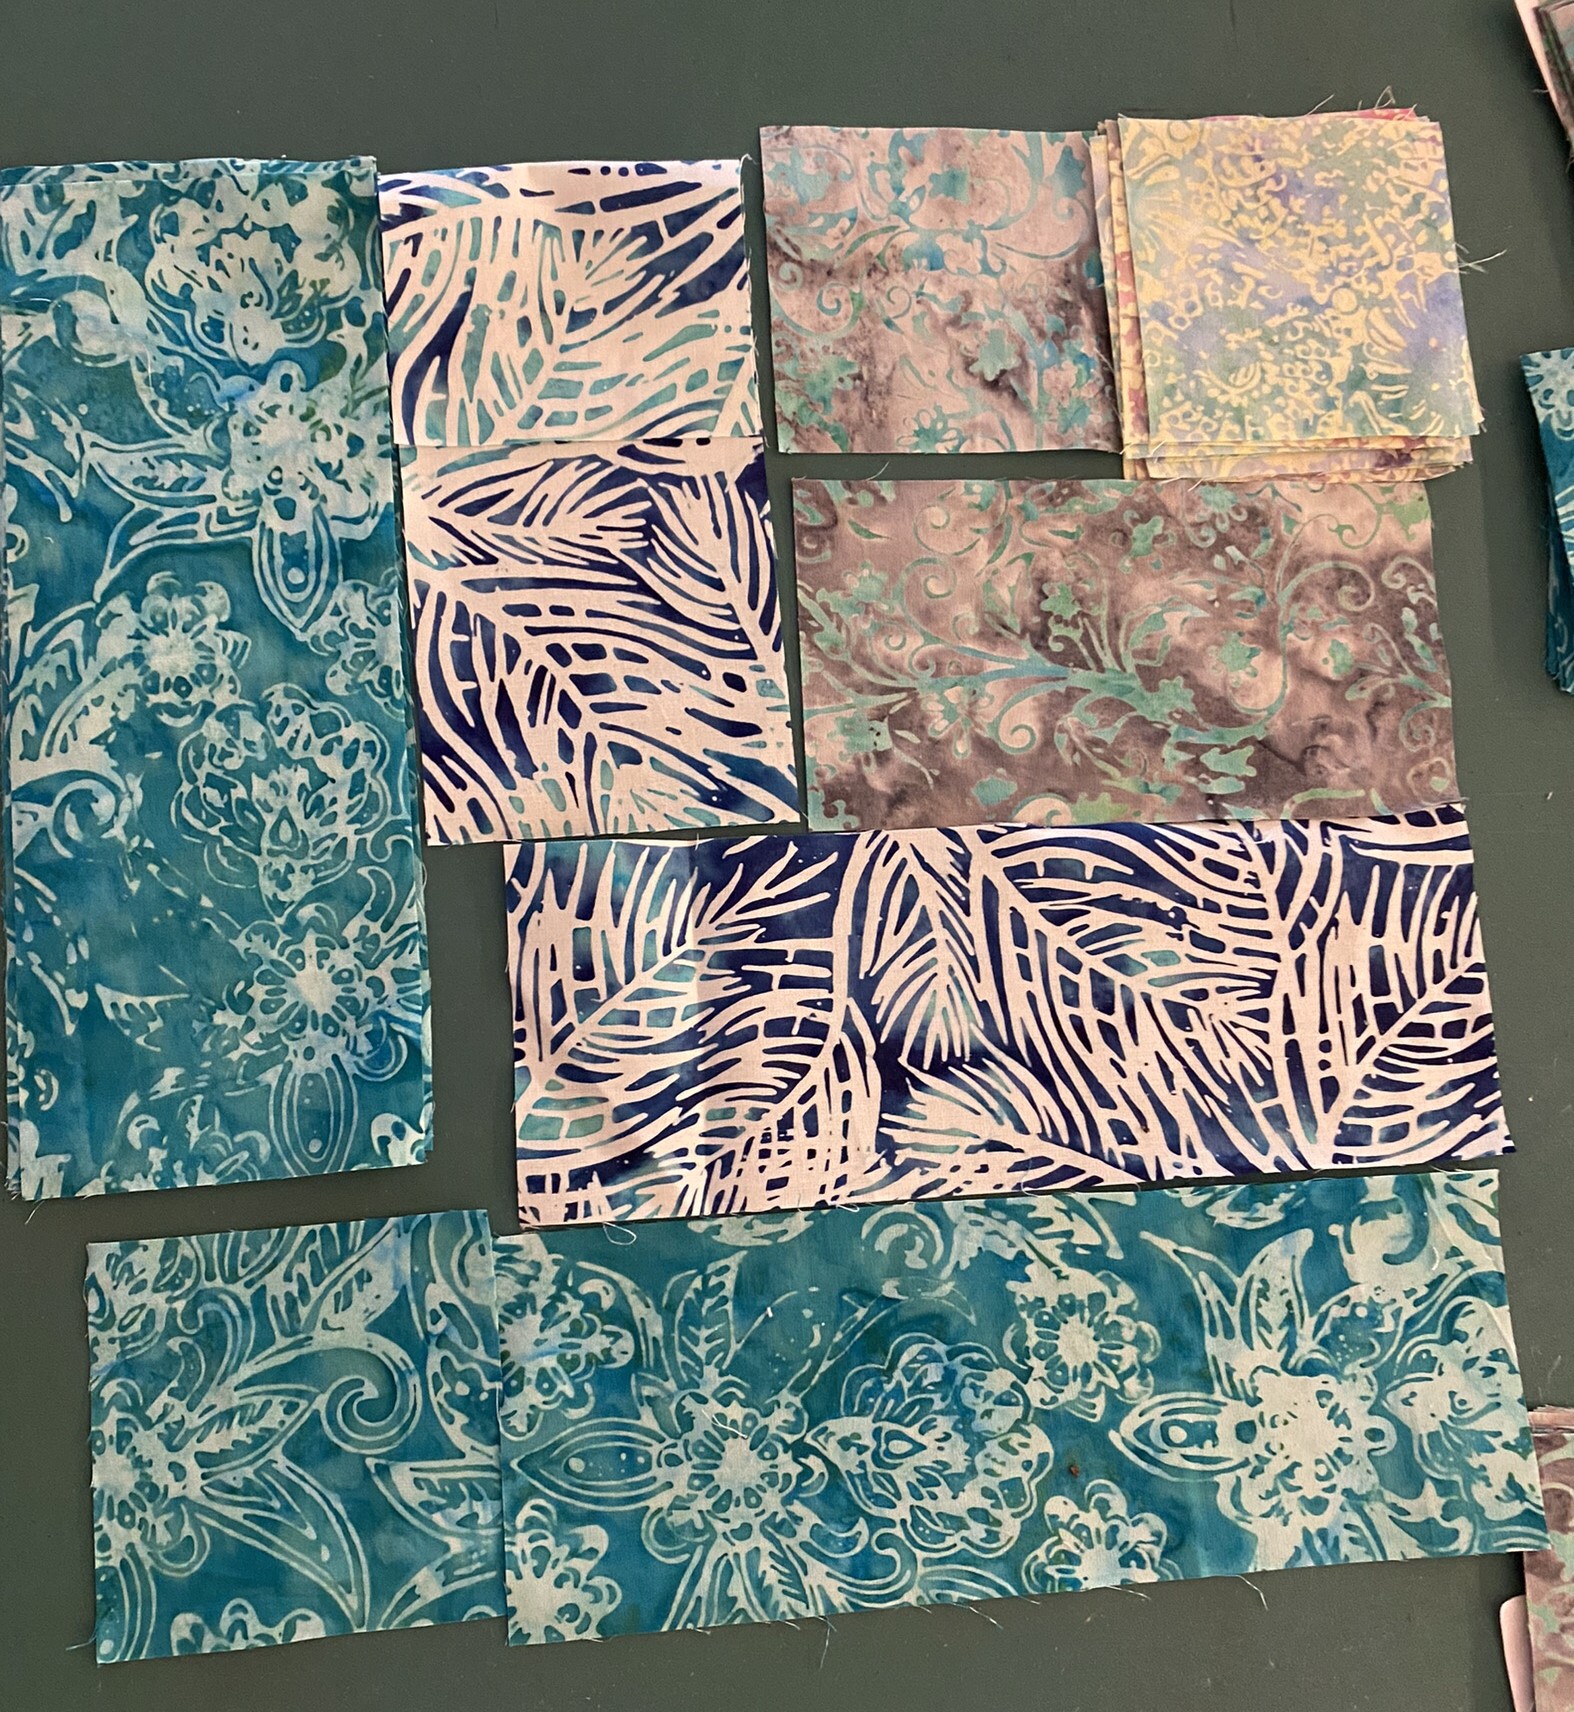
I auditioned a few fabrics for setting squares. One parameter that I had set for myself was that it had to come from my stash. I could not buy anything new. I went in looking for something completely different and came out from the hunt with this wonderful batik with large scroll stamping that I could fussy cut.
After I had the center assembled it felt like I needed a dark border. Again, I forced myself to find something in my own stockpile and chose a dark slate blue with some green that I believed I had enough for borders and binding. I cut 6 strips @ 3 1/3”. I measure across the center of the quilt to cut my borders, and section into halves to pin. I won’t go into detail on that here. That’s an entire topic for another day!

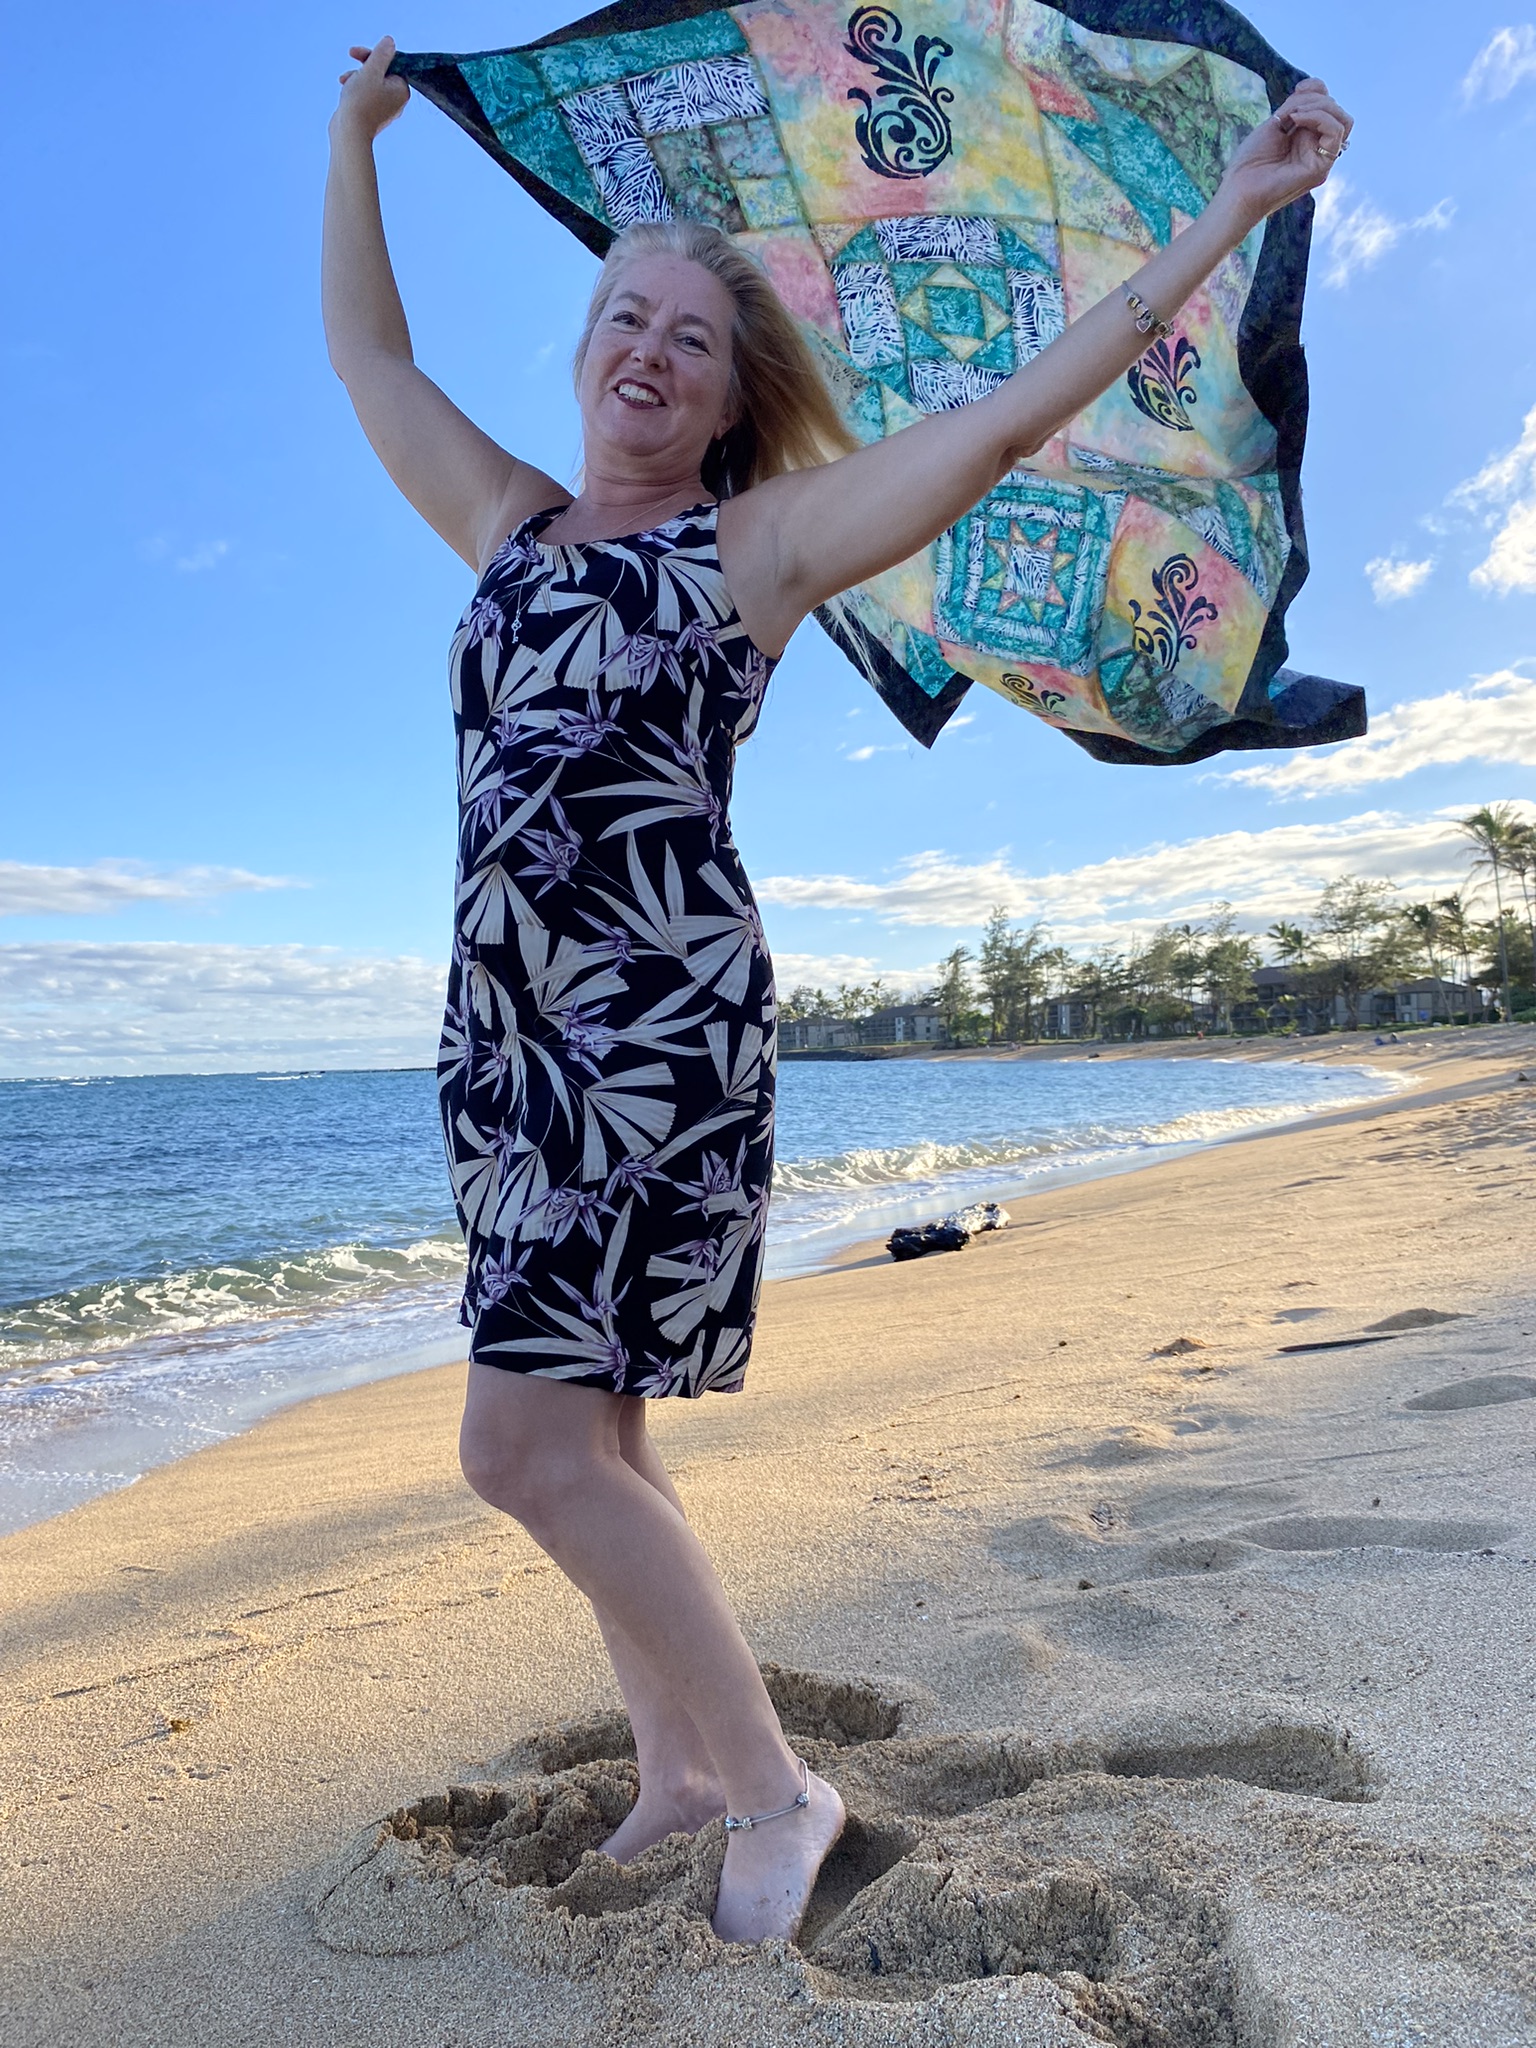
Here is my finished Sea Glass Sampler….
And, I still have enough pieces left to make another project!!
Follow me on Facebook …. Tiger Textiles
And Instagram … @tigertextiles