Sabrina Stuffed Puppy
23rd Jul 2020
Hi, Joanne here with a new project this week that is so cute you will want to make more than one! I found this pattern on the Creativebug website. It is called Luckyjuju puppy doll by Katia Ferris. I think this adorable puppy would be a great gift for a birthday or a baby shower.
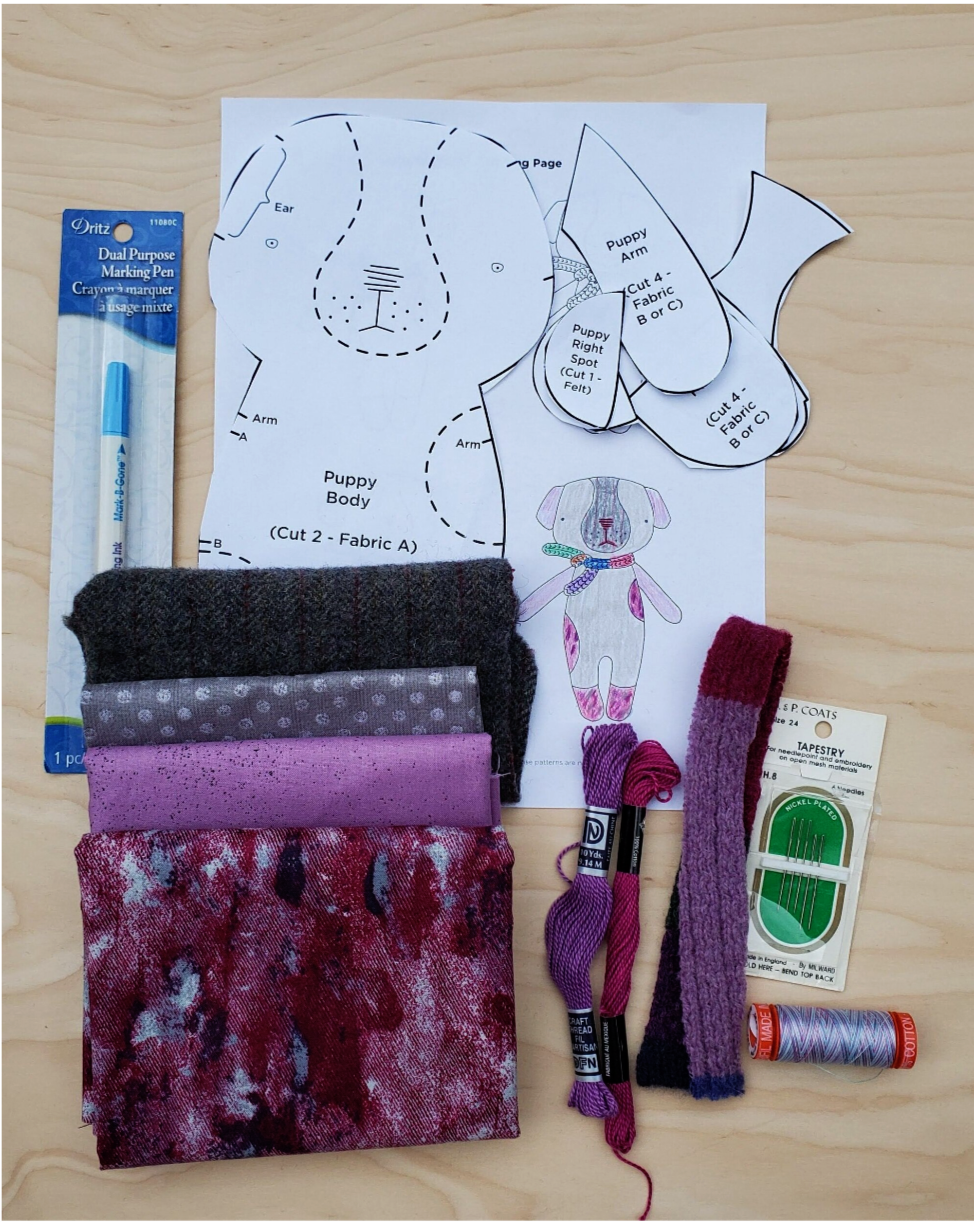
The raspberry and lilac fabrics are from Giucy Giuce’s new line in the Cotton Cuts Modern Maker box and the grey polka dot fabric is from the Cotton Cuts mystery bundles of fabric. You will only need scraps for most of the pieces. I really like the idea of upcycling fabric so the wool is from my thrift store treasure box. The pattern calls for wool felt, I substituted with the wool fabric.
Materials needed:
-
Wool felt for snout and spots 4x5 inches
-
Cotton fabric for body and back of the ears 6x12 inches
-
Cotton fabric for the front side of the ears 4x6
-
Cotton fabric 8x5 inches for arms
-
Cotton fabric 10x3 inches for feet
-
Two colors of embroidery floss for nose and whiskers
-
Tapestry needle
-
Coordinating thread that will be used for top stitching
-
Piece of wool for scarf
-
Fabric pen
-
Pattern
-
Polyfill stuffing
-
Small sharp scissors and pinking shears are helpful
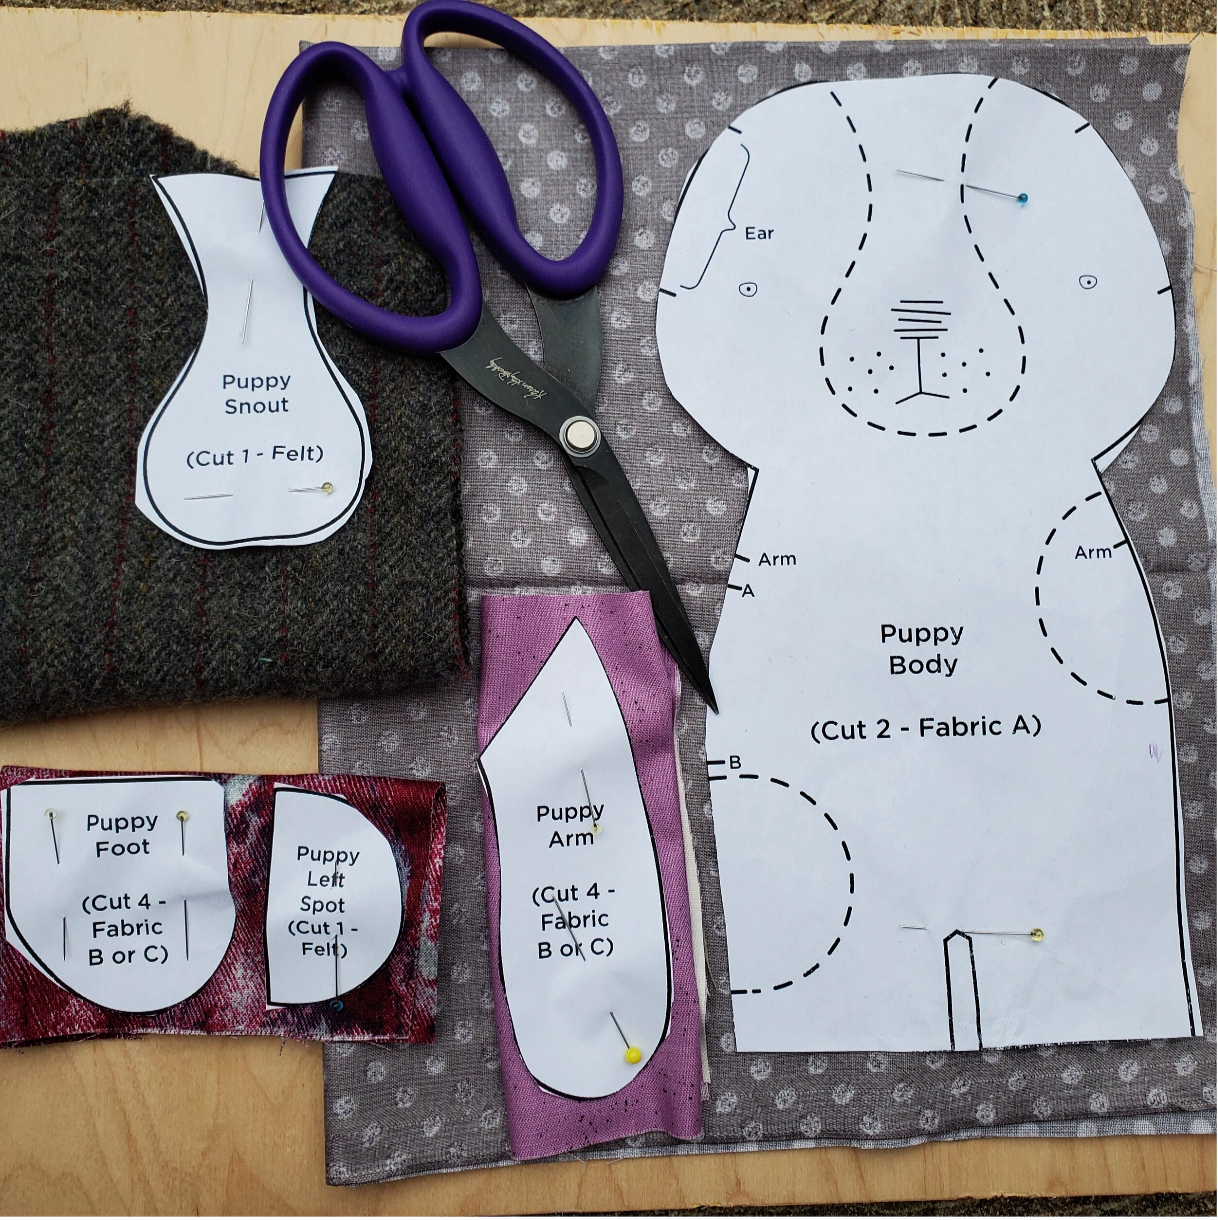
The pattern came with a planning page which I found to be helpful in my fabric selection. I first laid out all my pattern pieces ready to cut.
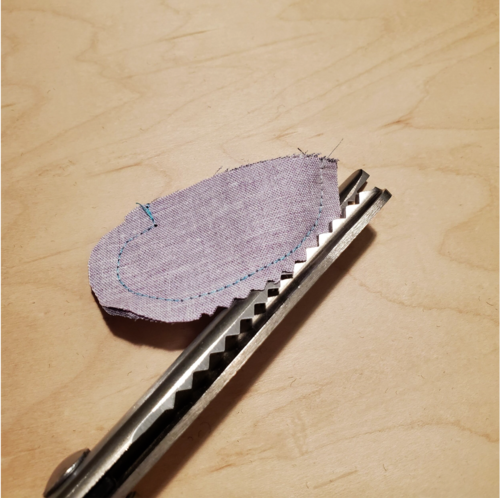
After preparing my pieces I was ready to start sewing the ears and arms. Sew with the right sides together with a ¼” seam. On the ears pay close attention to the marking on the pattern to achieve the look of a puppy ear. After sewing the ears it is time to trim. This is where the pinking shears are helpful to trim the curves to help it lay flat.
I used the wooden dowel and inner plastic tube from an empty spool of Aurifil thread to easily turn the skinny arm pieces. The arms you will stuff using a wooden dowel to pack it in at the bottom and gradually lessen the amount as you go stopping about ½” from the top.
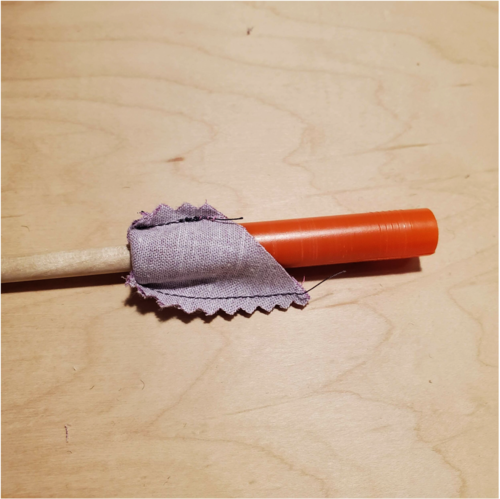
I used the wooden dowel and inner plastic tube from an empty spool of Aurifil thread to easily turn the skinny arm pieces. The arms you will stuff using a wooden dowel to pack it in at the bottom and gradually lessen the amount as you go stopping about ½” from the top.
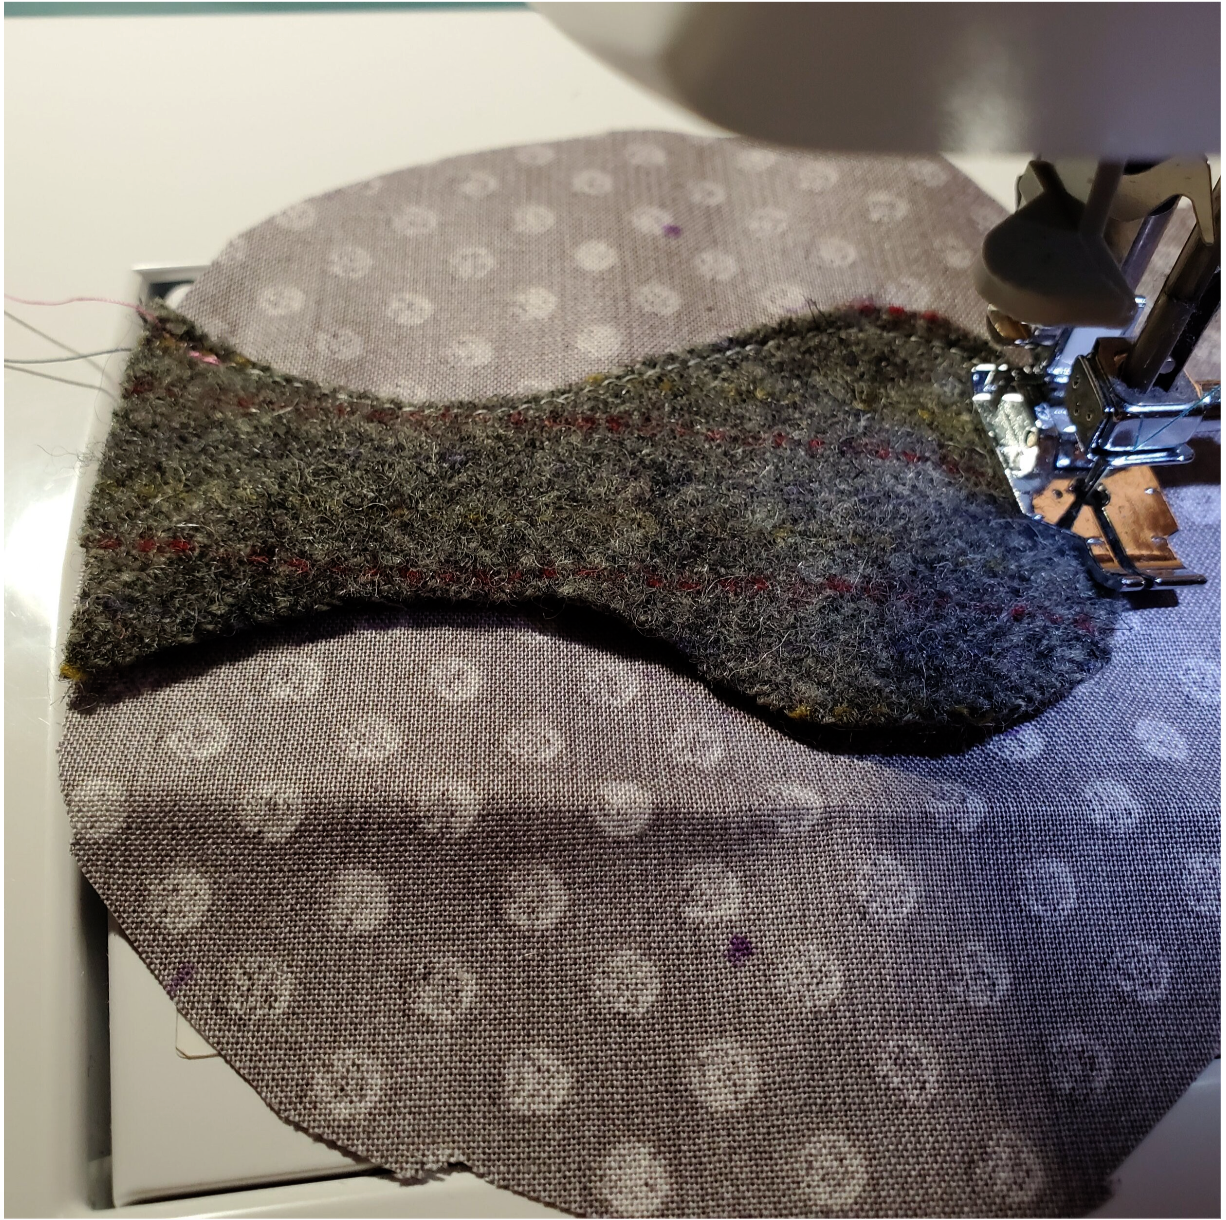
To keep it perfectly centered I would suggest using pins or a glue stick to keep it in place. Do the same for the spots on the body.
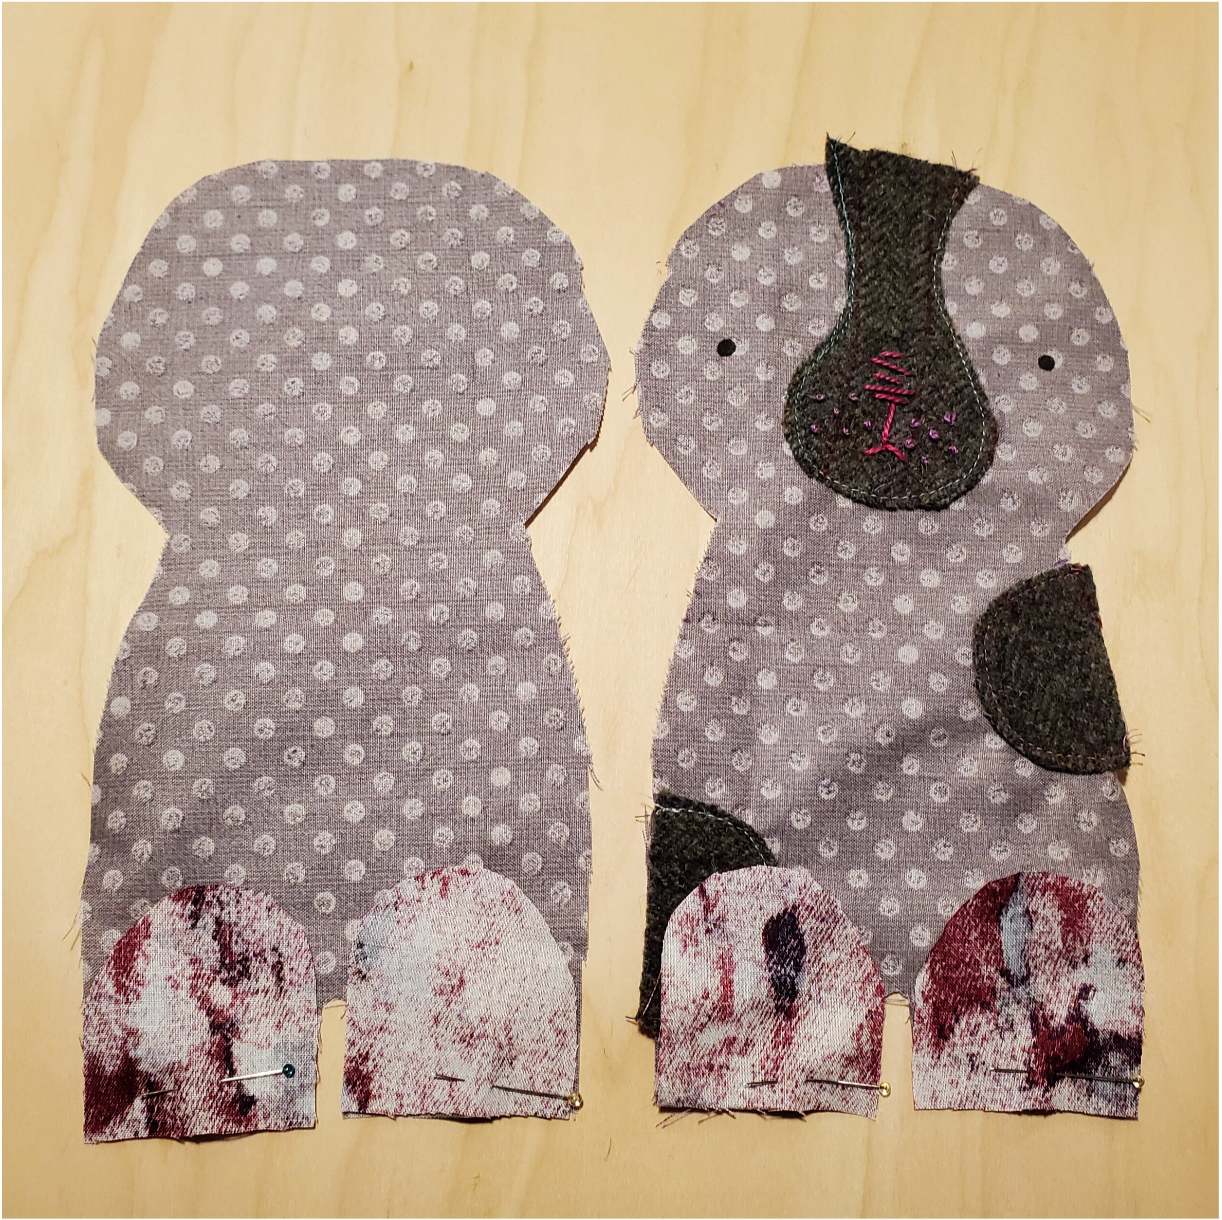
I used the raspberry floss to sew the nose lines onto the wool. I randomly tied French knots for whiskers on each side of the nose in the lighter lilac floss. I used a Micron black pen to make the eyes. The feet are placed right sides together and take note that the feet turn in toward the inner leg. Be sure to match the back legs, I had to undo and change the placement of mine.

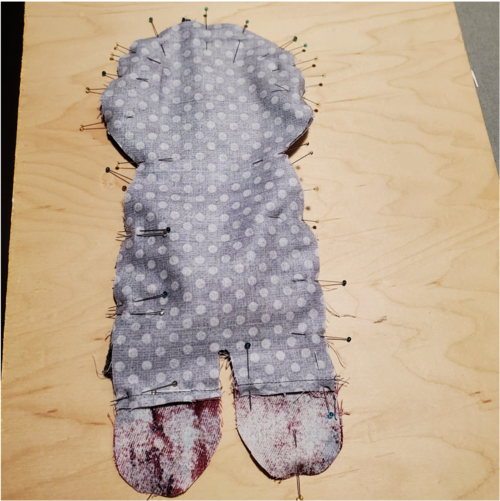
Be sure you have the pattern marked for arms and ear placement before this next step. I pinned in place but on my next puppy I will baste these in place to keep them exactly where they should be. I had to make adjustments to the arm and an ear. In the end these little changes added “personality.”
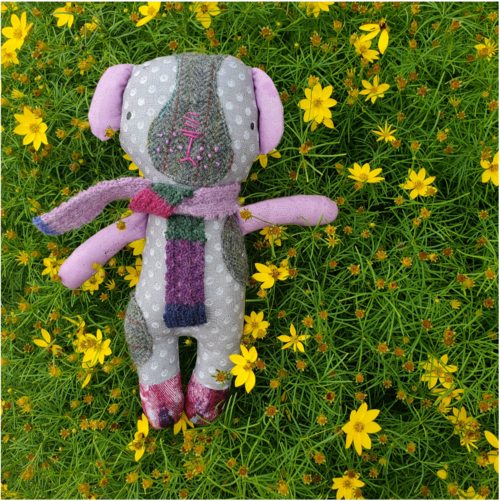
I used a grey thread to hand sew the opening closed using small hidden stitches. For the final step I cut a scarf from my wool and tied it around her neck. As I looked at my finished puppy the name Sabrina seemed appropriate for her happy little face.

I was so pleased with the first puppy I decided to make a second one! He will be going home with Theodore, my neighbor who helped me with sun dyeing last week.