Fabric Junk Journal
30th Jul 2020
Junk journals are a clever way to use up scraps of paper and fabric and a fun way to keep record of little moments in our crazy days. This is a quick and easy project using repurposed “junk” that might end up in the trash to create a special book to journal about this time in our lives. Each page will look different as you sit down to journal absorbed into the creative process forgetting the stress of the day.
Supplies needed
-
Fat quarter of fabric
-
Coordinating thread
-
An empty book (thrift stores are a great place to find hard bound books)
-
Blank paper for book pages
-
Assorted washi tape
-
Cardstock and scrapbook paper
-
Fusible interfacing

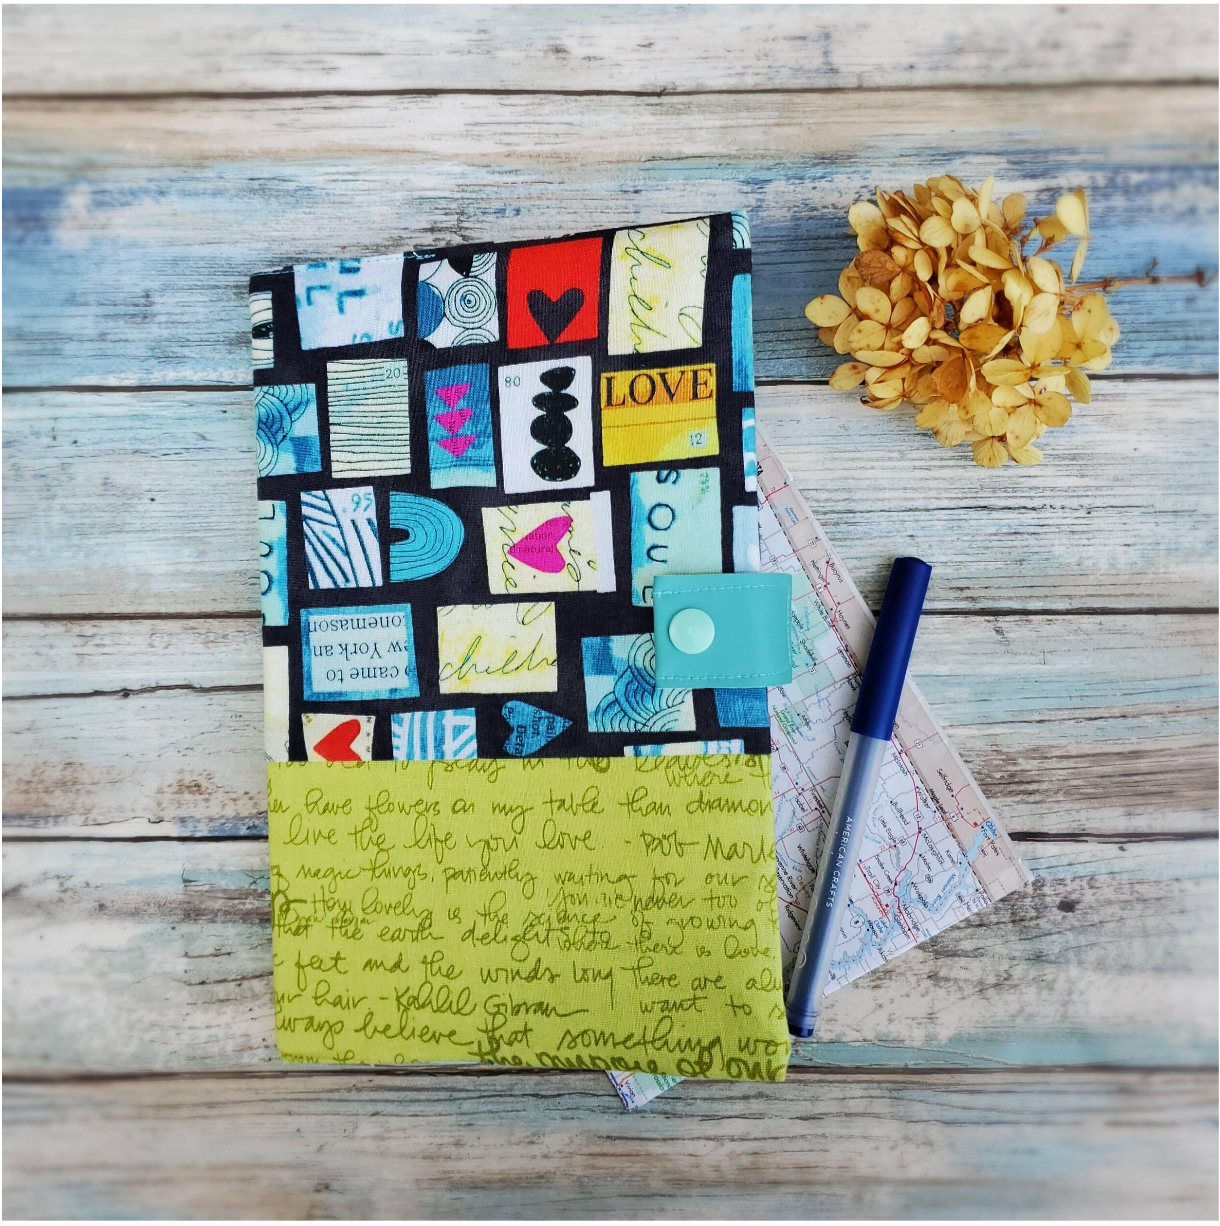
When I spotted this fabric I knew it was perfect for my junk journal project. I used Wish by Carrie Bloomston and Into the Garden by Amanda Herring. I looked to Pinterest for inspiration and found so many great examples of how to get started. I wanted a simple fabric cover with an inside pocket to hold pens.
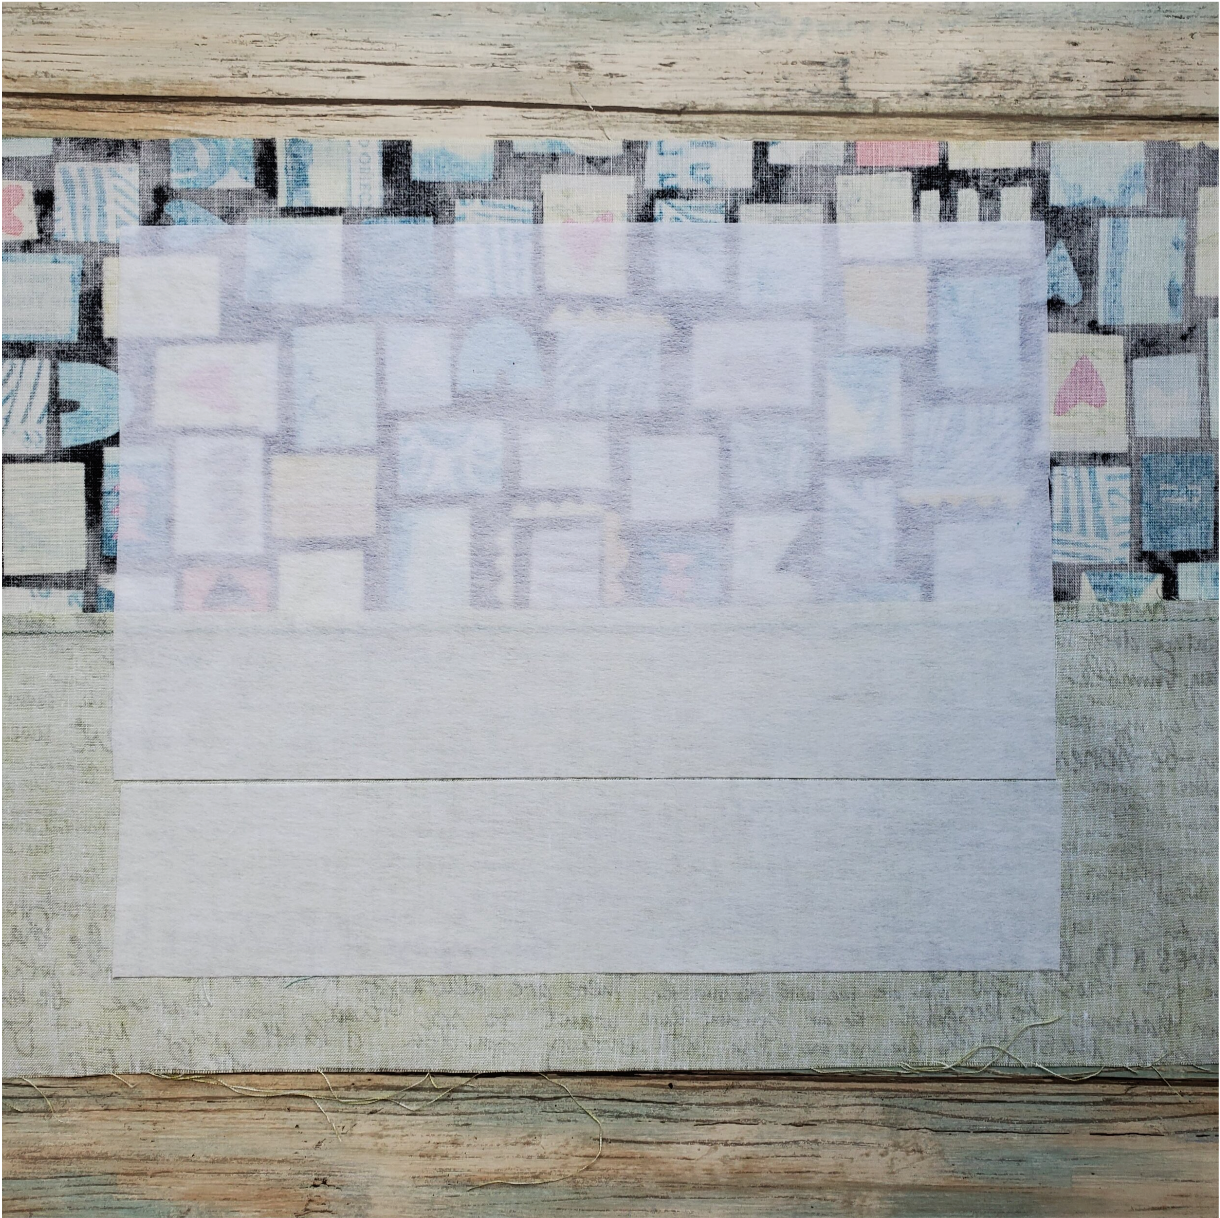
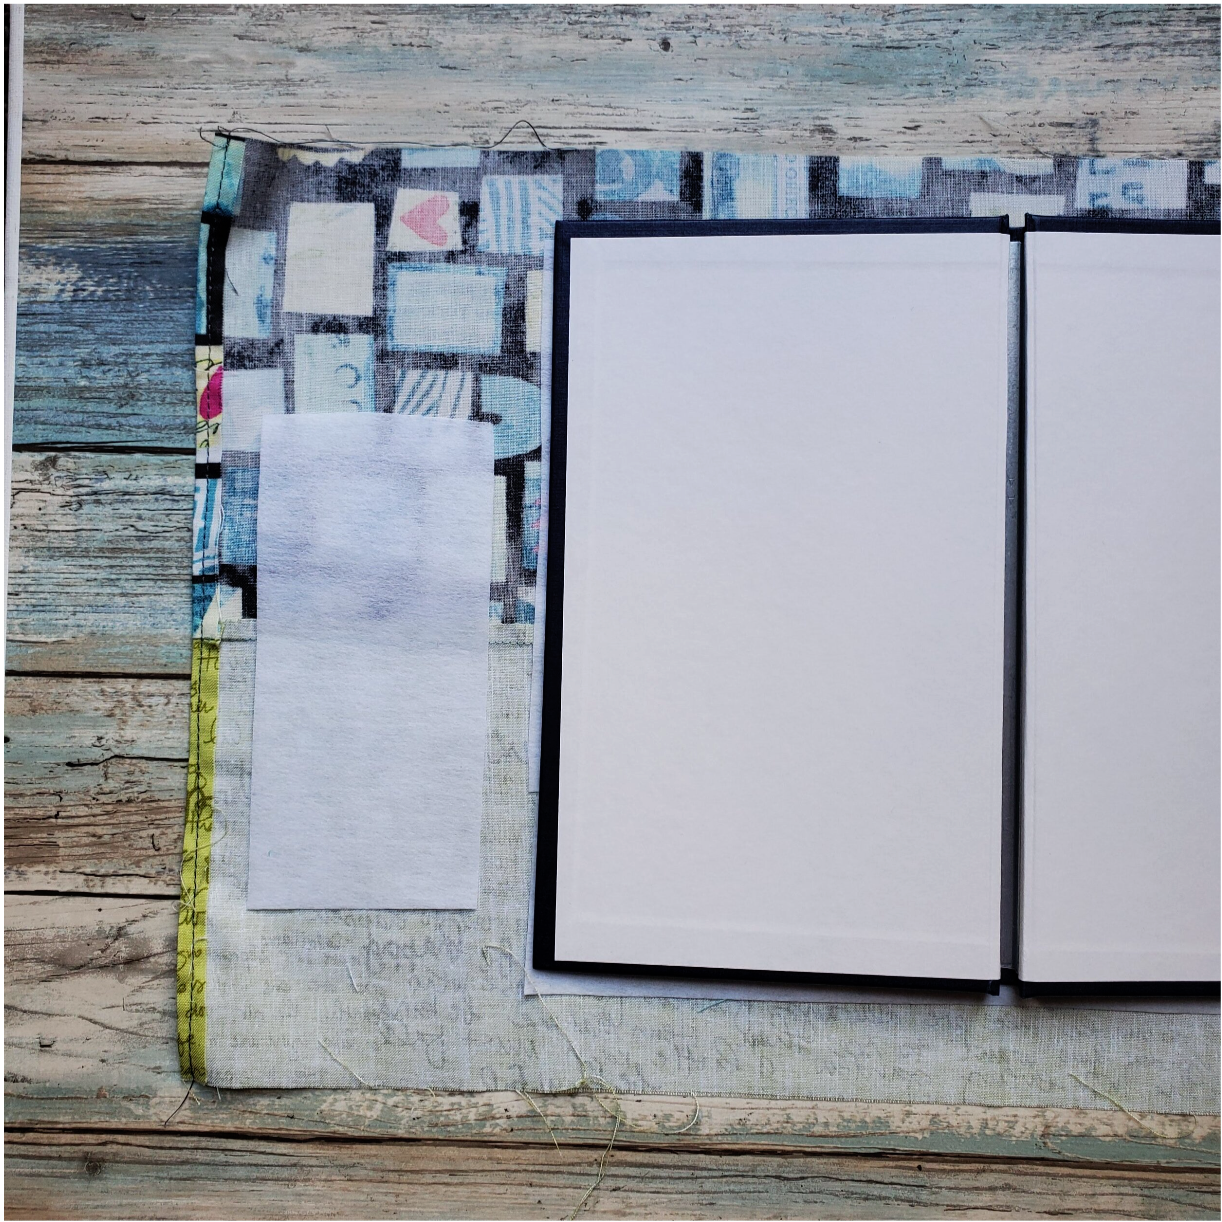
Start by measuring your book. I added 2 inches to the height and 8 inches to the width to determine my fabric size.

I used a fusible interfacing the same size as the book and centered it on the cut fabric. This will add stability to withstand regular use of your journal.
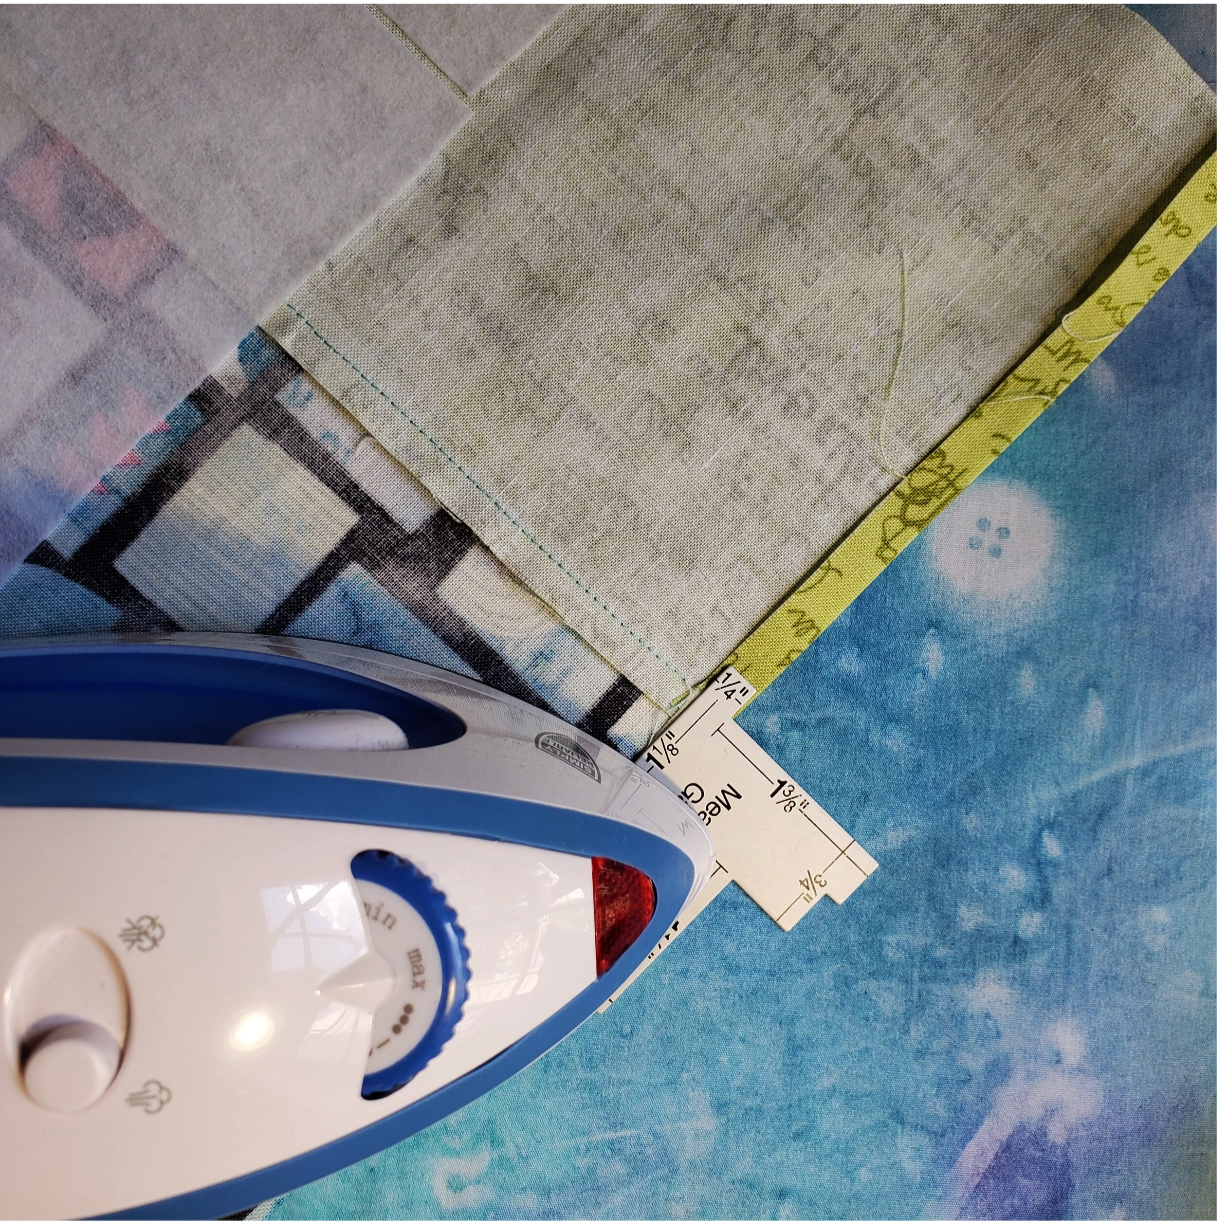
Now you are ready to sew a ¼ inch hem on the short sides of the fabric. Press the hem in place and then sew, back stitching at the start and end of each hem to reinforce.
I decided to add a piece of fusible interfacing on the wrong side of the fabric to stabilize the mesh pocket to be placed on the inside of the book cover.
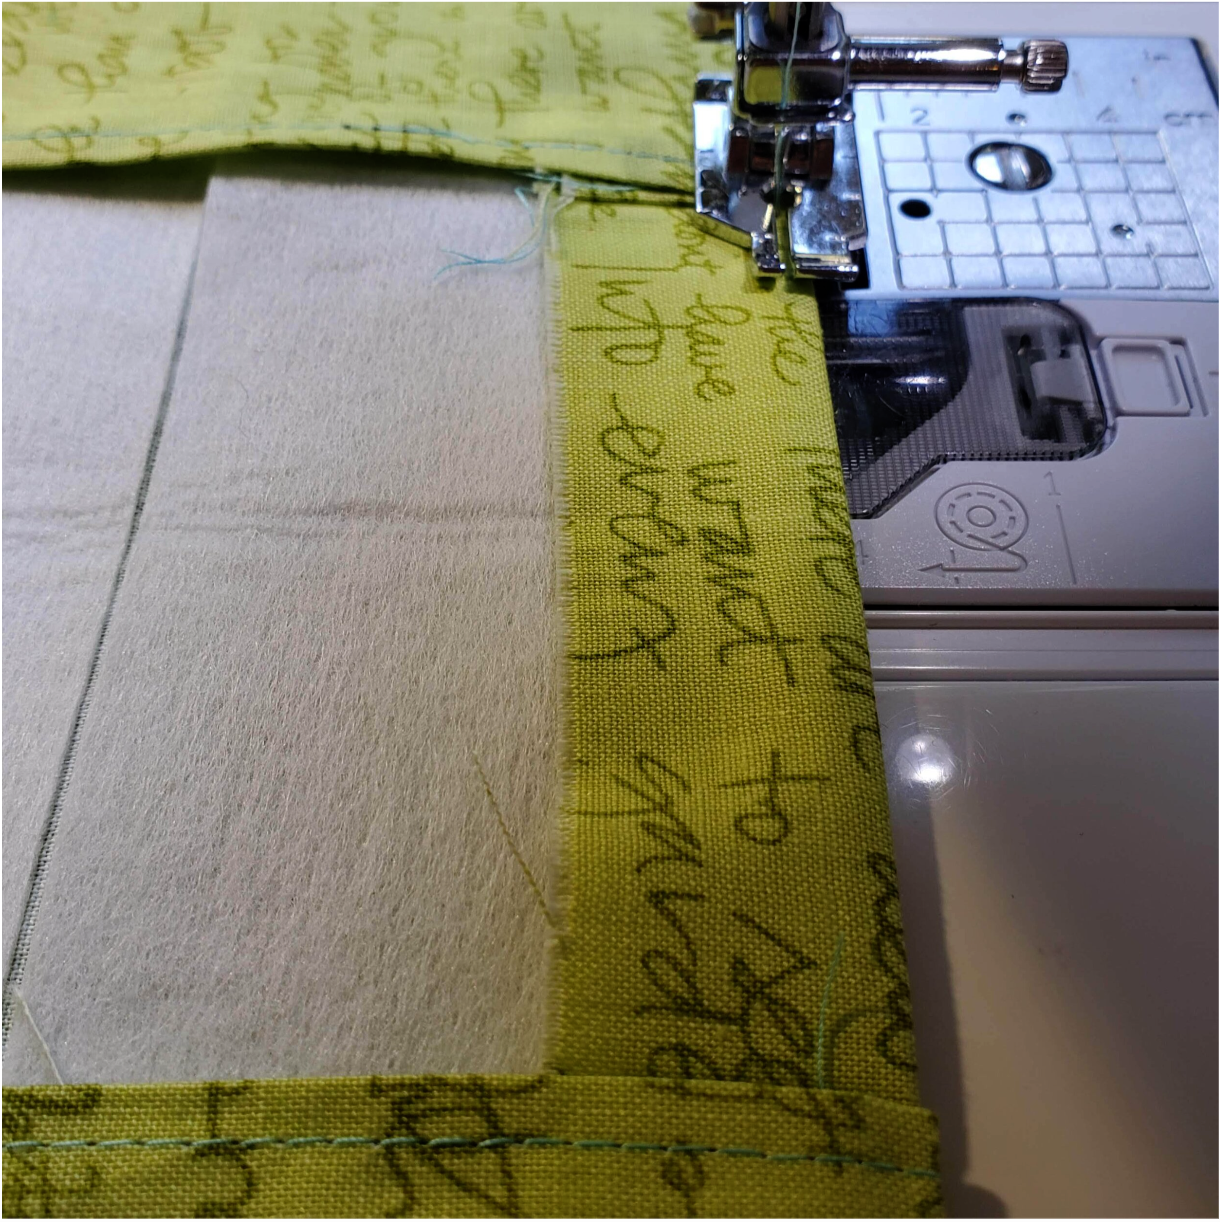
I cut a piece of mesh fabric about the size of my pens I plan on storing in the pocket and added a fold over elastic at the top. I found that using a smaller stitch works better when sewing the mesh onto the book cover.
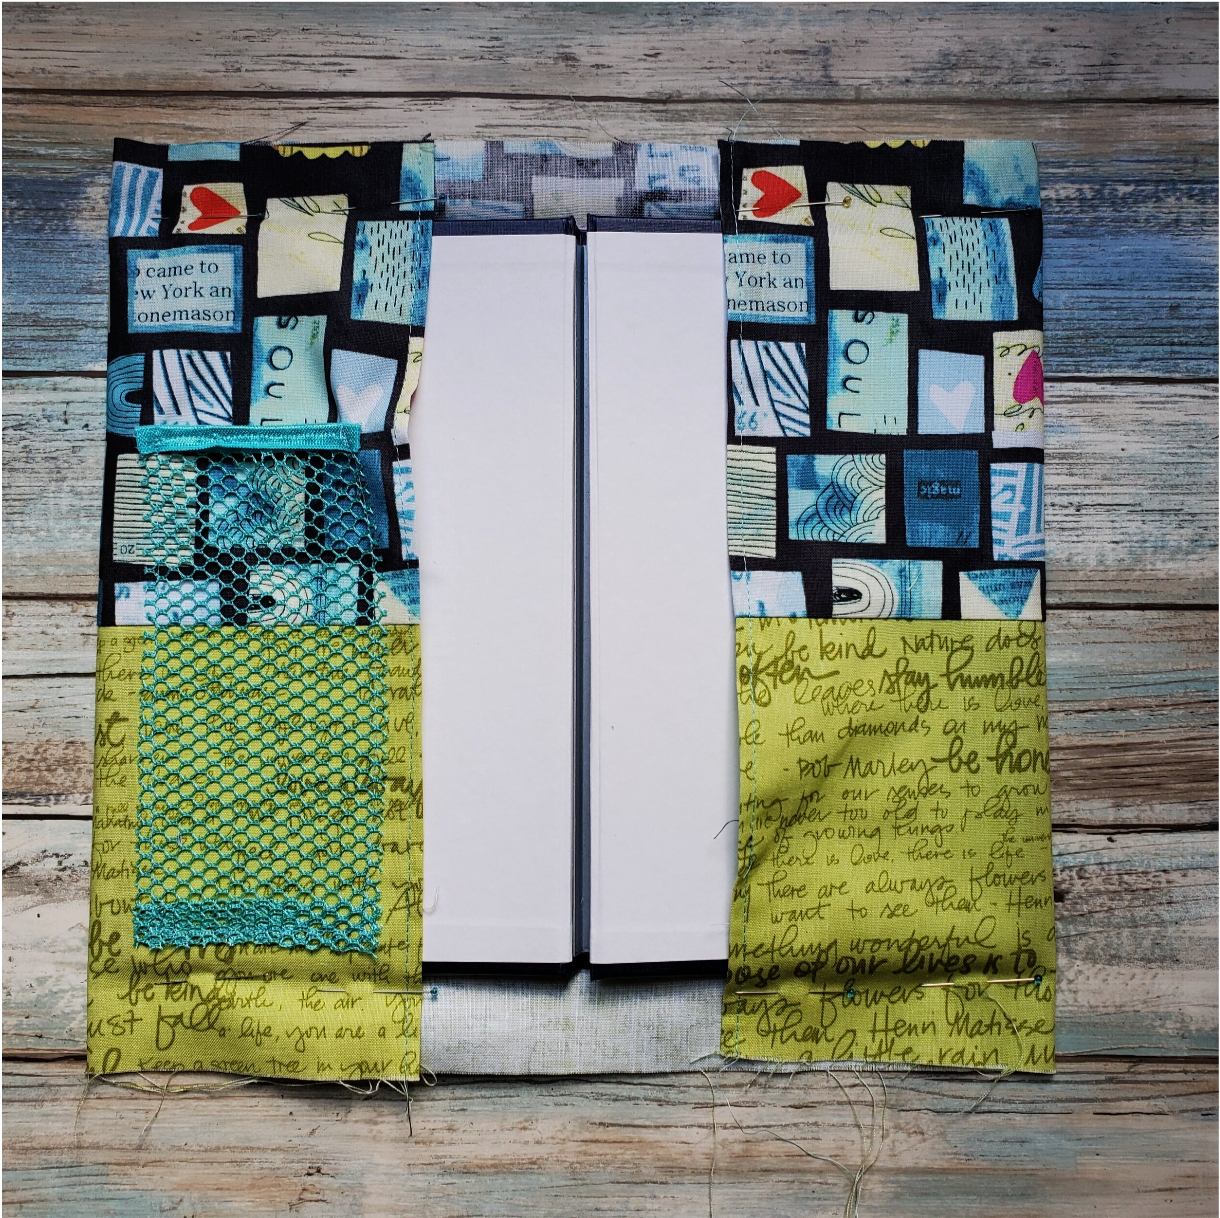
I just top stitched the pocket in place. At this point I folded the other side of the fabric onto the book cover and pinned it in place where I planned to sew. I tried opening and closing the book to be sure I had allowed enough space for a good fit. You want it to fit snug so it stays in place. With the right sides together I marked my seams and took it to the machine to sew. Clip the corners to reduce the fabric and turn right sides out using a tool to push out the corners. At the top and bottom fold down the fabric to match the height of the inside flaps and top stitch in place.
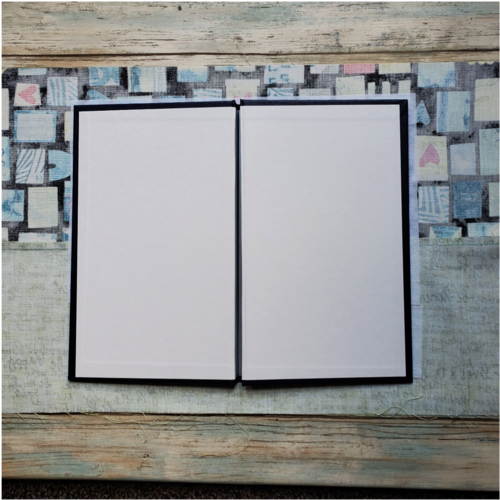
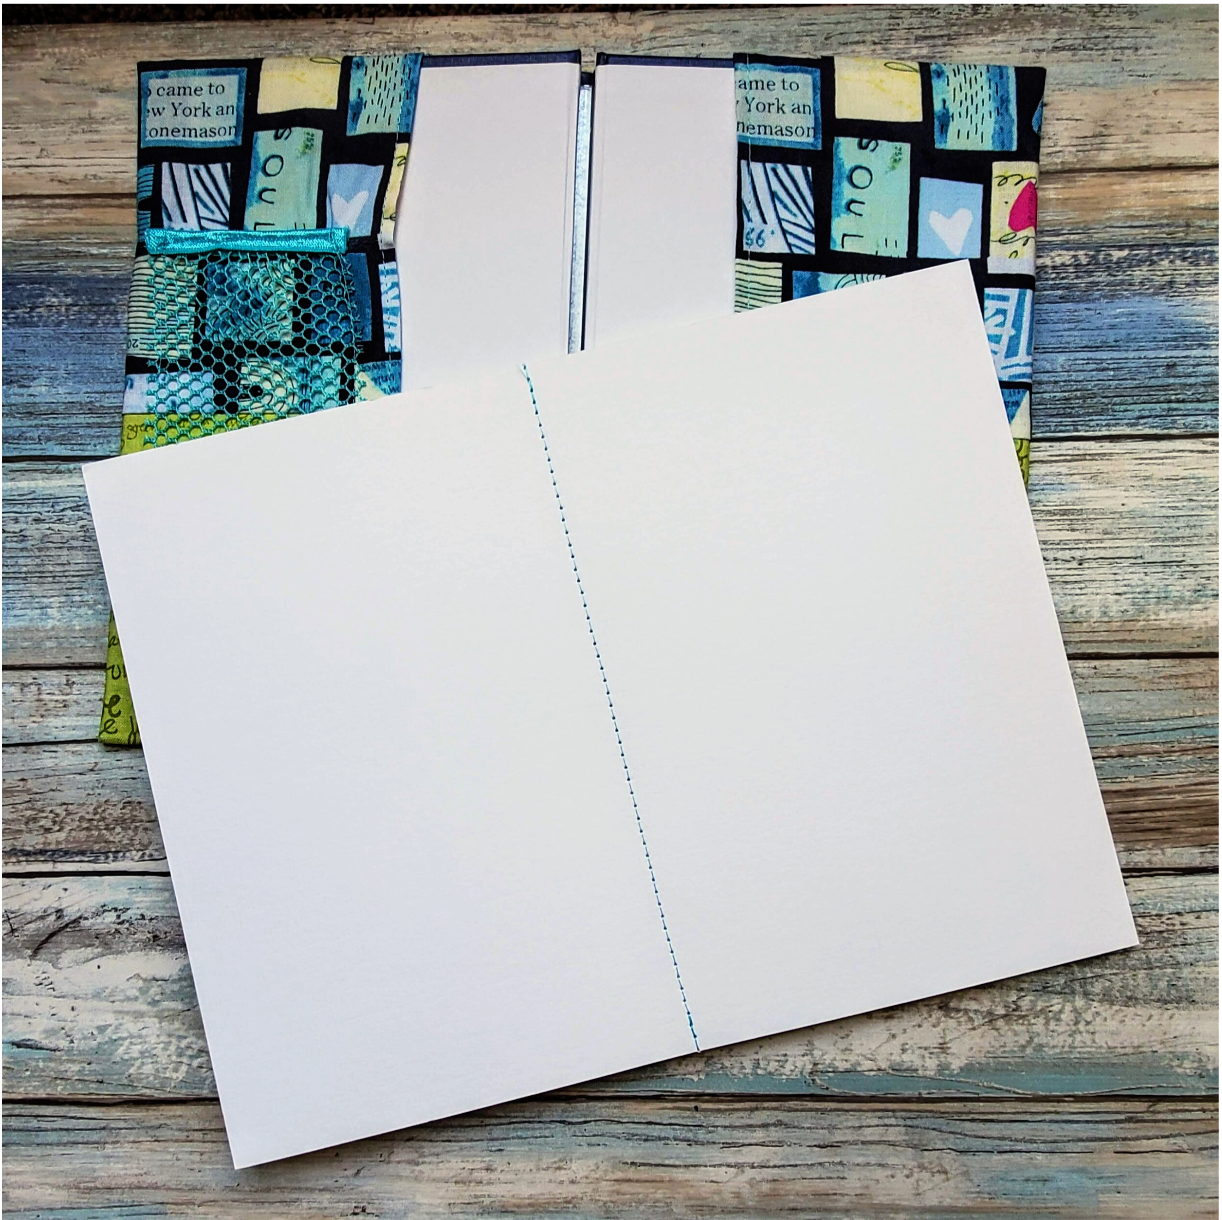
For my book cover I added a piece of faux leather with a snap to hold it closed. I sewed the strap to the back cover. I added a snap to the front allowing space to fill it with treasures. The book cover is complete. For the inside pages I used a heavy weight watercolor paper and folded in half sewing a seam down the middle. I very slowly sewed five sheets together, back stitch at the start and end to secure.
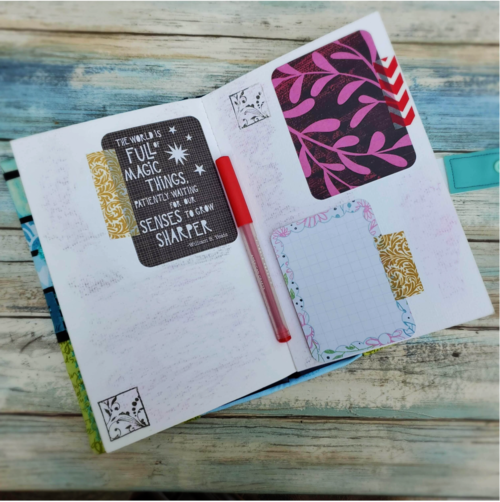
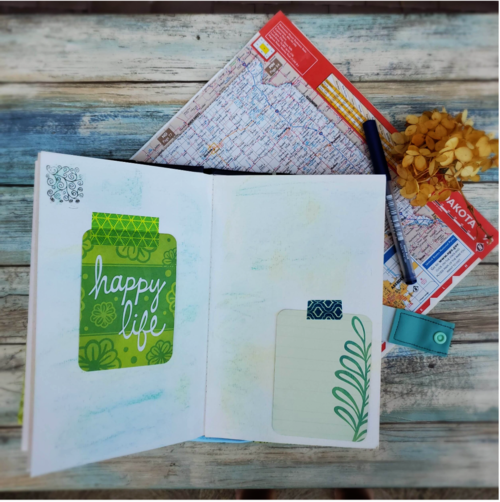
At this point you can add scrapbook papers and decorative card stock to embellish each page. I used some chalk pastels to add some color to the pages. I added some envelopes and quotes on the pages leaving plenty of space for doodles and journaling.
I really enjoyed the process of creating this journal! I made it as a gift for my daughter’s road trip exploring South Dakota and visiting national parks this summer.