

To Ditch or Not to Ditch with Adam
25th Apr 2022
Hello everyone, it’s your friendly neighborhood long arm quilter, Adam Sew Fun.
Today I thought we could talk about stitching the ditch when you are in the quilting process. Why would you want to? What will happen if you don’t? I will also give you a few tips to help your ditch stitching disappear.
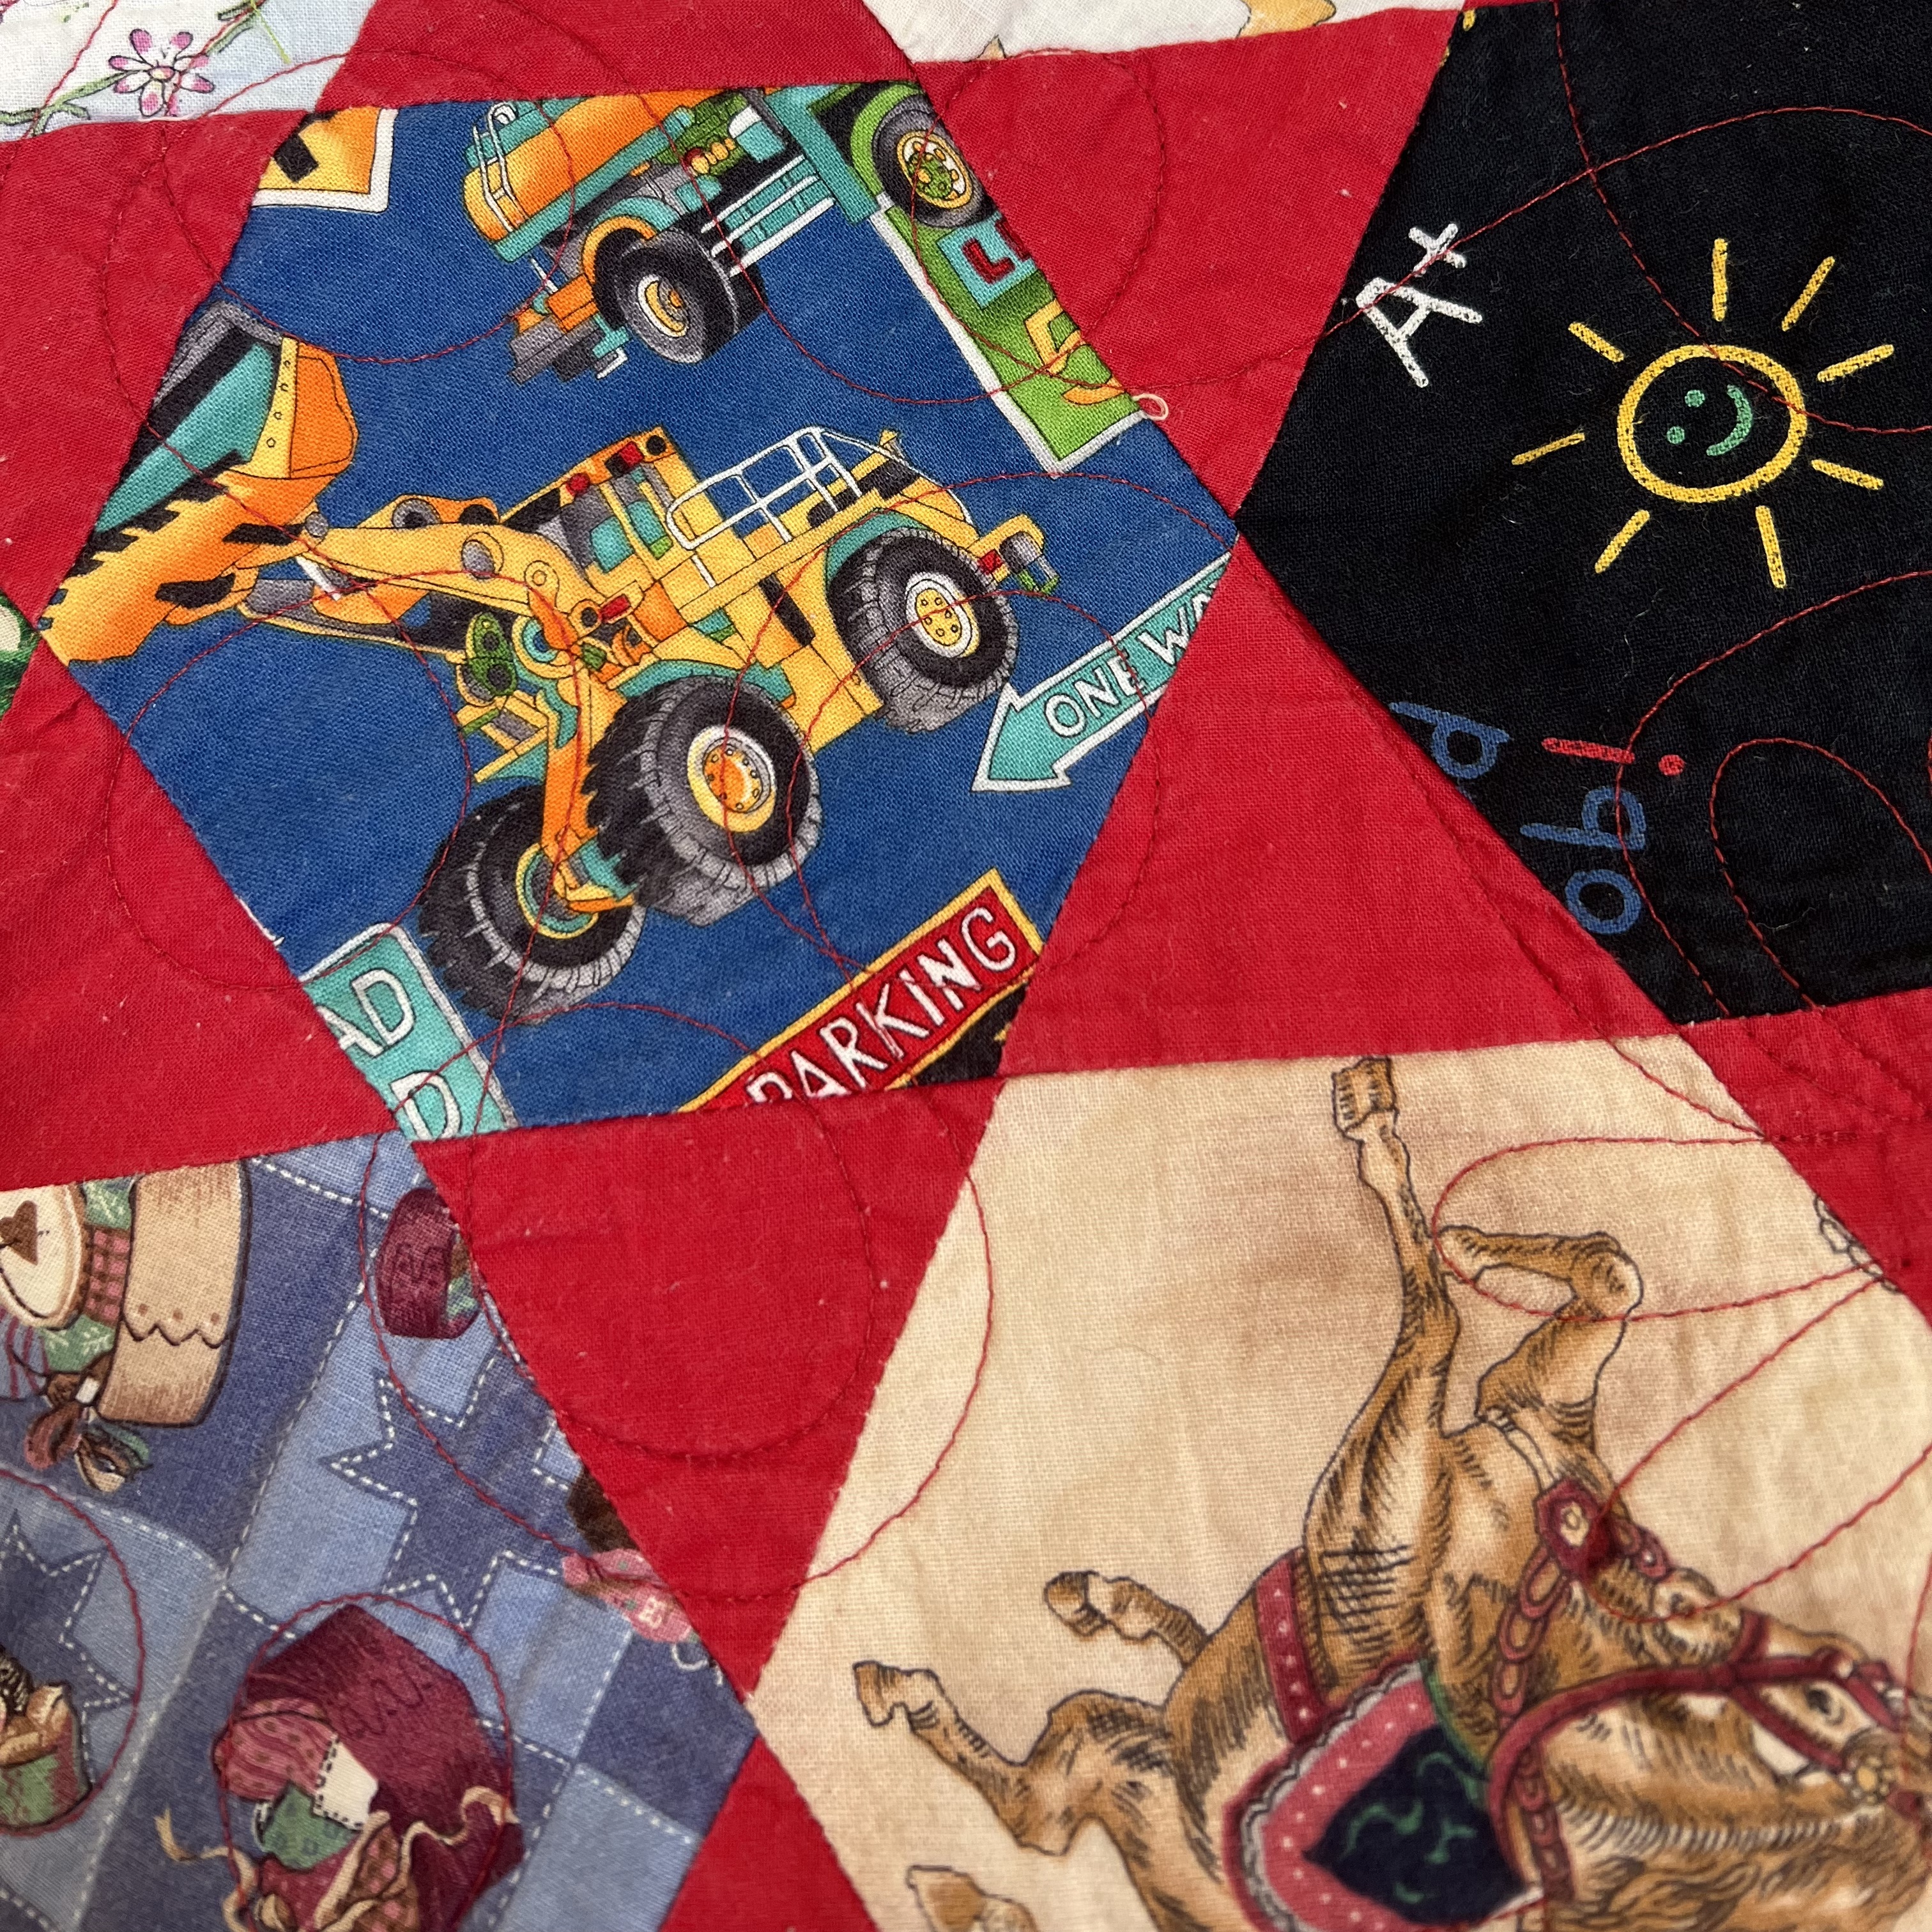
First off, what is stitching the ditch? When we have a pieced top, we call all of the seams ditches. These are areas we can accentuate with stitching. We, as quilters, don’t usually stitch all the ditches, but we can pick and choose what ditches to stitch to bring focus to a specific area. In the photo below, you can see many different shapes that make up the lone star style center. I decided to stitch the ditches around the light blue parts only. I also decided to add some micro stitching details into the light areas, so all the areas around those light blue triangles pop up. If you look at the semi-hexagon shapes created by the two dark blue diamonds and 2 medium blue triangles, I stitched these to play or act as one complete unit, so decided not to stitch the ditch between these fabrics. I also didn’t stitch the ditch around the outermost dark blue diamond, again making it pop out into the white area around it. You can give many different illusions when working with ditches and elements of a quilt.
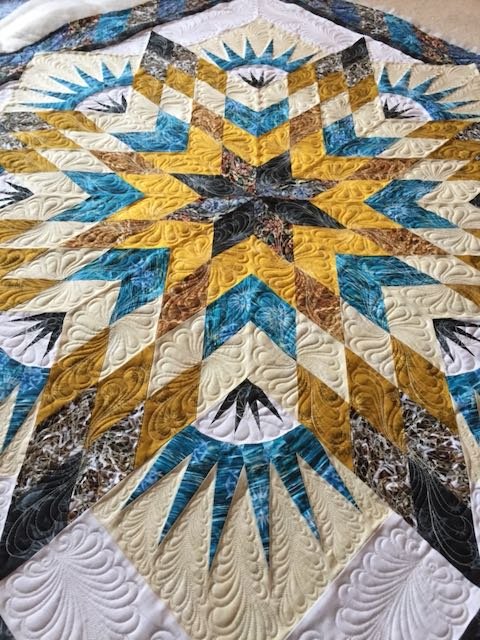
This next quilt has no ditches stitched at all. This one was early on in my long arm career and I didn’t understand the power a long arm has over a quilt. Don’t get me wrong, the quilt and quilting look great, but some areas do feel like detail might be missing. If you look at the New York Beauty blocks, there isn’t a great divide between the blue spikes and the cream background. If I would have added some ditch stitching between the two areas, it would have brought the eye to those spikes and really showed off the sharpness and precision in those points.
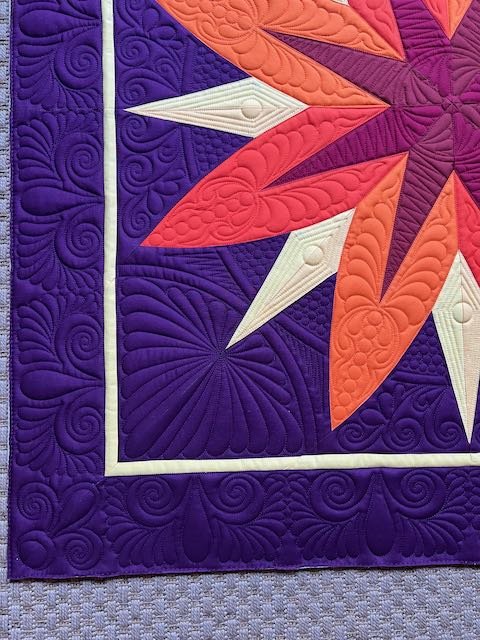
In this final photo, I stitched the ditches around each element in this quilt. By doing this at the beginning, it’s giving a defined area for each different section and gives the eye a place to rest between them. I then went in and placed designs for each section and quilted them. Another factor in this quilt is the purple sections. Although there are several different designs in this area, there are not additional stitches, this is because the purple areas act as their own section and the stitching designs themselves create the new areas in the negative space.
If you find that stitching ditches is hard for you, make sure you are using the right tools. If your machine has a stitch the ditch foot or foot with a line down the center, that can help you line your needle up with the ditch and make sure your stitches are flowing in that ditch. You can also try to use a thinner thread when ditch stitching. I love to use a 60wt, 100wt, or monofilament type thread for this. If I’m off a little bit, no one is going to notice. If you are using a ruler, try a ditch stitching ruler. They are made to put the edges of your ruler right into the ditch and stitch the straight line from points A to B. These tools will help you hit the ditch every time.
Remember, it’s all supposed to be FUN! I say I’m good at hitting near a ditch and can’t stitch in the ditch to save my life, so my goal is to stitch next to the ditch and have fun doing it and enjoy the process.
Happy ditch stitching,
Adam
AT THE END OF THE DAY, IT’S JUST QUILTING!