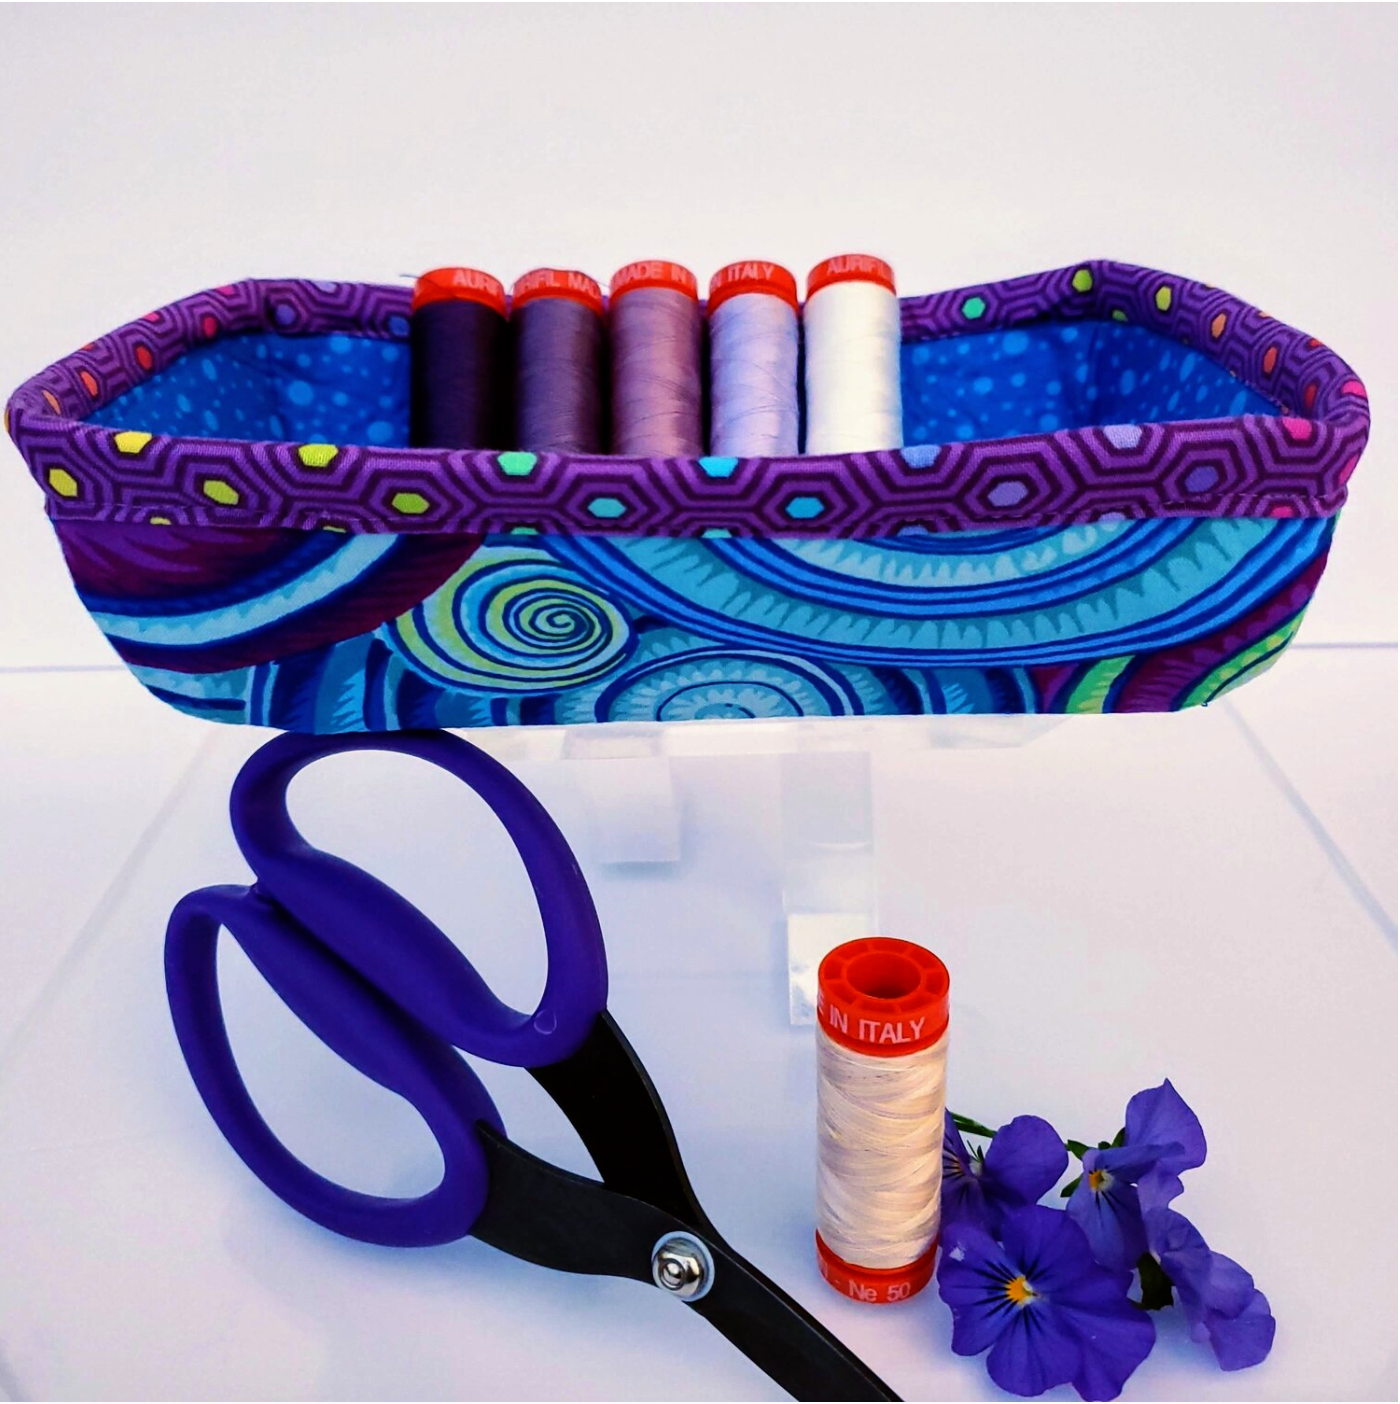
Tiny Treasures Tray
25th Mar 2021
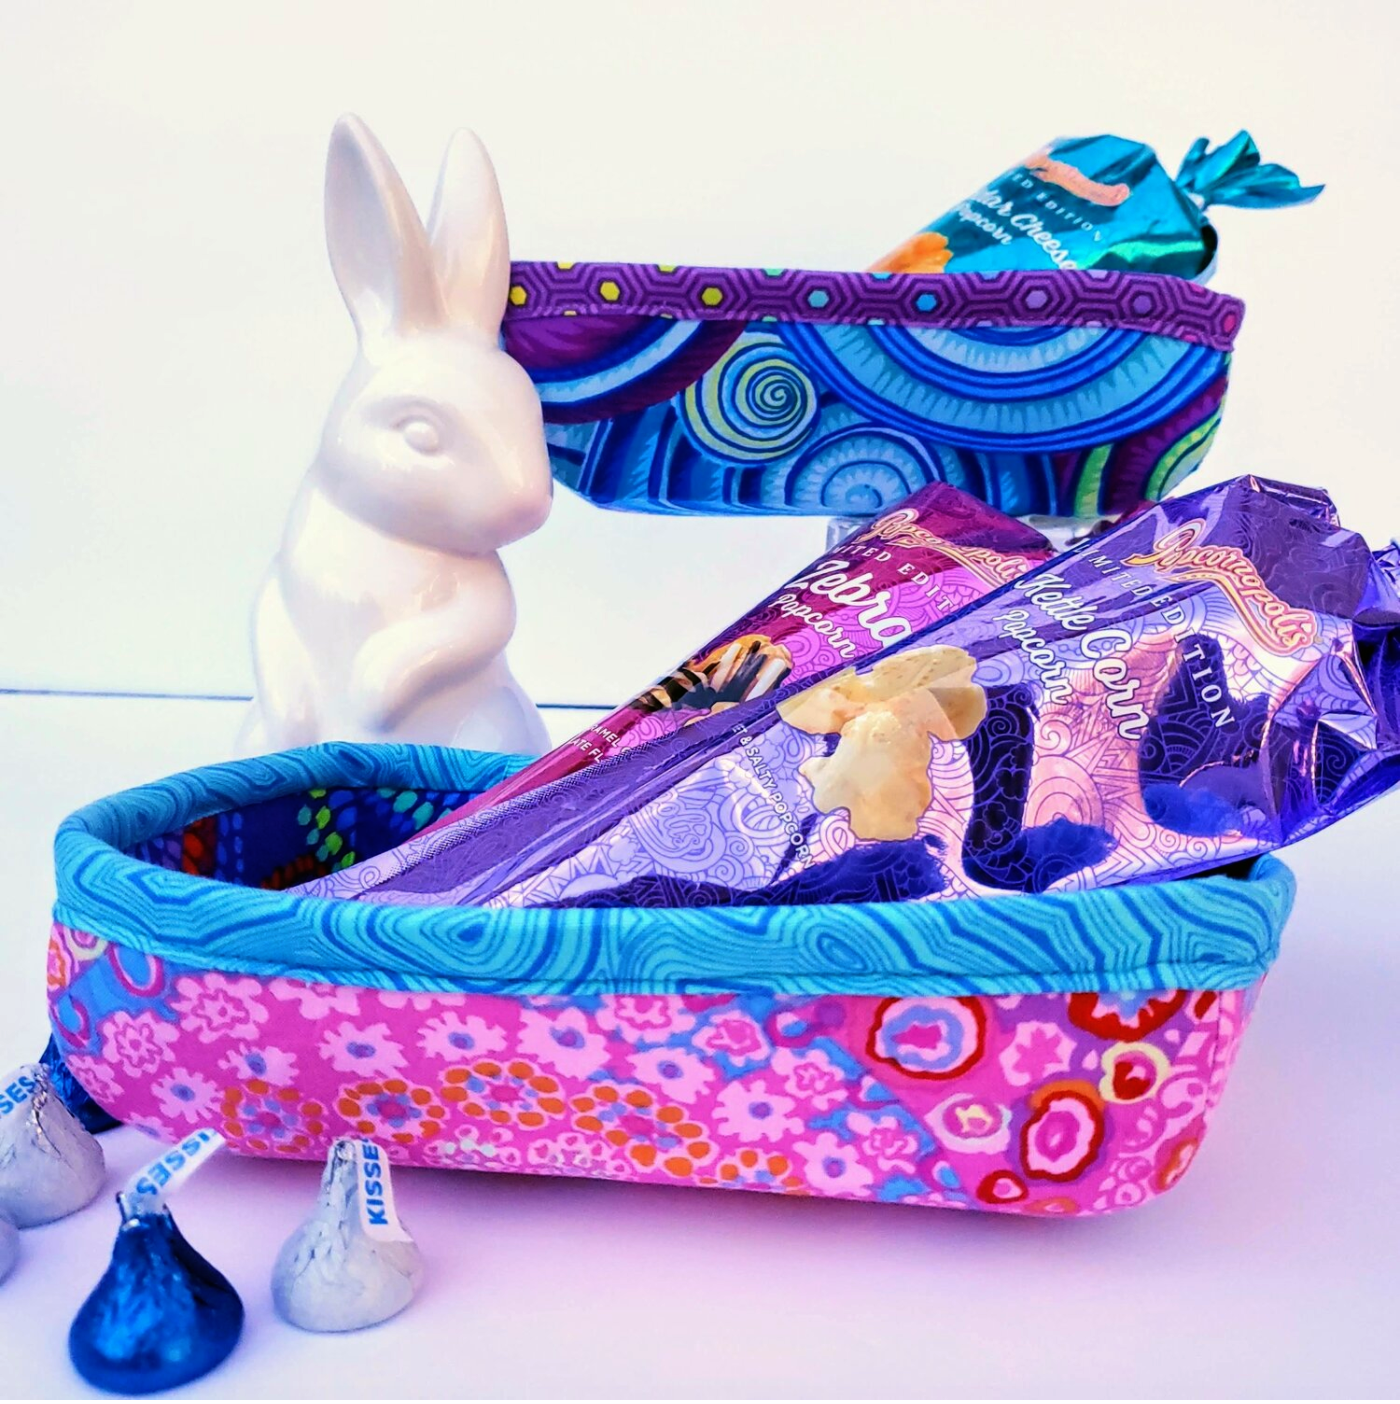
With Easter less than two weeks away, this is a quick and easy gift basket to fill with some favorite treats. It’s the perfect size to keep on your side table or near the sewing machine to keep glasses and notions close at hand. The tray size featured here is fat quarter friendly and a great project for a beginner. The free pattern is available from Robert Kaufman Fabrics designed by Anna Graham. The fabrics are from FreeSpirit Fabrics by Kaffe Fassett designs found in the March Cotton Cuts Classic Box.
Materials needed
-
Fat quarter for exterior and lining fabric Mystery Fat Quarters
-
2” x 27” fabric piece for binding trim
-
8 ½” x 11” piece of Pellon Peltex 71F and 808 fusible craft interfacing
-
Coordinating Aurifil thread Chroma Box
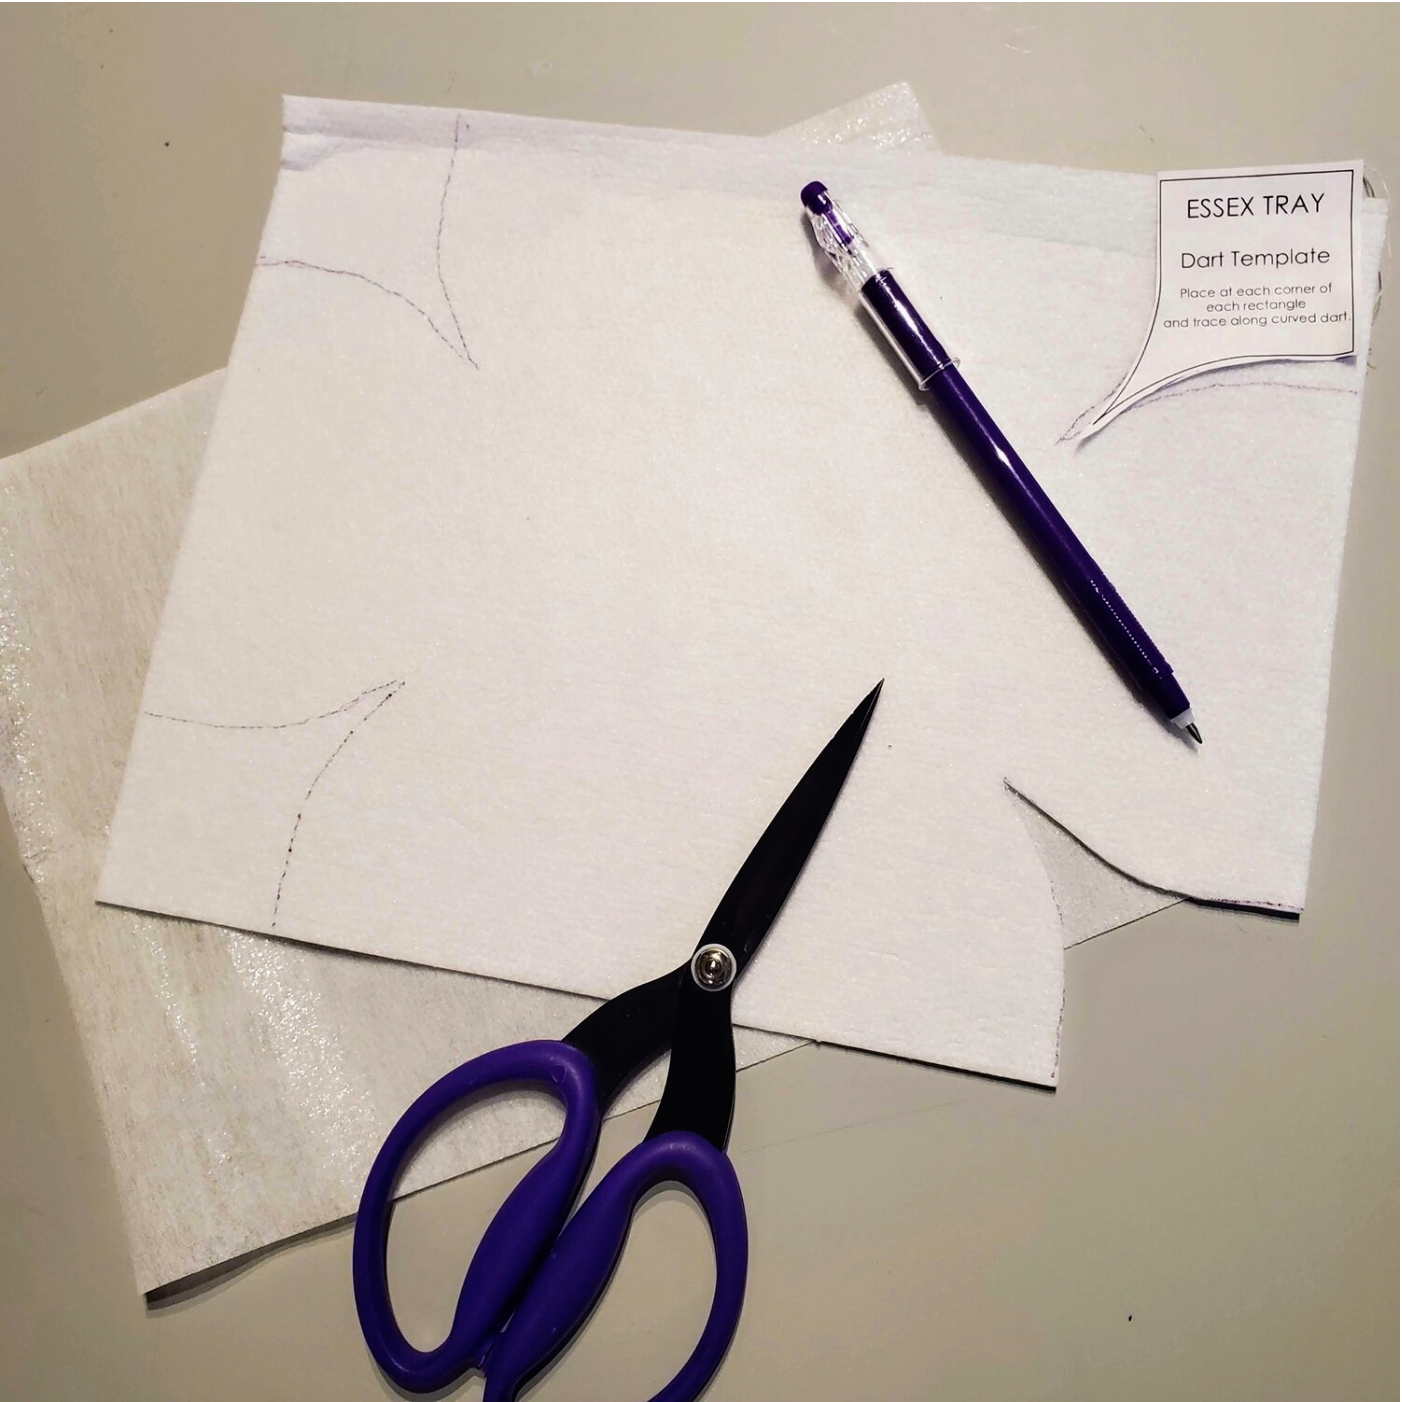
To get started, print the pattern and cut out the tray corner template. Cut an 8 ½” x 11” piece of fabric from the exterior, lining, Peltex and 808 interfacing. Using the template on the Peltex and 808 interfacing trace around the shape in each corner and cut the pieces out.
Set your iron on the cotton setting and iron the 808 interfacing on to the wrong side of the exterior fabric piece. Be sure to use a Teflon sheet to prevent the adhesive from melting onto your iron and ironing board. Next press the Peltex on to the wrong side of the lining fabric. I found pressing from both sides and using pressure helped to adhere the interfacing securely to the fabric.
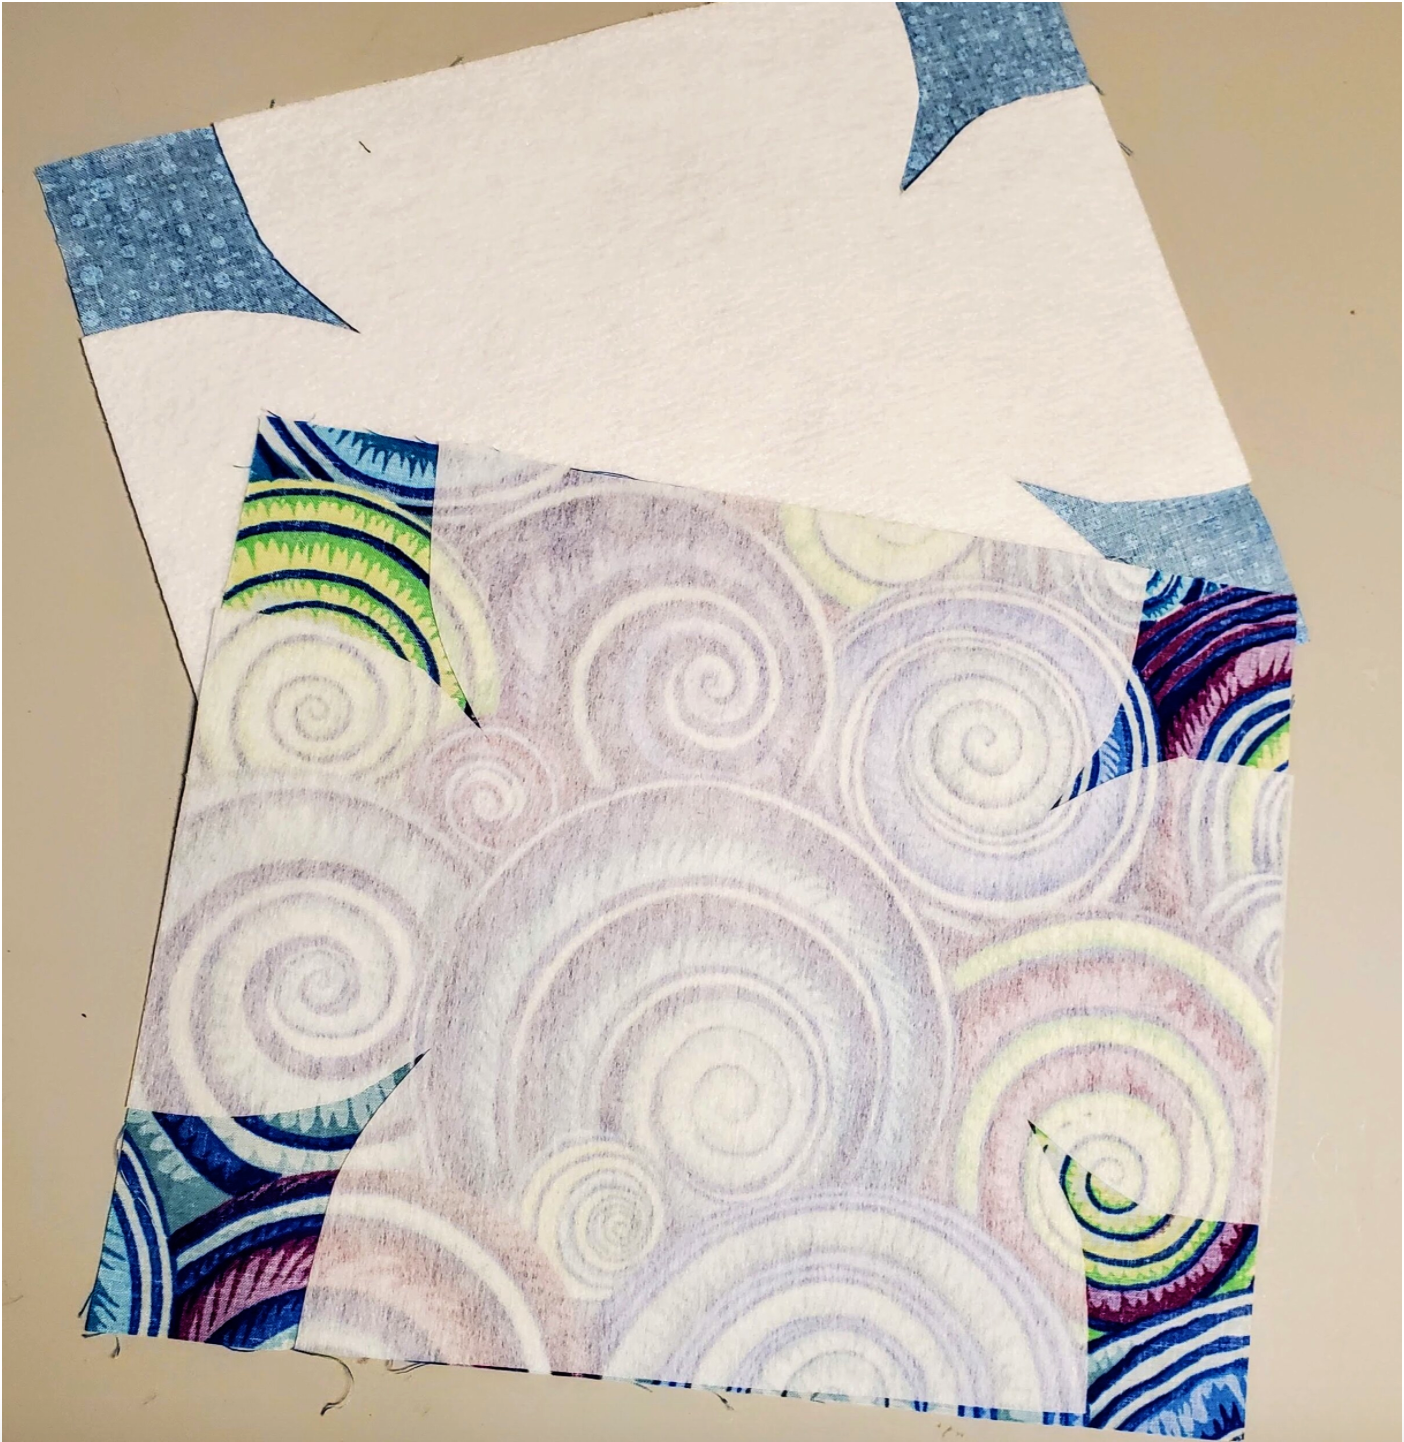
Next sew the darts by folding right sides together matching the interfacing pieces and starting at the point sew the seam back tacking at each end to secure the stitching.
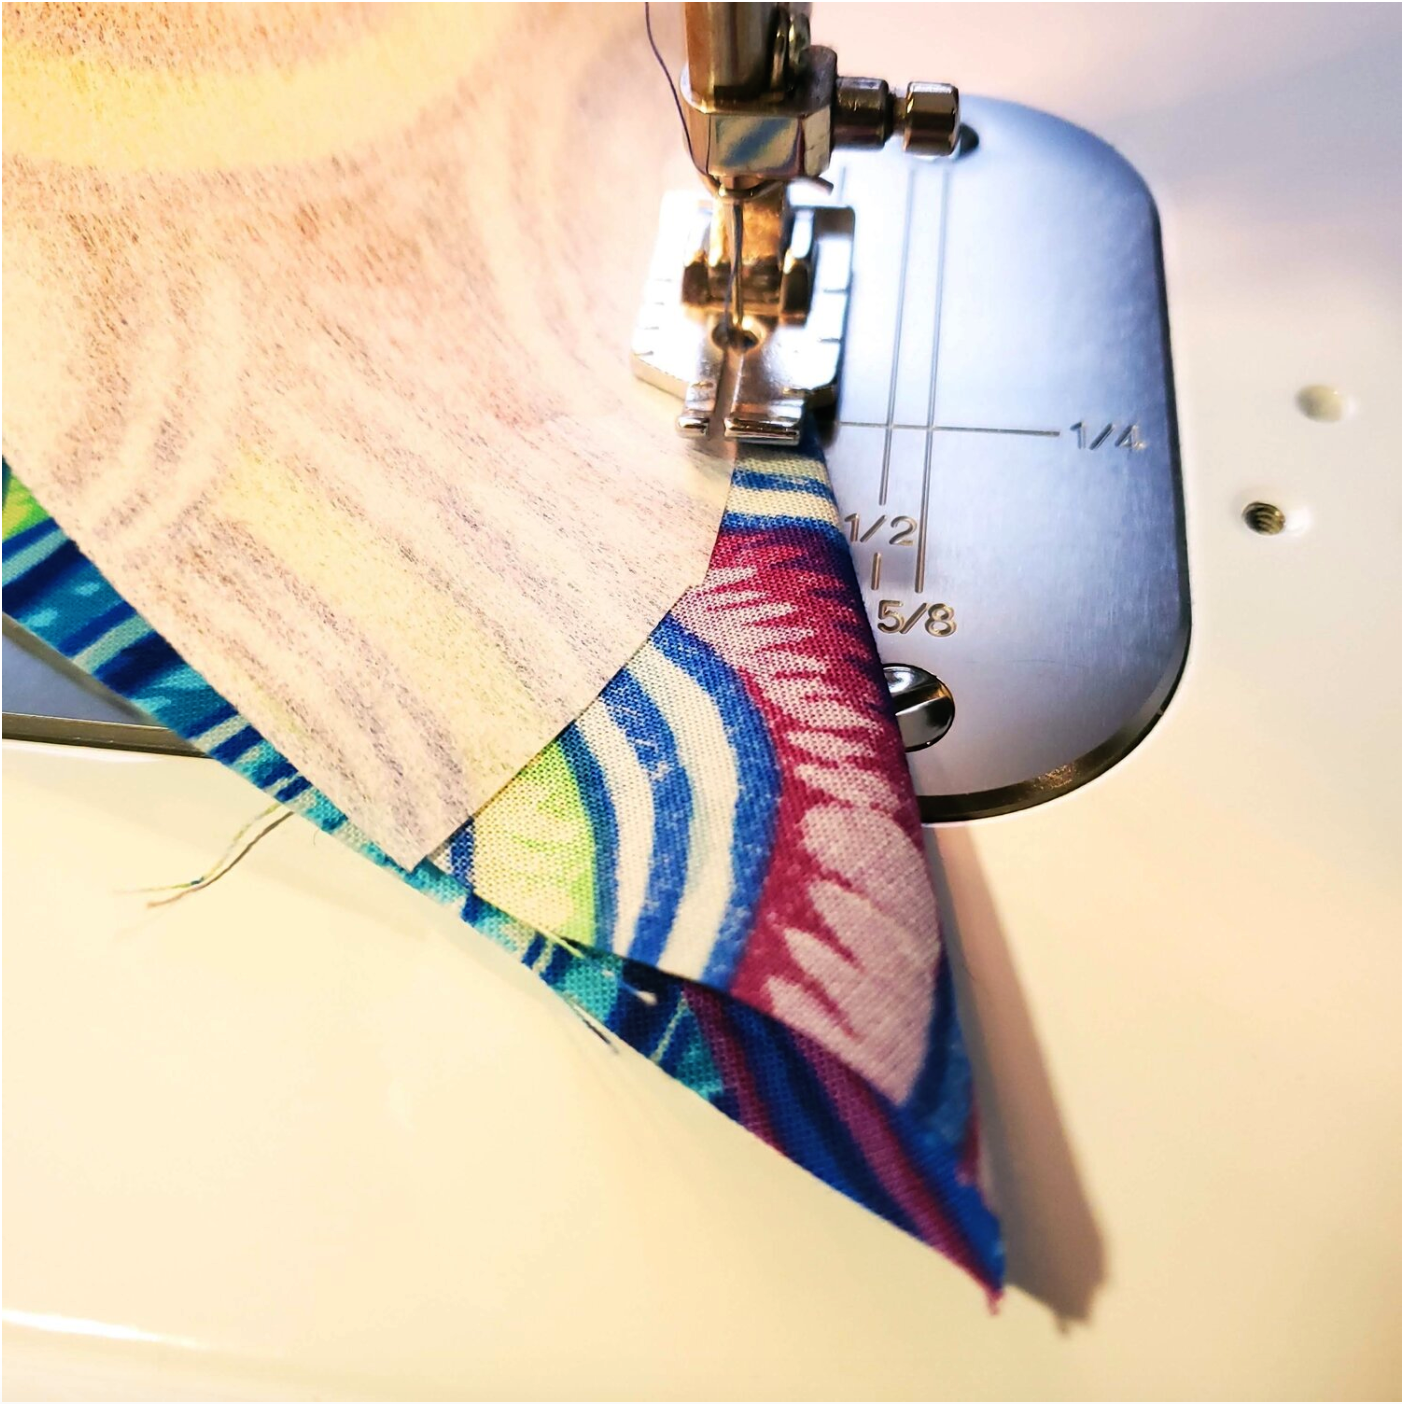
Sew following alongside the interfacing. Do the same for all the corners on the lining and exterior piece. Trim seams to about ¼”. Use a sharp pointed scissors to trim right to the point. Carefully press seams open.
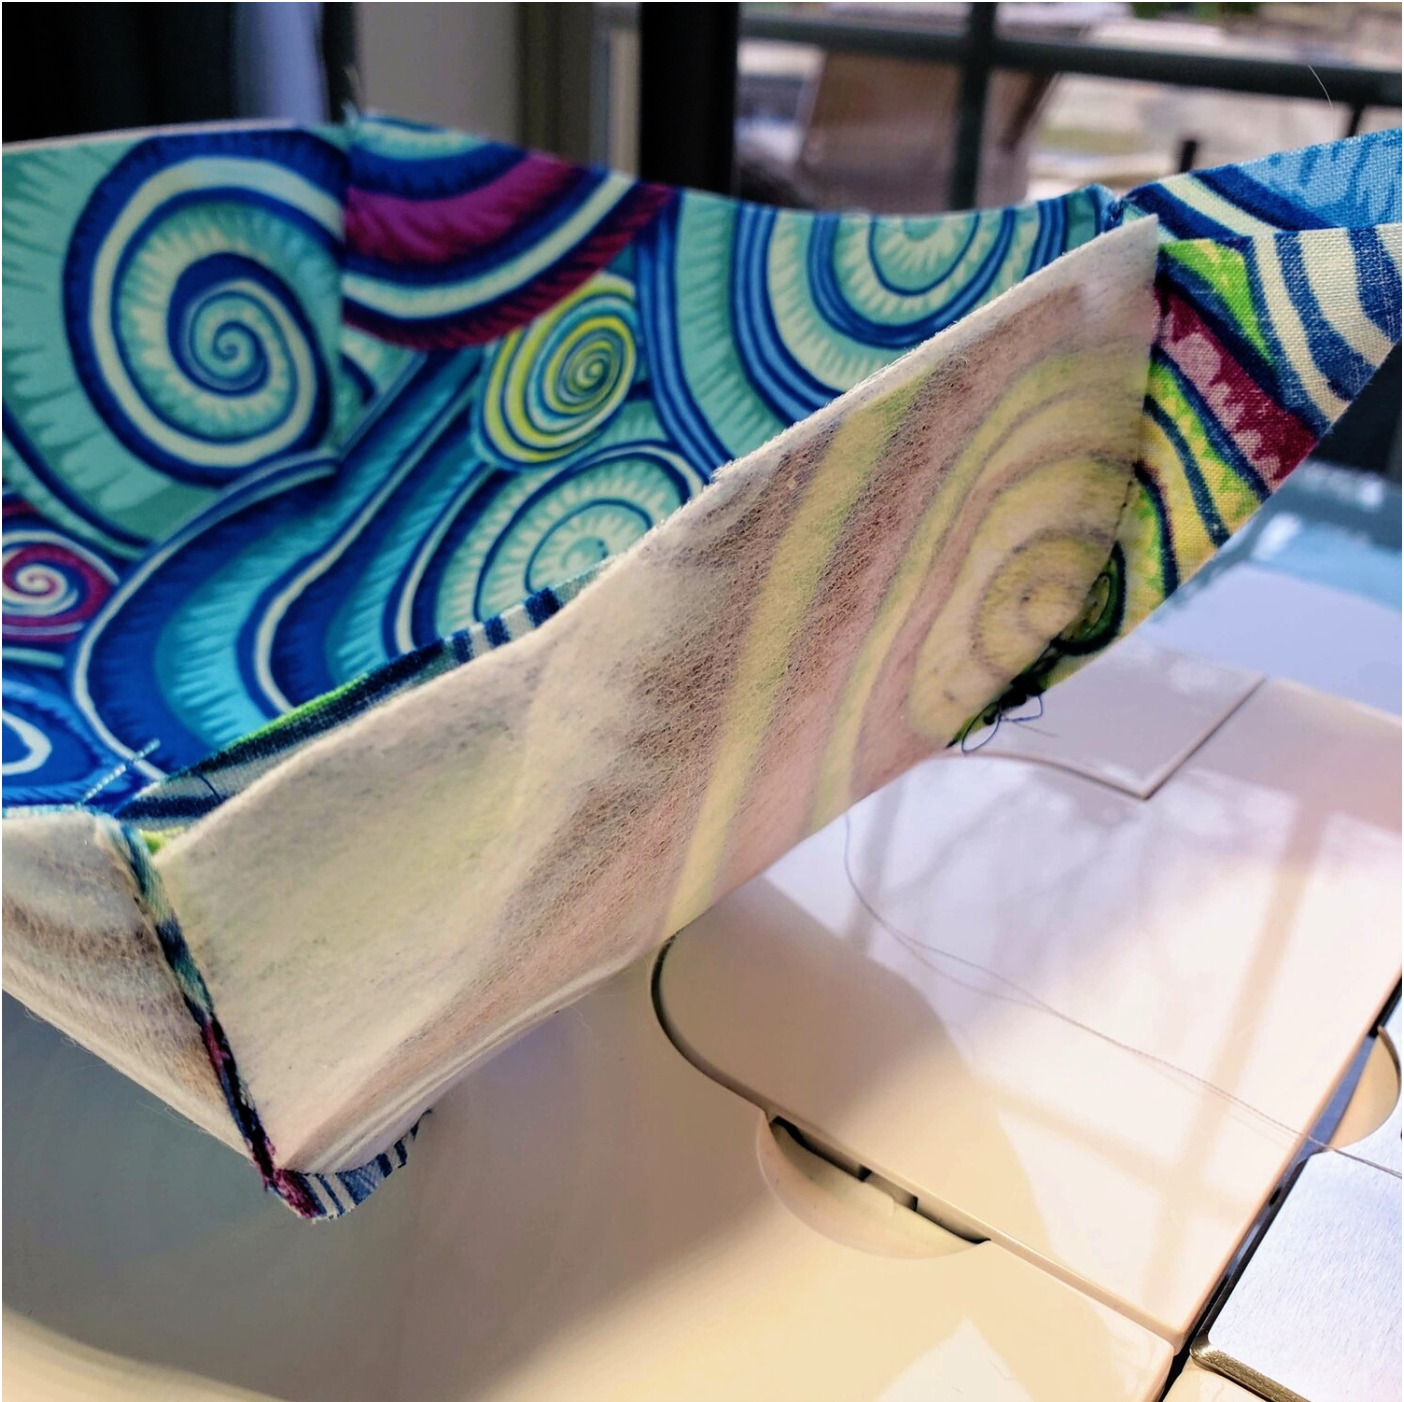
Turn the exterior piece right side out and nestle the lining piece matching the corner seams. The two pieces should match up pretty closely with some minor adjustments and smoothing the fabric to fit.
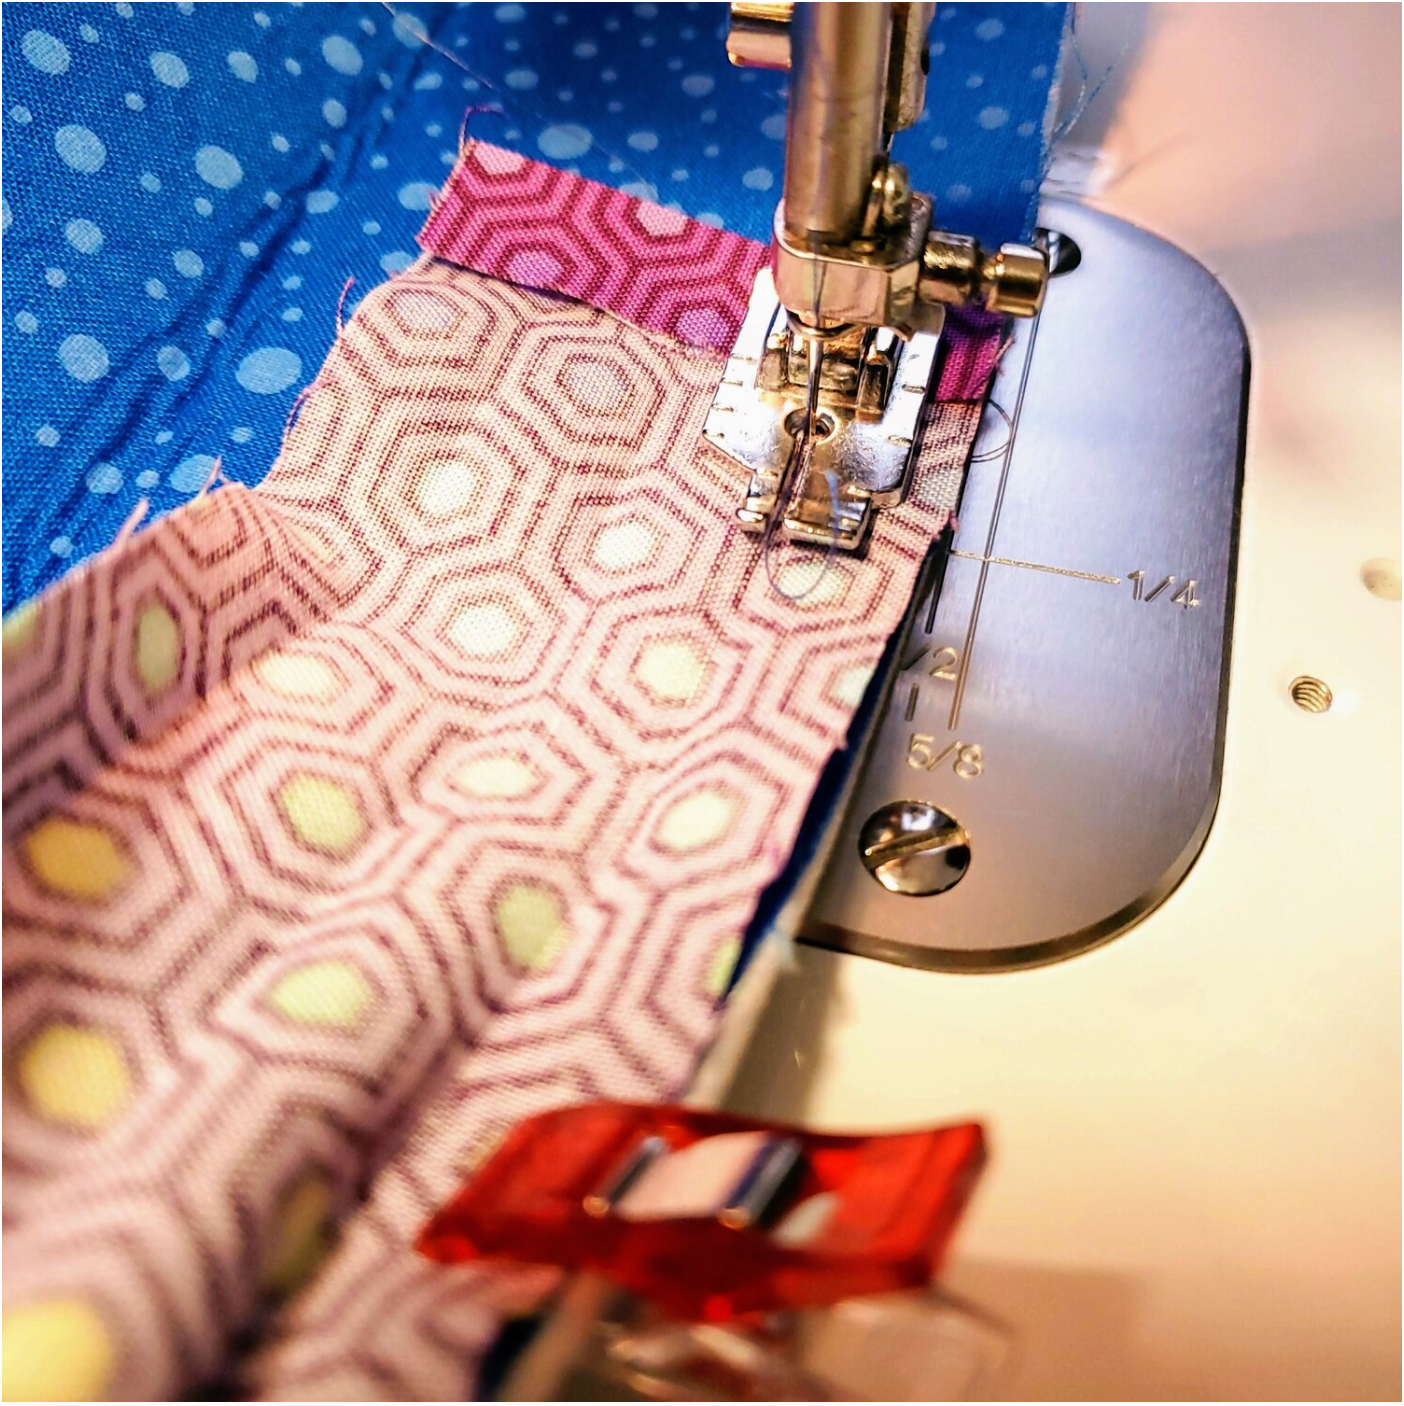
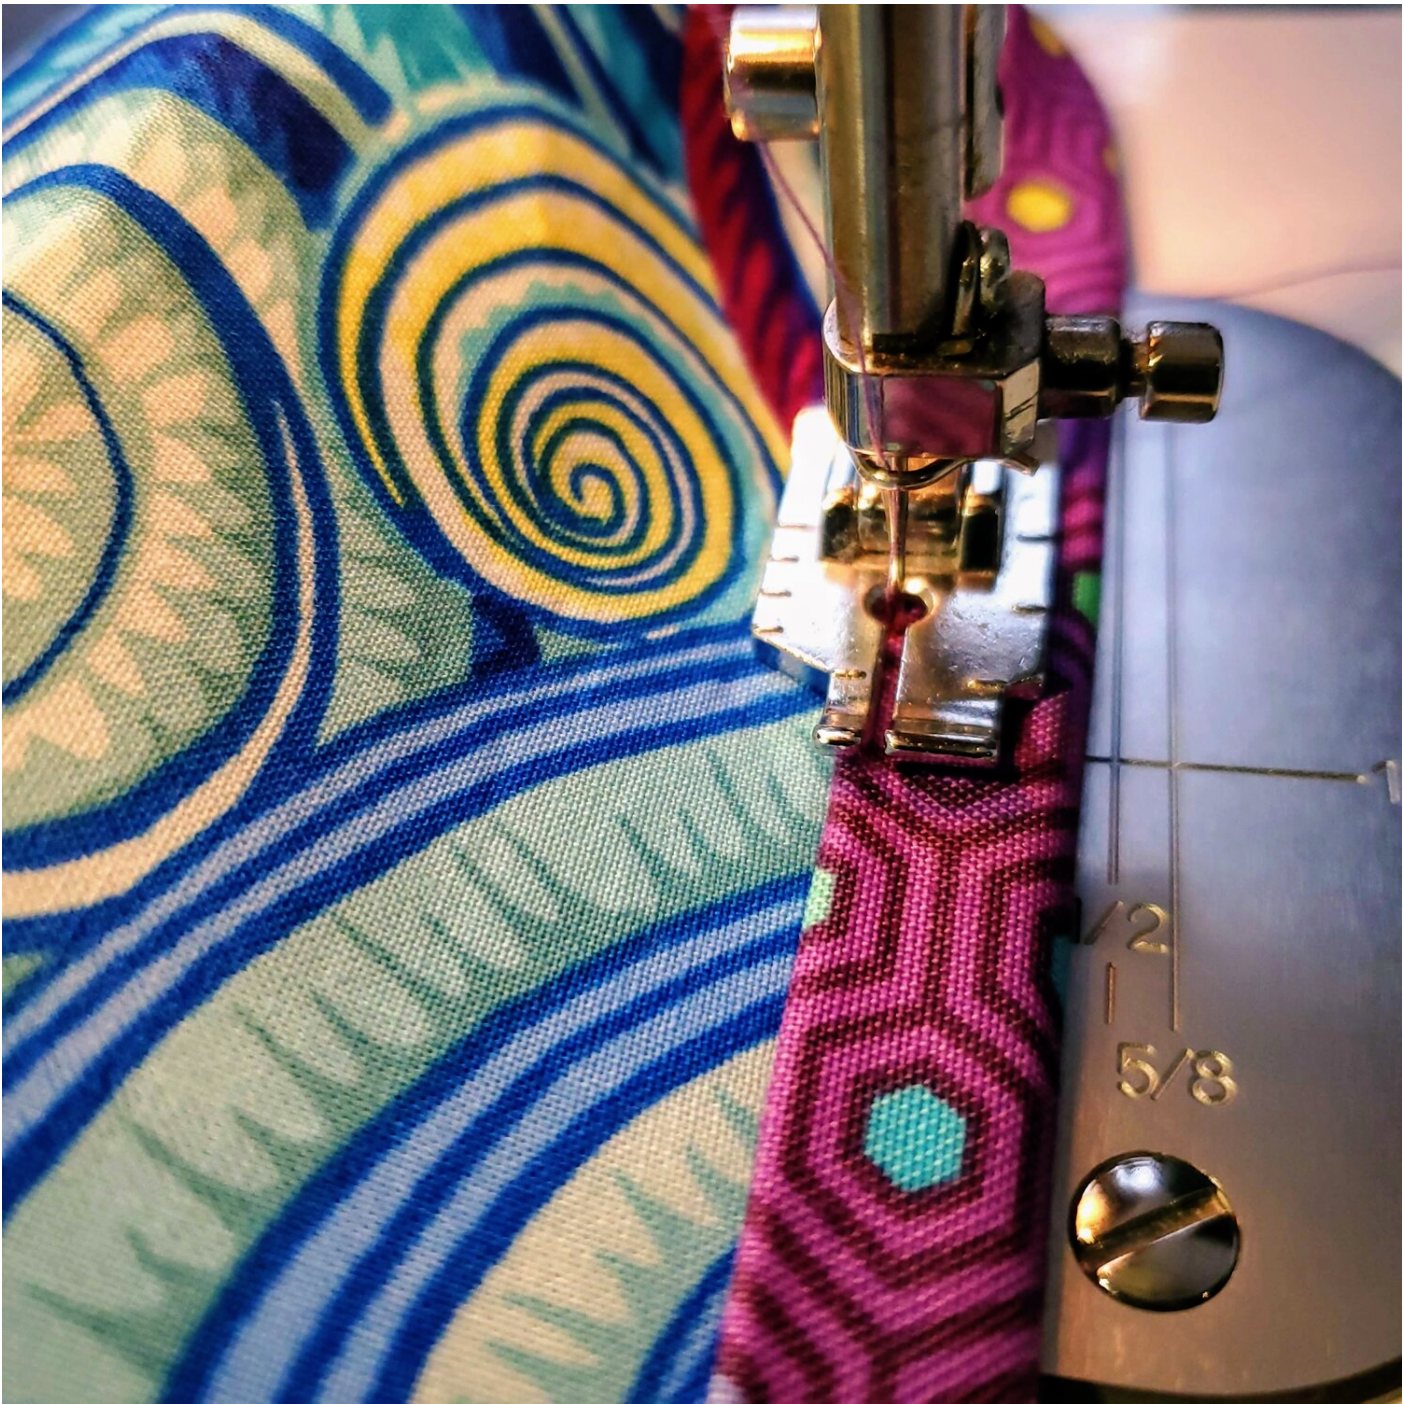
To make the binding take the 2” x 27” piece and fold it in half lengthwise and press. Open it up and press the raw edges to the center line. Fold one edge under ½”. Sew the binding by aligning the raw edges and sewing on the first crease of the binding with a coordinating thread.
Continue to sew all the way around and overlap the binding when you get to the starting point.
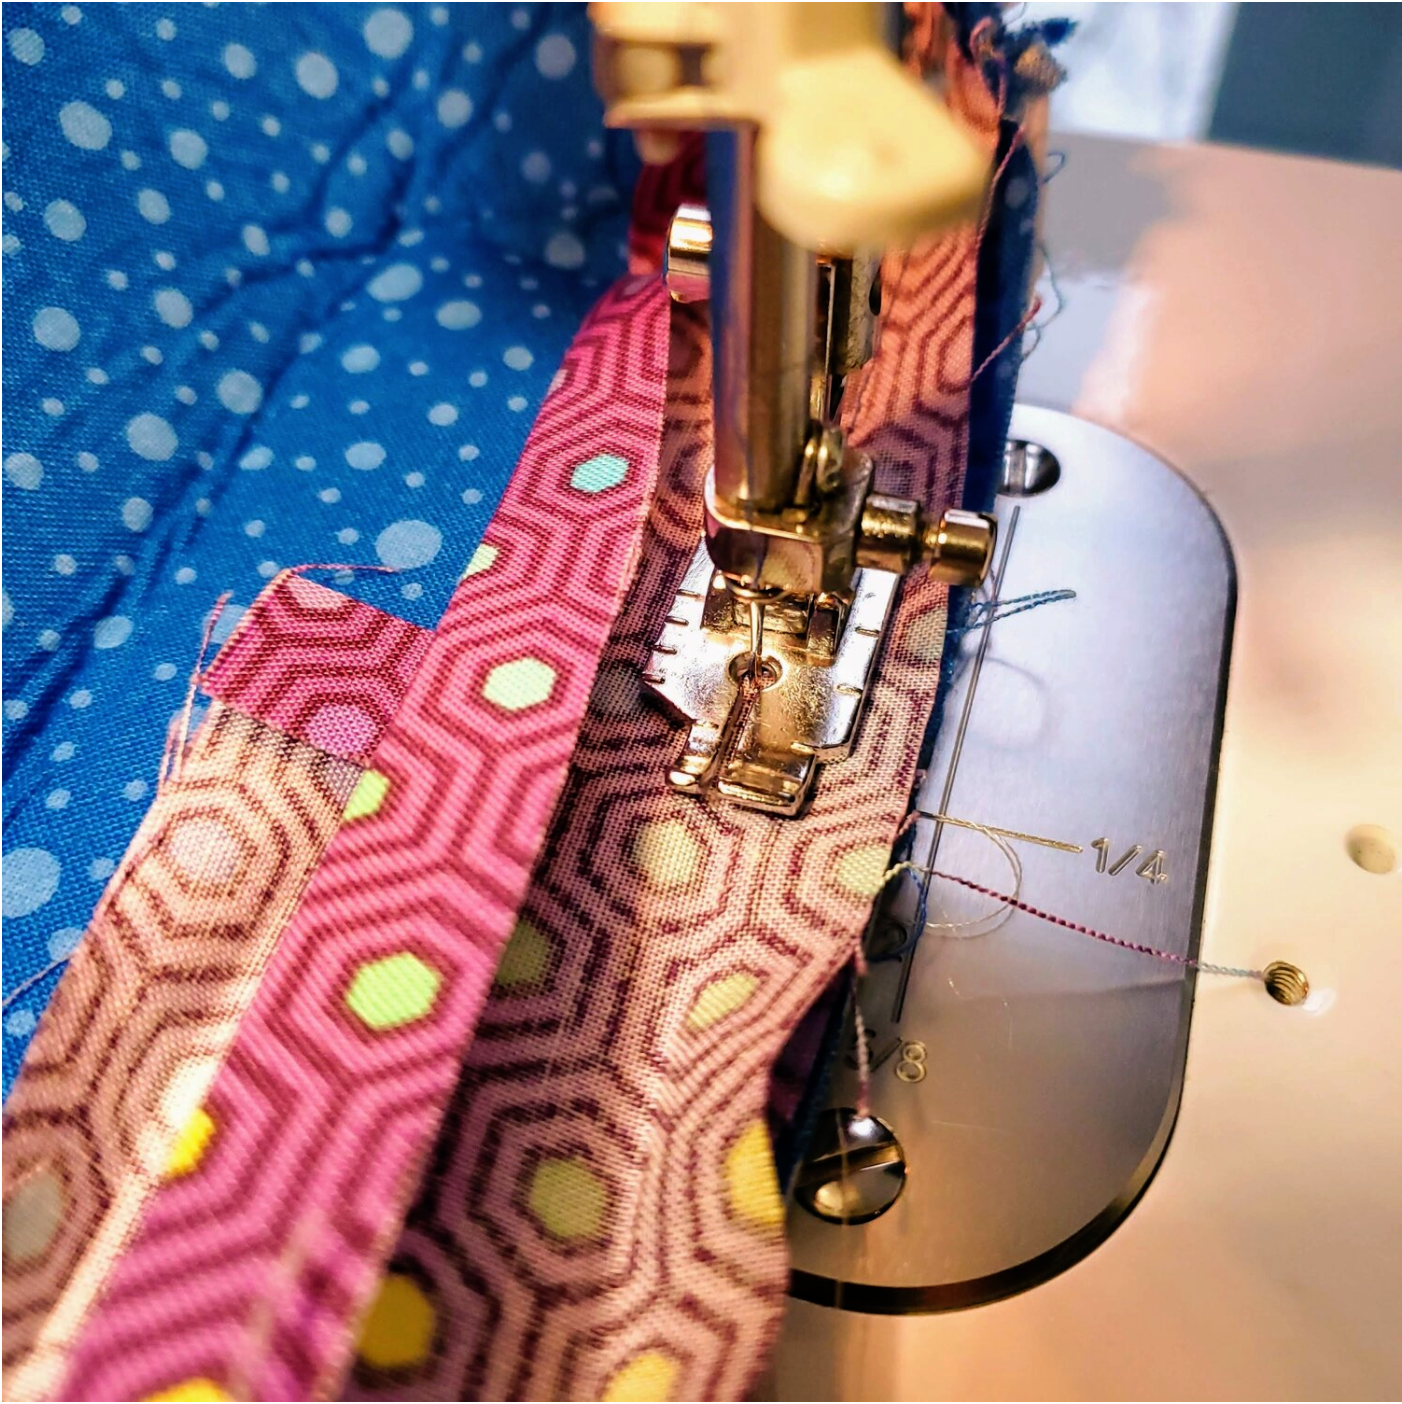
Trim away the excess length of binding. Fold the binding over the top edge of the tray. The binding should fold over and meet the sewn line on the exterior of the tray. I found that I needed to trim about an ⅛” off the top edge of the tray to get binding to meet the sewn line. After trimming a bit I folded the binding back in place and top stitched with a matching thread all the way around. You could also hand stitch the binding in place.
This tray could also be personalized with embroidery for a perfect gift for upcoming graduation or birthday. Since it only uses a small piece of fabric it is a great project to use up some scrap fabrics. The pattern also includes directions to make a bigger basket starting with a 15’ square of fabric. Have fun sewing!