Sunnies Drawstring Backpack
23rd Jun 2022
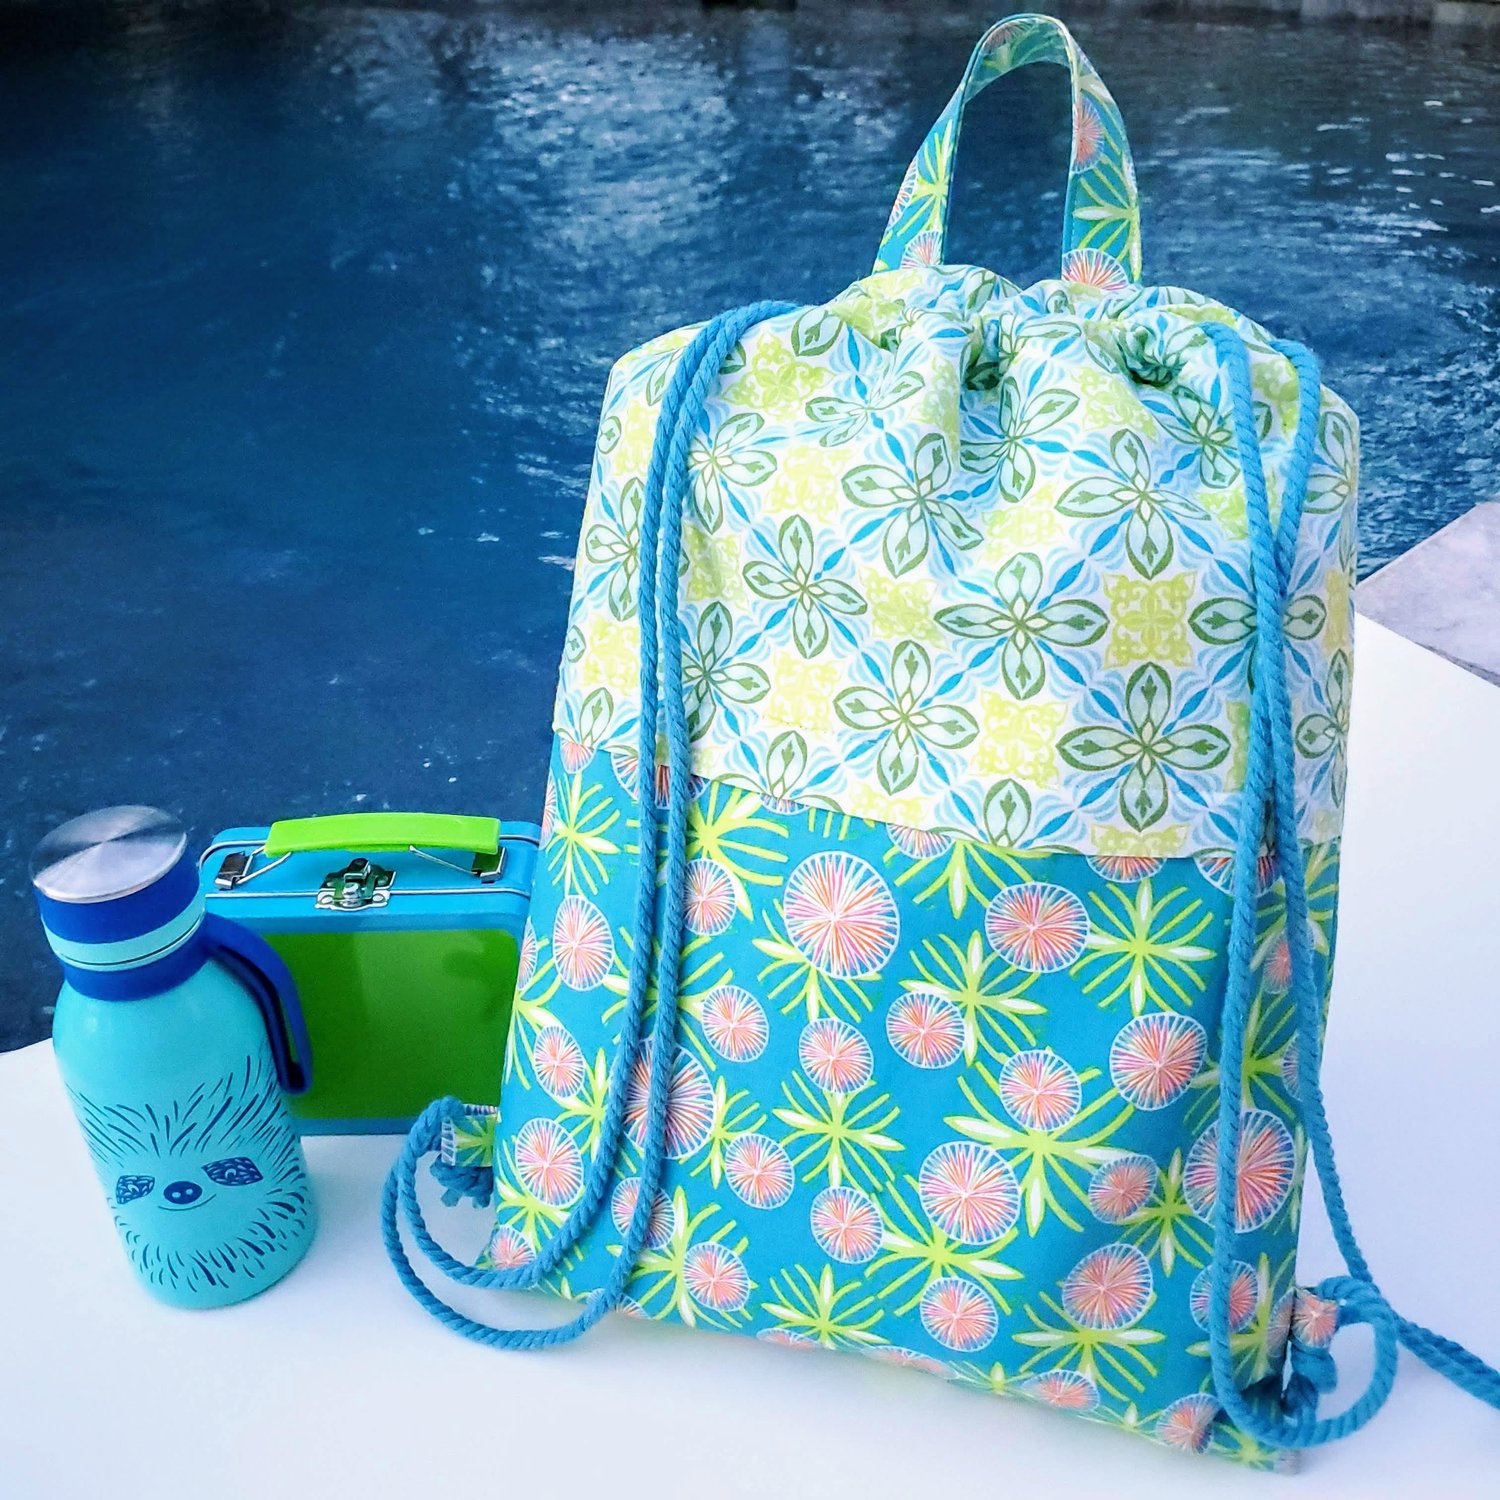
Summer is sizzling here in St. Louis! Definitely time to head to the pool with this Fun in the sun drawstring backpack made with this free quilt block pattern from Laura at Slice of Pi quilts. This quick beginner pattern features some vibrant Kona Solids that pair perfectly with the Free Spirit Fabric Summer Birds by Mulga from a recent Classic Membership box.
Material Needed:
Fat Quarters of assorted fabrics from Mystery Bundles or Kona Solids
½ yard of fabric for lining and outer back fabric Summer birds
Fat quarter of coordinating Delish delights - black
3- 4 yards of cotton cording for drawstrings
Coordinating Aurifil Thread from the Chroma Membership
Optional Pellon Fusible Fleece
Heat-n-Bond Lite
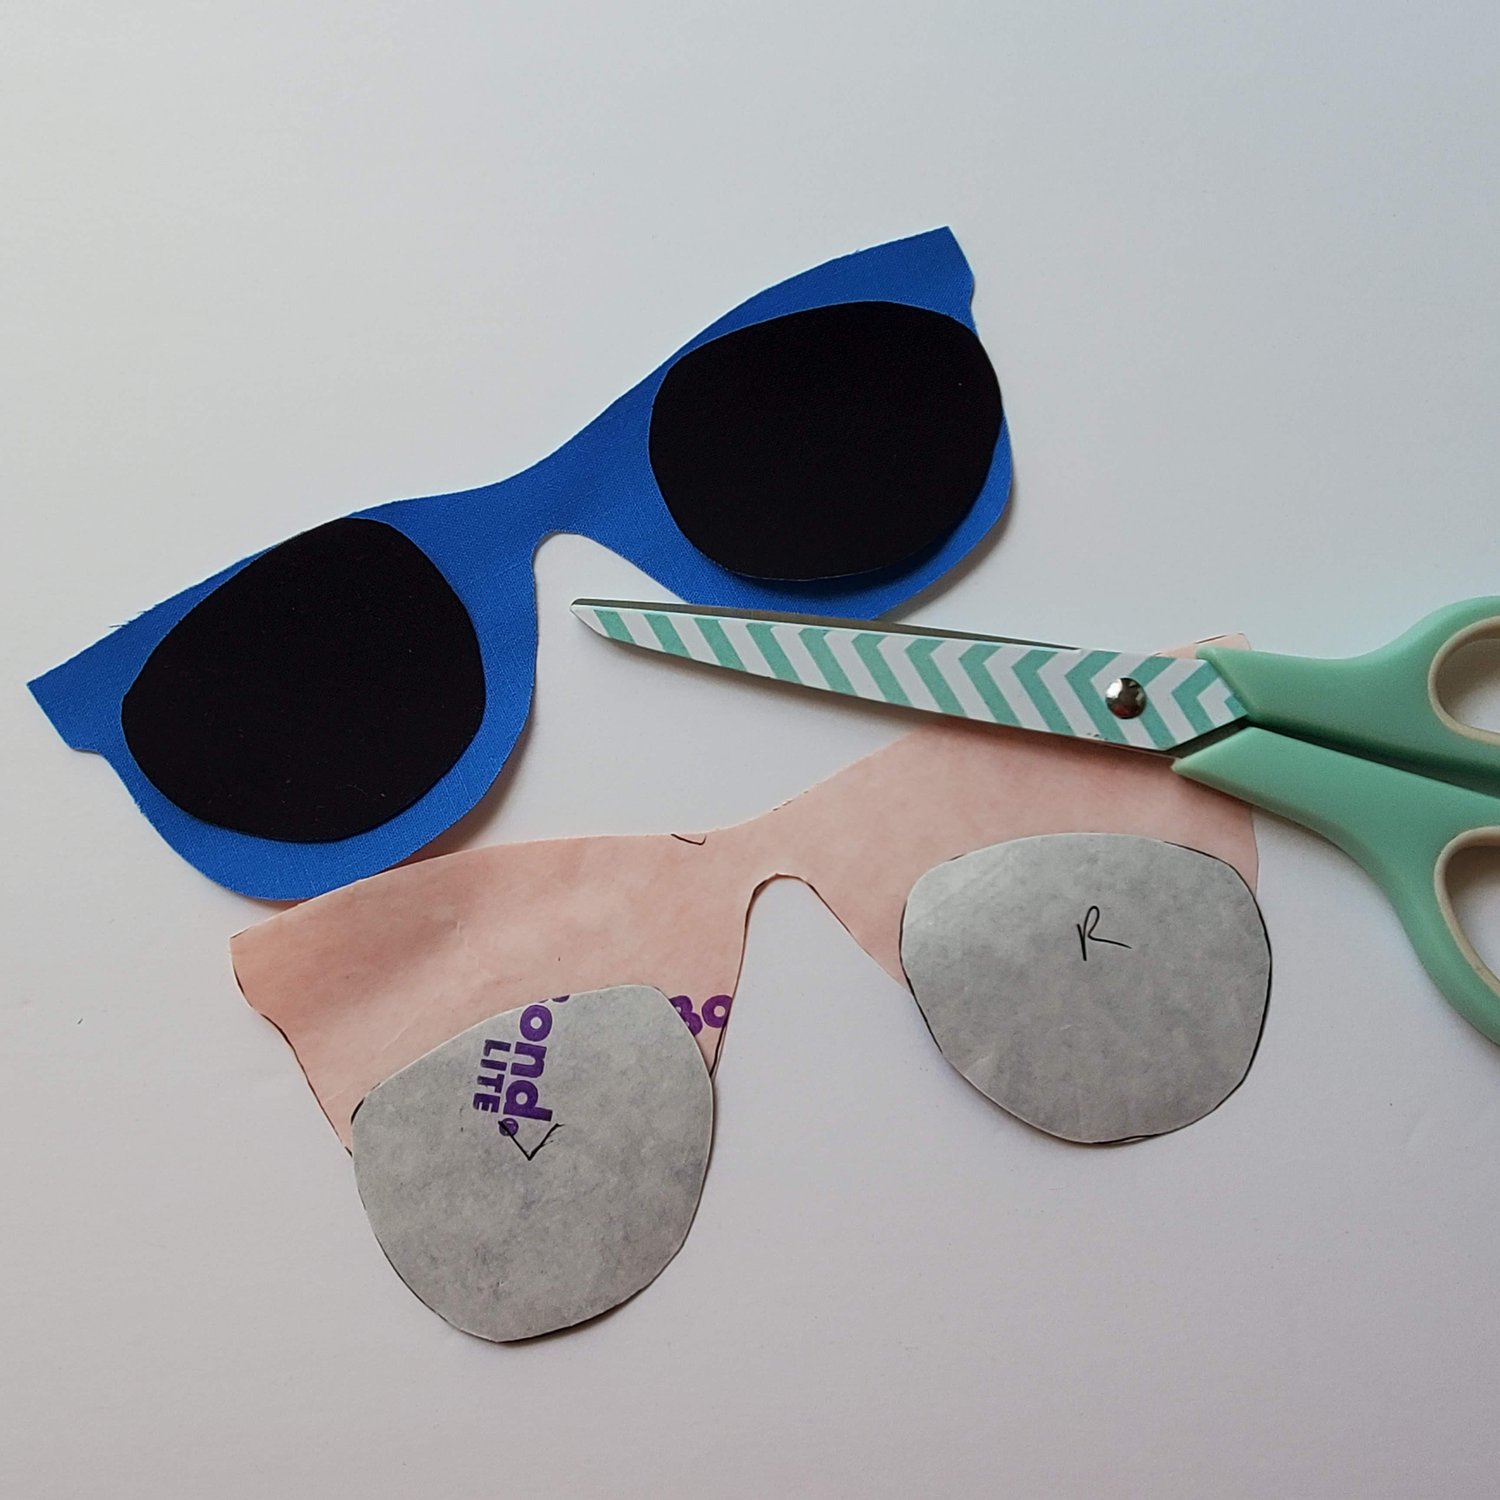
To get started you will want to find clip art like these Sunglasses to print out for a pattern. I made mine about 7” to set on an angle within the block. Trace the shape of the glasses and the lens onto the Heat-n-Bond lite. Take it to the ironing board and fuse to the wrong side of the sunglasses fabric. Cut out the shapes and set aside.
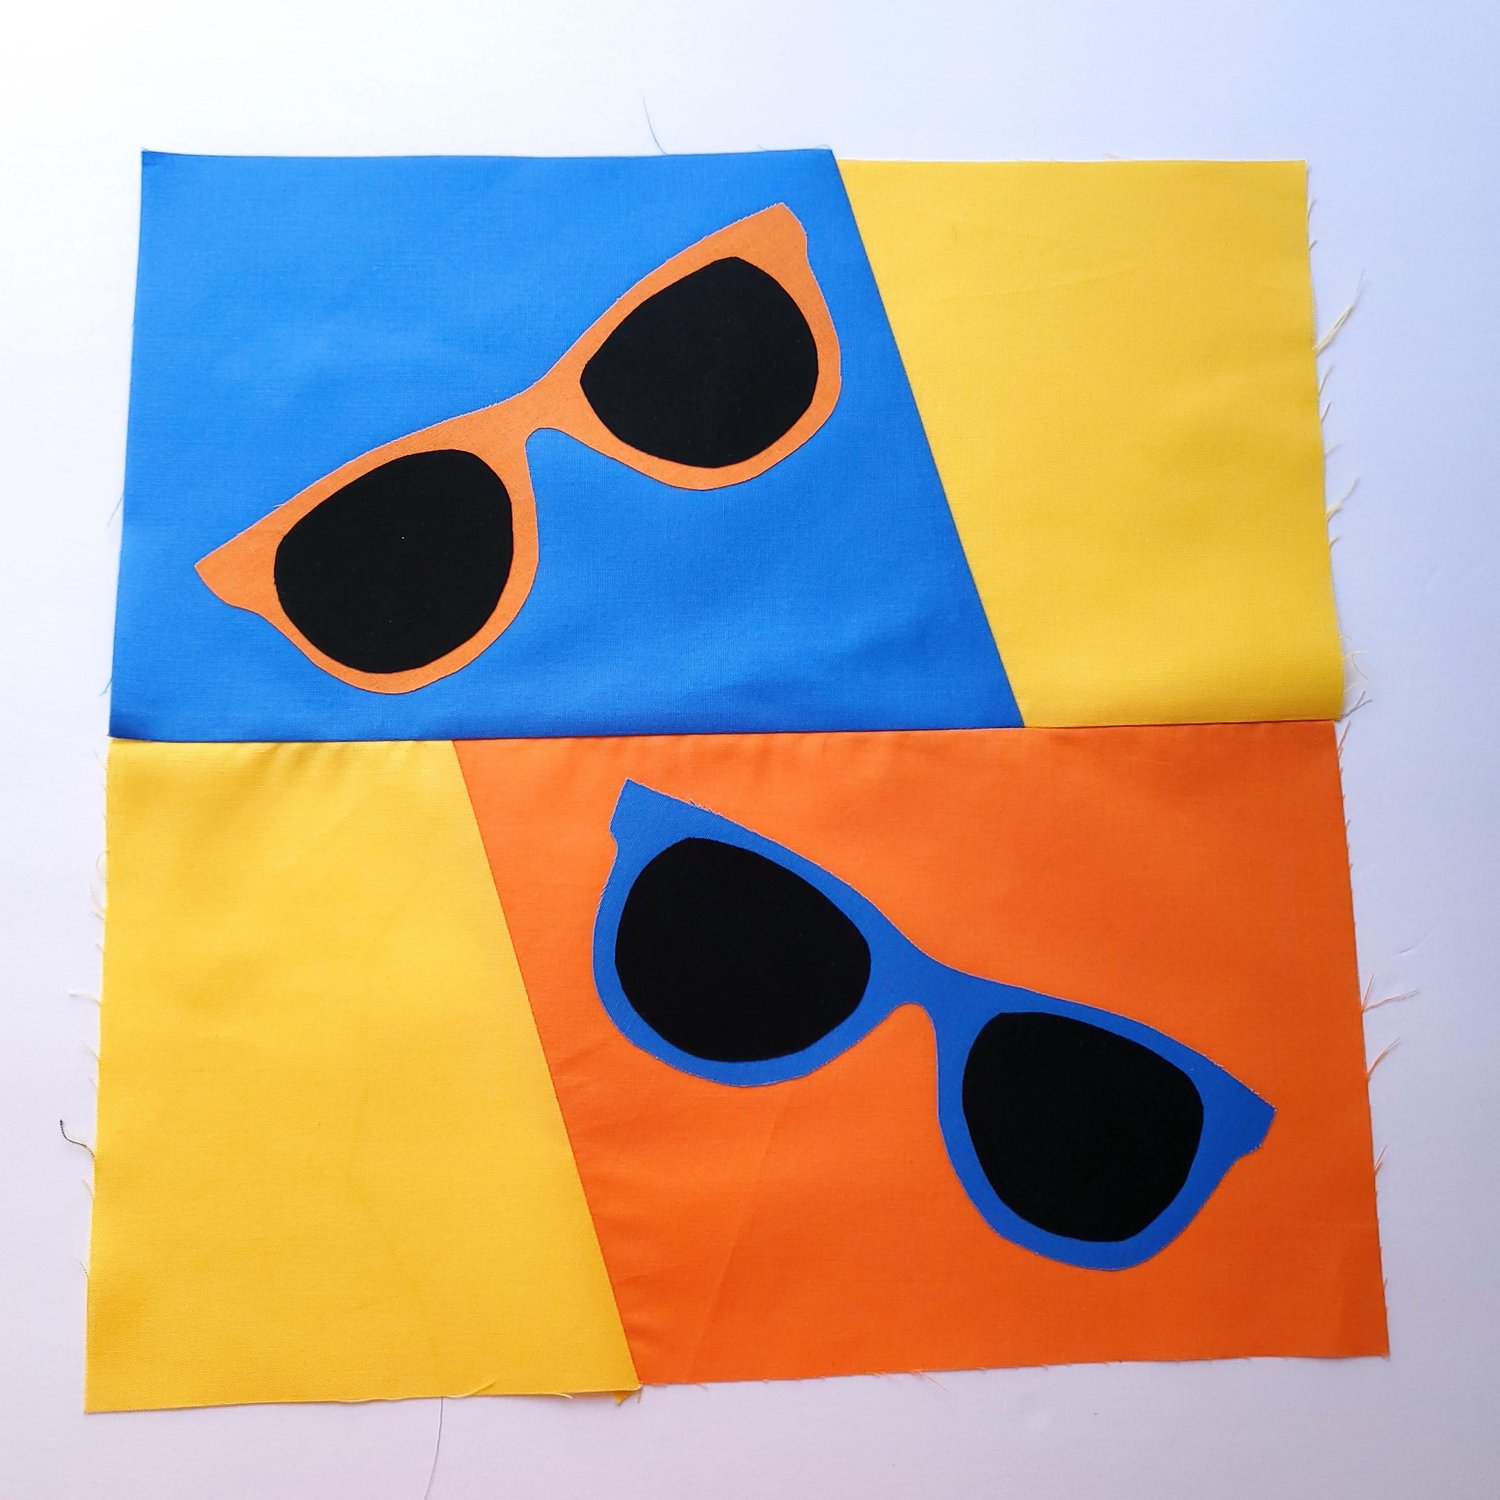
Cut out one 6.5” x 9.5” rectangle out of the blue and orange solid fabric and two 6.5”x5.5” rectangles of yellow fabric. Layer the yellow and orange/blue fabrics out on the mat and measure over 2” on the bottom left on the yellow and top right of the orange/blue rectangles. Place the ruler on the 2” line and the corner and cut. If you plan to use directional fabric I would recommend cutting one block at a time to be sure you have the correct orientation.
Lay the fabrics out with the coordinating fabric piece, with right sides together sew ¼” seam.

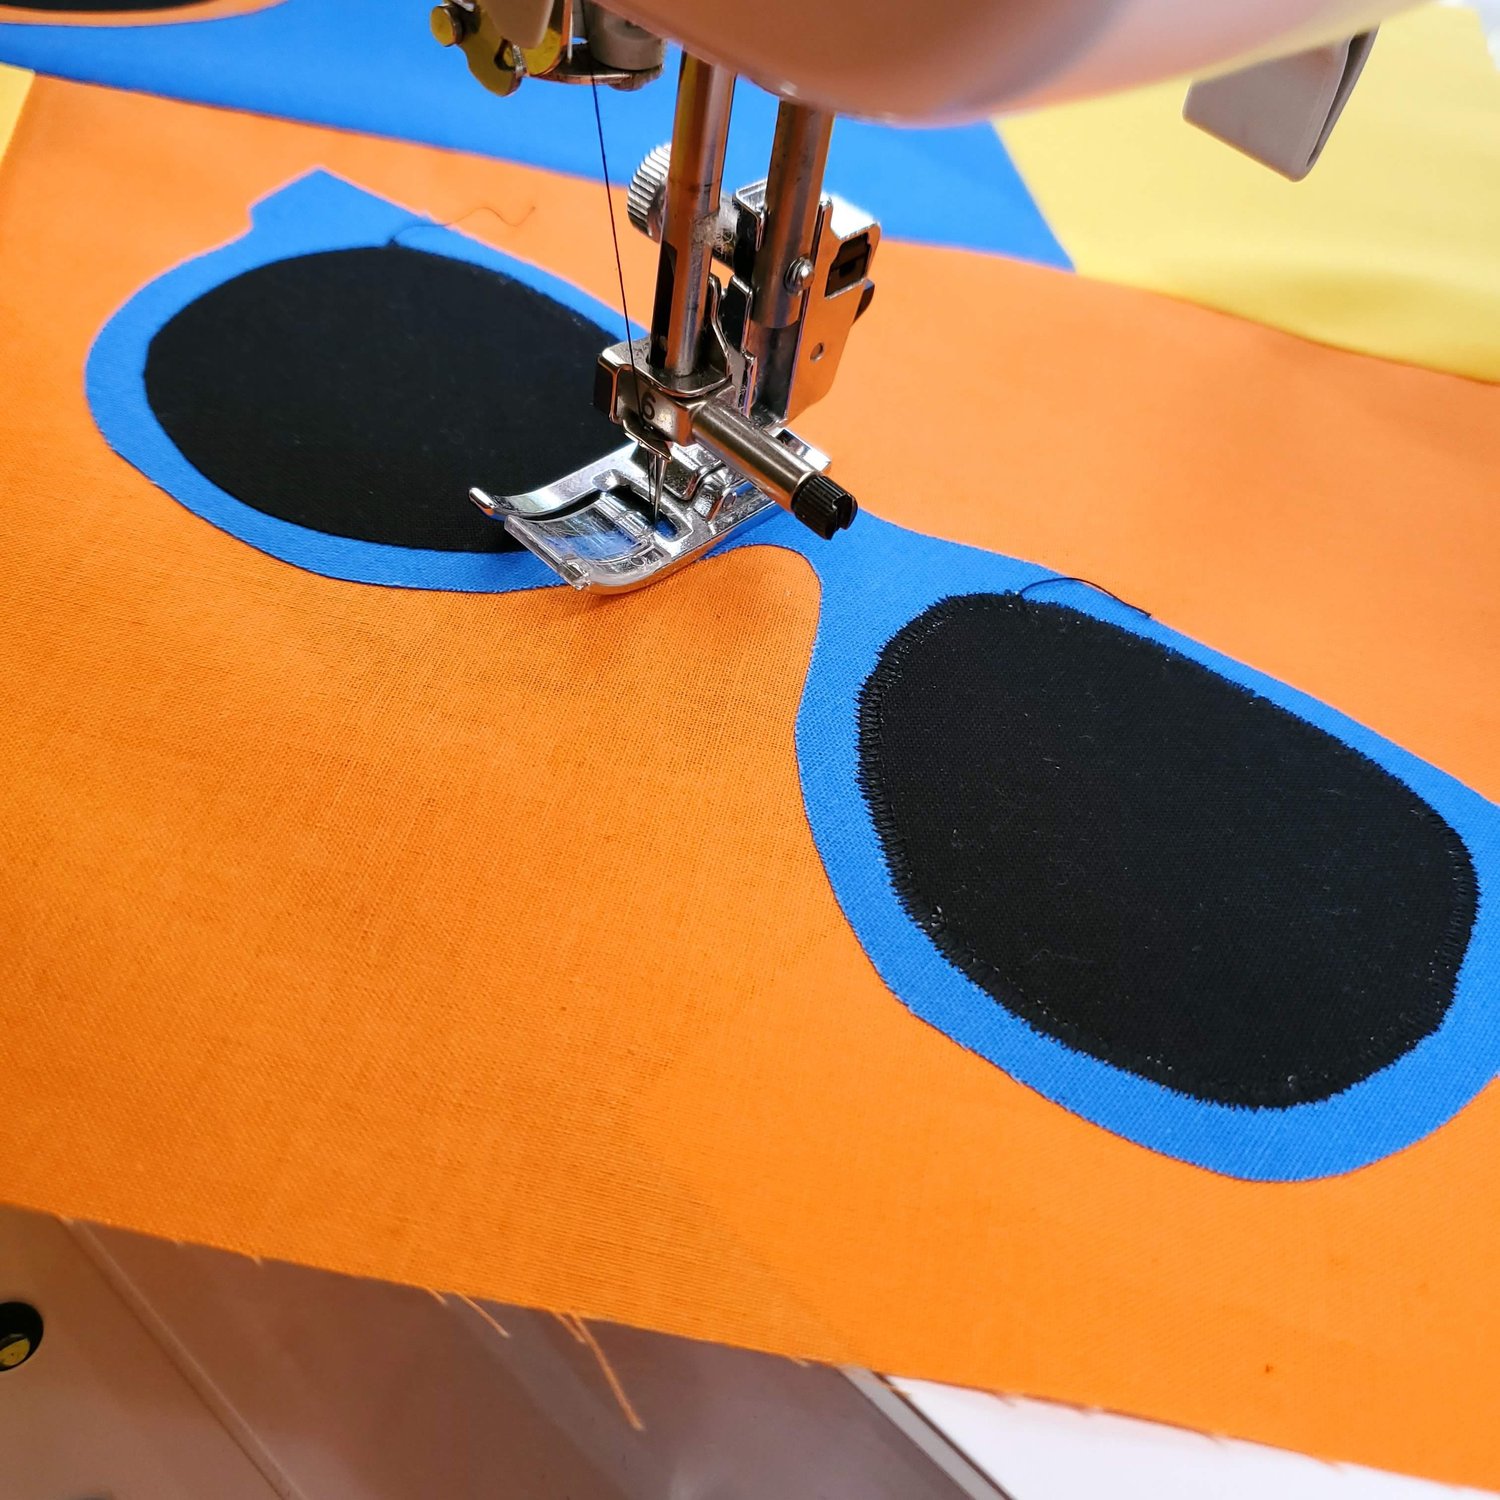
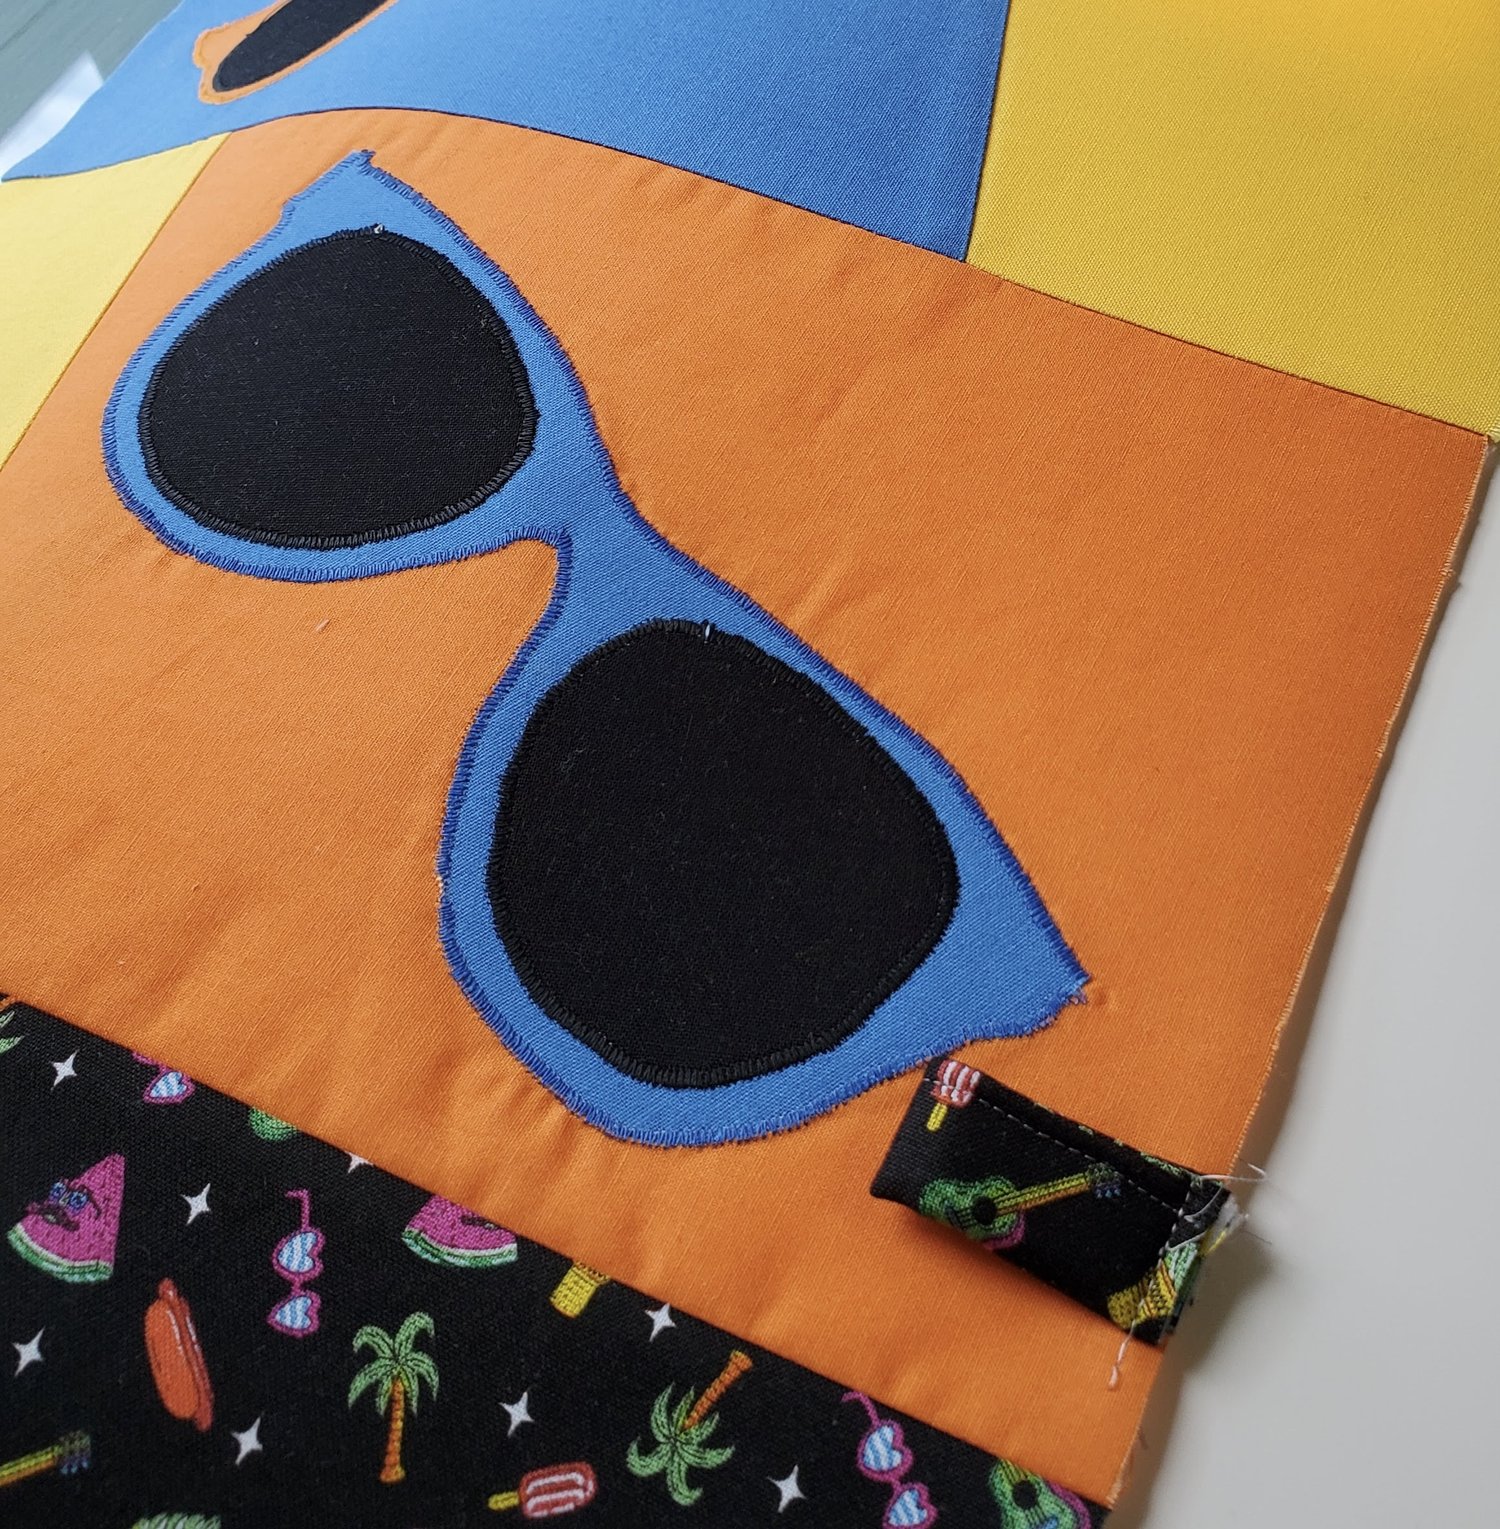
Press. Then sew the two sections together. You are now ready to place the sunglasses and permanently adhere with heat to the block
You can leave it like this or use a zig zag stitch in a coordinating color to cover the raw edges of the fabric.
I added a piece of Pellon fusible fleece to the wrong side to add some stability to the backpack. This fleece layer will prevent the bright fabric from the lining to shadow through the solid fabric.
Cut three pieces of the Summer birds fabric 12” x 14” for two lining pieces and the outer back piece of the backpack.
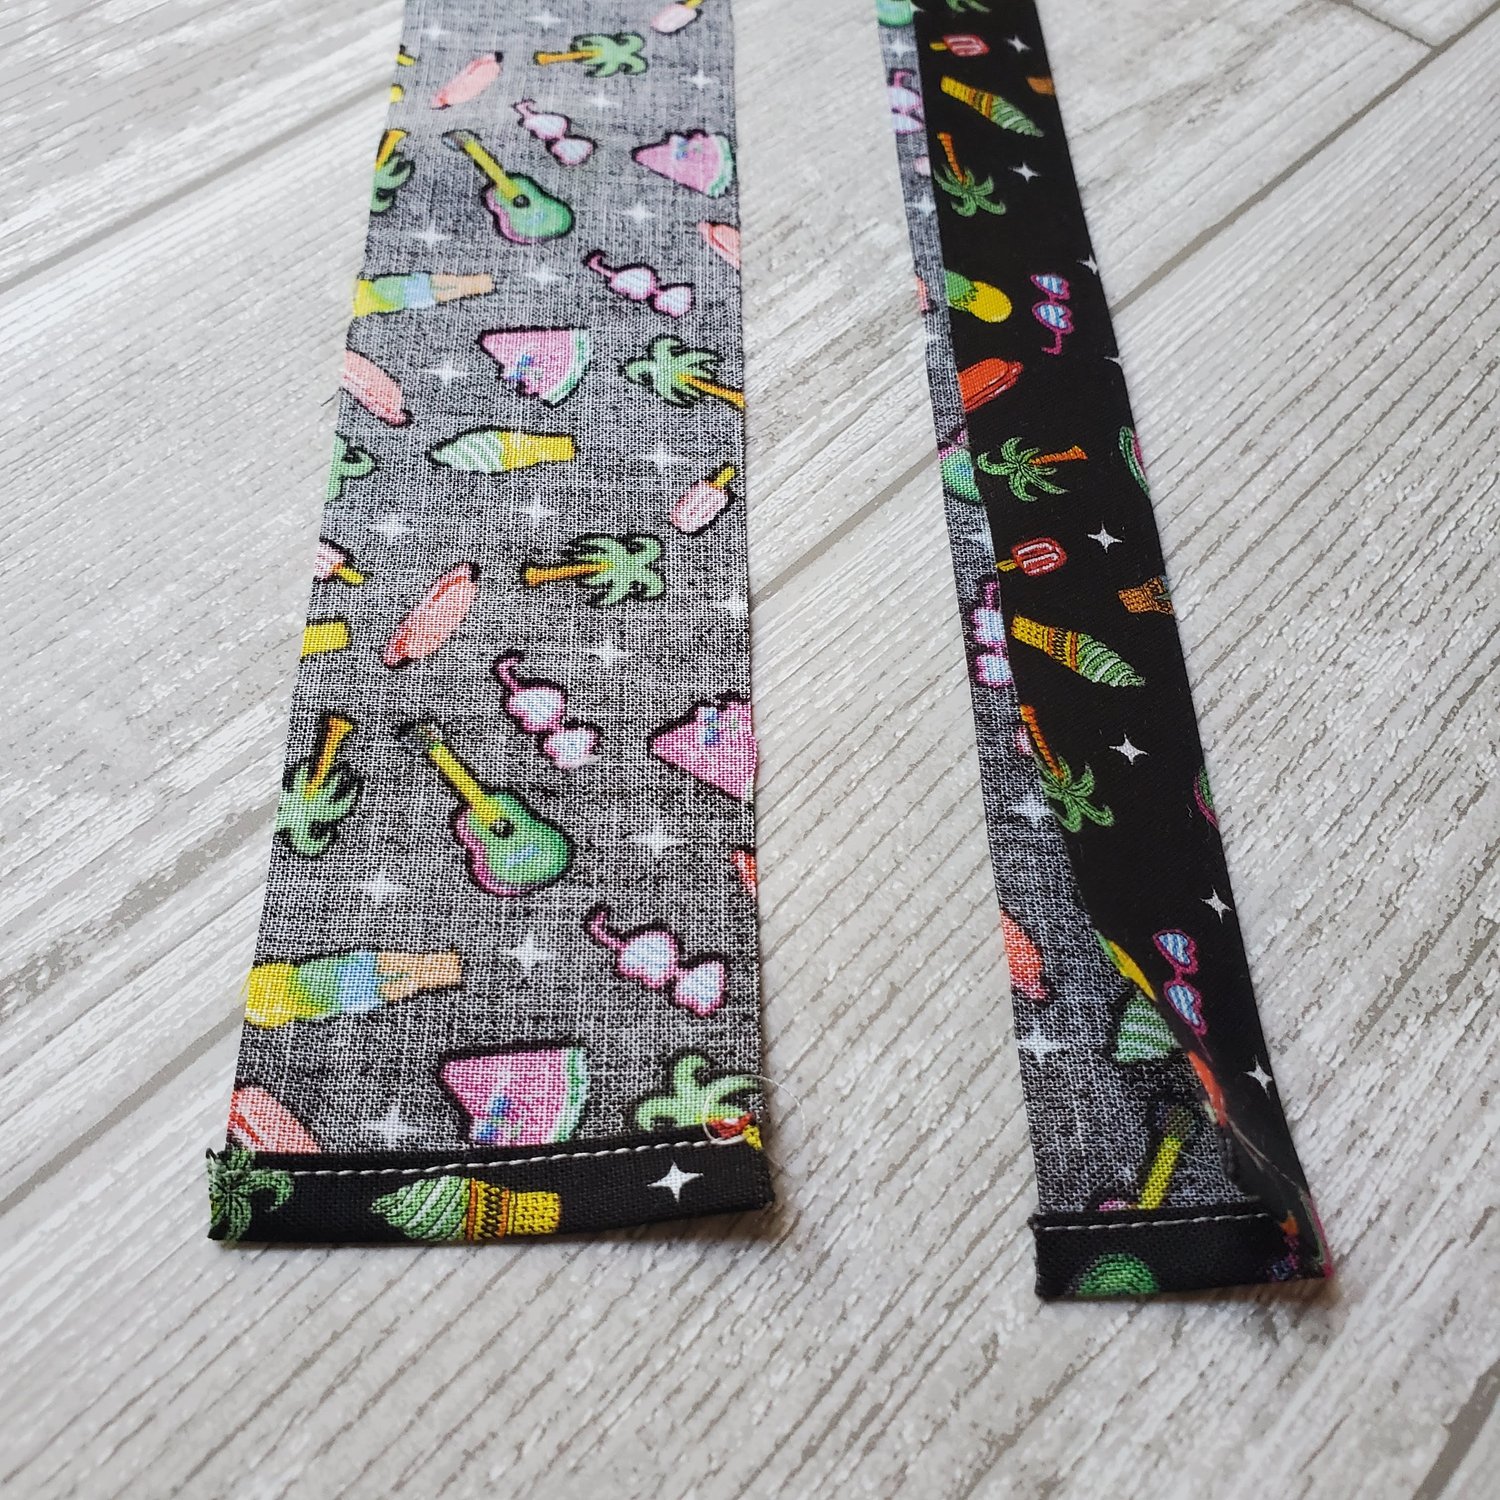
The backpack will have a separate drawstring casing at the top from the coordinating Delish delights - black Free Spirit fabric. Cut two pieces 2” x 11.5, fold the short ends in twice (about ¼”) and topstitch. Press in half lengthwise.
 With right sides together sew the casing to the top edge of the front and back of the backpack. It should be at least ½” inside the edge on each side so it doesn’t get sewn in the side seam.
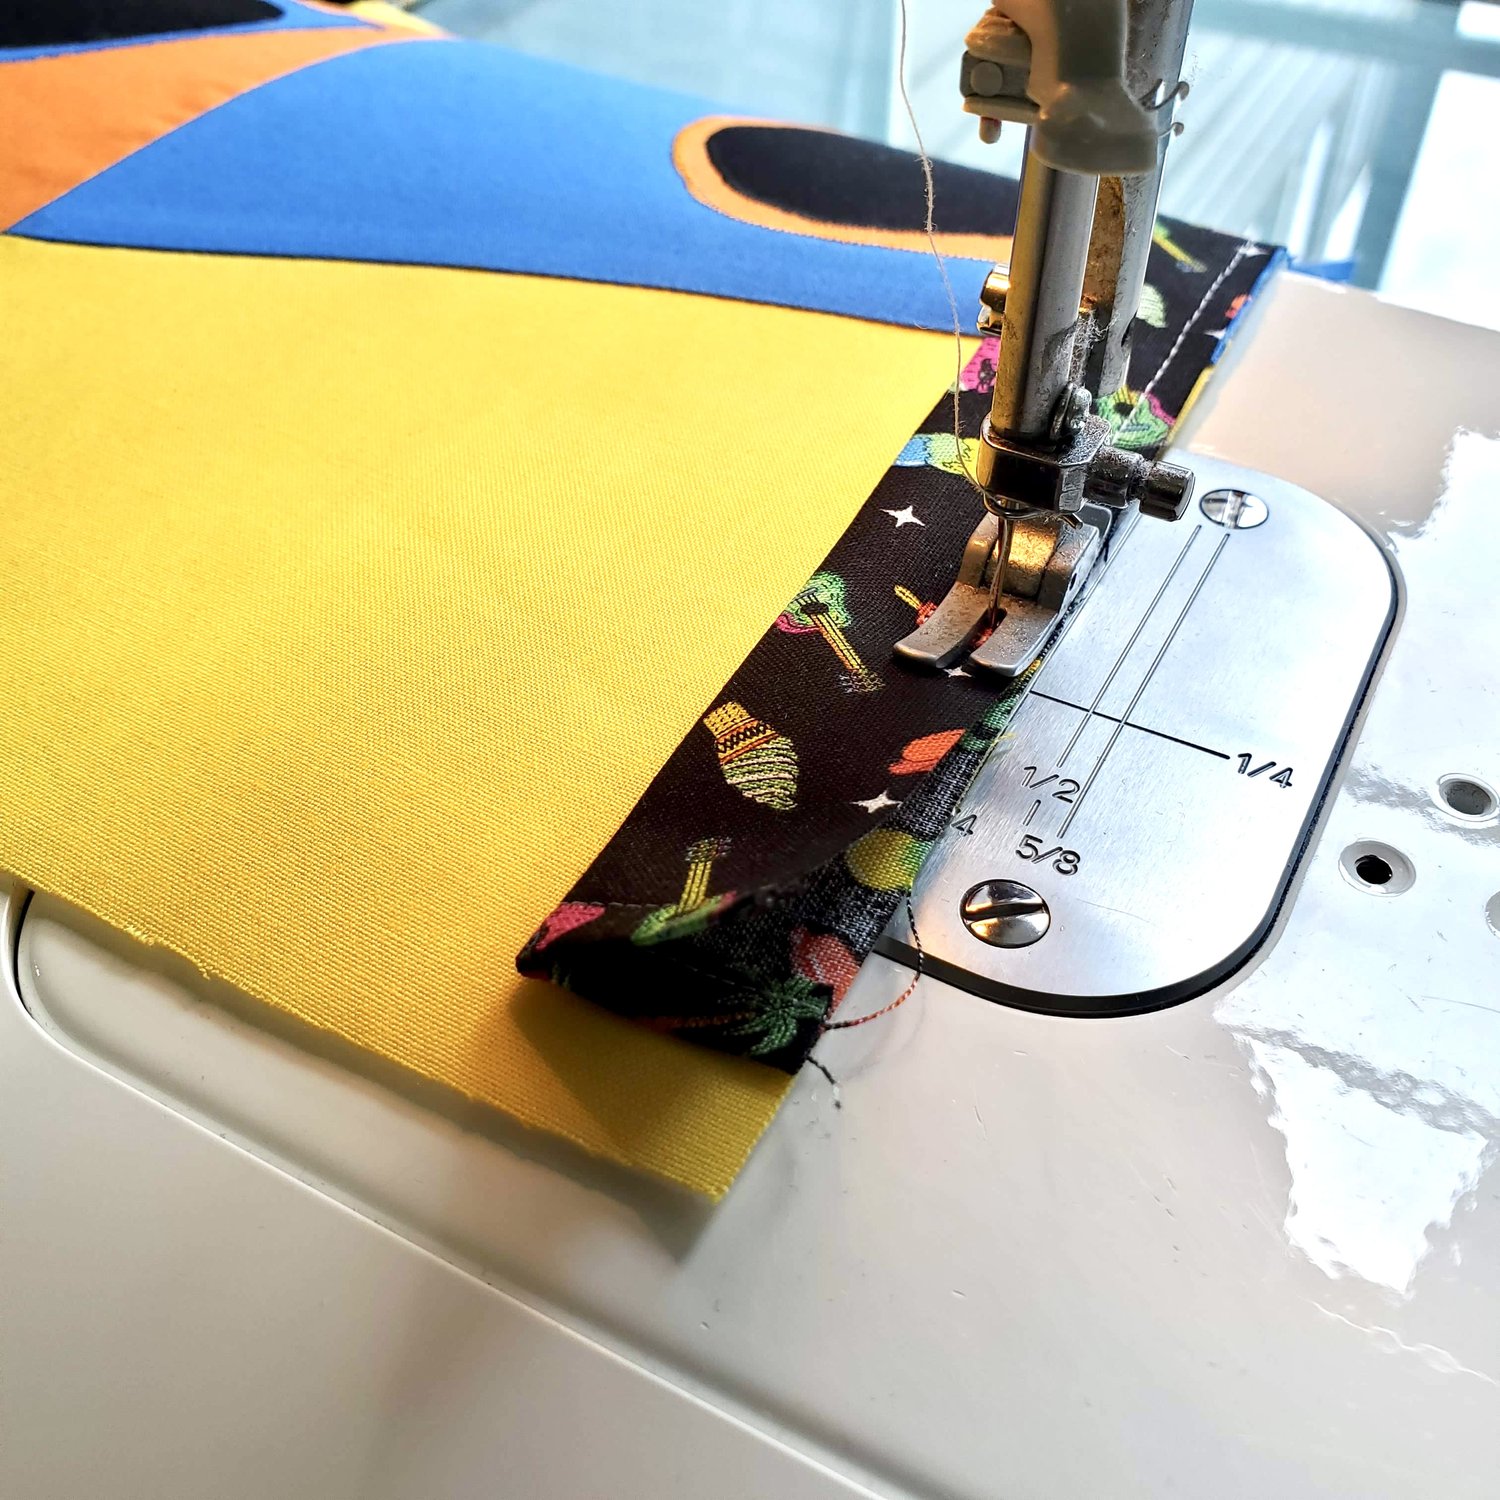
With right sides together sew the casing to the top edge of the front and back of the backpack. It should be at least ½” inside the edge on each side so it doesn’t get sewn in the side seam.
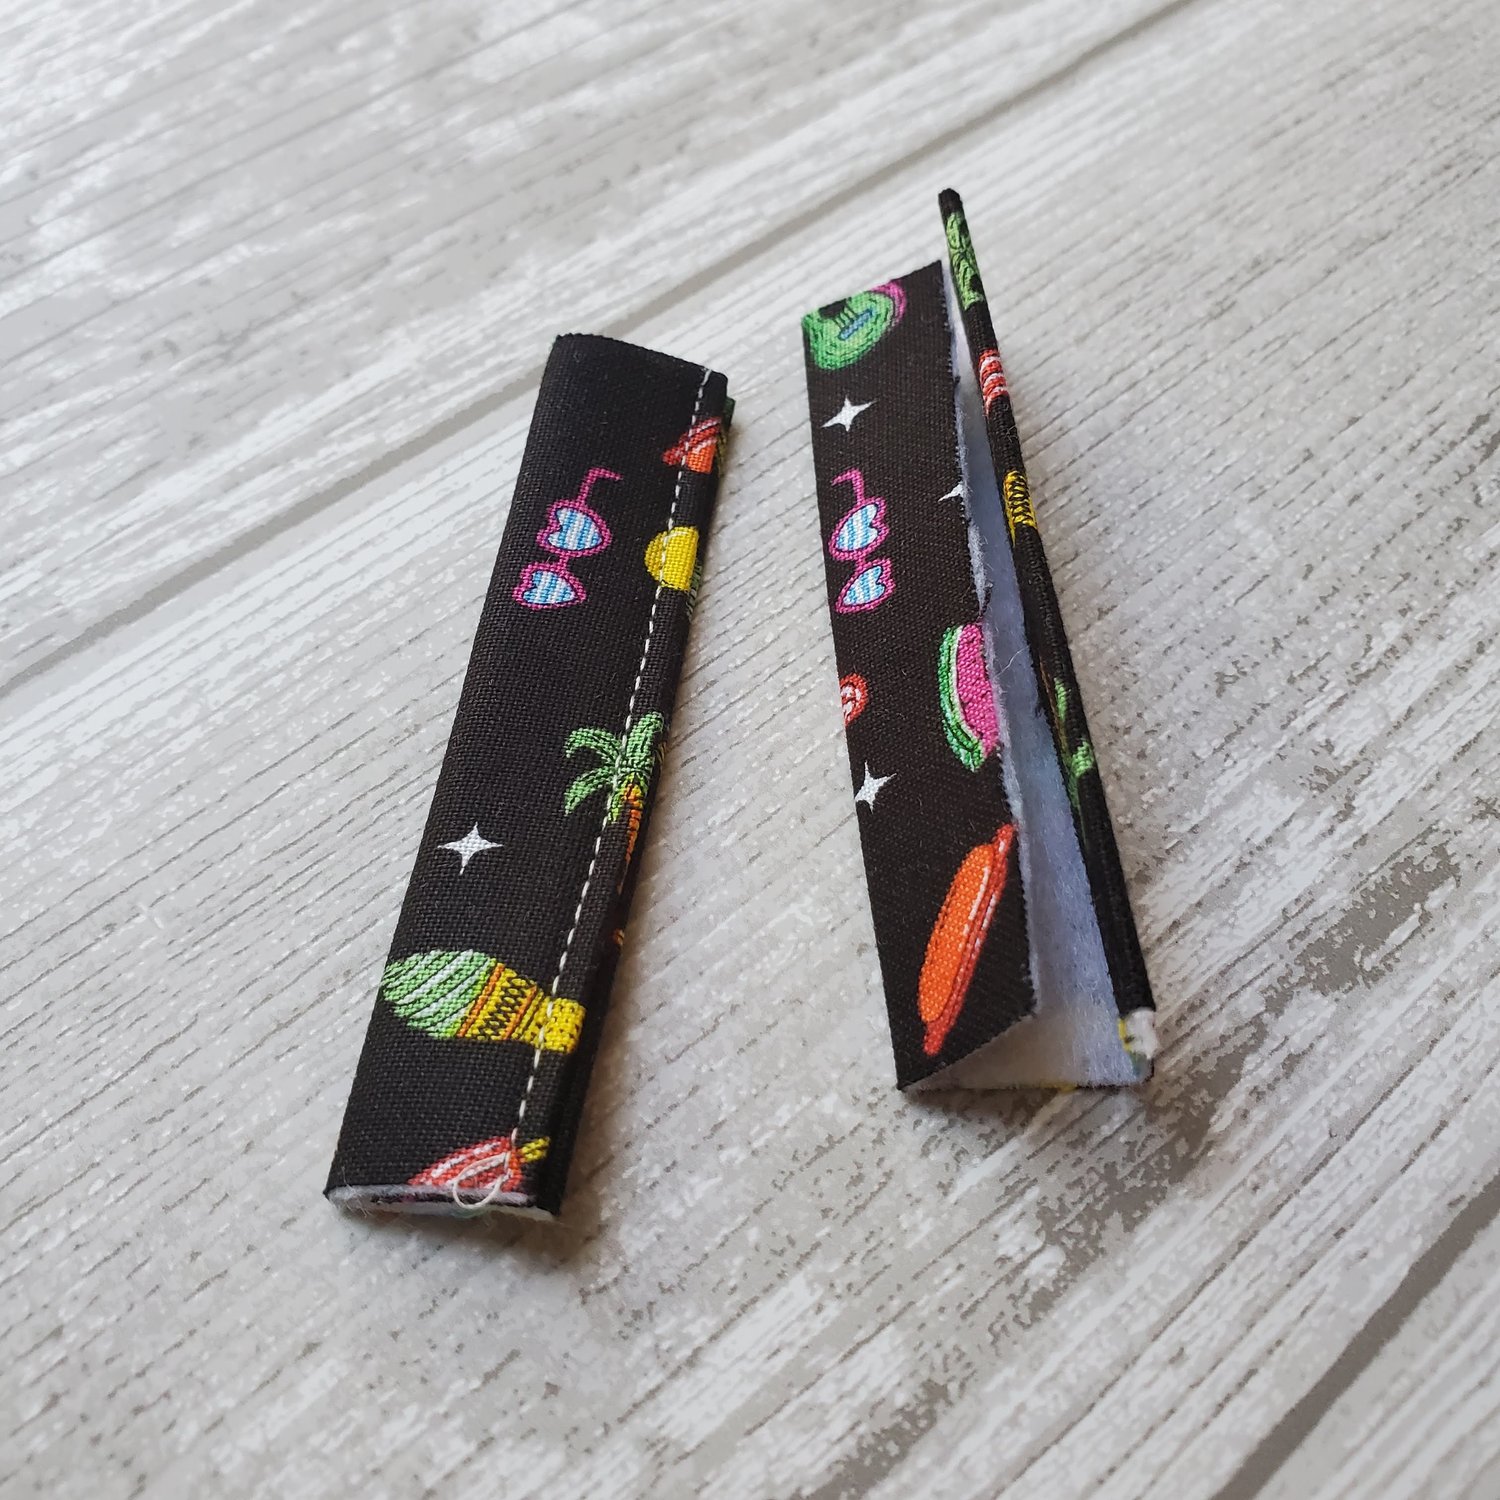
Fold tabs in half and baste about 4” from the bottom on each side.
Sew the two pieces of lining fabric together along the bottom edge taking into consideration the direction of the fabric. (In this case they will be facing opposite directions.) Be sure to leave about a 3” opening in the center of the seam to turn right sides out at the end. With the right sides together sew the outer back fabric piece to the front sunglasses piece along the bottom edge. Align the right sides together of the lining fabric on exterior fabric and sew two short ends creating a tube.

Take those two seams you just sewed and line them up in the center on top of each other. Sew all the way around the outer edge with a quarter inch seam. Kayajoy has a nice illustration in her backpack tutorial to explain this sewing method.

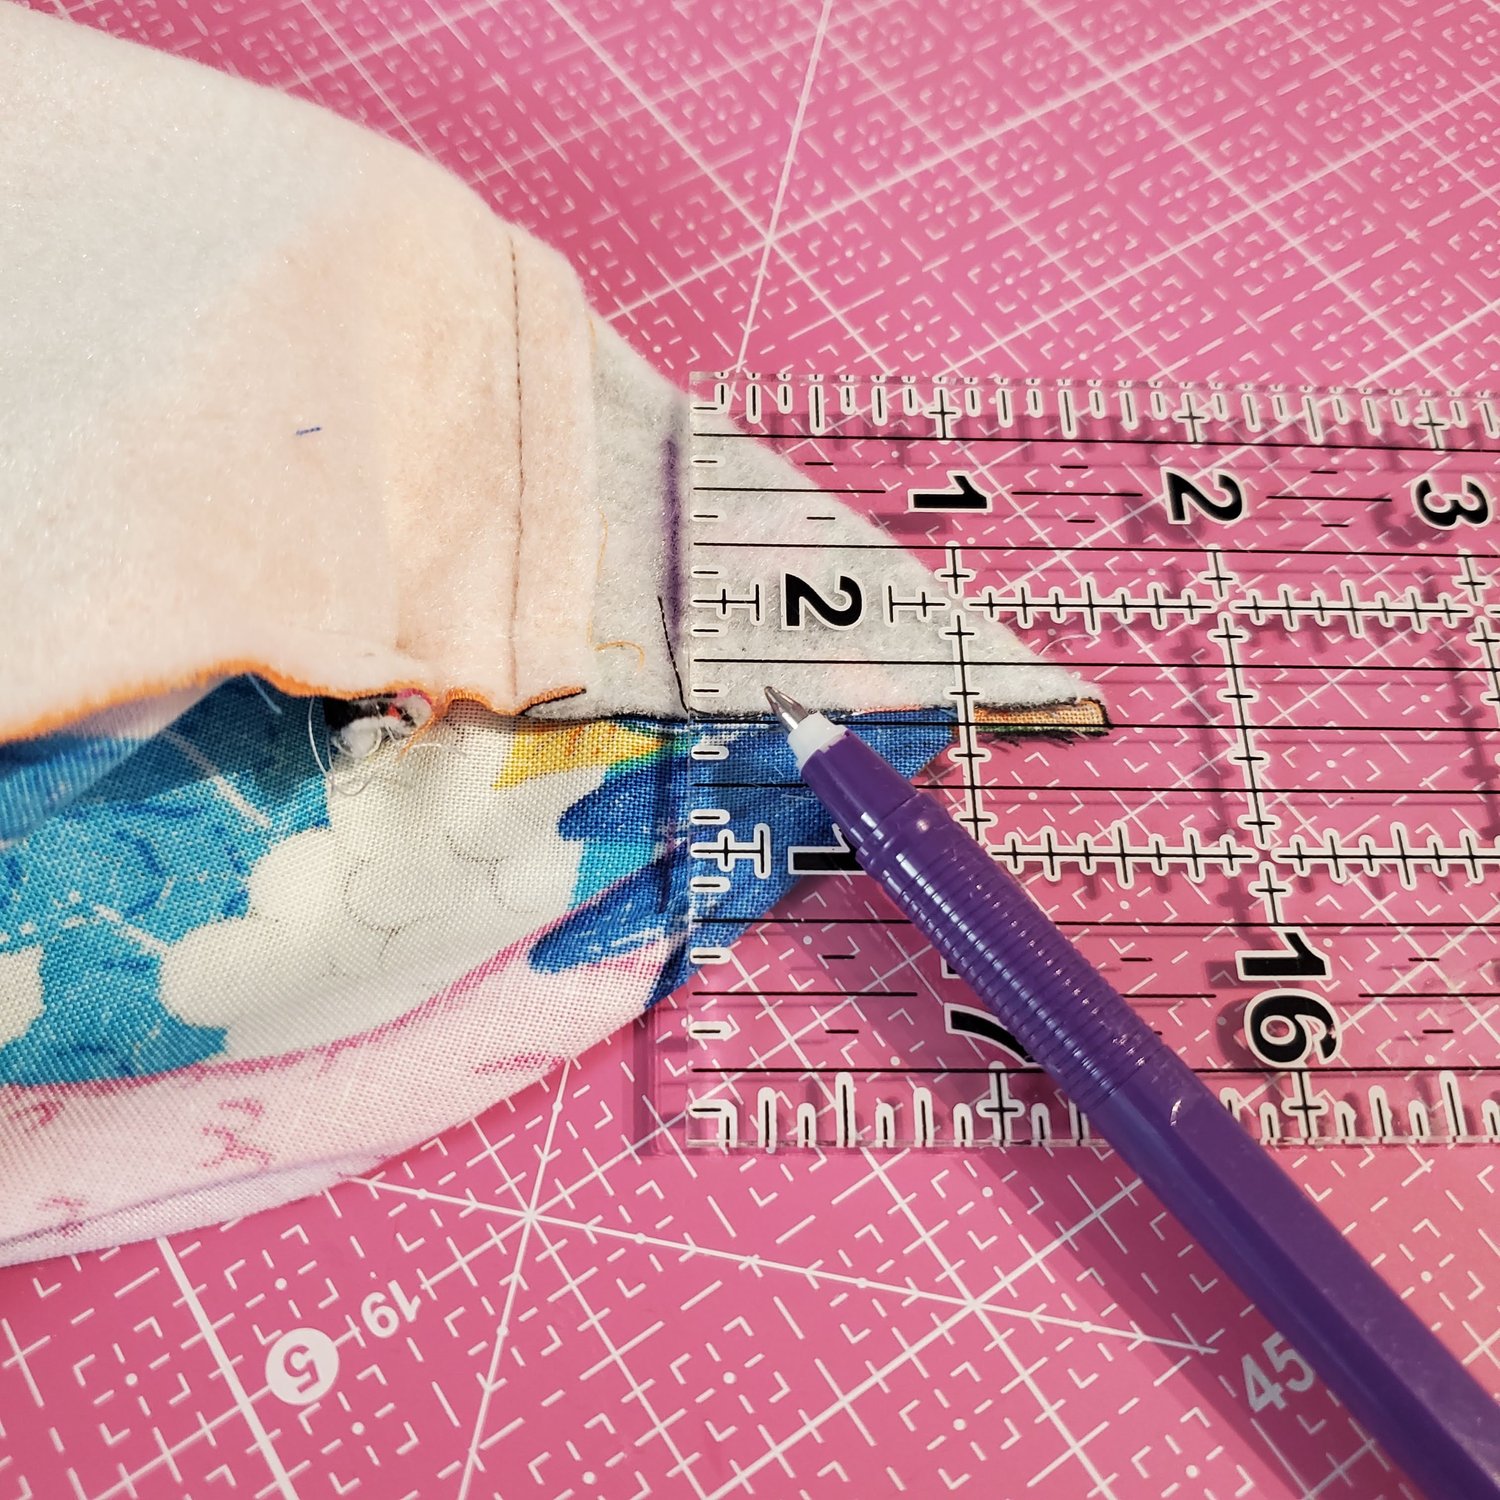
To give the backpack some depth you can box the corners. Take the bottom edge and match it to the side seam creating a triangle. Measure 1.5” from the tip and mark the sewing line. Repeat for each corner including the lining. Trim the seam to ¼” on each corner.
Turn right sides out through the opening in the lining. Push out the corners and give it a press. Topstitch the lining opening closed with coordinating thread and push to the inside of the backpack. Topstitch along the casing seam to keep the layers together as you use the bag.
Cut two pieces of cotton cording about 45” long. Start by threading it through the bottom loop, through the casing and back to the loop ending with a knot.
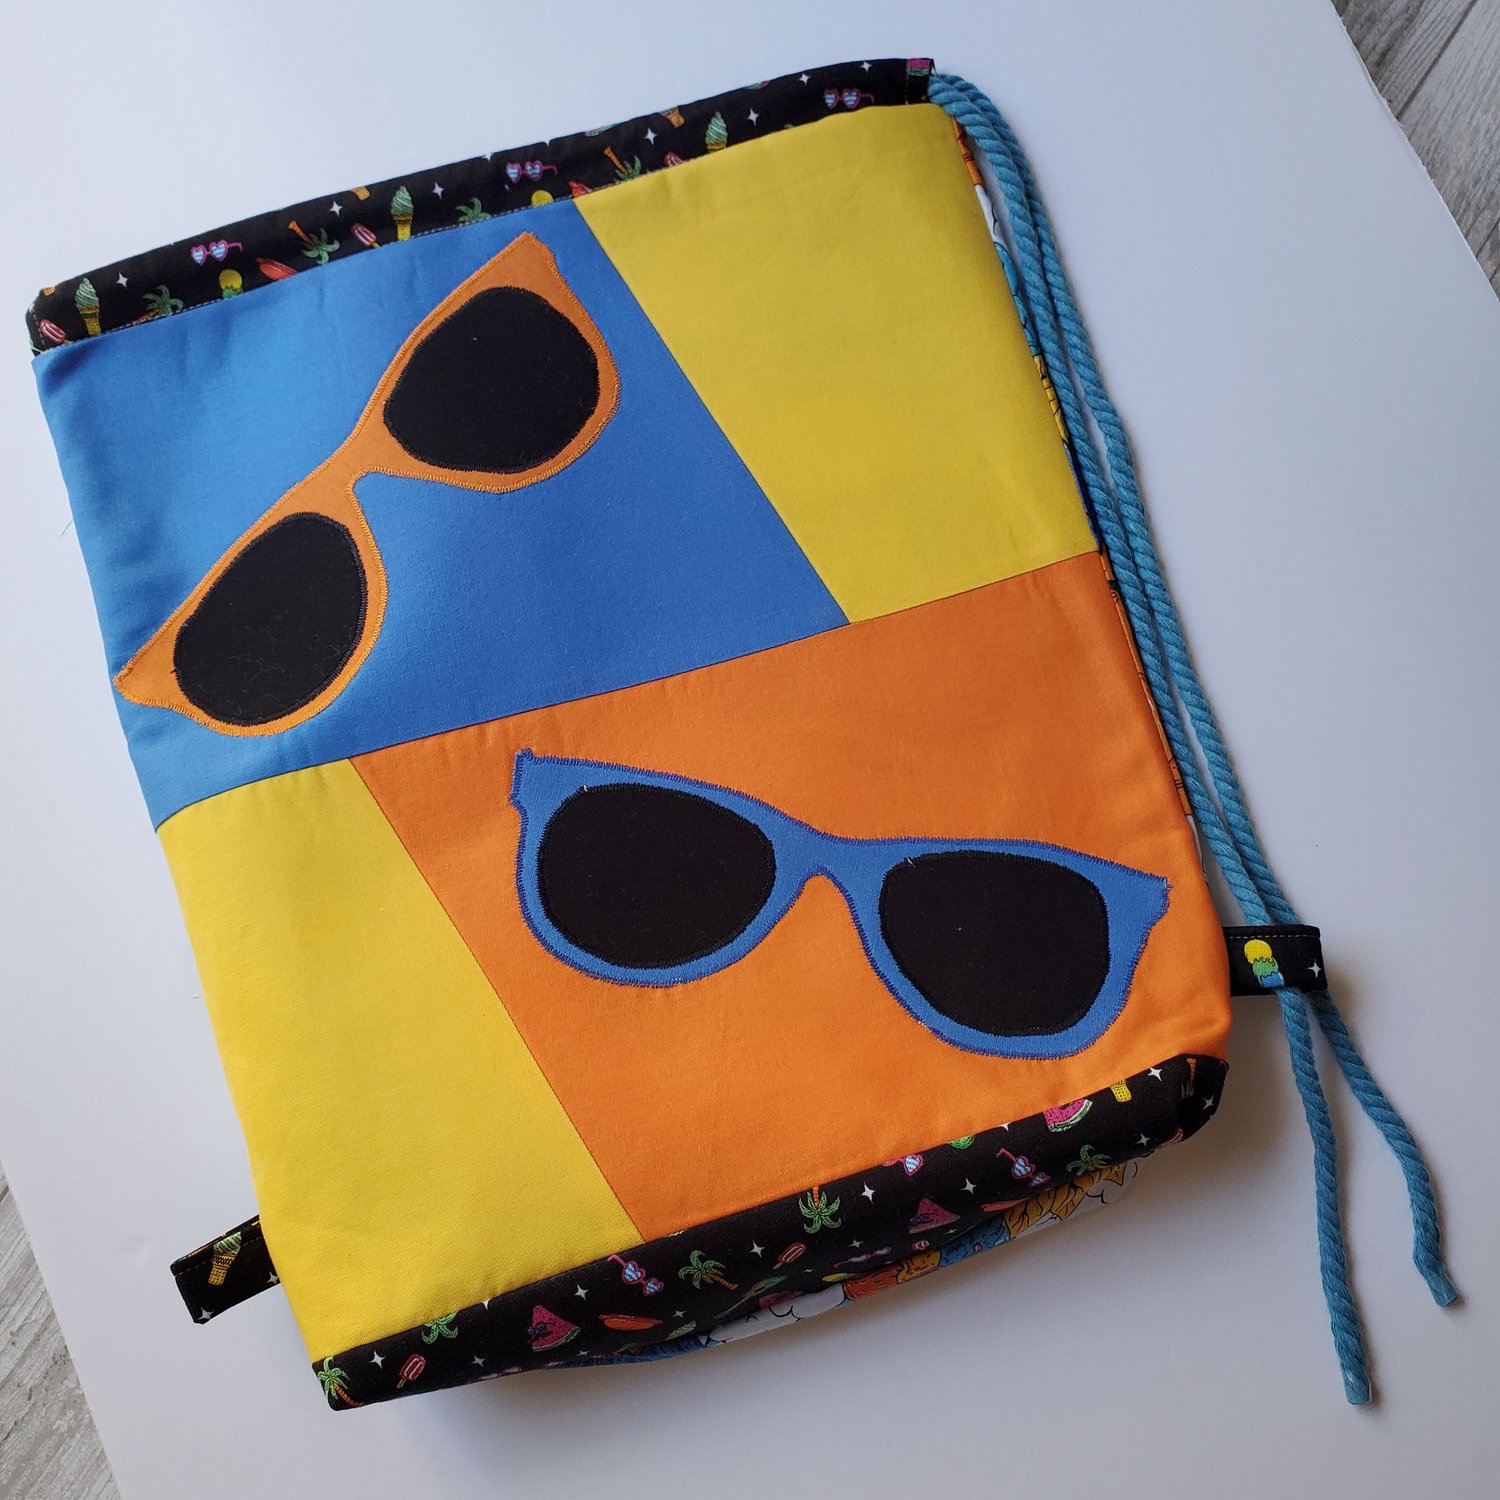
Do the same on the other side. This adorable toddler backpack is ready for Summer adventures! Check out DIY Drawstring backpack from last summer, still one of my favorites to make for a quick birthday gift!