

Sewing in Transition
27th Sep 2021
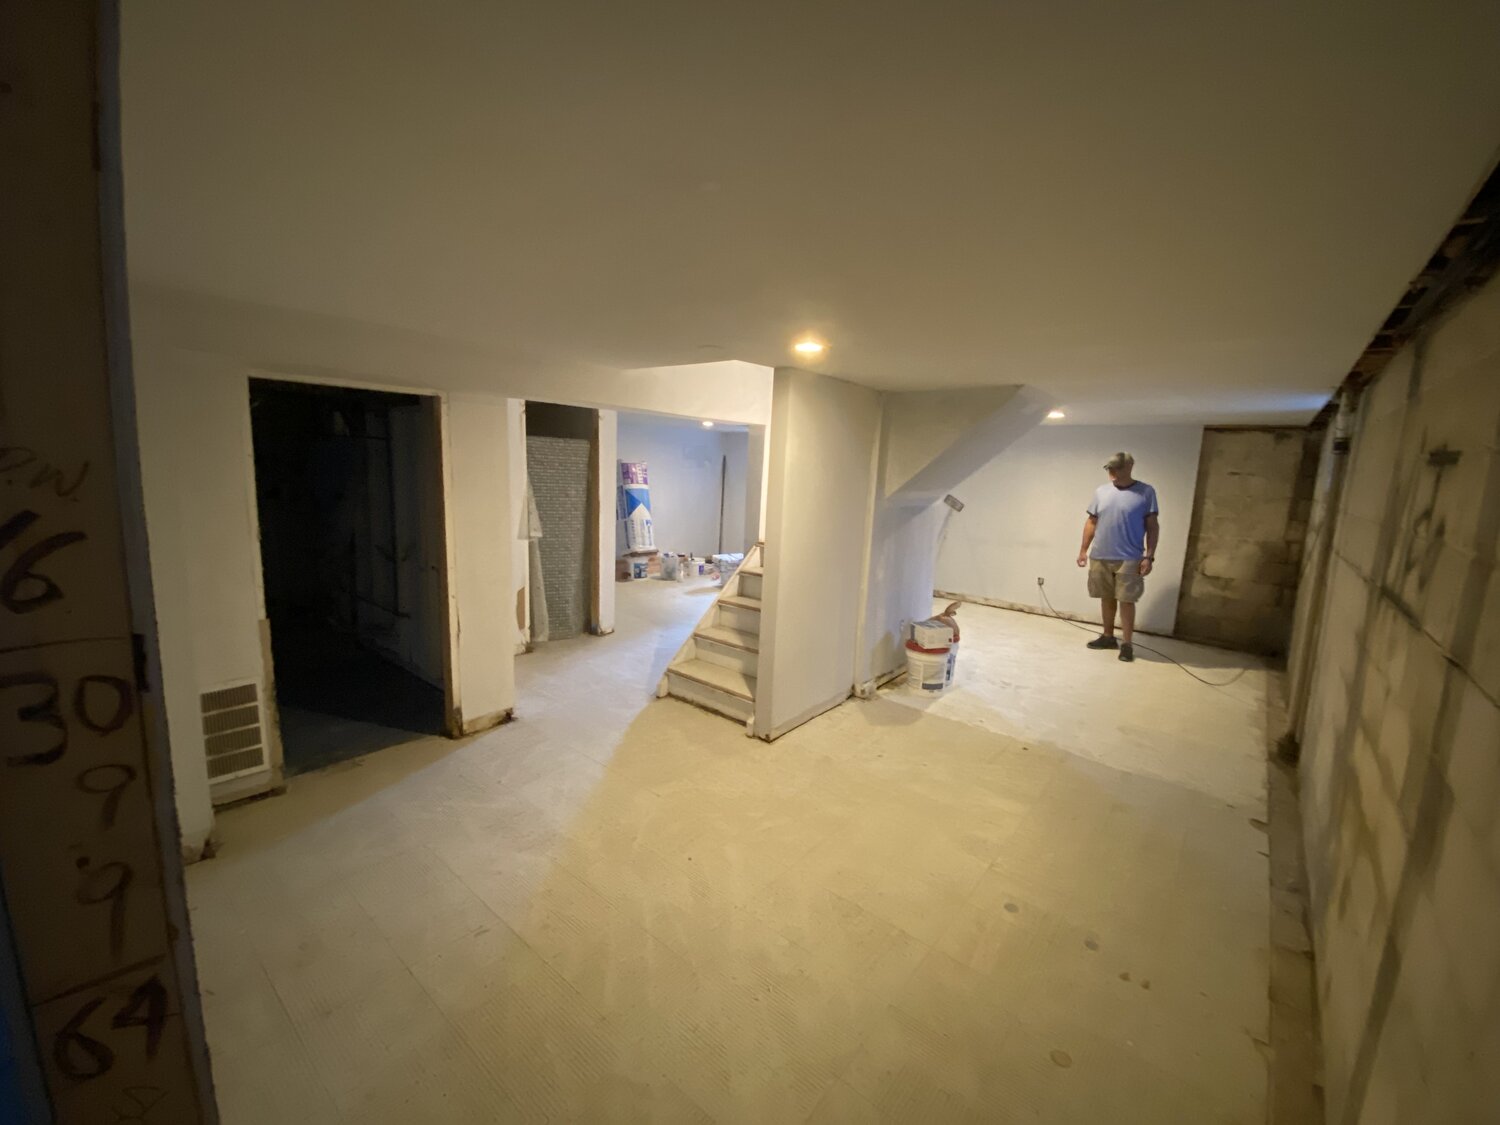
For those of you that haven't been following my journey, in August 2021 - we decided it was time to move out to the suburbs. In order to afford the home we want, we needed to take on some major renovations in our current home. And, to be honest - the easiest way to do that was to leave the house and stay someplace else. We wanted to be in a place that gave us living space, a kitchen, and bed/bath - while staying close to home and keeping costs down. Since Air B&B's are so expensive in this area, we opted for a suite at a local Extended Stay America. Our suite has a small kitchen, a bathroom, 2 queen size beds, a couple of TVs, a living space, and a working space - so it checked all the boxes.
In the early days of the move, I thought the transition would be easy and I'd have plenty of time to sew because I felt like I wouldn't have anything else to do. What I realized looking back on the past 6 weeks is I had -ZERO- time to sew! And...with all the emotions I was feeling, I lost my sewjo completely. When we did have free time, I preferred to hide in bed under the covers rather than be creative. I never really had a chance to process what sewing in a small space would look like. Now that our current home is on the market - we have one stress off our shoulders, and I can get back to sewing!
Challenging myself to create while in a small space has made me appreciate just how lucky I am to have a dedicated sewing area that's large enough to leave all the things out. I know so many Quilters that either have to sew at the kitchen table and have to clean up after each session. While I don't have to put my physical machine away in my space - I'm feeling that right now. I have to tidy up when I'm done because we just don't have the room to leave things laying about! But, here's the good news: this challenge is helping me stay more of an 'on-task' quilter, and keeping on top of what I have, and where it's at! Things are nicely organized.
So, I want to take some time to tell you about things I'm doing & using to keep creative while being in a small shared space.
-
How am I cutting? I'm relying on a folding 17" x 24" Olfa Mat (link here: https://amzn.to/3hWFq2g); a Martelli 45mm Rotary cutter and a 6.5" x 12.5" Creative Grids ruler (https://amzn.to/3kw2Qgy). I absolutely love my Martelli cutter and prefer it over any other brand (less fatigue, more ergonomic cutting) - so that was a must have. You can check out my video on this cutter here: https://www.youtube.com/watch?v=UKuWWidgOvY&t=213s As for the mat & ruler - I find this combination works perfect for just about ANY cut I'm ever going to do - either yardage or precuts. When I pull yardage to cut - it's already folded once, I just fold it one more time - matching the fold to the selvages and then cut the fabric just like I would have had I used a 24" ruler. Boom! Yardage cut nicely!
-
How am I pressing? For my pressing system, I have a Martelli Press & Cut Mat that has a wool pressing mat on one side, Martelli mat on the other - that works perfectly for doing quick rotary cuts, and even quick little presses! Of course, I brought my favorite iron (a Panasonic Cordless WL-607, link here: https://amzn.to/3lIJmou), and I've leveraged the room's ironing board as a larger ironing surface setup right by my table. :)
-
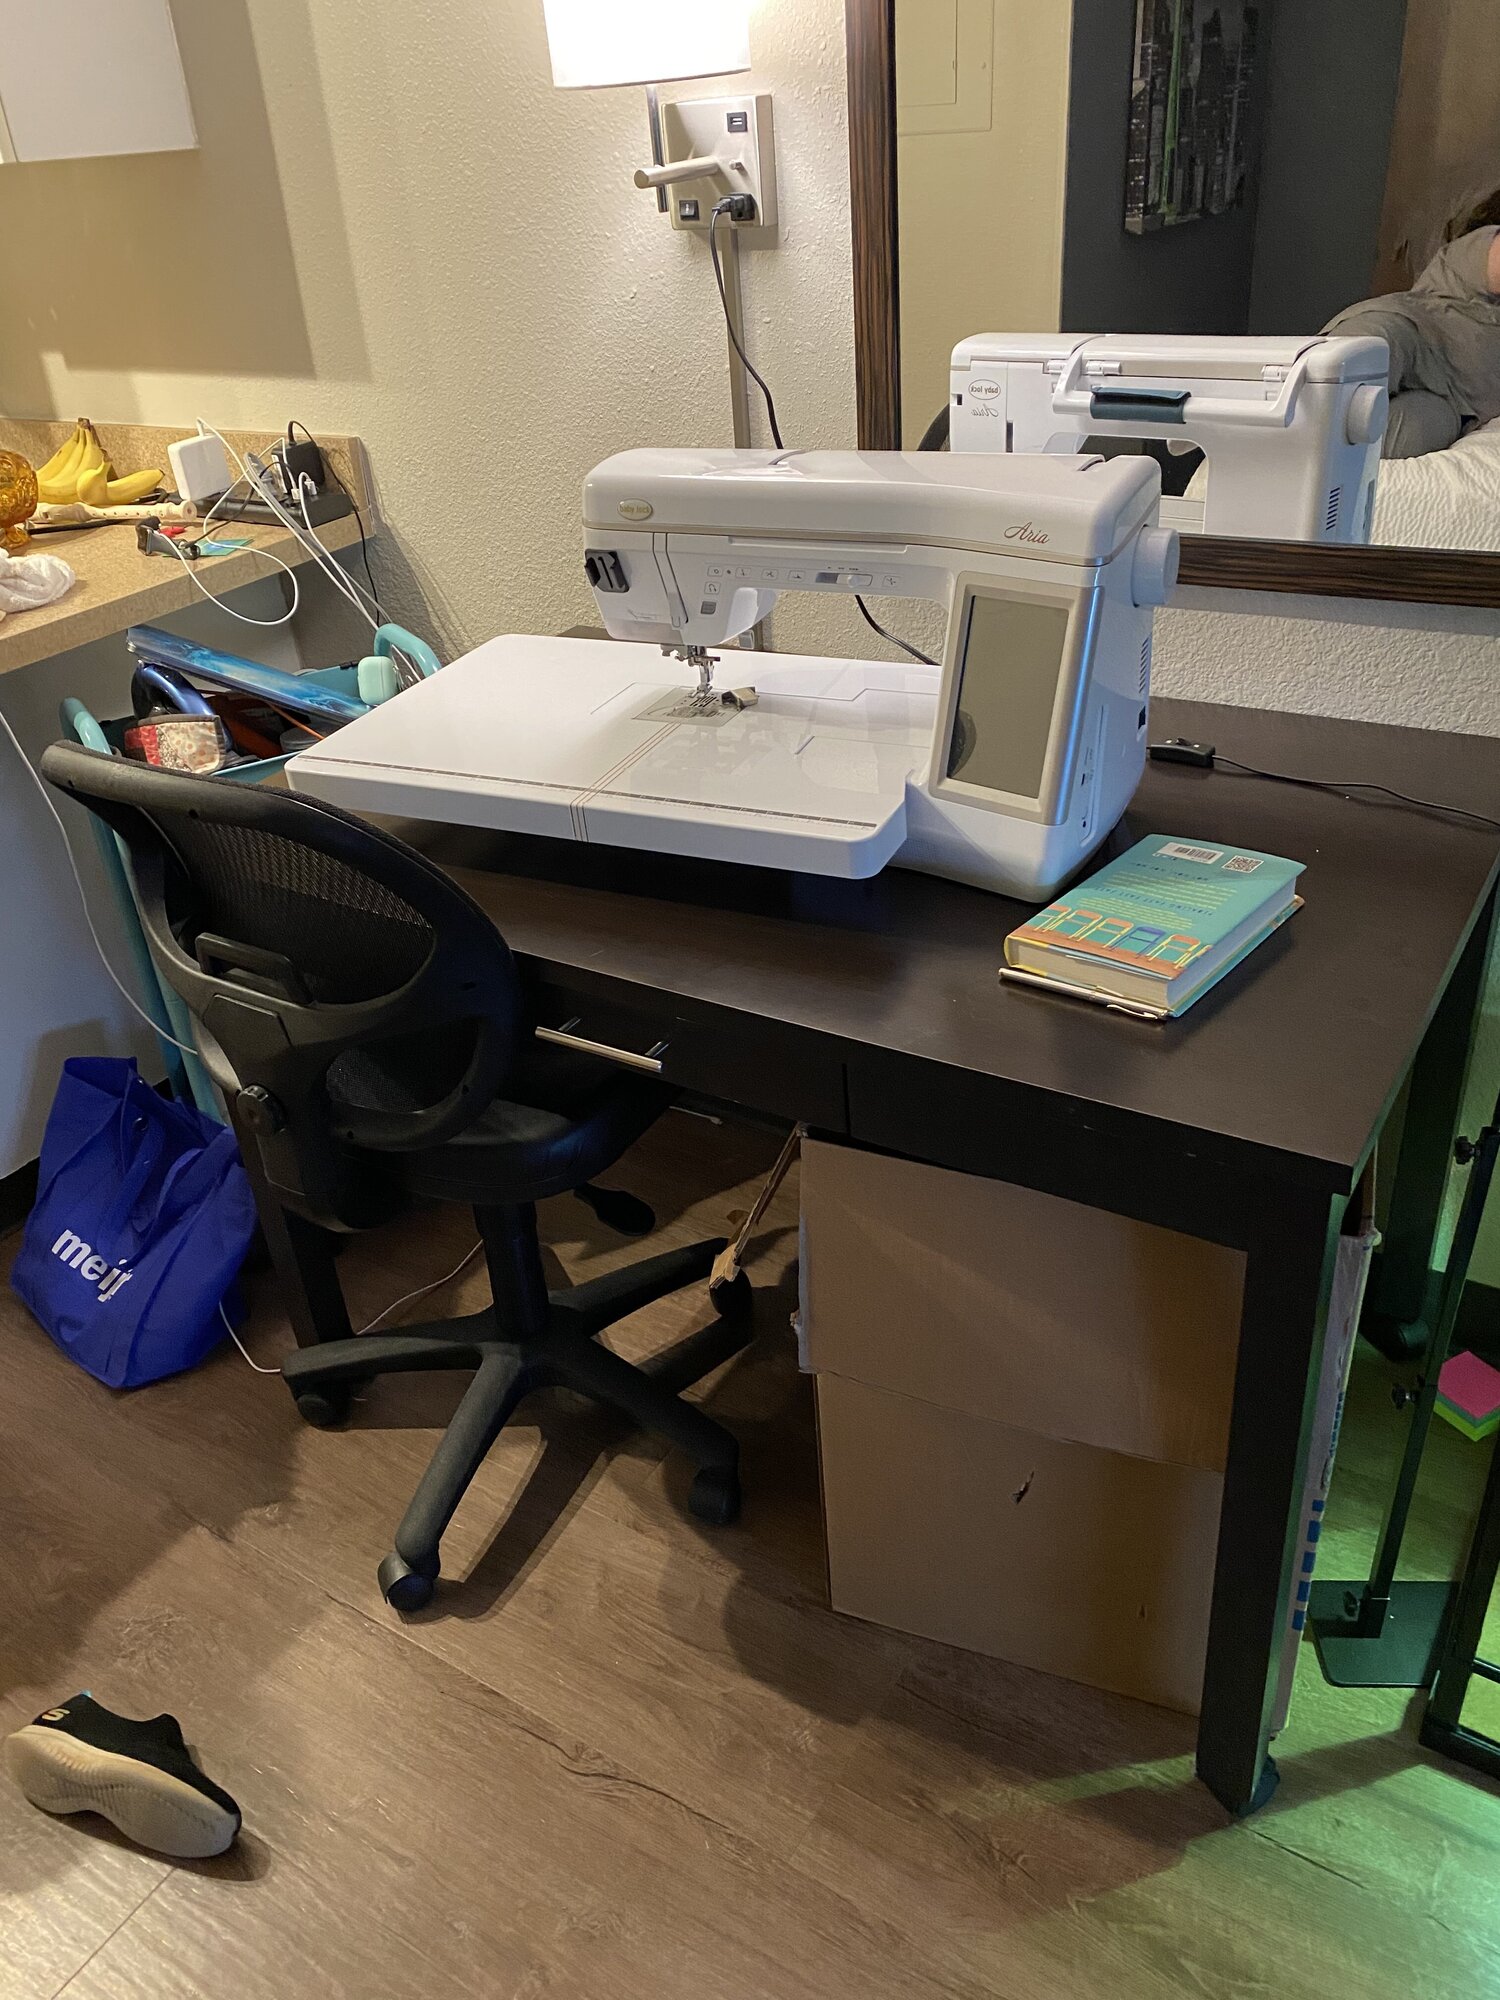
How am I sewing? My machine sits nicely on the hotel desk - and I've found a few things make my sewing experience a little easier. First - a bright LED light to help illuminate my space is key. Hotel room lighting just isn't bright enough to help me see! Ottlite has some nice ones, but I've been using this light: https://amzn.to/3lRFHEK. Second, I need more surface area - I'm a bit spoiled since my machine usually gets to sit down in cabinet with a large working area. So, I've purchased an extension table from my dealer to give me some more surface area when I'm sewing on the go. And, finally - the machine pads from Martelli are super nice (link here: https://amzn.to/3lRetOz). These are boards designed to go under your machine (all the feet of your sewing machine should it on top of it) and they absorb some of the movement/energy of your machine sewing to help keep it from shaking a bit. :) They also make smaller versions of this pad to go under your pedal so you don't have to hunt around for it. Both of these boards take up pretty much no room, and they'r ehelpful when I'm travleing, so I keep them in my sewing machine case.
-
How are you keeping organized? This could literally be a blog post itself! Seriously, I LOVE organizing things, so this is a bonus for me. I've found a few things are particularly helpful:
-
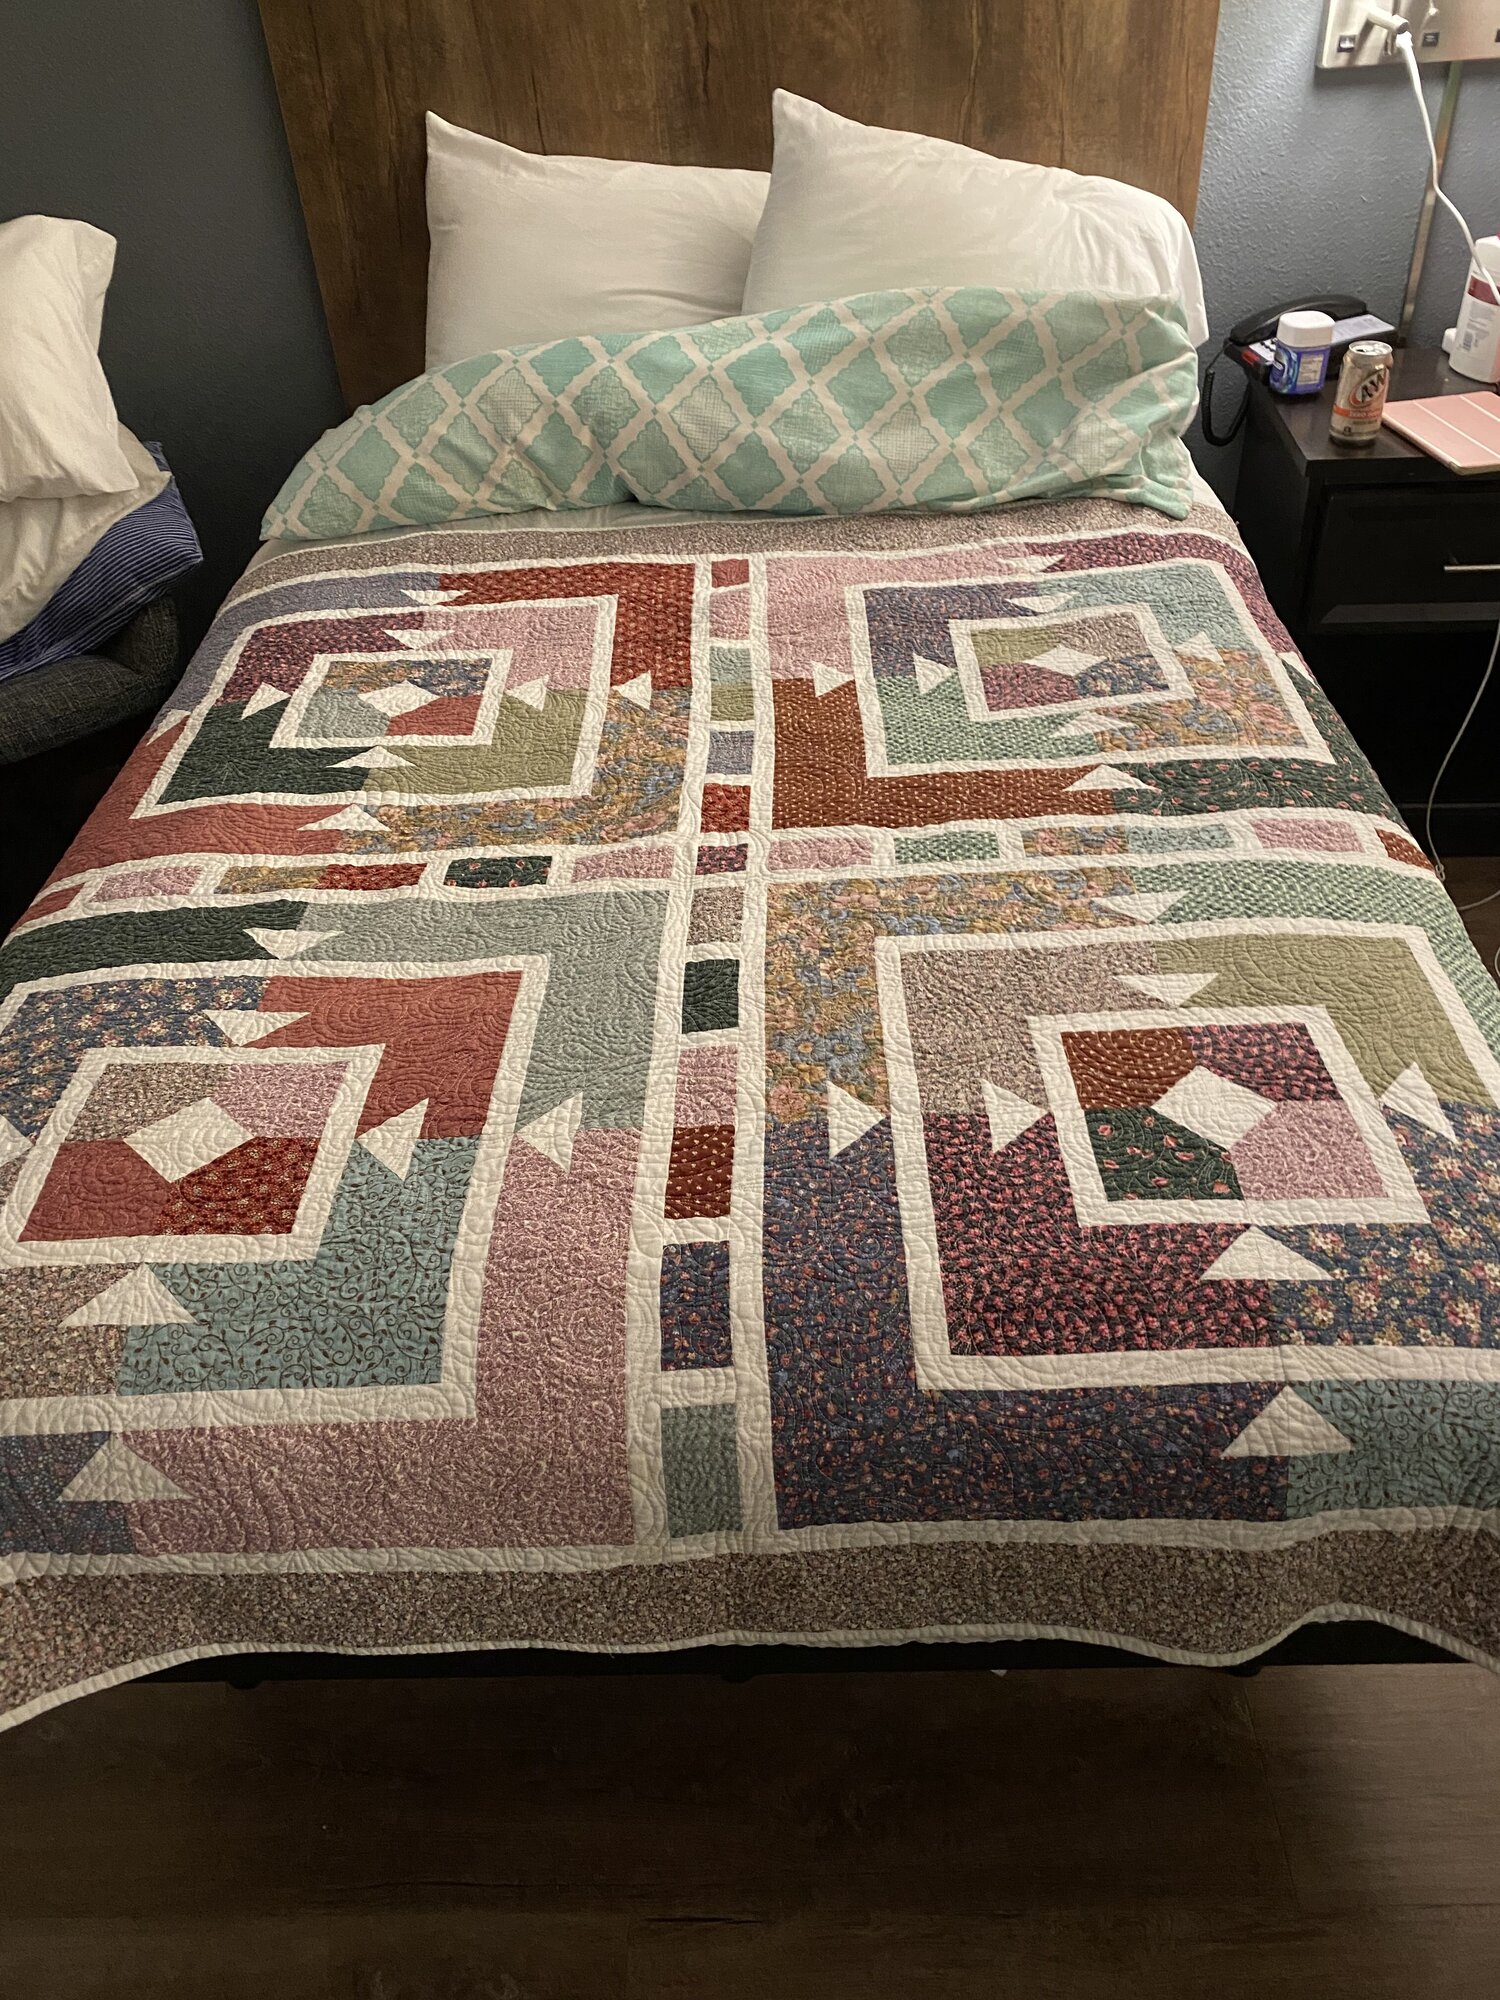
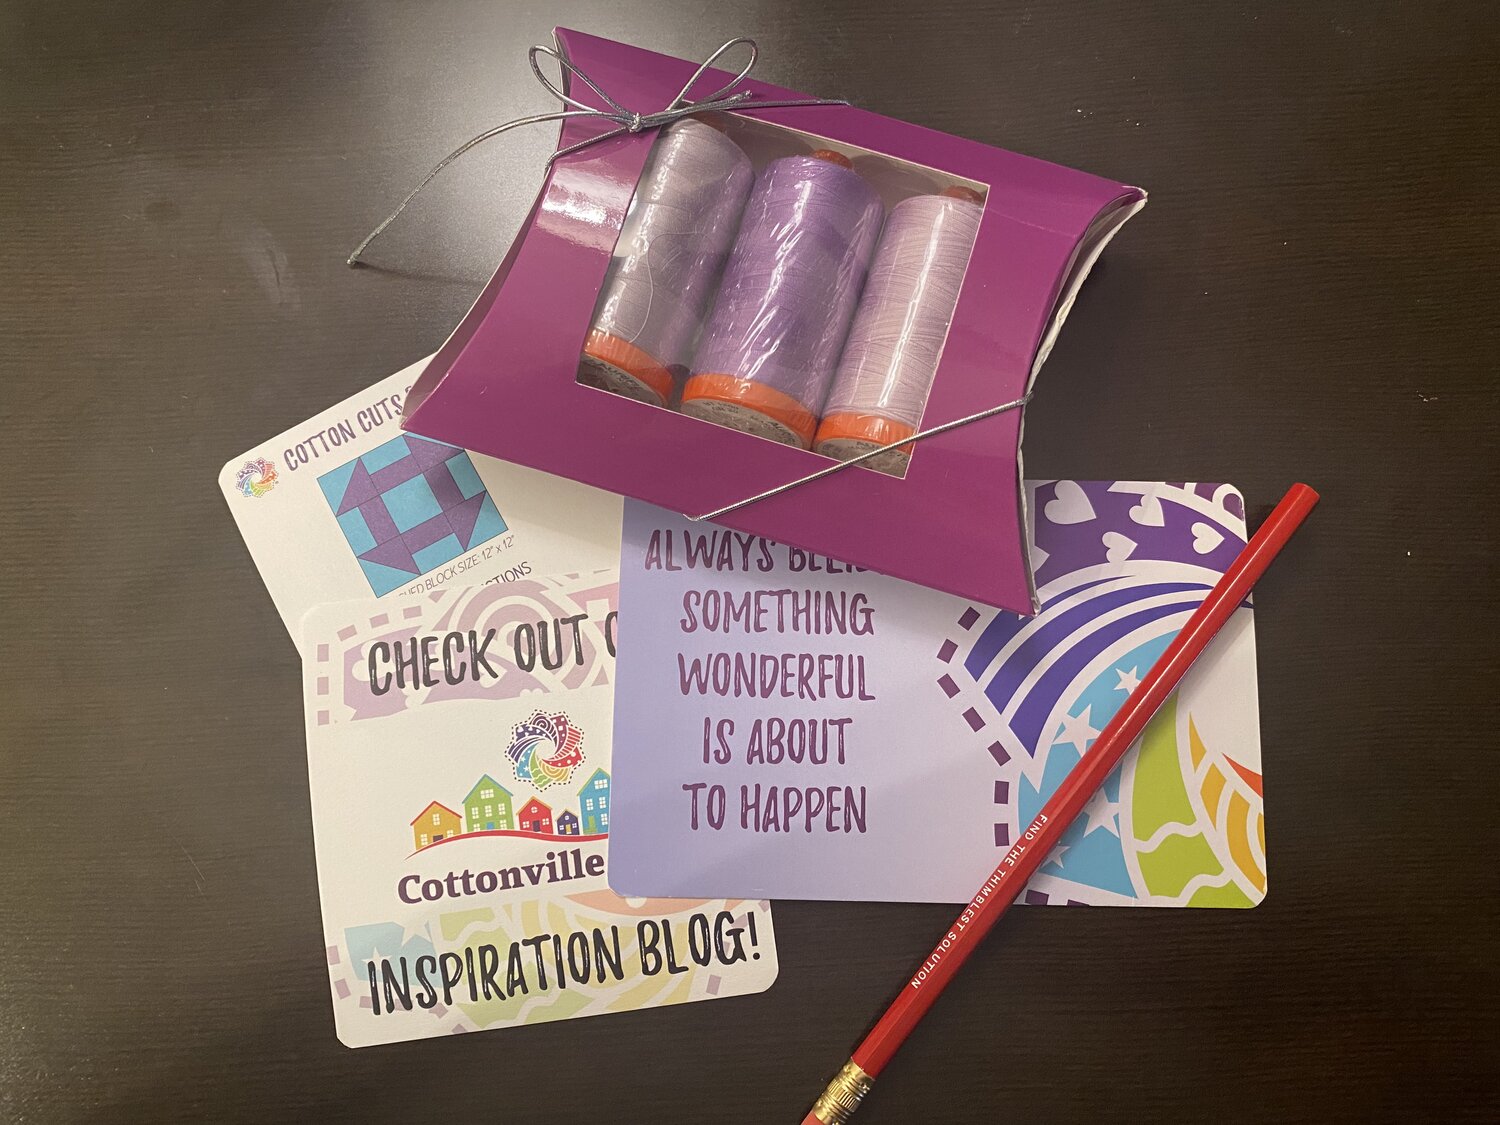
Keeping my projects limited. This means - if I do shop for fabric, I have to keep my purchases limited to ONLY the things that I'm going to actively use pretty much immediately. No feeding the stash! Buy the fabric you need, LOVE IT, ENJOY IT, WORK WITH IT, and then love it when the project is done and move on to the next project. I do like to juggle projects - so, while I have several projects at my disposal - I'm focusing on keeping only four out and active right now: My two PMQ's from Cotton Cuts (subscribed on YouTube to sew with me!); A Christmas Pineapple quilt using 'Christmas Morning' by Lella Boutique and the 6.5" Pineapple Foundation Paper (link here: https://amzn.to/3EKpXft); and a Moda Kit for the 'Songbook' collection.
-
Keeping my projects organized. I love these Sterilite bins (link here: https://amzn.to/39I2MV7) for organizing my projects. Once I have fabric & patterns pulled for a project, everything for that project goes in one of these containers. They're just deep enough to hold my entire project, small enough that they store easily, and the lids lock - so nothing's going to spill out (and most likely - your spills won't get in)!. Bonus: they stack neatly, too! So, I just dedicated a teeny bit of space in our room to stack up all my bins and label them with a post it note on the site so I can easily grab what I need. When I'm done with the project - everything goes back in the bin, and the bin is placed back in the stack.
-
Keeping my notions organized. A few months ago, I bought a lovely 3-tier project cart from Michaels - and it's been AMAZING! (link here: https://amzn.to/2XCL3vt) Highly recommend. I affectionately call it my 'Cart of Tricks' because everything I need is usually stored on one of the tiers, and it just rolls around with me. Bonus - if you get a board that fits across the top of the first layer, the cart become ANOTHER working surface!
-
Becca is a Cotton Cuts Brand Ambassador and we are so thankful for her voice on our blog. If you want to see more from her, check out her YouTube channel!