

Reusable Snack Bags
18th Aug 2022
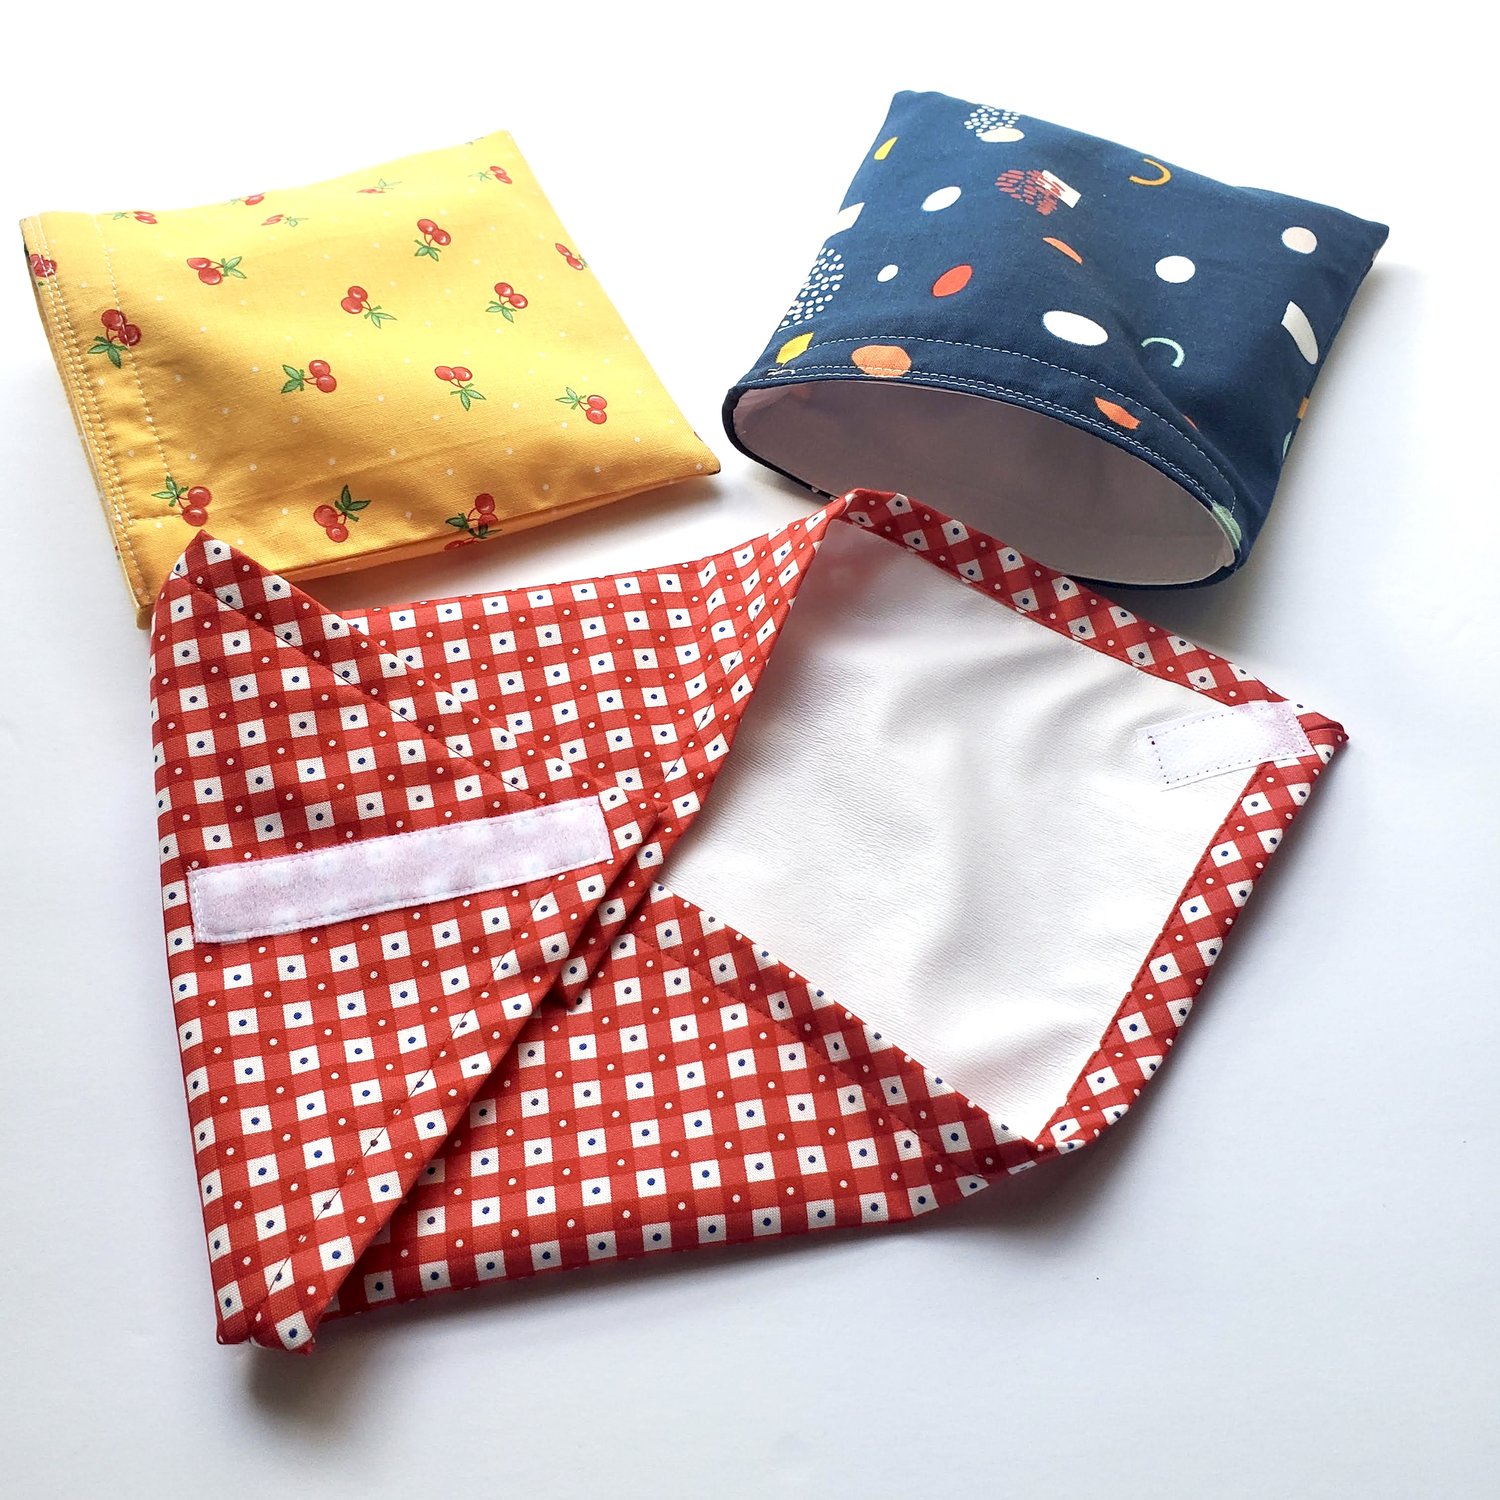
For many families this time of year brings about changes in daily schedules with the return to school. This would be an ideal time to incorporate a new routine to use less plastic in our everyday lives. Just think of the impact of each child using one less ziplock bag for the 180 days of school each year. These reusable snack bags and sandwich wrap are a fun way to use Moda’s latest fabric, 30’s Playtime by Chloe’s Closet found in the July Classic Membership and Moda’s Frisky by Brigitte Heitland in the Modern Maker Membership box. I found this free pattern from All People Quilt website. These are quick to make and a perfect project for a beginner. This would be a fun way to include your children in the making of the snack bags by letting them choose the fabric and maybe do some sewing.
Materials needed:
-
Assorted fat quarters Mystery Bundles of fat quarters
-
PUL fabric lining (laminate fabric that wipes off easily)
-
1 yard White Velcro
Coordinating Aurifil thread from the Chroma Membership
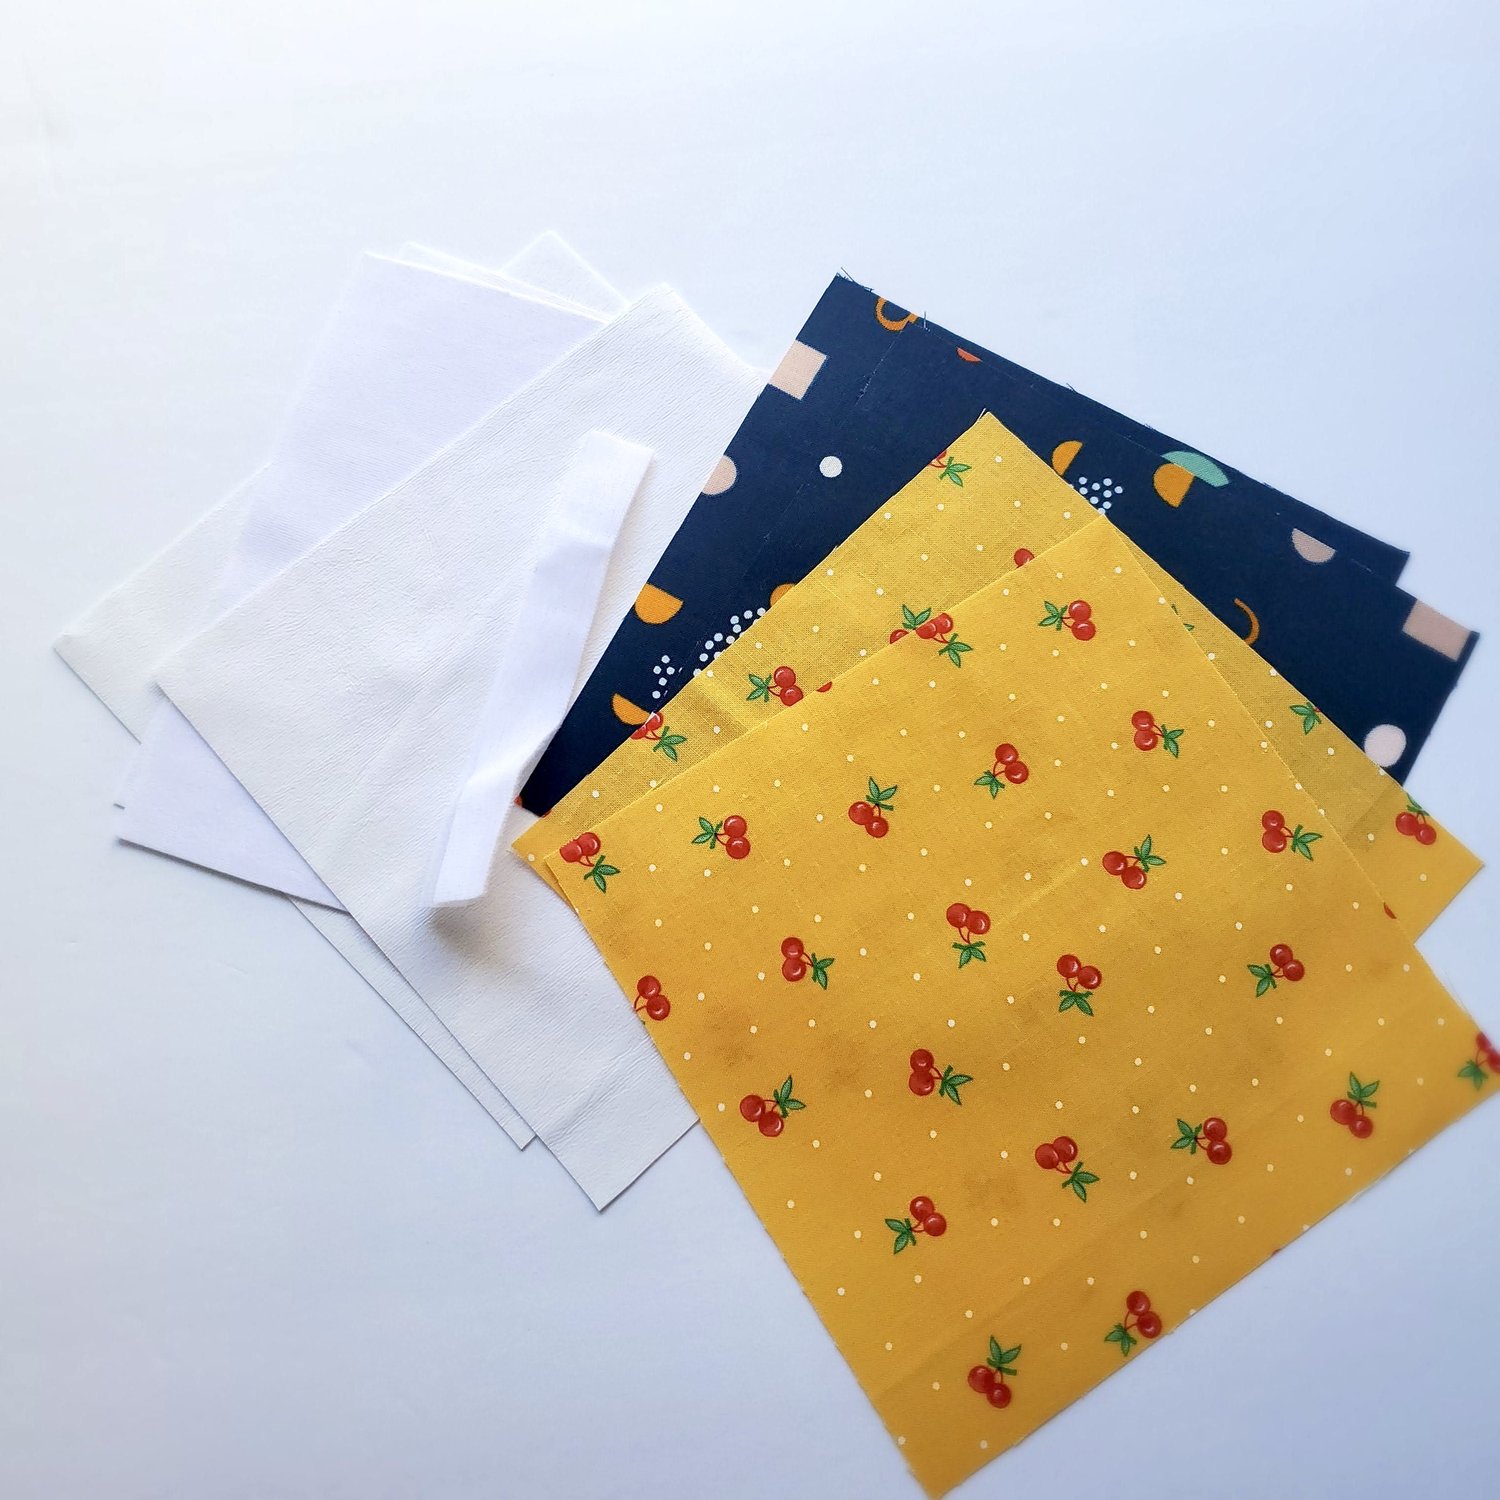
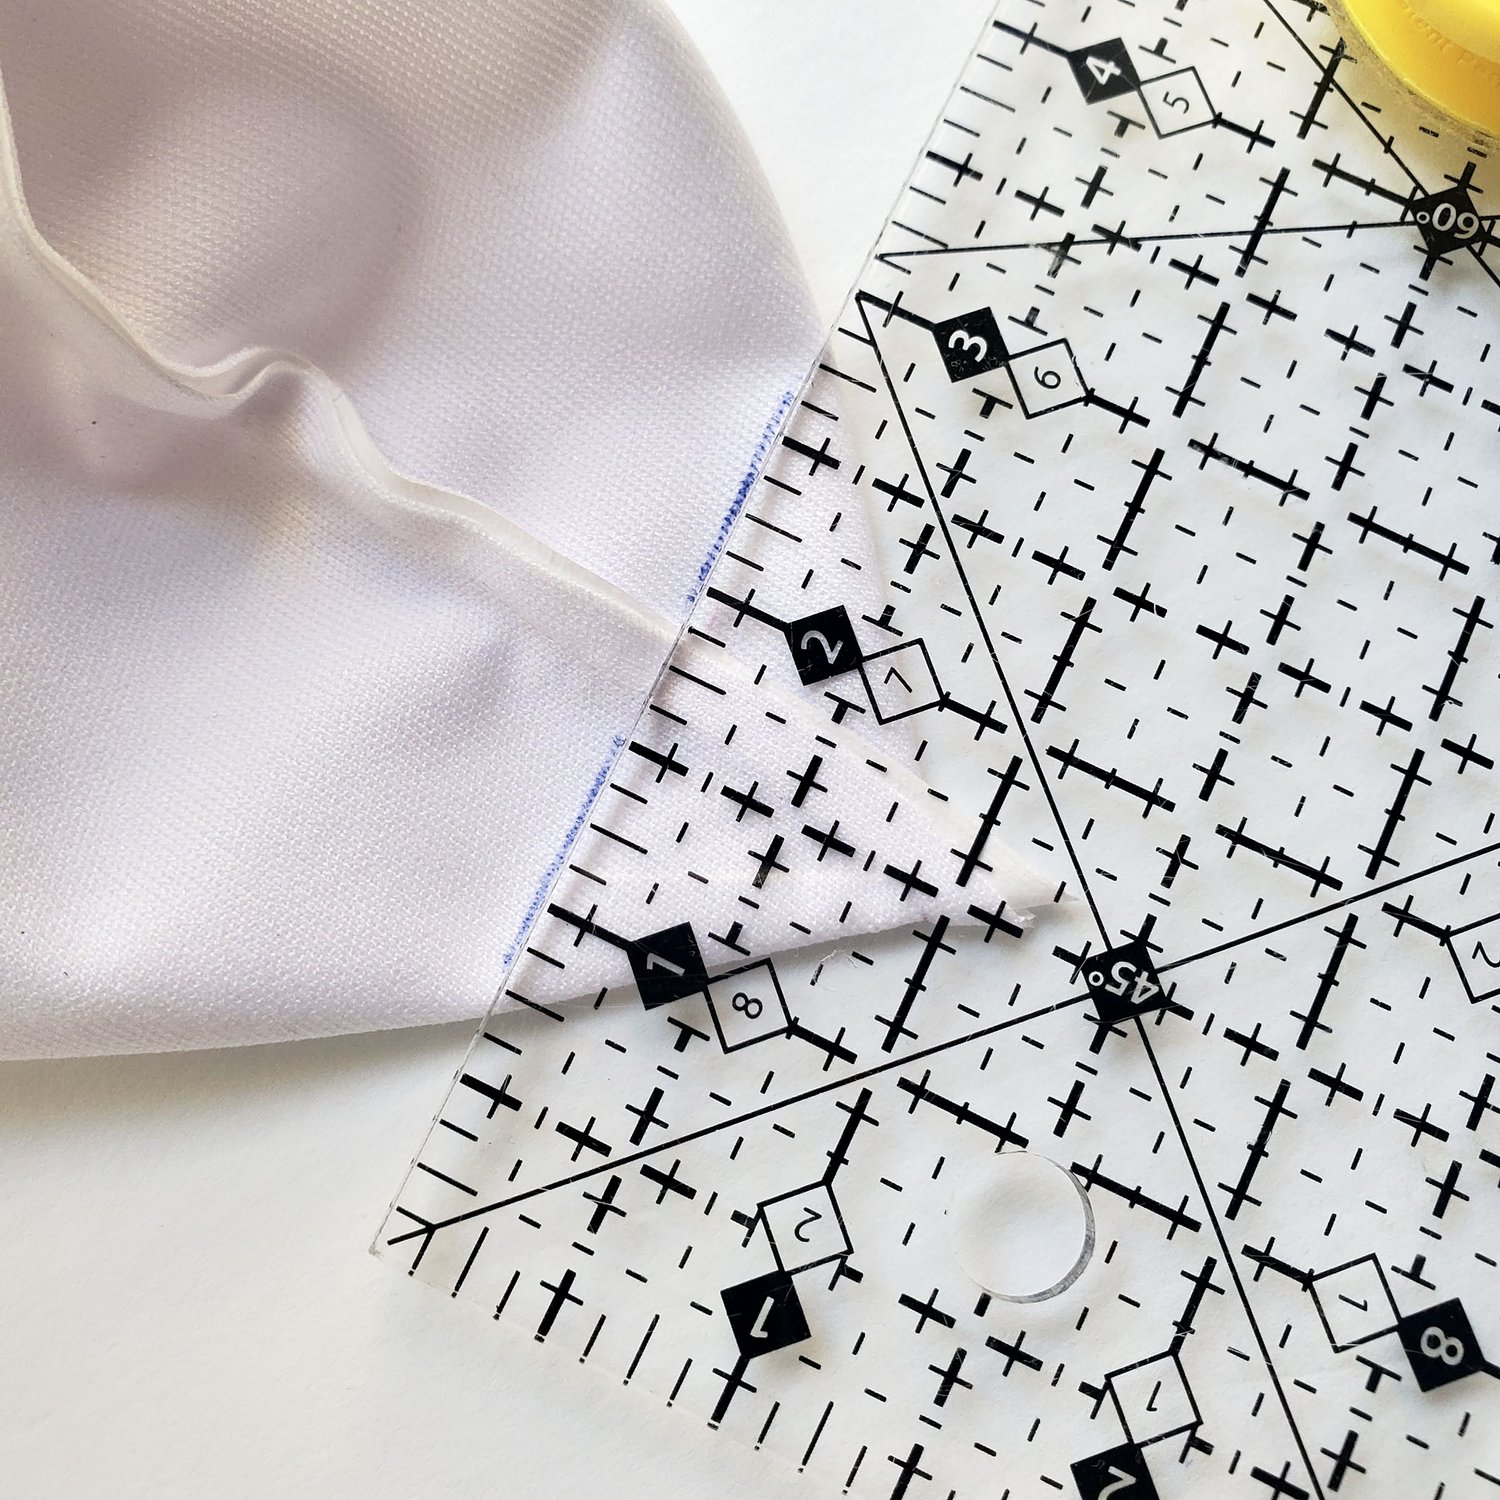
To get started on the smaller snack bags you will need to cut two 6.5” squares of the outer fabric and PUL lining fabric. For the larger bags cut 8.5” squares of both outer and lining fabrics. Sew together a lining piece with an outer fabric piece along one side.
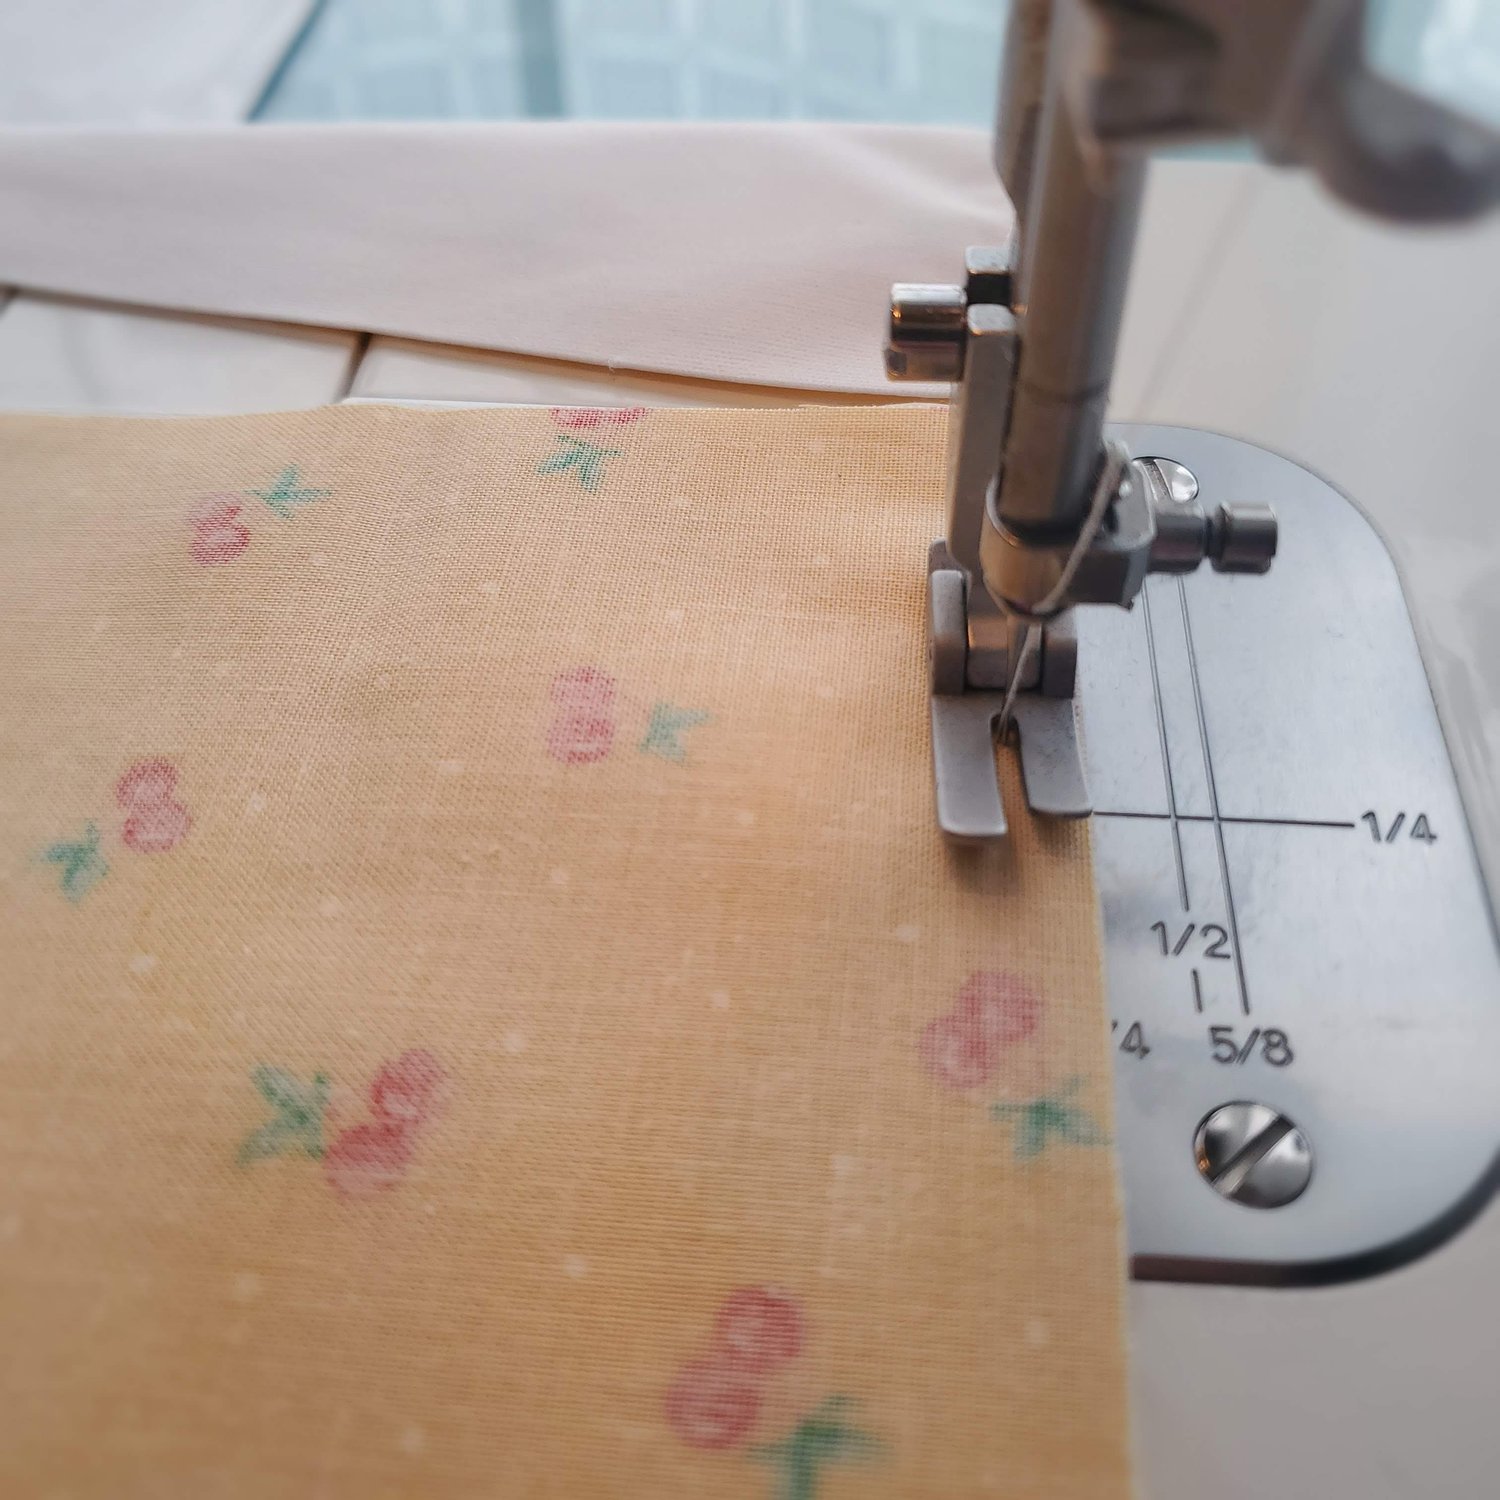
Repeat so that you have matching back and front pieces. With the right sides together clip to match the seams and sew around all the sides leaving about a 3” opening in the bottom of the lining for turning.
On the smaller 6.5’ bag you will clip the corners to reduce bulk. Turn right sides out, pushing out the corners. On the larger 8.5” bag there is an option to box the corners so that the bag can stand up or hold a bulky item. To box the corner line up the side seam and the bottom seam to form a triangle. Mark a line 1” from the corner and stitch on that line.
You will need to do this on the lining and the outer bag.Trim to ¼” seam allowance
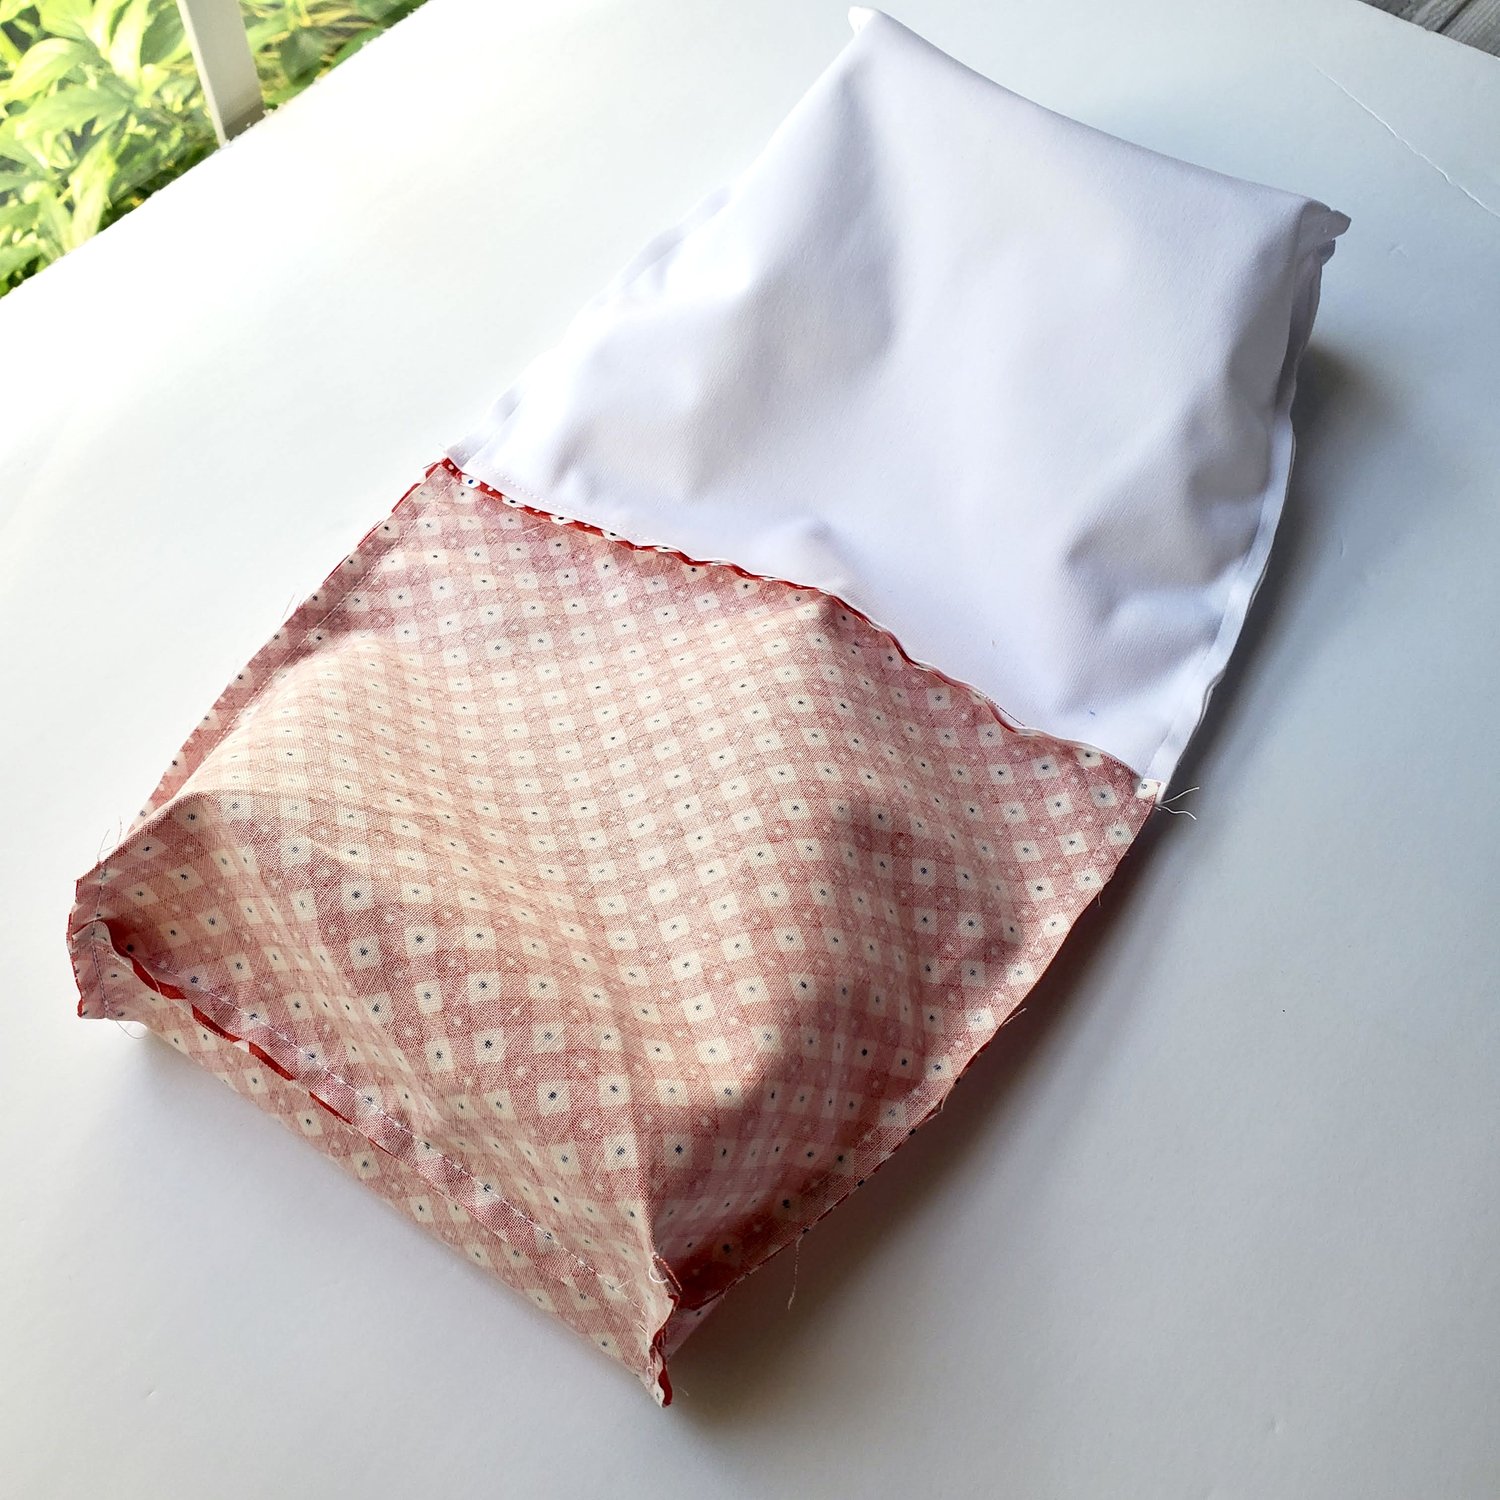
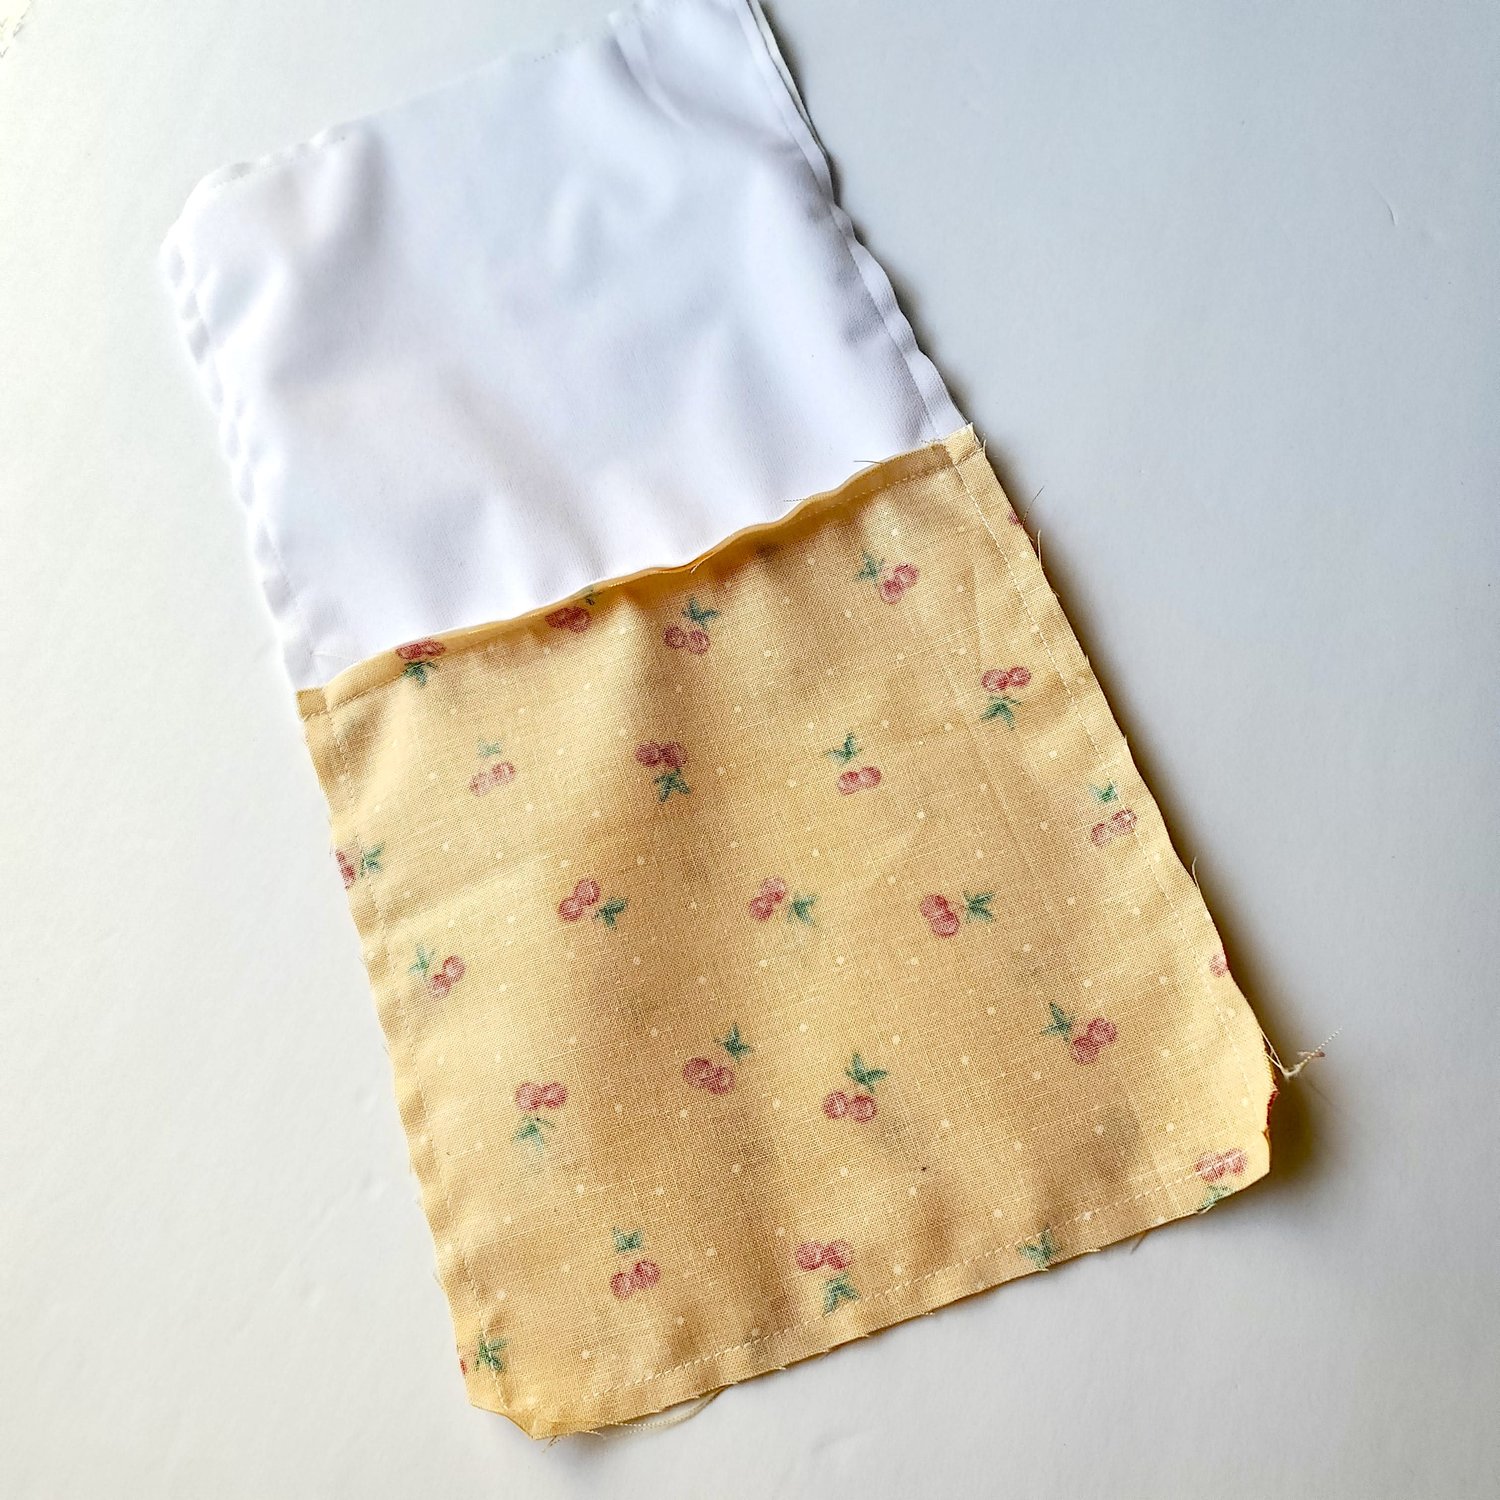
Turn right sides out topstitch the opening closed on the bottom of the lining with a coordinating thread. Push the lining inside the bag. Using a pressing cloth to protect the PUL fabric lightly press aligning the top edges. I like to topstitch all around the top edge of the bag with a coordinating thread to keep the lining in place with use and repeated washing.
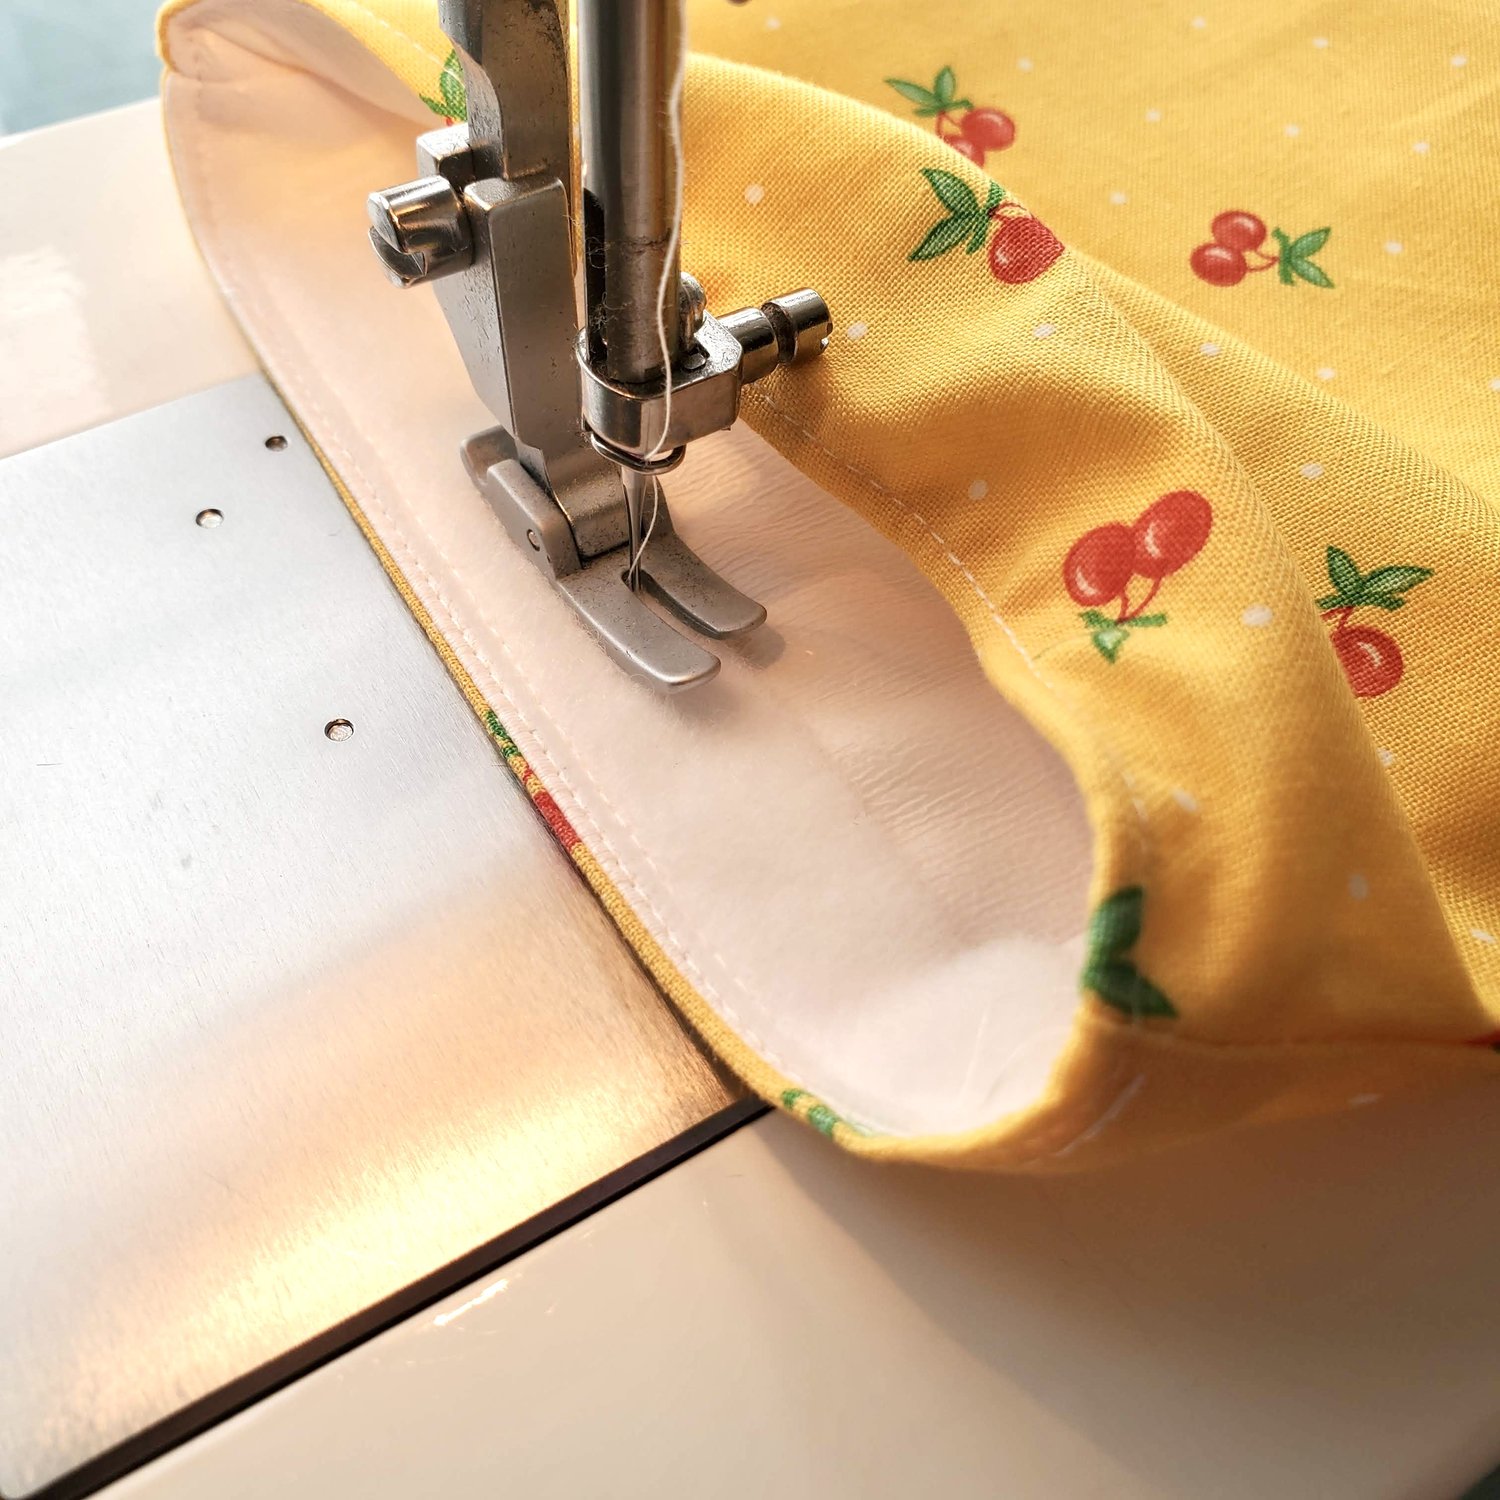
Cut a piece of Velcro to fit the opening of the bag and stitch in place with a matching thread color.
Carefully give your snack bag a final press on a low heat setting using a pressing cloth. These cute bags can be used in place of plastic bags for school lunches or to keep your sewing notions organized for travel.
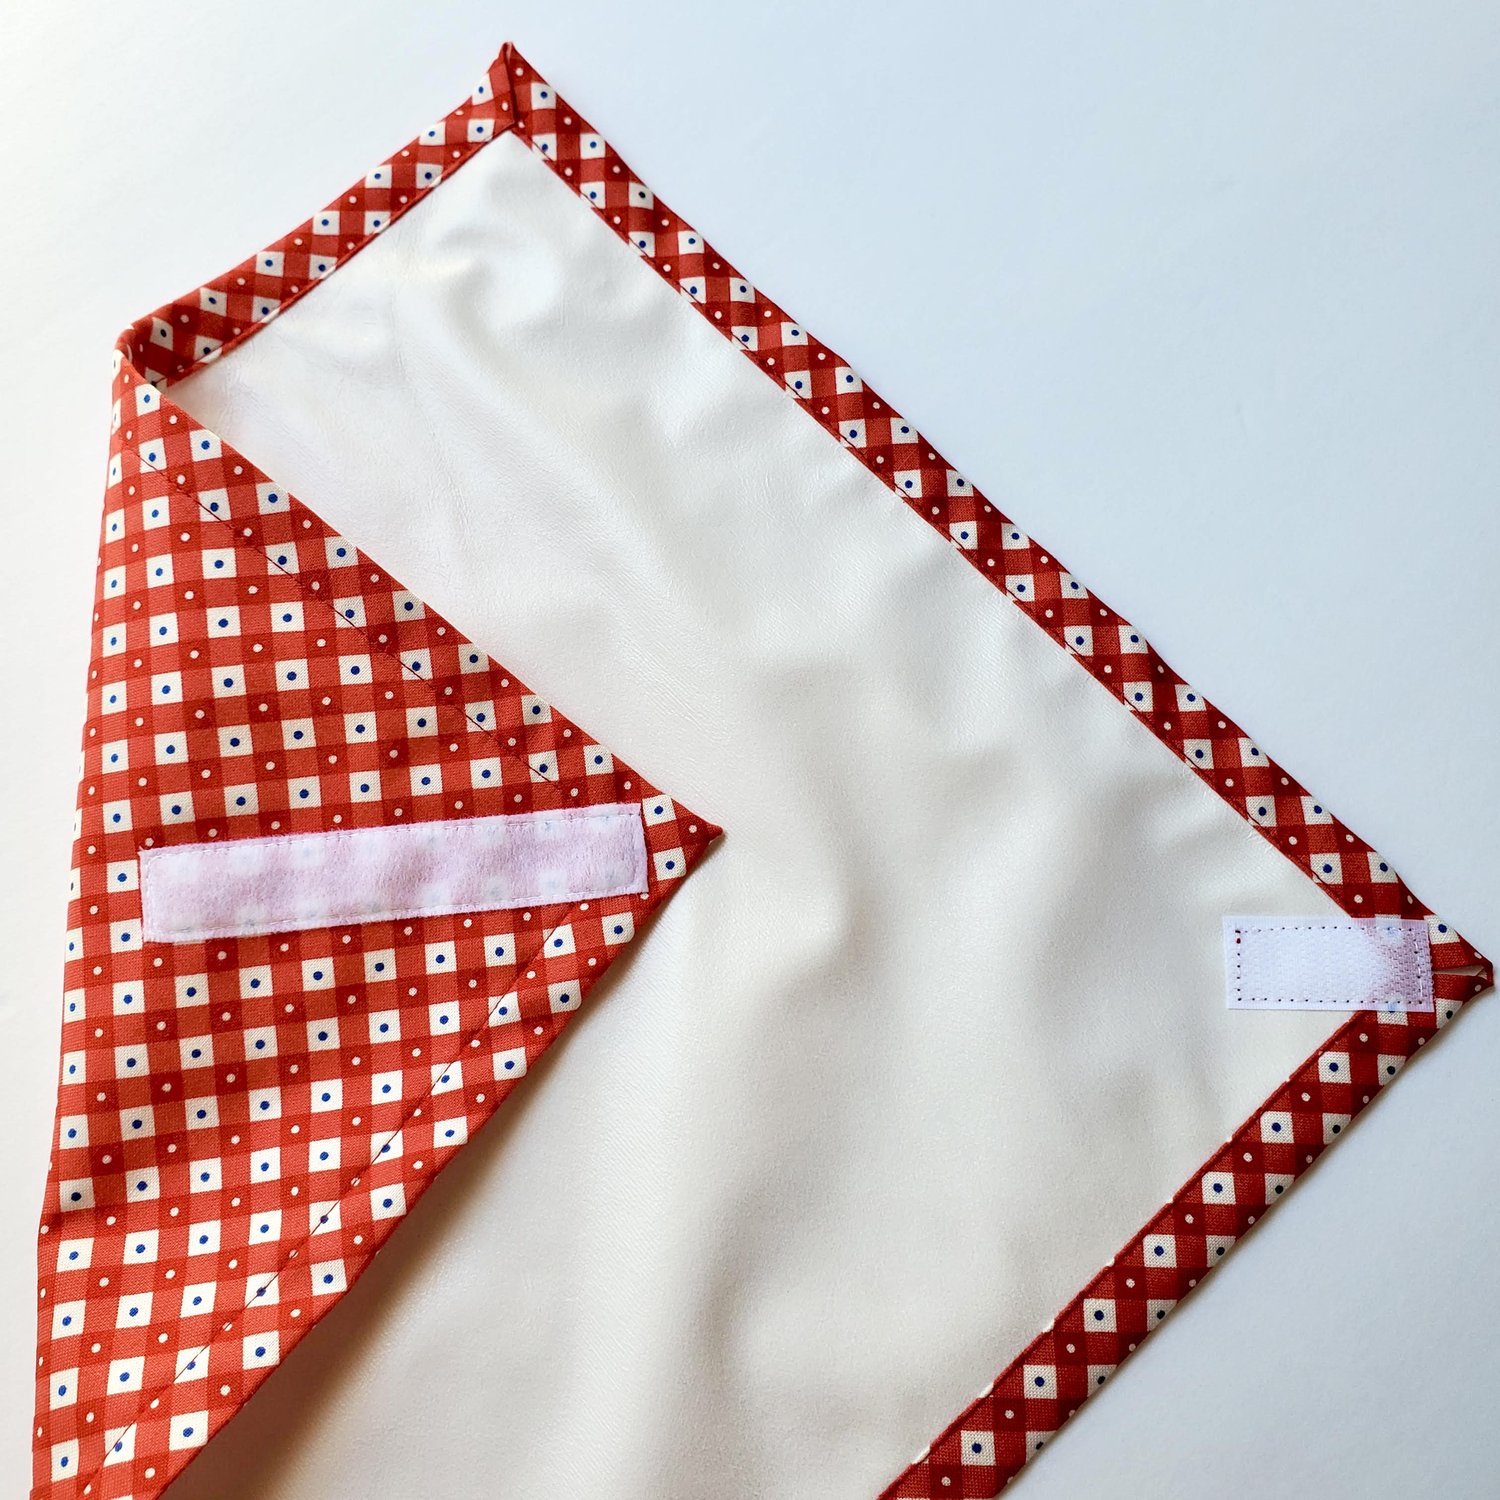
To complete the lunch set you will want to make this sandwich wrap that doubles as a placemat. Here is a link to the website with detailed instructions to make the Sandwich wrap from All People Quilt.
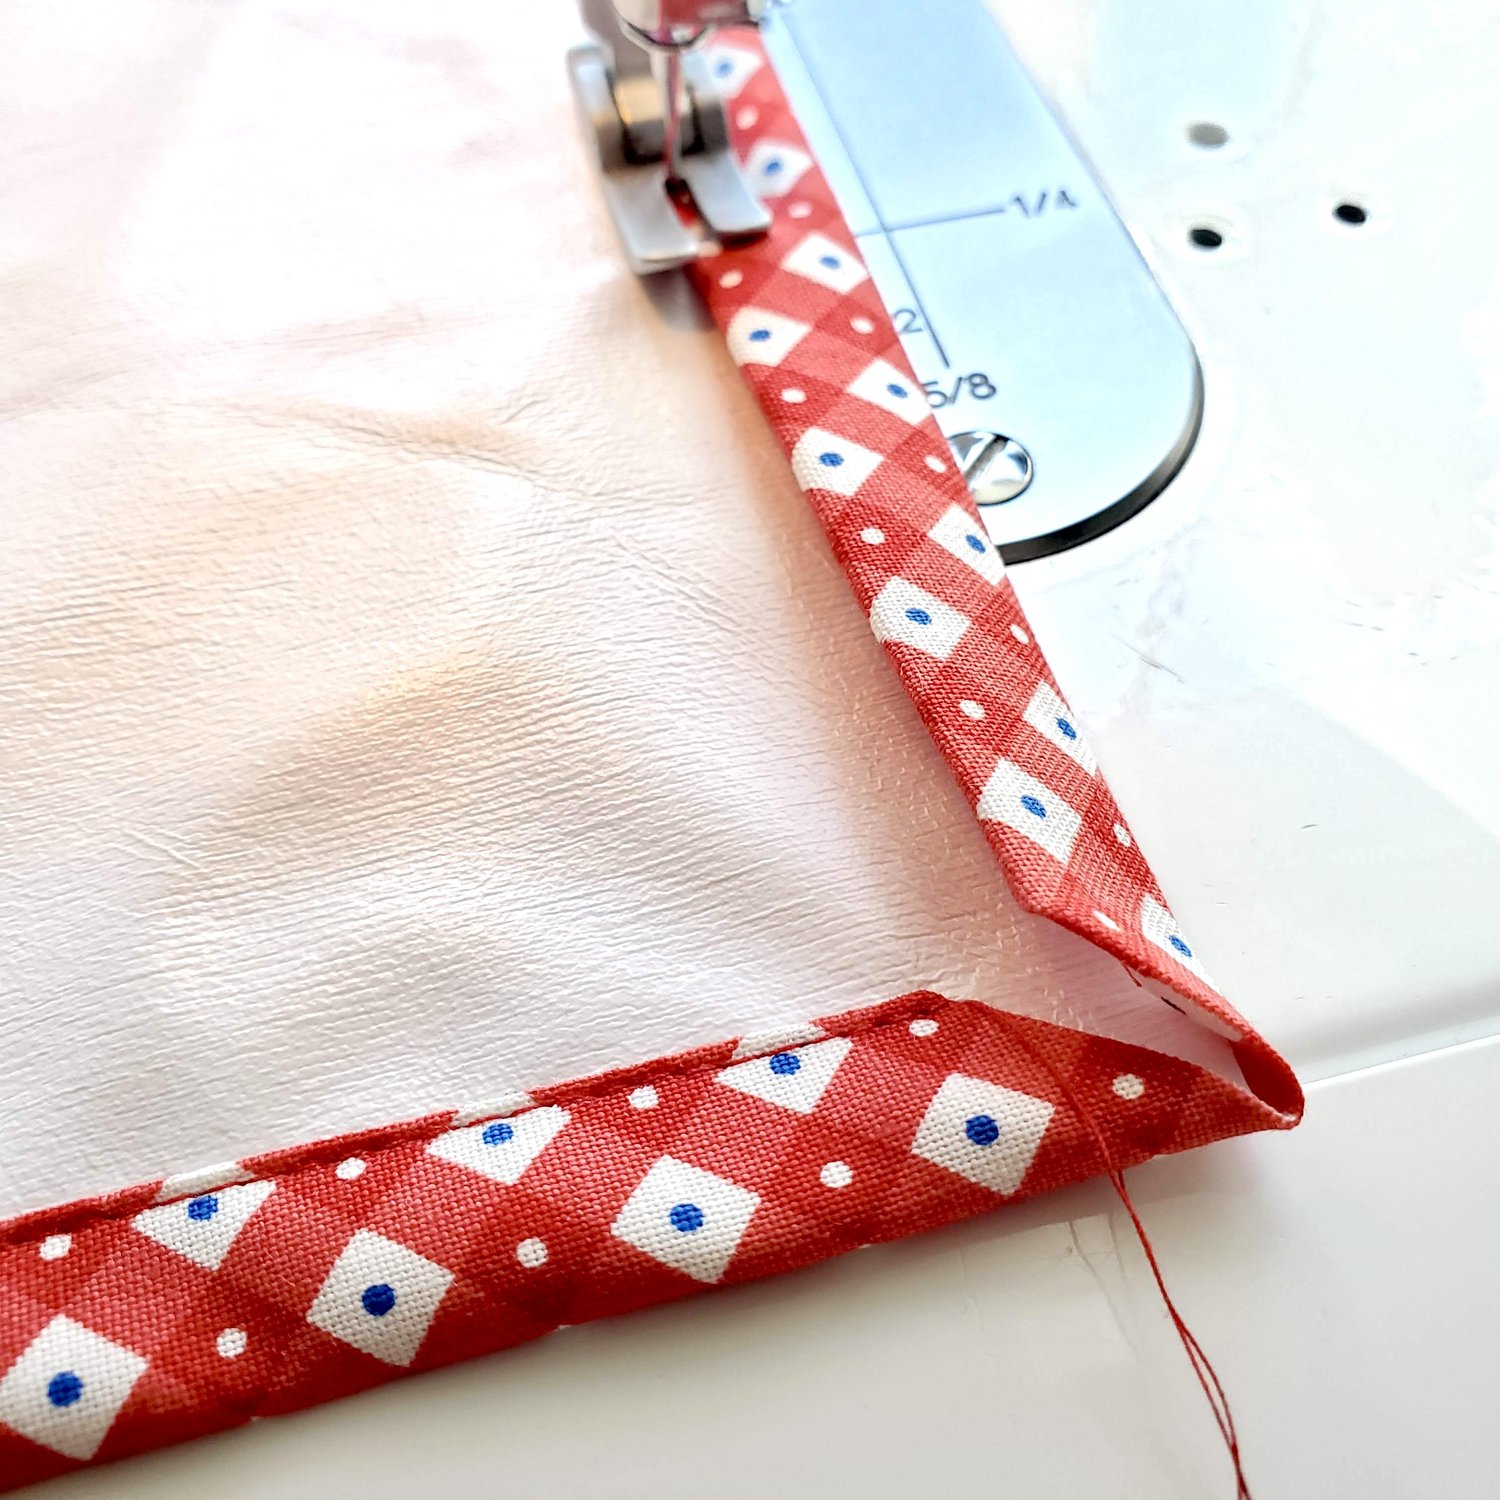
To get started cut a 13” square of your outer fabric and a 10 ¾” square of the PUL lining fabric. On the wrong side of your printed outer fabric mark 2” from each side and make a dot on all four corners. Fold the corner in to touch the dot, press to make a fold line. Cut ¼” from the fold.

Do this to all four corners.Next fold the raw edges ½” and press. Fold ½” again so that the raw edges are enclosed and the corners meet on the diagonal. Place the wrong sides together with the lining fabric centered and tucked under the folded edges.
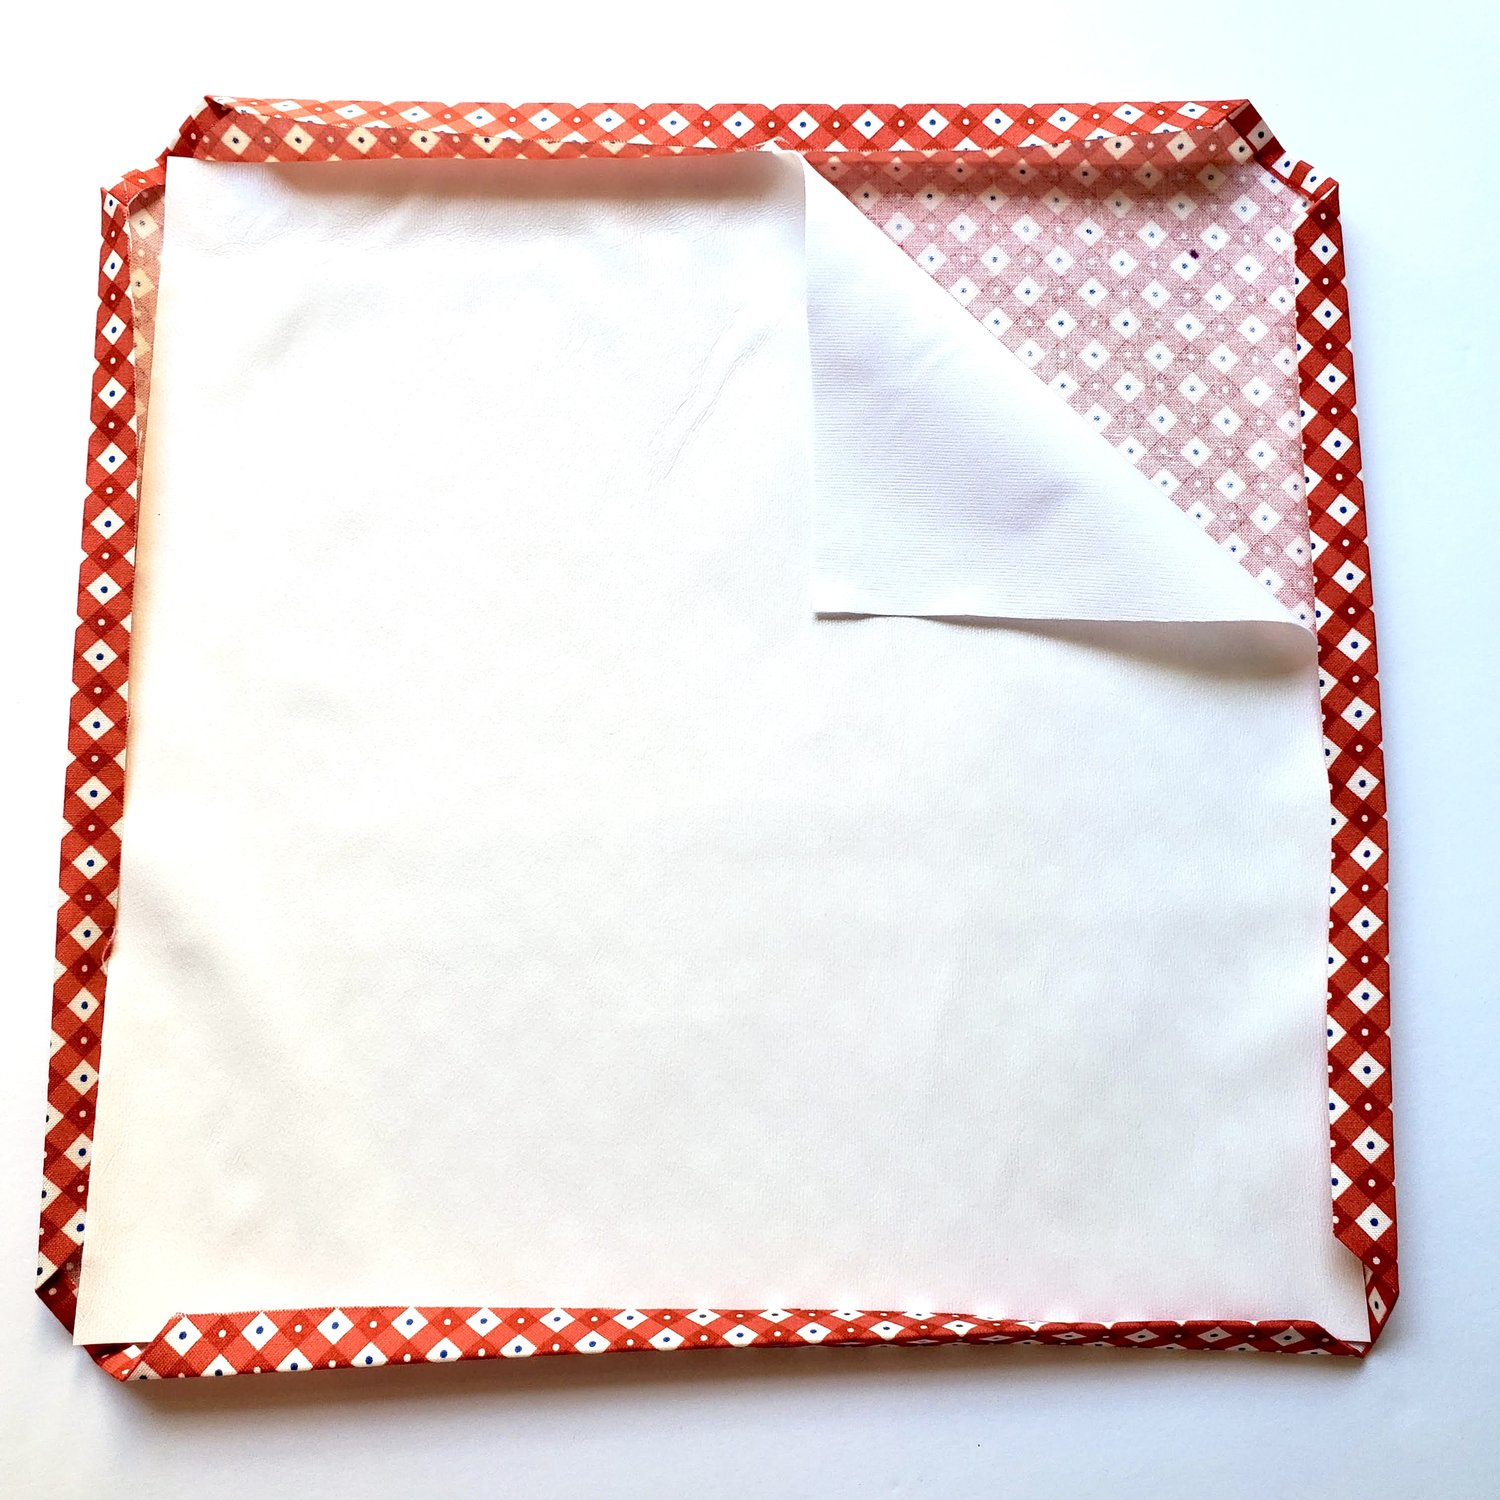
You may want to clip the edges to hold in place. Topstitch with a matching thread about ⅛” from the edge.
Sew a 1.5” hook piece of the Velcro on a lining corner and 3.5” piece of loop Velcro on the opposite outer fabric corner topstitching close to the edge. You may want to give it a final press with a cool iron with a pressing cloth on the fabric side. This completes your sandwich wrap.
Your kids will love these fun reusable snack bags and you can feel good about reducing the use of plastic bags to improve the environment.