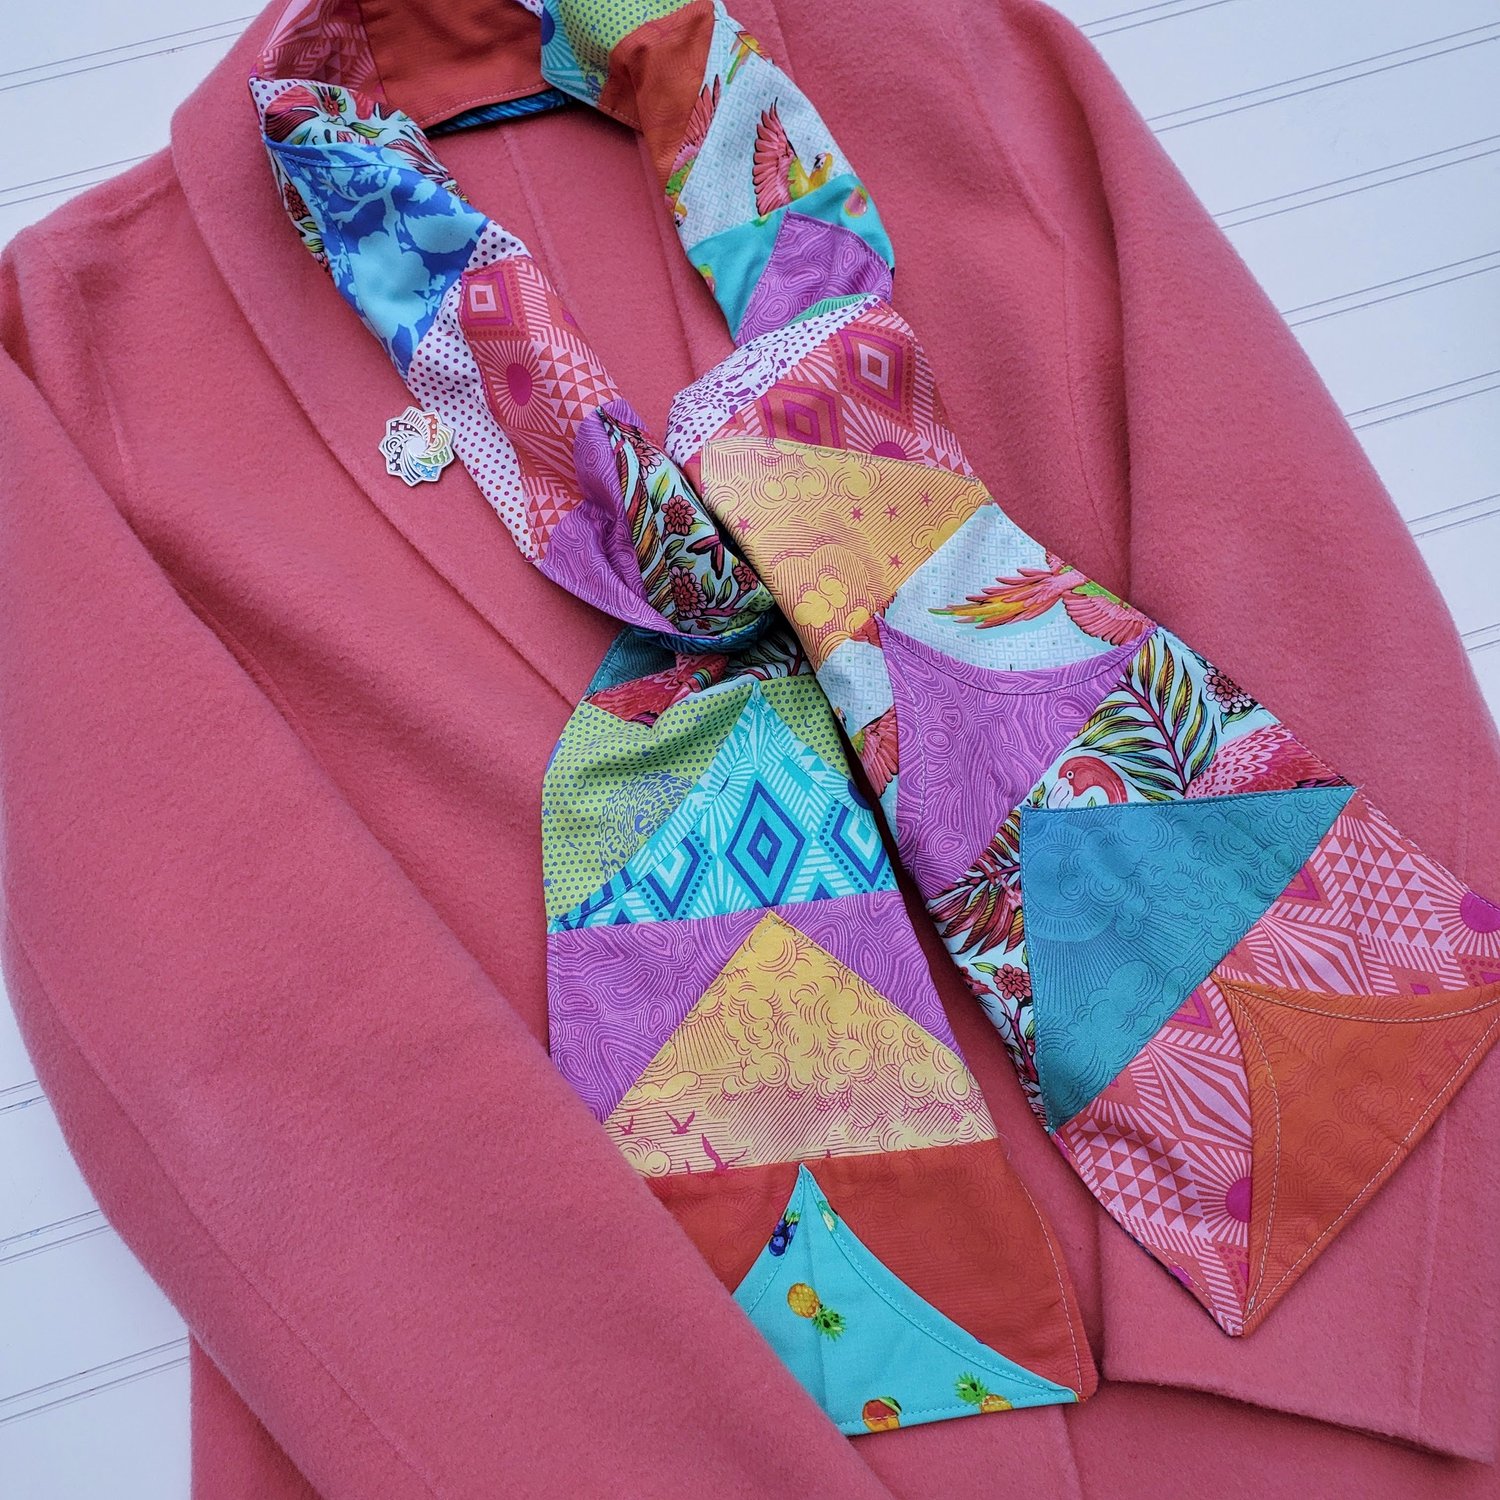
Quilted Scarf
9th Dec 2021
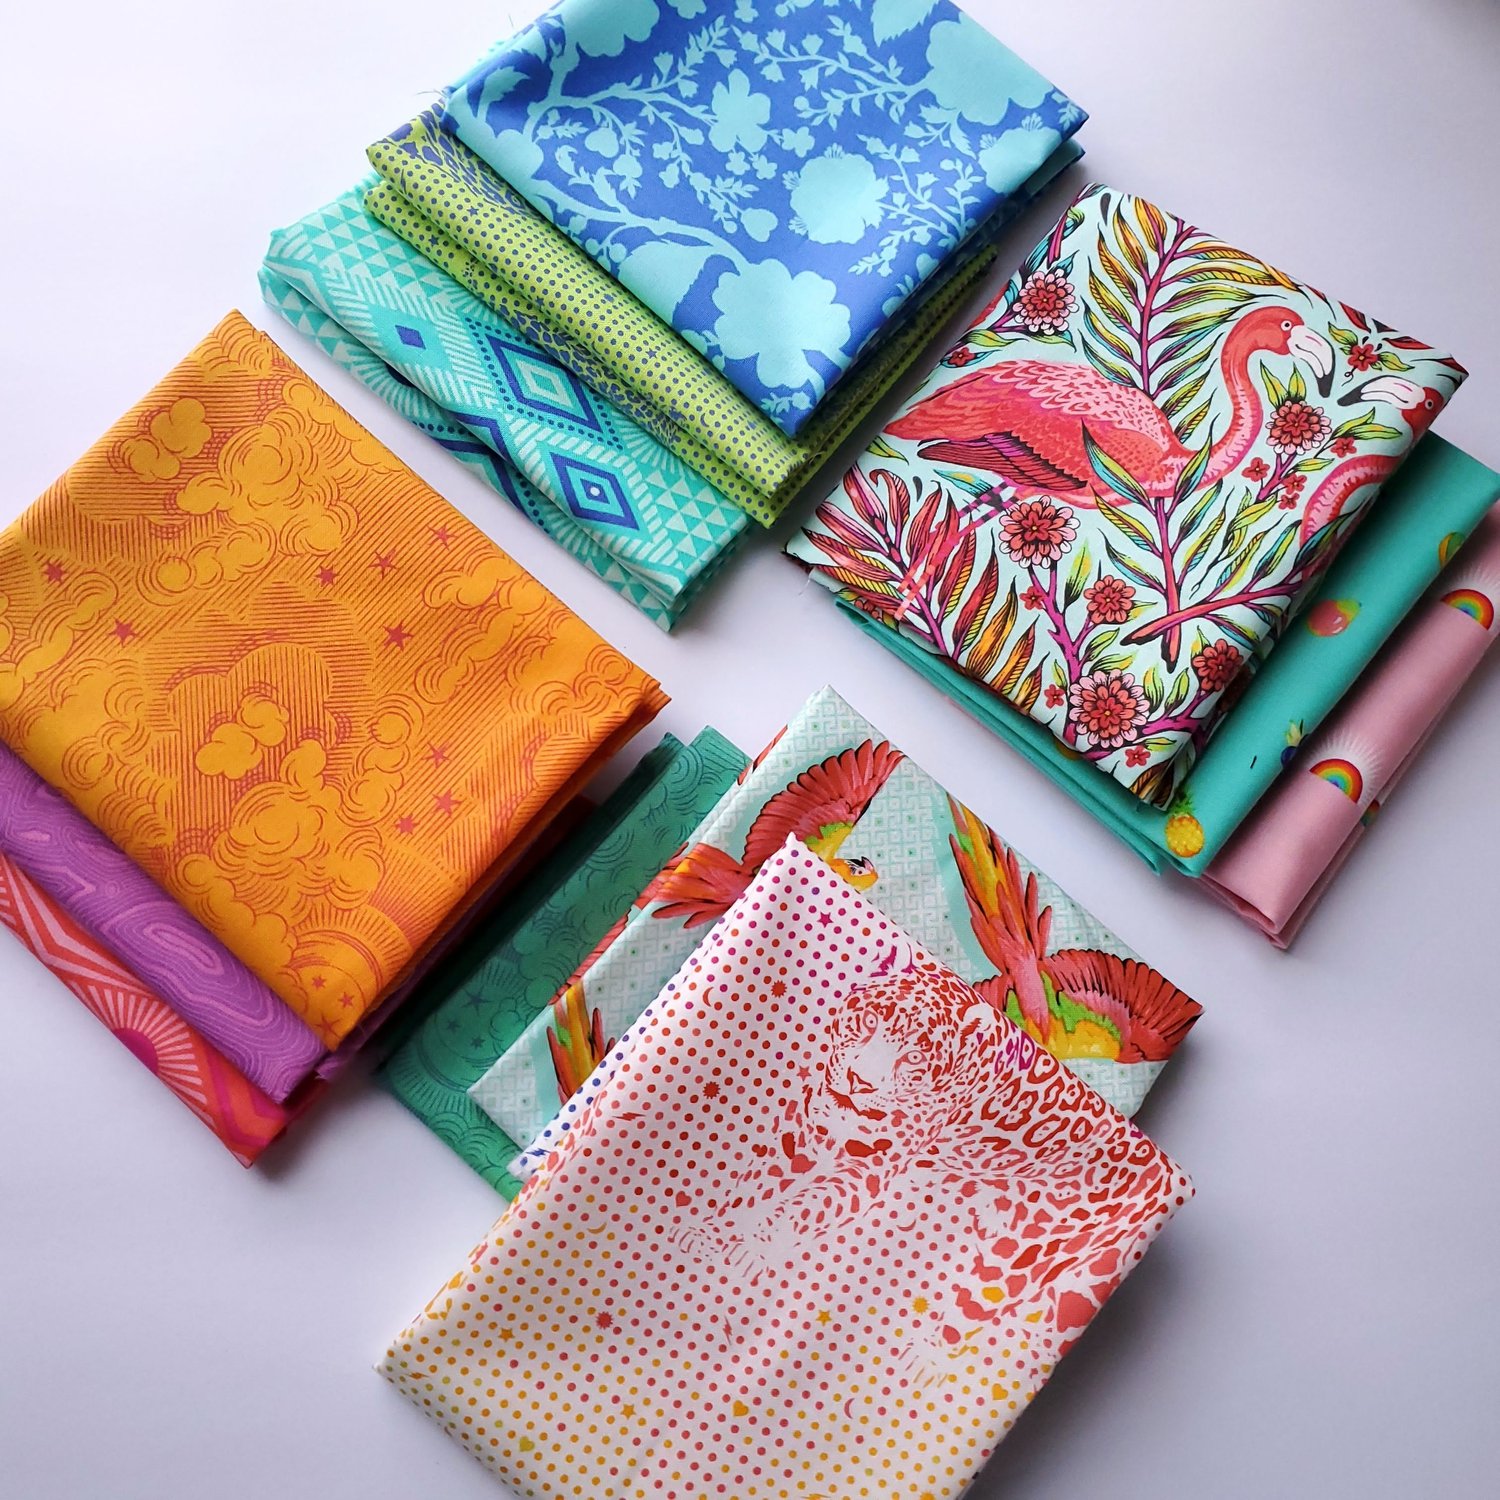
December has arrived! It is snowing lightly here in St. Louis, watching out my window I am mesmerized by the slowly falling snowflakes drifting and blowing in the breeze. It makes for a wonderful winter scene as I am busy sewing projects for Christmas gifts. I received the new assortment of Daydreamer by Tula Pink from Free Spirit fabrics and thought it would be fun to make a quilted scarf. Suzy Quilts has a great tutorial with different styles of scarfs to make. I decided to use the single seam flying geese, fussy cutting the fabric to show off the fun designs.
Materials Needed:
-
An Assortment of fat quarters Modern Maker Membership
-
or large scraps at least 4x8
-
Coordinating Thread from the Chroma membership
-
Flannel backing 8x72” piece
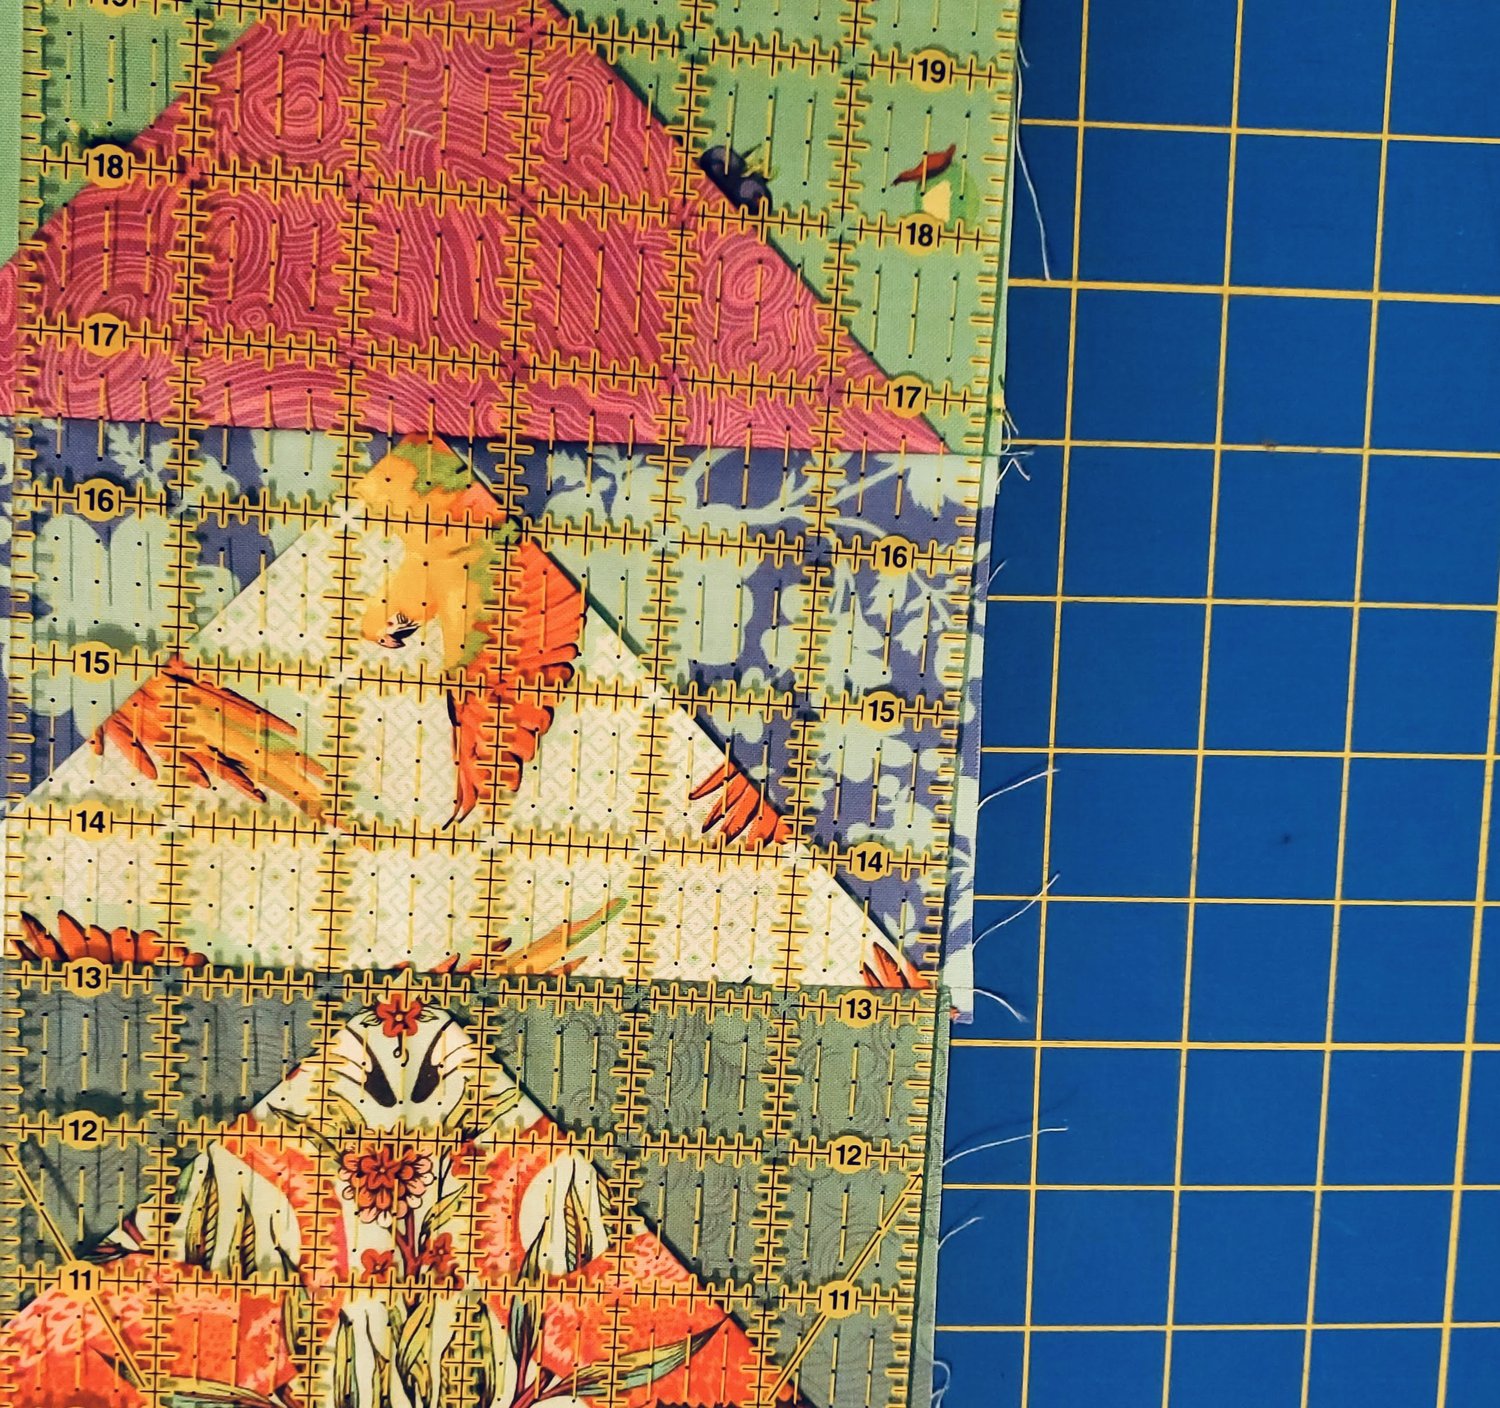
To get started I reviewed The Creative Blog on the Art Gallery Fabrics website that I used last year to make this easy Quilted Dog Coat. I like to use this method to fussy cut making sure the pattern is facing the right way in the finished block. I cut the main triangles 4 x 7½” taking into account the design I wanted to show in the middle. The side pieces are 4” squares.
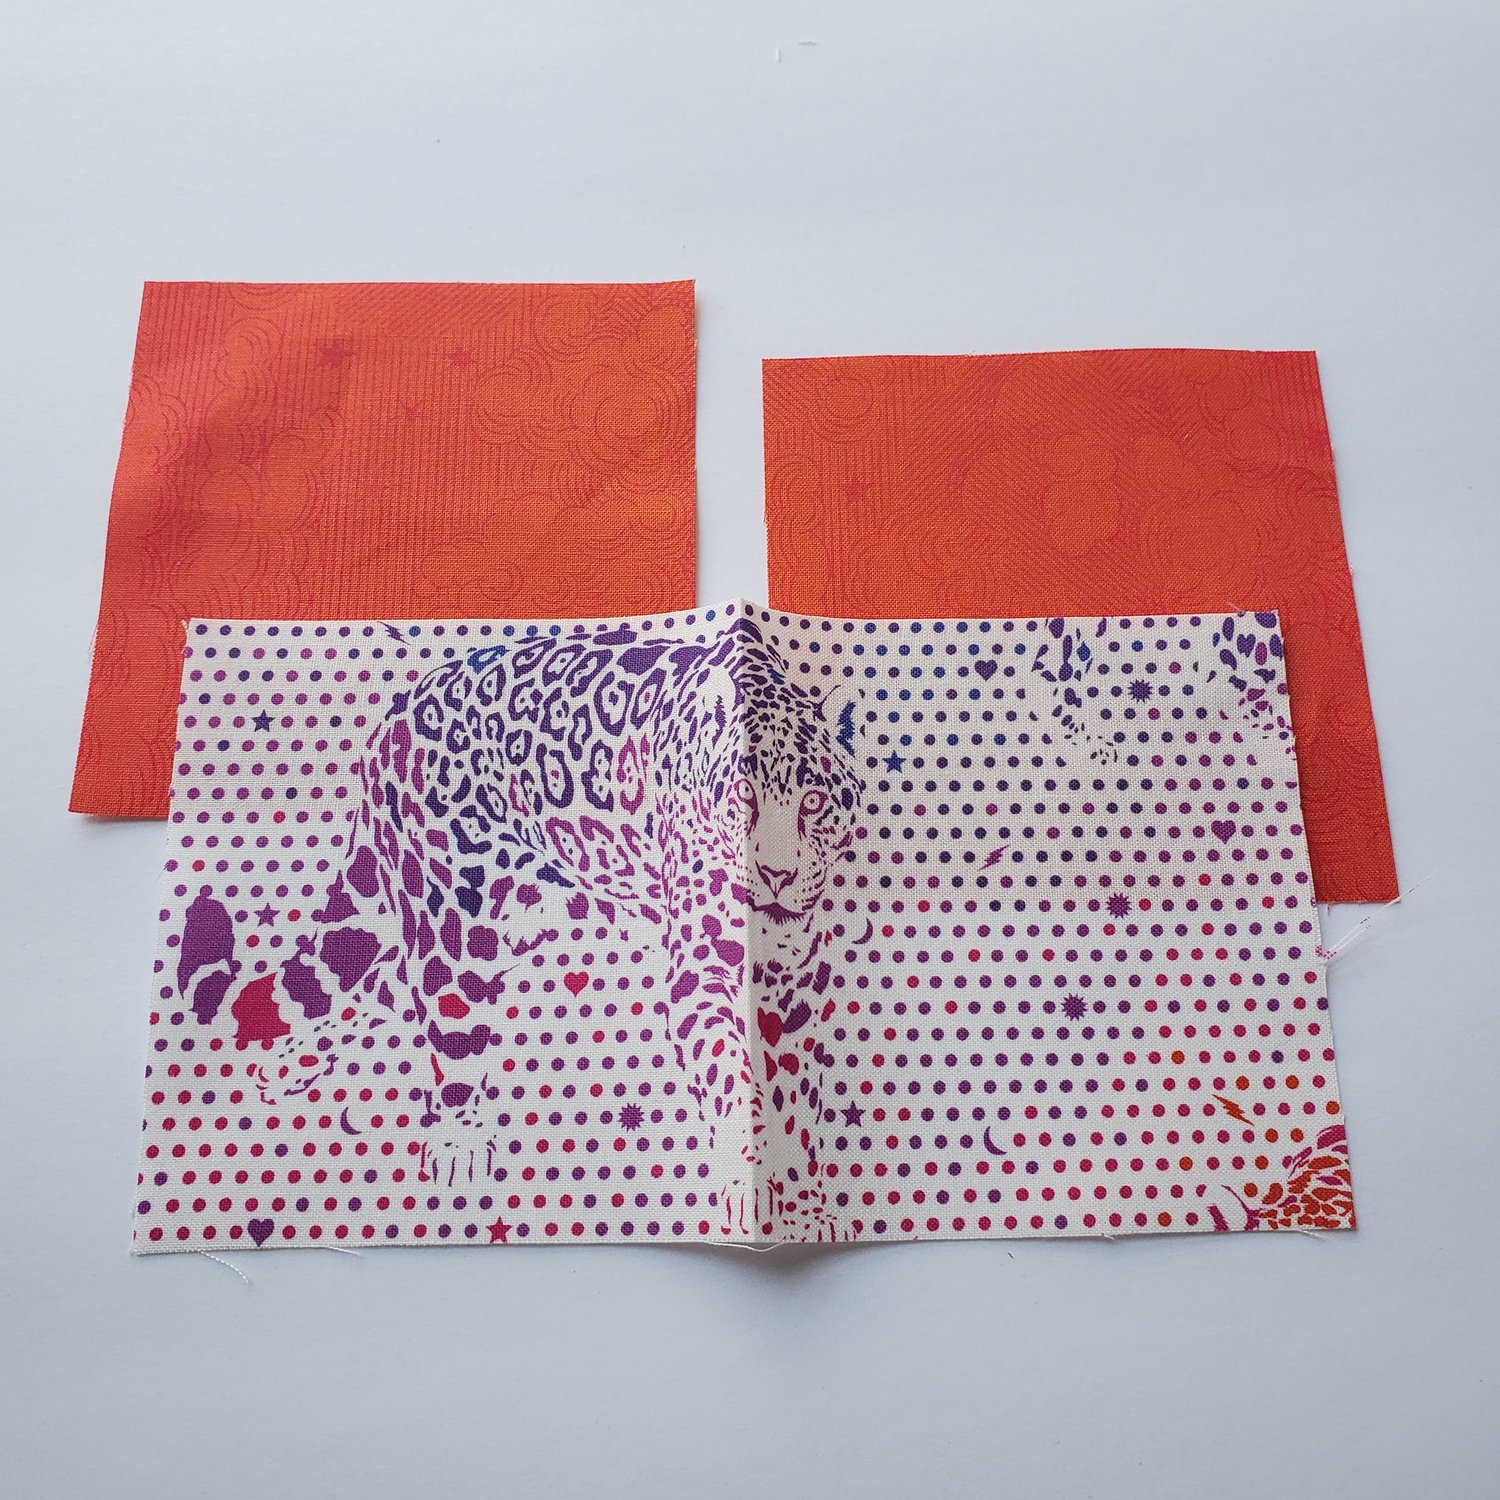
Fold the rectangle wrong sides together and crease. Layer the pieces with the square right side up, then the folded rectangle with the fold on the top, lastly the square with the right side down.
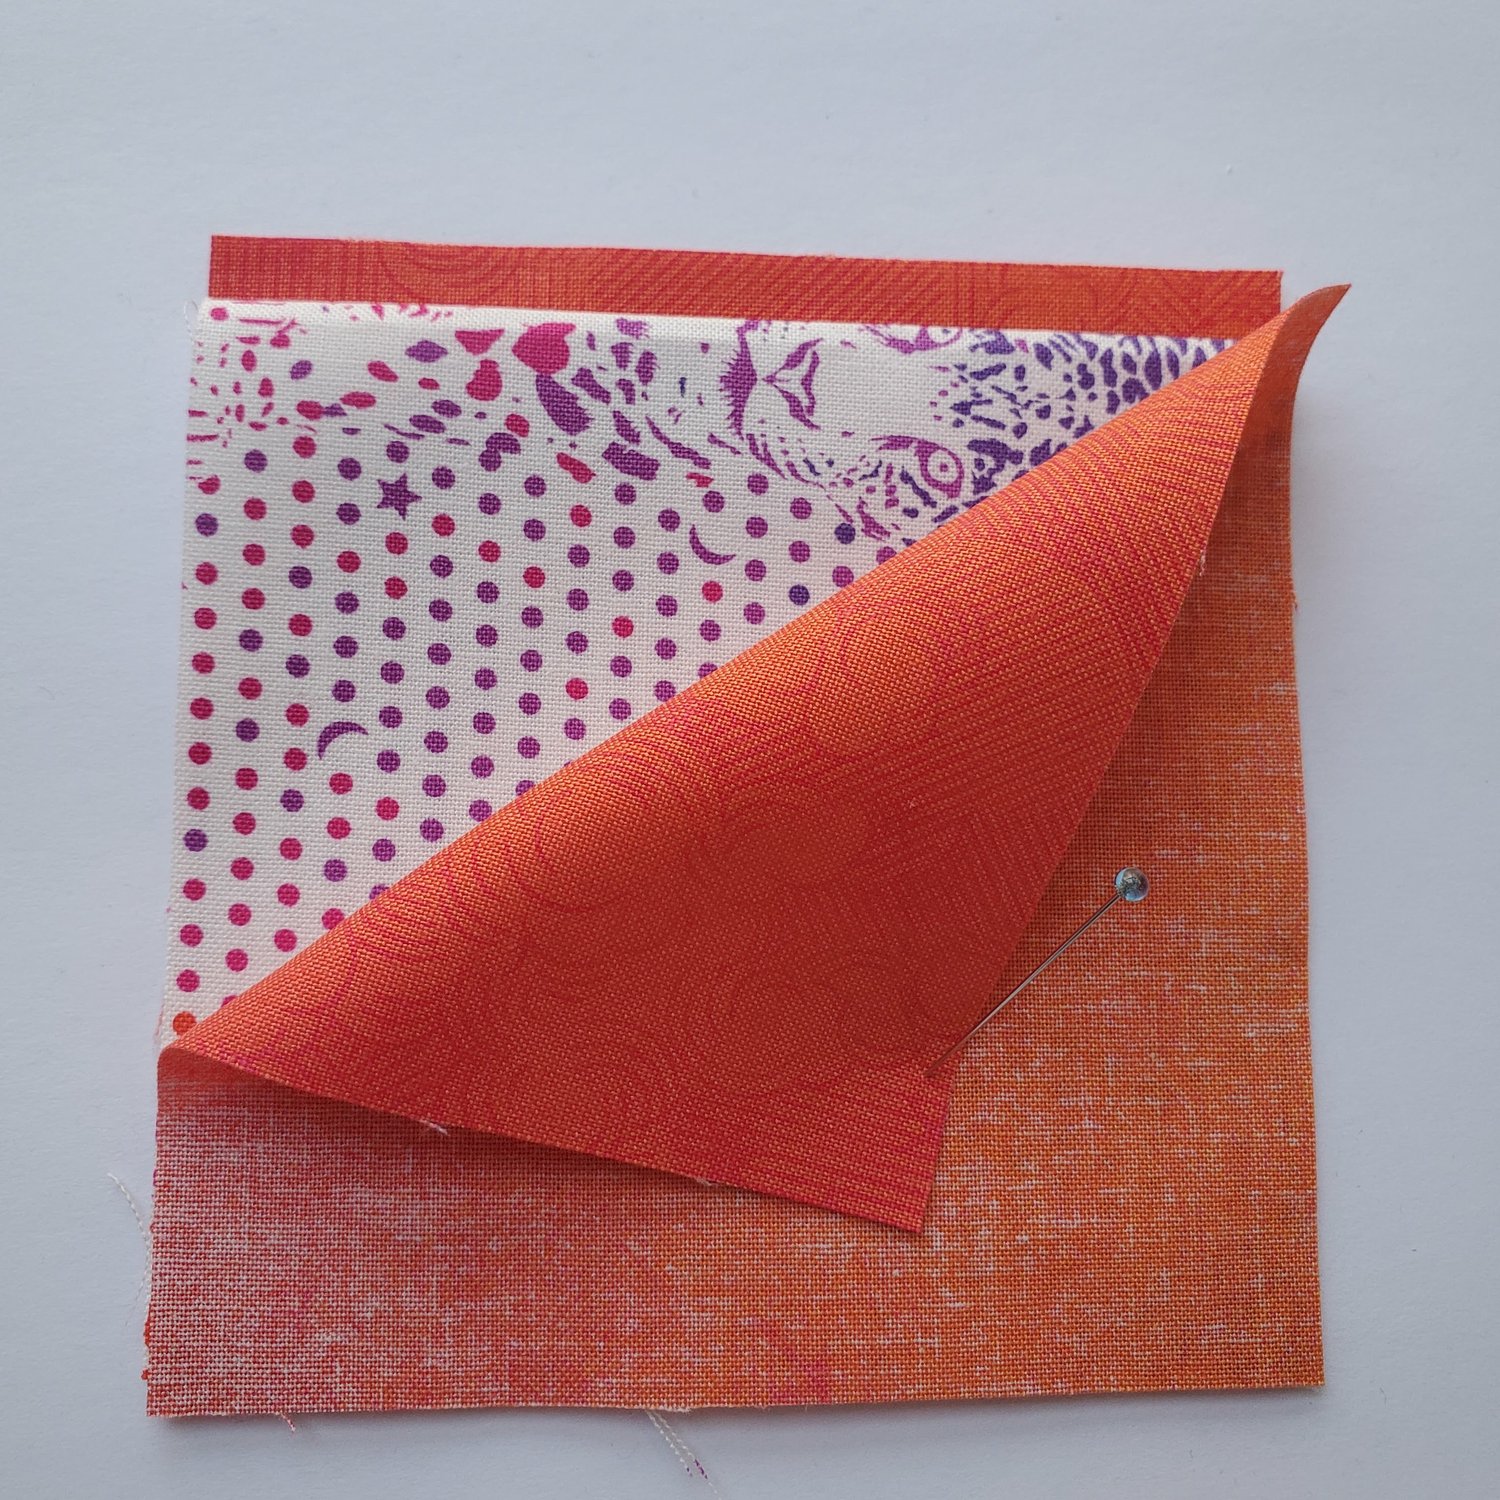
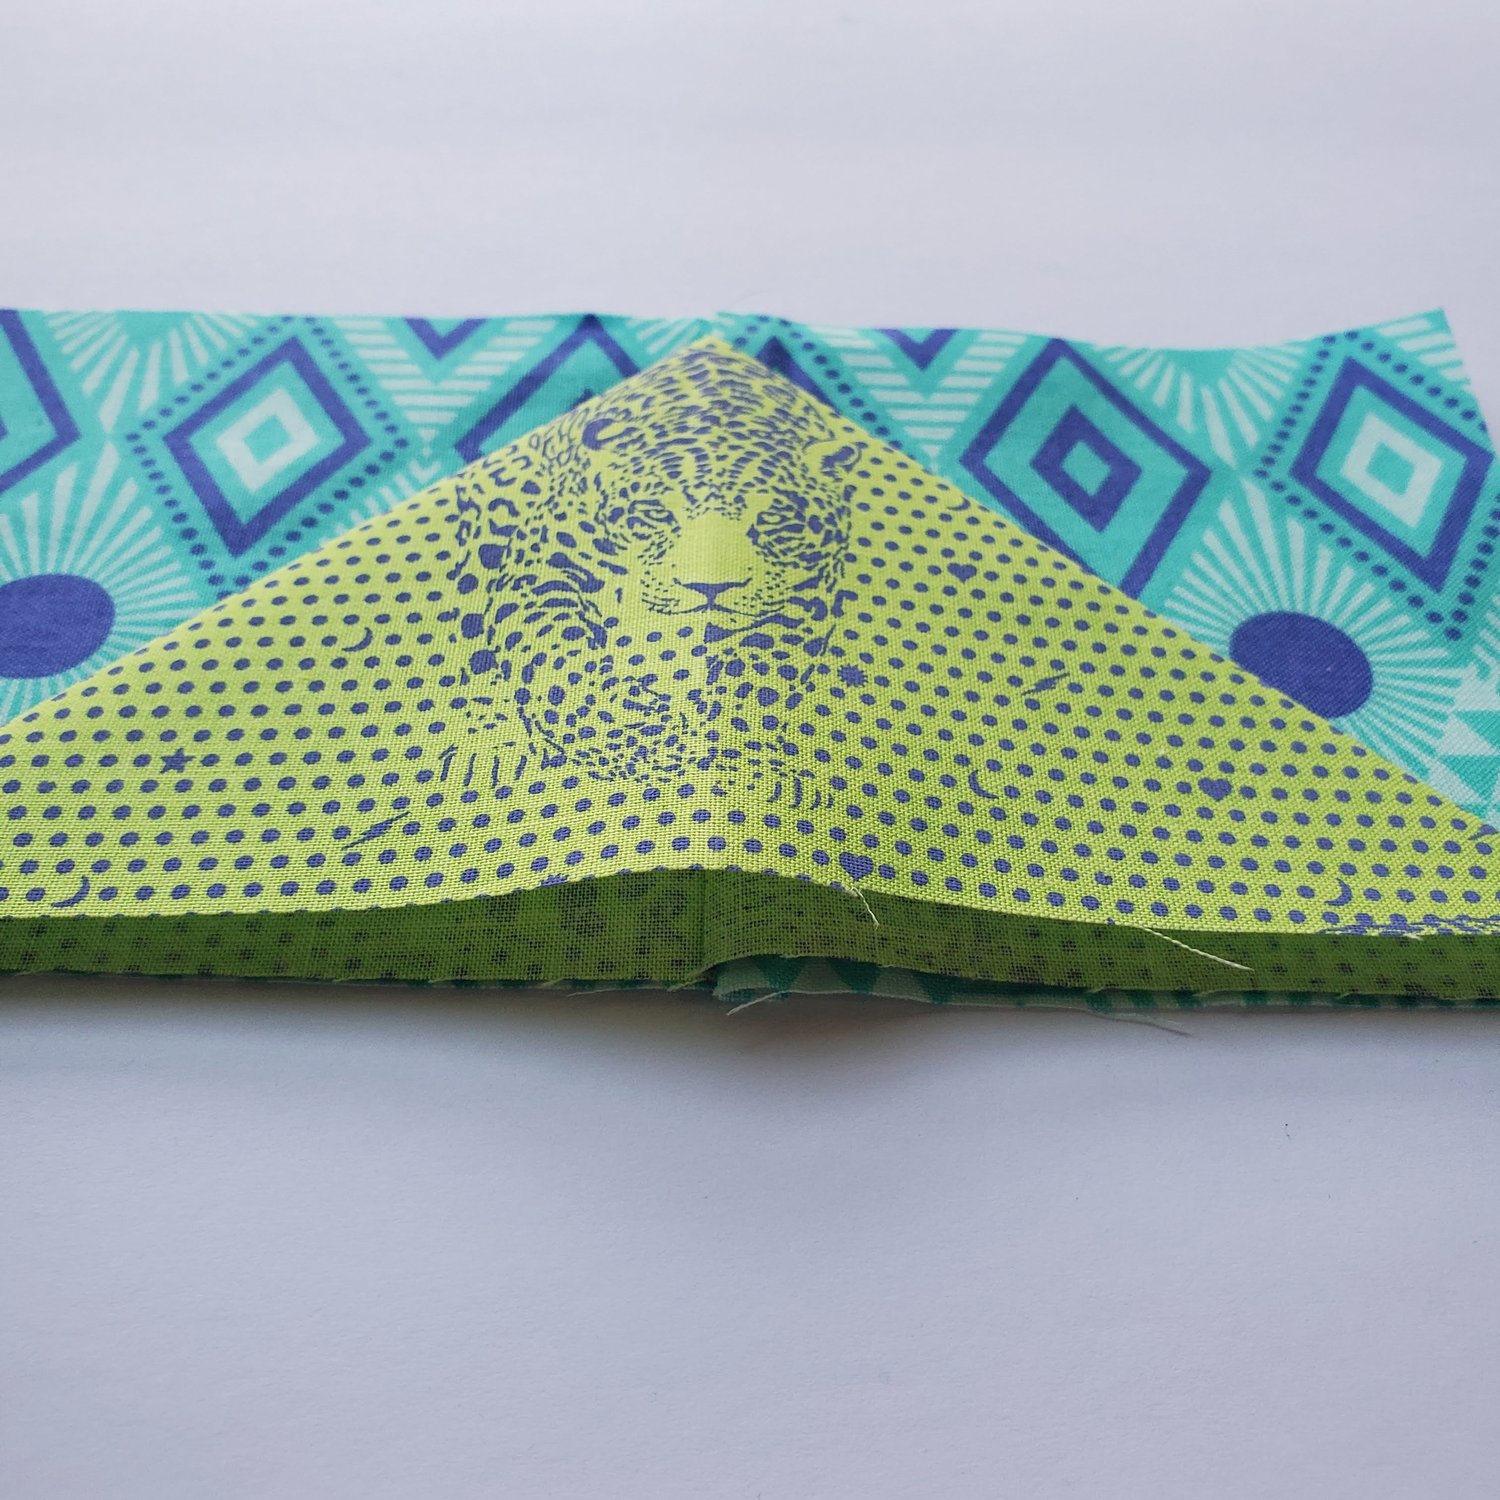
Keeping the fold at the top, take it to your machine and sew a ¼” seam on the right hand side of the block. Open the seam and the triangle will be in the middle. Align the raw edges at the bottom and the crease along the seam you just sewed and press.
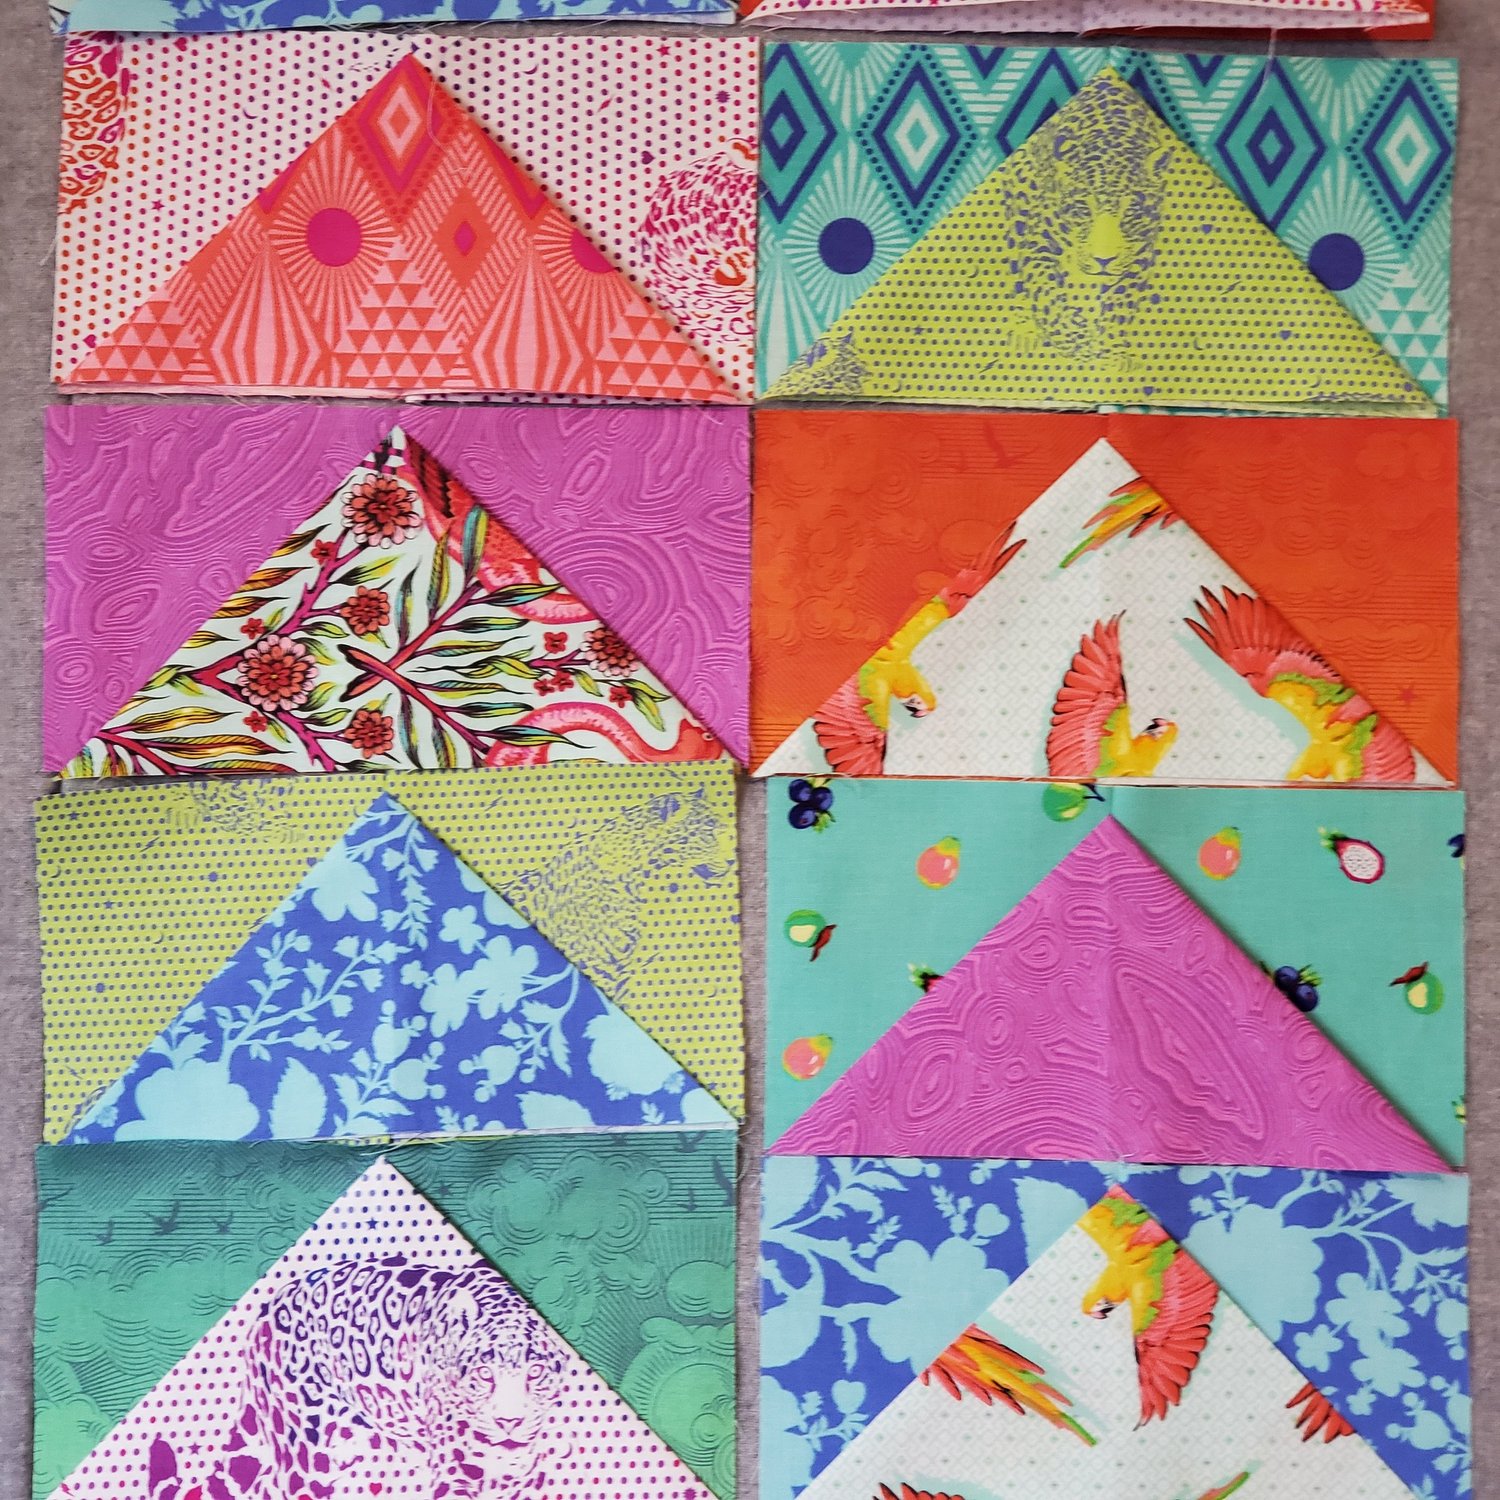
It is that easy! I find that I get very accurate fly geese with this method. I made an assortment of 19 blocks. I found it helpful to arrange the blocks on the design wall to get a feel how the finished scarf would look.
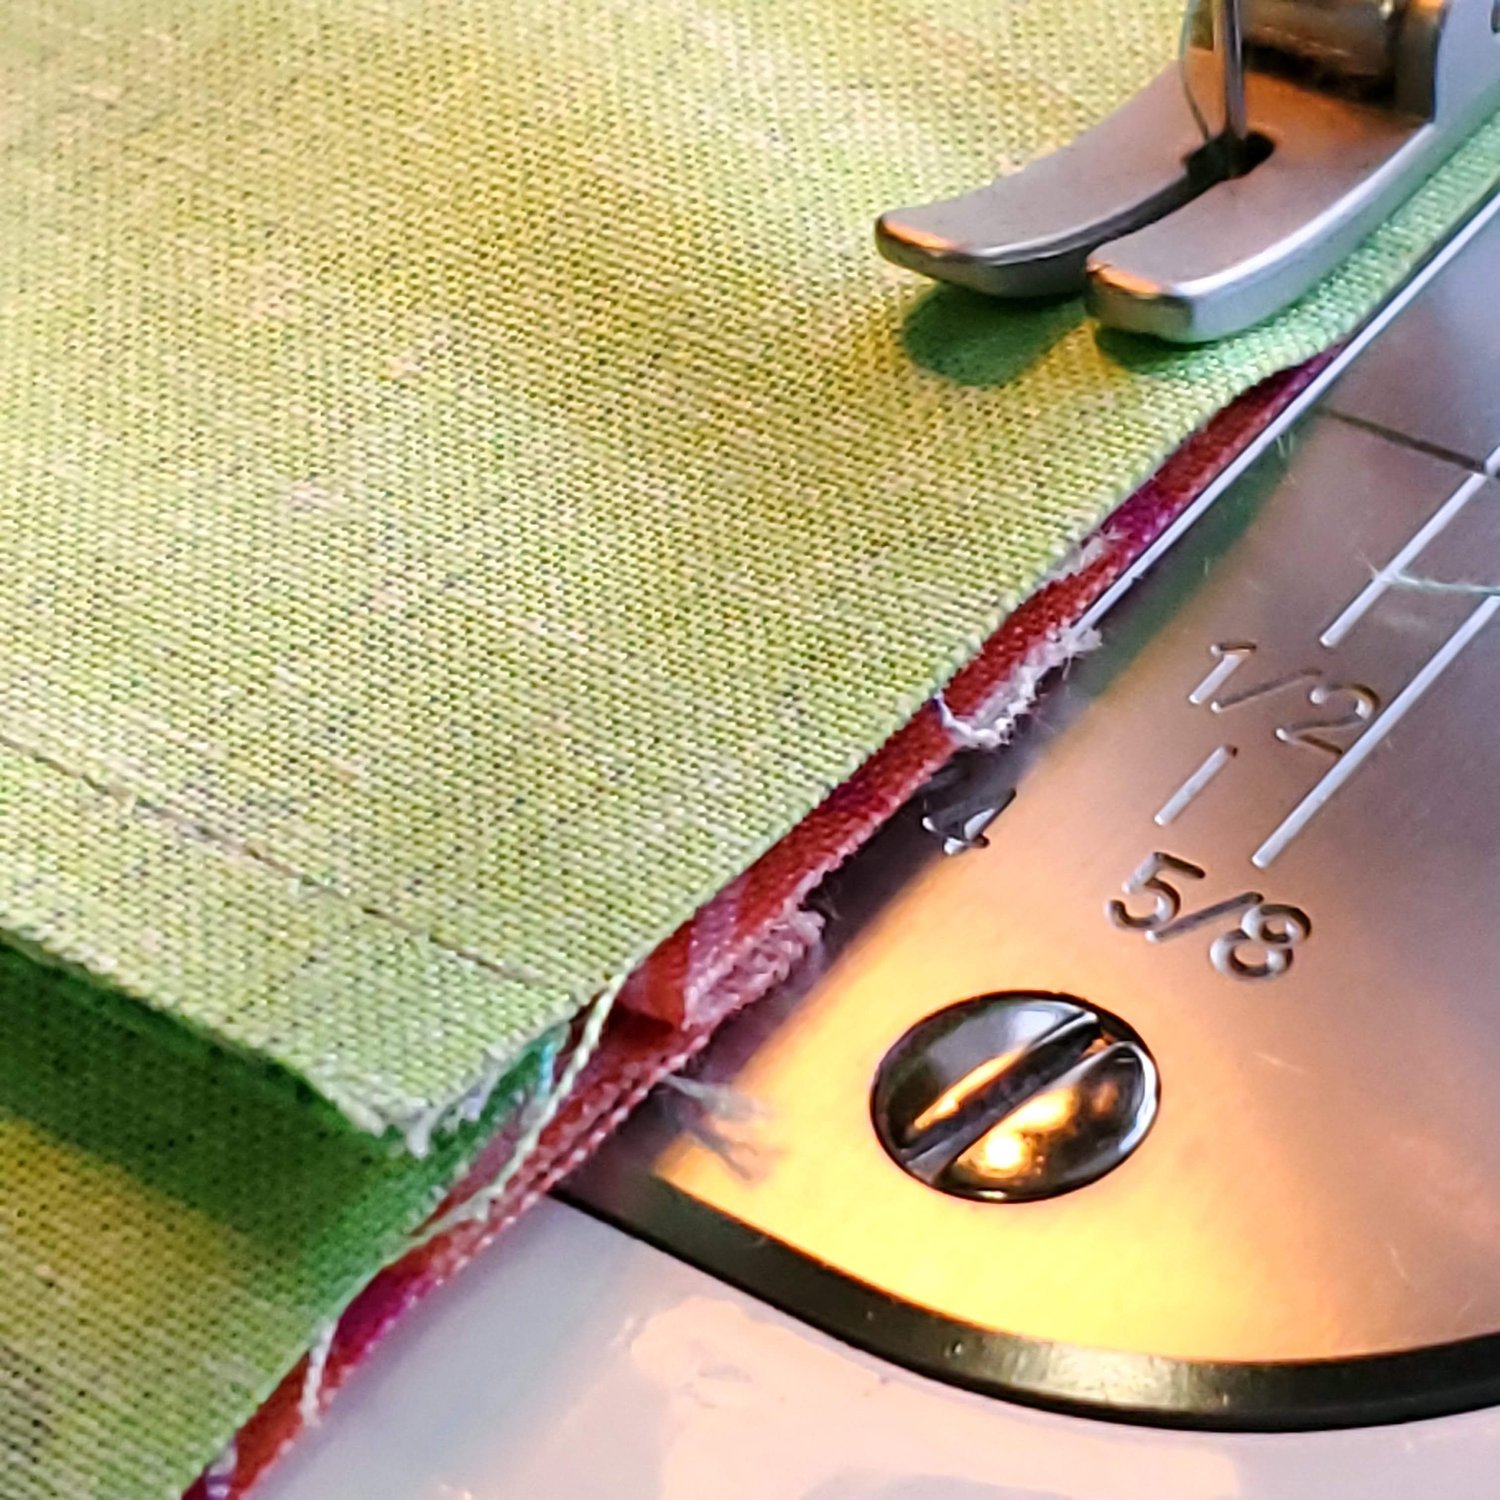
From there I sewed the blocks together. I only needed to trim a few blocks to be sure they were straight along the raw edges. Be sure to nest the seams pressing in opposite directions to keep the seams flat.
I did change the direction of the geese in the middle so the design would be facing the right direction as it wraps around your neck.
After I sewed all the blocks together, I gave it a good press then I squared up the edges to be sure I had ¼” from the points to allow for the side seams.
Next, cut the flannel back the same size as the strip of blocks. I found that if I pressed the flannel fabric to the strip of flying geese, right sides together, it stuck together and I really did not need many pins. Sew all the way around with a ¼” seam leaving about a 4” opening for turning. Clip the corners, and turn right sides out taking care to fully push out the corners. Press carefully turning under the edges of the opening. Topstitch in a coordinating thread ⅛” from the edge.
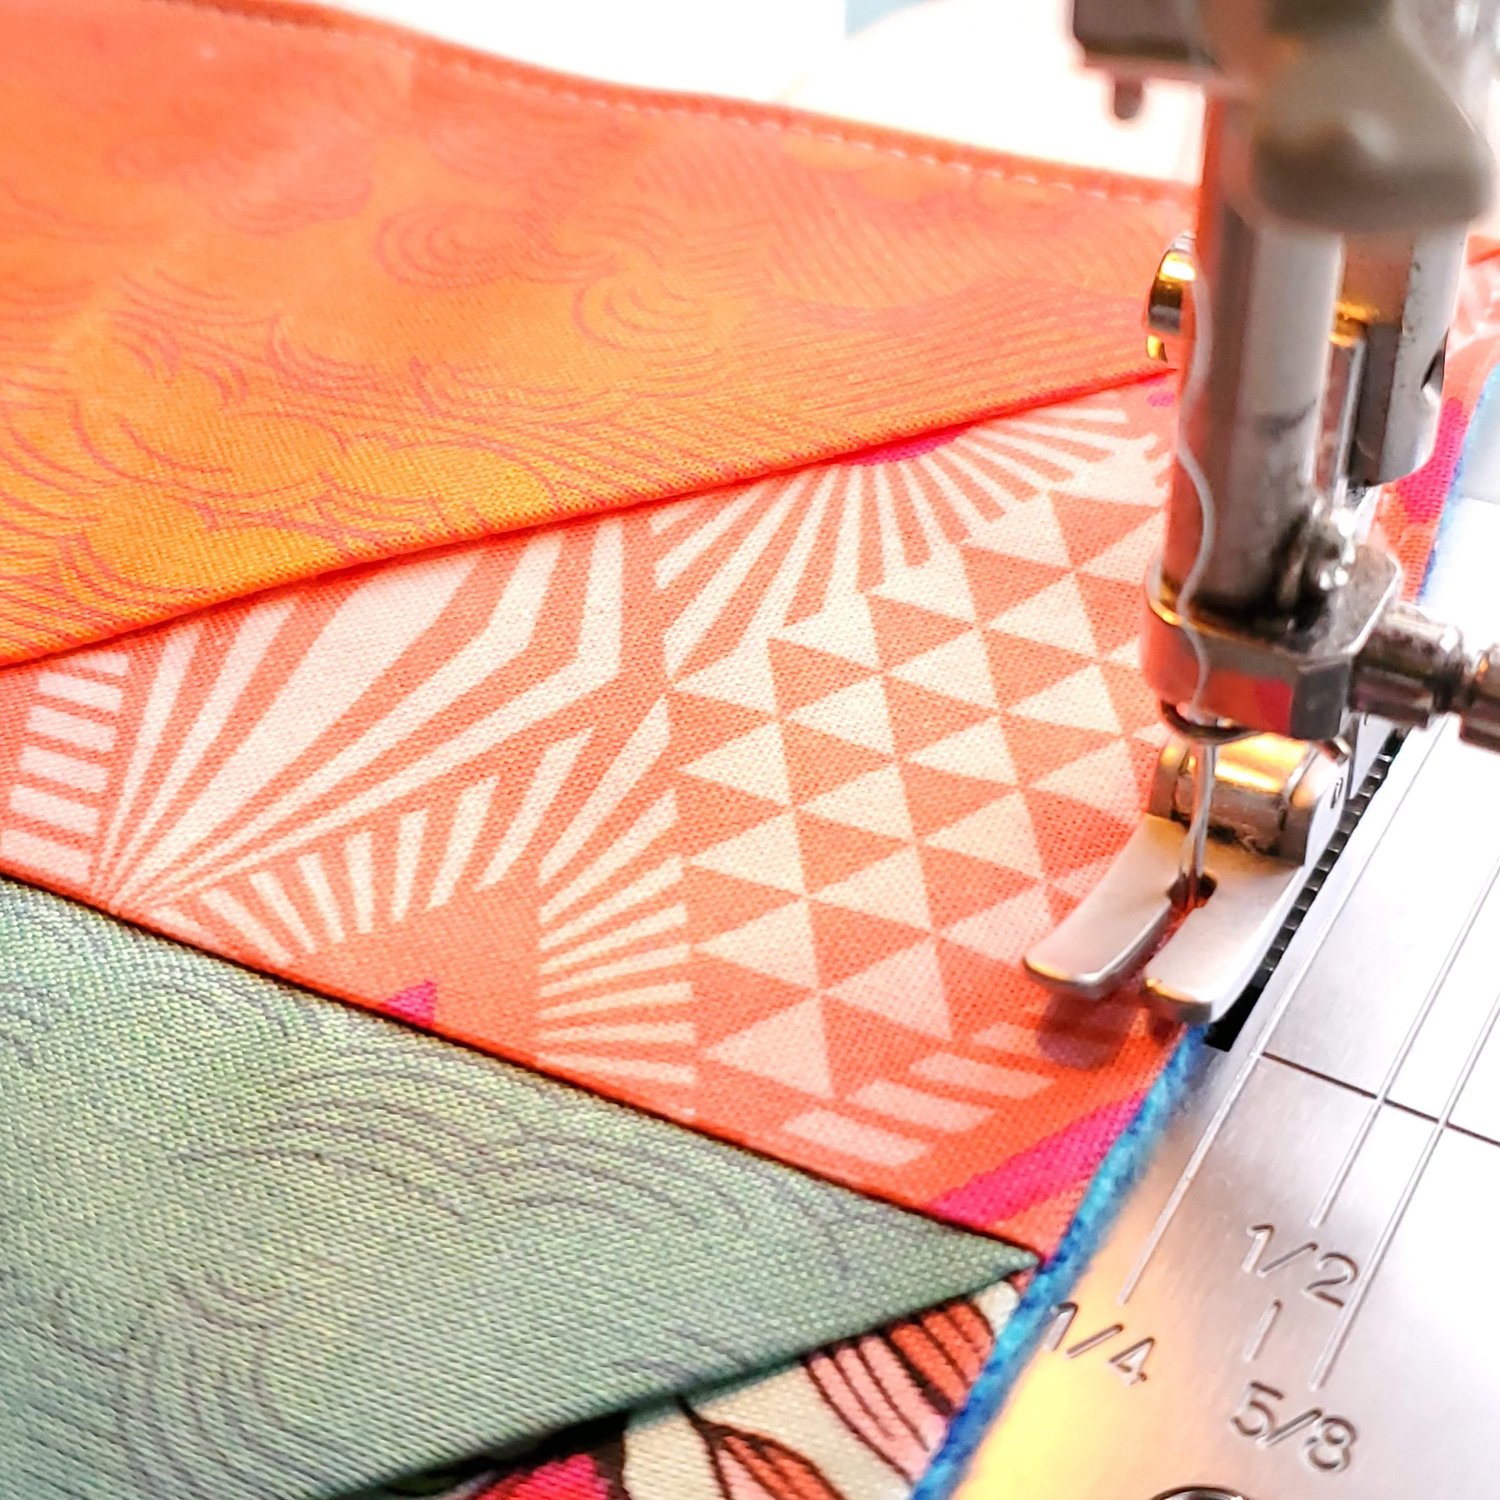
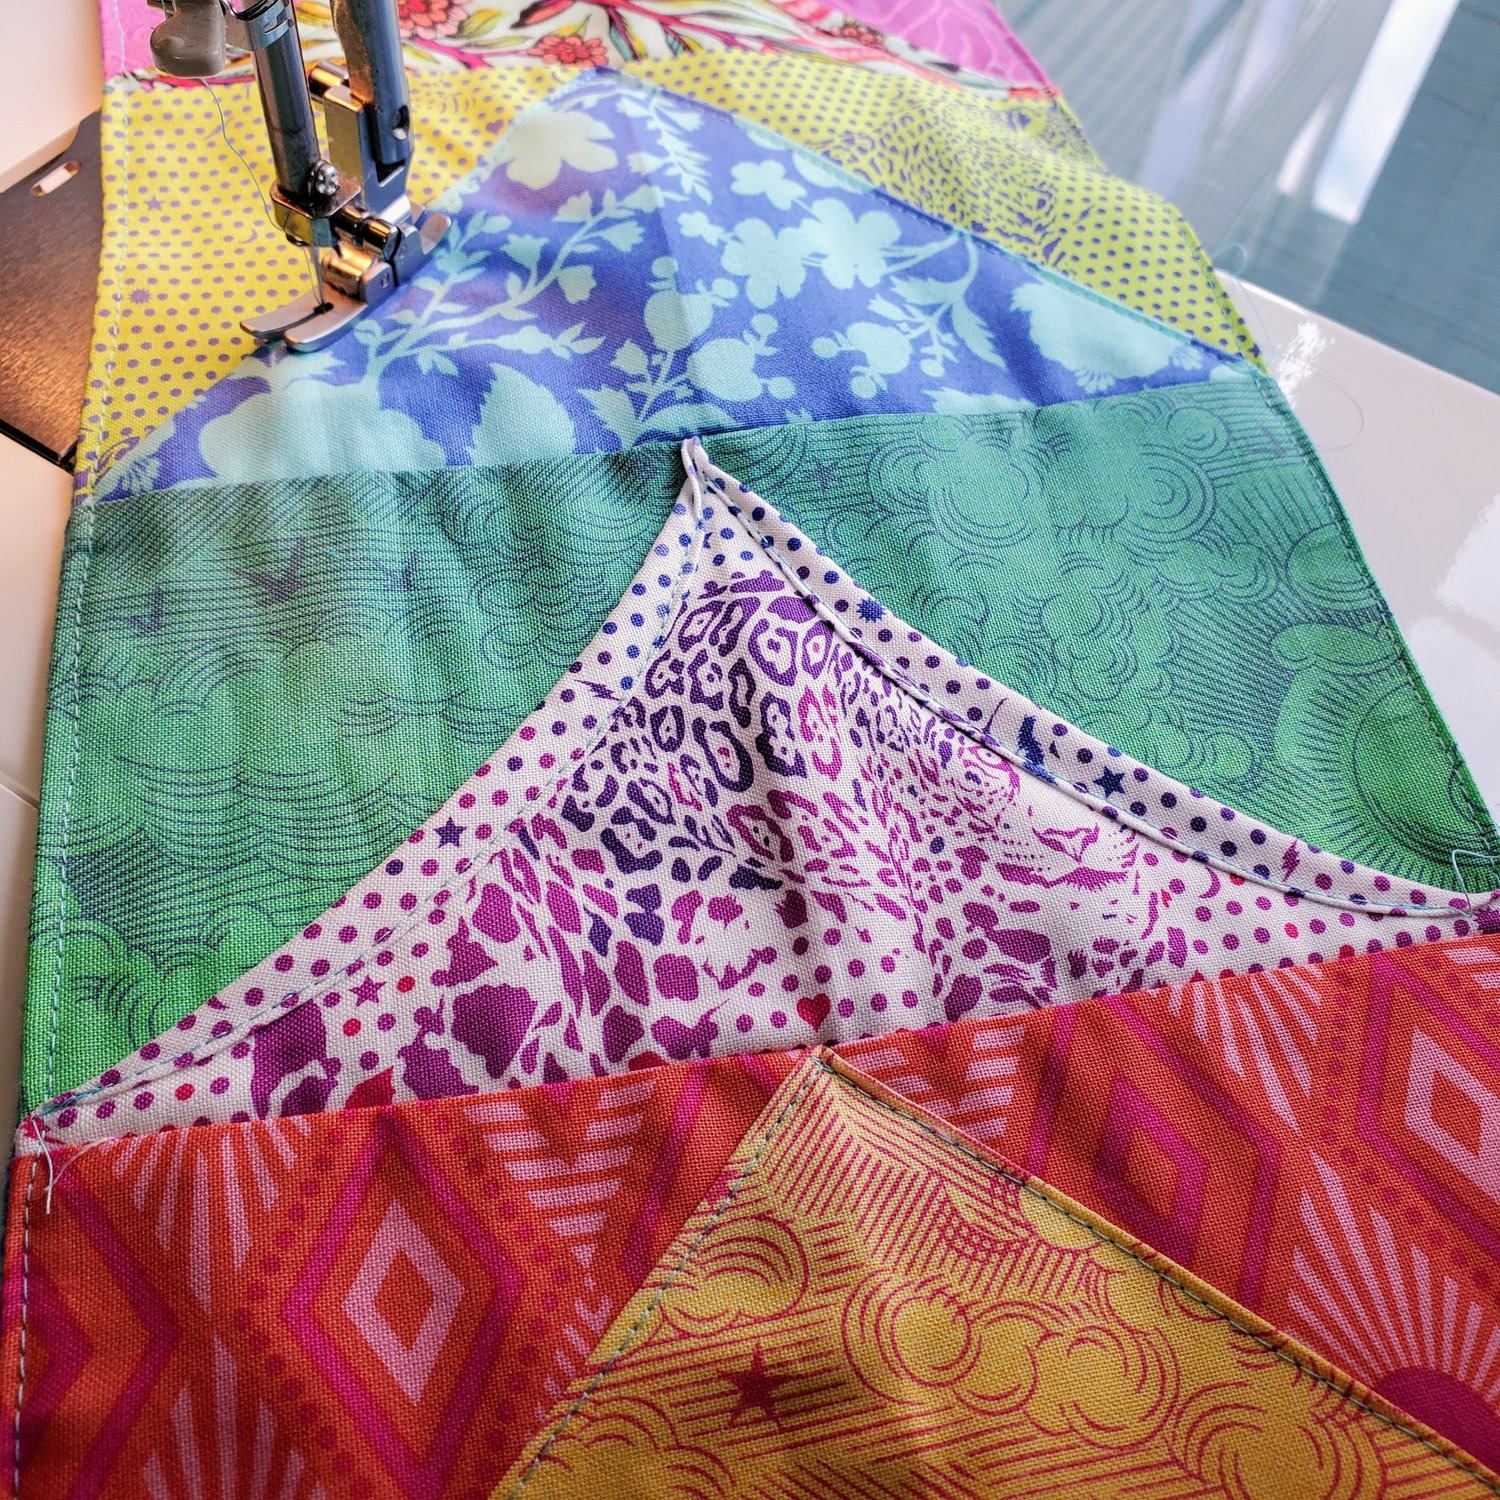
To quilt the design I folded the edge of alternating geese to make a curved edge. Topstitch ⅛” from the edge.
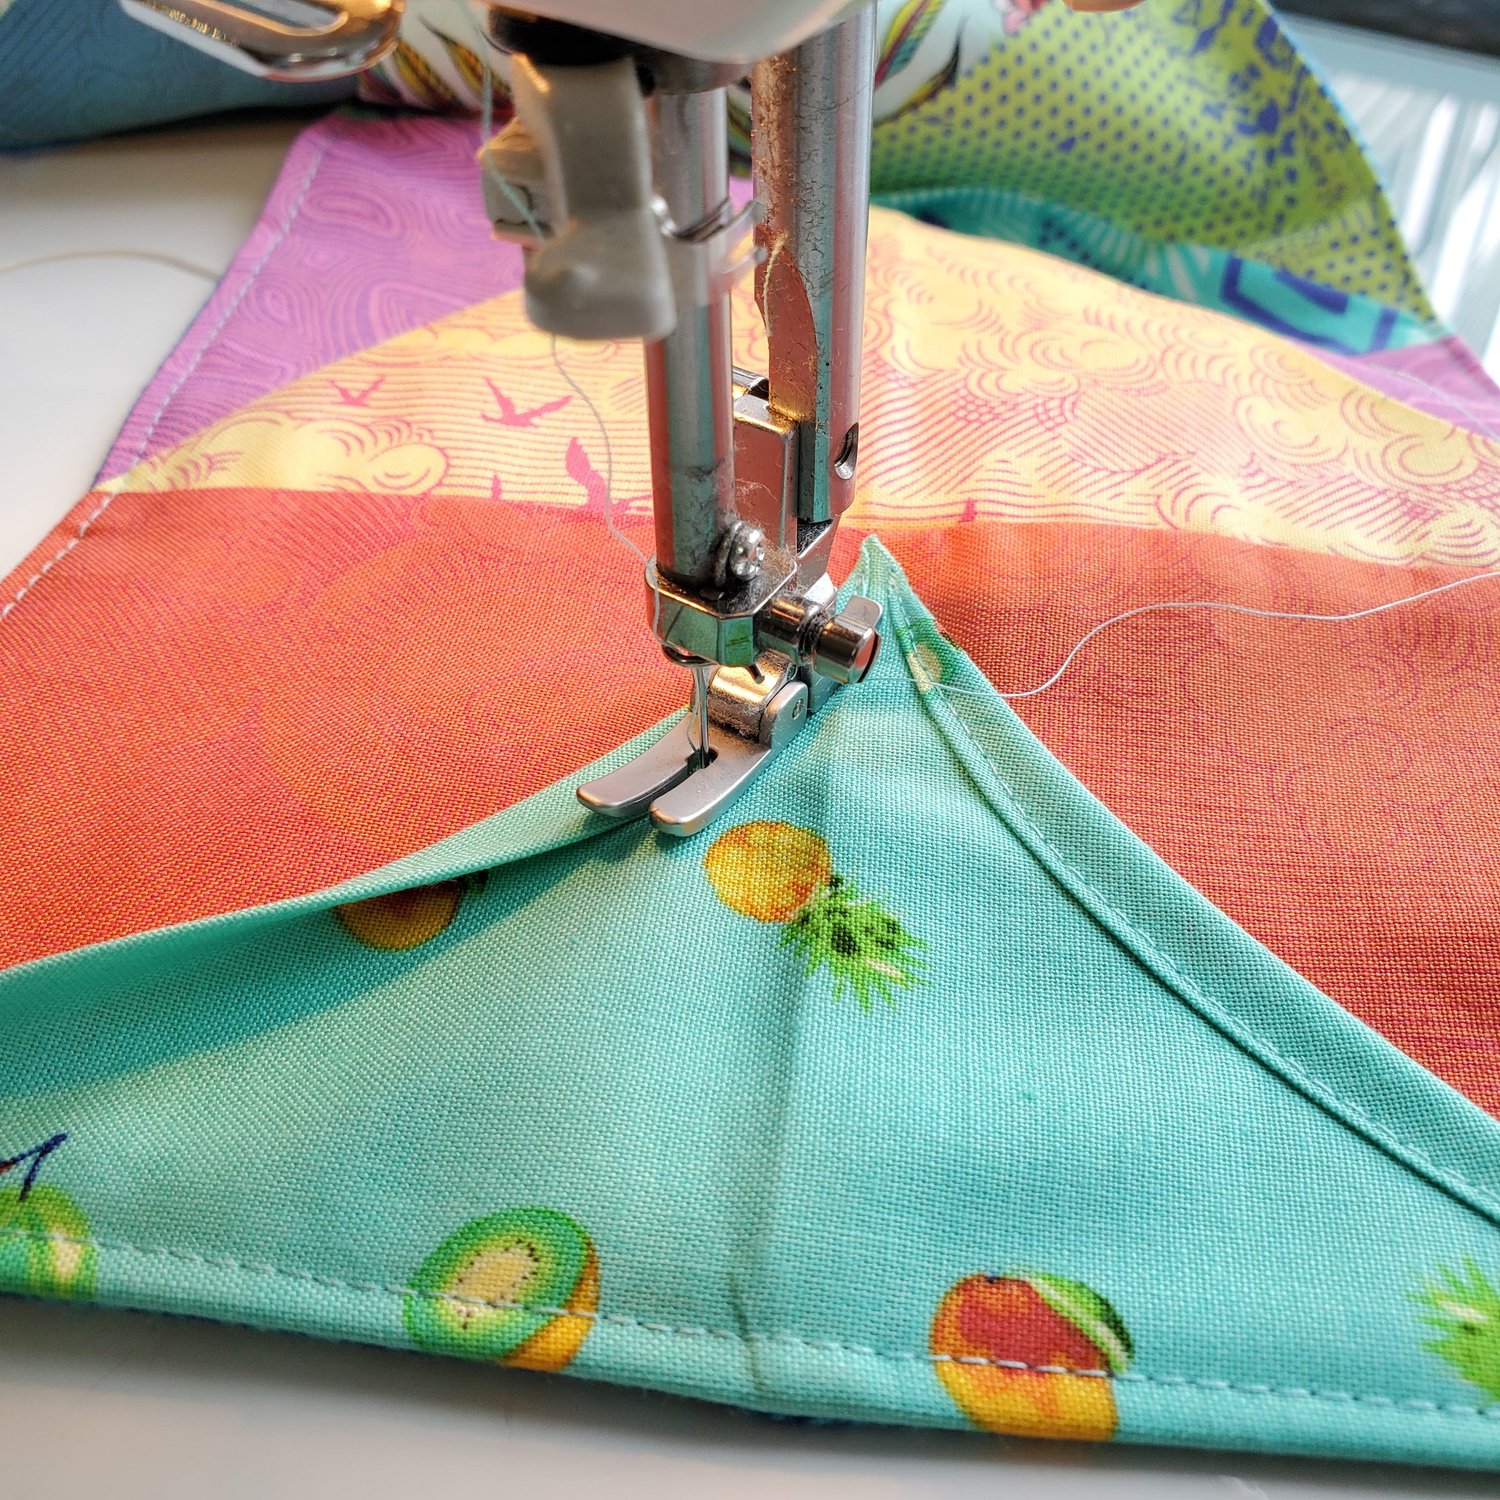
On the remaining triangles I topstitched ⅛” from the edge. This stitching will keep the layers together as you wash and wear the scarf
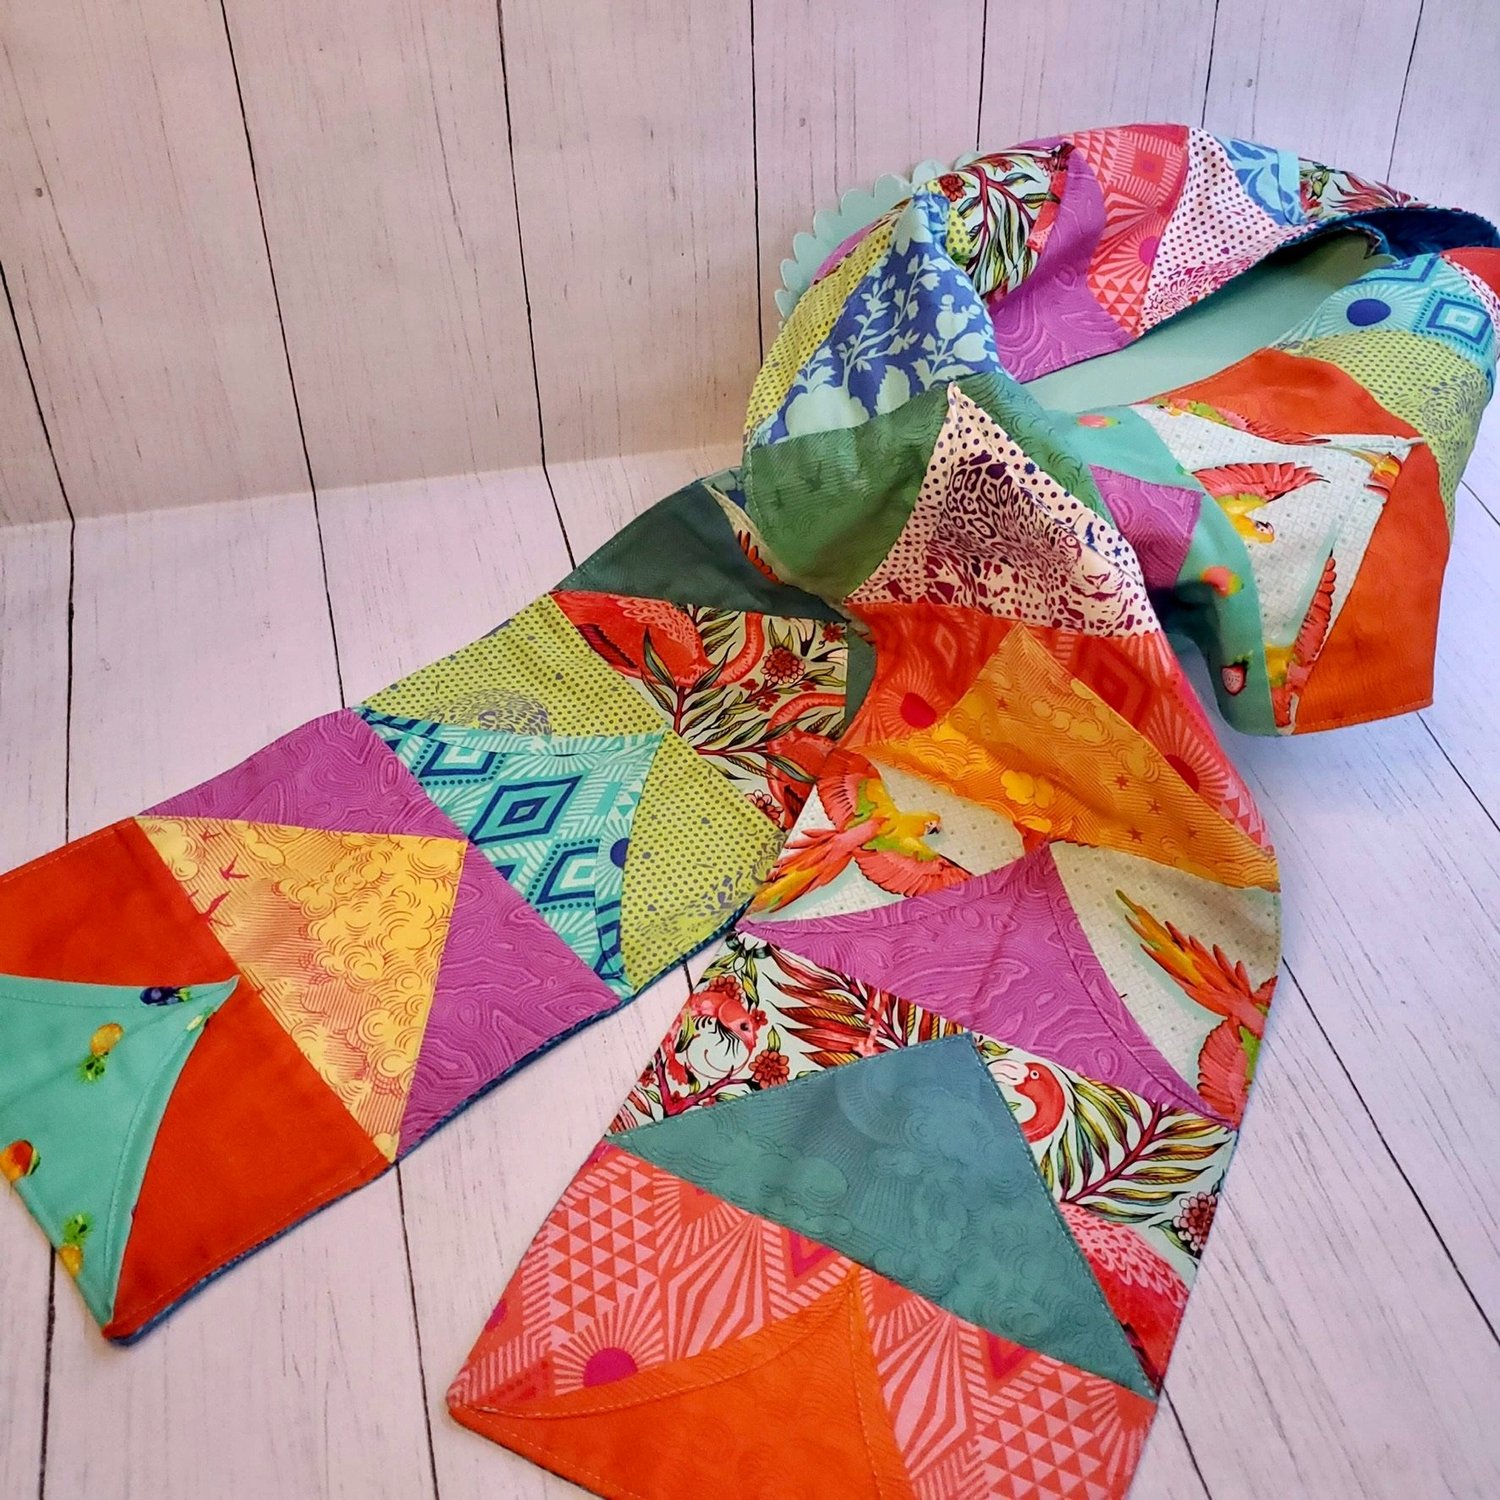
The scarf is complete. This scarf would be a great gift to make for the Holidays! It will definitely brighten your day while keeping you warm and cozy on a dreary winter day.