Quick Drawstring Bags
1st Apr 2022
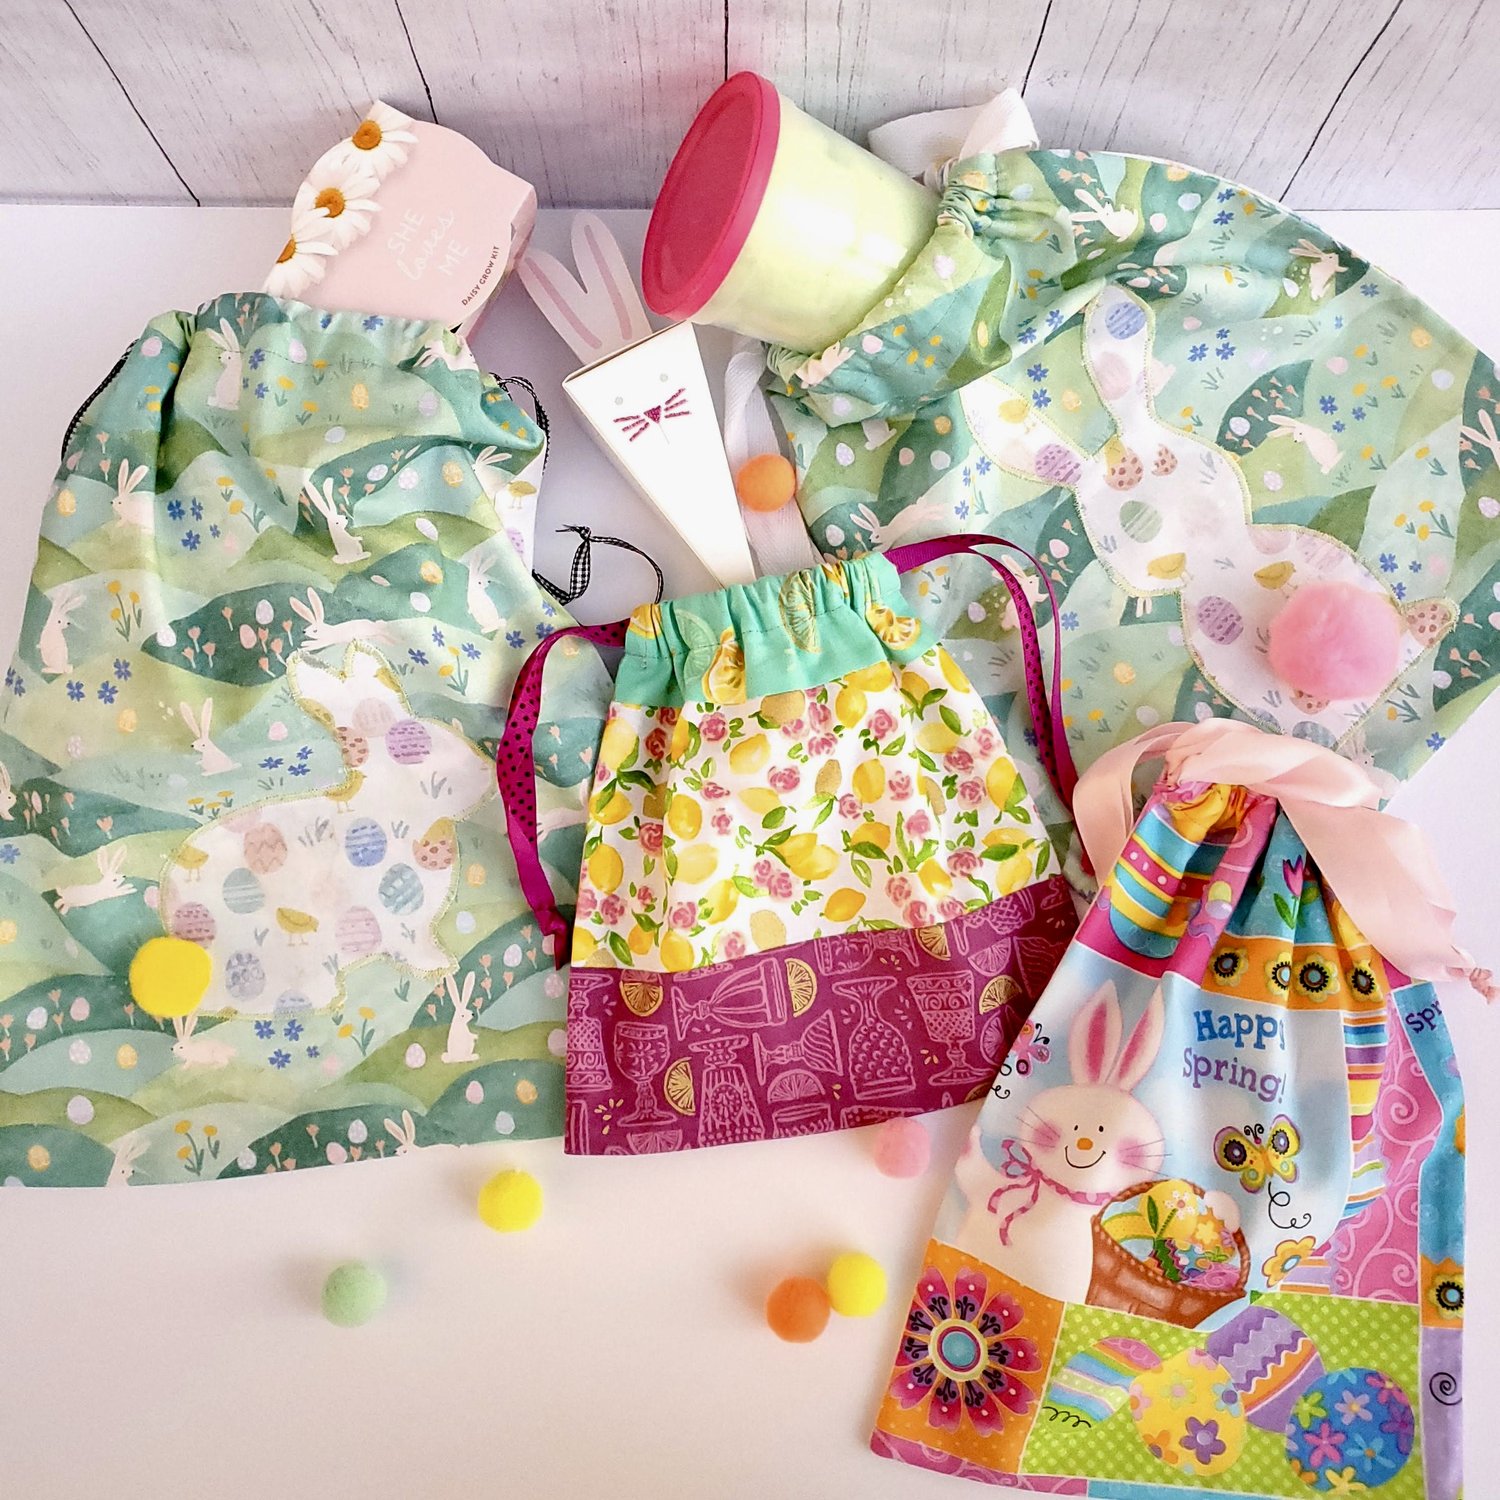
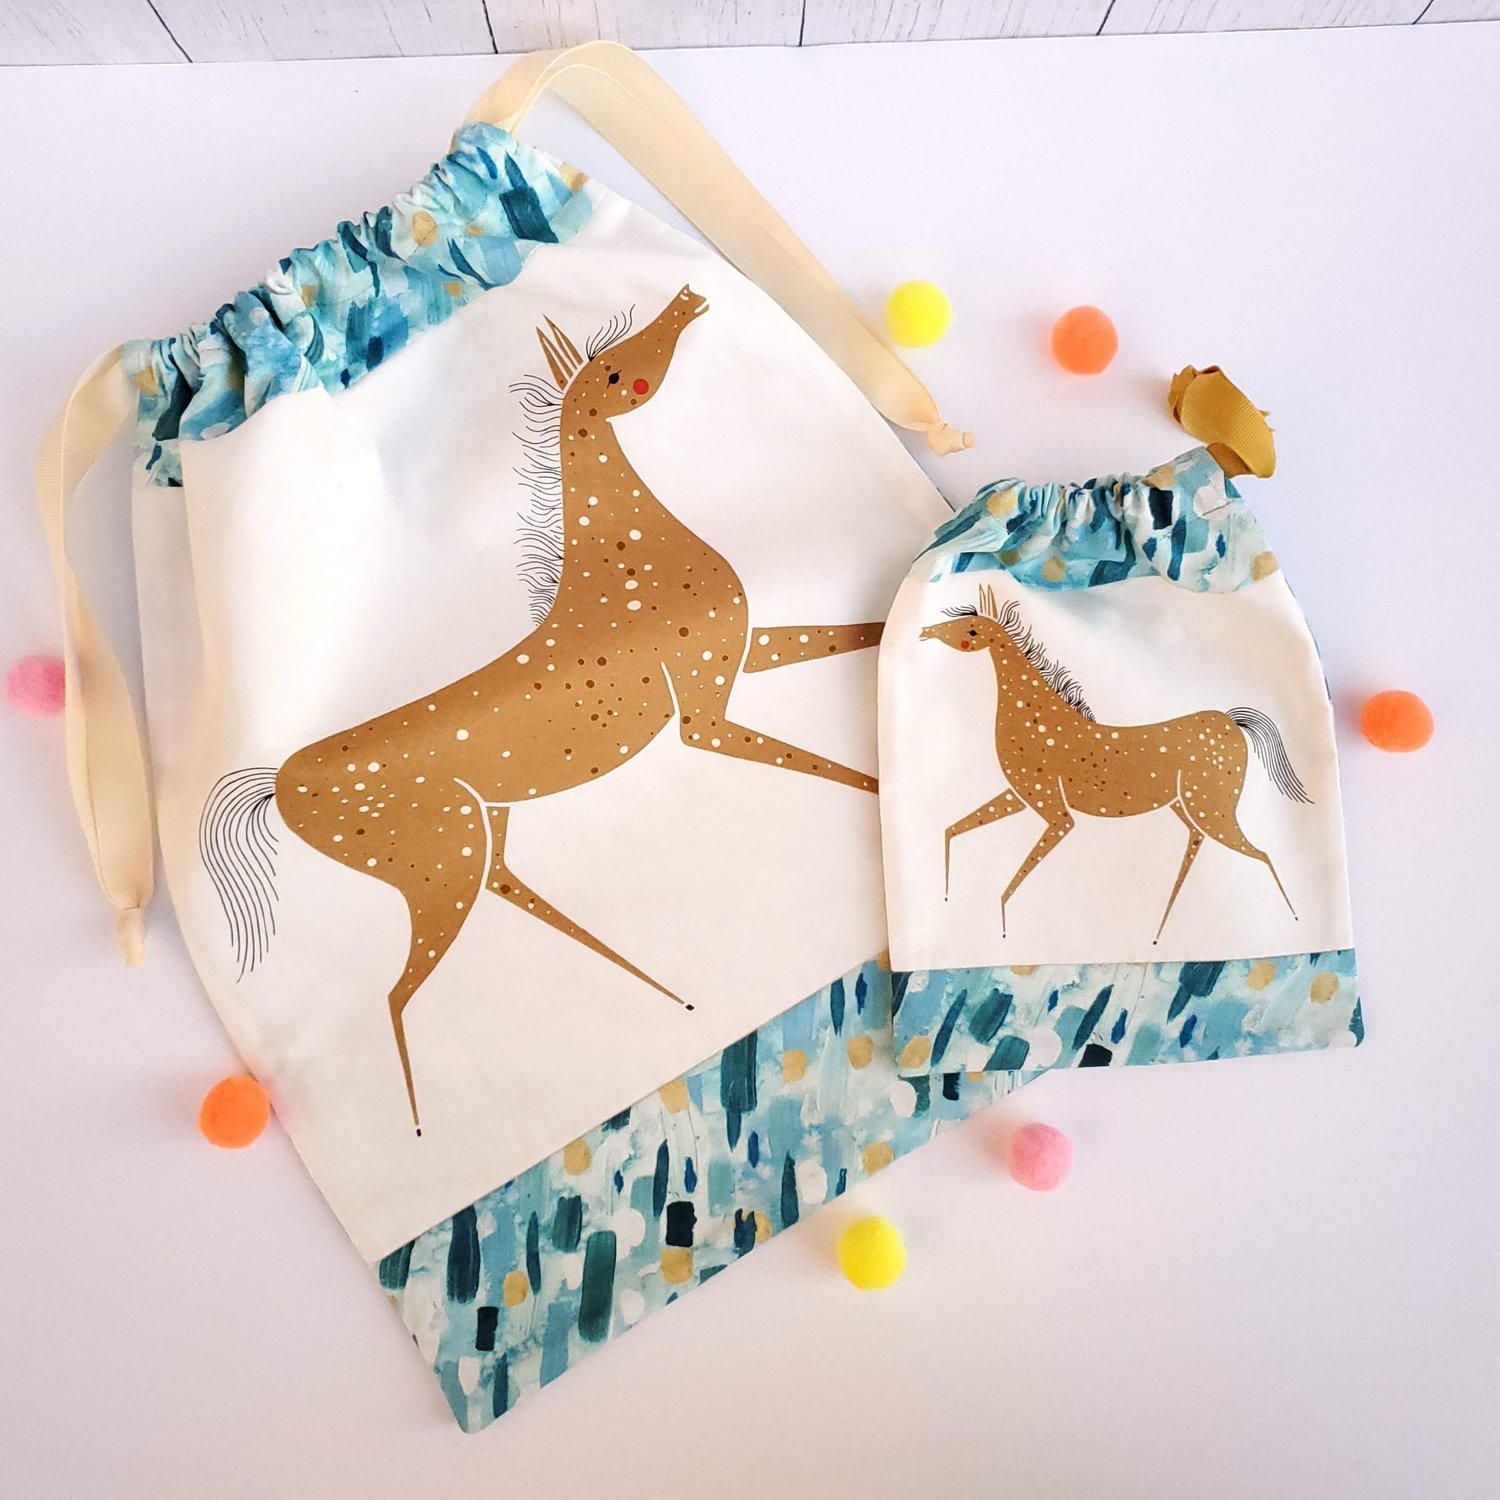
Drawstring bags can be used in a variety of ways and are so quick and easy to make. They make a nice presentation for a special occasion like a baby shower or birthday as gift bags. They are the perfect reusable washable bag sewn in your favorite fabric that can be personalized with embroidery or Cricut iron on. I made a few in an afternoon to use for Easter goodie bags. They are quick to make using Ellen’s sewing method from her Bellwood Cottage website. Once I started making these easy to sew bags it was totally addicting! I had fun pulling some scrap fabric strips and I found this adorable Gingiber horse from Moda Fabrics available from Cotton Cuts website.
Materials Needed:
Fat Quarters from Classic Membership box and
Coordinating Aurifil Thread from the Chroma Membership box
Assorted ribbon for the drawstring ties
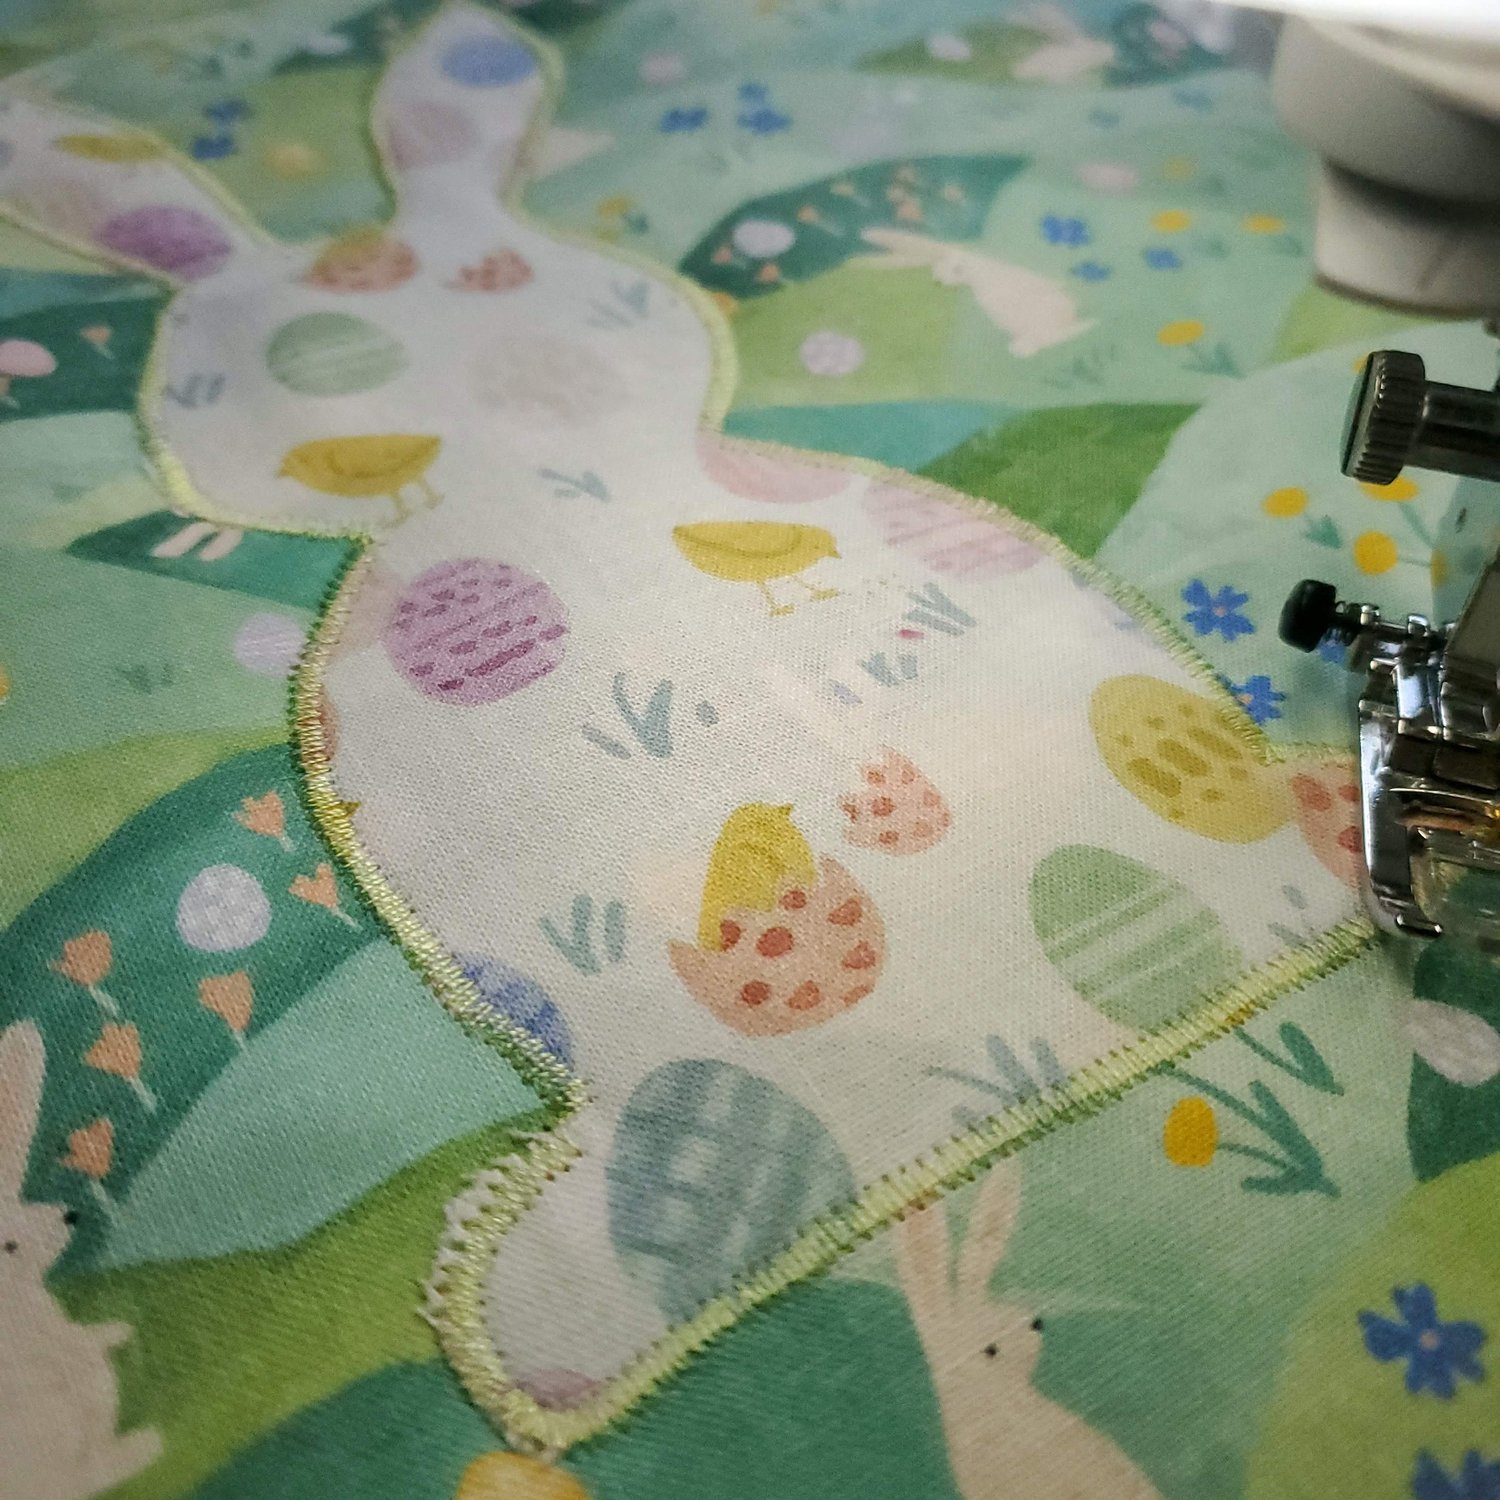
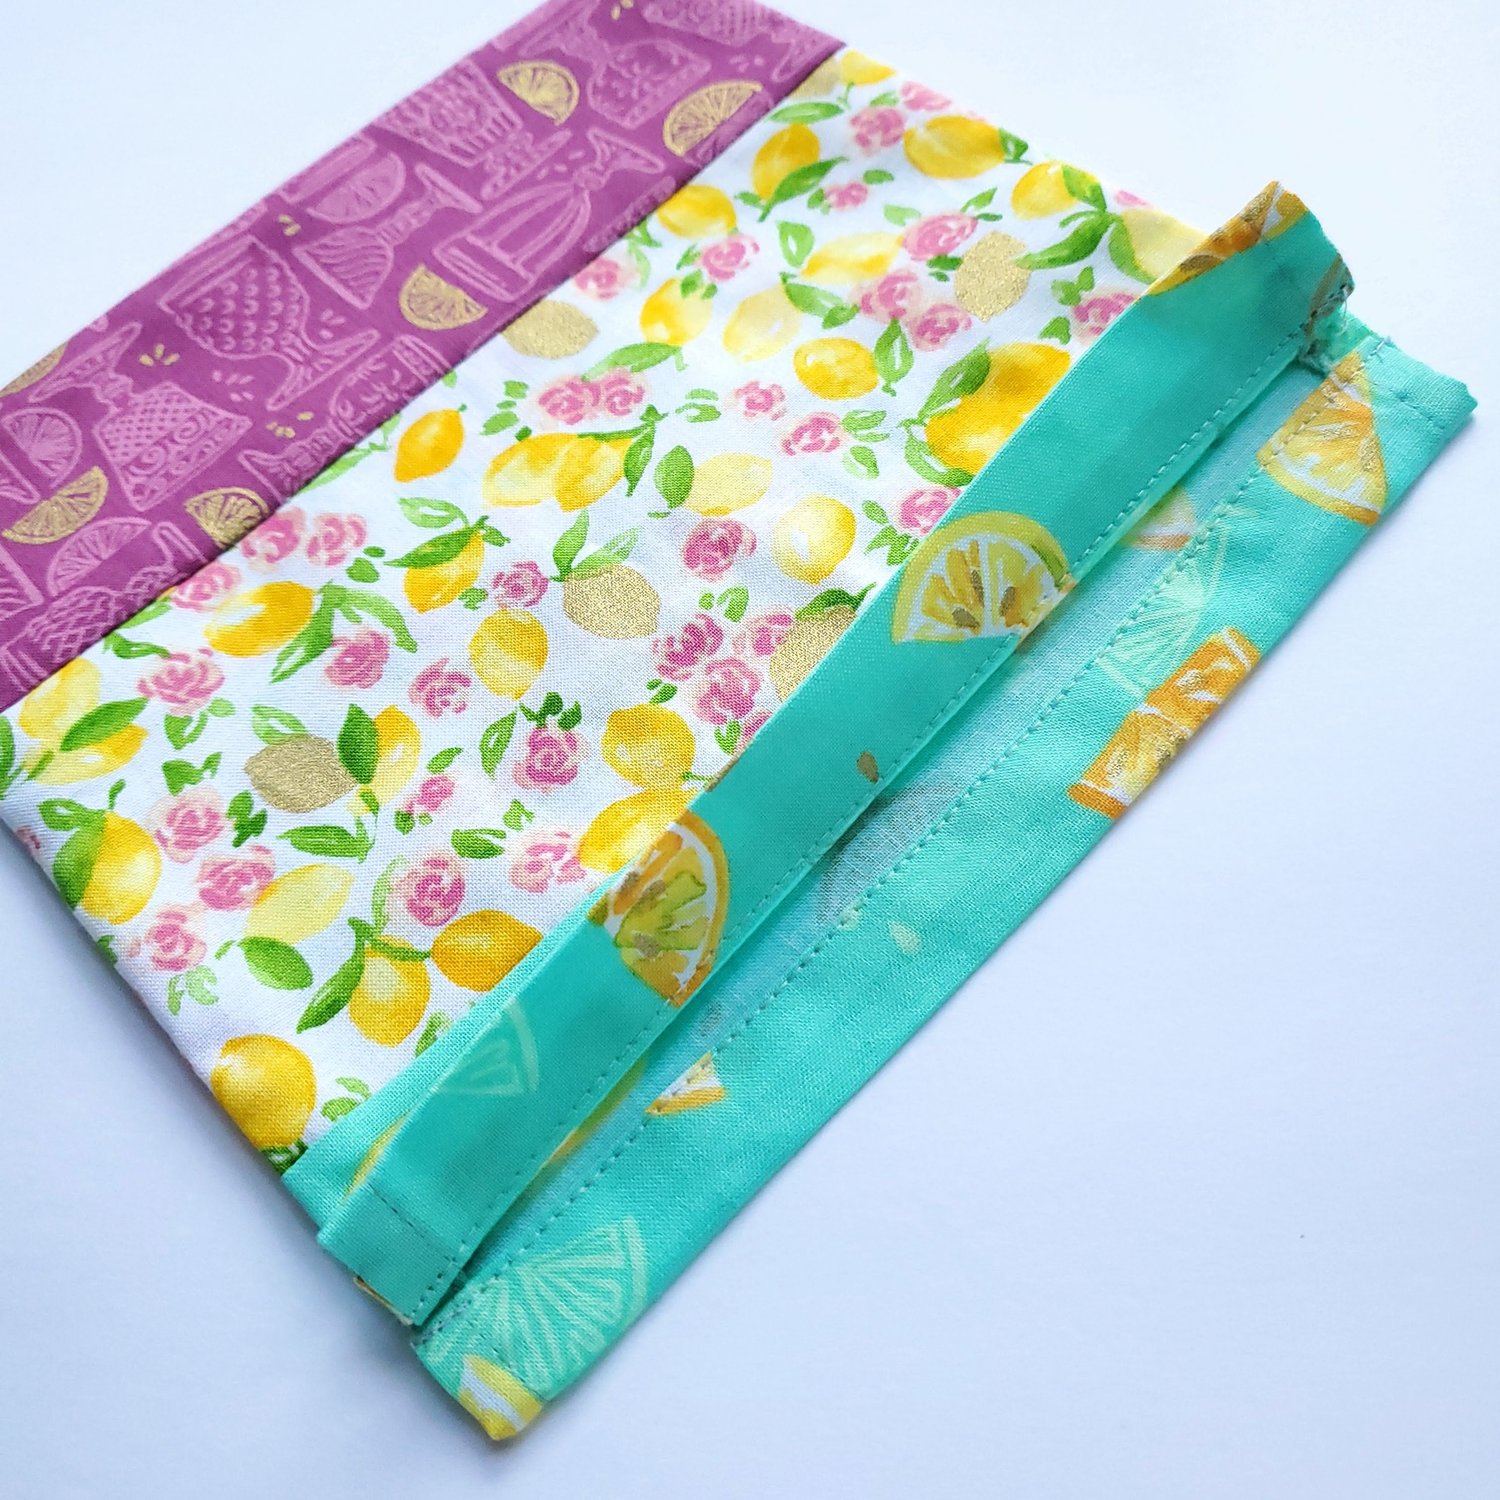
The beauty of the drawstring bag is it can be made any size you desire! The only thing to remember is to allow at least one inch for seam allowance on the sides and 2.5” to accommodate the casing for the drawstring along the top edge. It works great to fussy cut the fabric to feature a design or to appliqué a shape like the bunnies on these bags.
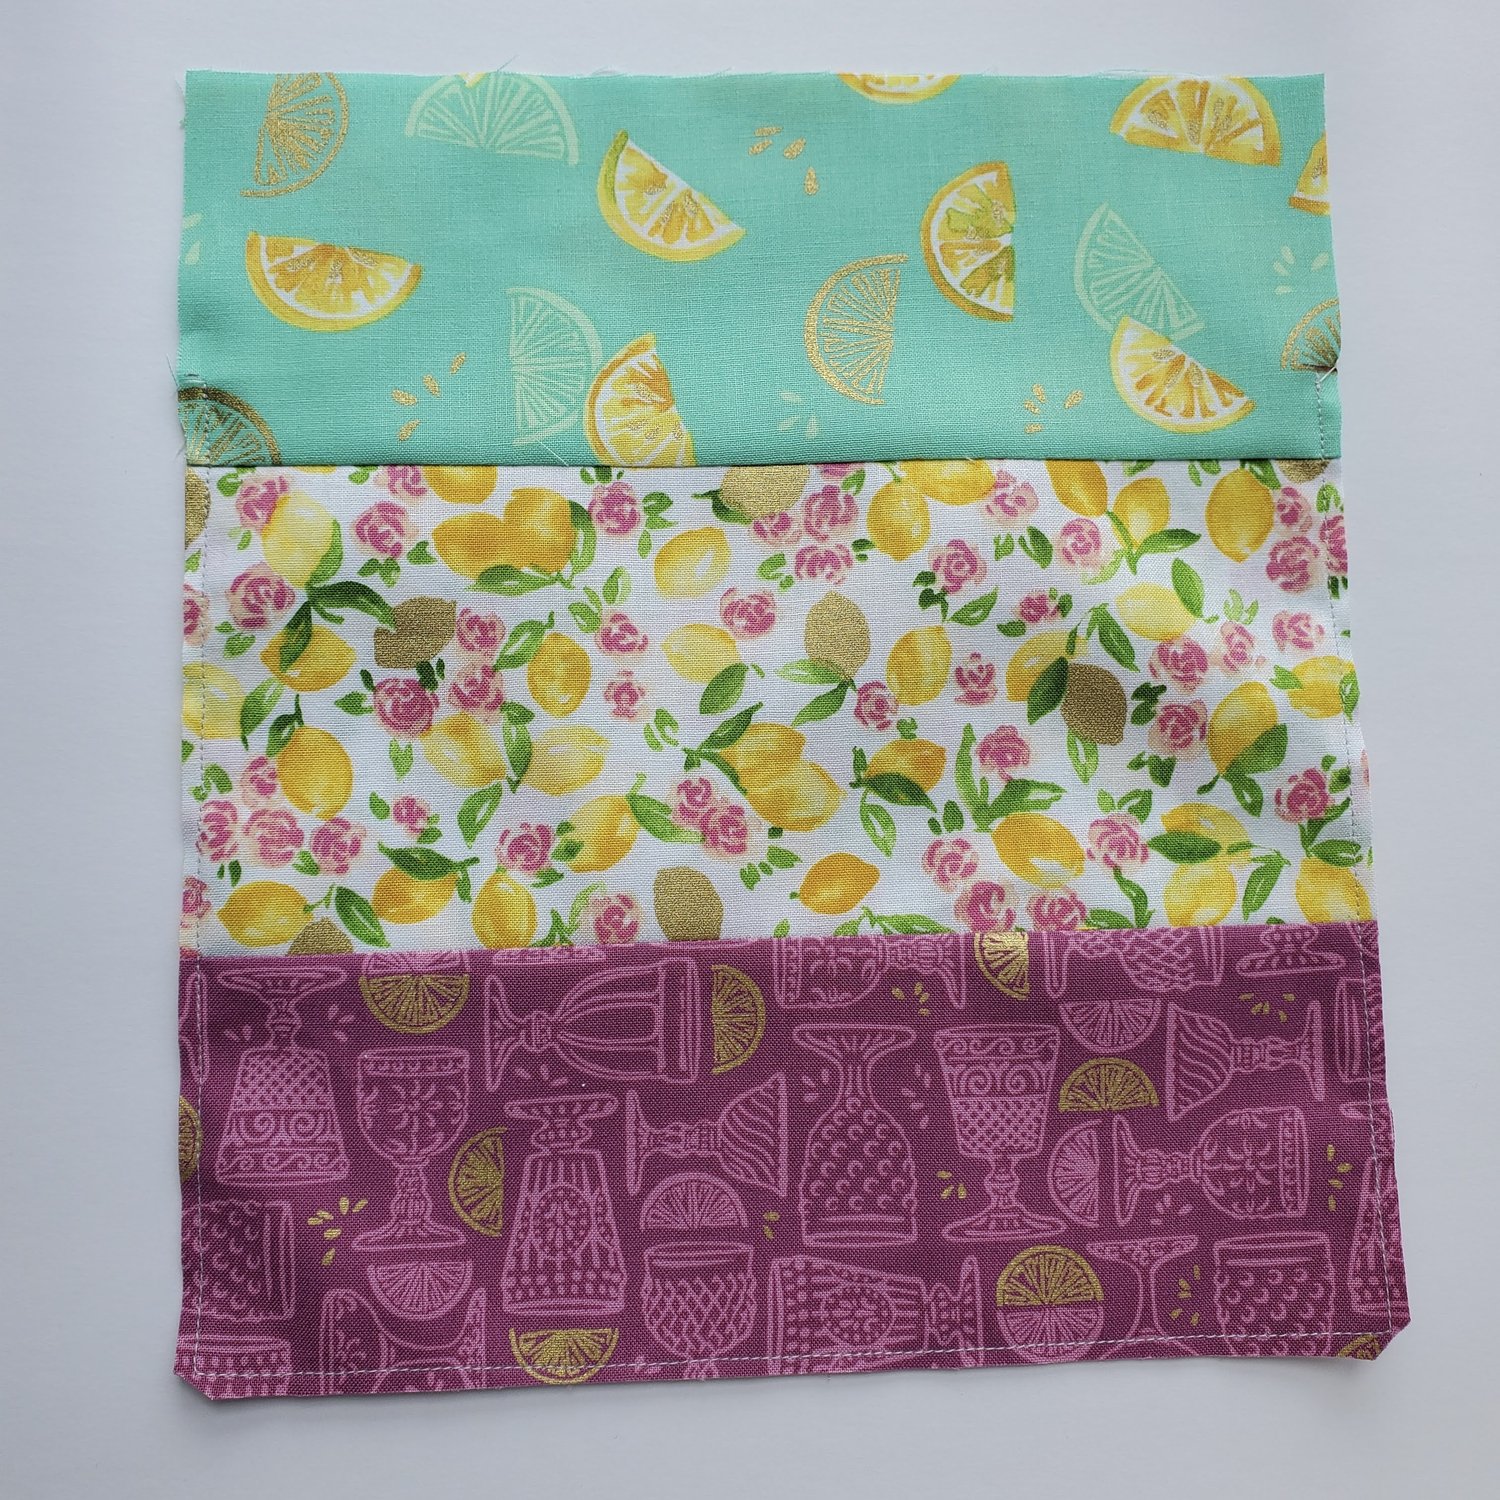
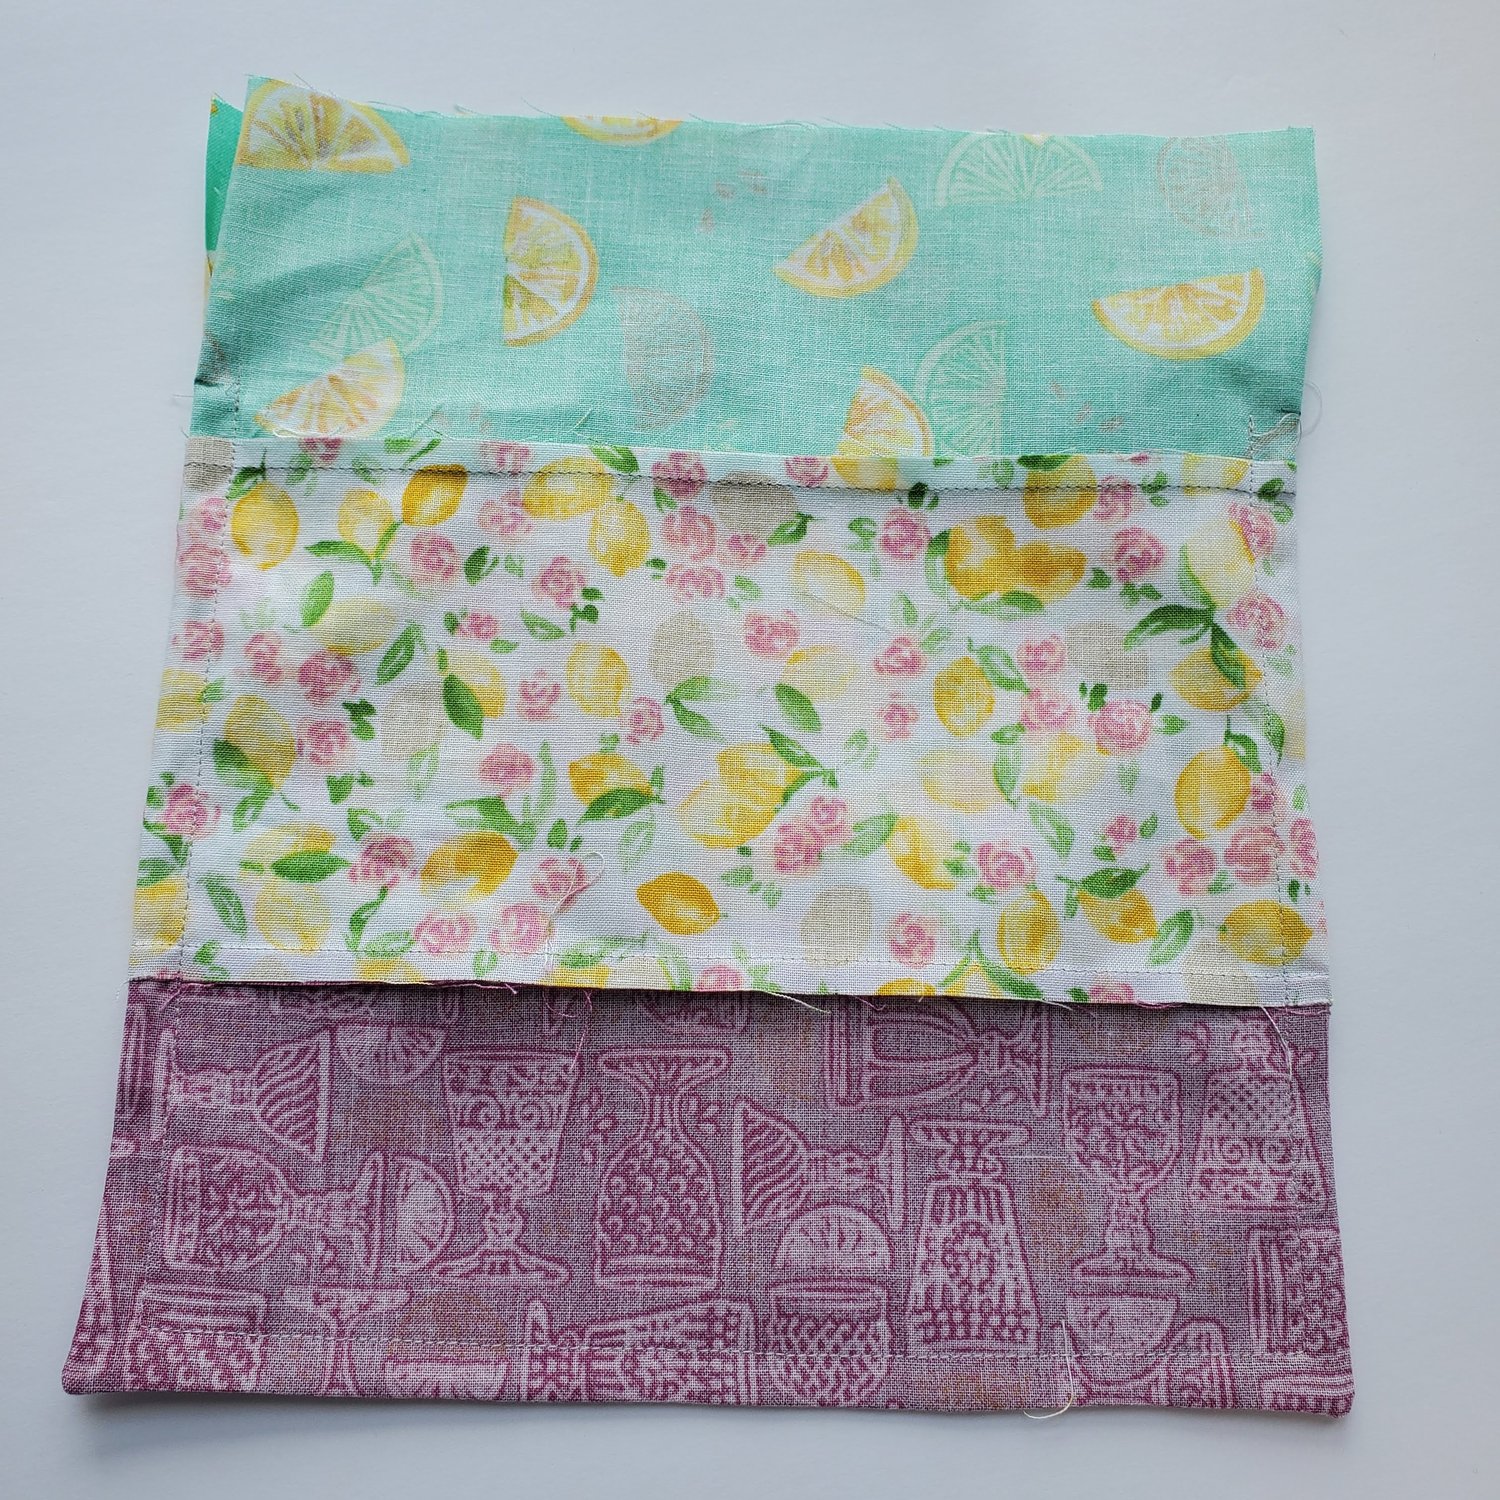
To get started determine the size of the bag you want and add the seam allowance as mentioned. For the cute lemon bag I started by sewing some strips together and then trimmed up the fabric making two identical pieces. Mark 2.5” from the top edge on each side. With wrong sides together start sewing ¼” seam at the 2.5” mark down the side, along the bottom and up the other side stopping at the 2.5” mark.
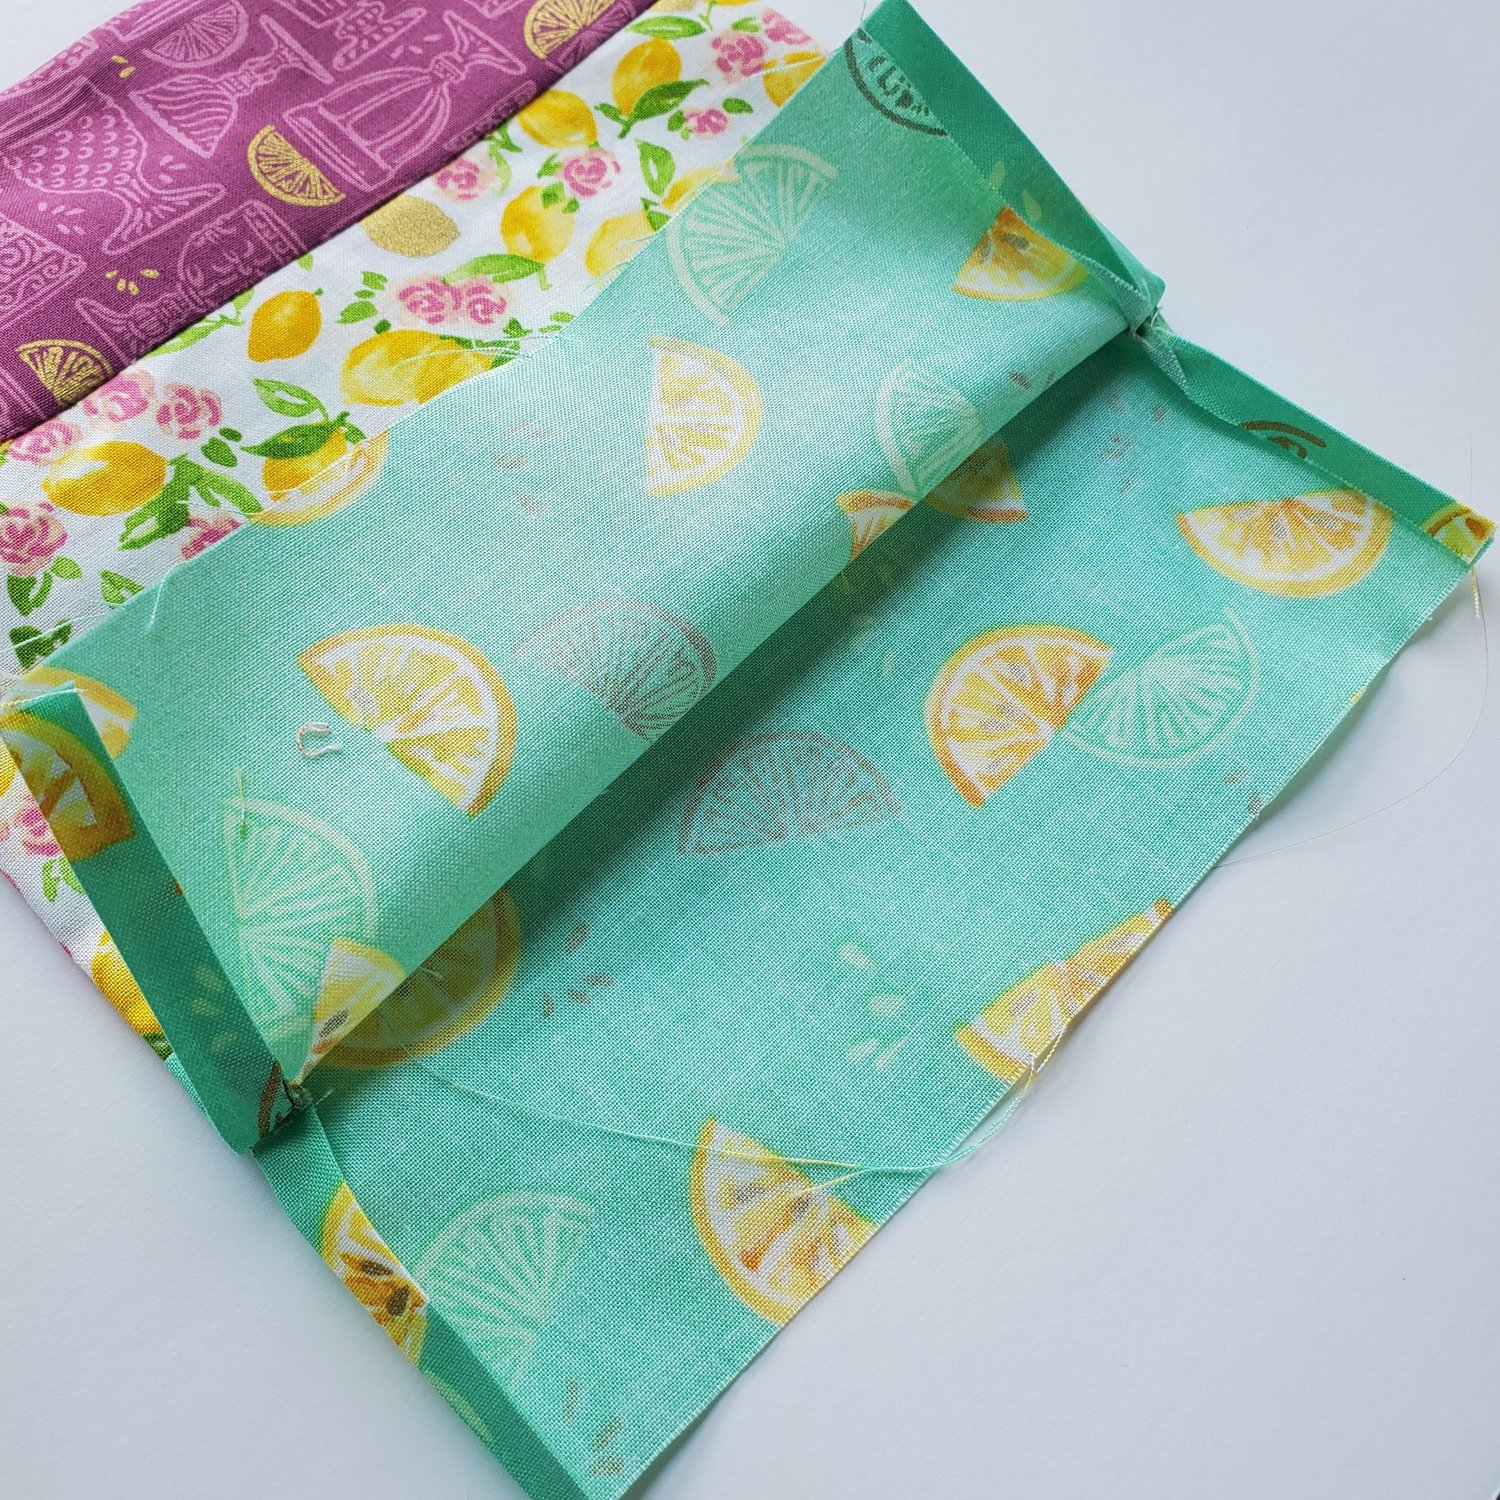
Trim the corners and with a rotary cutter and ruler trim the seams to ⅛” stopping at the 2.5” mark on each side. Turn the wrong sides out and push the corners out. Press aligning the edges of the seams evenly. Repeat the same process starting at the 2.5” mark again sew ¼” seam around the bottom three sides.
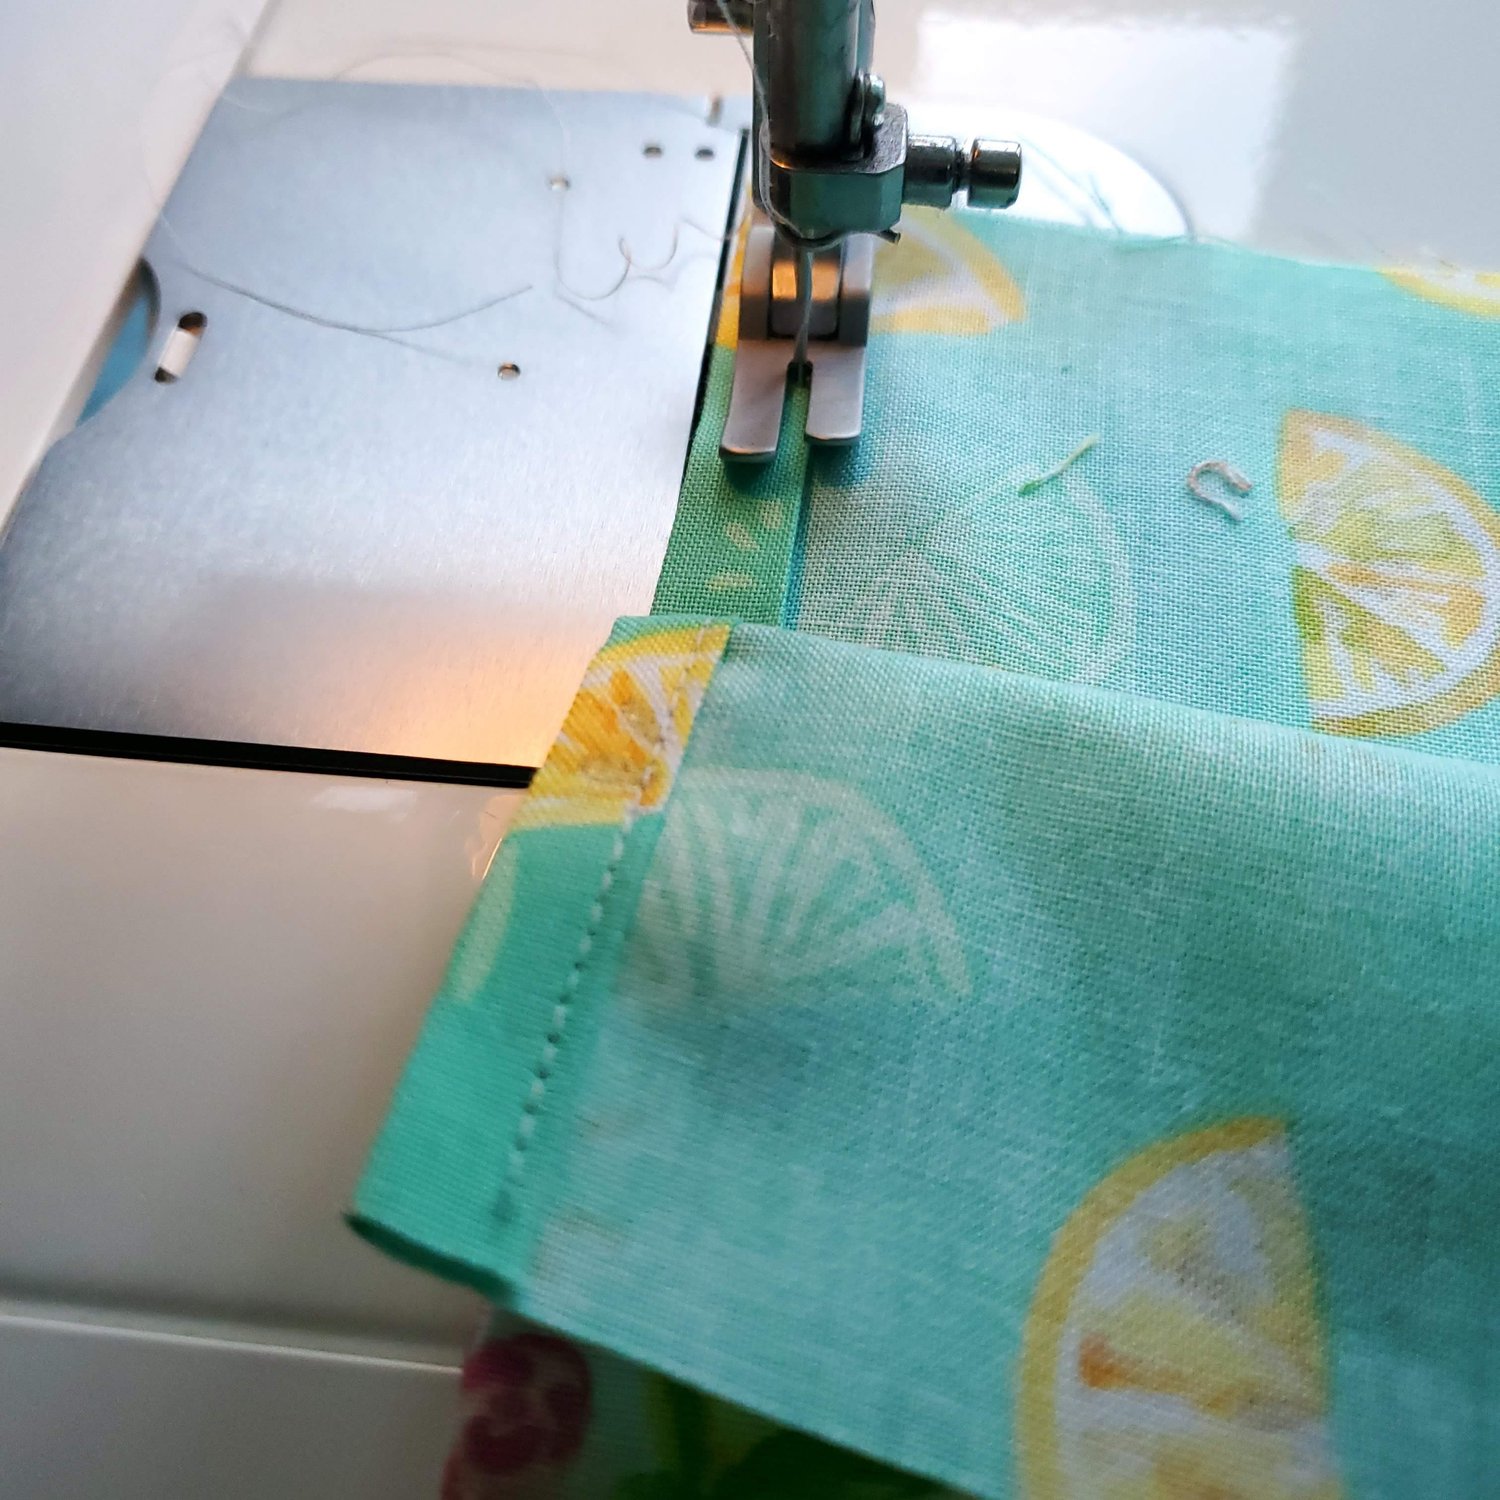
Turn right sides out and press aligning the edges of the seams. Next you will prepare the top 2.5” side seams by pressing under ¼” and then another ¼” to enclose the raw edges.
Sew with a longer 3mm topstitch starting at the top and stopping at the existing seam. I found it easier to sew on the wrong side so I could see the edge but that means you will need to be sure the bobbin thread coordinates with your fabric. I generally use a neutral gray Aurifil thread in my bobbin so it blends easily with most fabrics.
Continue sewing all four of these short seams. To prepare the top edge you will fold down a ¼” twice in the same way as the side seams and press using steam and some starch to get a good crease.
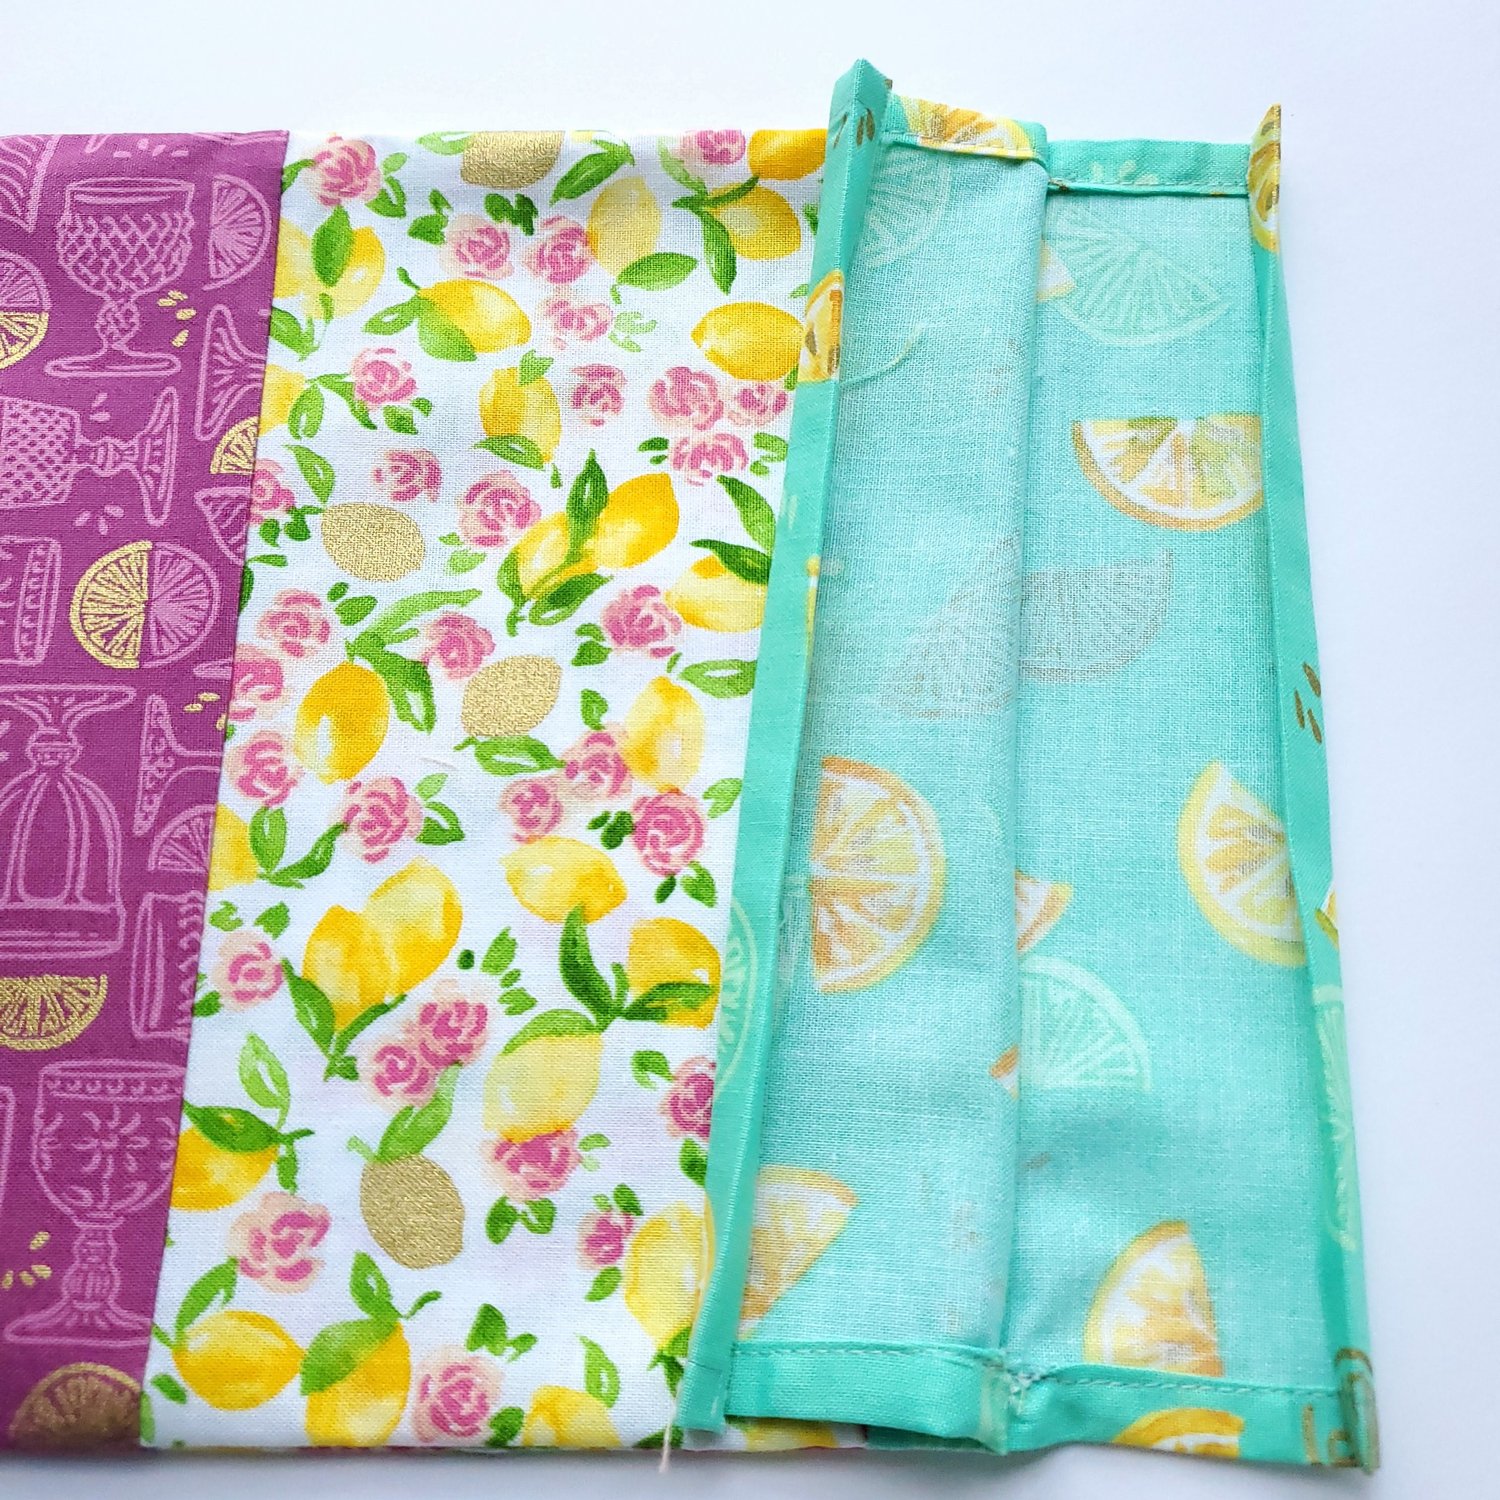
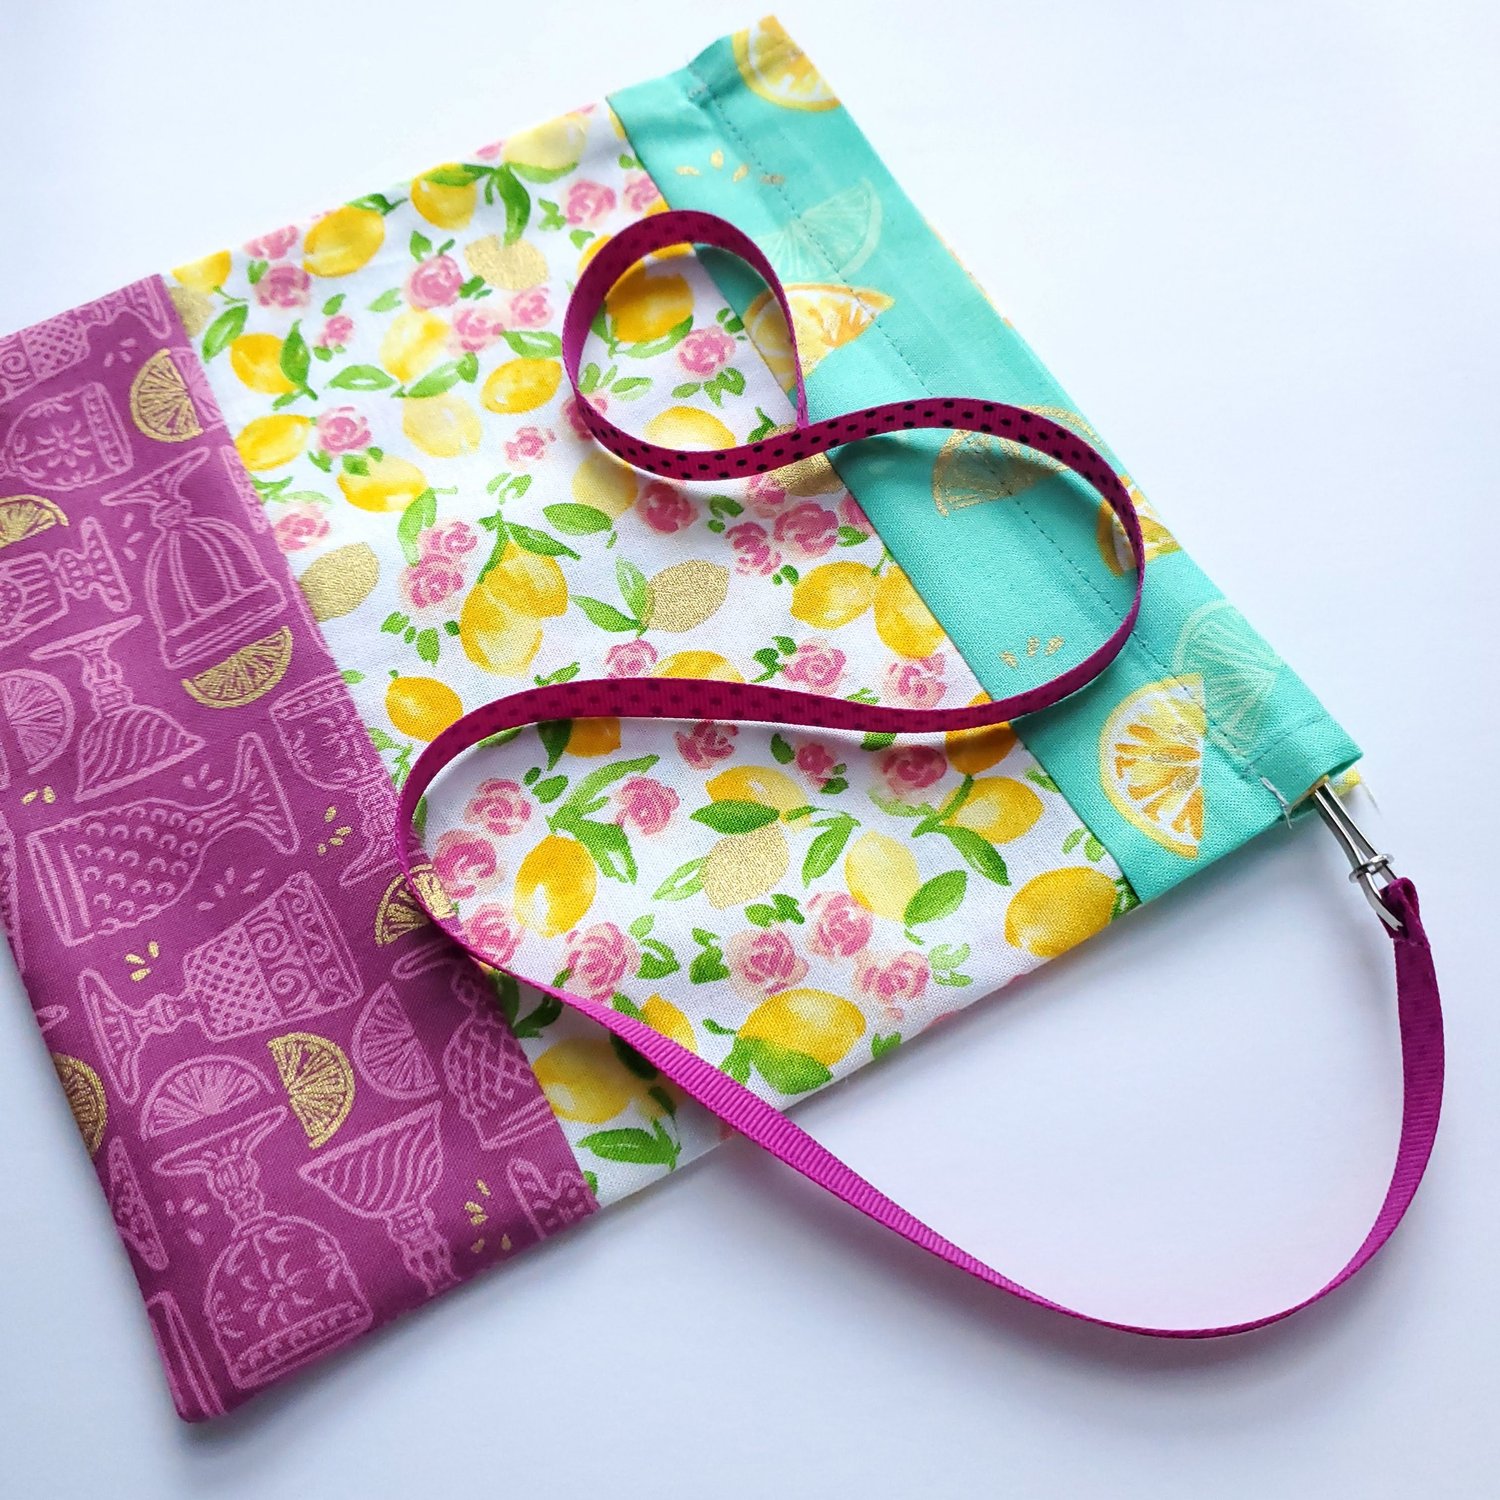
Then fold the top edge in half. Press and topstitch along the edge to form the casing for the ribbon.
You will need two ribbon pieces for the drawstring. Use a safety pin or a bodkin to push the ribbon through the casing. Trim the ribbon about 2.5” past the edge of the casing on each side to allow room to tie a knot.
Repeat the process starting on the other side of the casing. You should have the ribbon extending from each side with a knot to pull the bag closed.
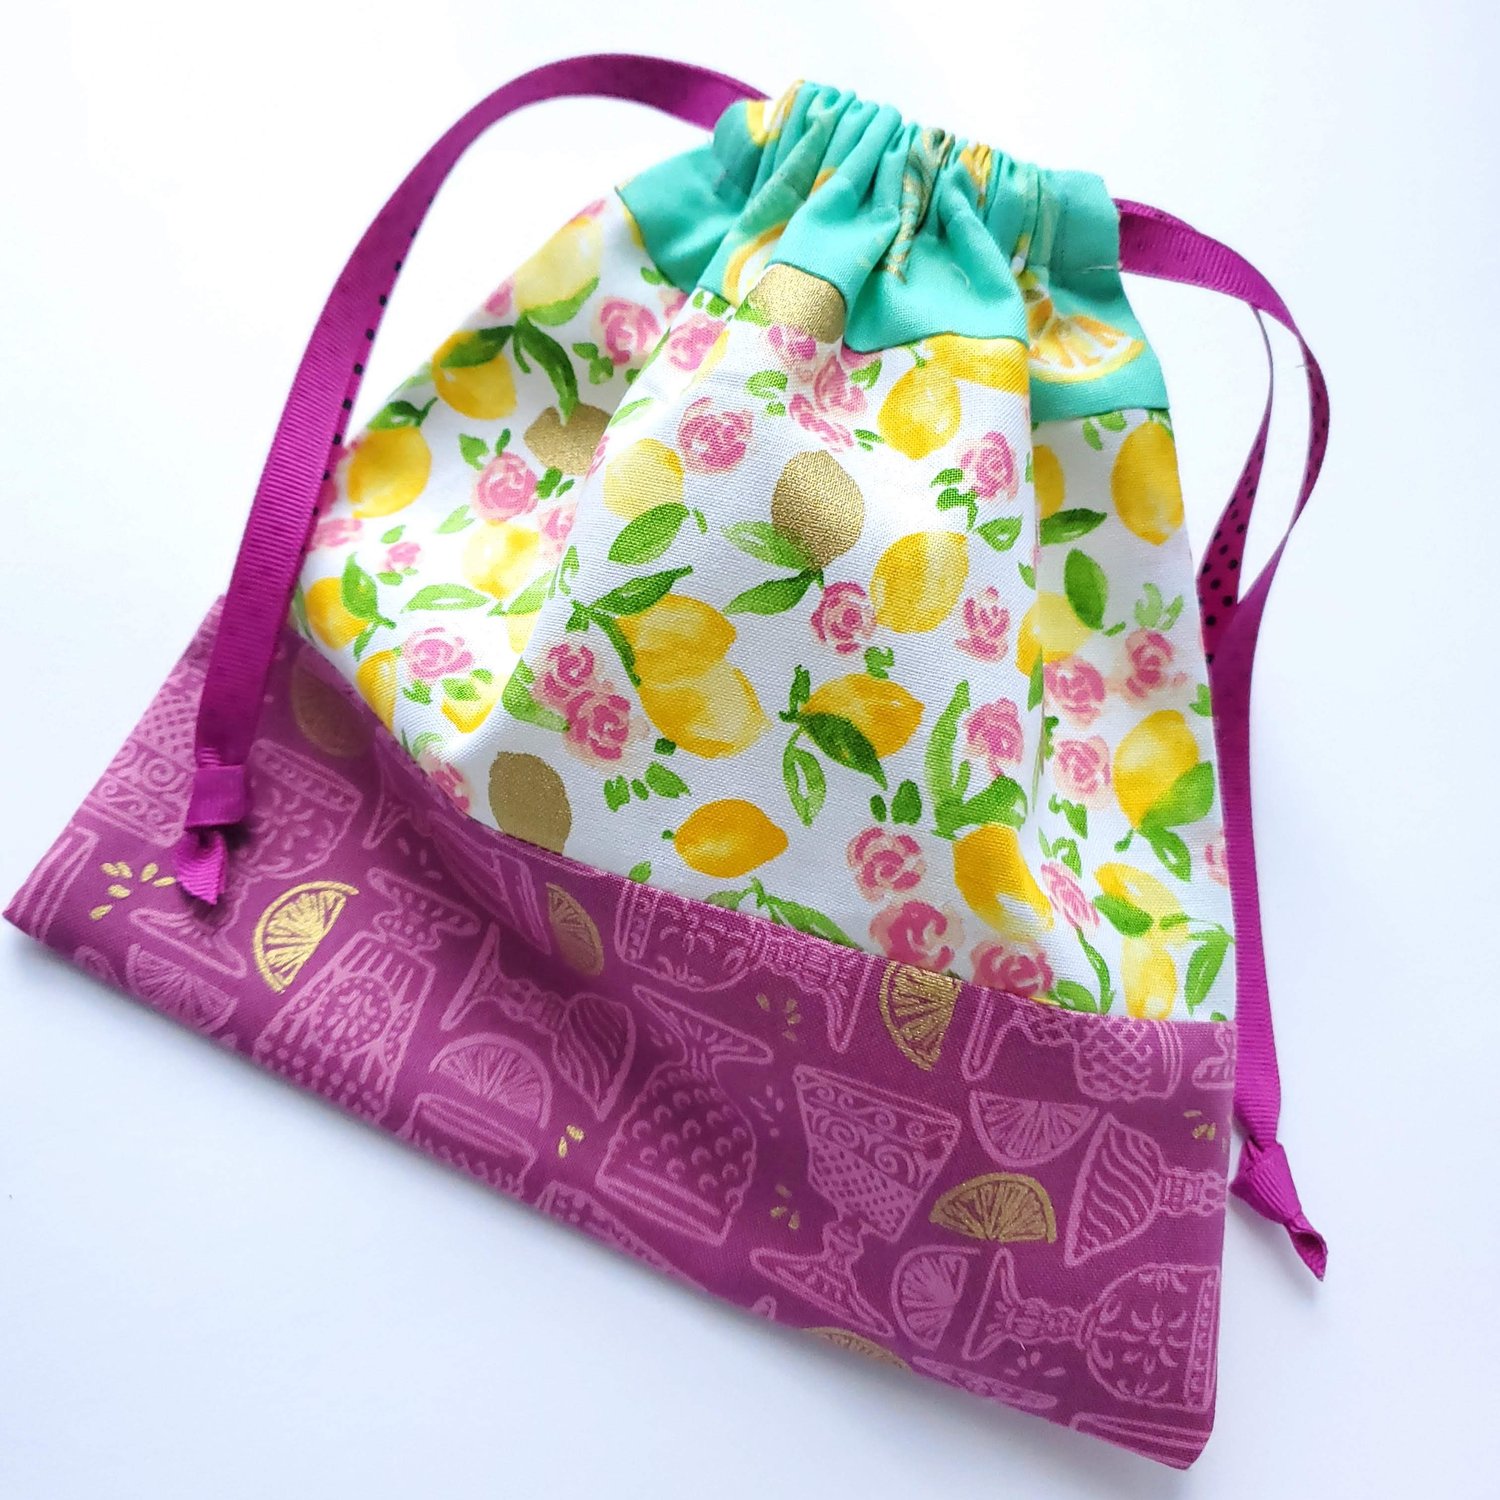
I really enjoyed making these bags and look forward to filling with goodies to share with friends and family.
Here are a few tips I learned from making these bags:
It is very easy to find a shape to appliqué if you search Free SVG files like this Bunny silhouette I used for the Easter bags.
I found it helpful when using a light colored fabric like the horse panel to use a lightweight fusible interfacing on the wrong side.
To keep the zig zag stitches from puckering on the appliqué I used a tear away stabilizer on the wrong side of the fabric panel.