

Open Wide Zipper Pouch
28th Jul 2022
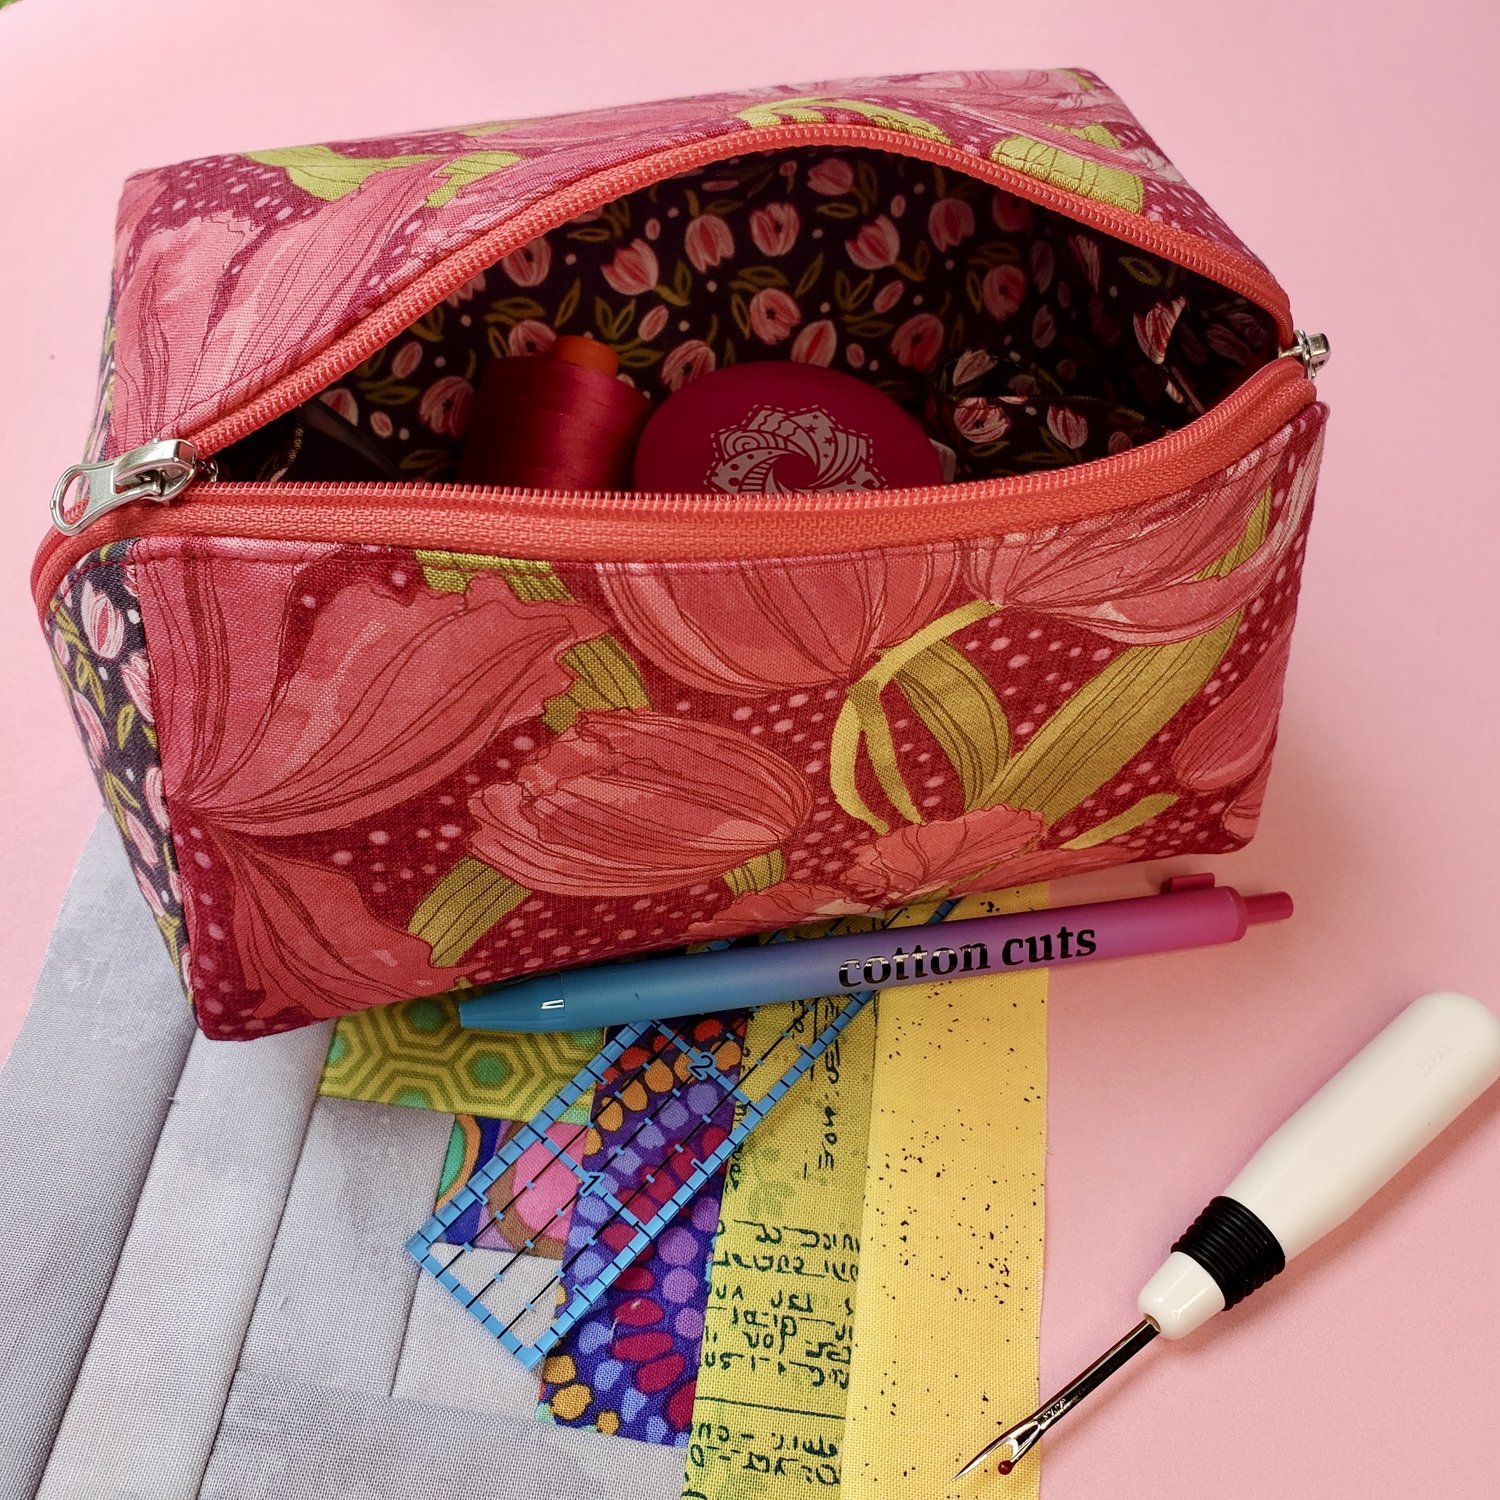
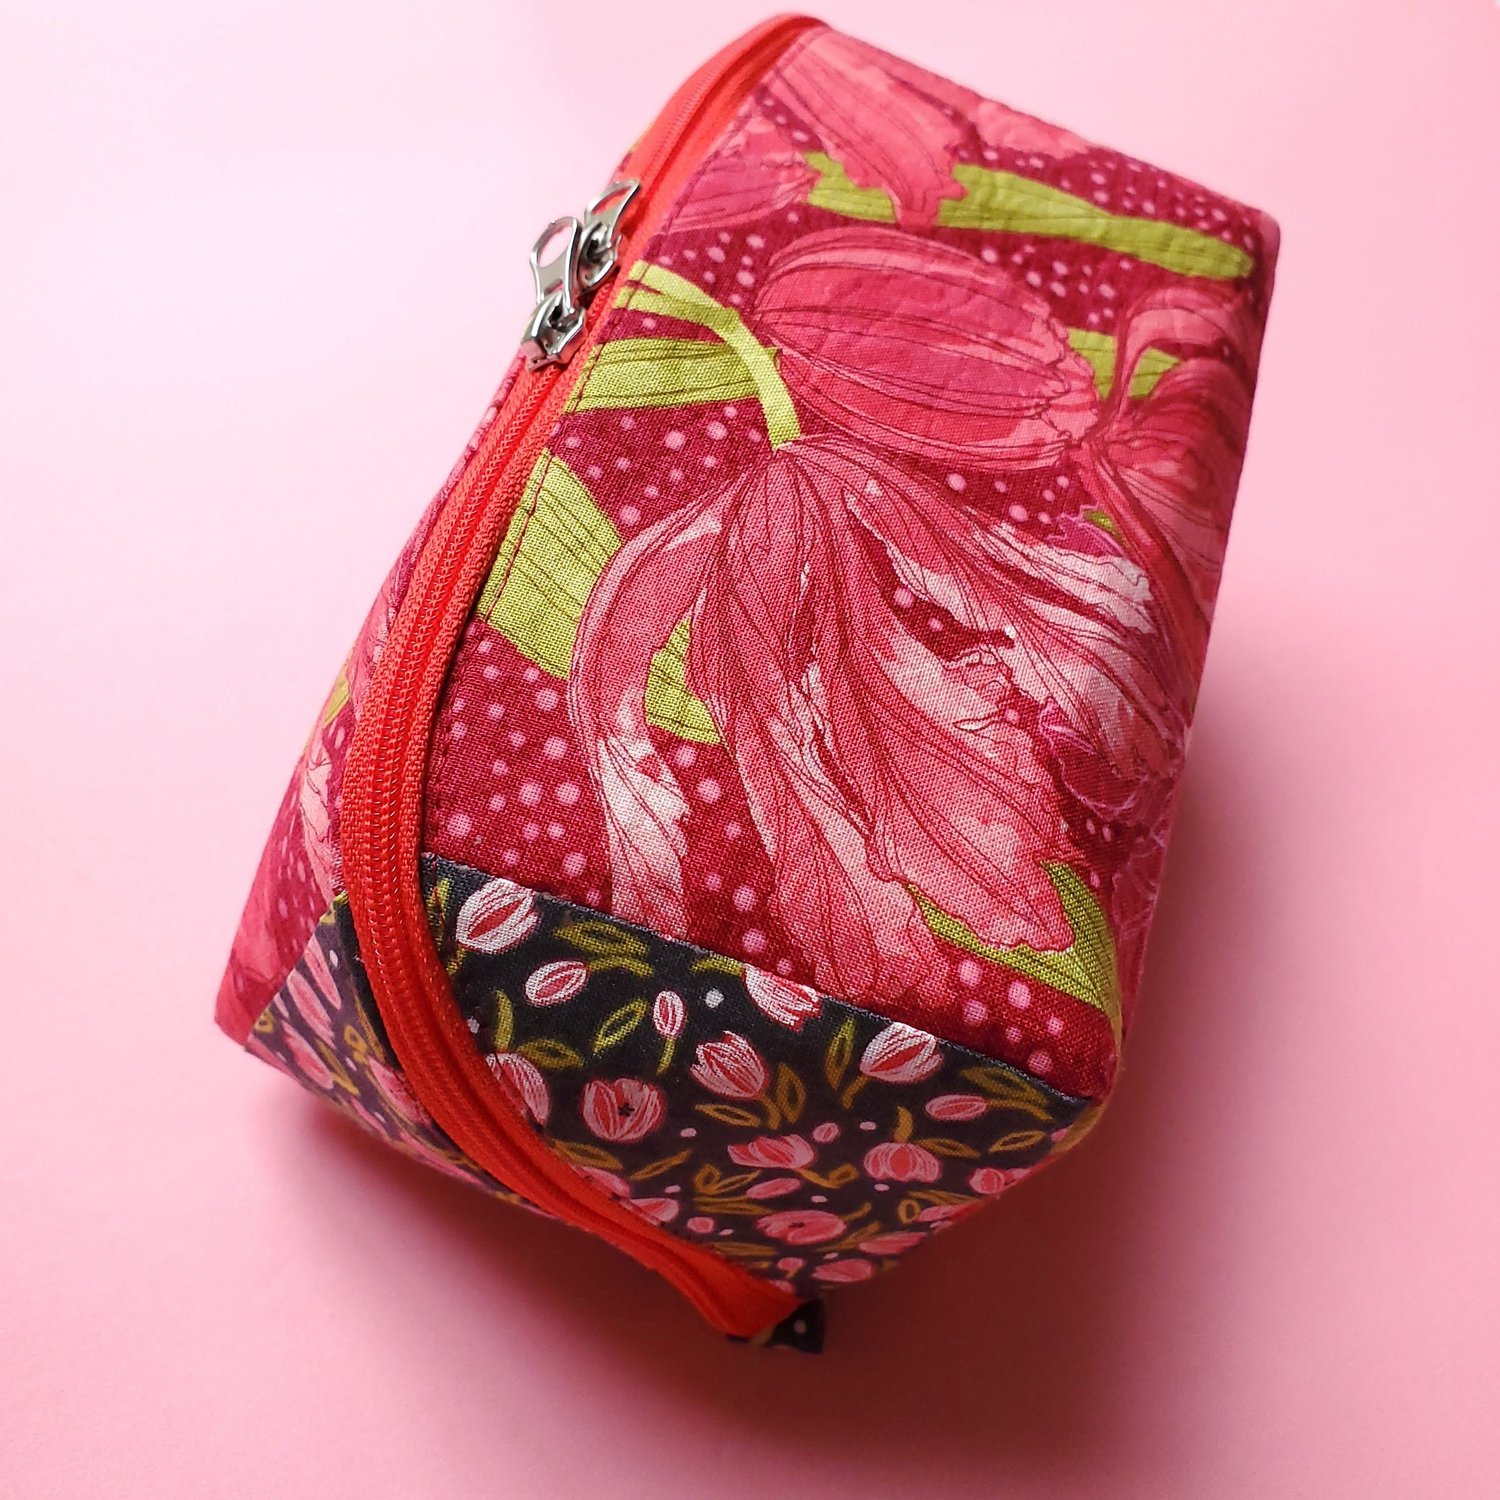
Back to school preparation is in full swing as we near the start of August. I always really enjoyed shopping and preparing for the start of a new school year. I still love the smell of a fresh box of crayons and the sound of opening a new book ready to start learning. This free pattern, Open Wide Pouch from Sewing Times would be a great addition to the kid’s backpack or for your sewing travel kit. It is made to last using a sturdy Pellon Peltex stabilizer. For dual use I placed a double zipper that will accommodate a small travel lock to keep any medication safely locked while visiting a home with small children. This delightful fabric featured in the July Classic Membership box is Moda’s Tulip Tango by Robin Pickens.
Materials Needed:
½ yard of lining fabric
Fat Quarter of exterior fabric
16” coordinating zipper
Pellon Fusible Fleece or for a crisp shape I used Pellon Peltex 72F
Coordinating Aurifil Thread from the Chroma Membership
Pellon Shape Flex 101 interfacing
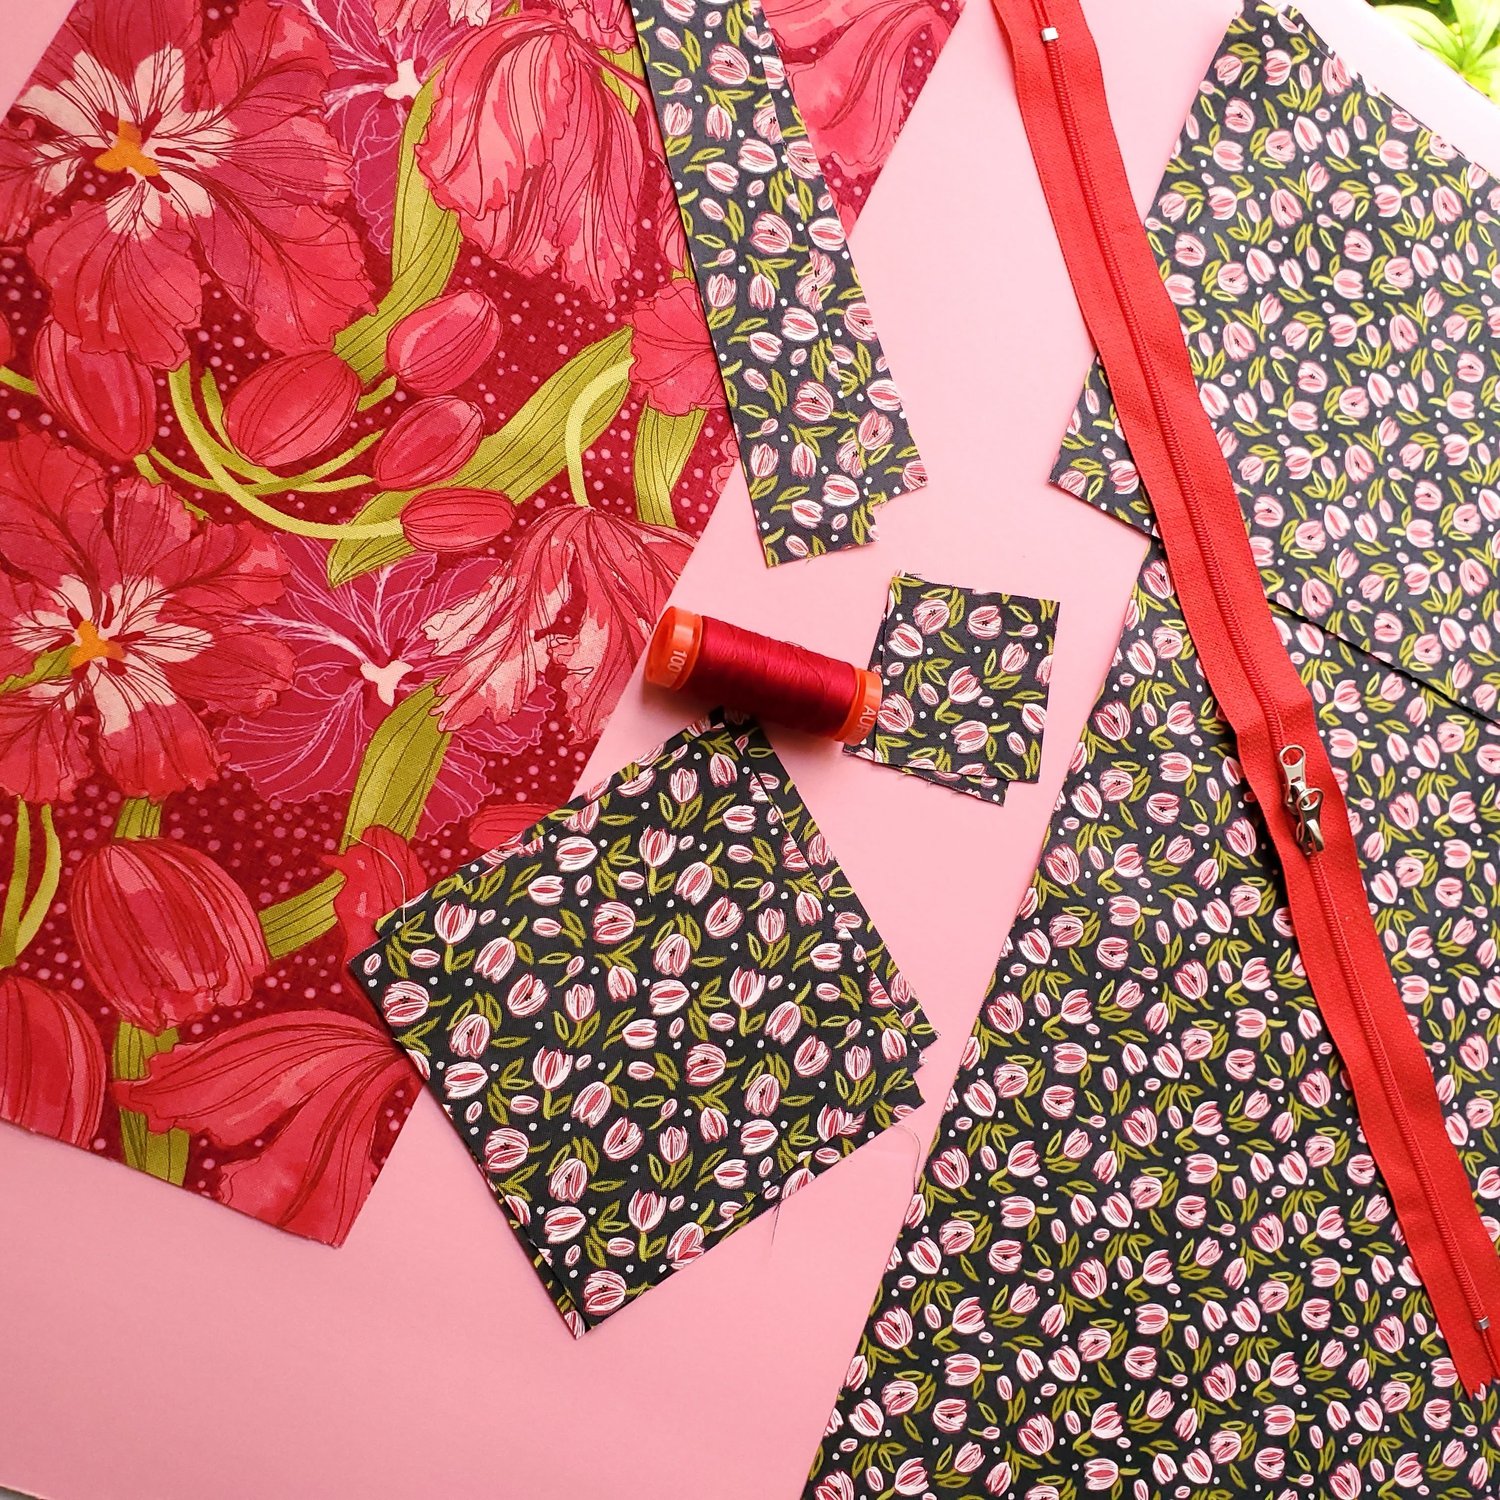
To get started you will need to cut the following pieces:
Outer fabric 14 ¼” x 7 ⅛”
Lining fabric is used for the following pieces:
One 14 ¼” x 13 ¾”
Four 4 ¼” x 4 ¼”
Two 7 ⅝” x 6 ⅛”
Two 2” x 2”
Two 9” x 1 ¼”
Cut one piece of Pellon Peltex(or Fusible Fleece) 13 ¾” x 13 ¼
The Peltex will make a more sturdy bag and the fleece more flexible. I included pictures of both. I decided mid way I wanted to use Peltex for a more sturdy bag.
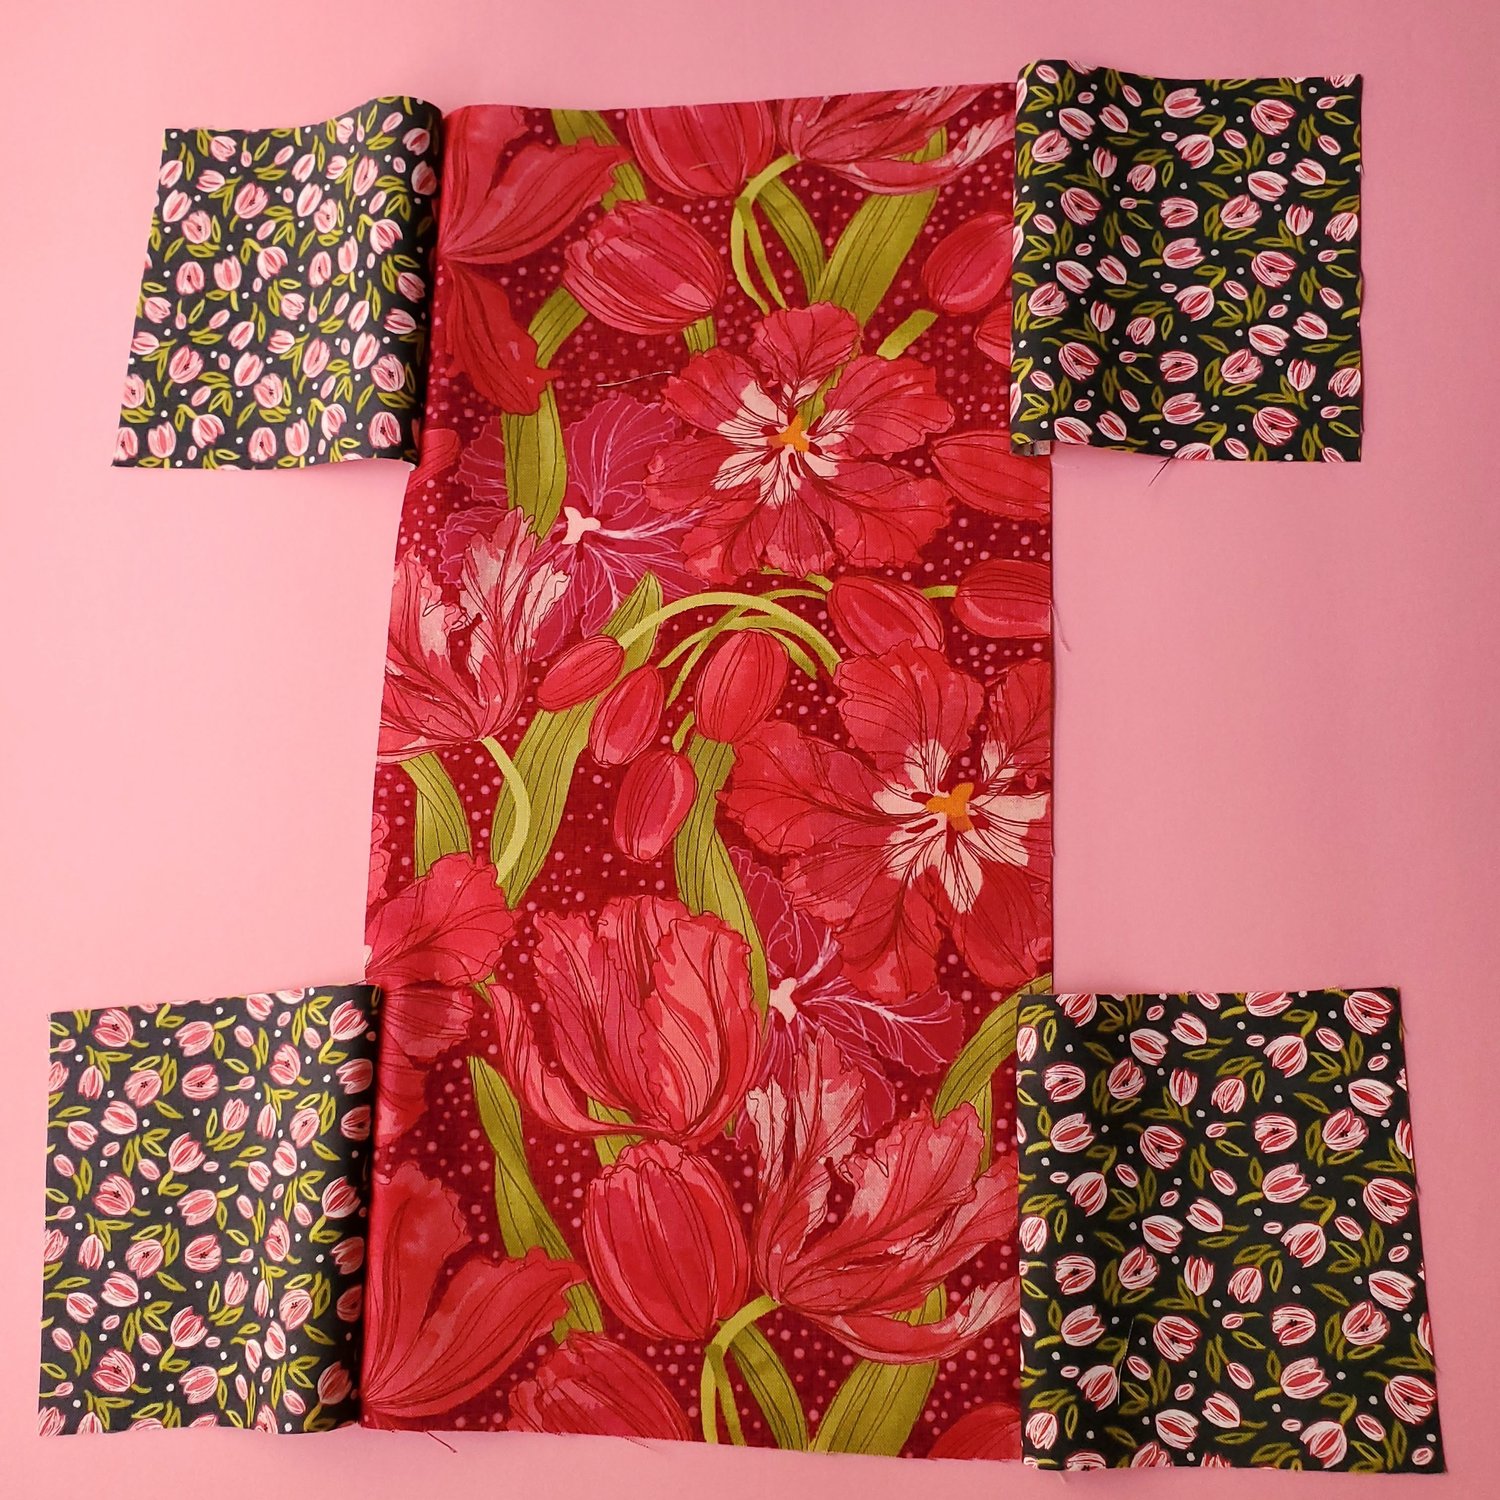
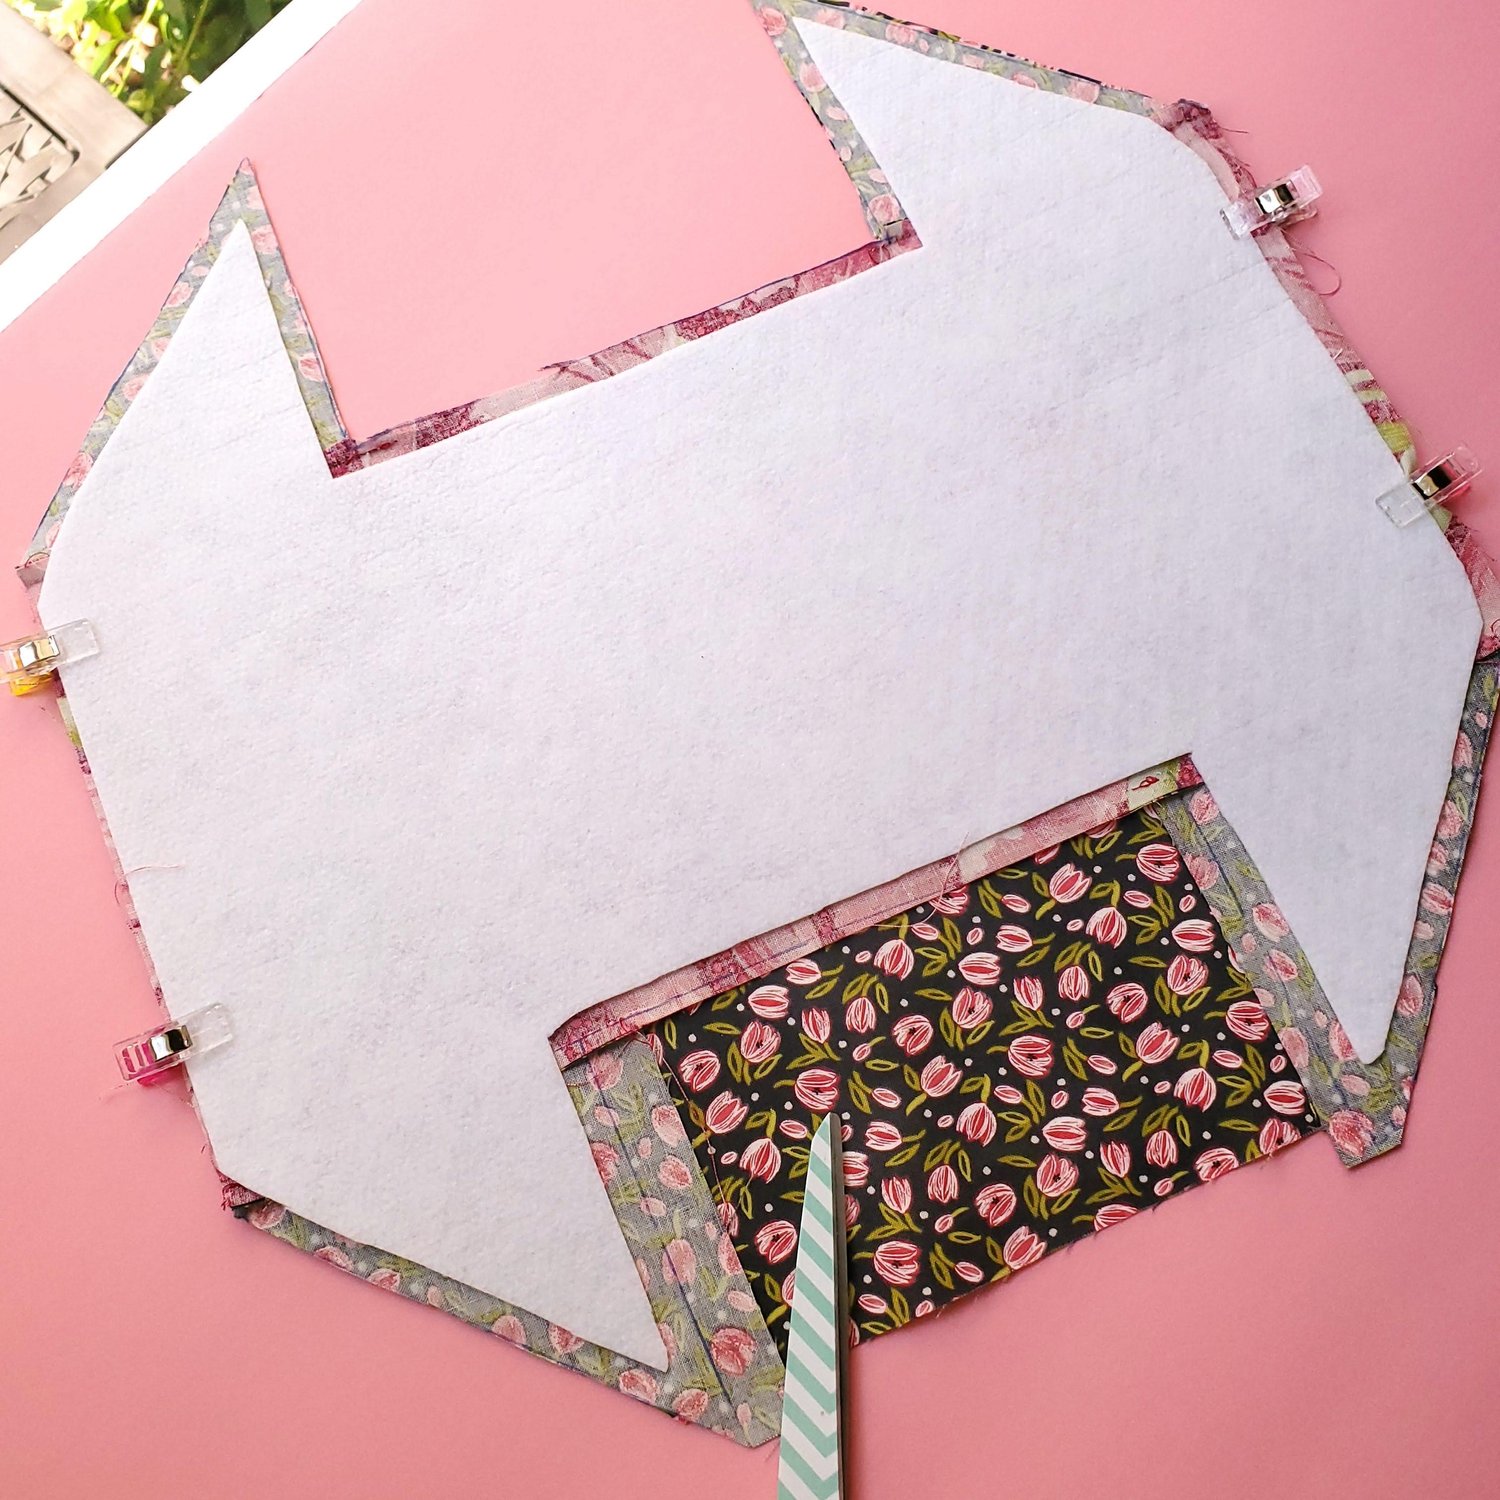
Use a ruler to mark the measurements onto the Pellon fusible fleece. Measure 3 ⅜” from each corner and mark the lines as shown using a ruler.
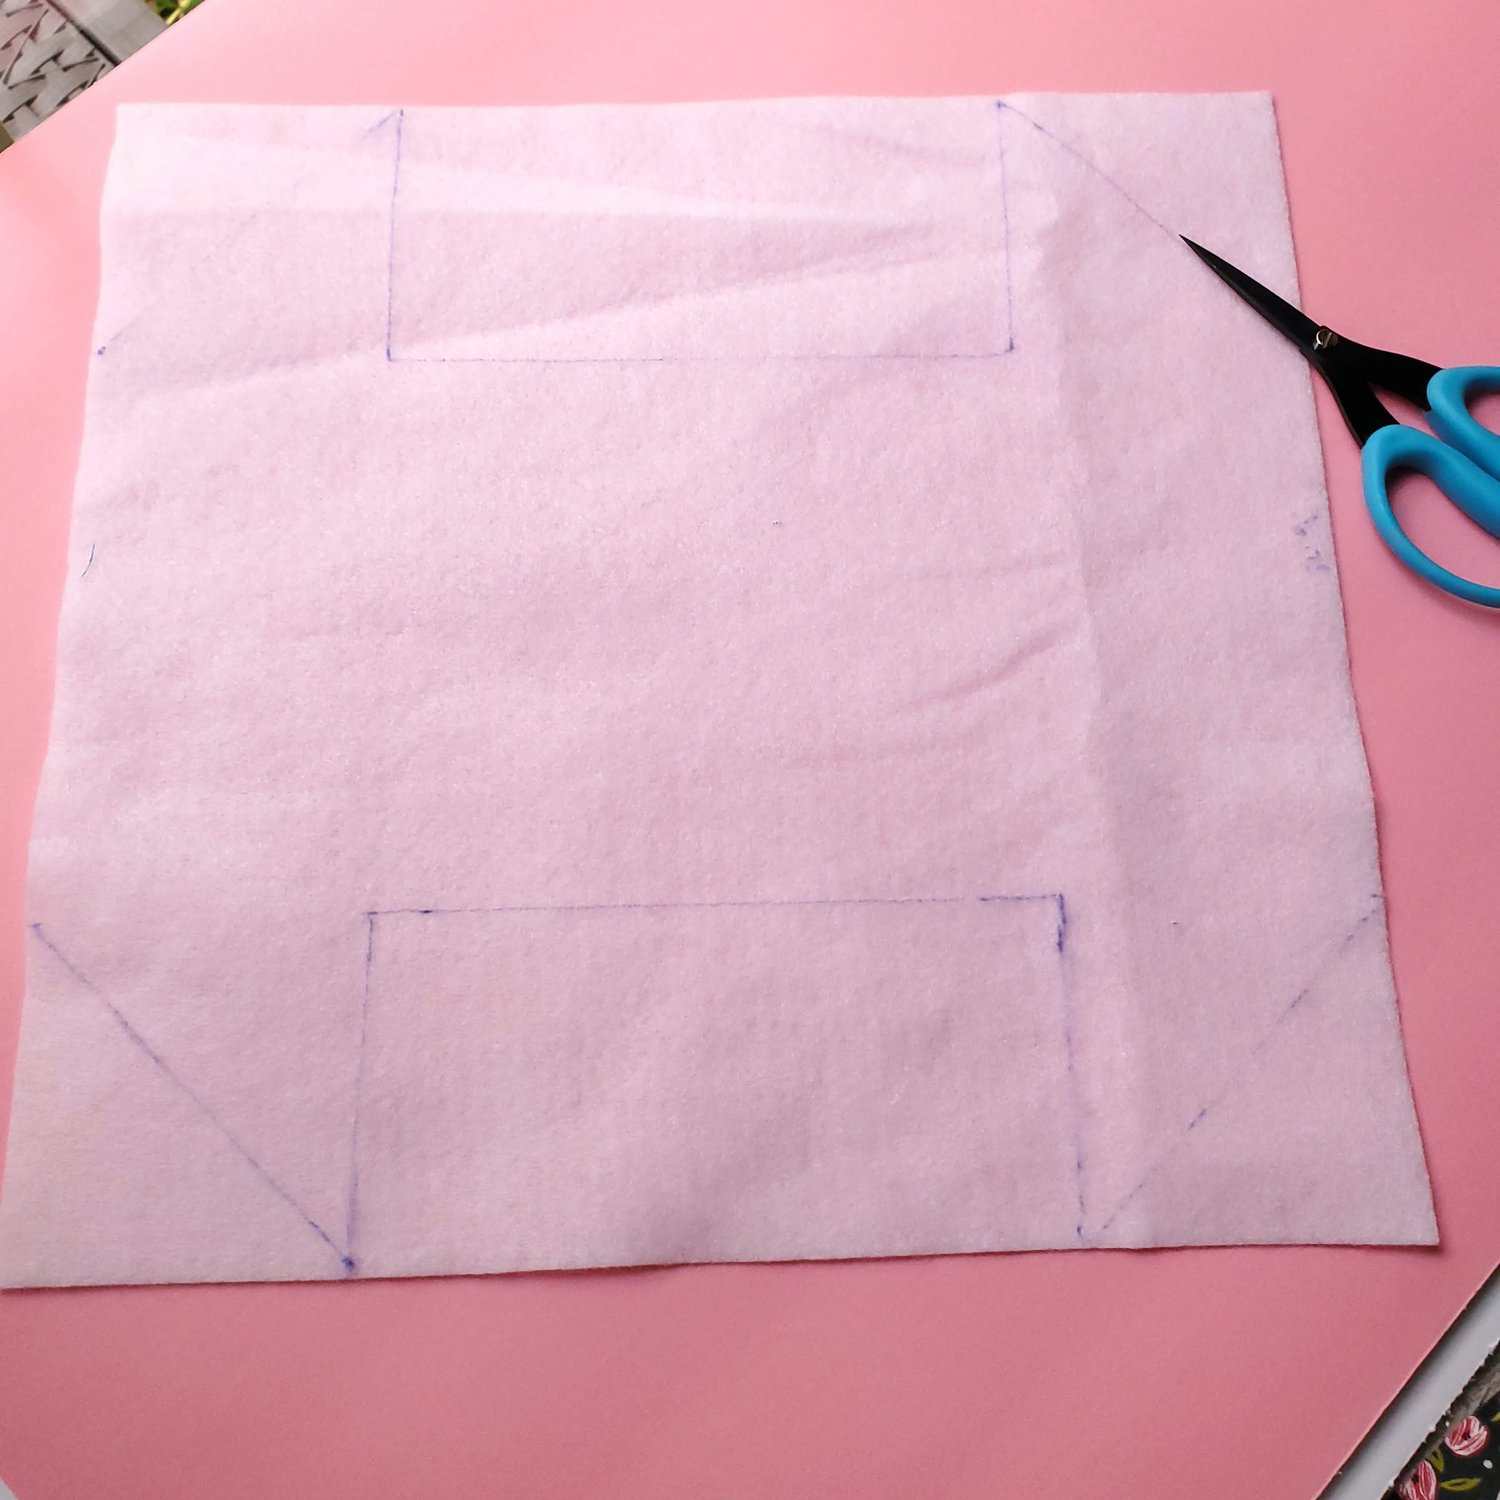
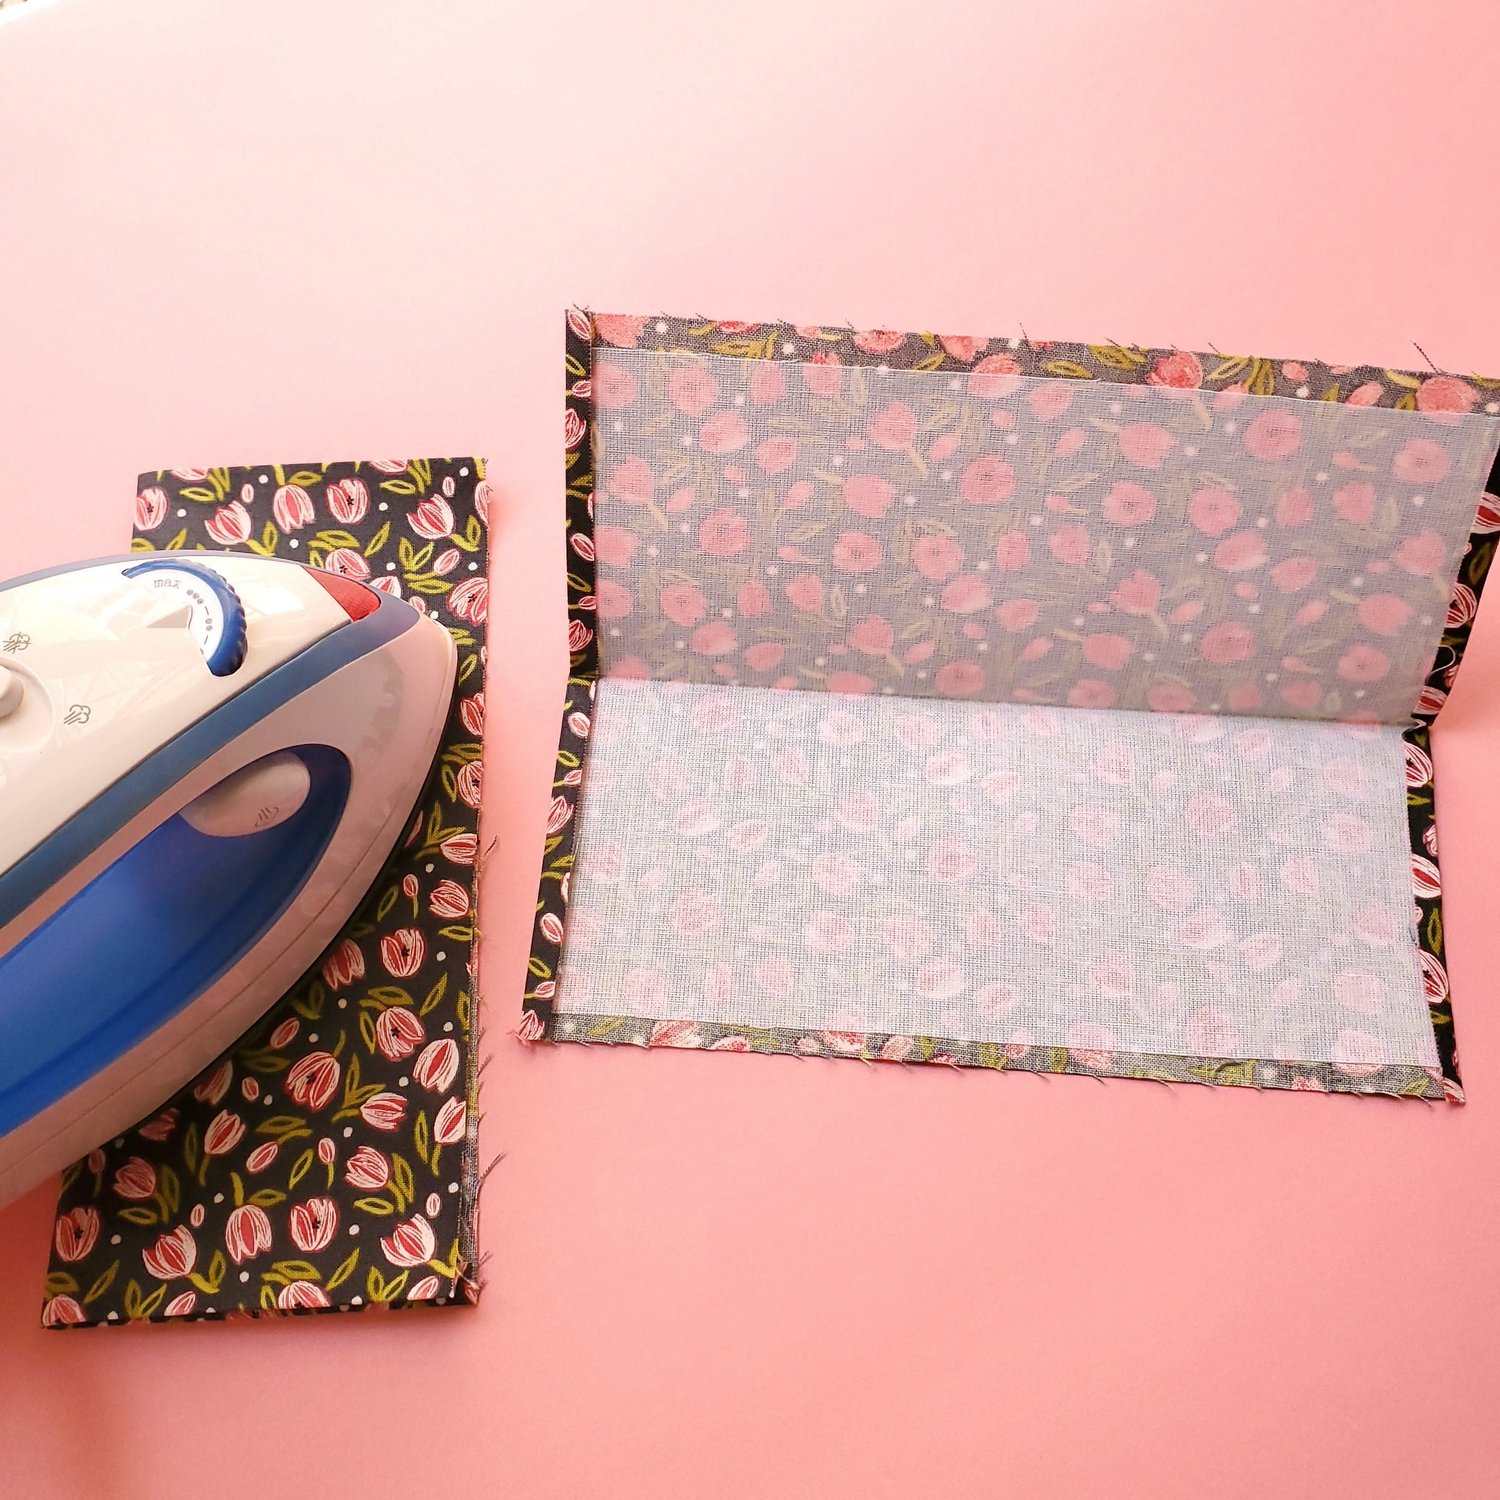
Cut away the excess fleece. Next you will sew the four 4 ¼” squares of lining fabric to the exterior rectangle of fabric with right sides together using a ¼” seam. Press.
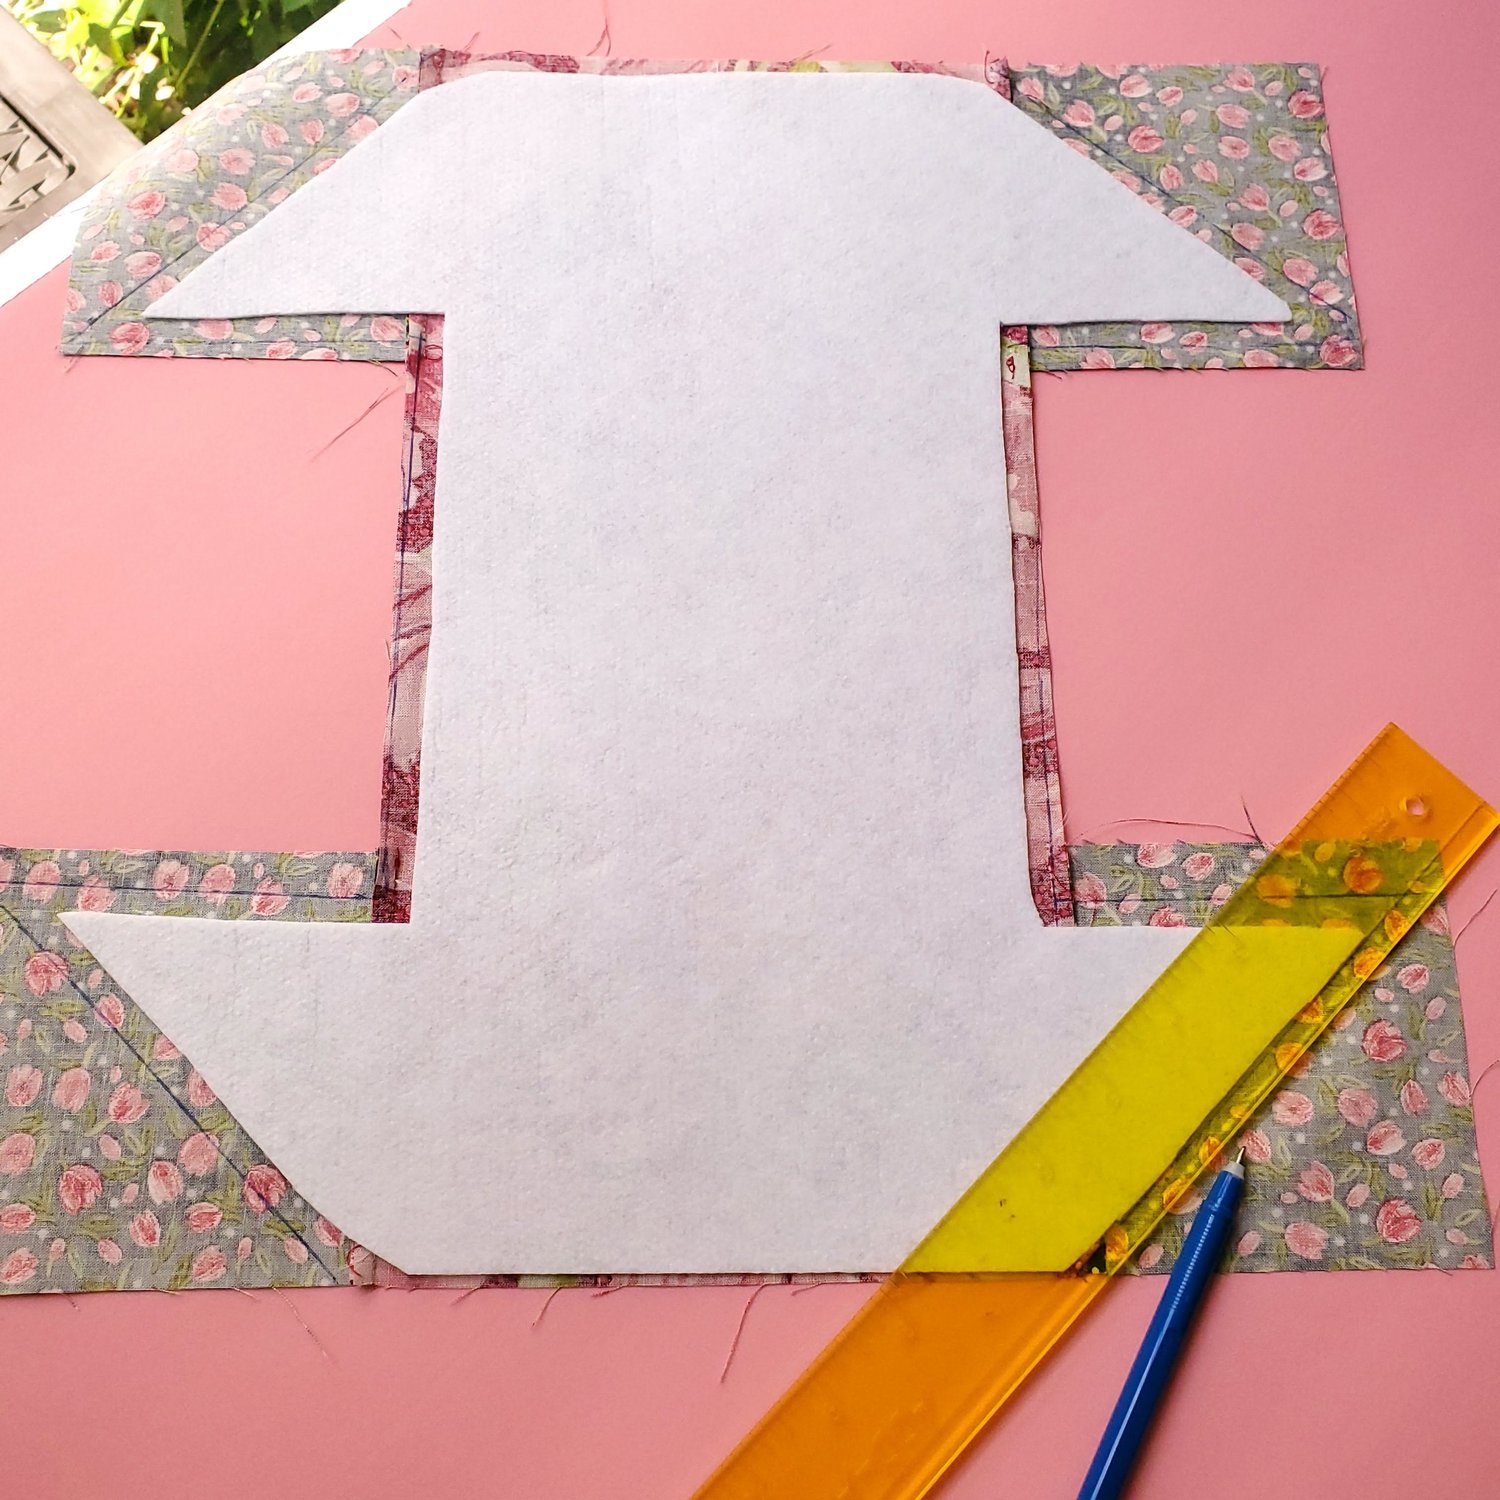
Align the piece of Fusible fleece on the wrong side of the exterior fabric align so that there is a ¼” seam allowance. Press in place. Use a ruler to mark quarter inch seam allowance around the Fusible fleece.
With right sides together align the piece you just prepared with the large rectangle lining fabric piece. Clip together and trim on the seam allowance lines you just marked.
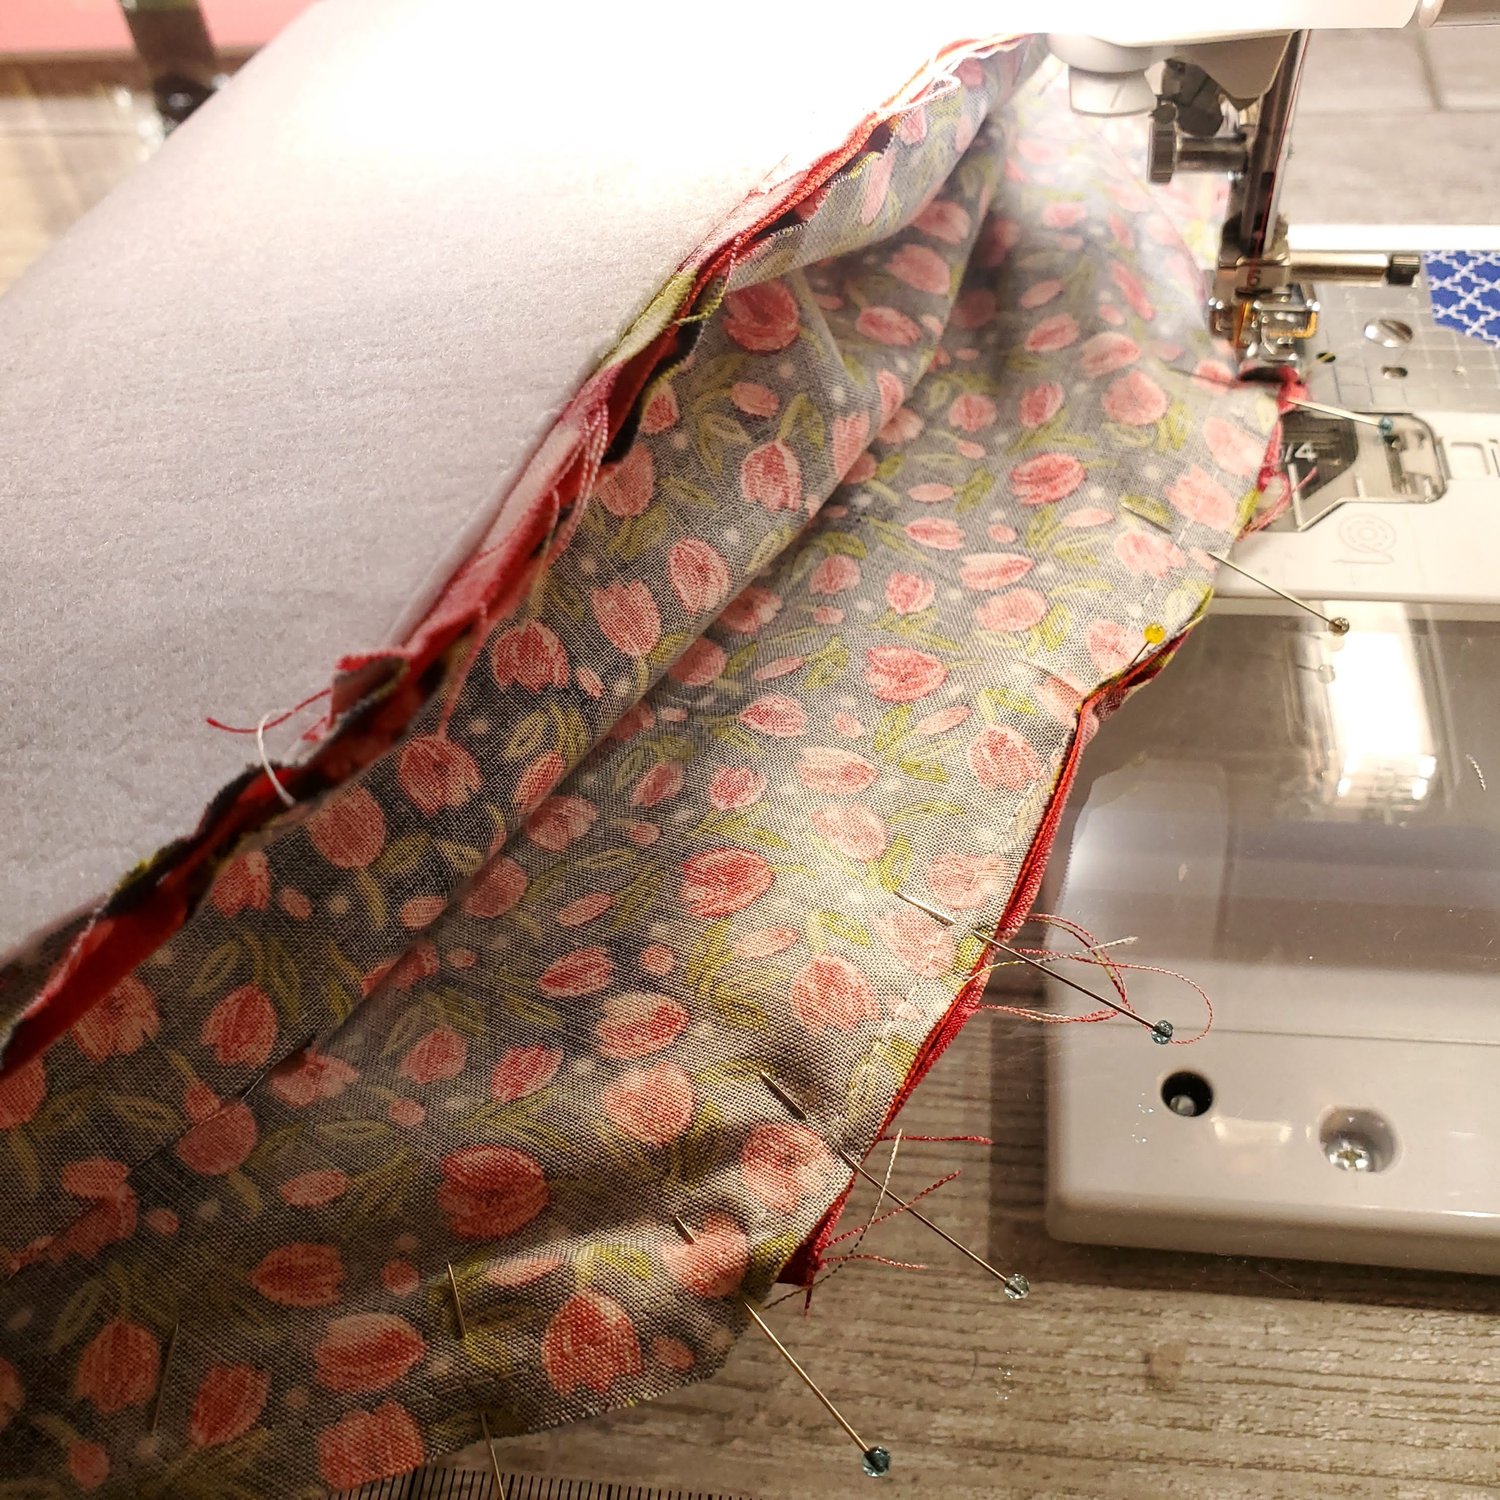
Take the lining piece with your zipper and pin in place with right sides together along the top curved edge. It is helpful to make about four or five ⅛” snips in the curves to help the zipper lay flat around the curve. Be sure to sew with the zipper foot attachment.
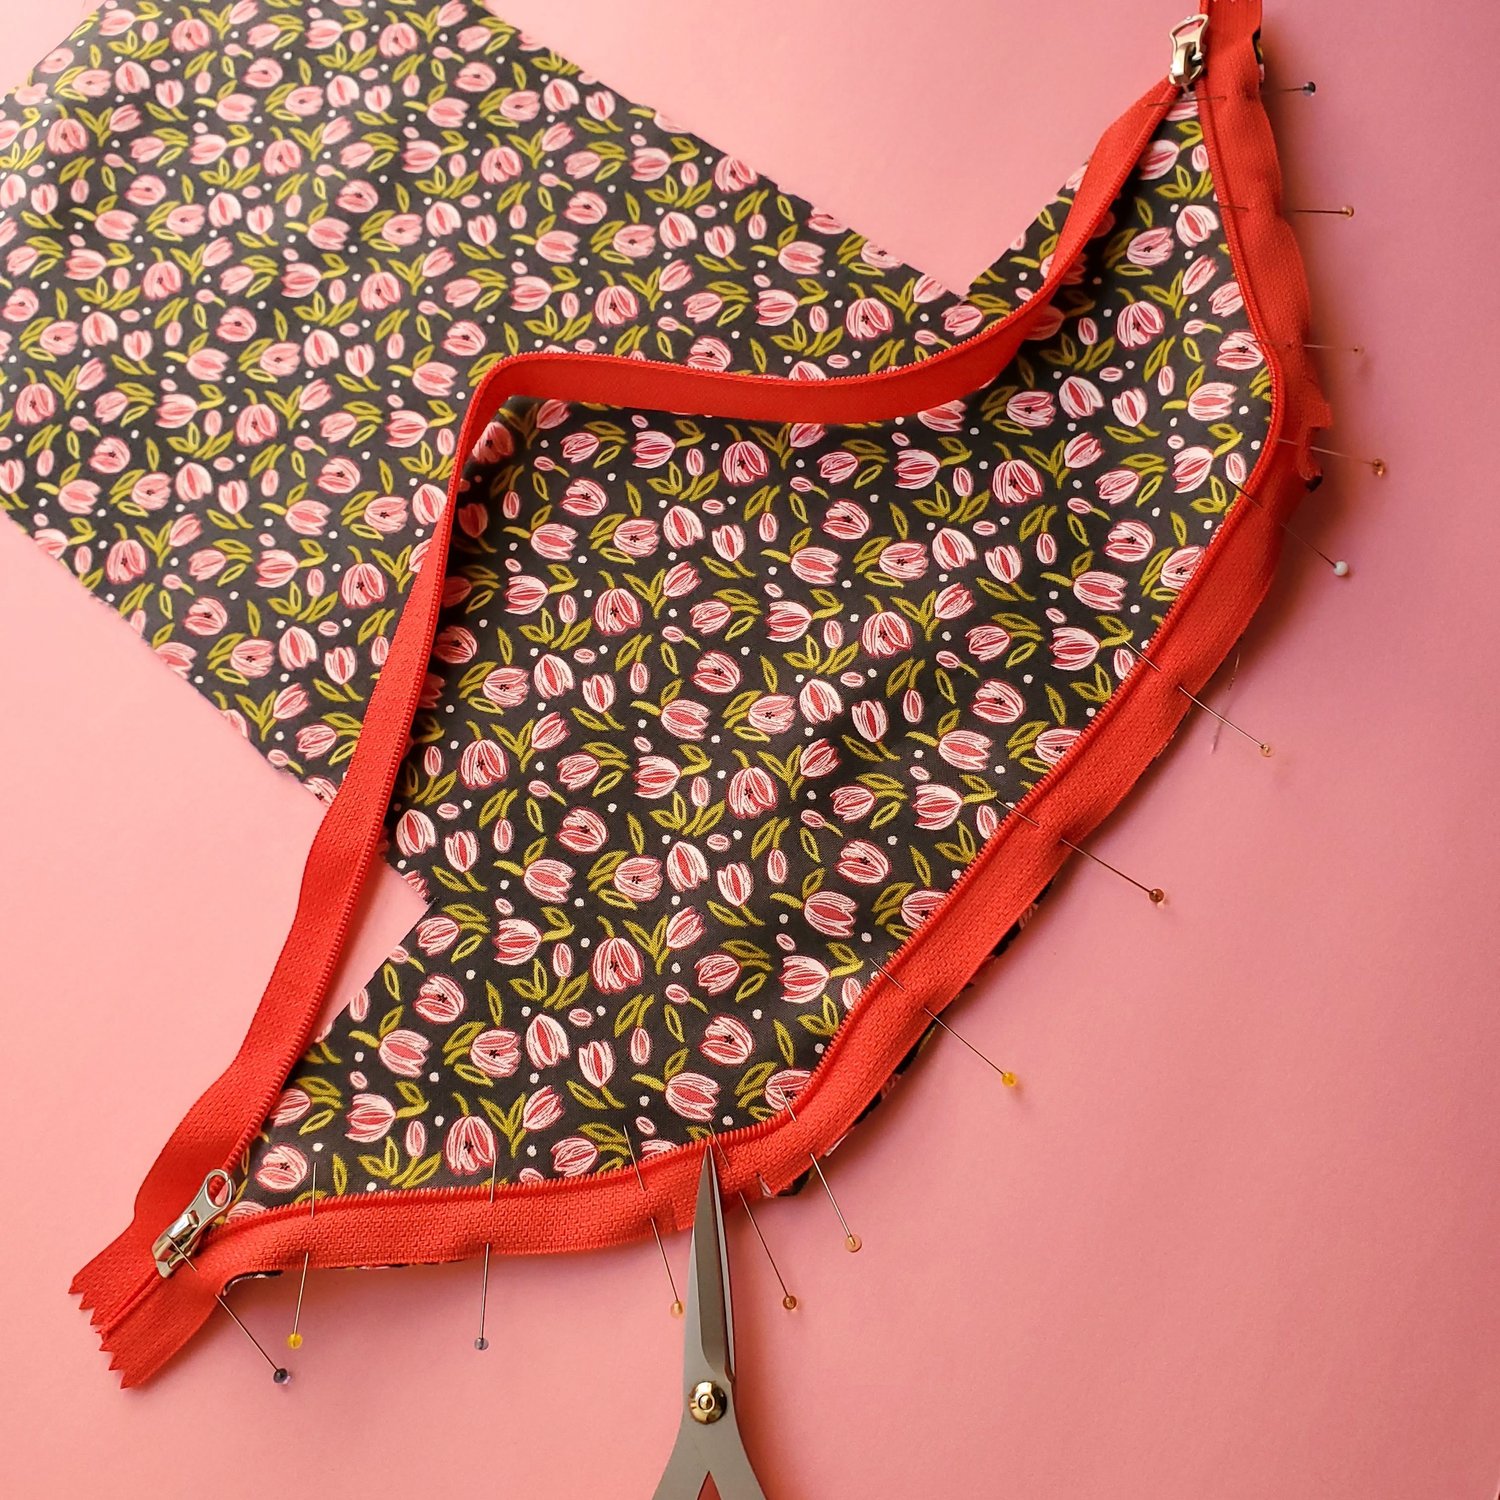
I found it helpful to just pin one side, then baste in place with a 4mm stitch and proceed to the other side. Using a coordinating Aurifil thread on the zipper area gives it a professional appearance when completed. Here is how it looks after sewing the zipper to the lining.
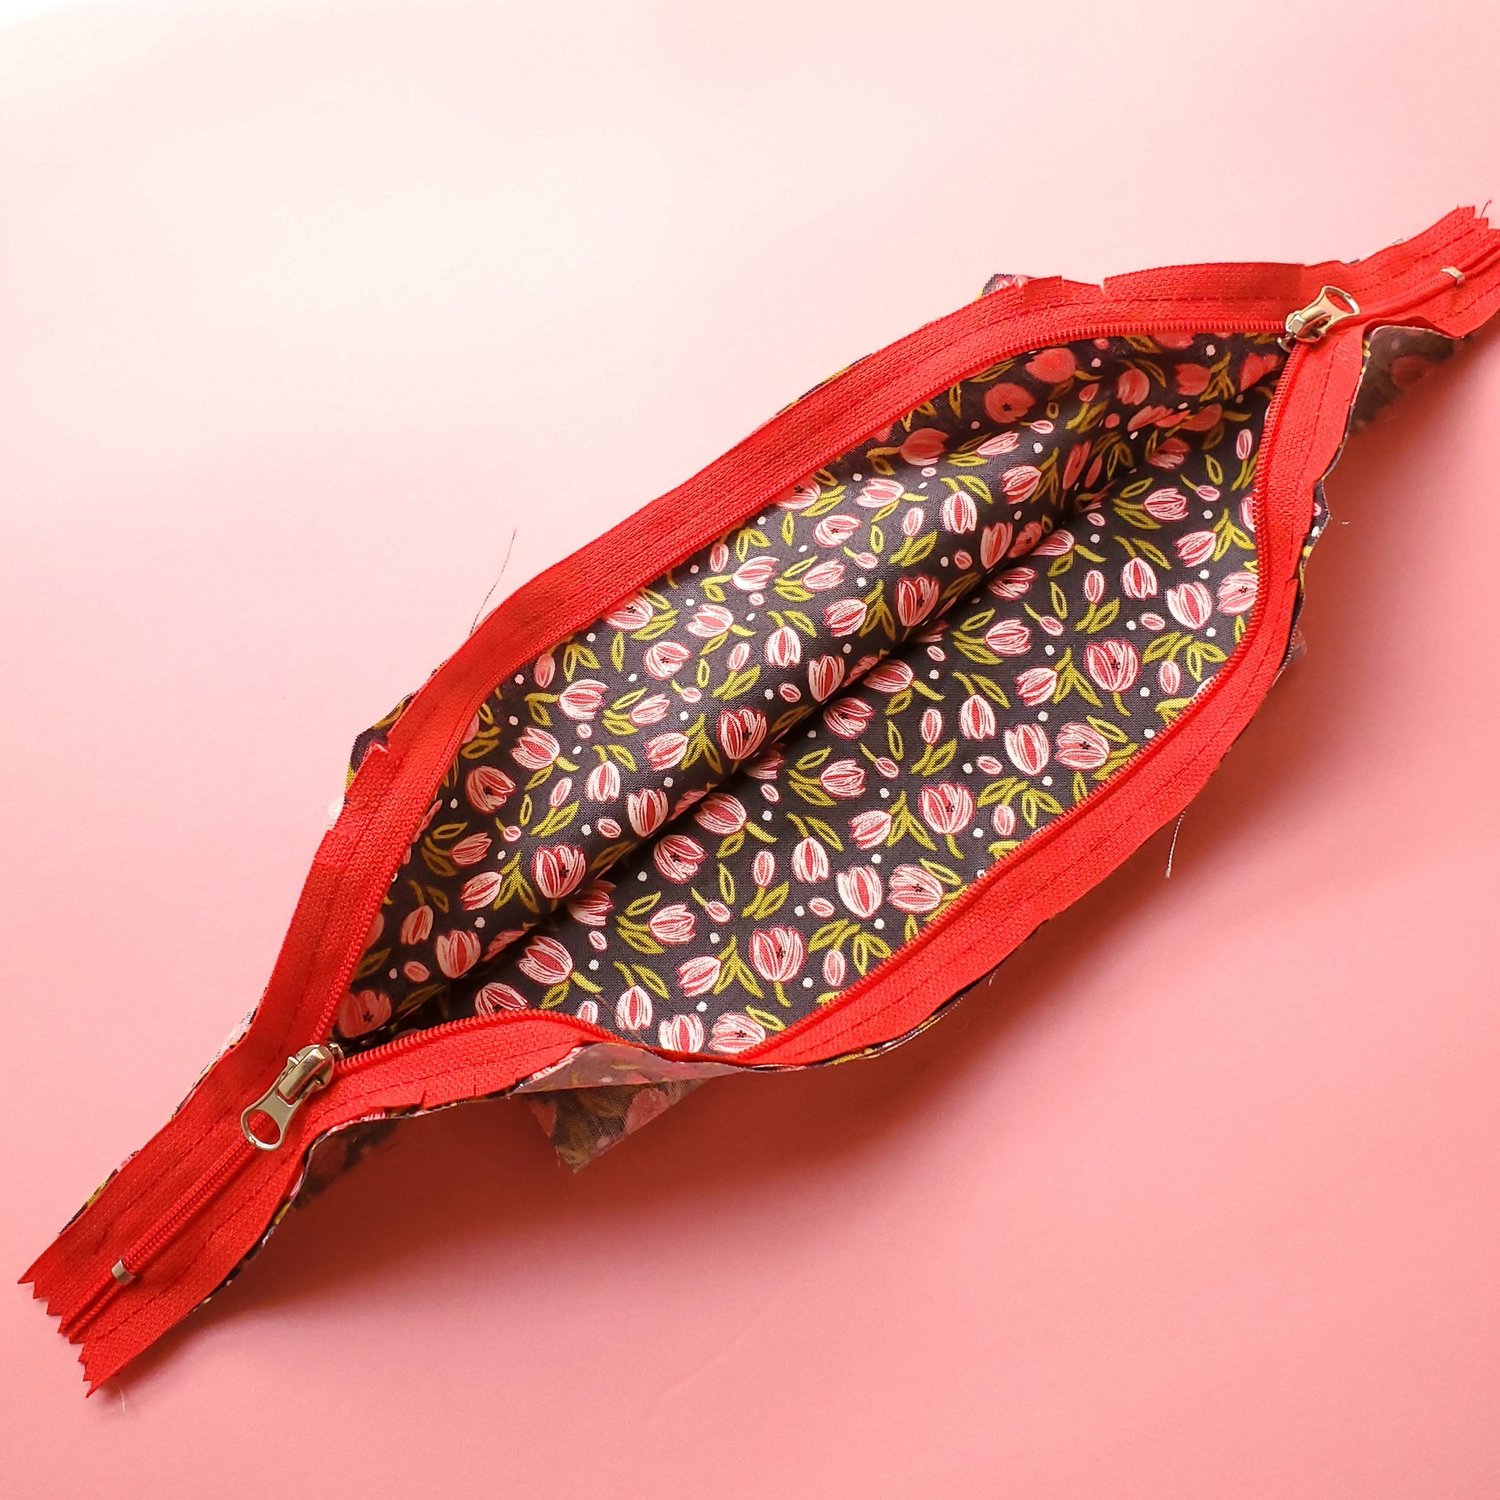
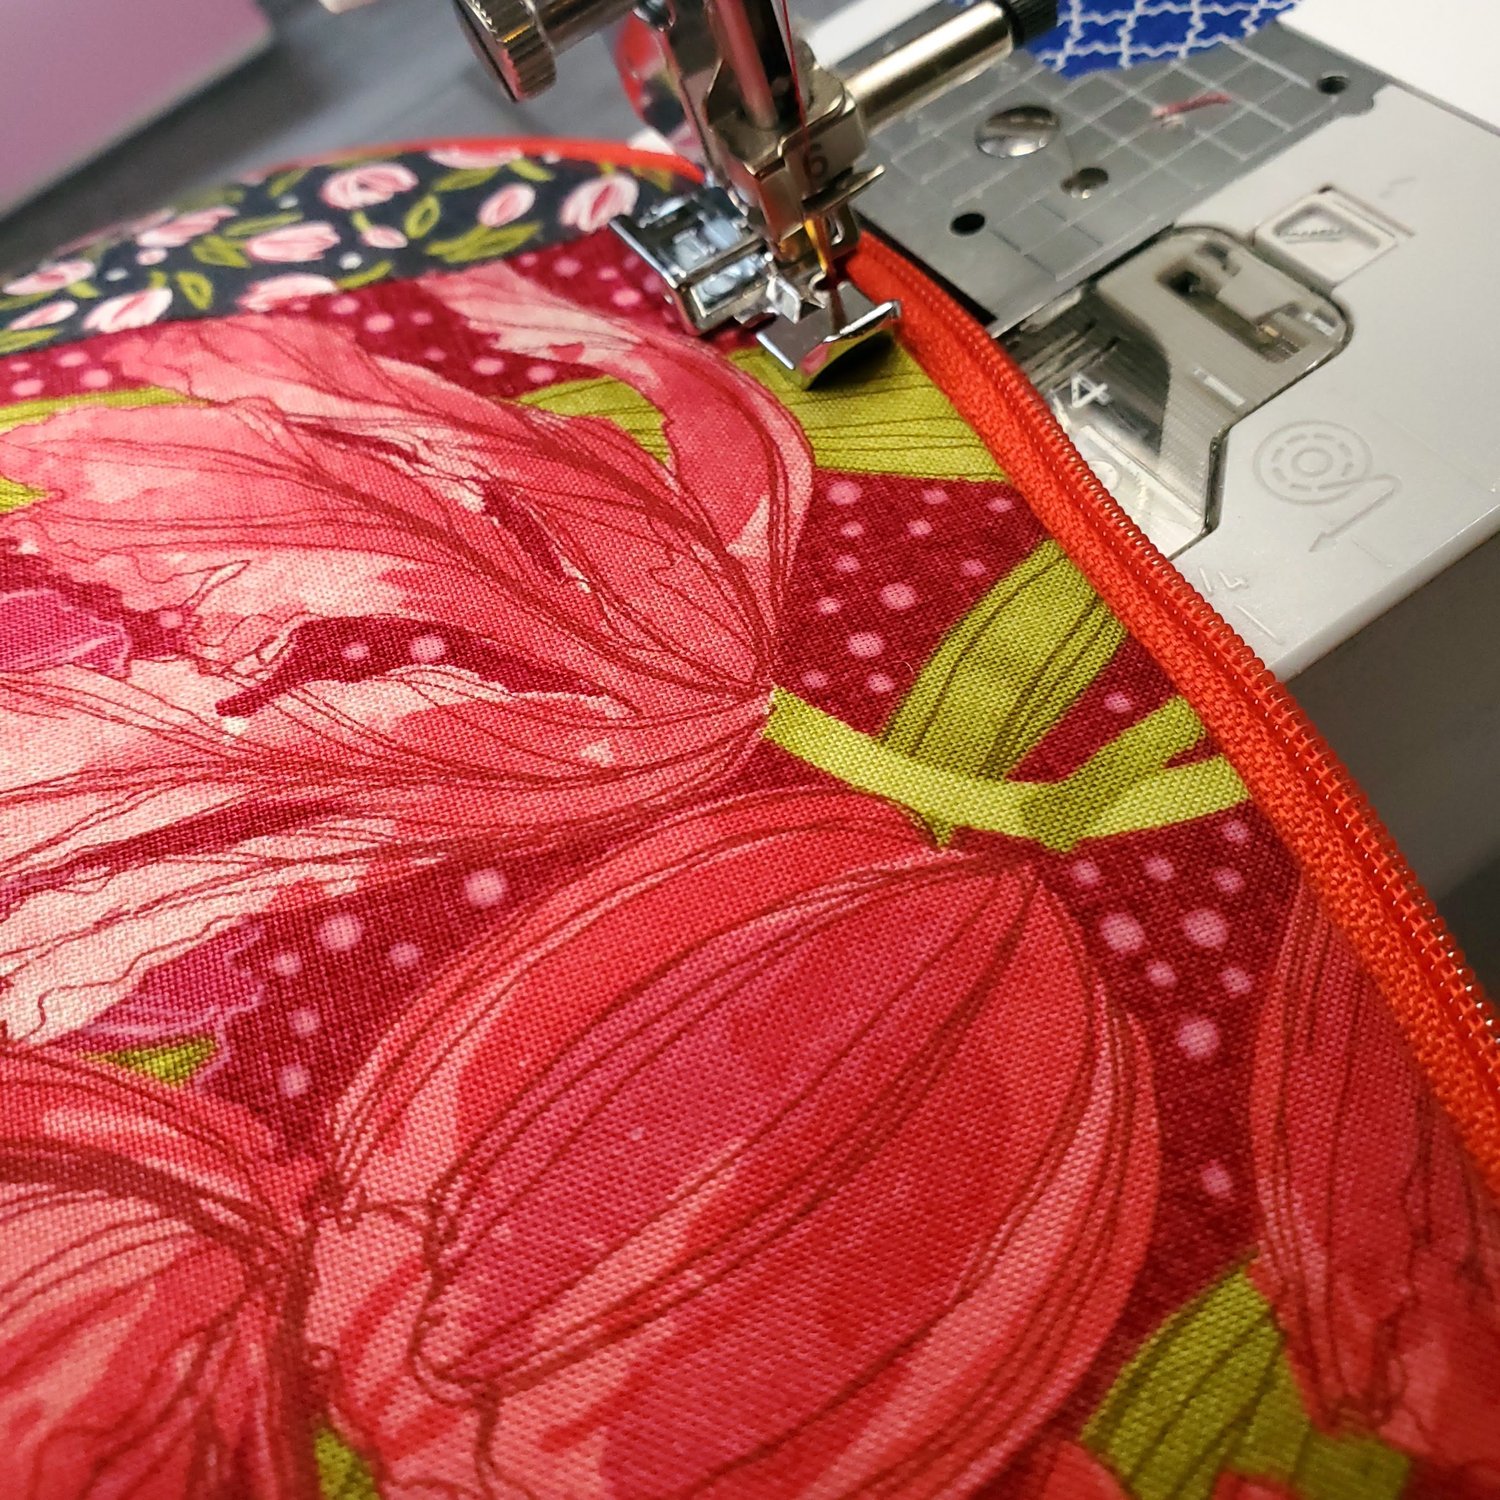
With right sides together line up the top edge of the exterior fabric and pin to the zipper. It is helpful to mark the center point of the zipper and the top edge. Start to pin at the center point working your way out to the edges. This helps keep the zipper properly aligned.
Sew in place with a basting stitch. I have learned from experience it is much easier to remove the basting if you need to make an adjustment. Turn right sides out and press carefully along the zipper's edge to prepare it for topstitching. Use a coordinating thread and set the stitch length at 3mm and sew about ⅛” from the edge with the zipper foot.
It is time to prepare the 2” squares for tabs on each side of the bag. If you prefer a bigger tab to grab as you pull the zipper I would suggest cutting a bigger square like a 3” x 3”. Fold in half, press, open the fold and press to the center. Fold in half and sew to the middle of the bottom of the bag with the right sides together.
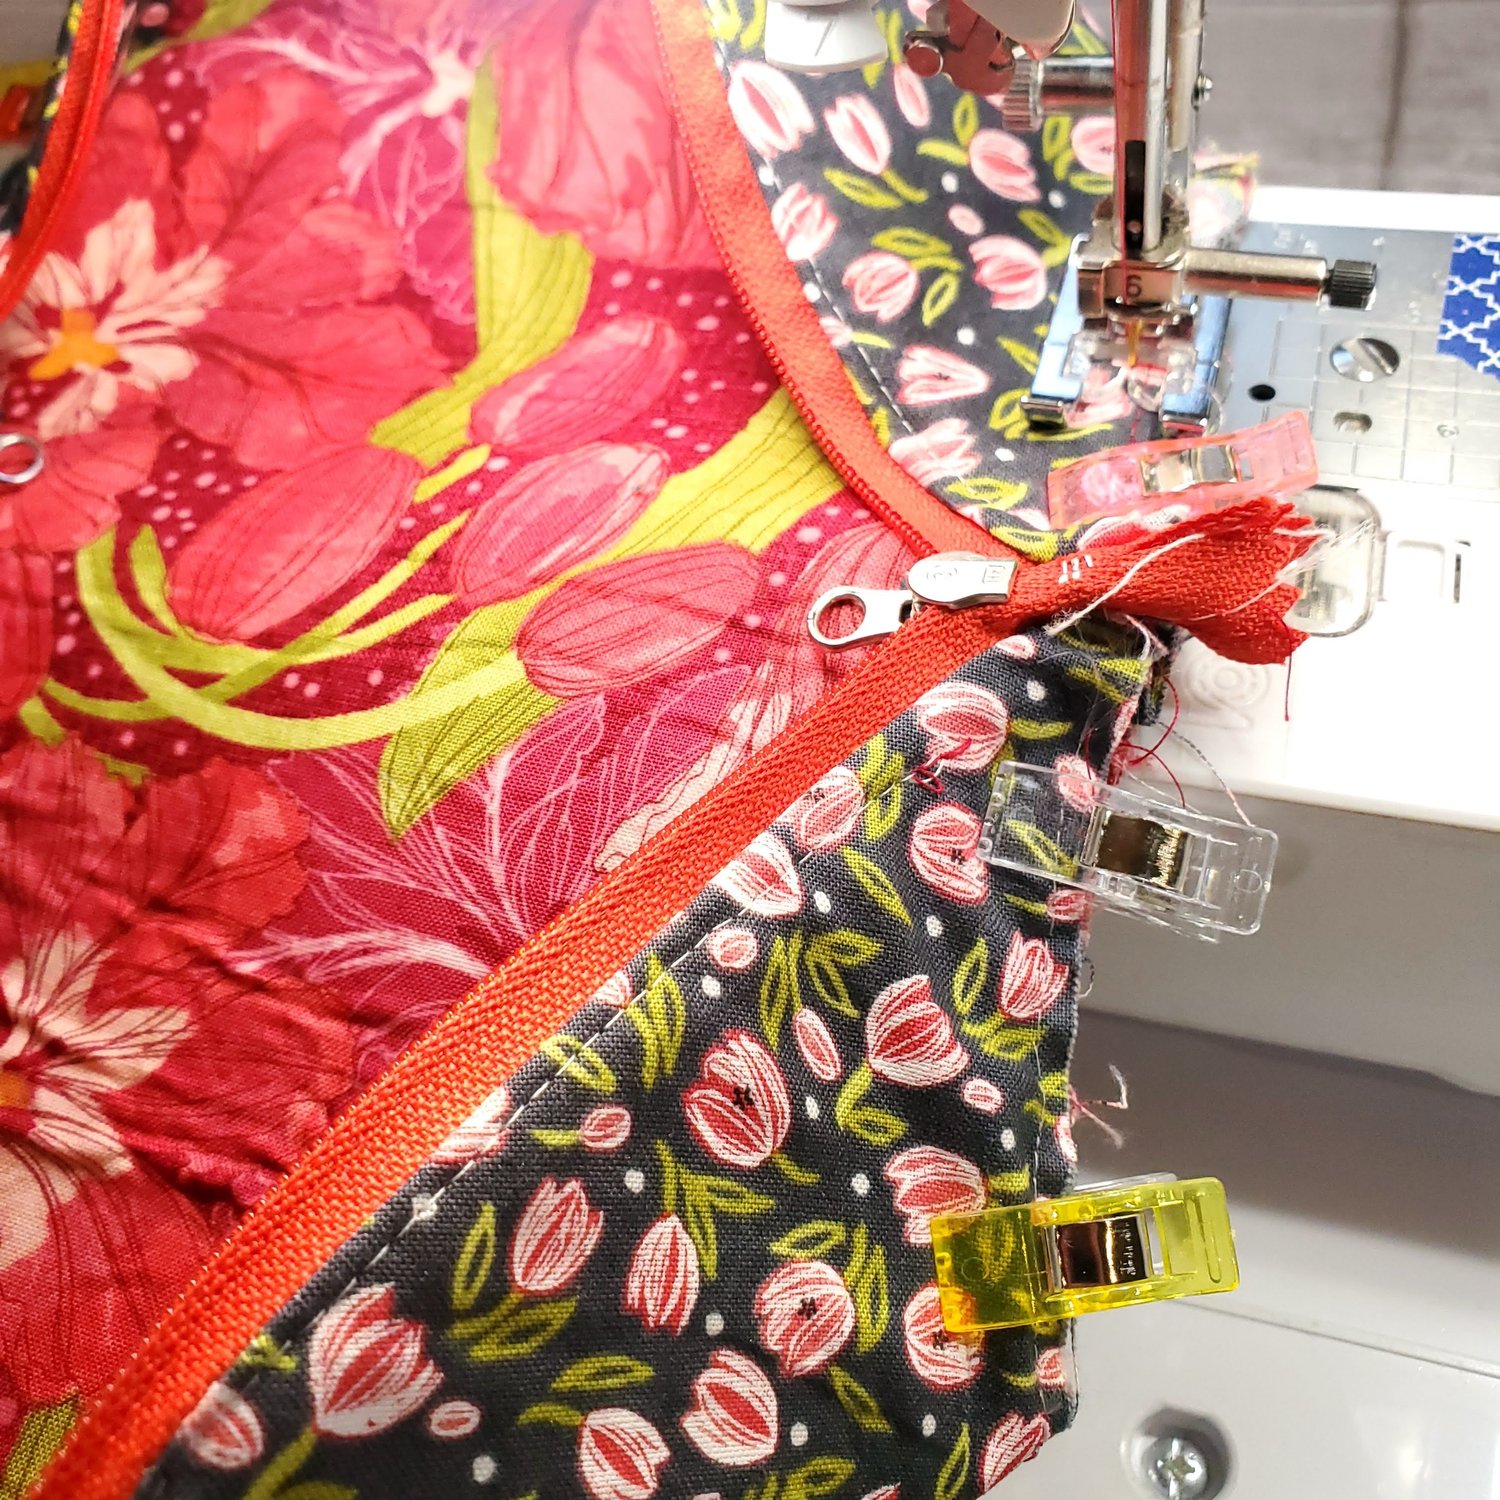
Stay stitch ( the process of stitching layers together to hold in place) the remaining raw edges of the lining and outer fabric. This step helps to keep the fabric layers lined up properly in the next step. I found it easier to sew in small sections since you are working in a tight space. Align the top and bottom edges and use clips to hold in place as you sew the seam. Be aware of the metal zipper stop as you sew, it can break or bend your needle if you hit it. I experienced this first hand while sewing.
Turn right sides out to check the seam to be sure you are pleased with the look. I stitched over it again to be sure it was secure. The sides of the interior tray are made from the remaining large lining rectangle pieces. Cut two rectangles of Pellon Shape Flex 101 fusible interfacing 5 ⅝” x 7 ⅛” and iron to the wrong side of the two lining rectangles leaving a quarter inch seam allowance on all sides. Press the shorter ends along the ¼” line, and fold in half. Press.
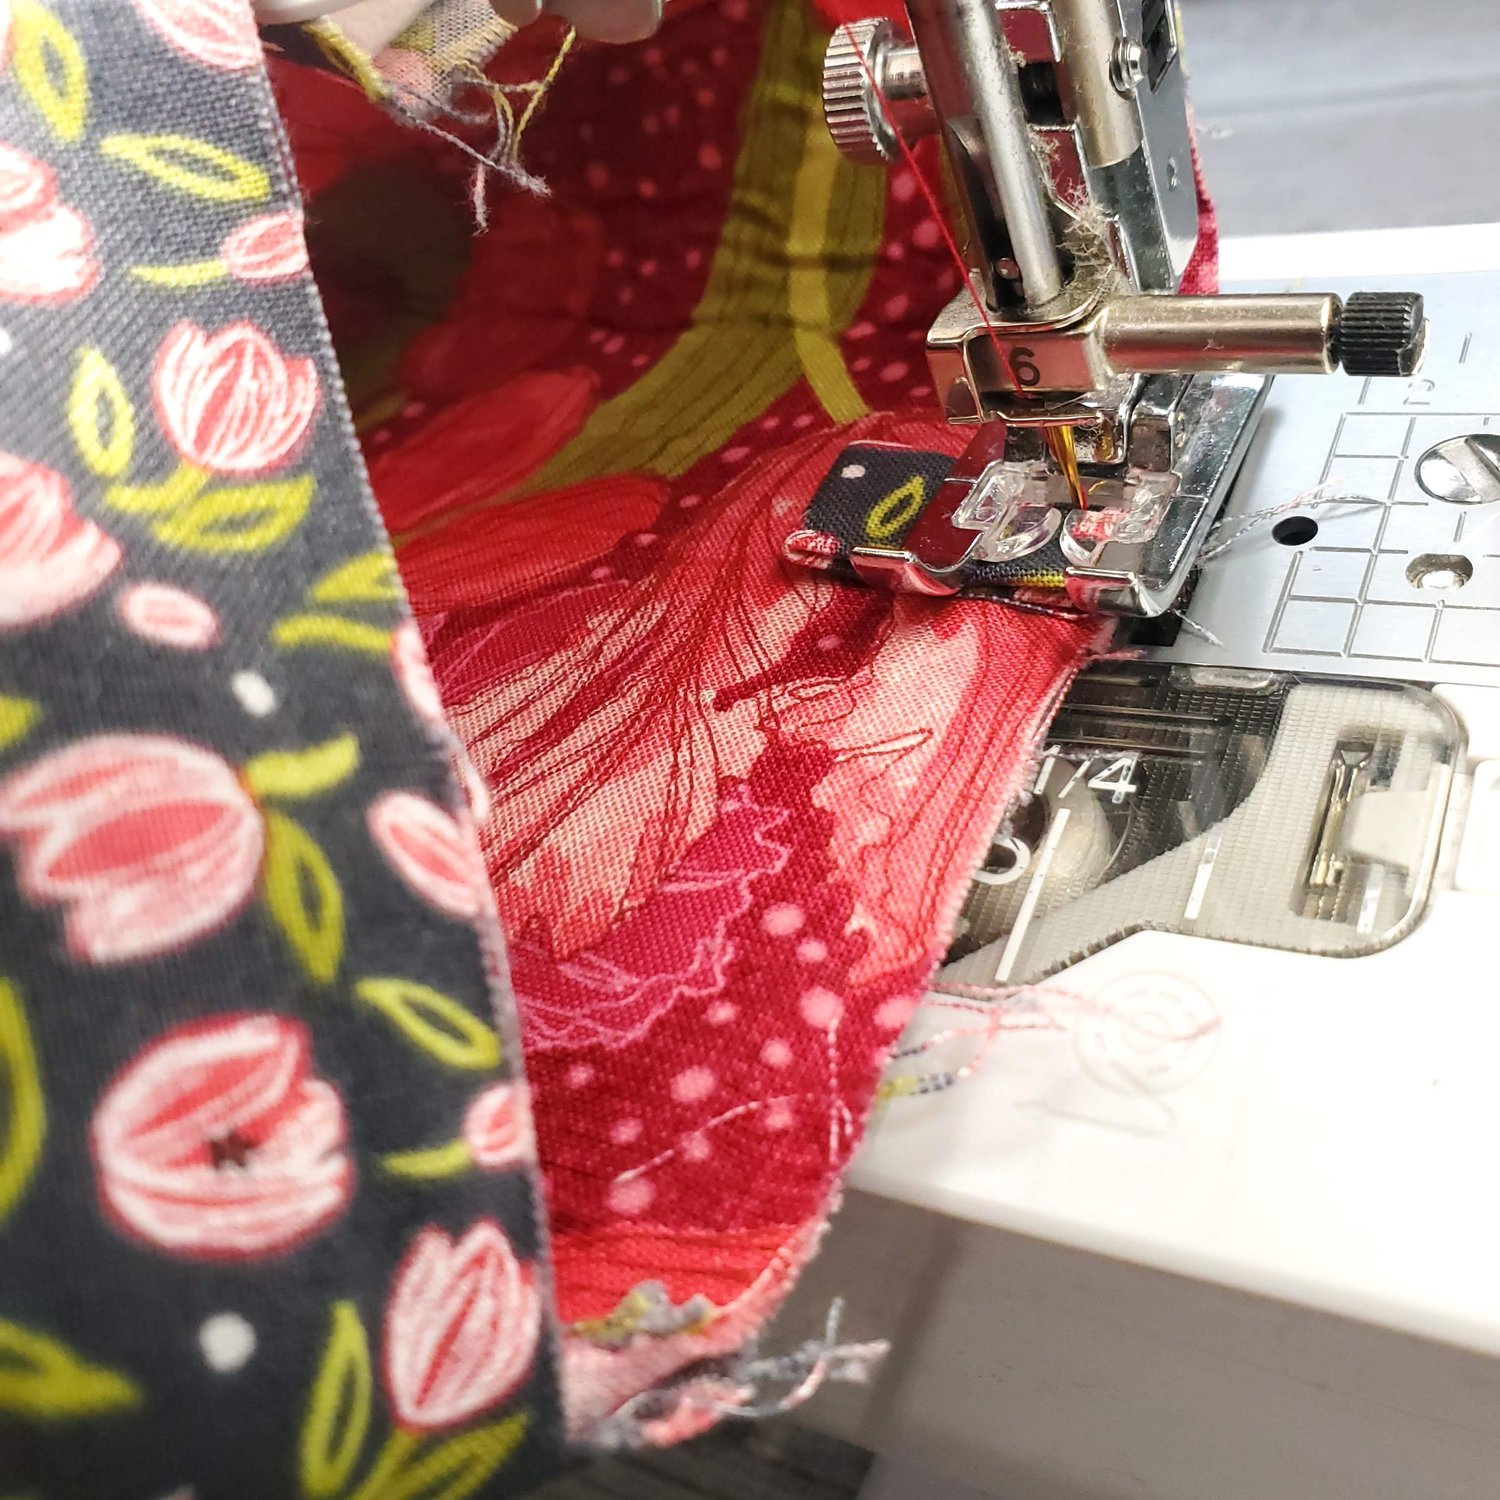
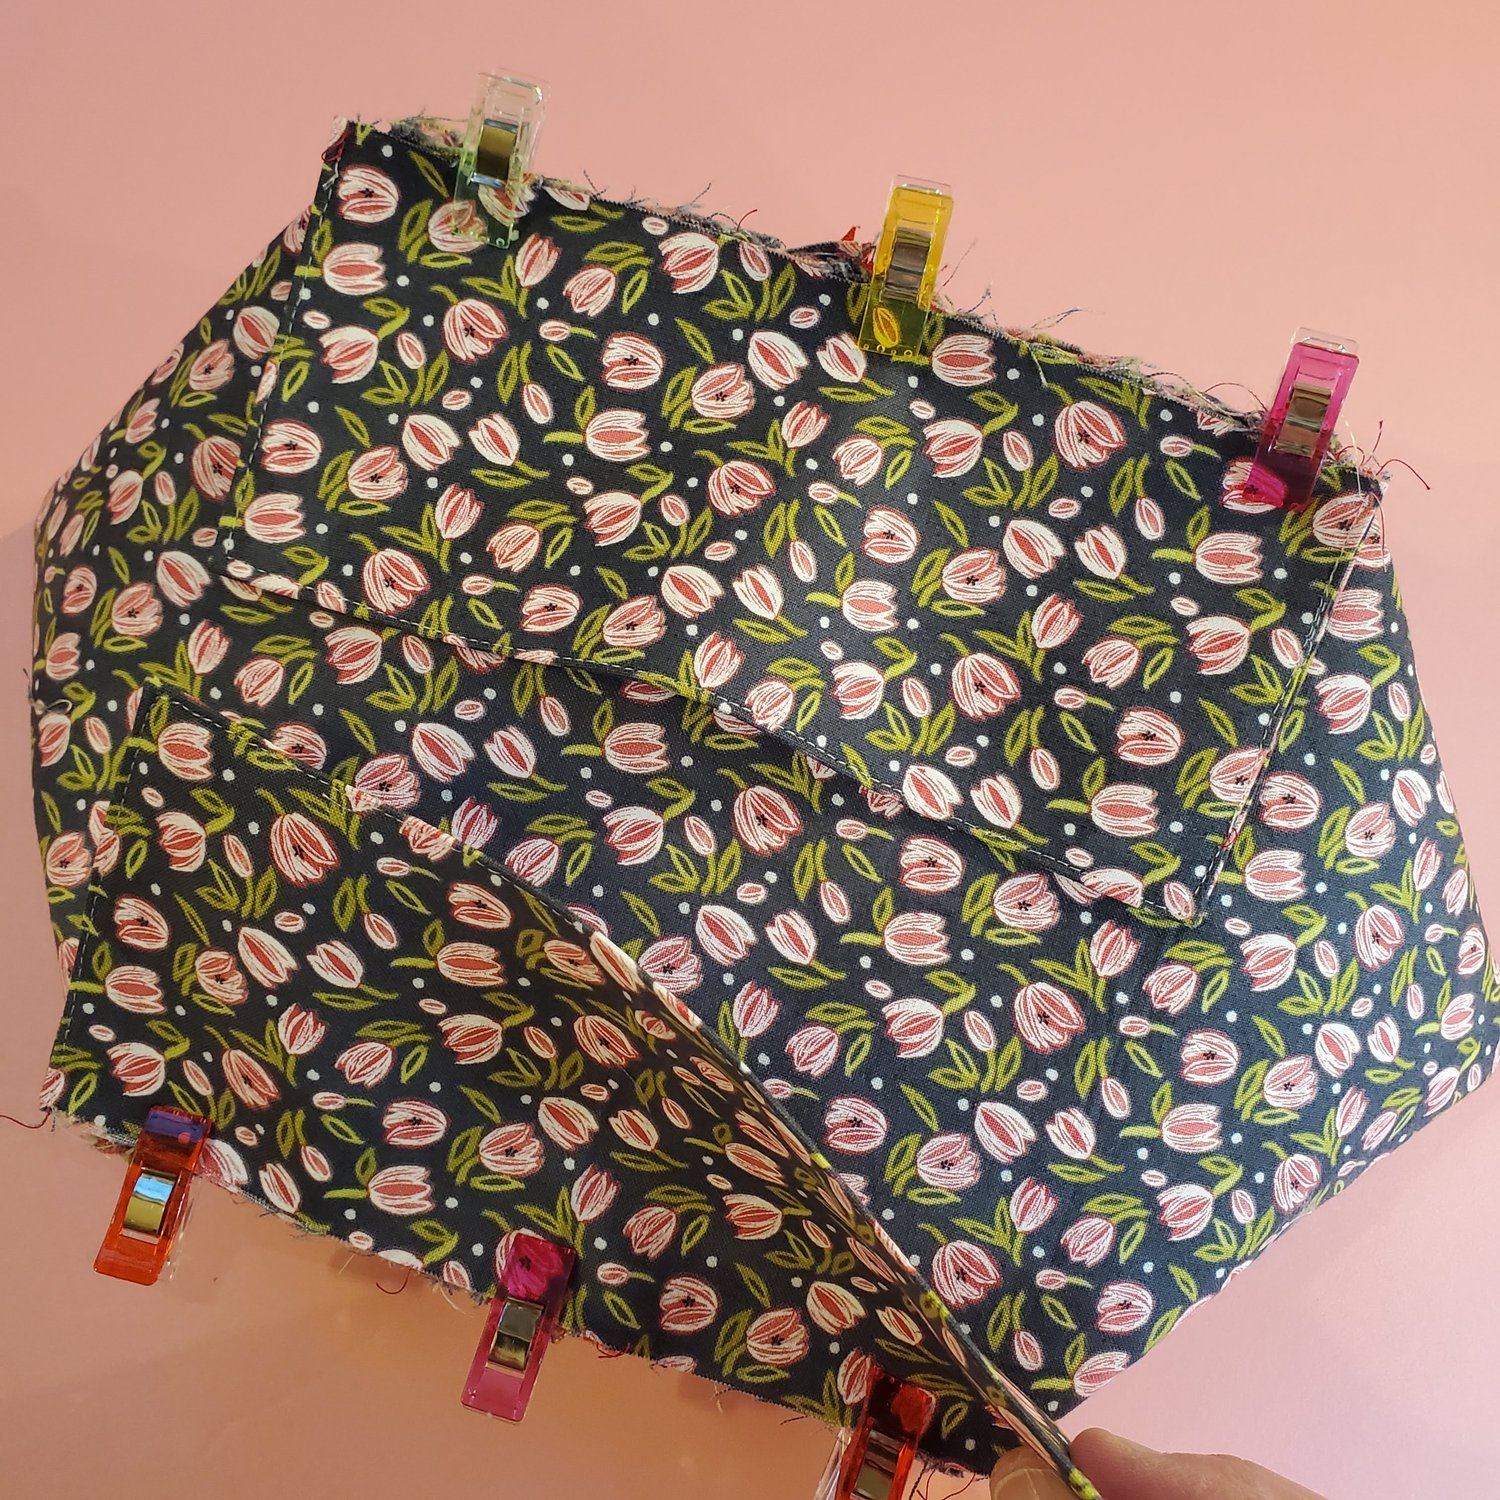
Topstitch with a coordinating thread on the three folded edges leaving the raw edges open. Align the raw edges of this rectangle with the raw edges of the interior of the bag. Baste in place. This is a picture of the bottom of the interior of the bag with the folded rectangle pieces clipped in place.
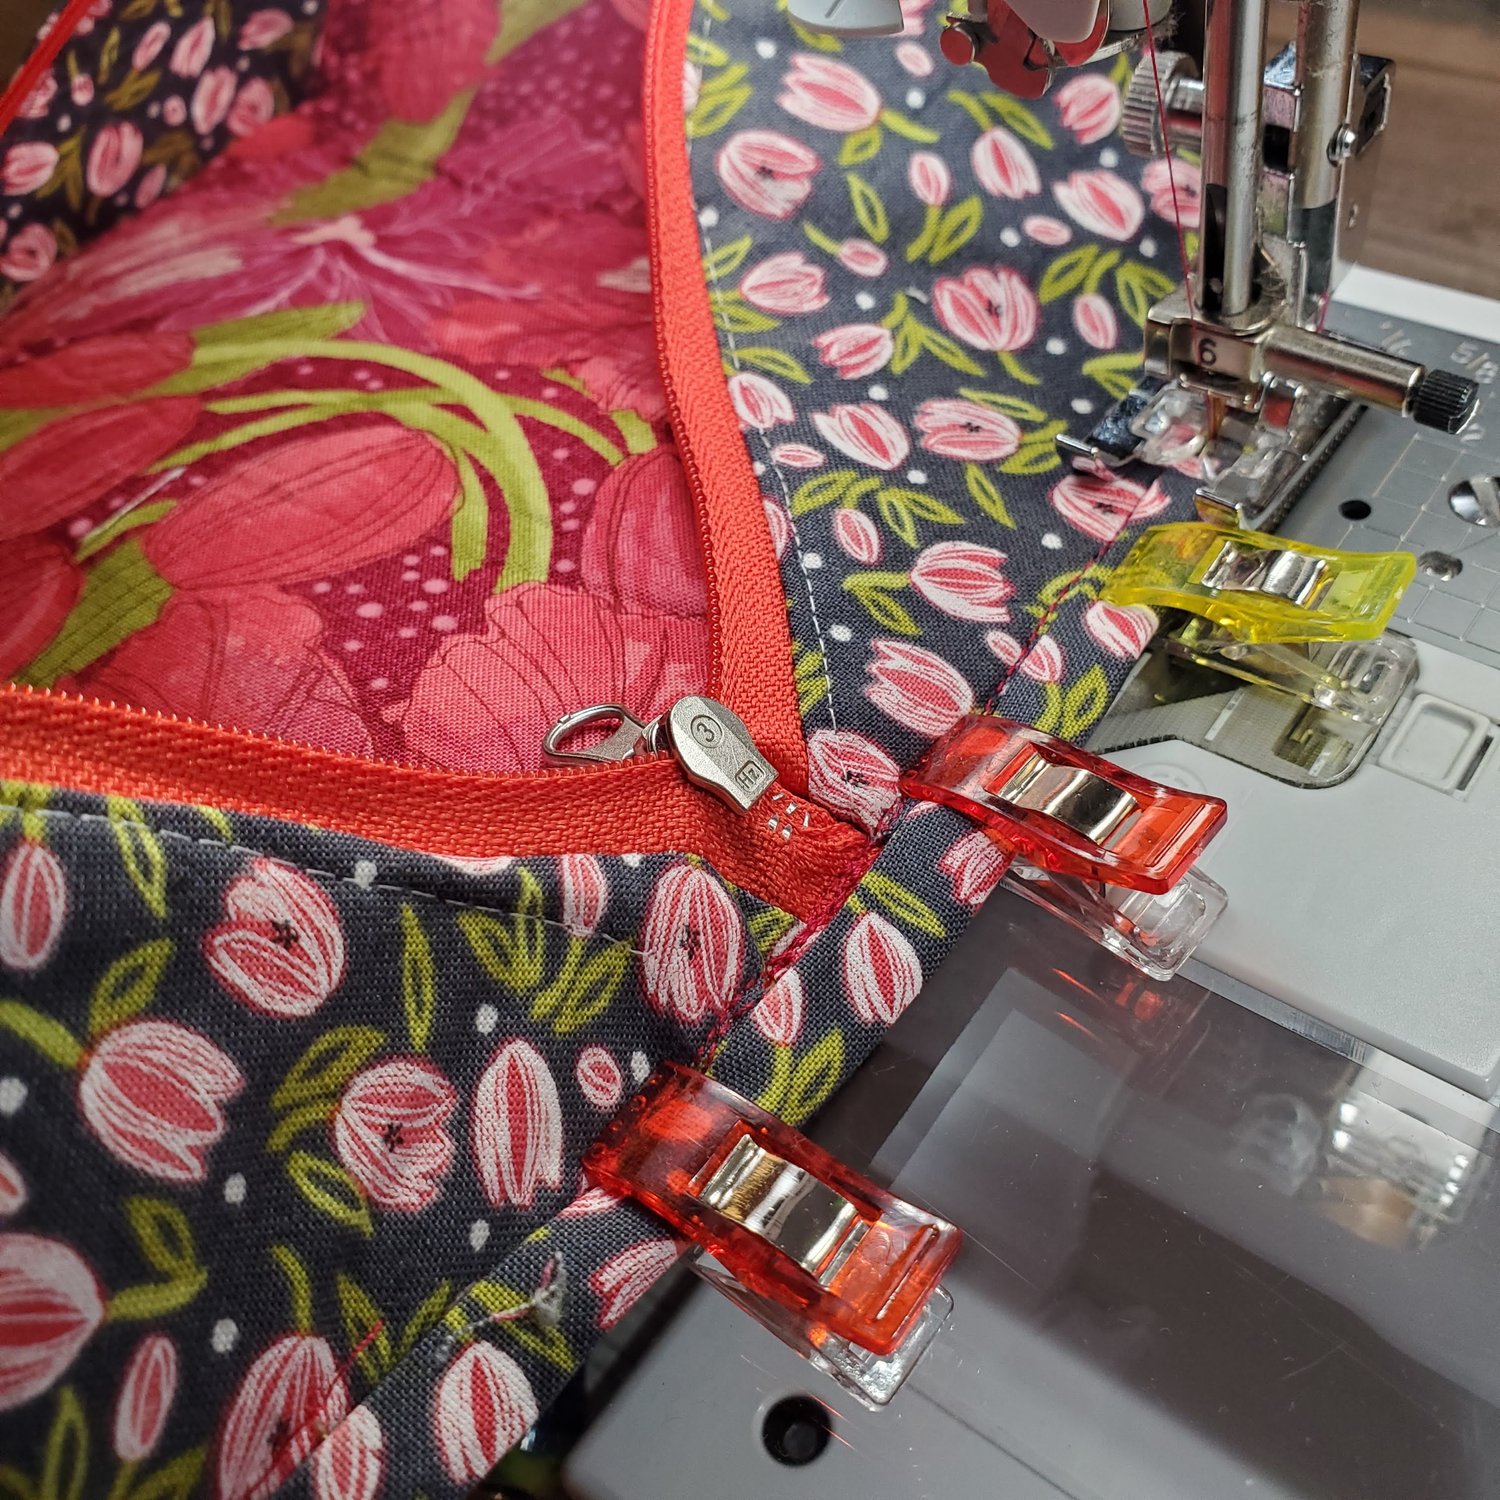
Sew in place. This is a fairly thick seam to sew. You may need to use a denim needle and sew slowly through the layers. Trim any excess fabric for a tidy scant quarter inch seam. Prepare the 9x1 ¼” strips to bind the edges of this seam. Fold in half, press, open out and fold to the center line. Press. You may need to adjust the length so that you fold under about ⅜” on each end to enclose the raw edges. Clip in place and sew slowly through all the layers.
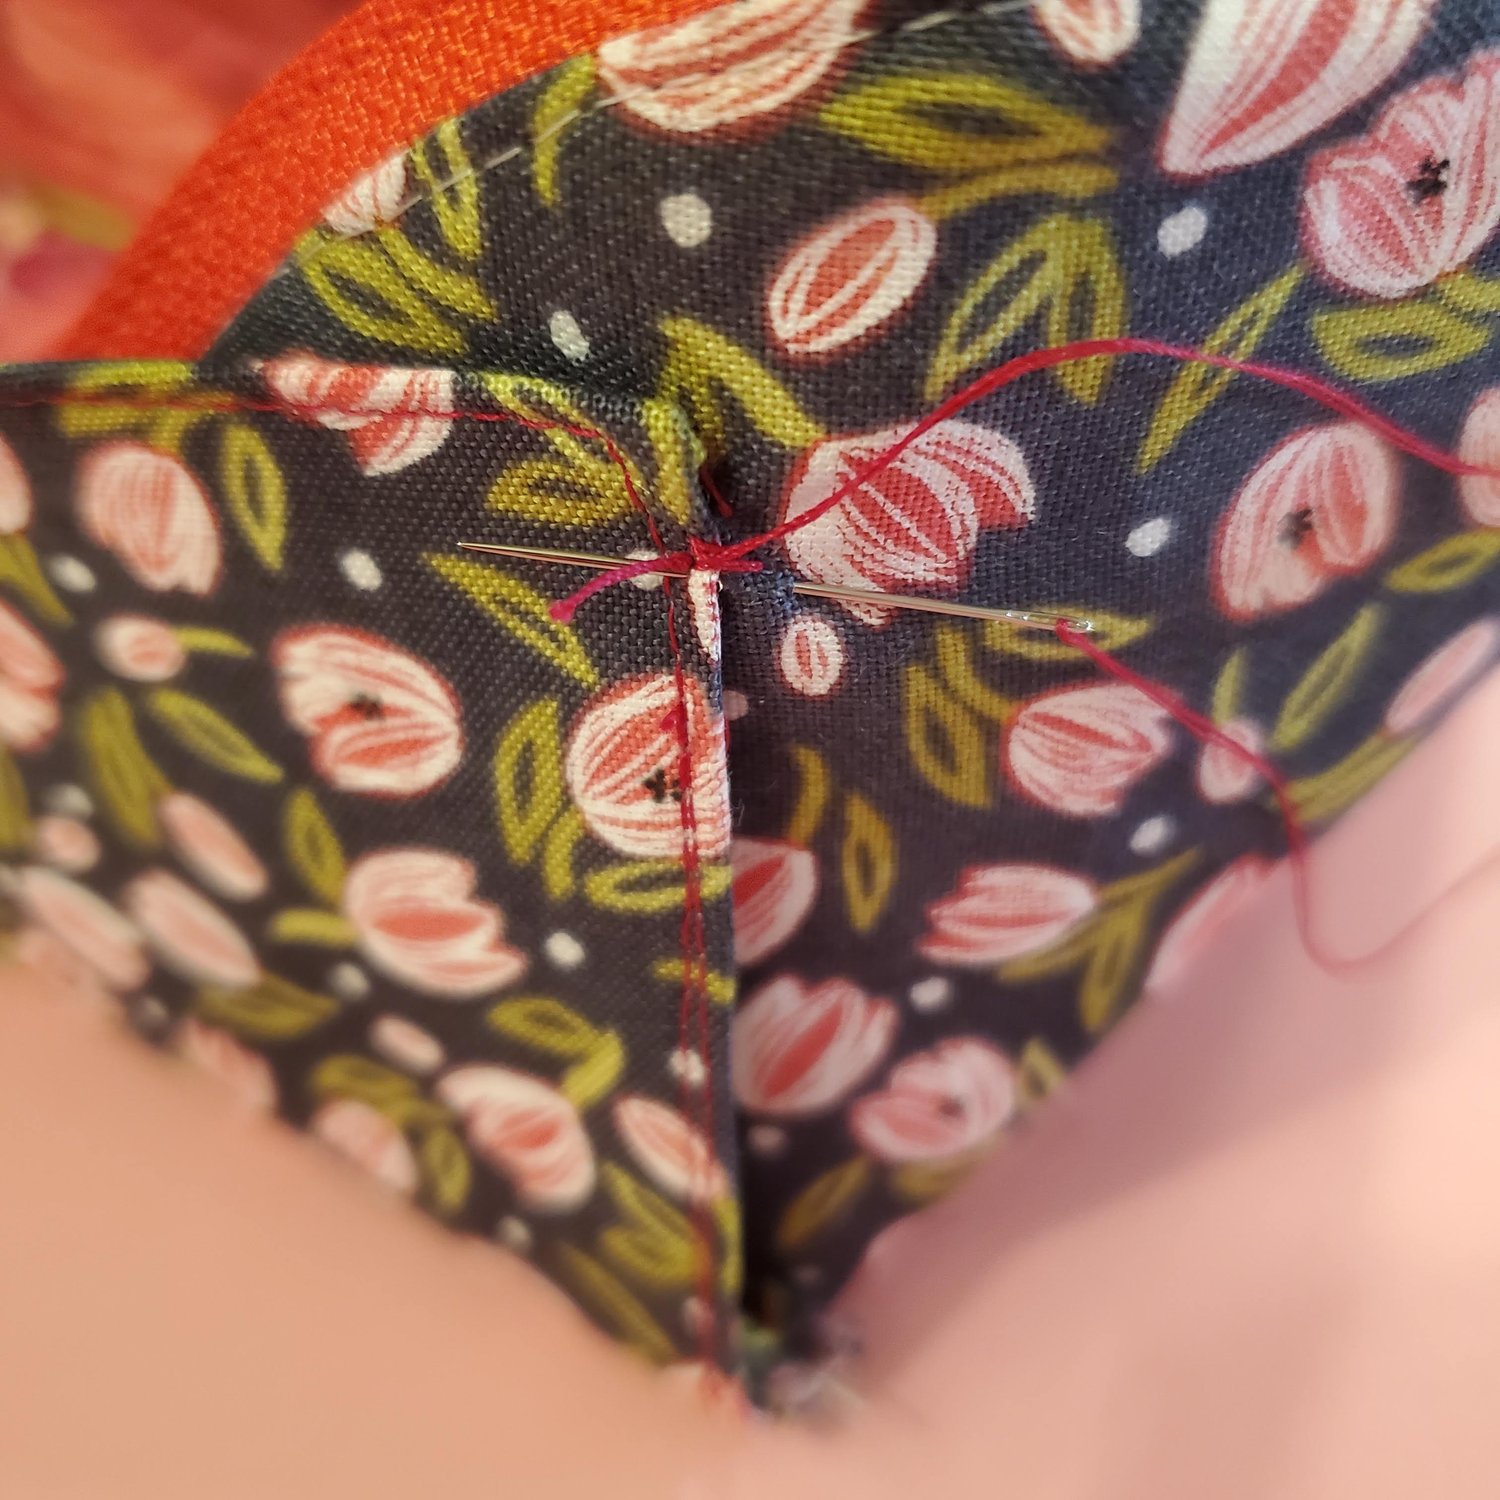
Tack the corners in place with a few stitches
Turn the bag right sides out and give it a final press.You can use a rolled up towel on the inside of the bag to hold the shape as you iron.
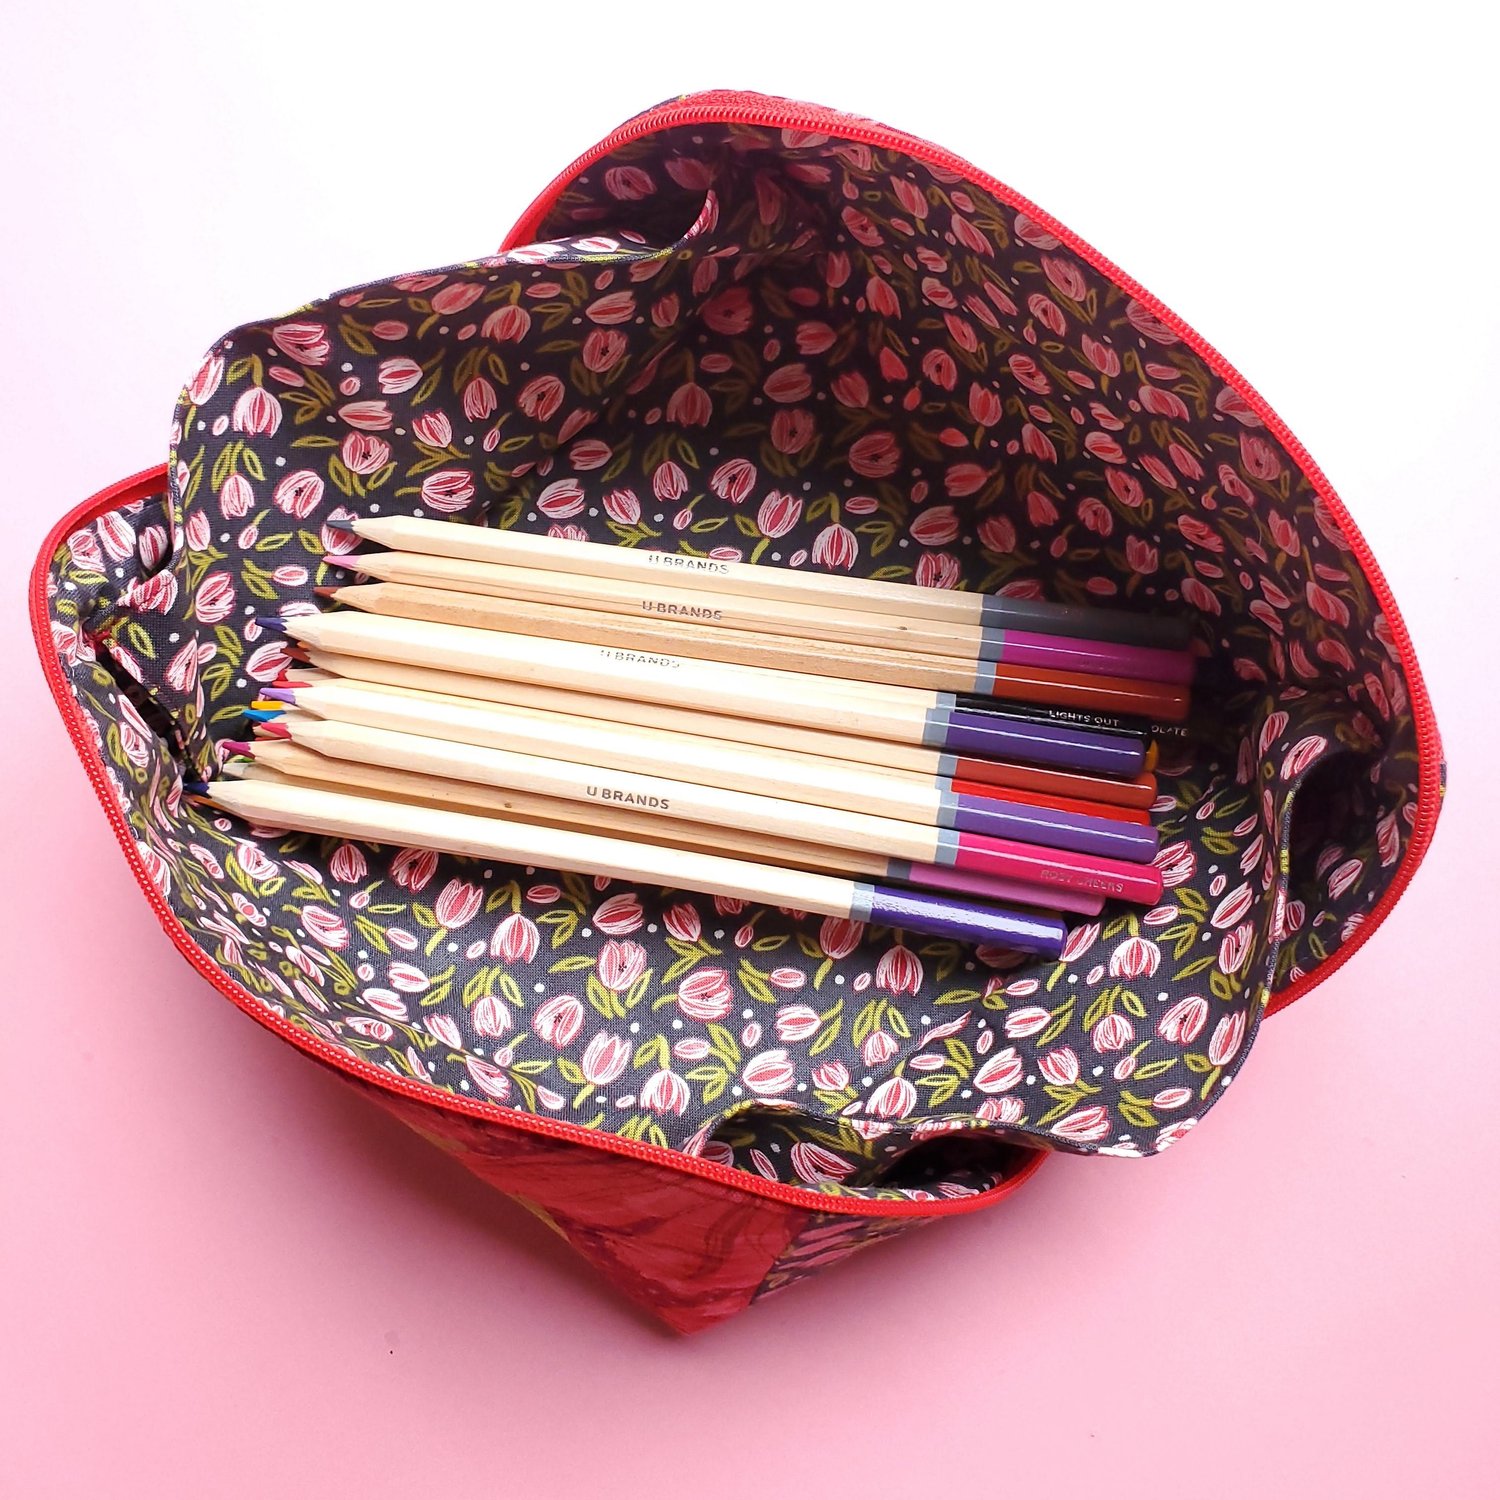
This bag will be a great addition to the backpack to hold all the new supplies for the year. Since it is made of fabric you should be able to wash it to use for several years. It opens wide to see what is in the bag and zips up smaller to save space.
This could also be personalized with a Cricut iron on or Embroidery for a nice gift.