Turkey Time
11th Nov 2021
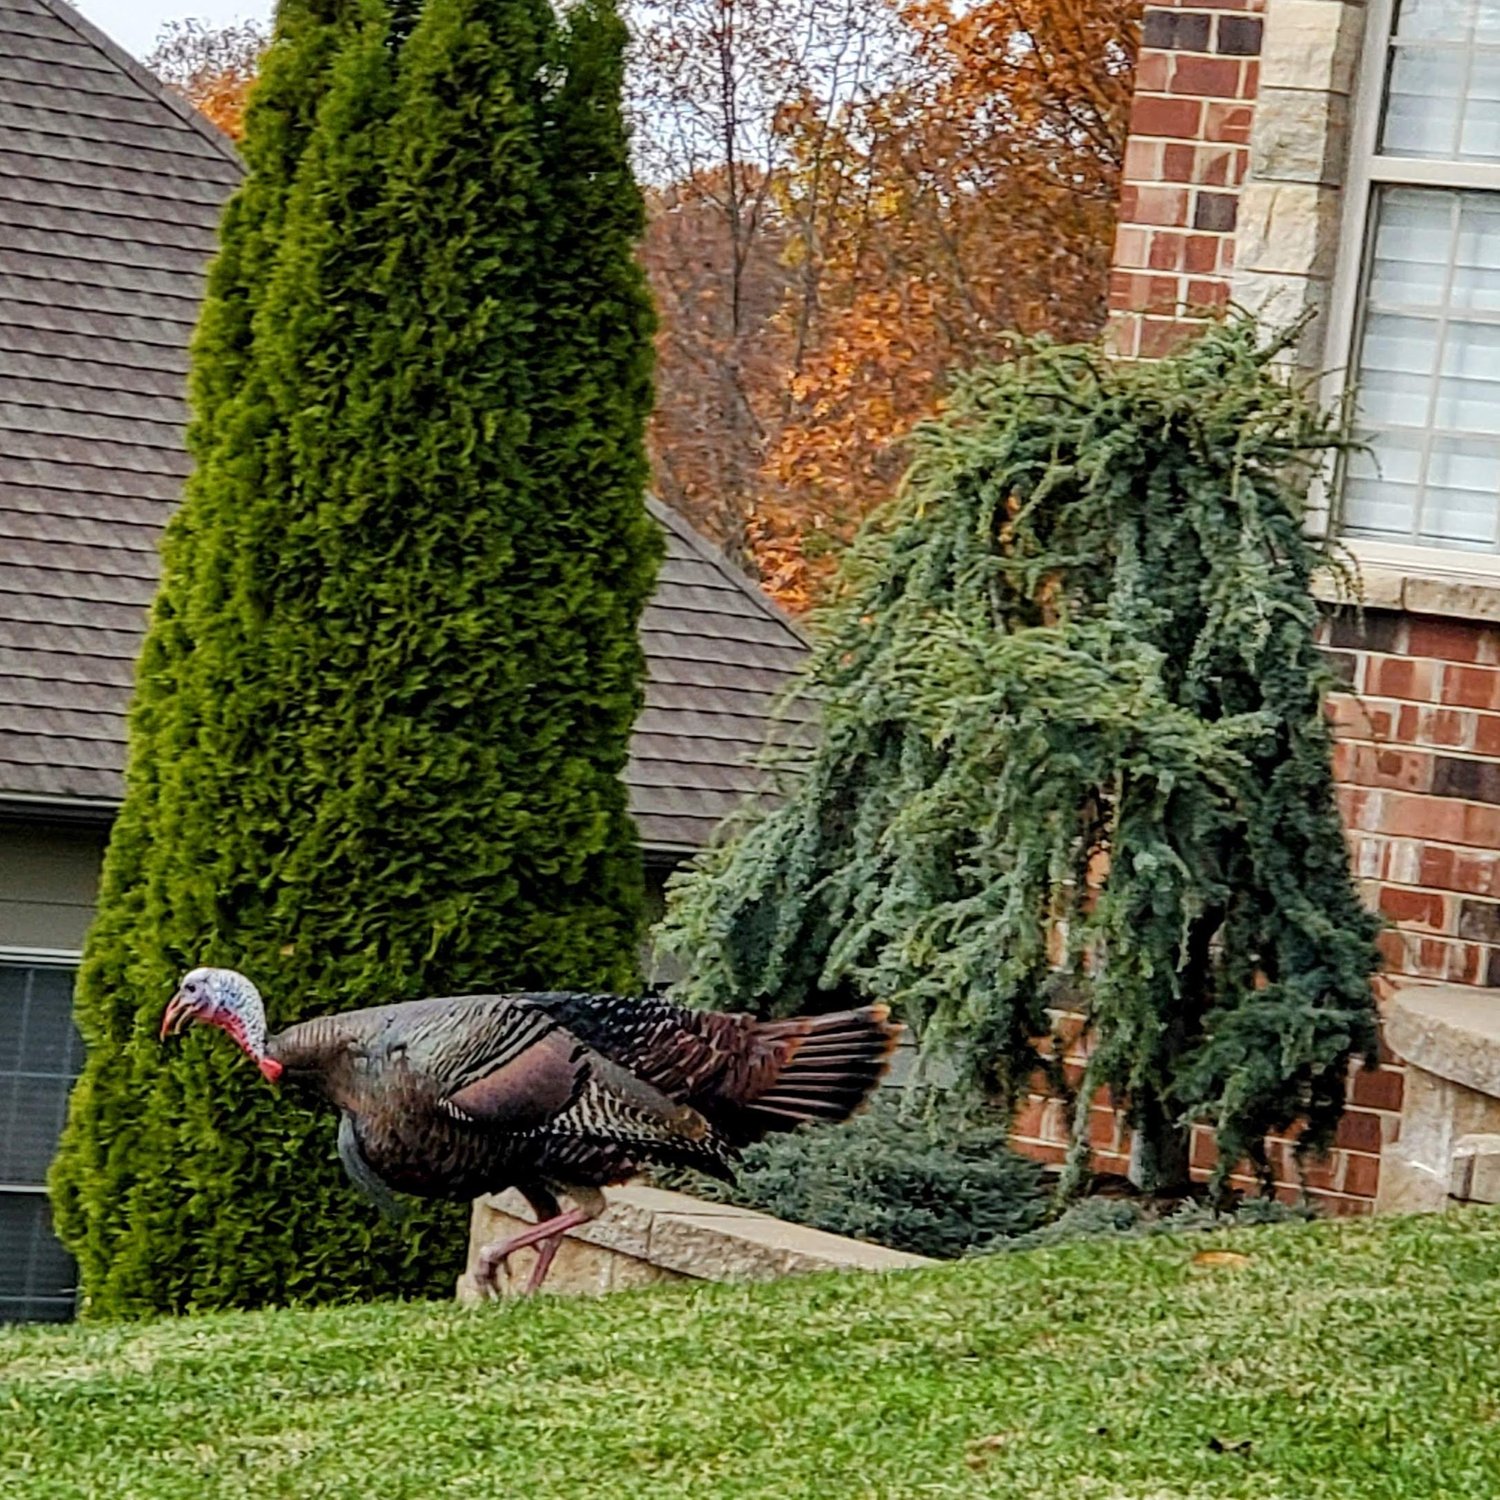
This time last year I had a few wild turkeys visit my house. They literally walked up the sidewalk to the front porch! A very rare sighting in the metropolitan St. Louis area, luckily I was able to snap a few pictures as they trotted to the next house.
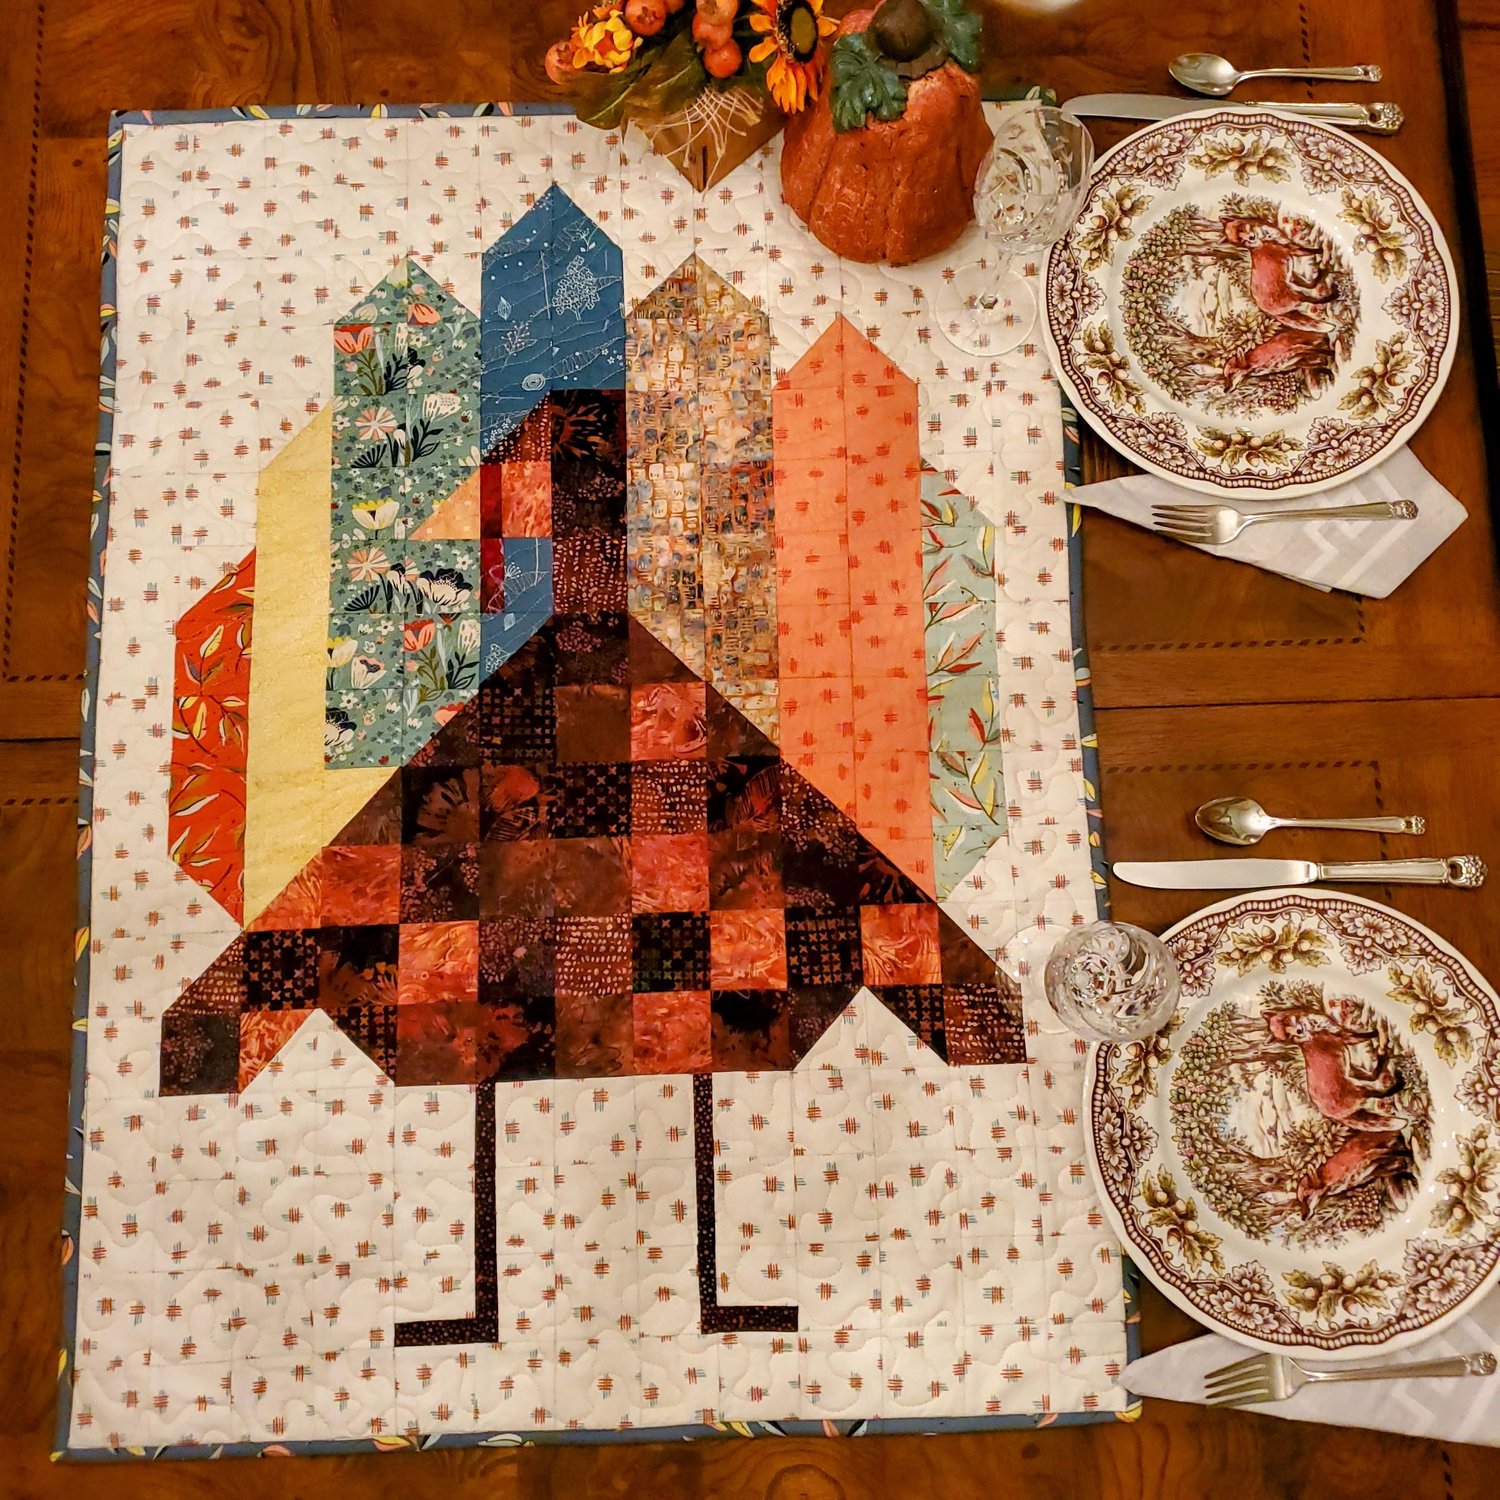
Here in the Midwest the Fall landscape at its peak inspired me to make this table topper with the beautiful assortment of Moda’s Songbook fabrics from the September Modern Maker membership box. The fall colors were just perfect for this project.
To make this project I downloaded the free pattern from the Ten Sisters website. The easy piecing grid is so easy to work with and will help you achieve perfect points as a beginner quilter. I have used it for several projects like this Jolly snowman and as a summer table runner using the Three Patriotic Pineapples free pattern.
Materials needed:
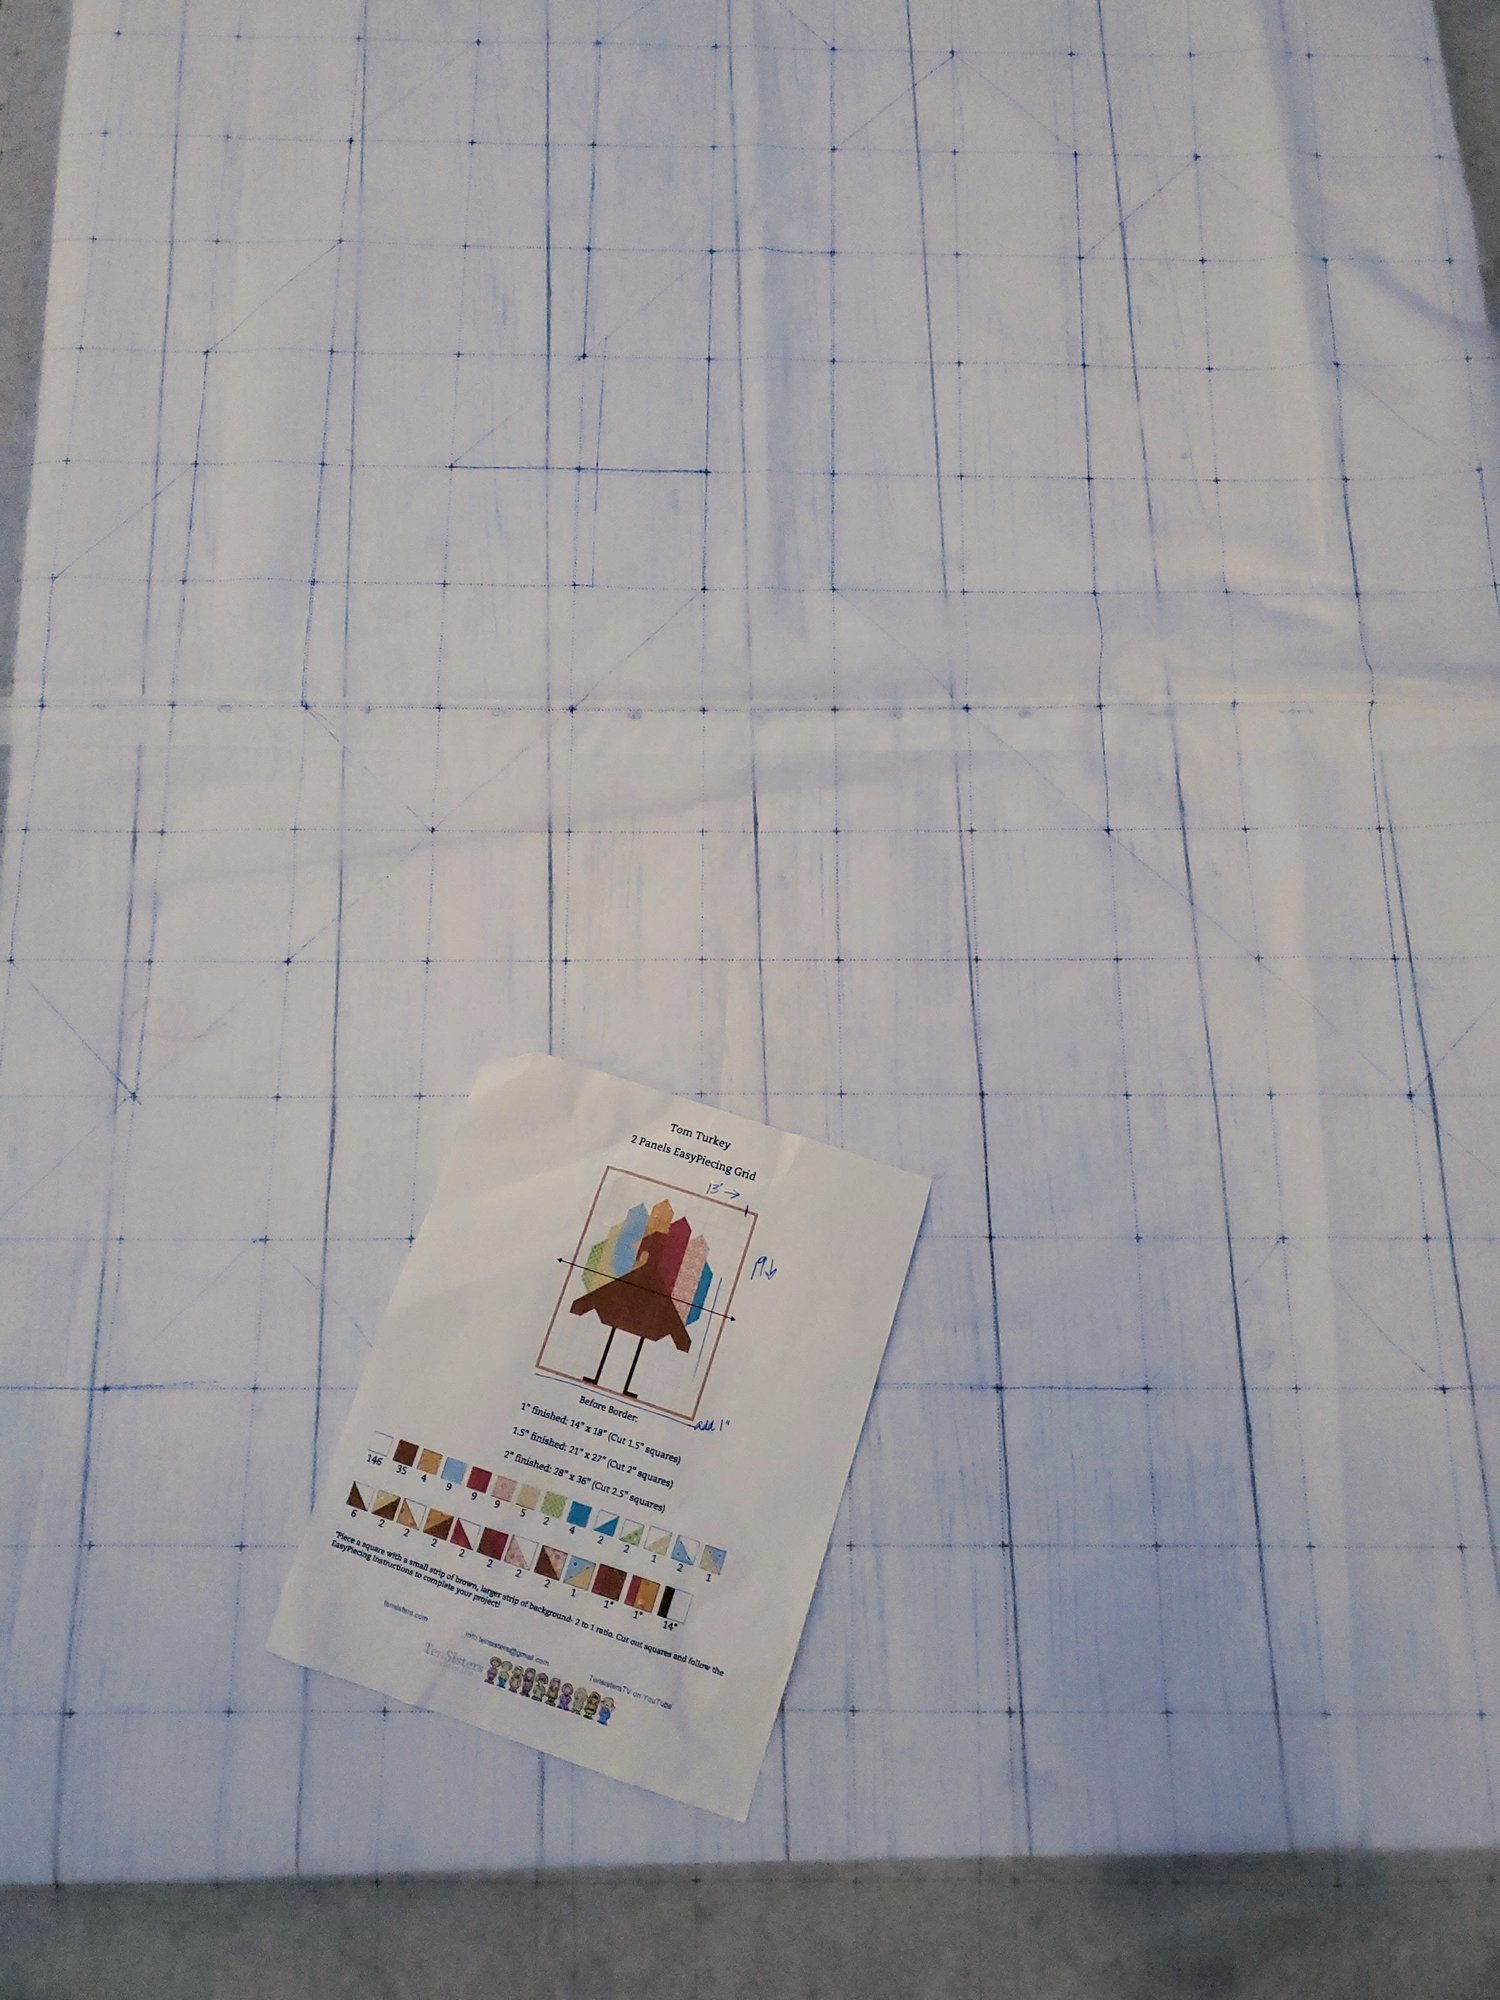
Turkey Pattern
Two easy piecing grid panels 2 inch finished size
⅔ yard of background fabric Moda Songbook Dove Wing
7 assorted fat quarters for tail feathers Moda Songbook collection
½ yard binding fabric
Coordinating Aurifil thread from Chroma membership
¾ yard of backing fabric
Assorted brown fabrics for the main body
Batting
You will need to fuse the two panels together to create a panel that is 13 rows across and 18 tall. Ten Sisters has a YouTube tutorial to explain the process of fusing the panels together.
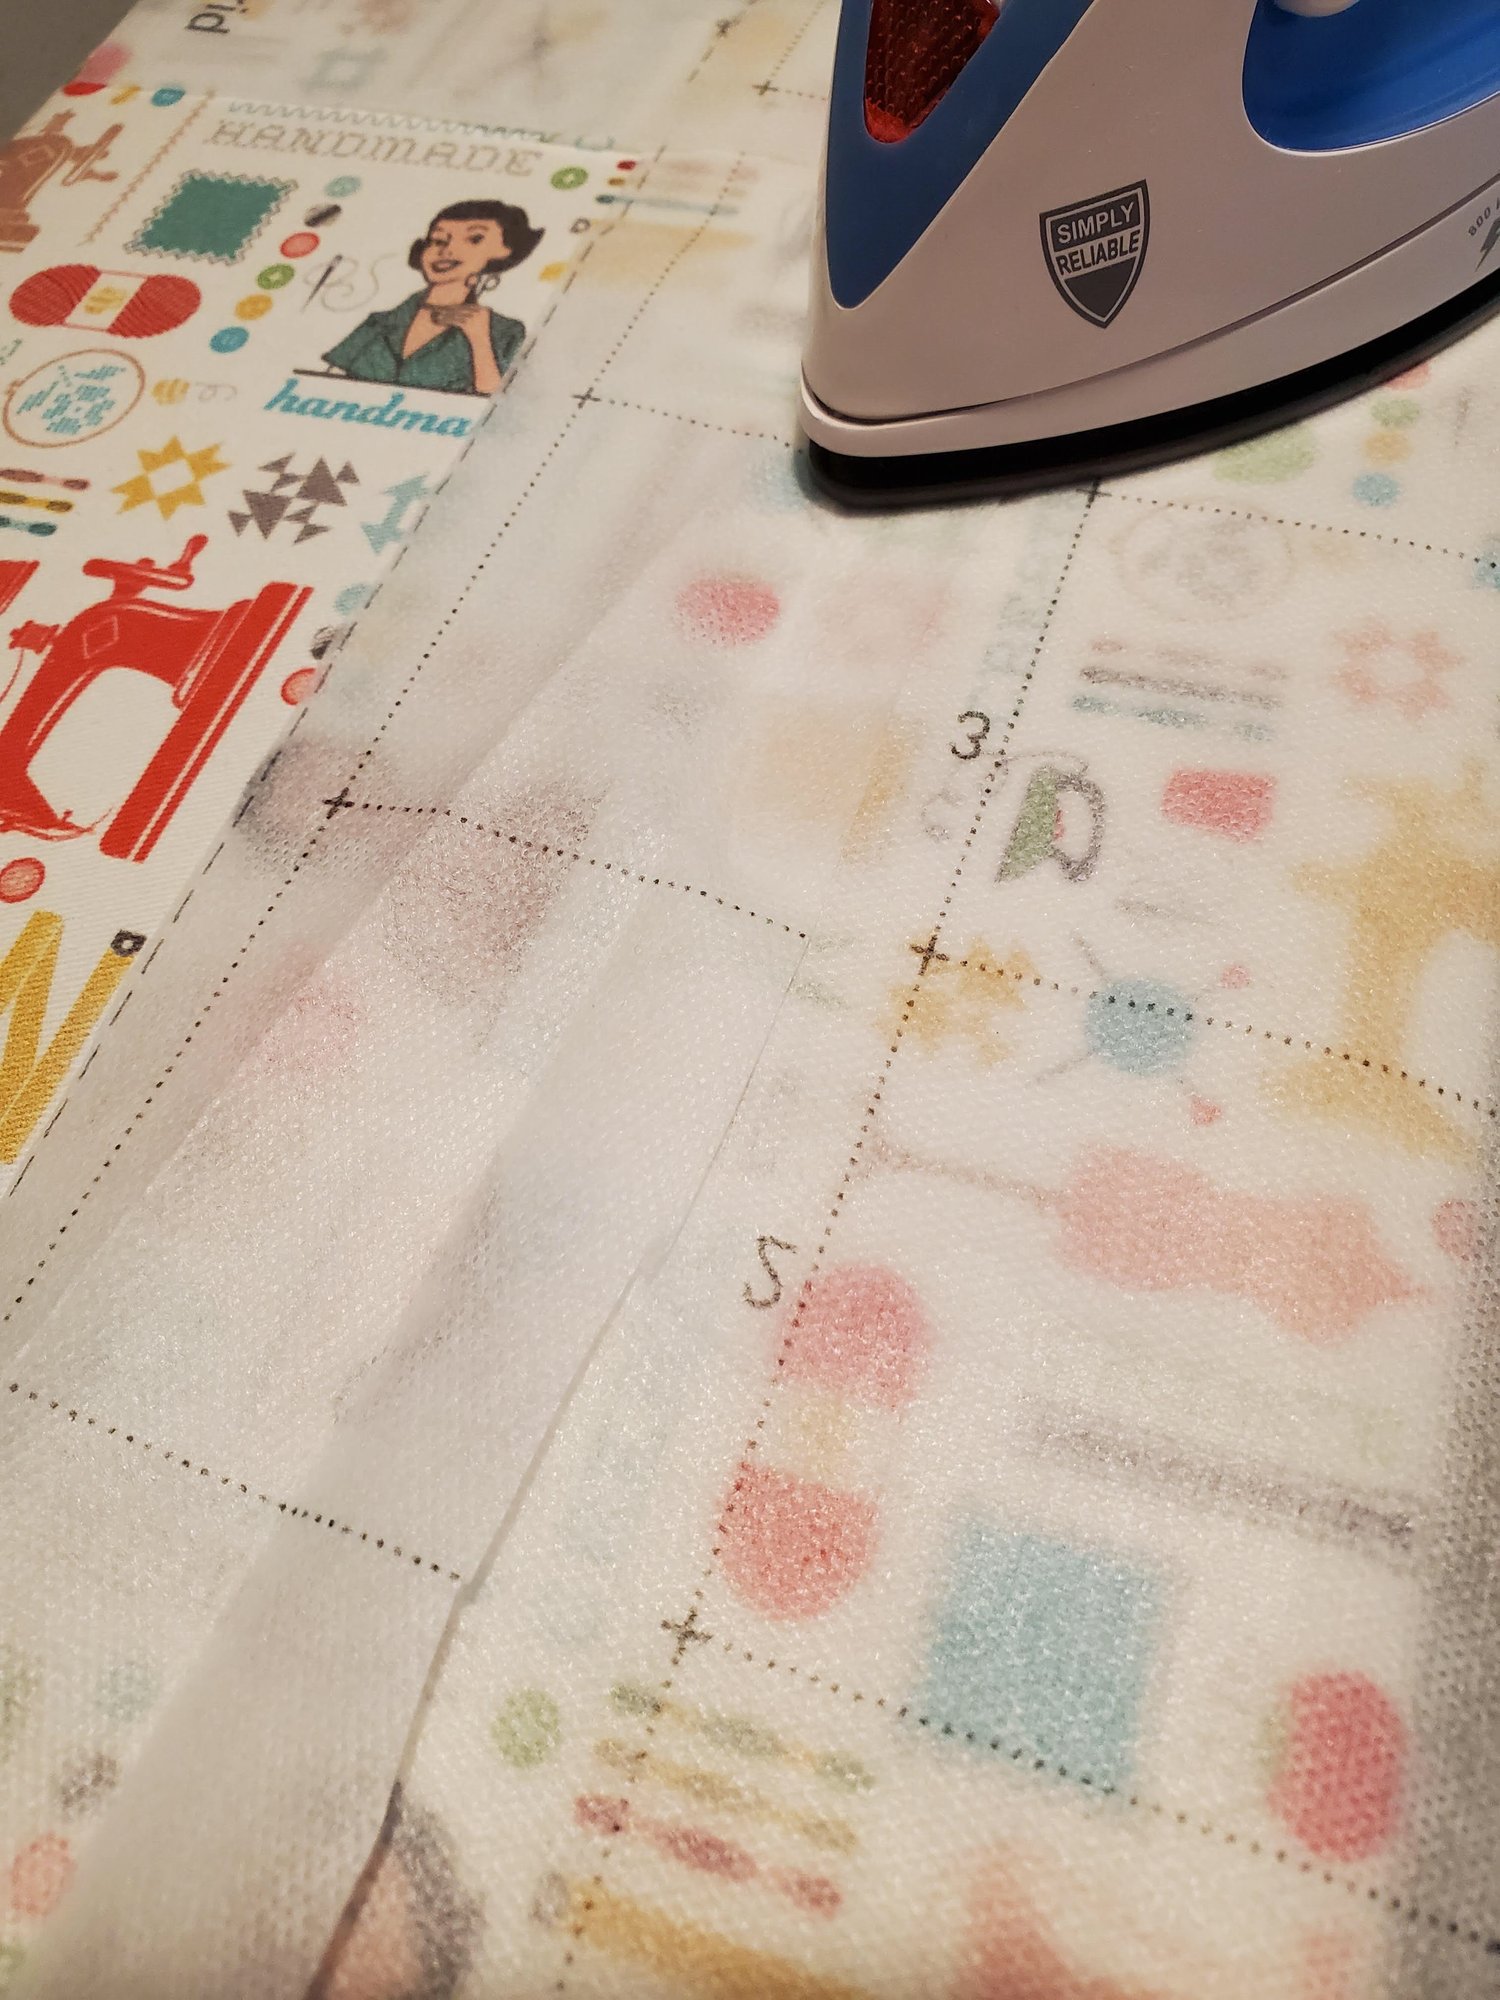
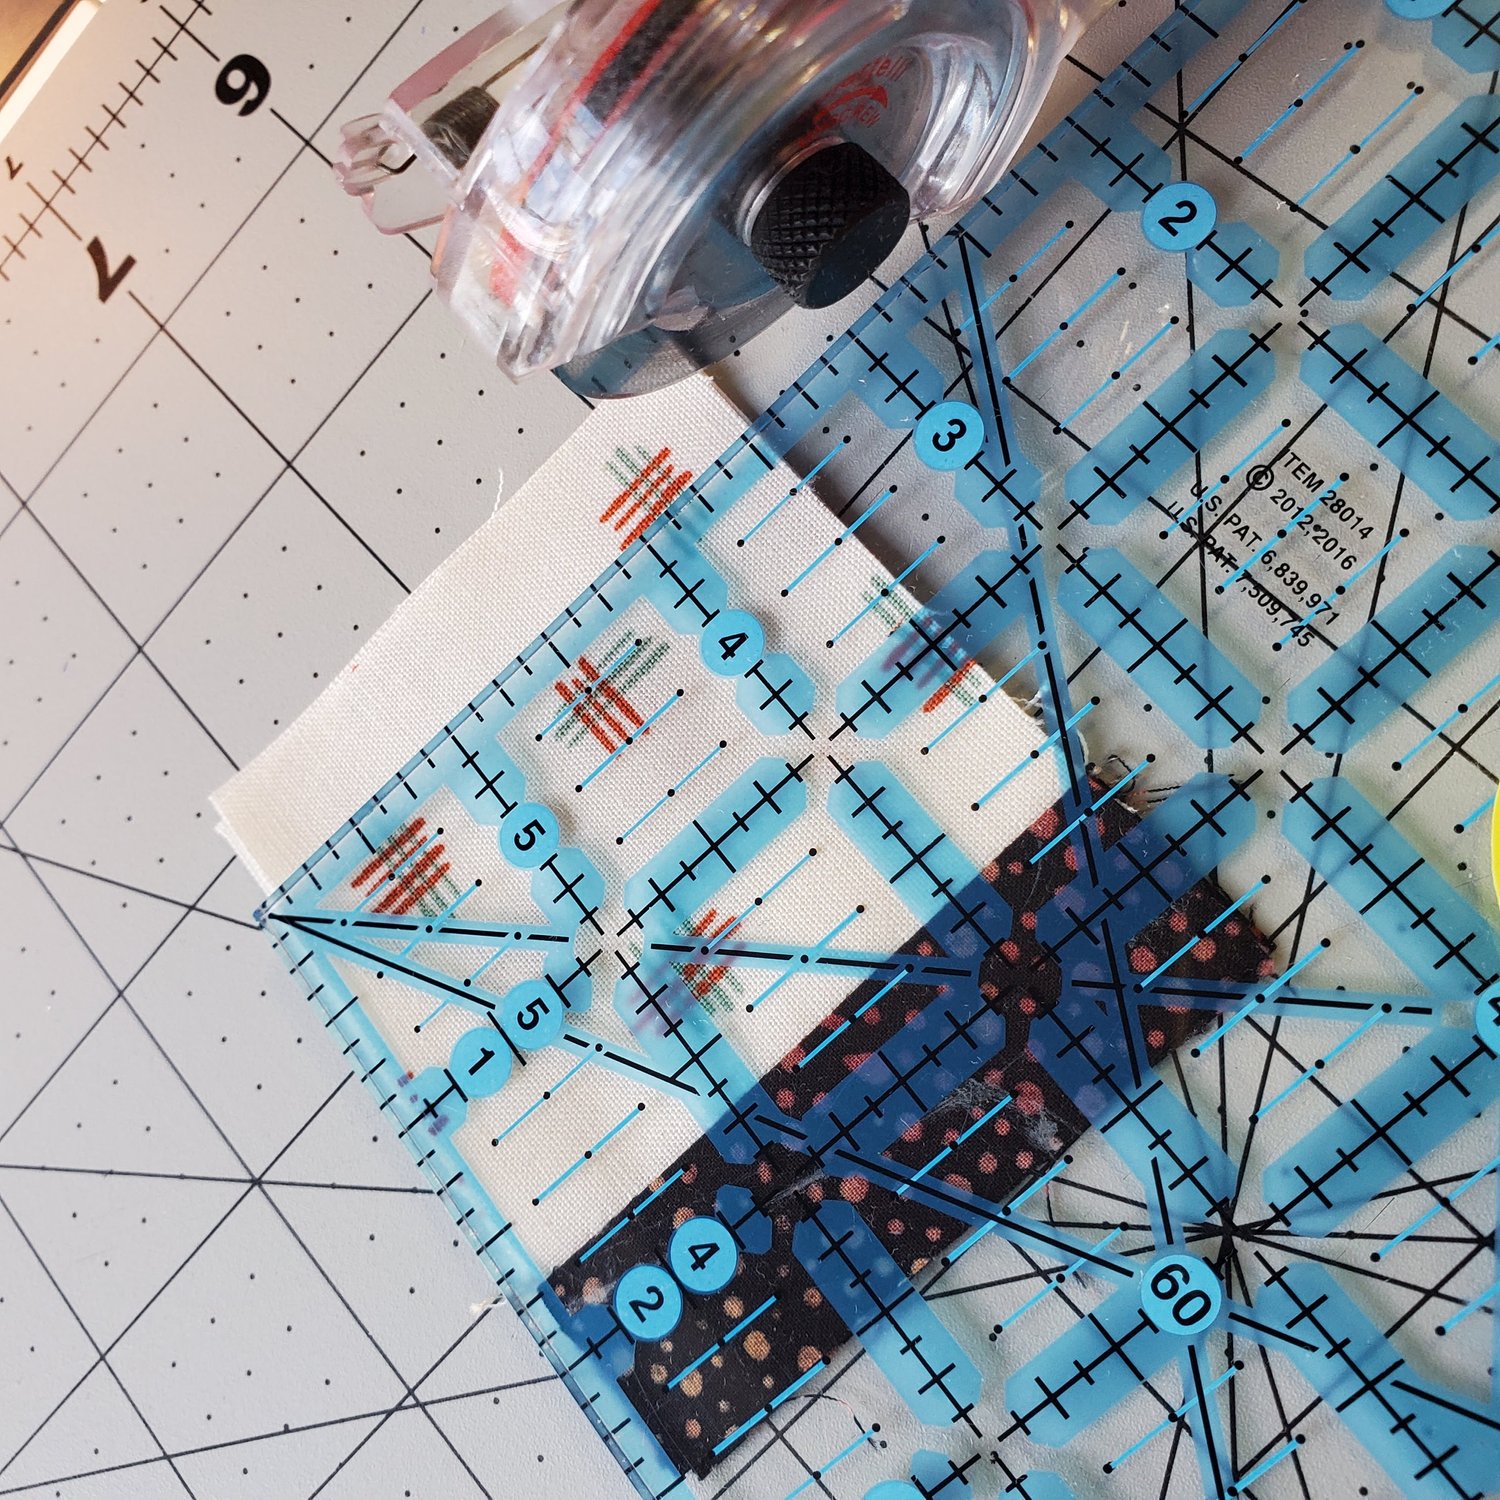
I like to use a Frixion pen to mark the design on the panels to clearly see the placement lines for the squares. The instructions give you a great visual of all squares needed with the quantity.
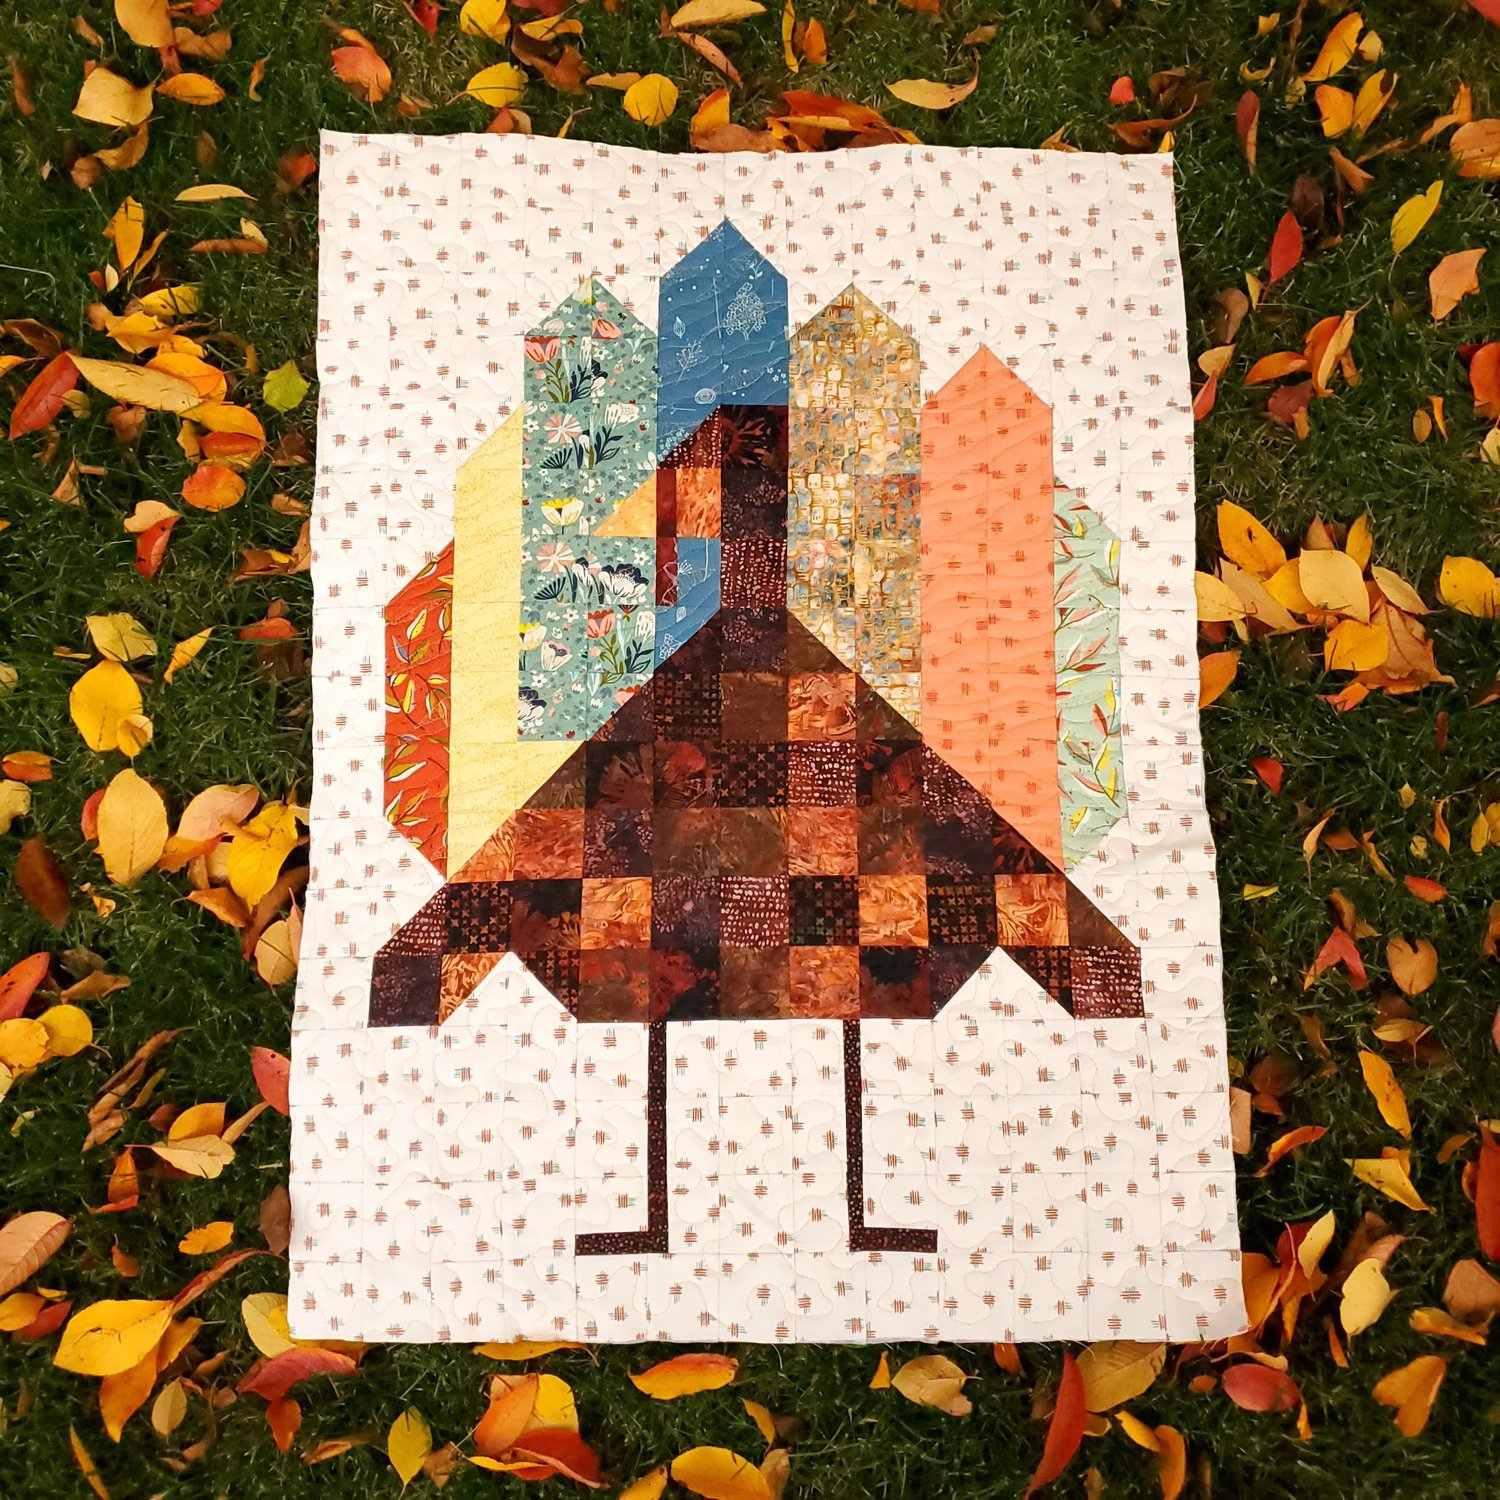
The main body is an assortment of brown fabrics from the November Java membership featuring Hoffman batiks. I used six different fat quarters cut into squares randomly placed to make the body of the turkey. You will need approximately 52 brown squares for the body.
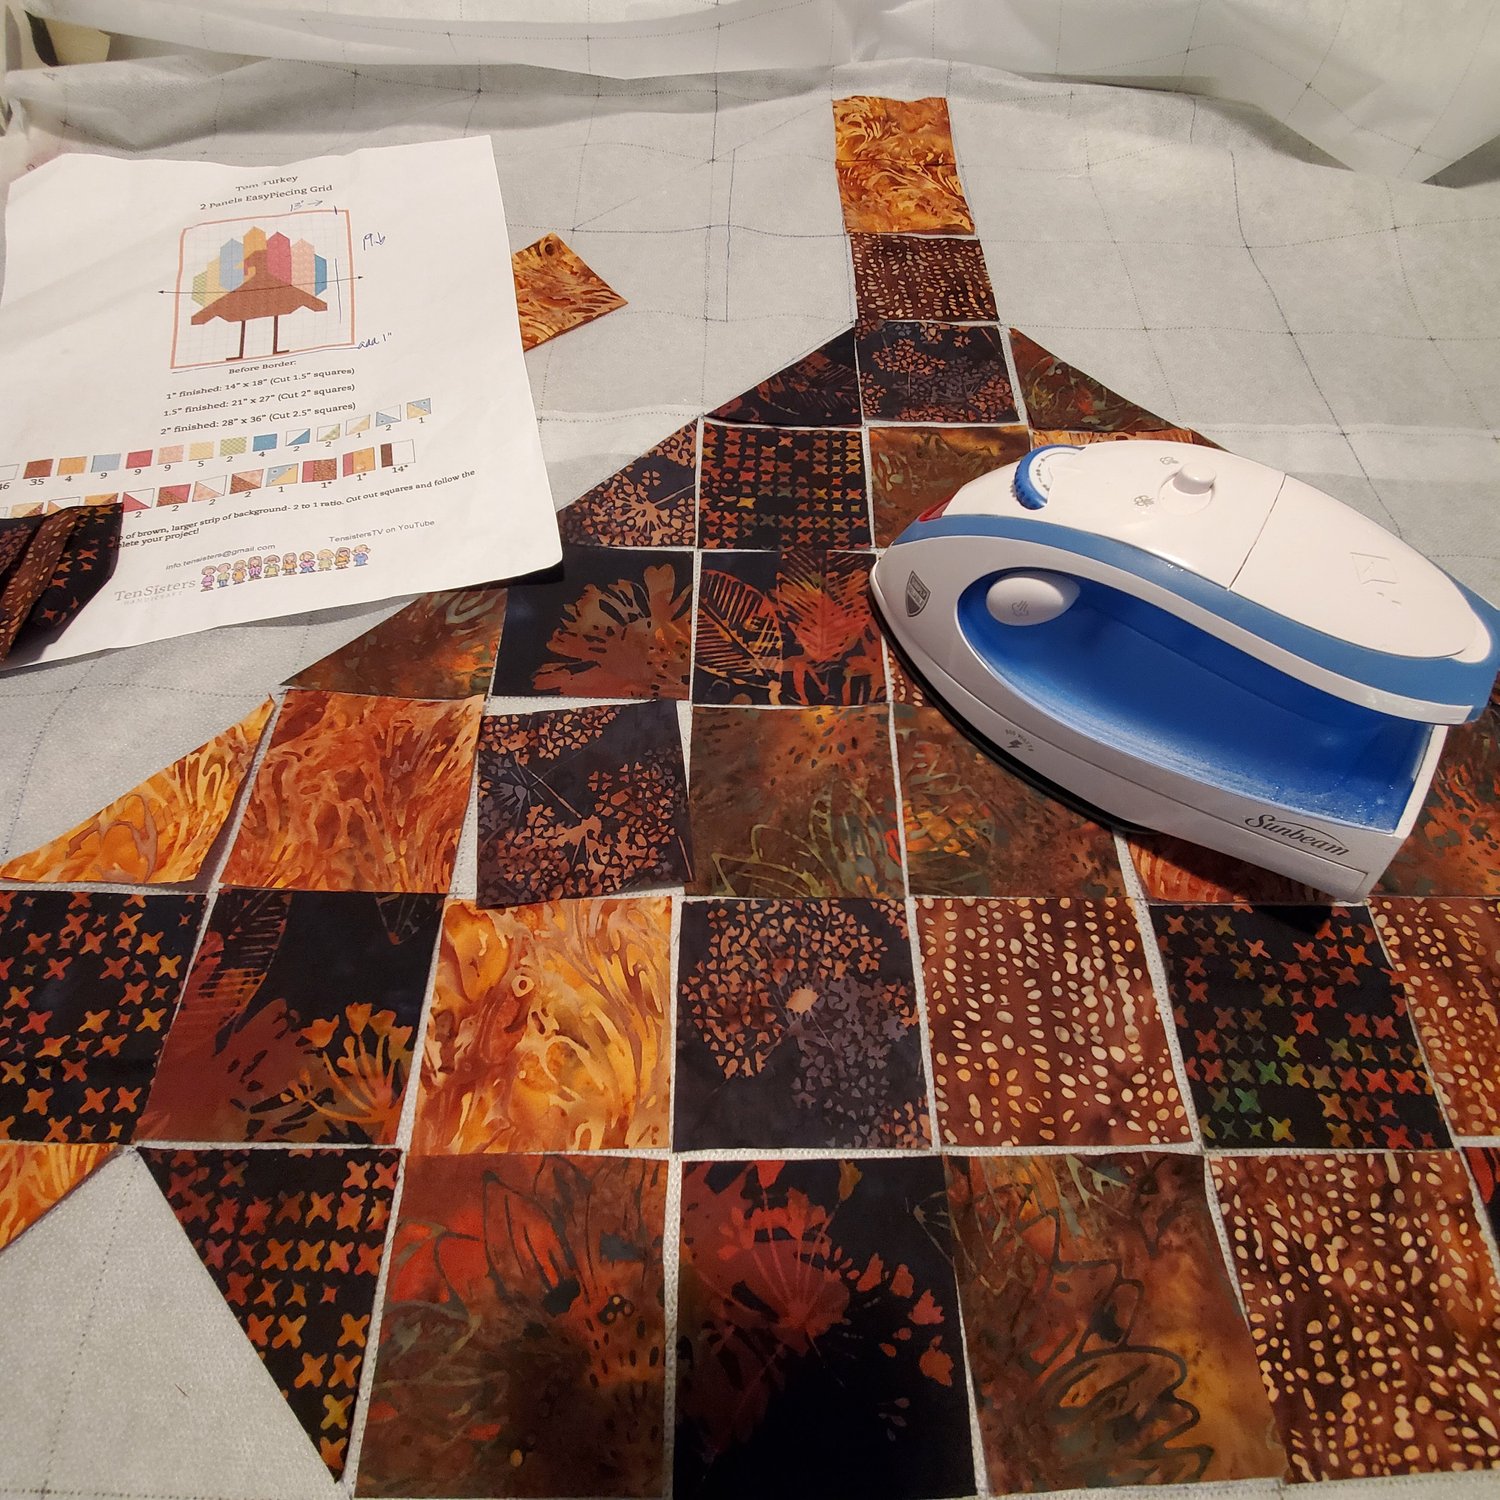
I like to press one of the 2.5” squares in half to mark the sewing line for the half square triangles. I sew them one at a time to be sure I have the right two squares sewn together.
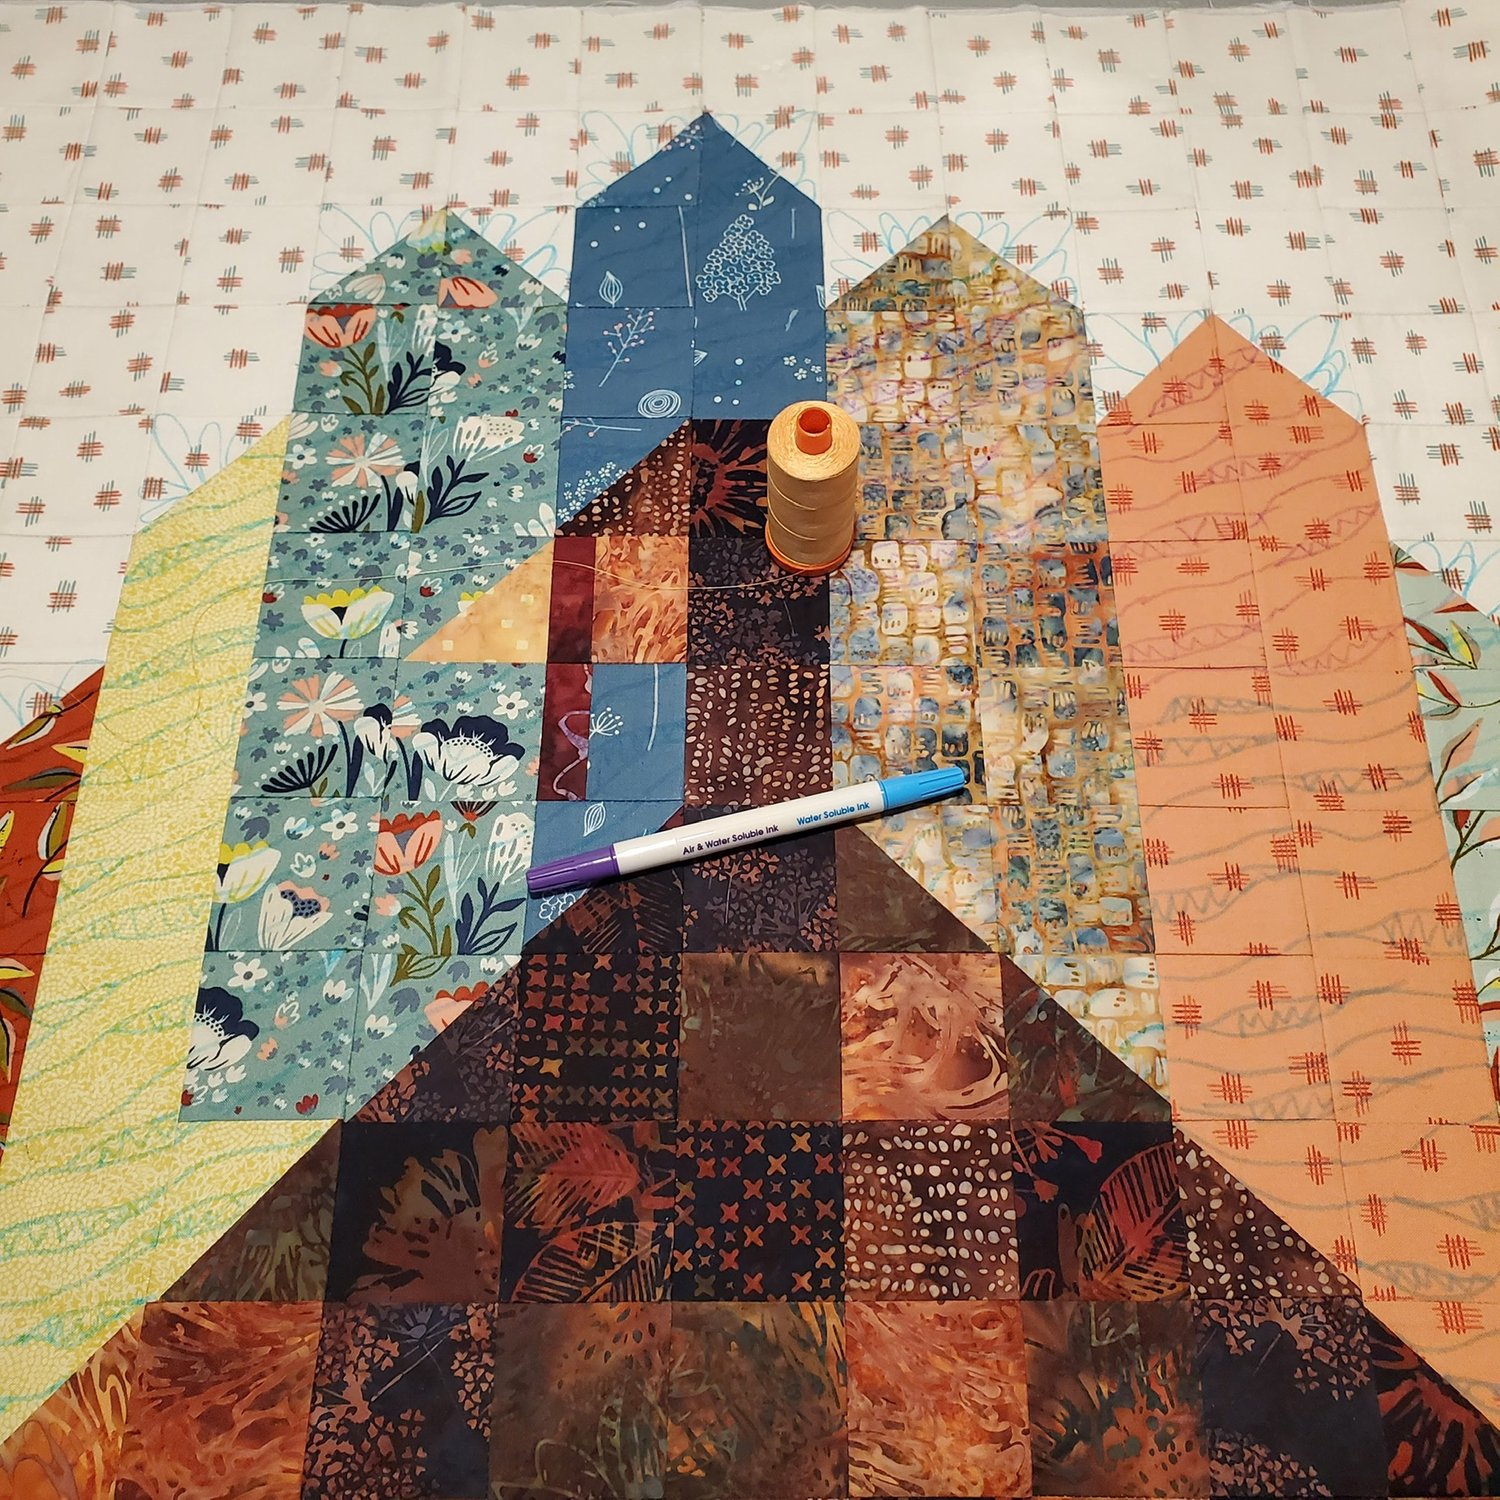
I wasn’t sure of the order I wanted the tail feather fabrics to be placed and it was helpful to lay it out and “lightly” press in place to audition the colors. I decided to change out one of the fabrics and it was very easy to pull the fabric squares off and replace with a different fabric.
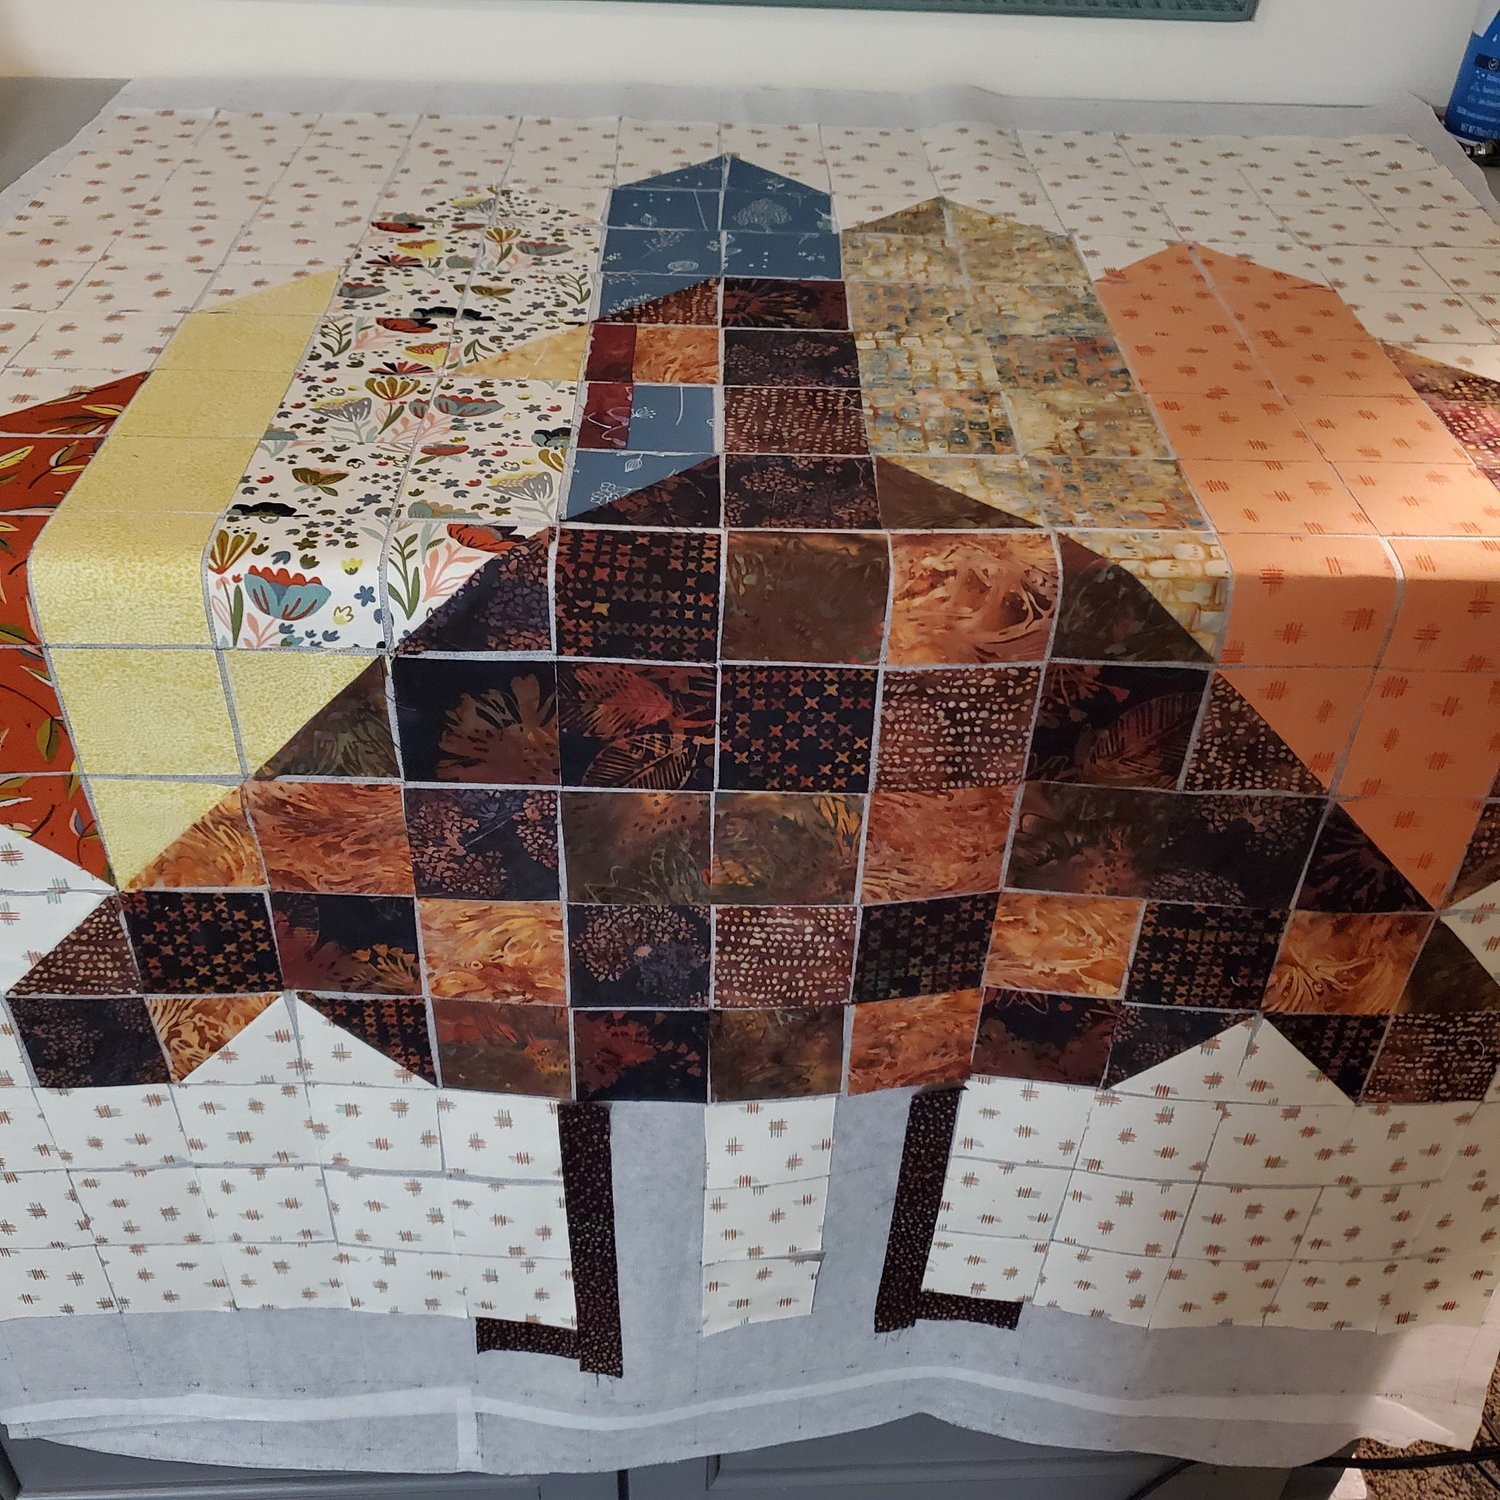
For the legs and feet I cut the background pieces 2.5” and the dark fabric 1” wide and chain piece all those squares at the same time.
Then press the seams to the dark side and trim the excess background fabric.
Once I was sure of the arrangement of the fabric then I used high heat and steam to permanently fuse to the easy grid. Now you are ready to sew!
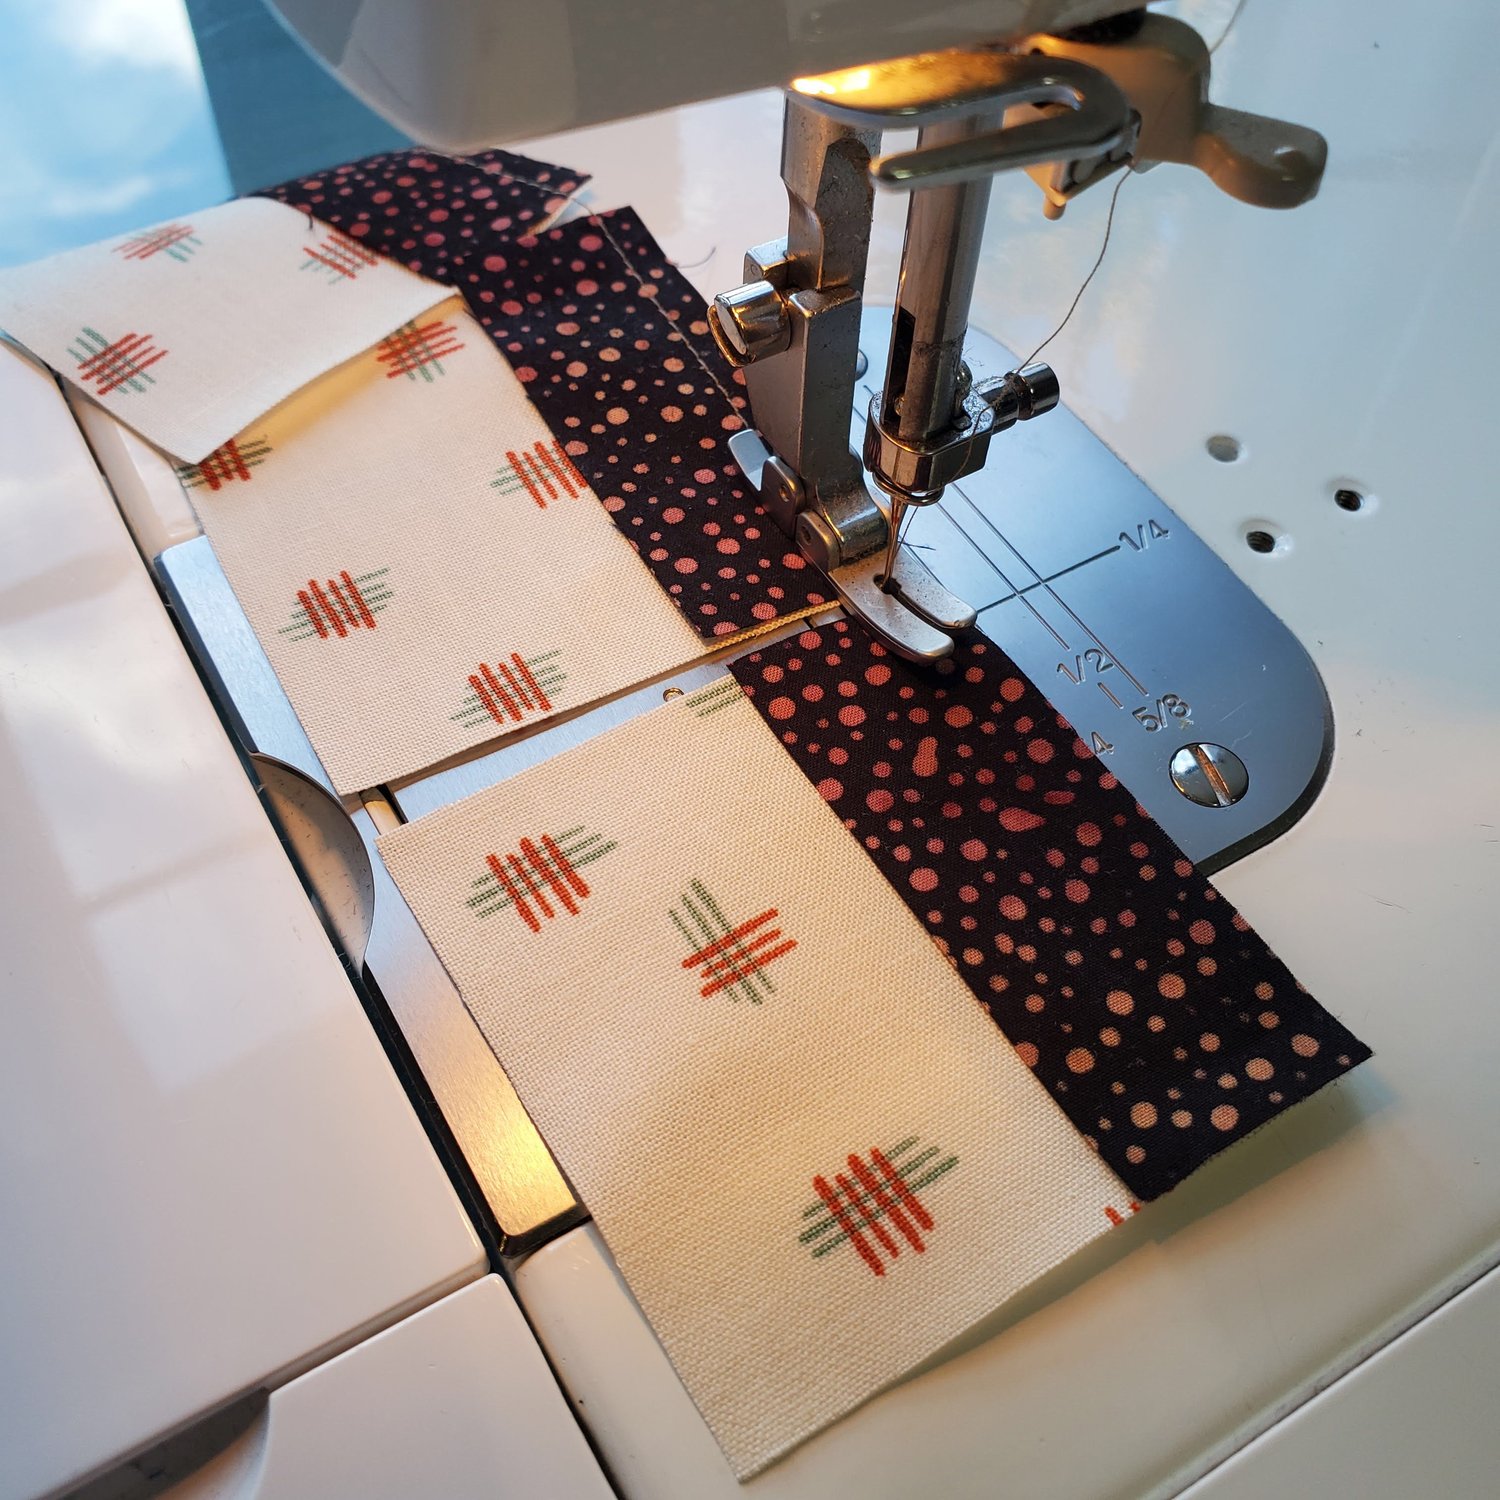
This is the easiest part of the project, you just fold along the horizontal lines and sew a quarter inch seam.
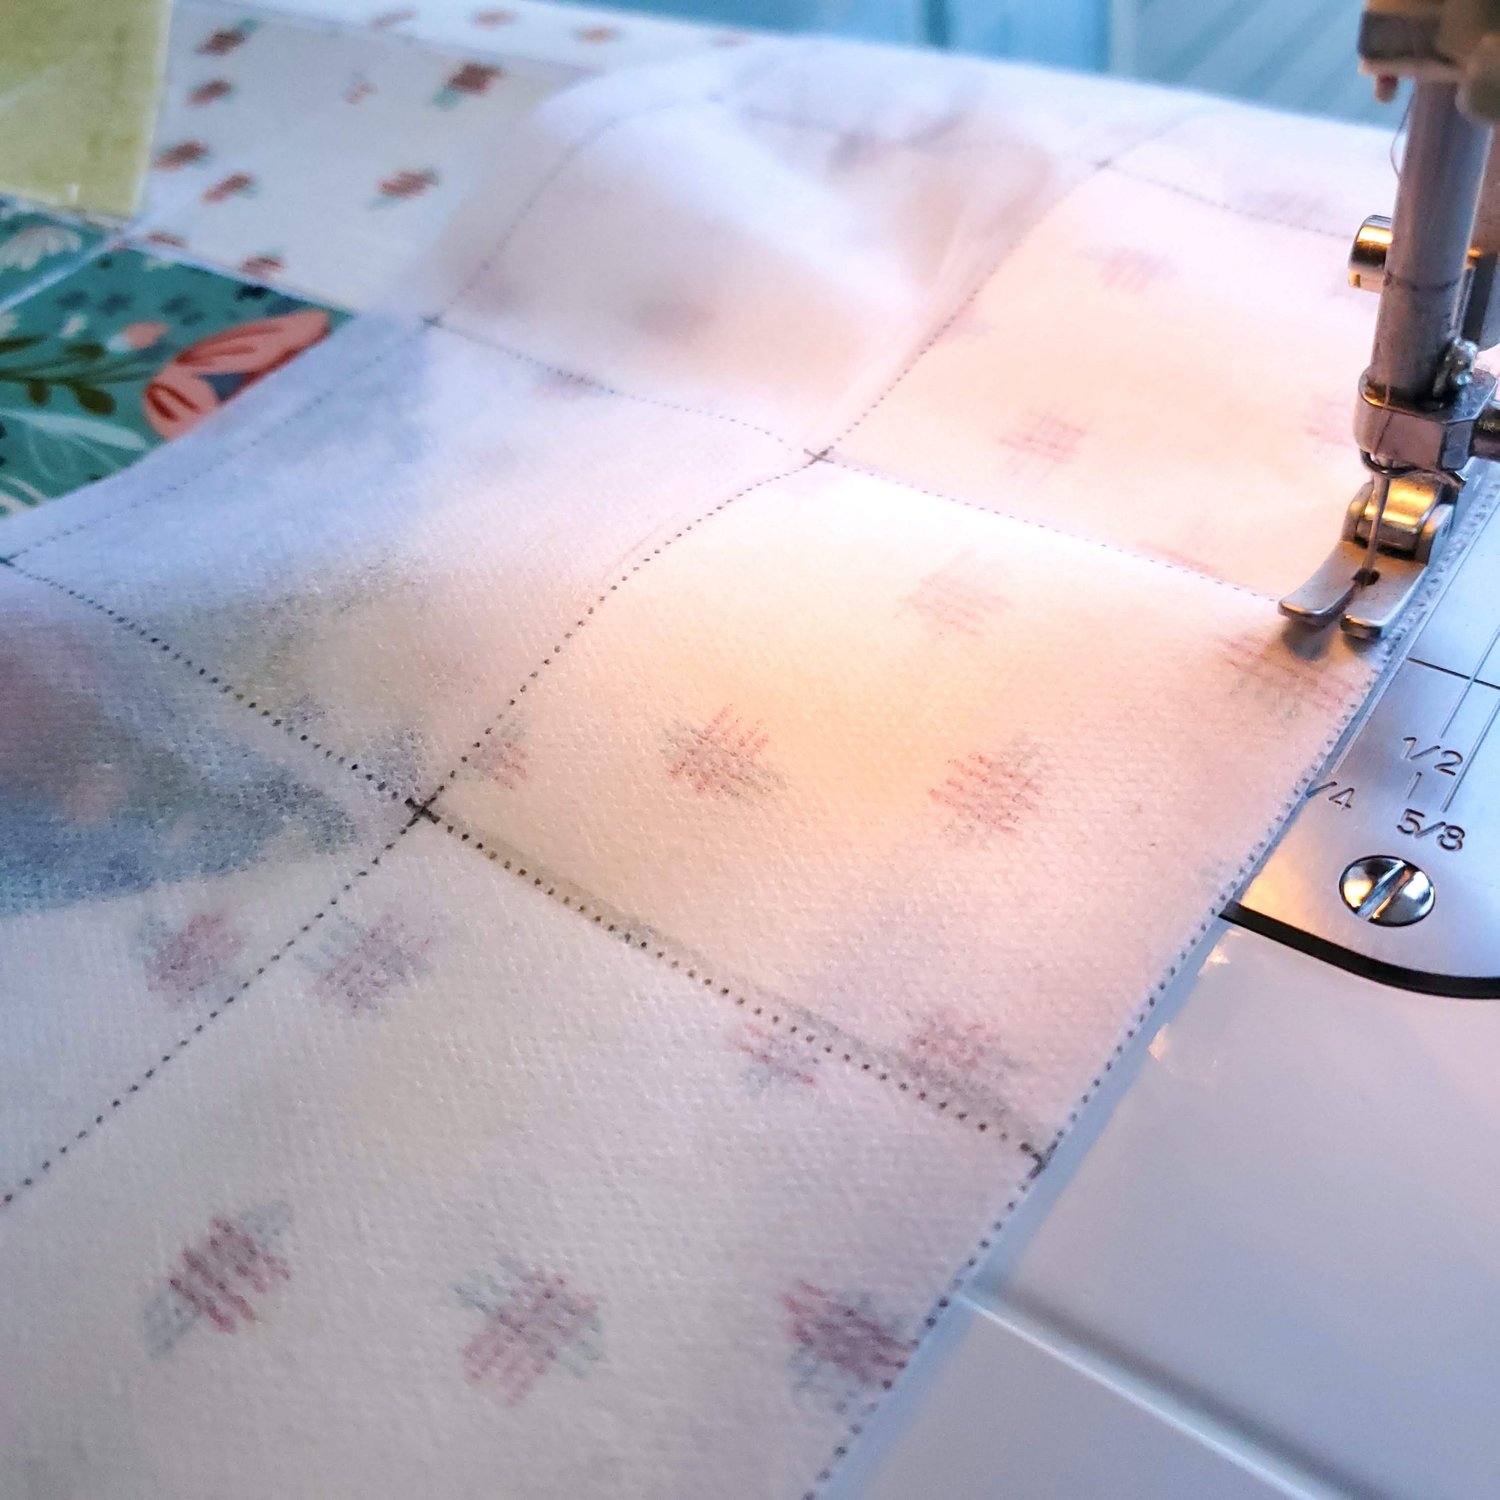
did all the horizontal seams first. Then you clip at the intersection of the vertical rows and press the seams in opposite directions so that the seam will nest in the next step.

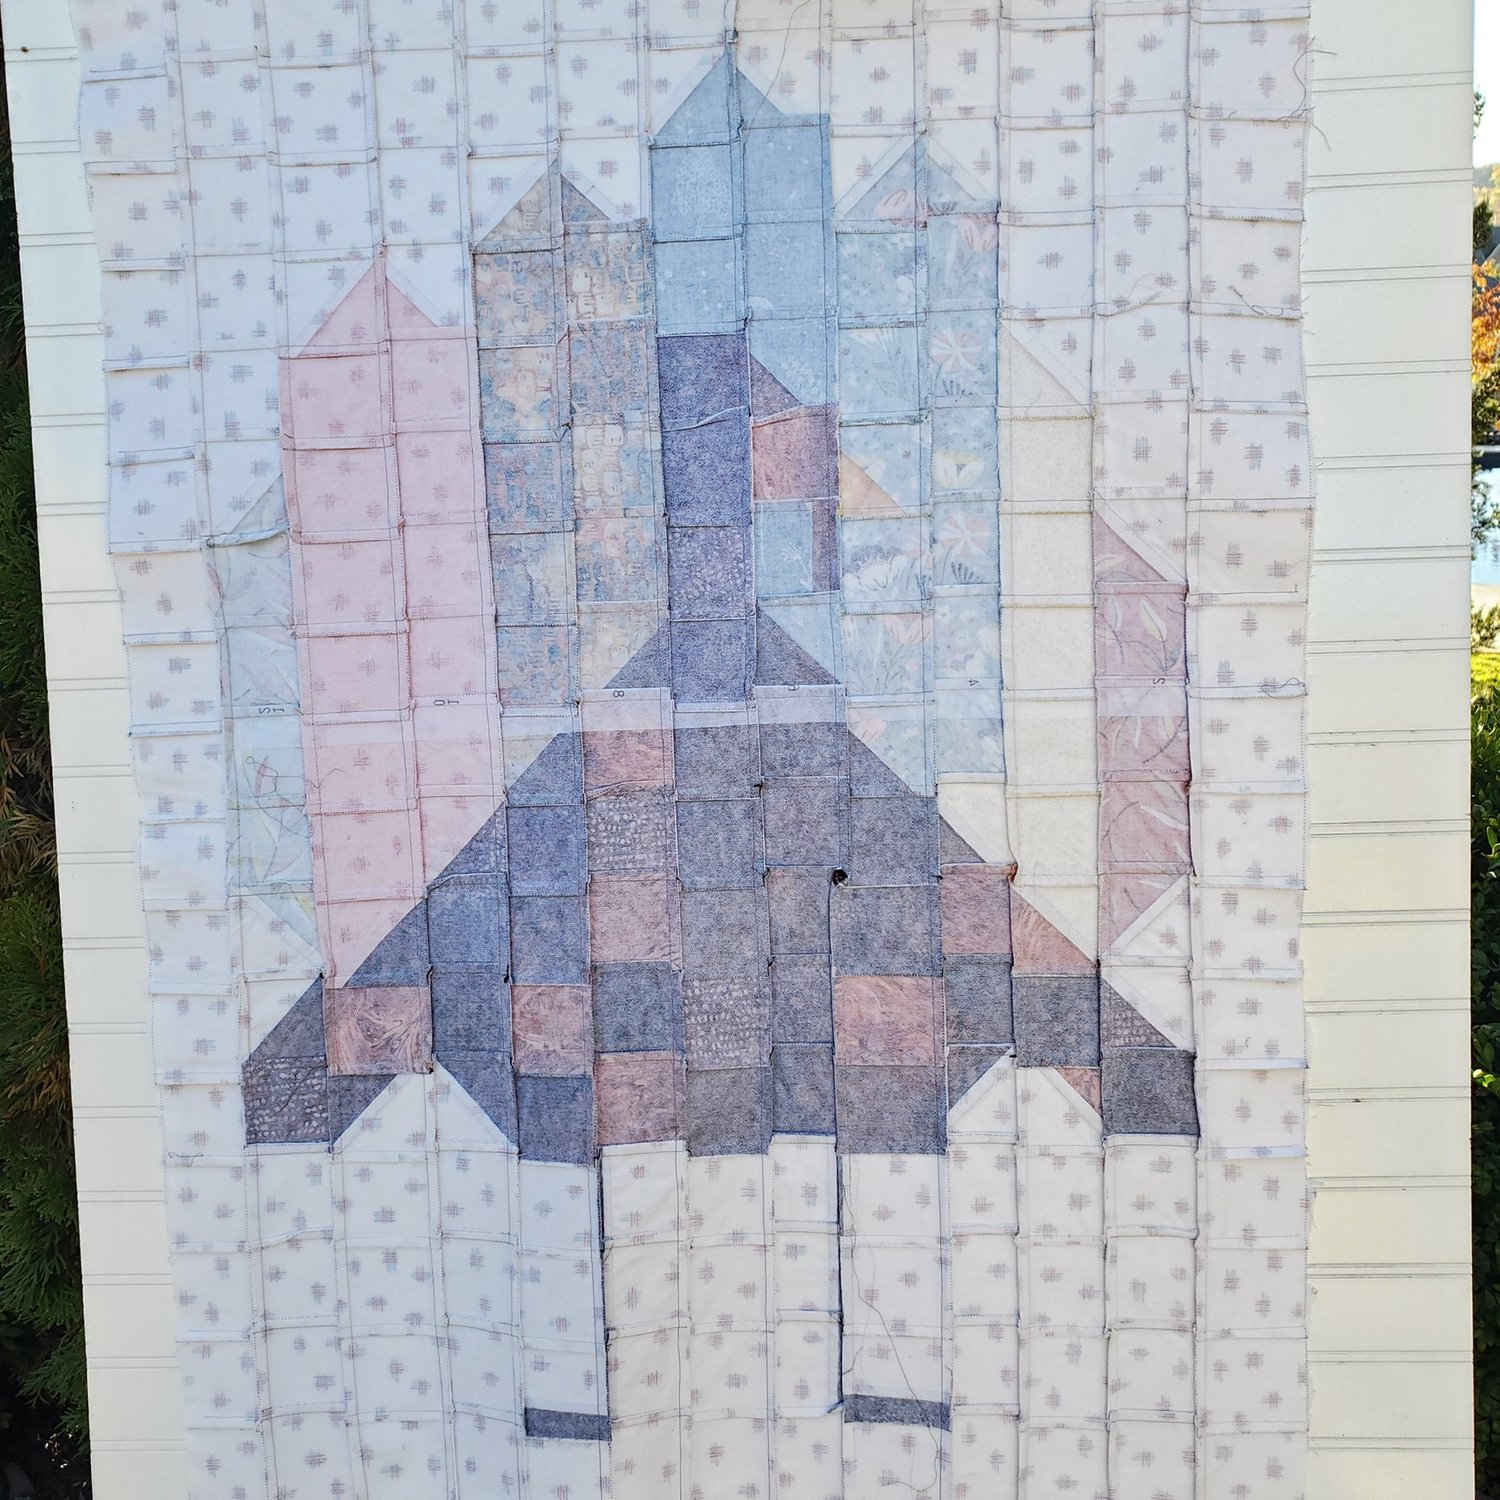
Sew all the vertical quarter inch seams nesting the intersections as you go along. Here is how the back looks after sewing and pressing all the seams.
It is ready to add the batting and backing. I use spray basting to hold the quilt sandwich together to prepare for quilting. I plan to add some free motion quilting to look like feathers. I looked at a picture of a real turkey to determine the look of the feathers. I used a water soluble pen to mark some general guidelines for quilting.
I plan to use a few different thread colors as I free motion quilt the turkey.
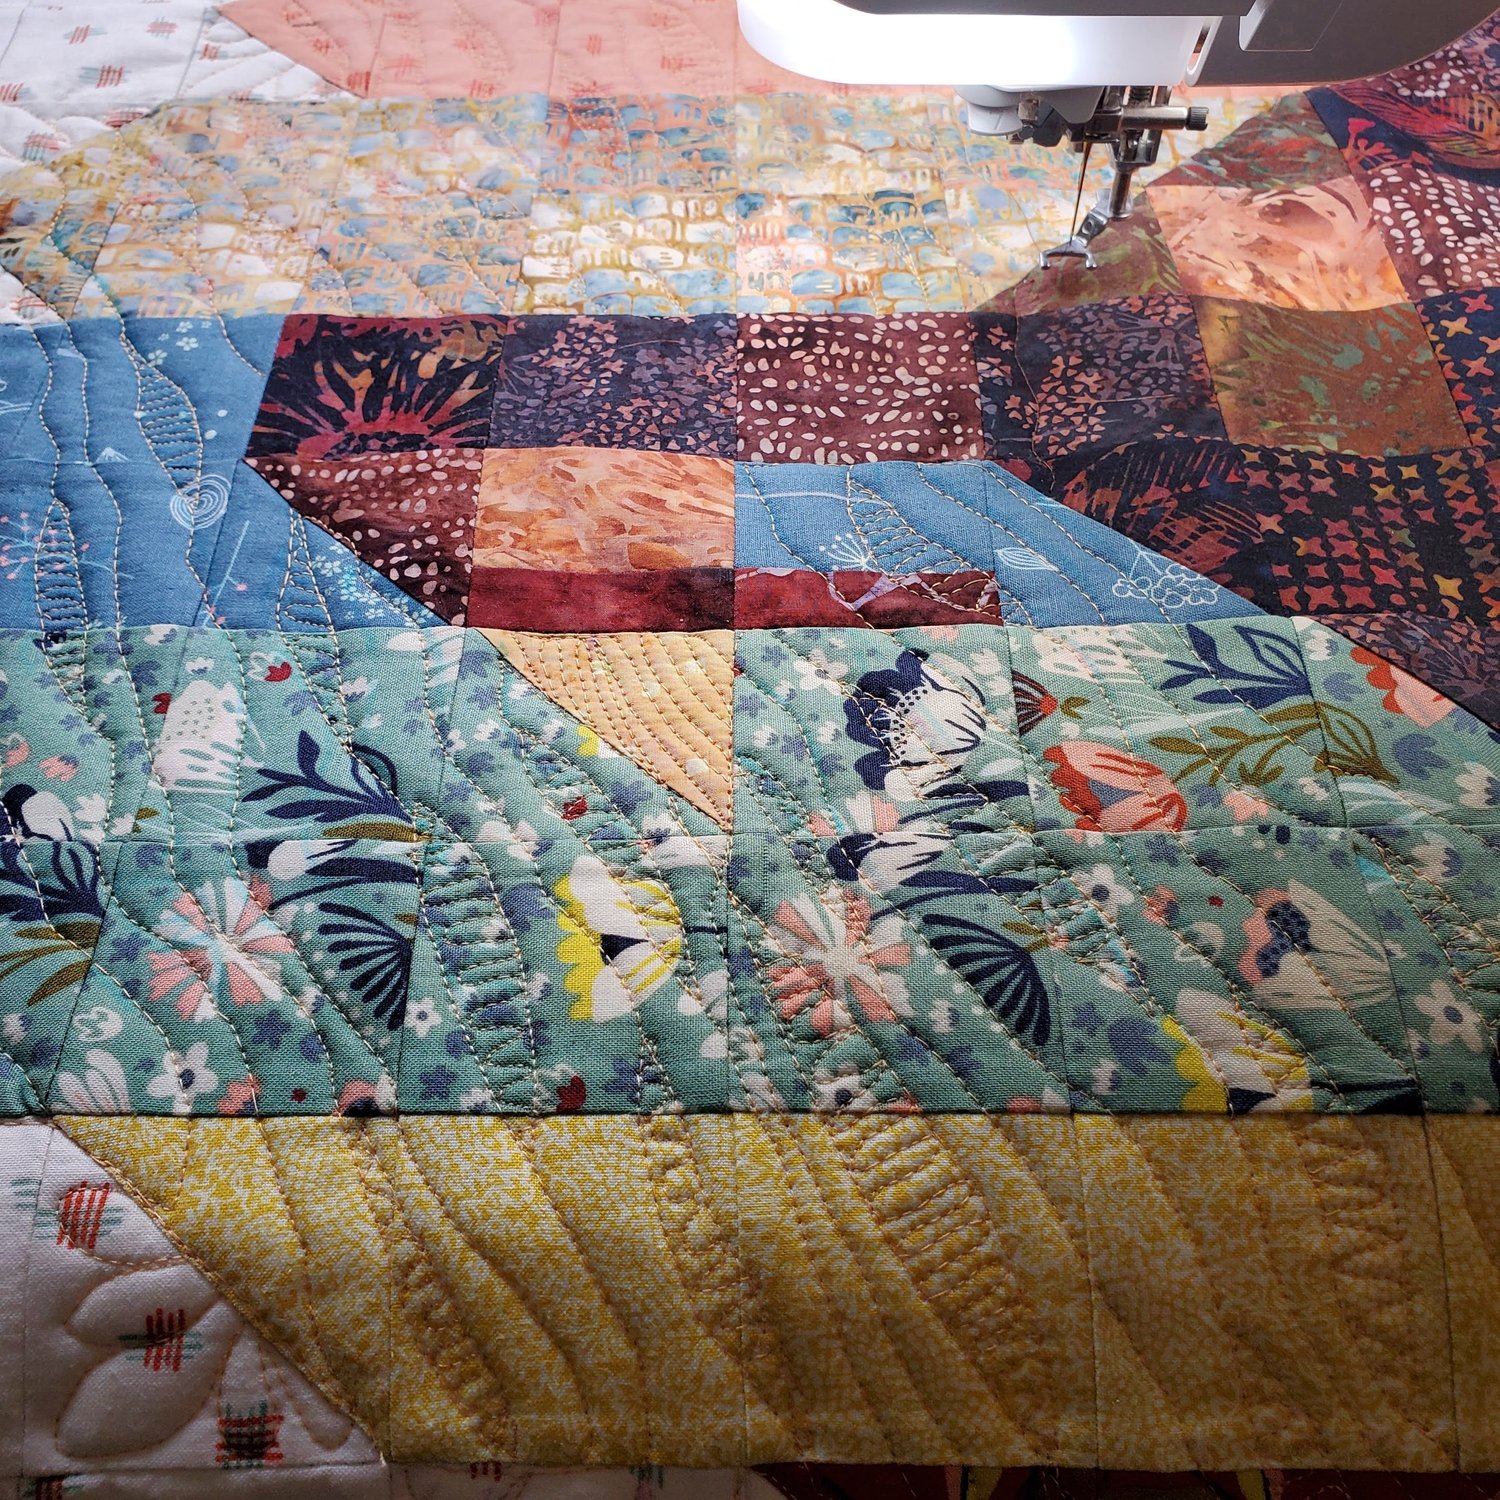
I have used the walking foot to stitch in the ditch or straight line quilting in the past with the easy piecing panel and it looked great. After quilting, square up the outer edges and finish with a binding. This will make a nice wall hanging or table topper for your Thanksgiving table.