

Puzzle Mystery Quilt Tips and Tricks
26th Aug 2021
The excitement around the most recent Olympia Puzzle Mystery Quilt has been fantastic as the detectives received their first clue. In today’s blog. I will provide some tips and resources to guide you as you sew your clues together.
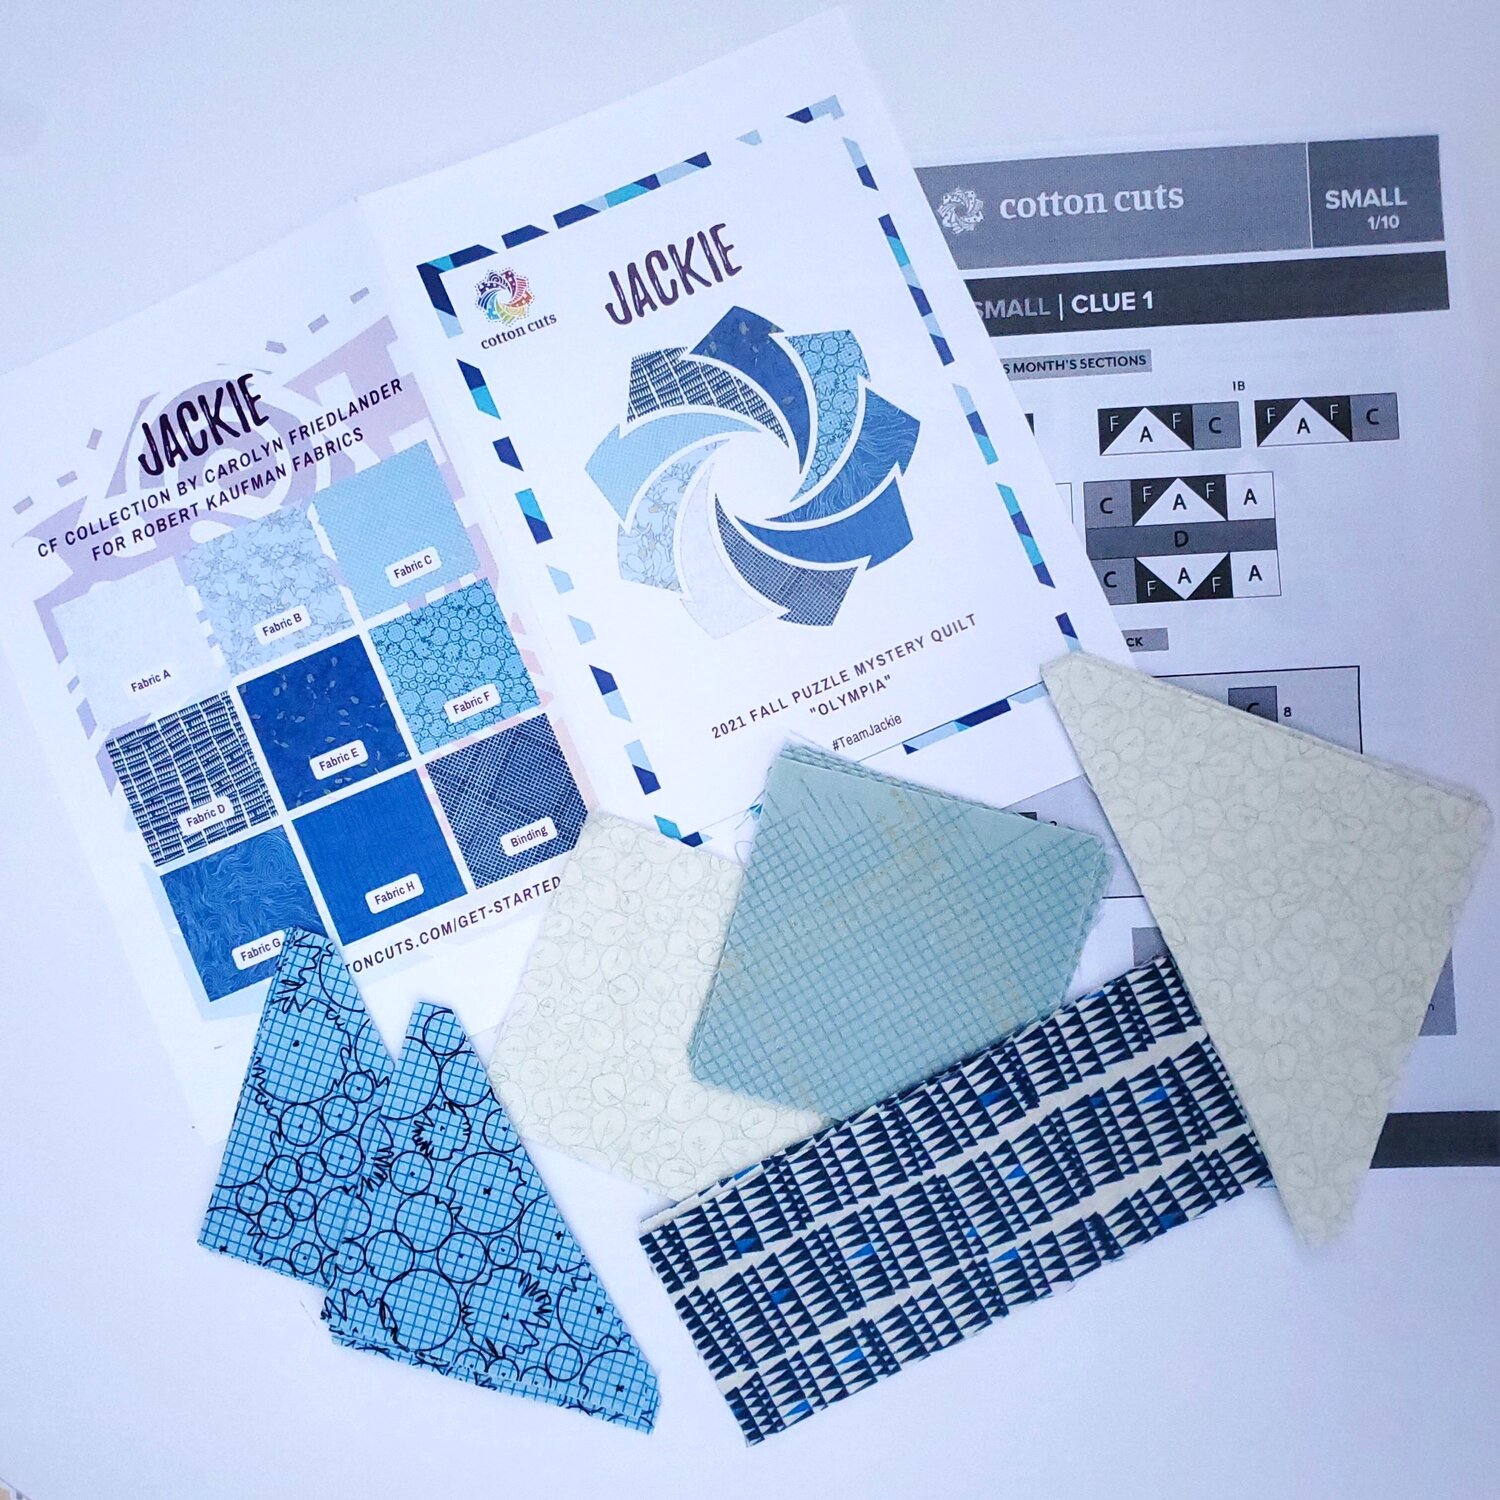
In the first clue, you receive a printed card with the fabrics identified. Take a picture on your cell phone for future reference and keep the card in a safe place to use over the next 10 months. All the precut fabric pieces that will be needed to assemble the clue for the month are included in the bag. Some detectives sign up for a large and a small quilt in different color ways, the pre-cut pieces in the clue will vary depending on the size of the finished quilt.
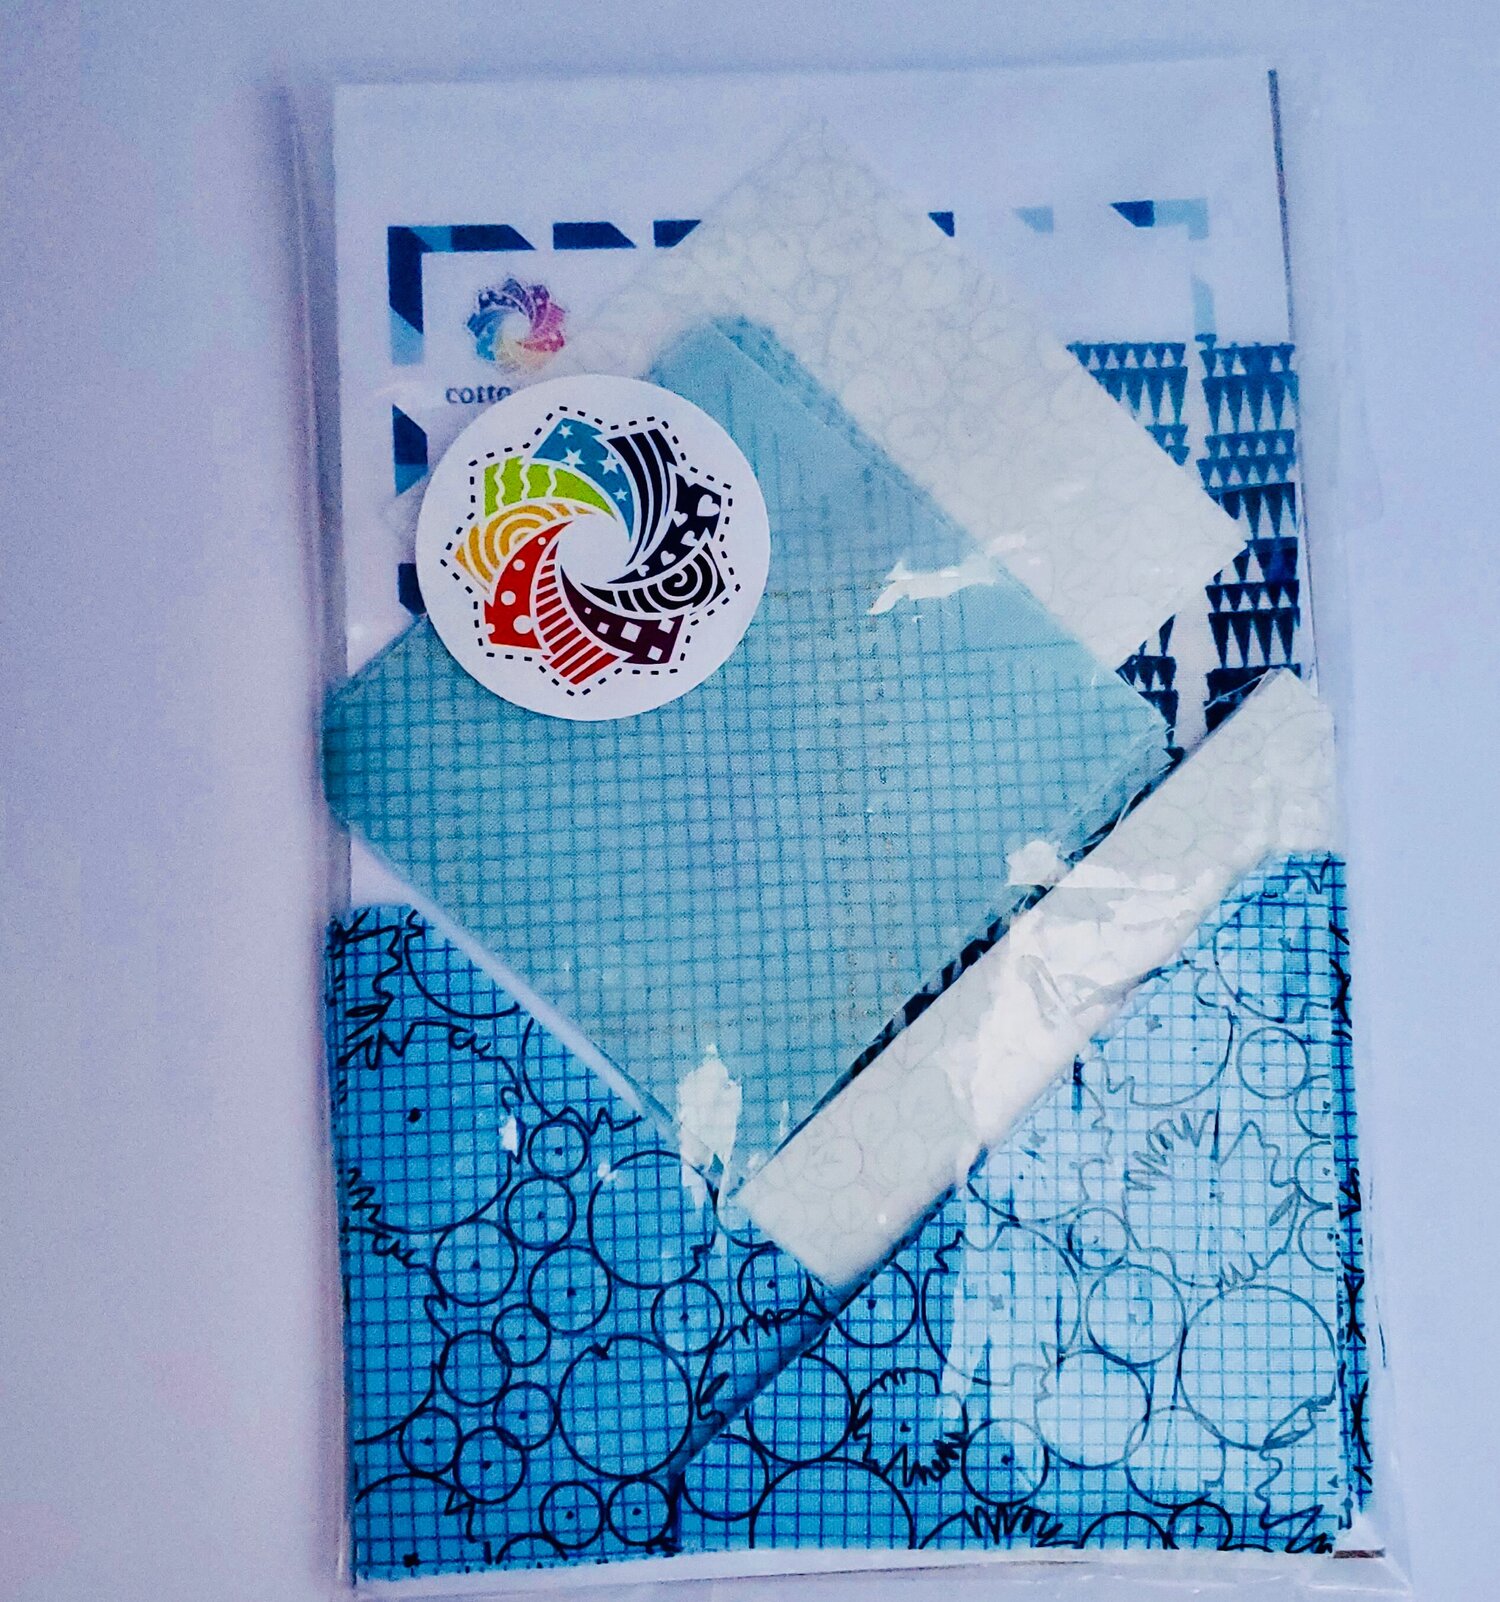
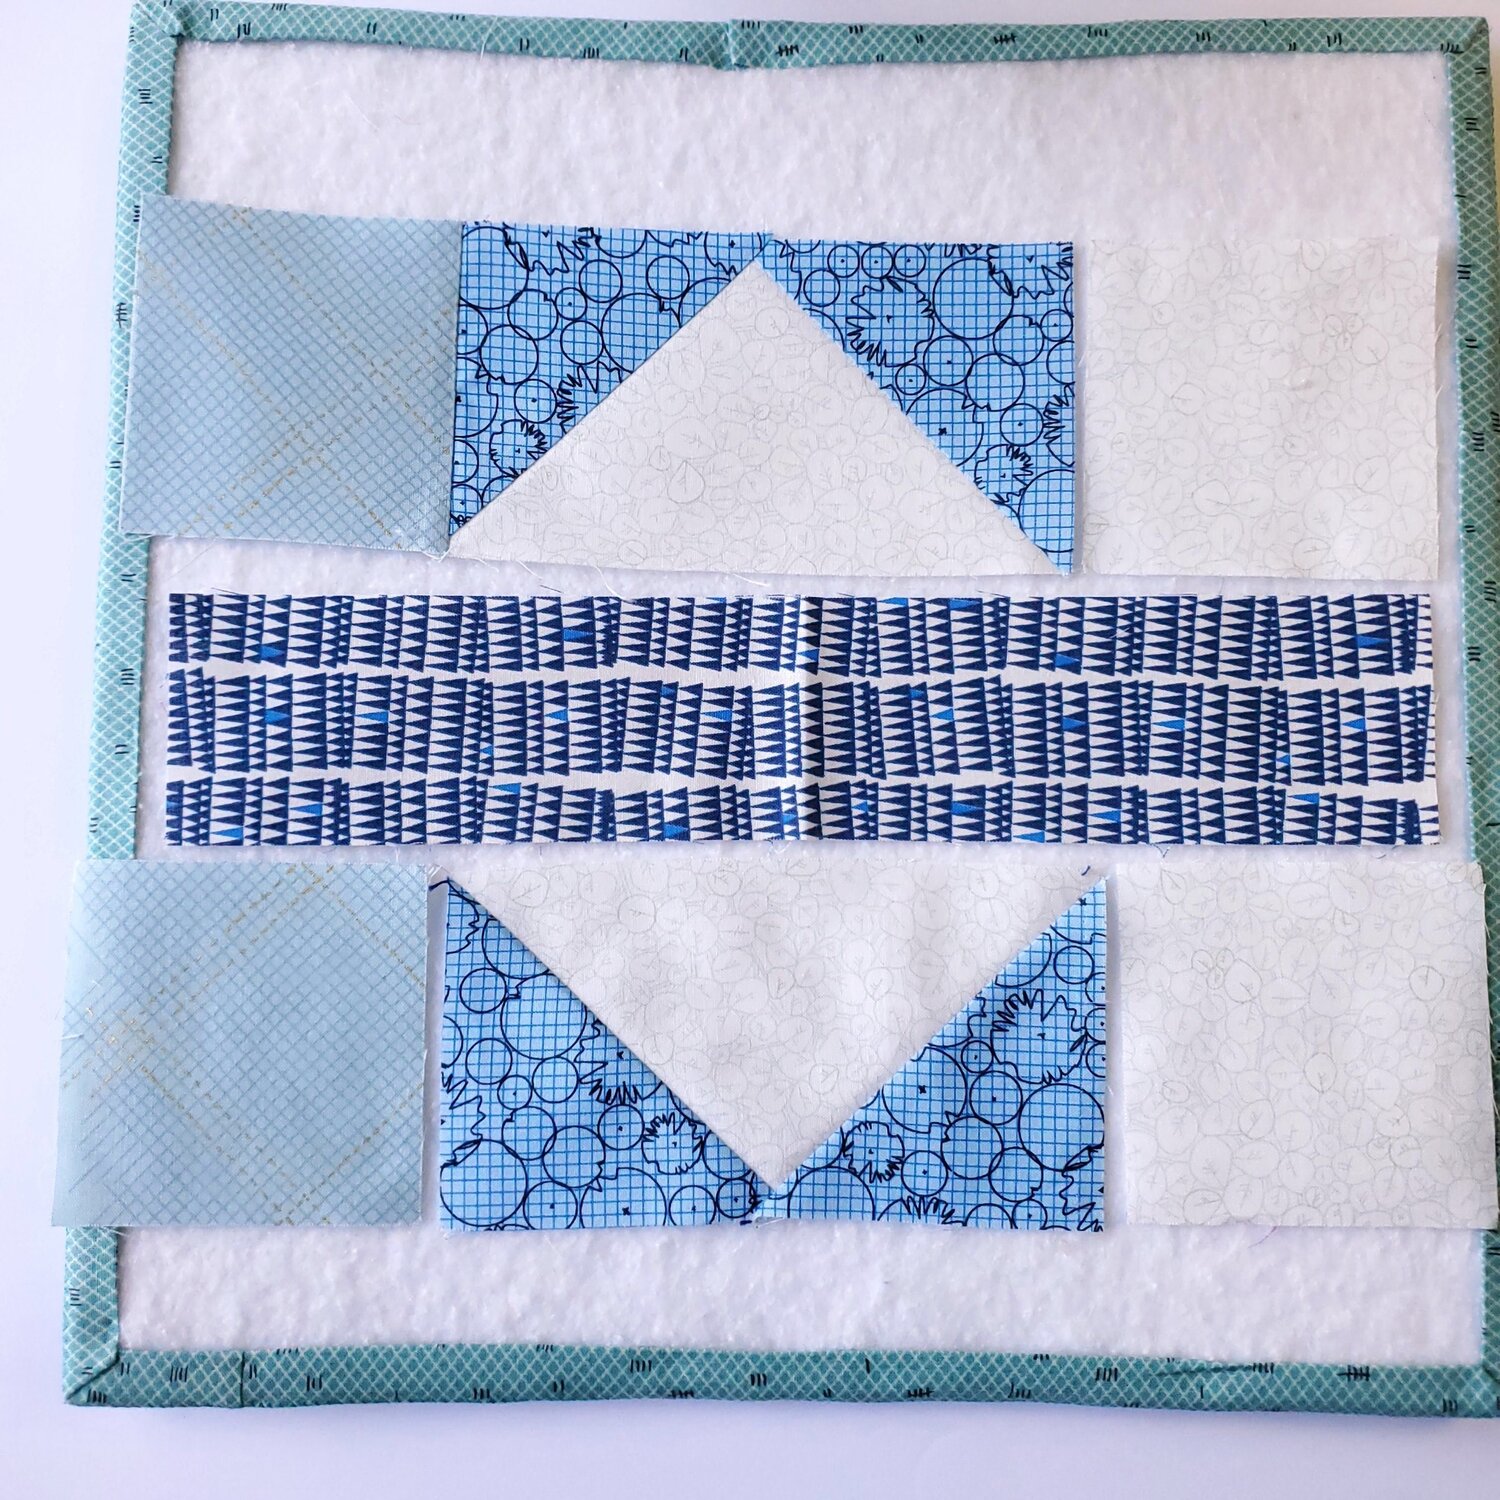
These pieces are ready for you to sew, no need to pre wash and do not iron. It is best to handle the triangle pieces carefully and as little as possible since they are cut on the bias allowing them to stretch easily. It can be helpful to use a piece of foam core board from Dollar Tree covered in flannel or a flannel backed tablecloth to hold the pieces in place as you lay out the blocks.
To store the finished clues, I like to use a 15” clear Art Bin to keep everything organized and as flat as possible. A less expensive option is to use a clean unused pizza box to store the clues flat so they do not wrinkle. In this video Laura, from Sew Very Easy explains the Mystery quilt sharing her ideas on how to Organize your clues.
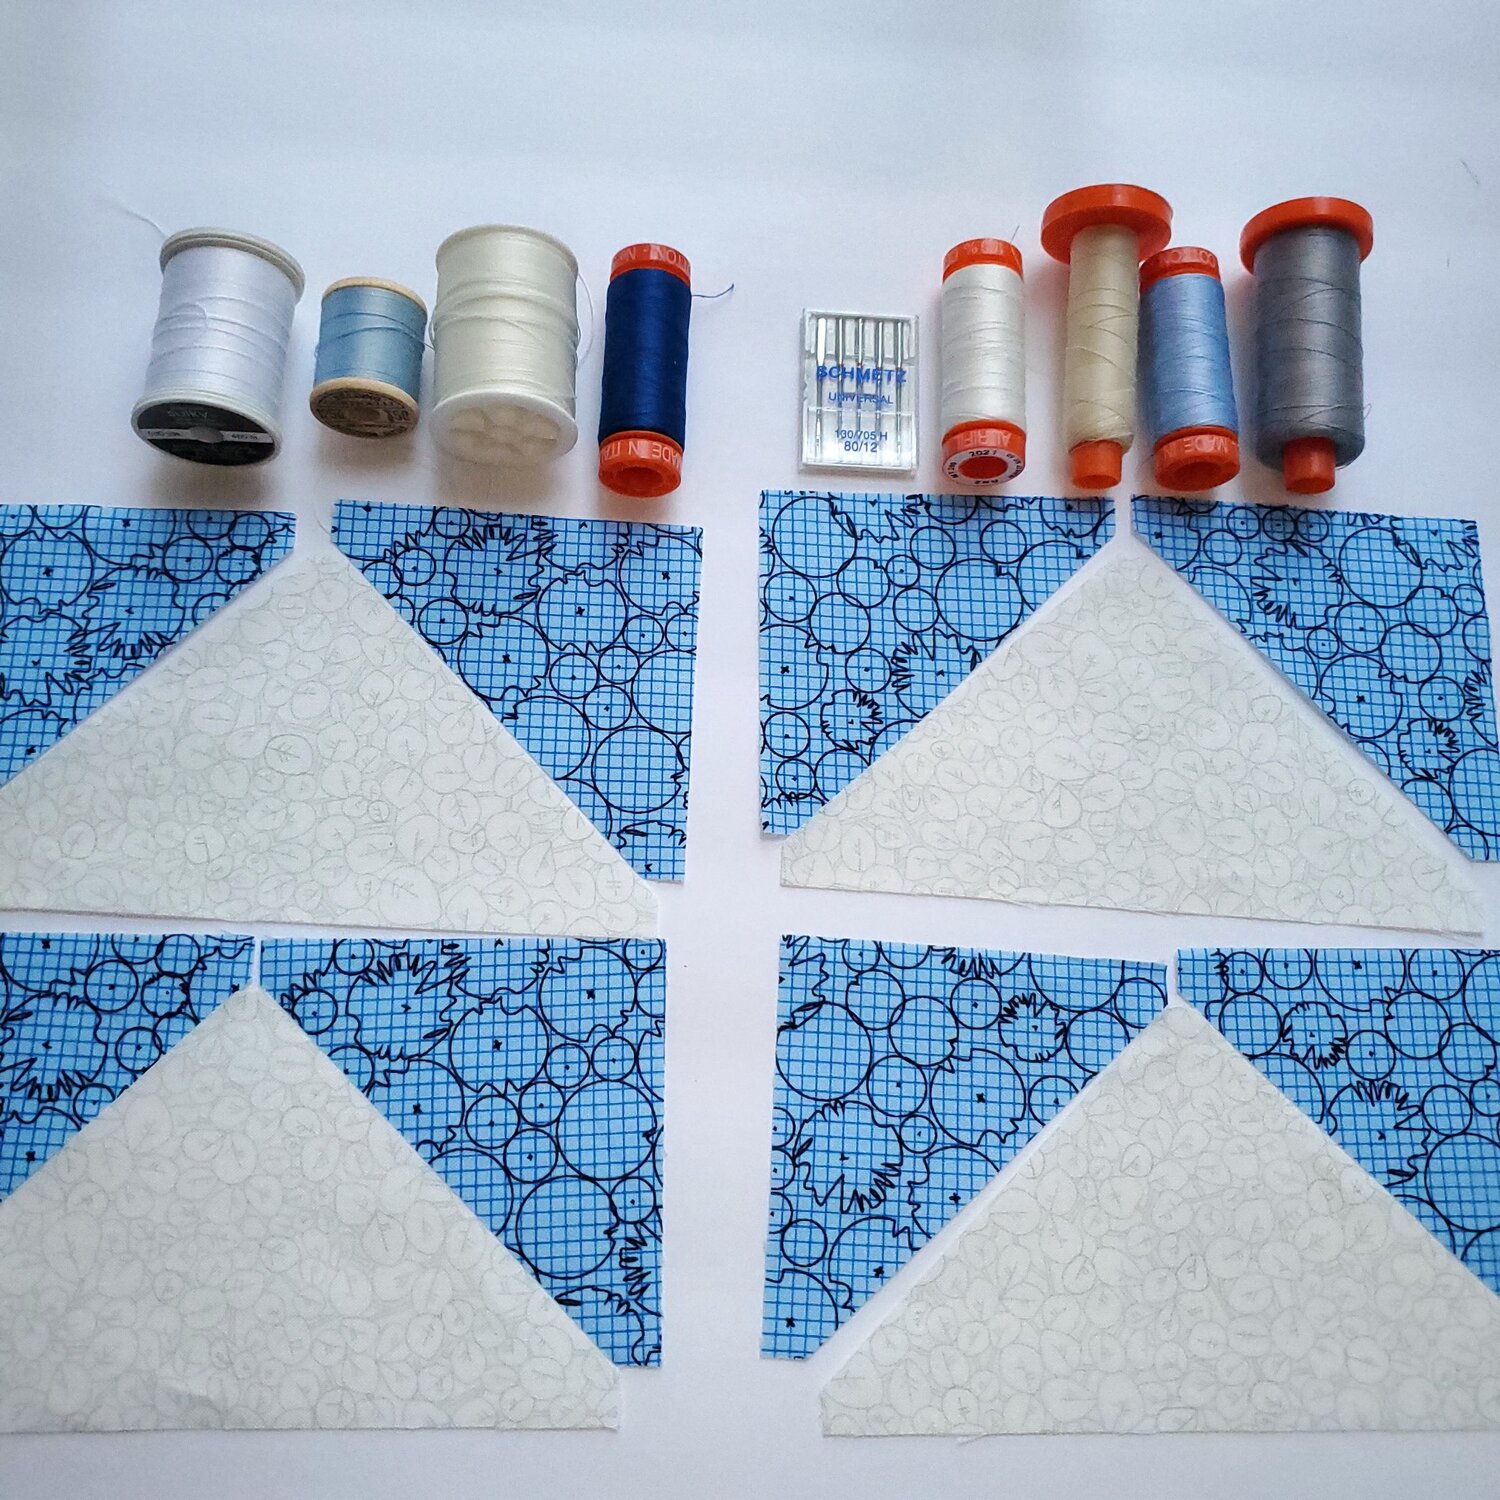
Before you start sewing it is a good idea to replace your needle, a #80 needle usually a good choice for this project. The thread can definitely make a difference as you sew the ¼” seams. I like to use 50wt Aurifil Thread; grey is a nice neutral color to use for block construction. You definitely do not want to use thick heavy thread or old, unlabeled, or high contrasting color thread. Laura Coia explains how the thread thickness affects your seam in this video from Sew Very Easy along with her tips for sewing a ¼” seam.
Be sure to give your machine a quick cleaning to remove lint buildup and a few drops of oil to keep it running smooth. Holly Anne Knight from String and Story shows how to clean the lint from the sewing machine with the appropriate tools. It is also a good idea to be sure the tension is set properly to sew a nice even stitch.
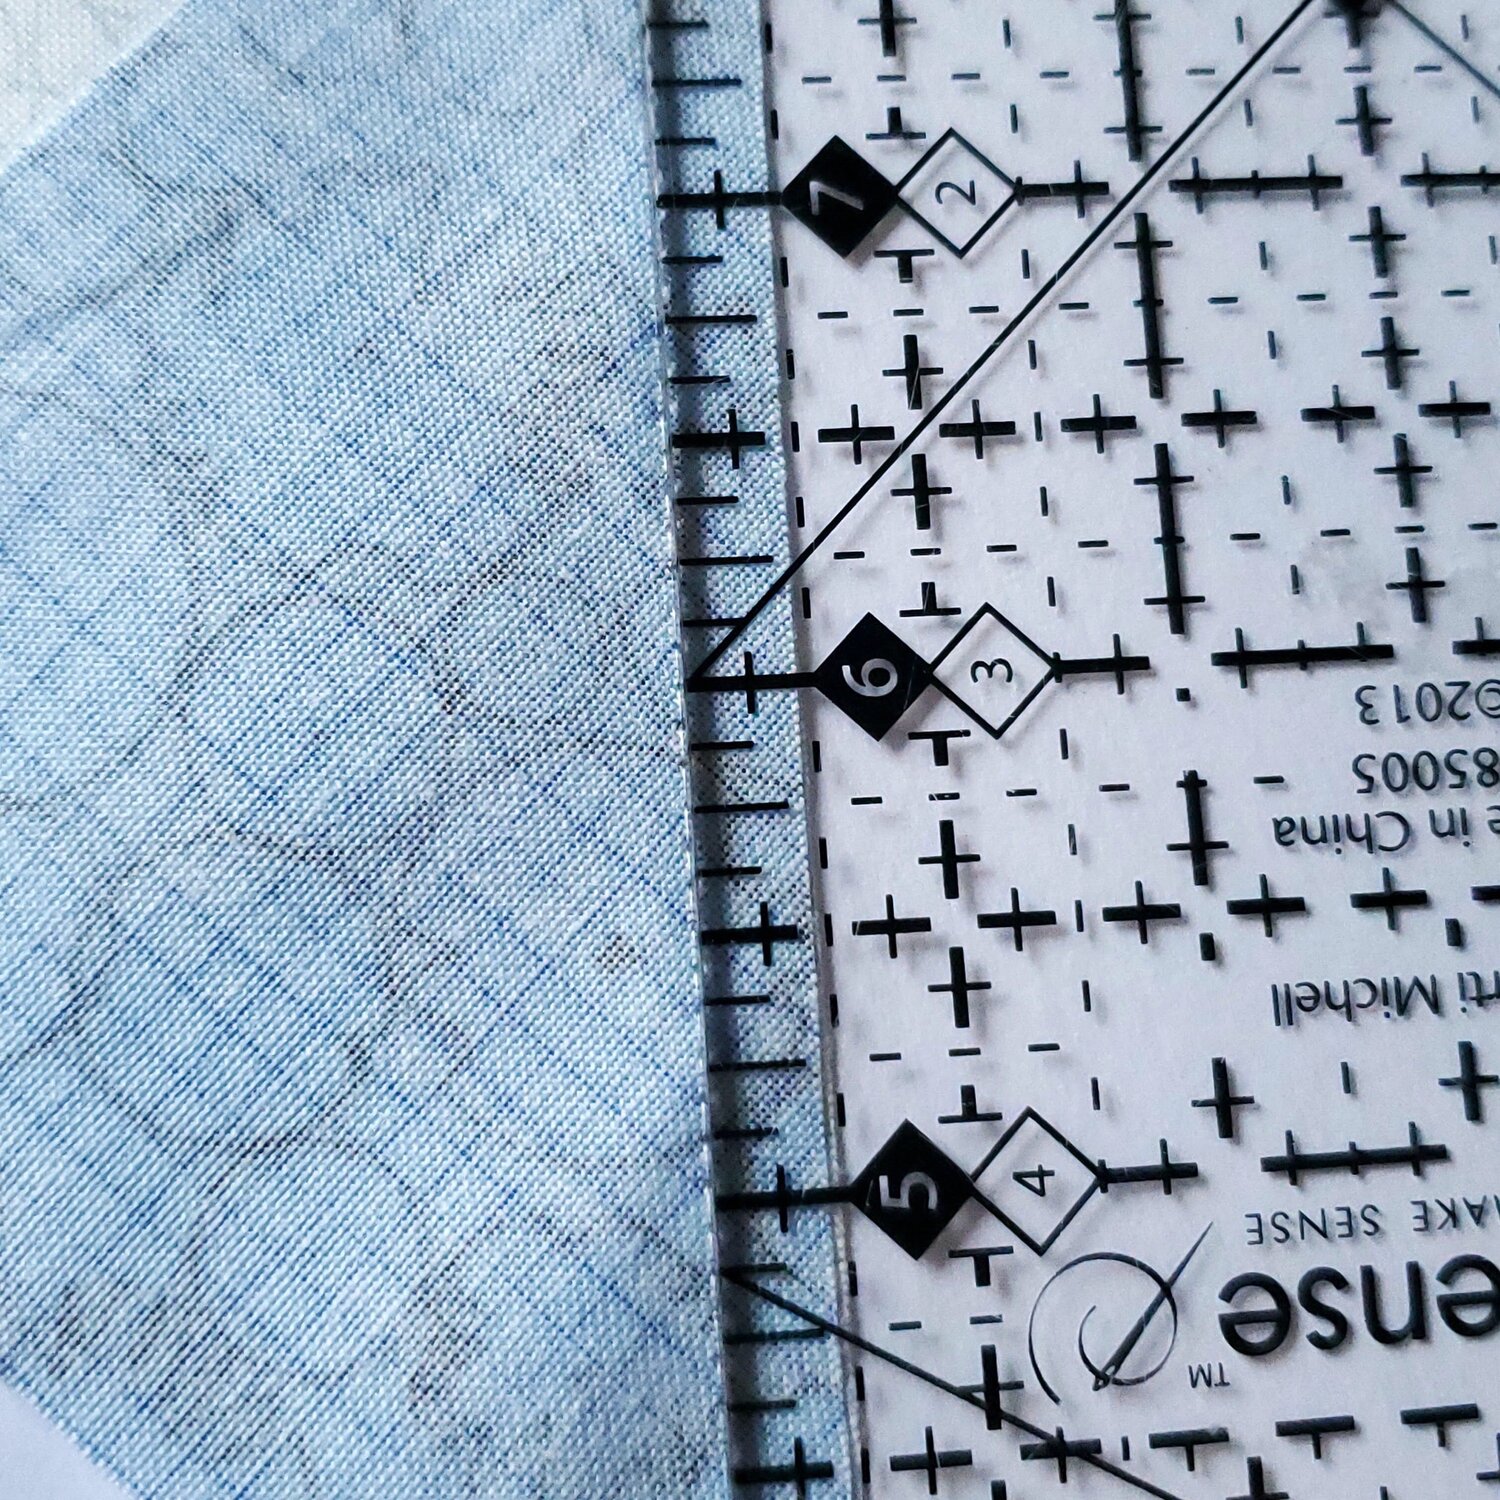
Now that you are ready to start sewing, Karen from Just get it done quilts explains how to sew ¼” seam in her YouTube video. My method is to simply tape a small ruler to the top of the machine after carefully measuring ¼” from the needle. This will help keep the pieces in line as you feed it through the machine. If you prefer a photo tutorial to help you set the quarter inch seam Julie, The Crafty Quilter has some great advice and lots of tips on her website. Finally on Lisa Capen Quilts YouTube video she shares a different method using paper to practice and set the seam allowance.

Sometimes it is helpful to pin the pieces in place before sewing and these Glass head pins from the Cotton Cuts website are my personal favorite. I find thin pins are more accurate and do not leave a mark in the fabric.
After sewing the seams, pay close attention to the direction to press the seam. This is an important step to follow to keep the pieces flat as you add pieces to the block. This is a good time to trim threads from sewing. I like to use a smaller iron like this one from Target on a pressing board next to my machine.
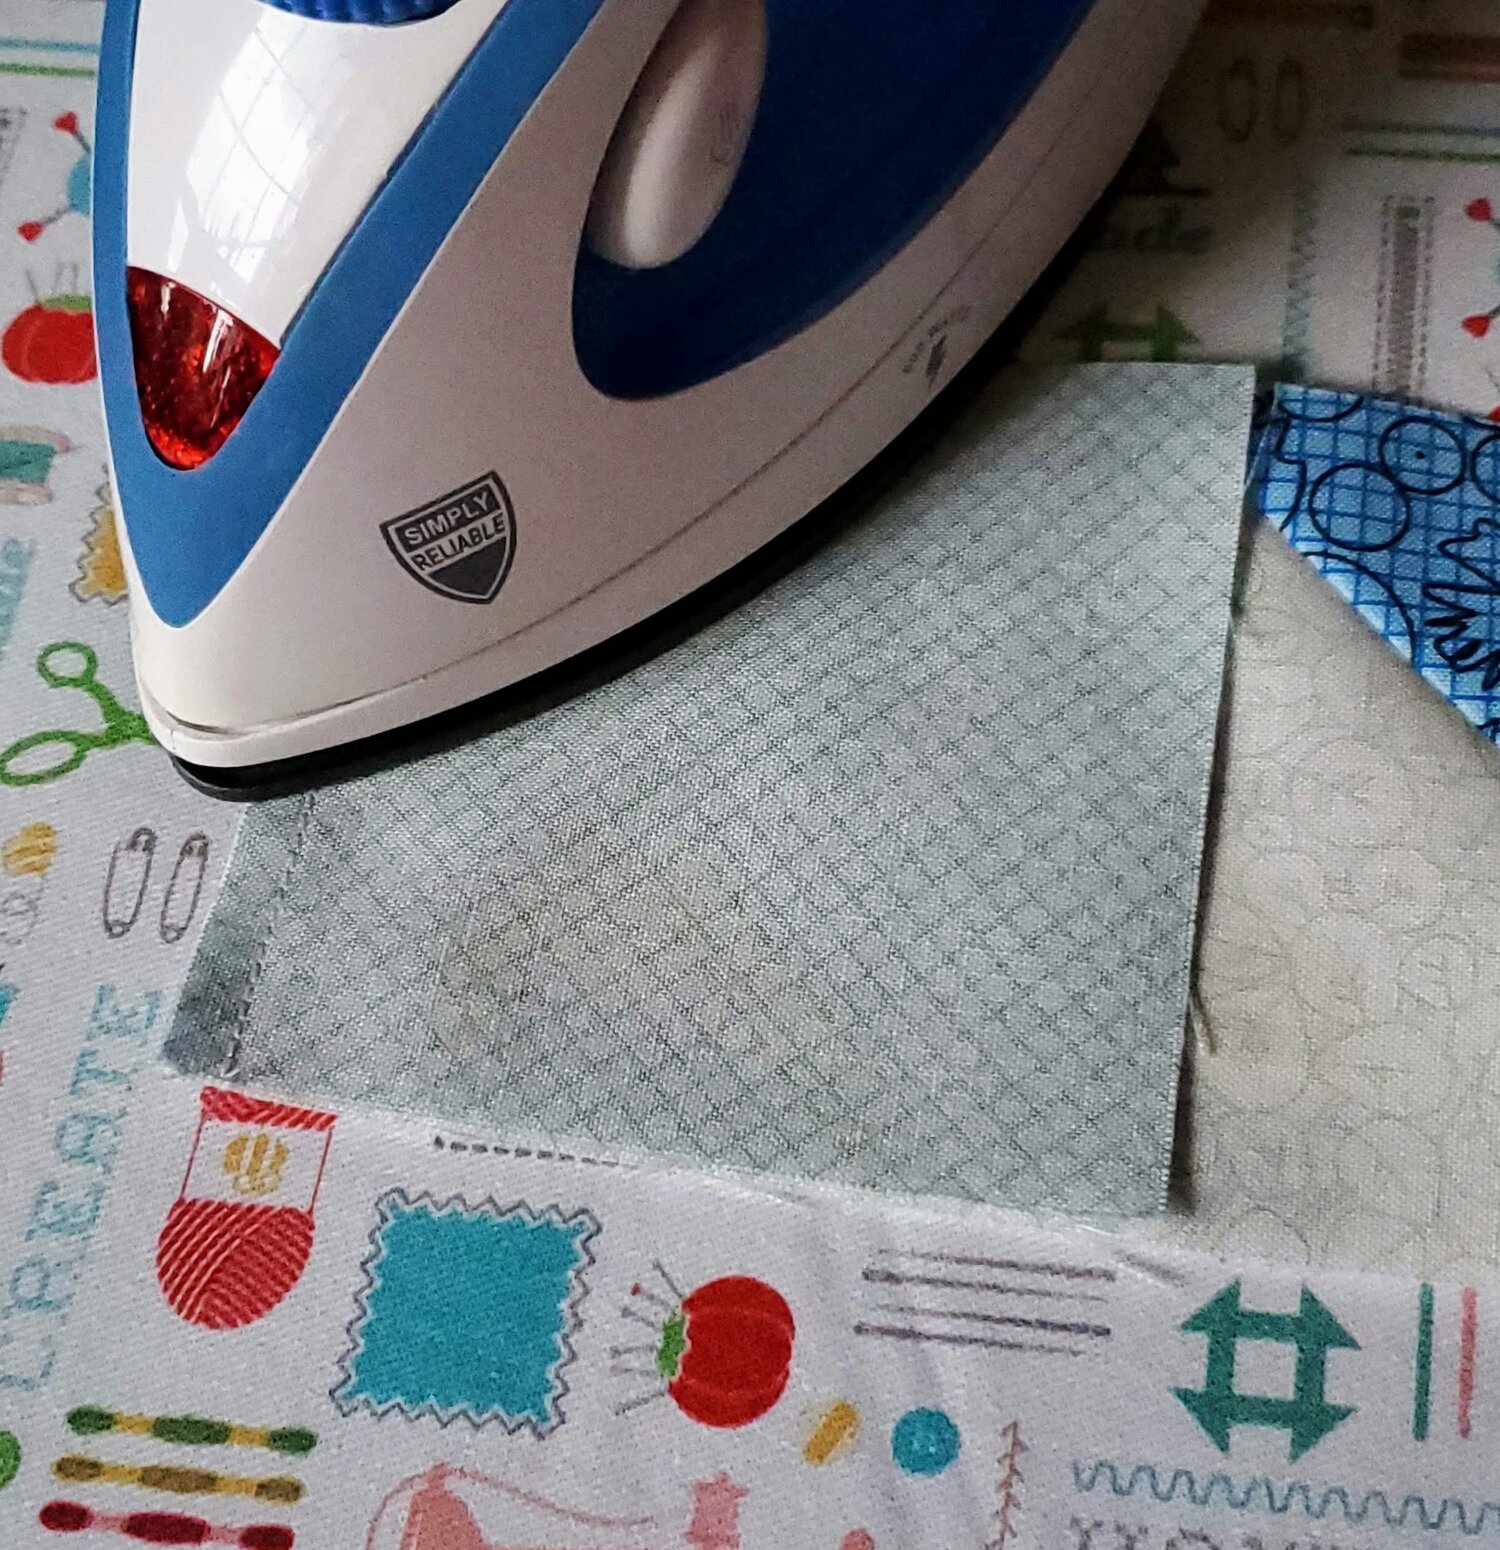
It is easier to handle with its small size and you can see more clearly the area to press making it more accurate. It is helpful to first heat set the seam to press the stitches into the fabric.
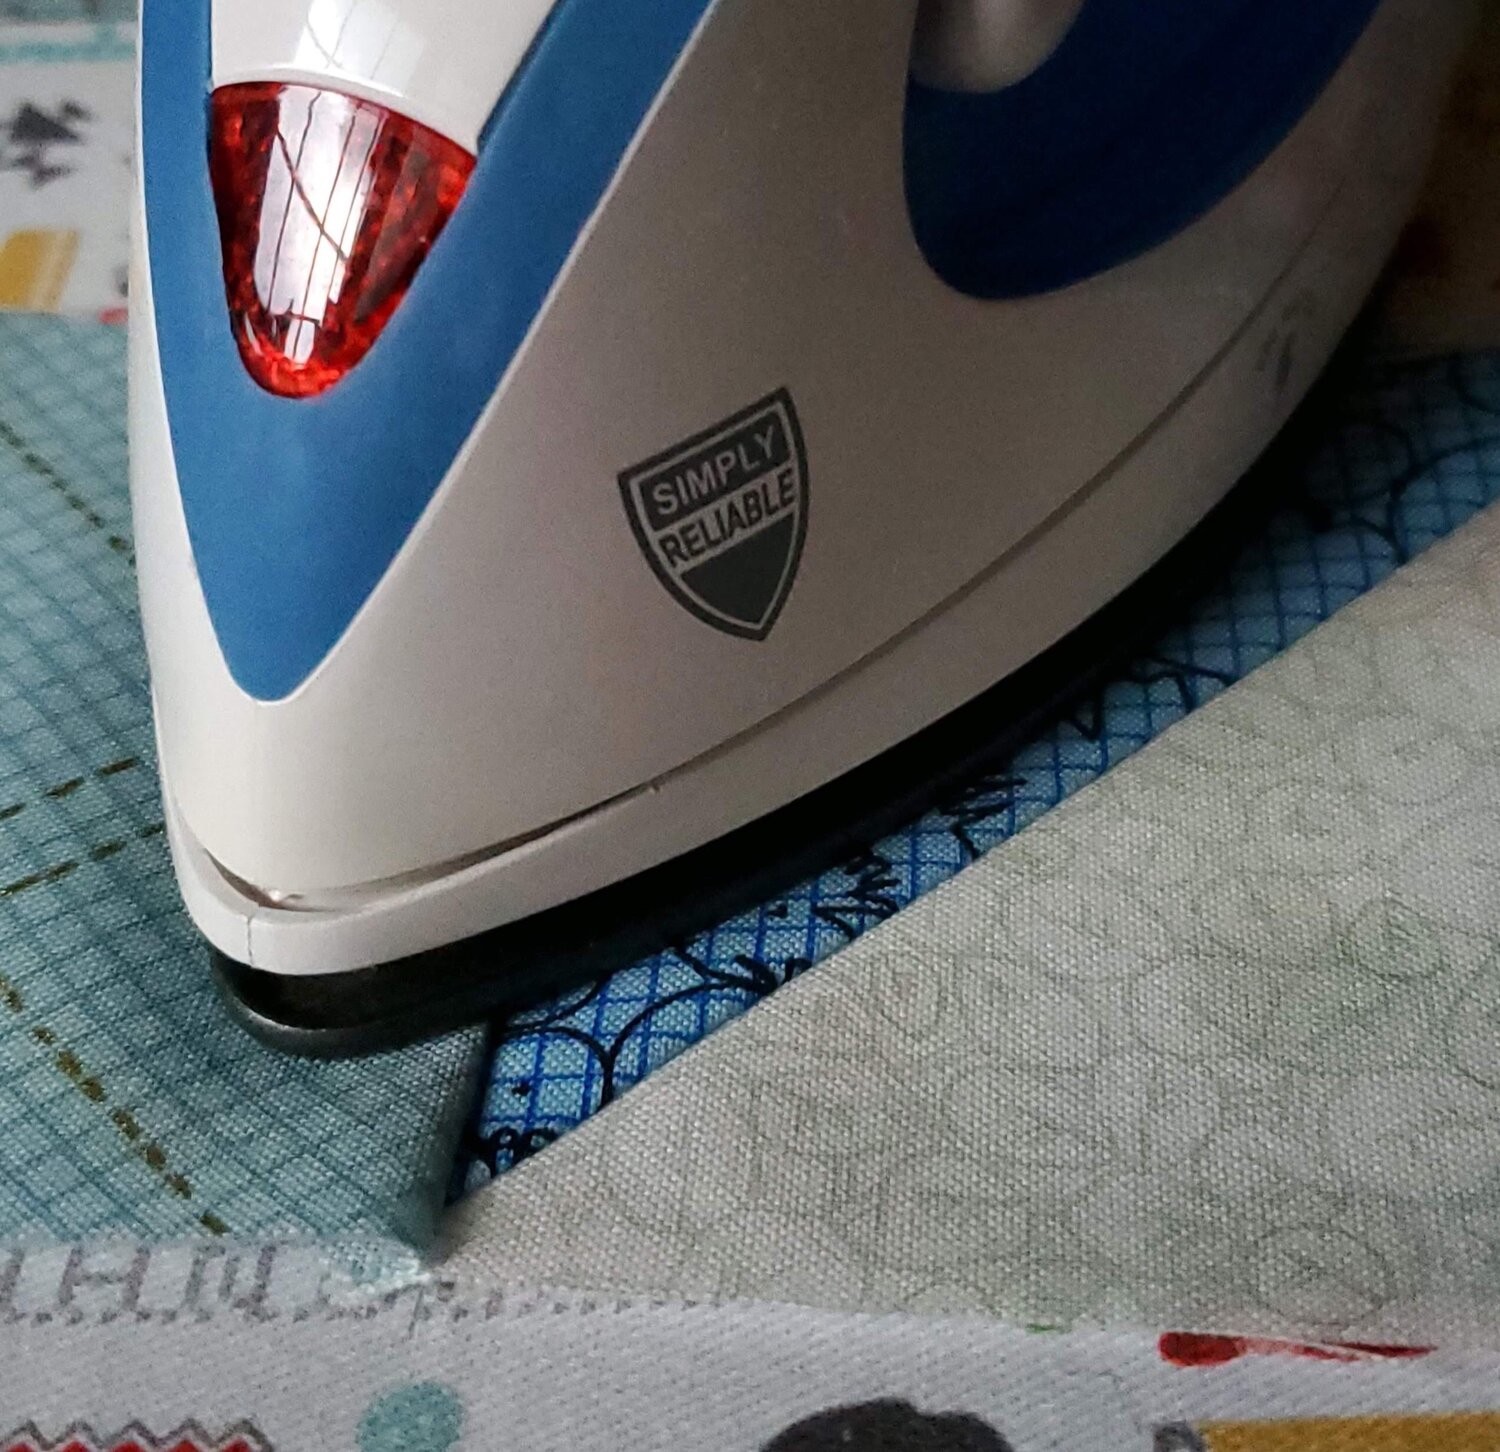
Next, open the seam and use your fingers to press the seam in the direction indicated in the pattern. Then with an up and down motion press the seam. It is different from ironing a shirt where you glide the iron across the fabric. In this video, Karen from Just Get It Done Quilts explains Proper pressing technique.
I like to use spray starch, and Menard’s has the lowest price on Mary Ellen’s Best Press. The Best Press helps to flatten the seams and give a crisp feel to the fabric making it easier to handle when piecing it together for the final clue.

The Puzzle Mystery Quilt is a great way to make a quilt with the pieces accurately die cut for you, ready to sew. On average it will take about 60 - 90 minutes to sew each clue together. If you have any problems Cotton Cuts is ready to help at Cotton Cuts PMQ Support. It is a great way to try out a new colorway outside your comfort zone and will keep you guessing of what the final quilt will look like! Better yet, invite a few friends to join the club and make it a fun sewing night every month and in the end you will have a beautiful quilt to give as a gift or keep for yourself.