Kool Kaleidoscope Part 2
9th May 2022
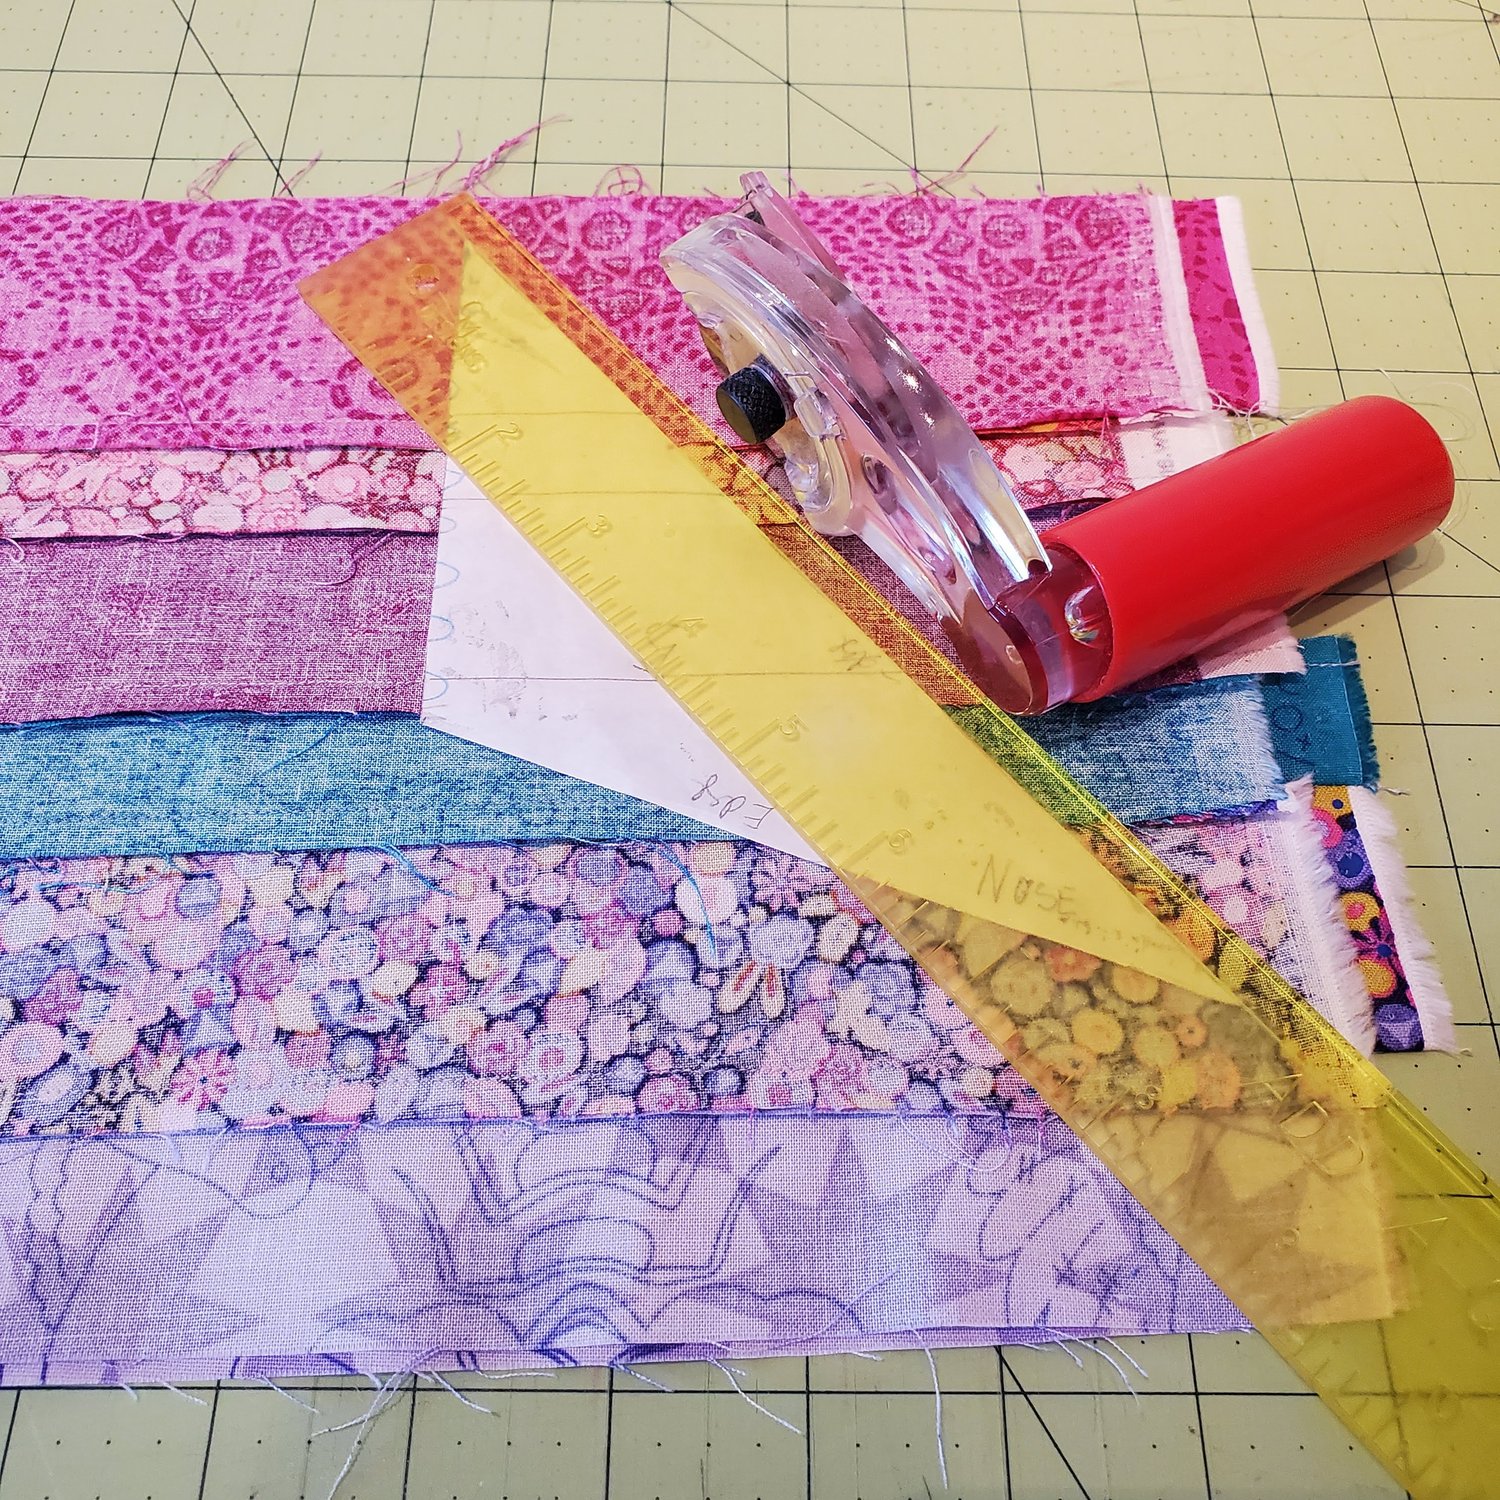
My Quilting adventure continues this week with an update on my Ricky Tims Kool Kaleidoscope quilt project. This week the focus is on the process of drafting a “one of a kind” pattern to create the template. I really like that this quilt is truly unique and its design is determined by my decisions as I draw the pattern. To get started you will need an 18” square of freezer paper. Measure it to be sure it is perfectly square, mine was actually 17 ⅞” off the roll. I found it was easier to be standing at a table to do my measurements to have a better view of the ruler. You start by aligning the 30 degree line with the edge of the square paper and the corner. Draw the line with a sharp point pencil. Move the ruler so the 30 degree line is on the line you just drew and the corner. It is very important to get these first lines drawn accurately.
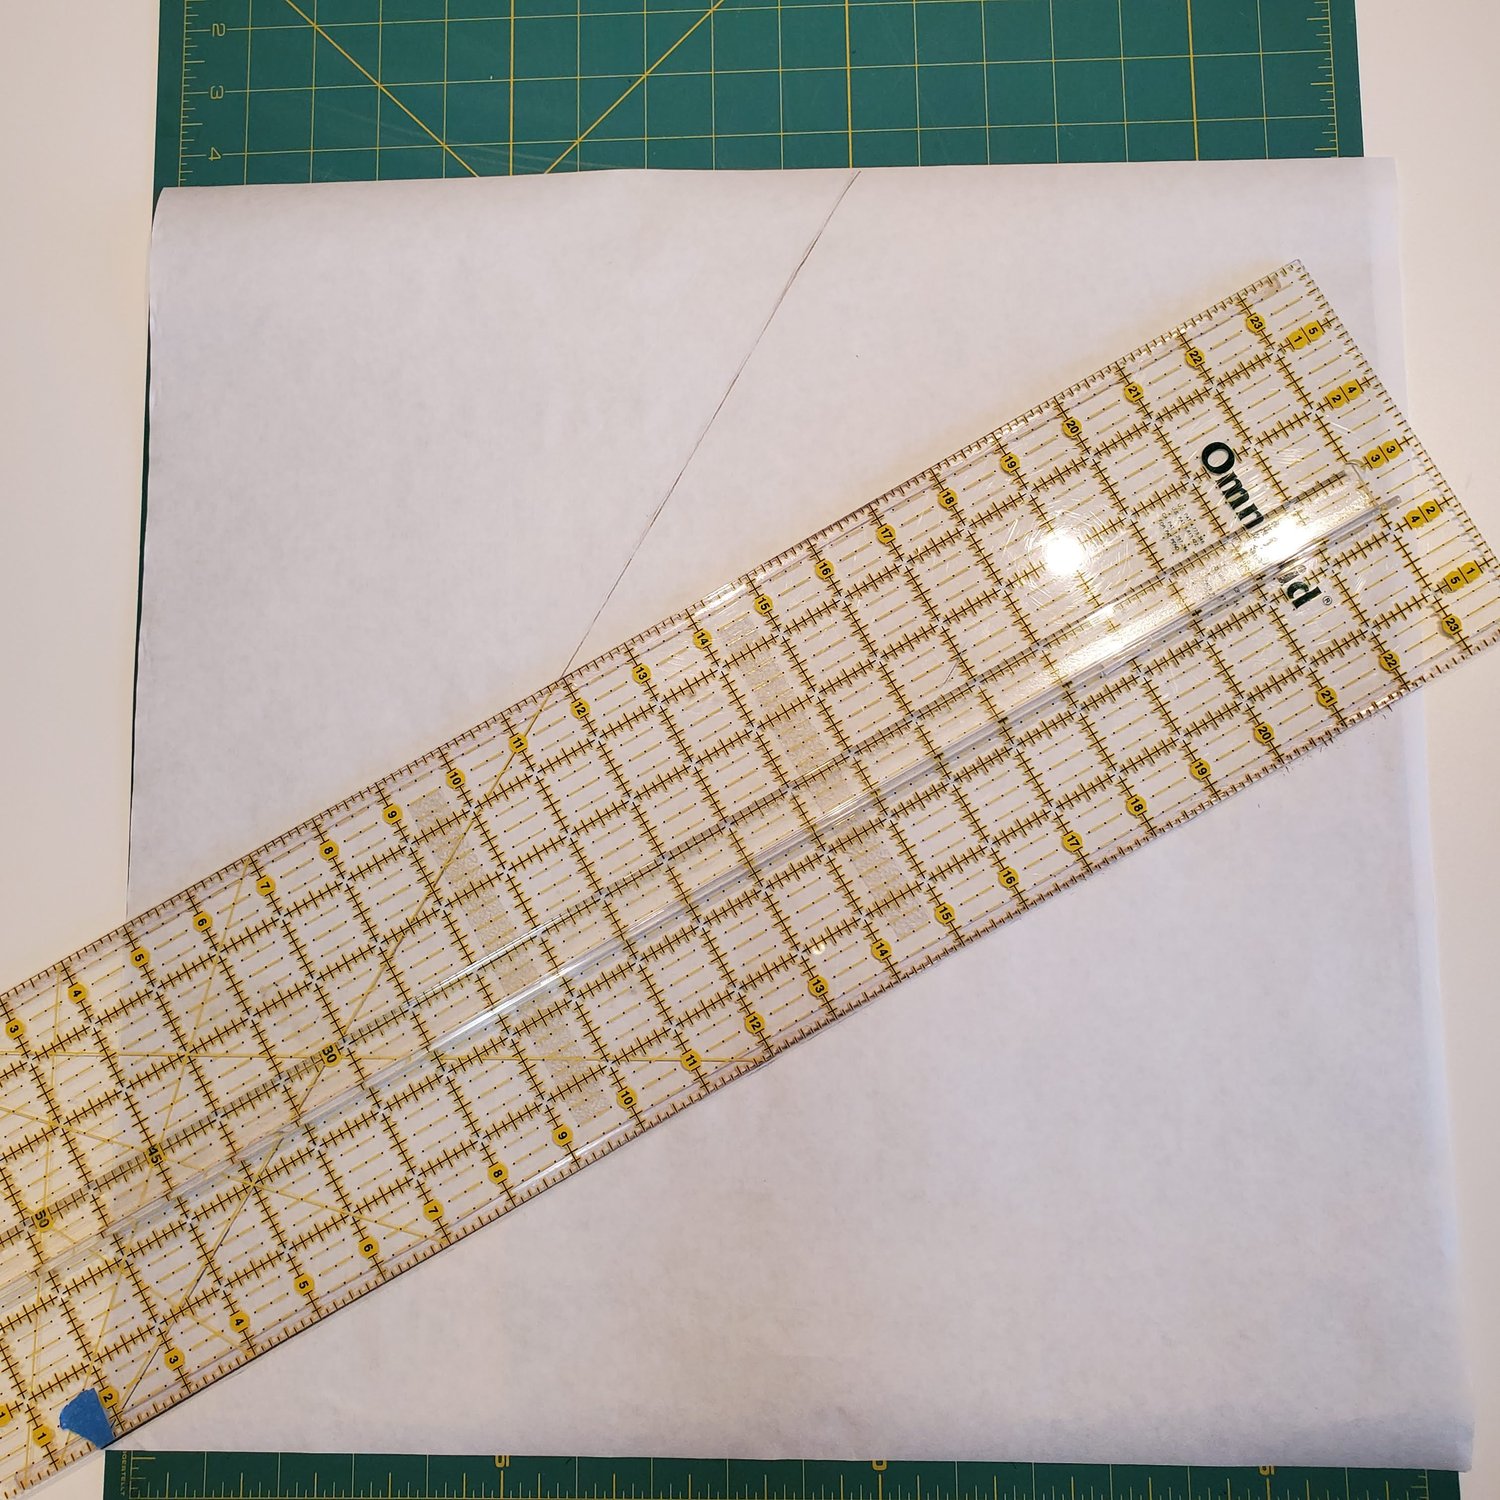
When I did a double check, mine was off just slightly as the ruler shifted, so I started over with a new piece of freezer paper. I think it is better to take a few minutes now to be accurate before any fabric is cut. Measure 18” from the corner and make a mark on each line, then connect the lines as pictured. You then make a few lines that kinda look like a braid creating five sections that will be your pattern pieces.
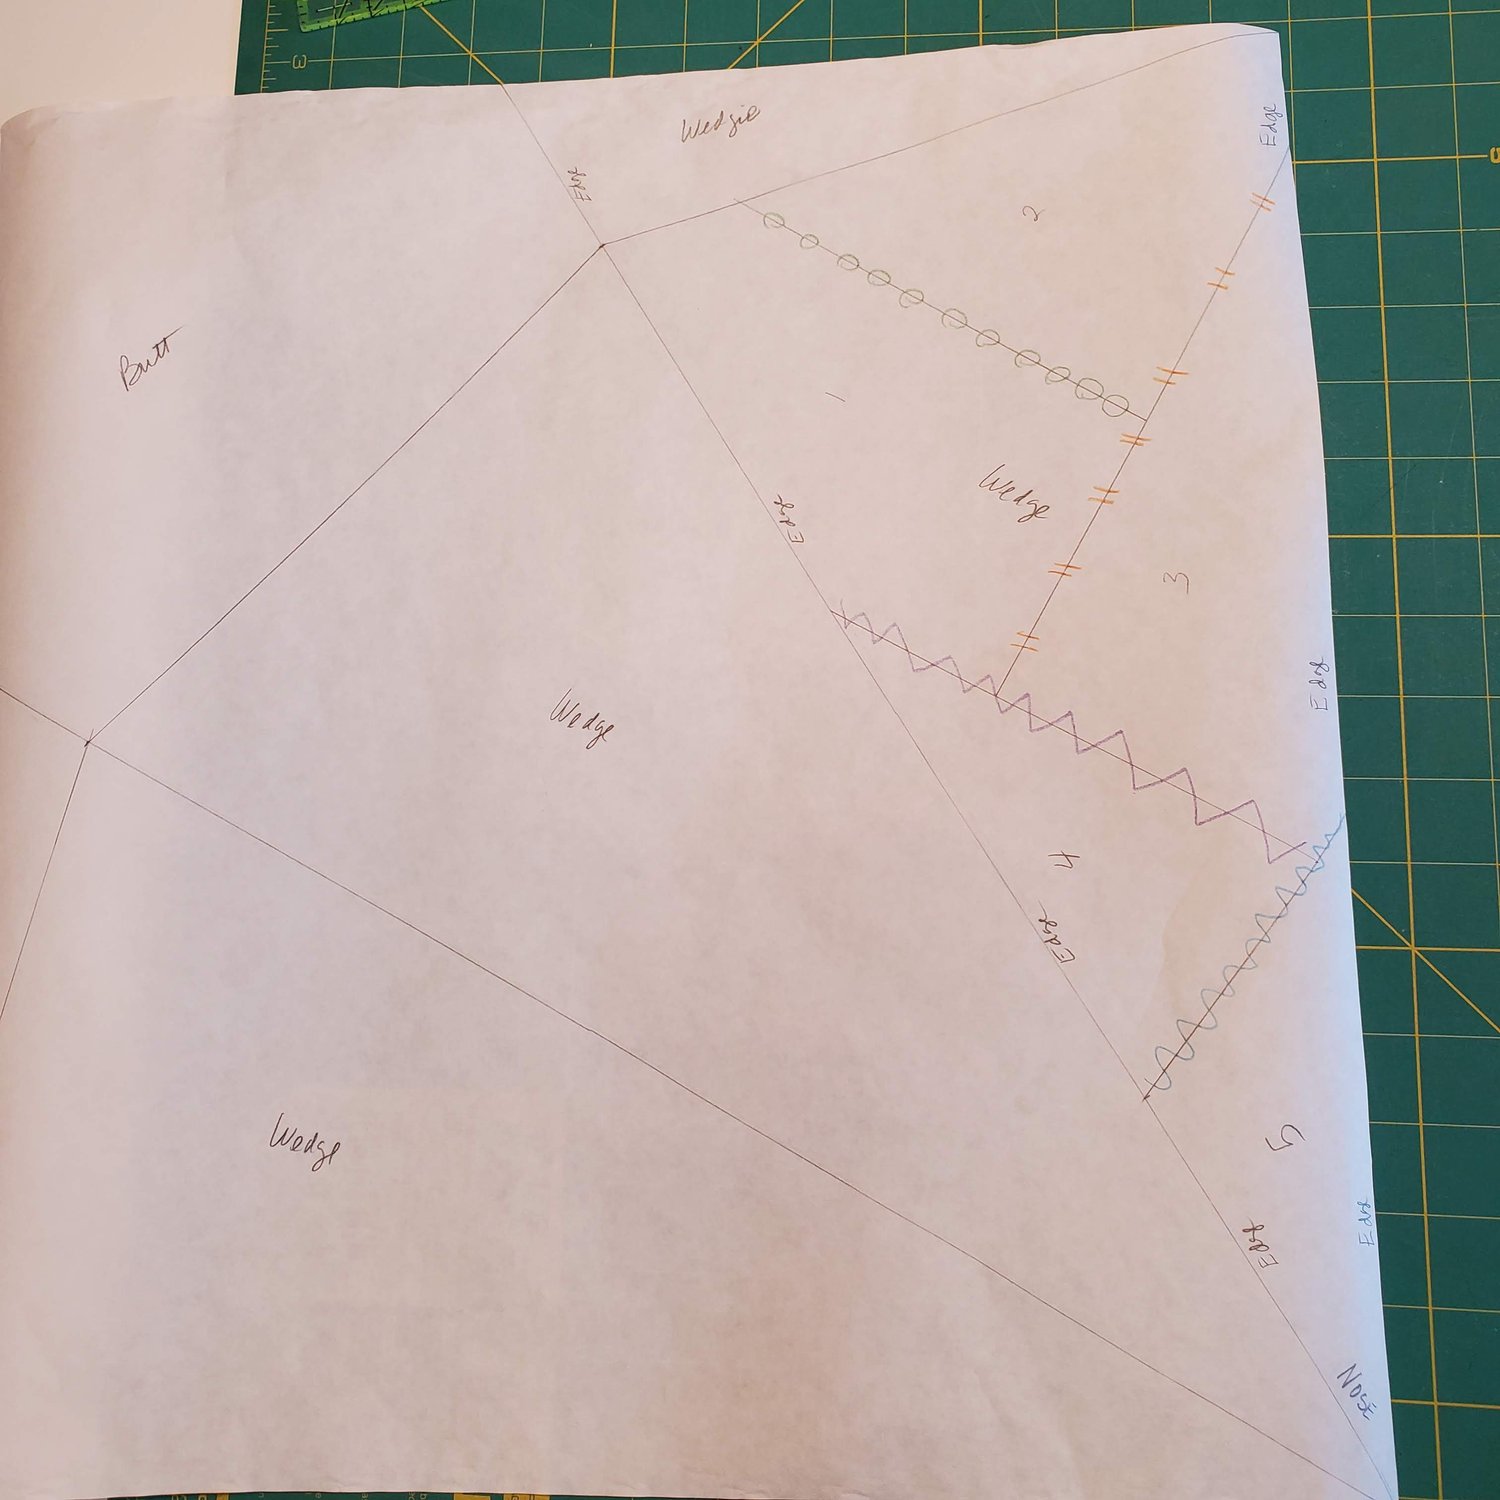
Ricky suggests making colored pencil designs to help align the pattern pieces after they are cut apart. It is also very important to mark the edges as noted. Carefully align your ruler on the drawn line to cut the pattern wedge apart from the other two. Be sure to keep all these pattern pieces together for future use. The first piece you will cut from the strip sets will be #5. It is a good idea to choose a patterned fabric for the very center of the star to camouflage the seams all coming together.
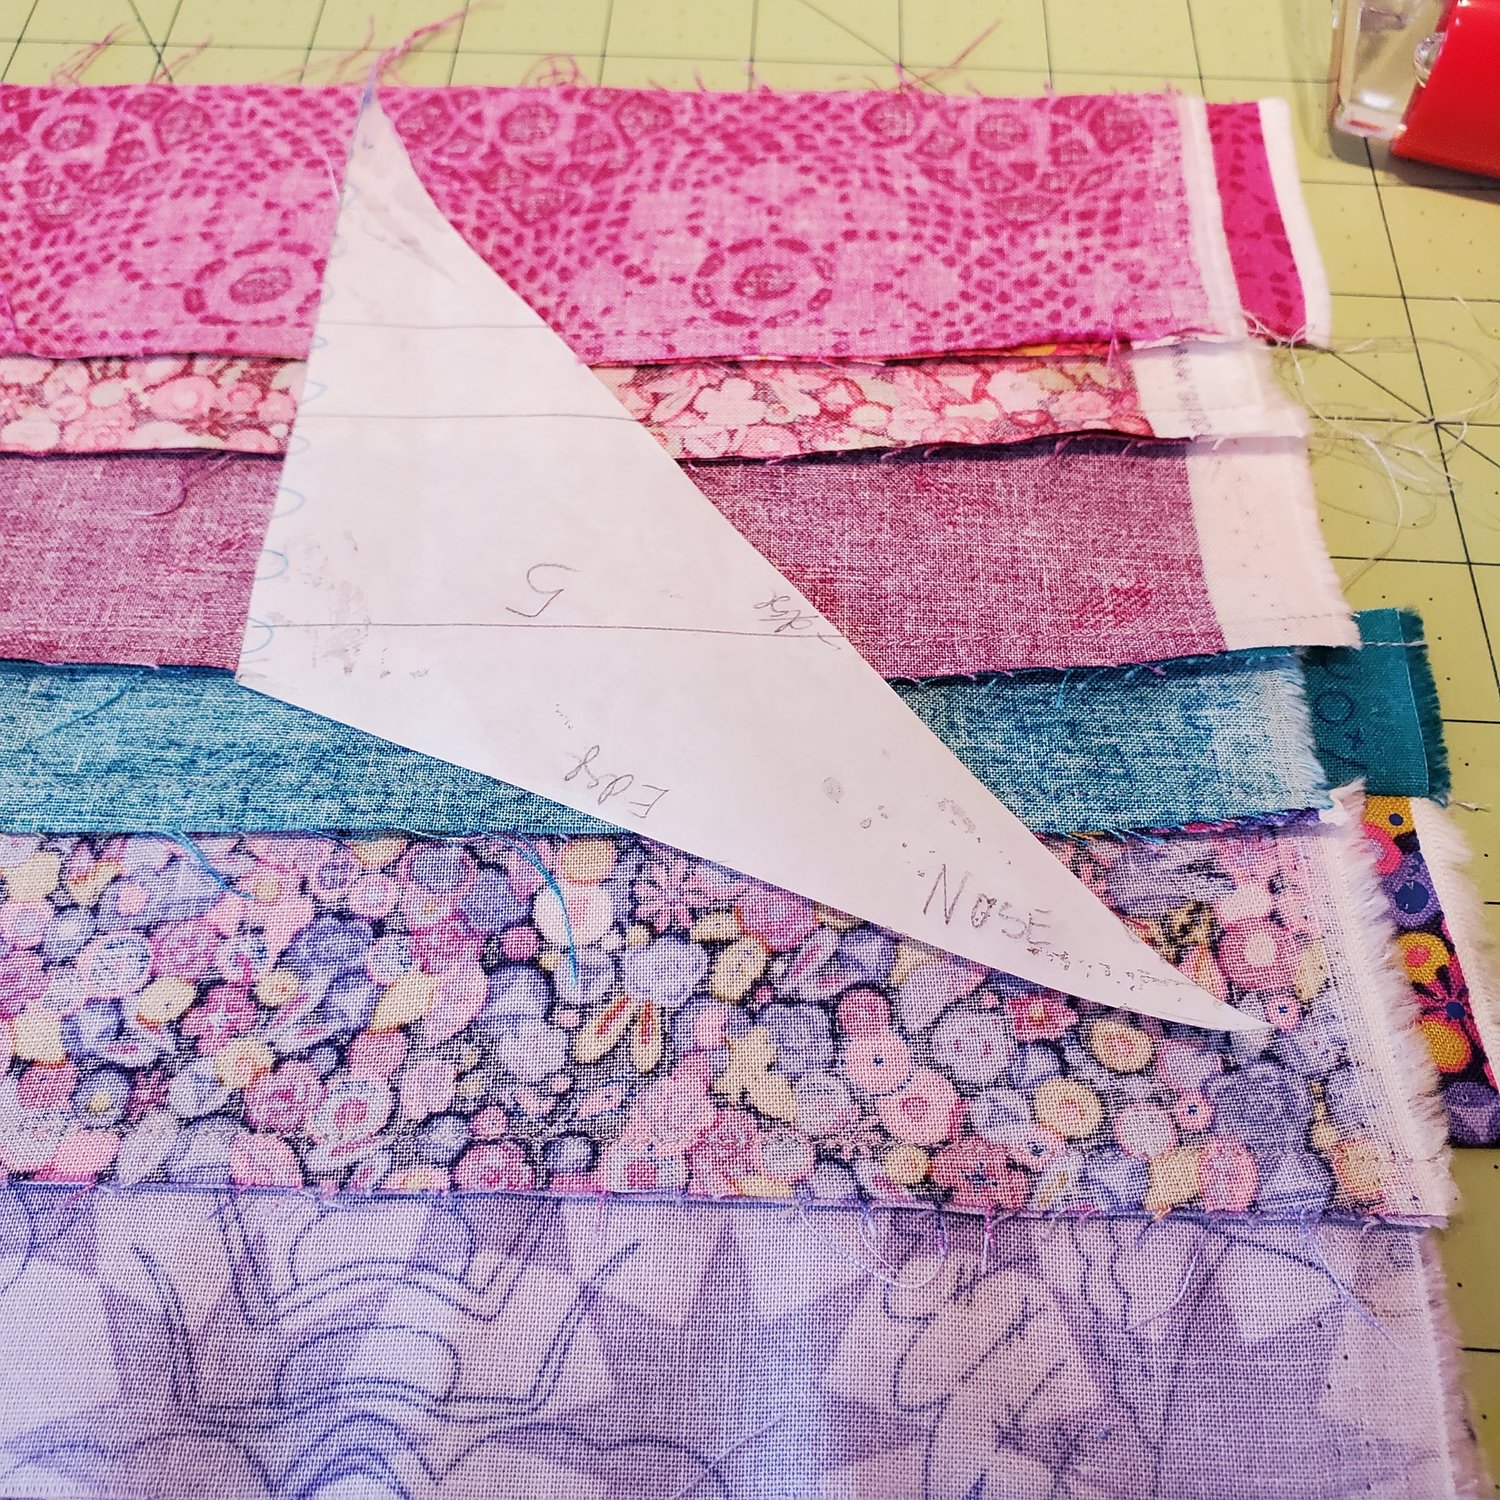
When deciding on the placement be sure that you do NOT have a 90 degree right angle between the “edge” and a seam line. The “edges” need to be at an angle to create the star shape. Once you are happy with the placement mark the seam lines with a ruler in three places for proper alignment as you cut six pattern pieces. Roll some masking tape (sticky side out) to put on the back of the pattern to help hold it in place. Be sure to take the time to check that the seams are tightly nested under the pattern piece. To avoid mishaps I used the add a quarter inch ruler to cut the pieces. I know I can get distracted by the excitement of a new project and forget to add the quarter inch. One of the group cut hers without the seam allowance and had to start over with new fabric.
Sometimes the point will be blunted on the pattern piece, but as long as you add your ¼” seam allowance on all sides it will work out fine. Take into consideration that by cutting on an angle you are creating bias edges, so handle the pieces as little as possible and very carefully.
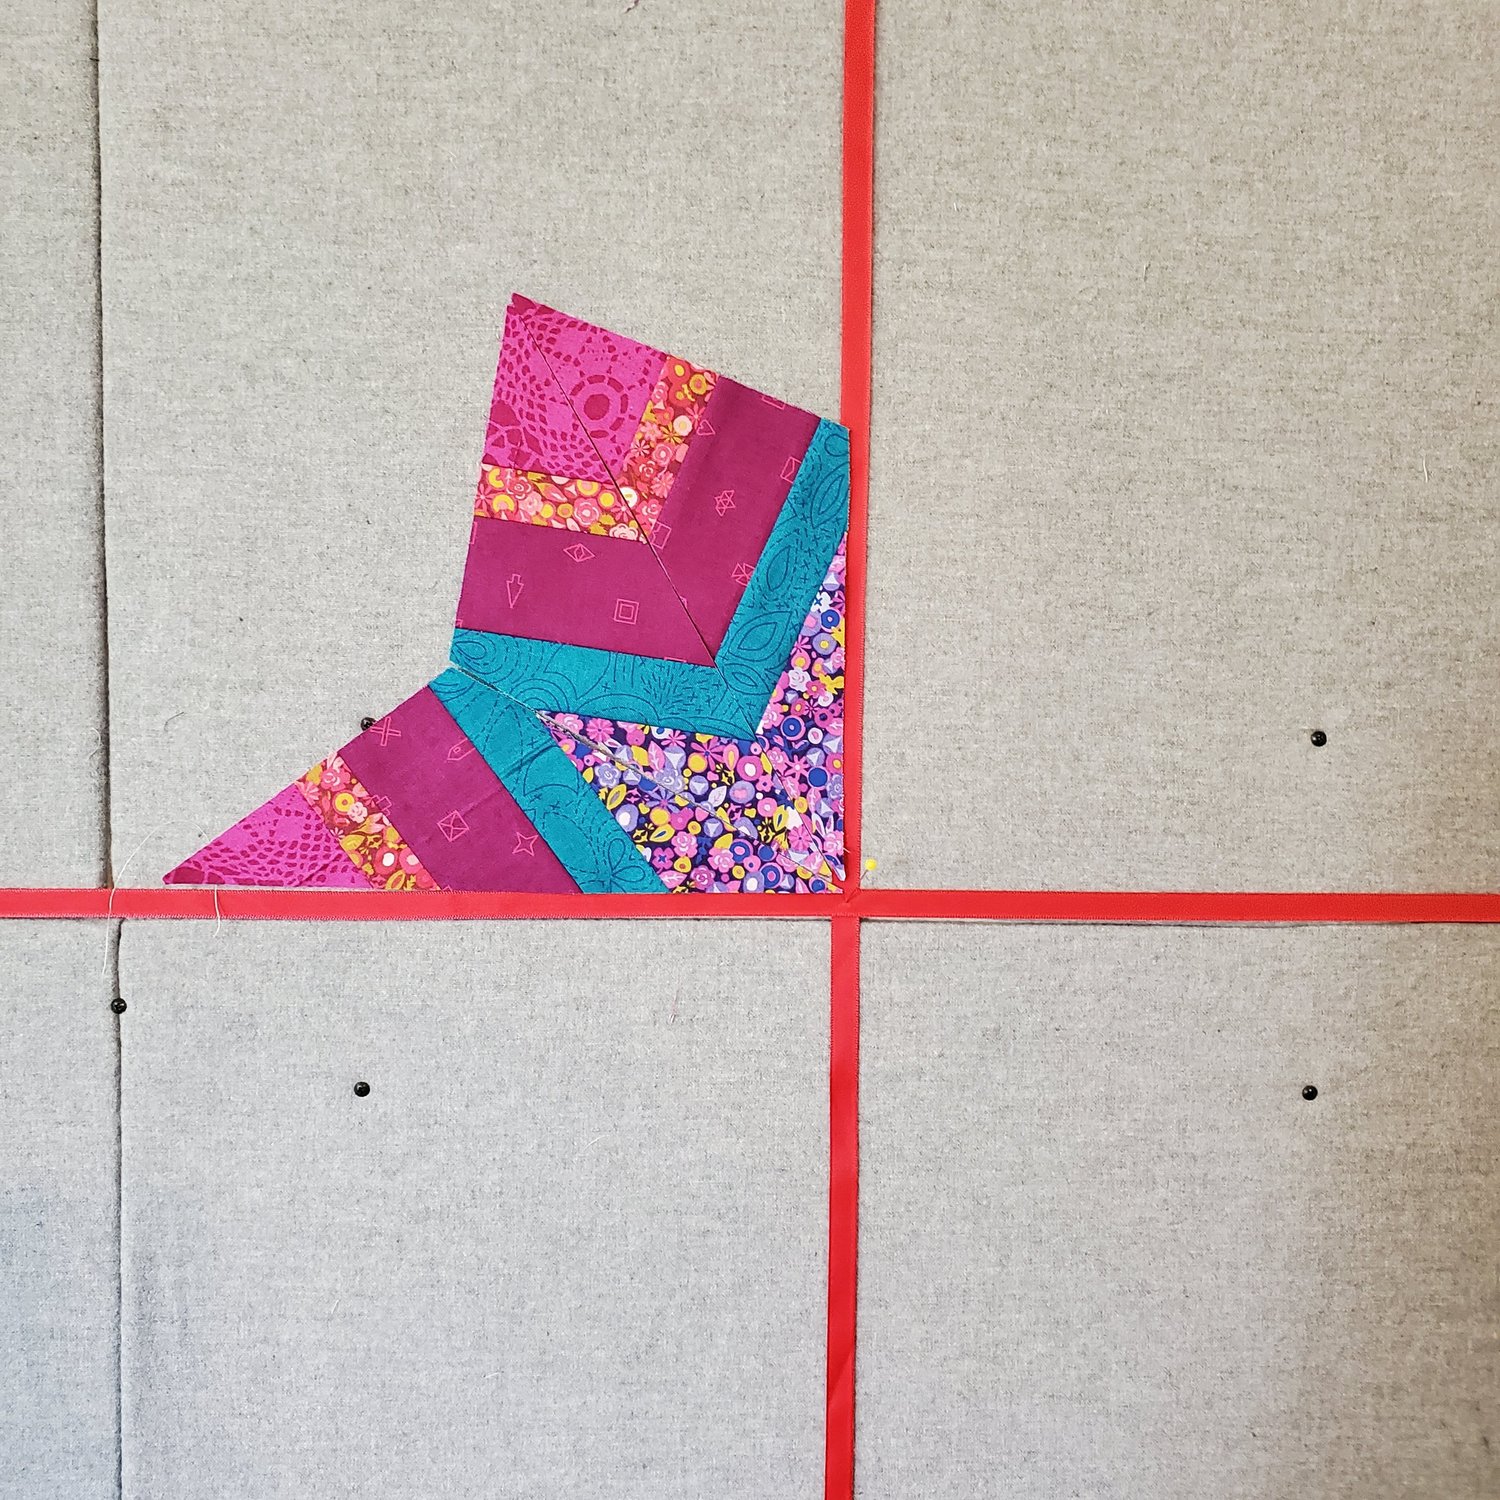
It will be helpful to pin a ribbon on the design wall separating the area into quadrants to keep your wedges aligned as you build the Kaleidoscope.
You will keep cutting the pattern pieces in reverse order, 5,4,3,2, & 1. It is helpful to make a fold in the pattern piece to remember the angle you would like the seams to be in the next round of the star pattern. I used the fold to help me line up the pattern on the seam of the strip set.
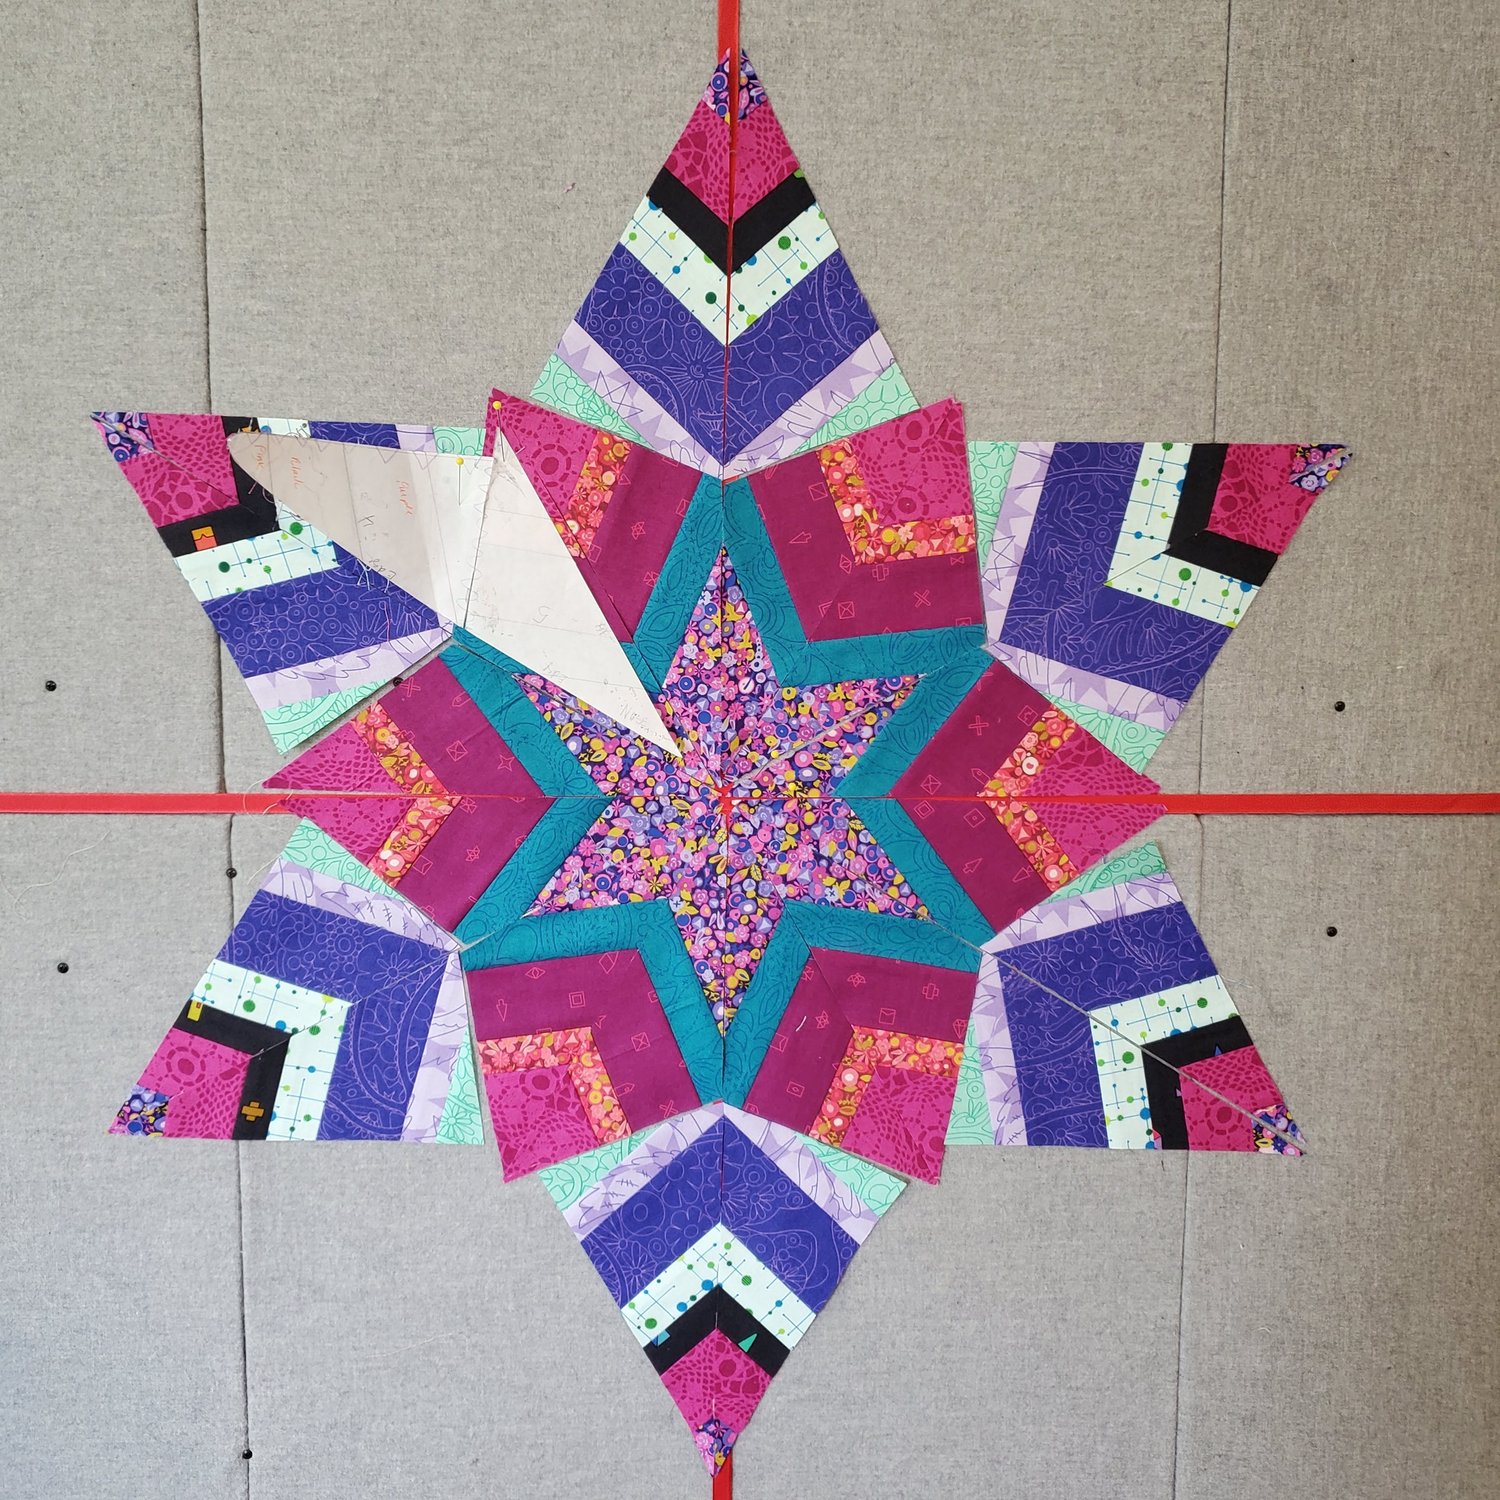
I kept the pattern pieces on the wedge as I added to keep the pieces in order. It was amazing to see the Kaleidoscope come together as I added each layer.
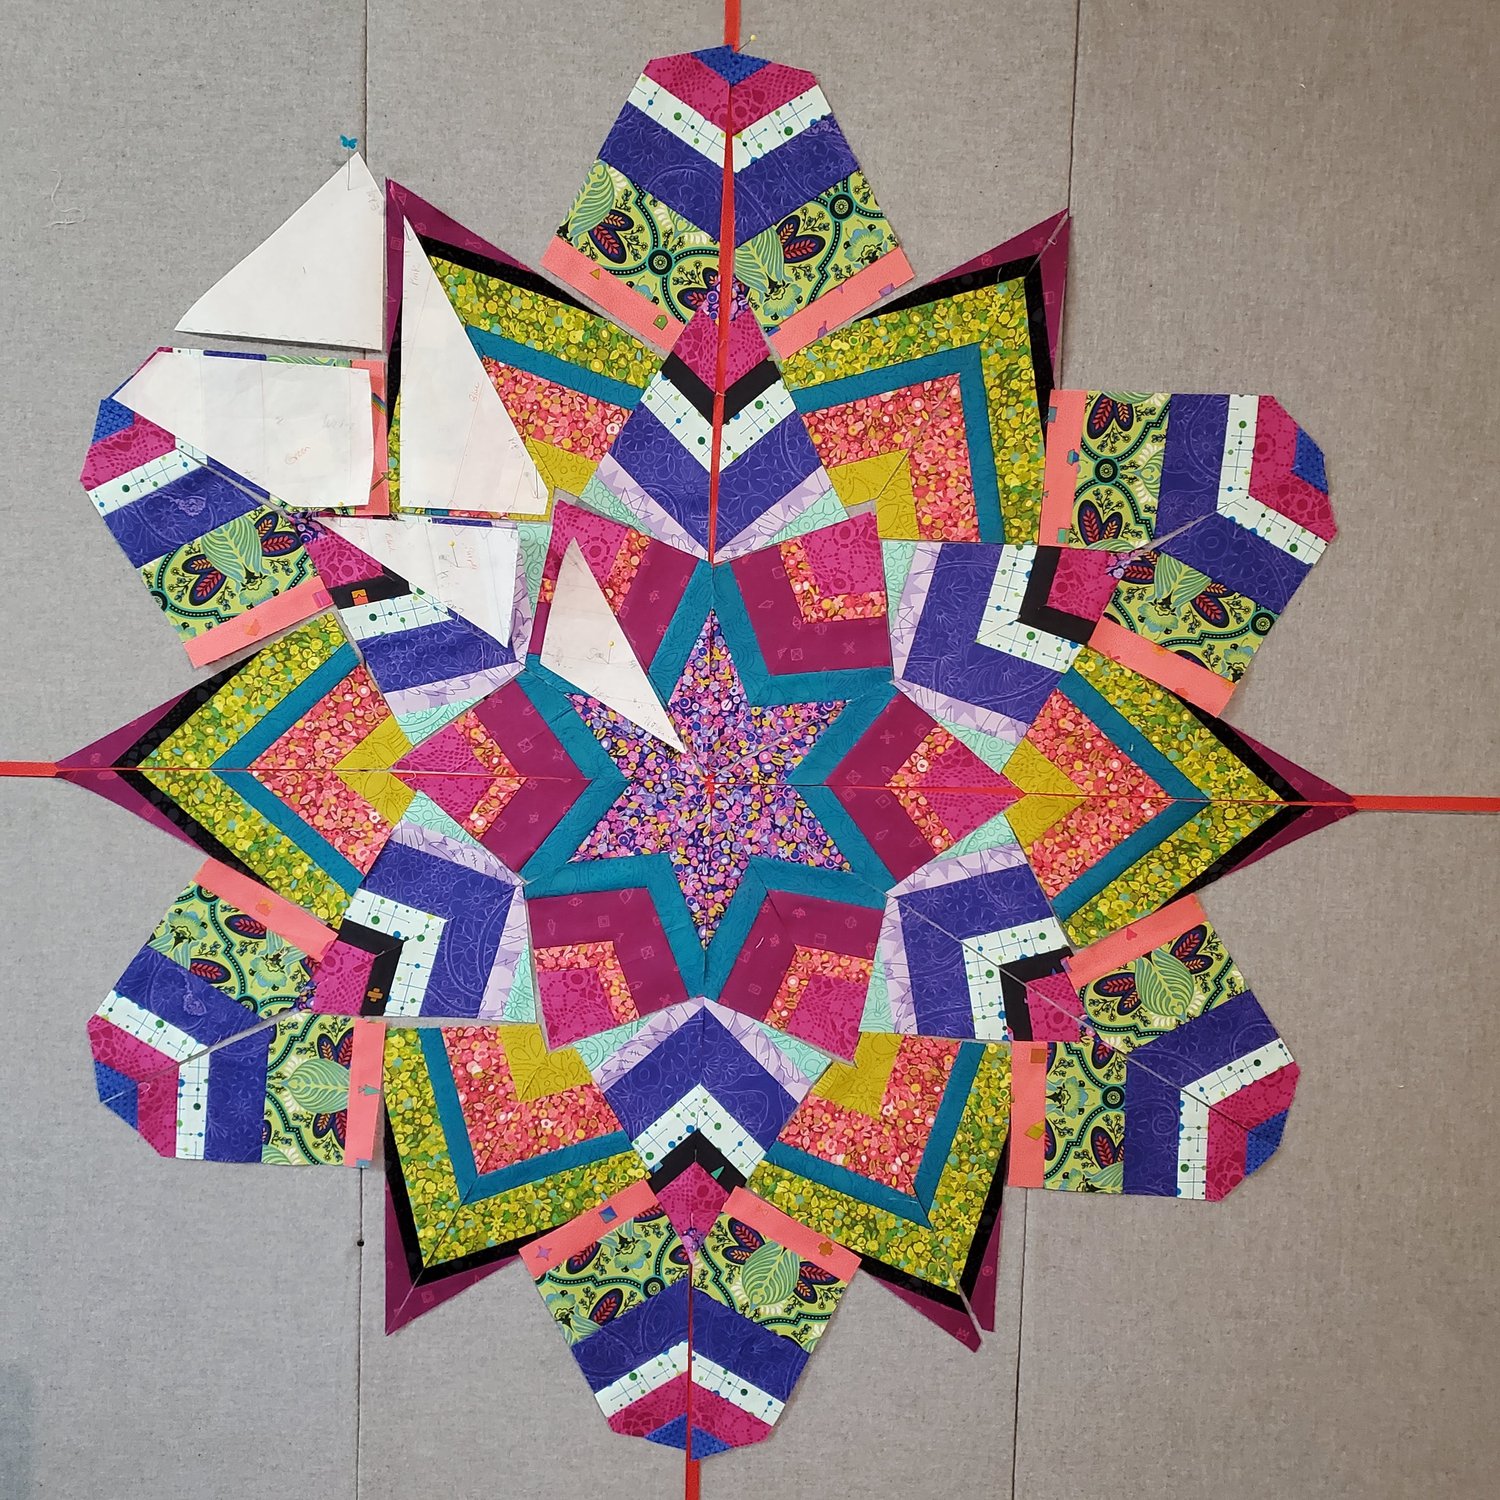
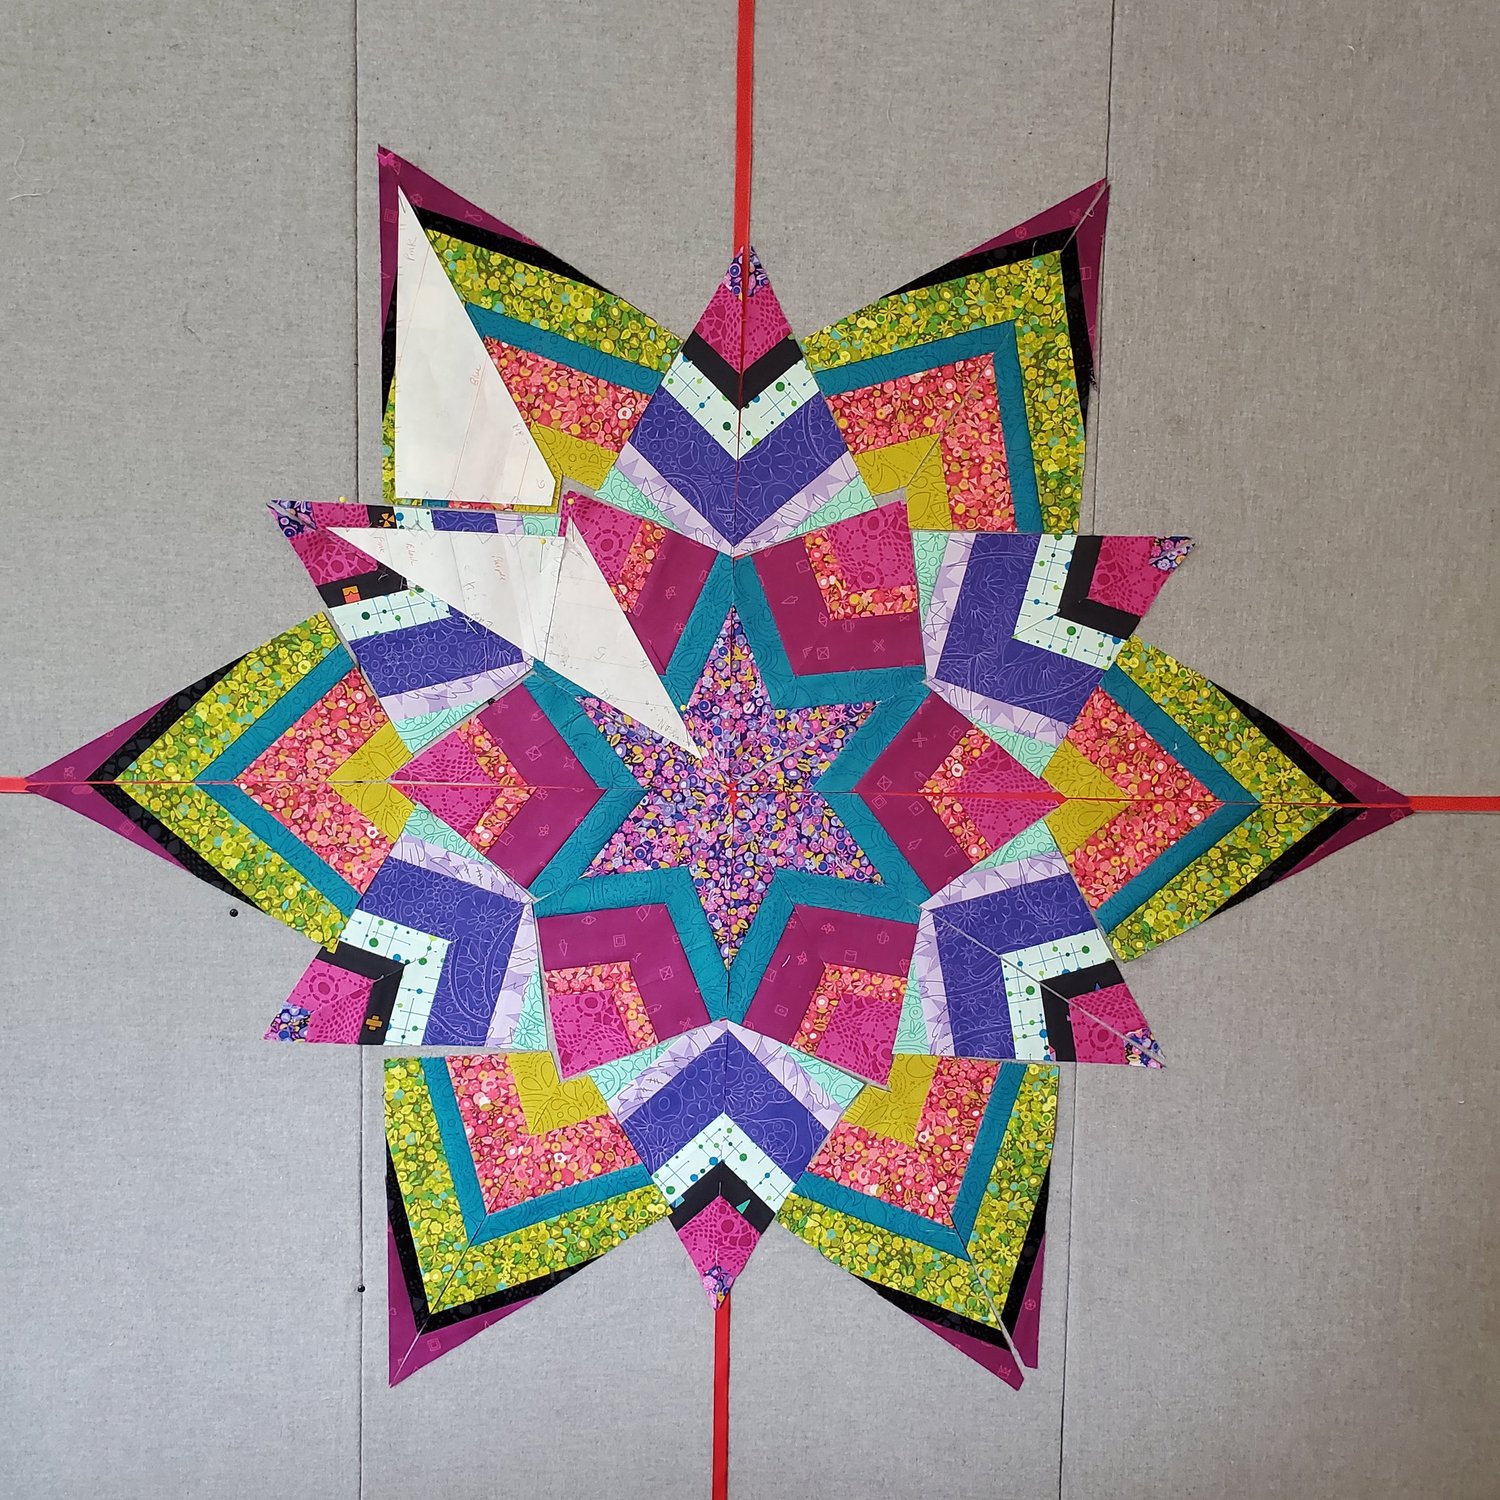
Before going to the next pattern piece I would lay the strip sets in place to audition the colors as I prepared to cut the next layer of the star. The feedback I heard from friends that worked on this project that there is no way to plan the way this pattern comes together. It just evolves and that is the fun part not knowing how it will look as you add each layer to the Kaleidoscope. When I got to the final set I was not pleased with the look so I decided to make another strip set using darker fabrics for the final layer on the outer ring. I had enough fabric from my original 20 pieces cut at ⅓ yard.
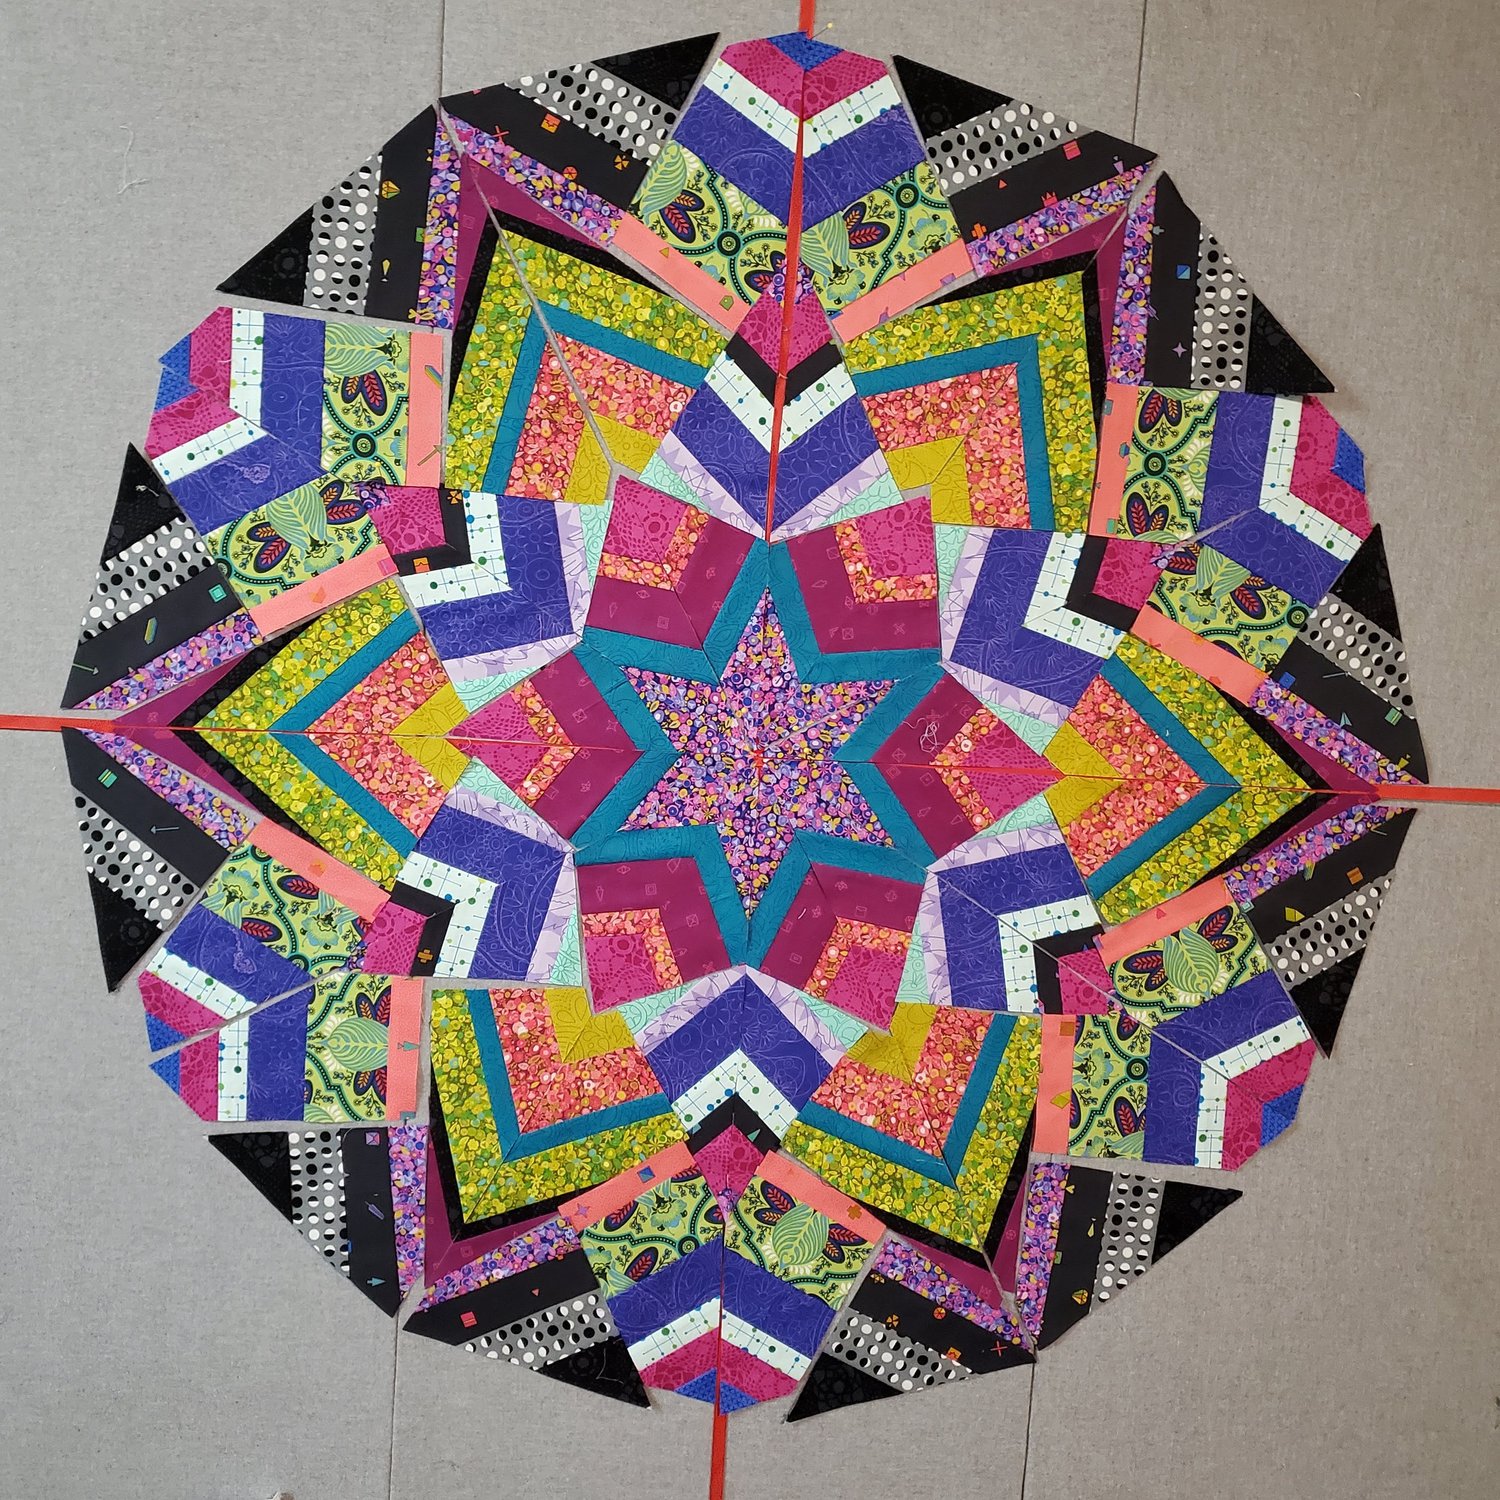
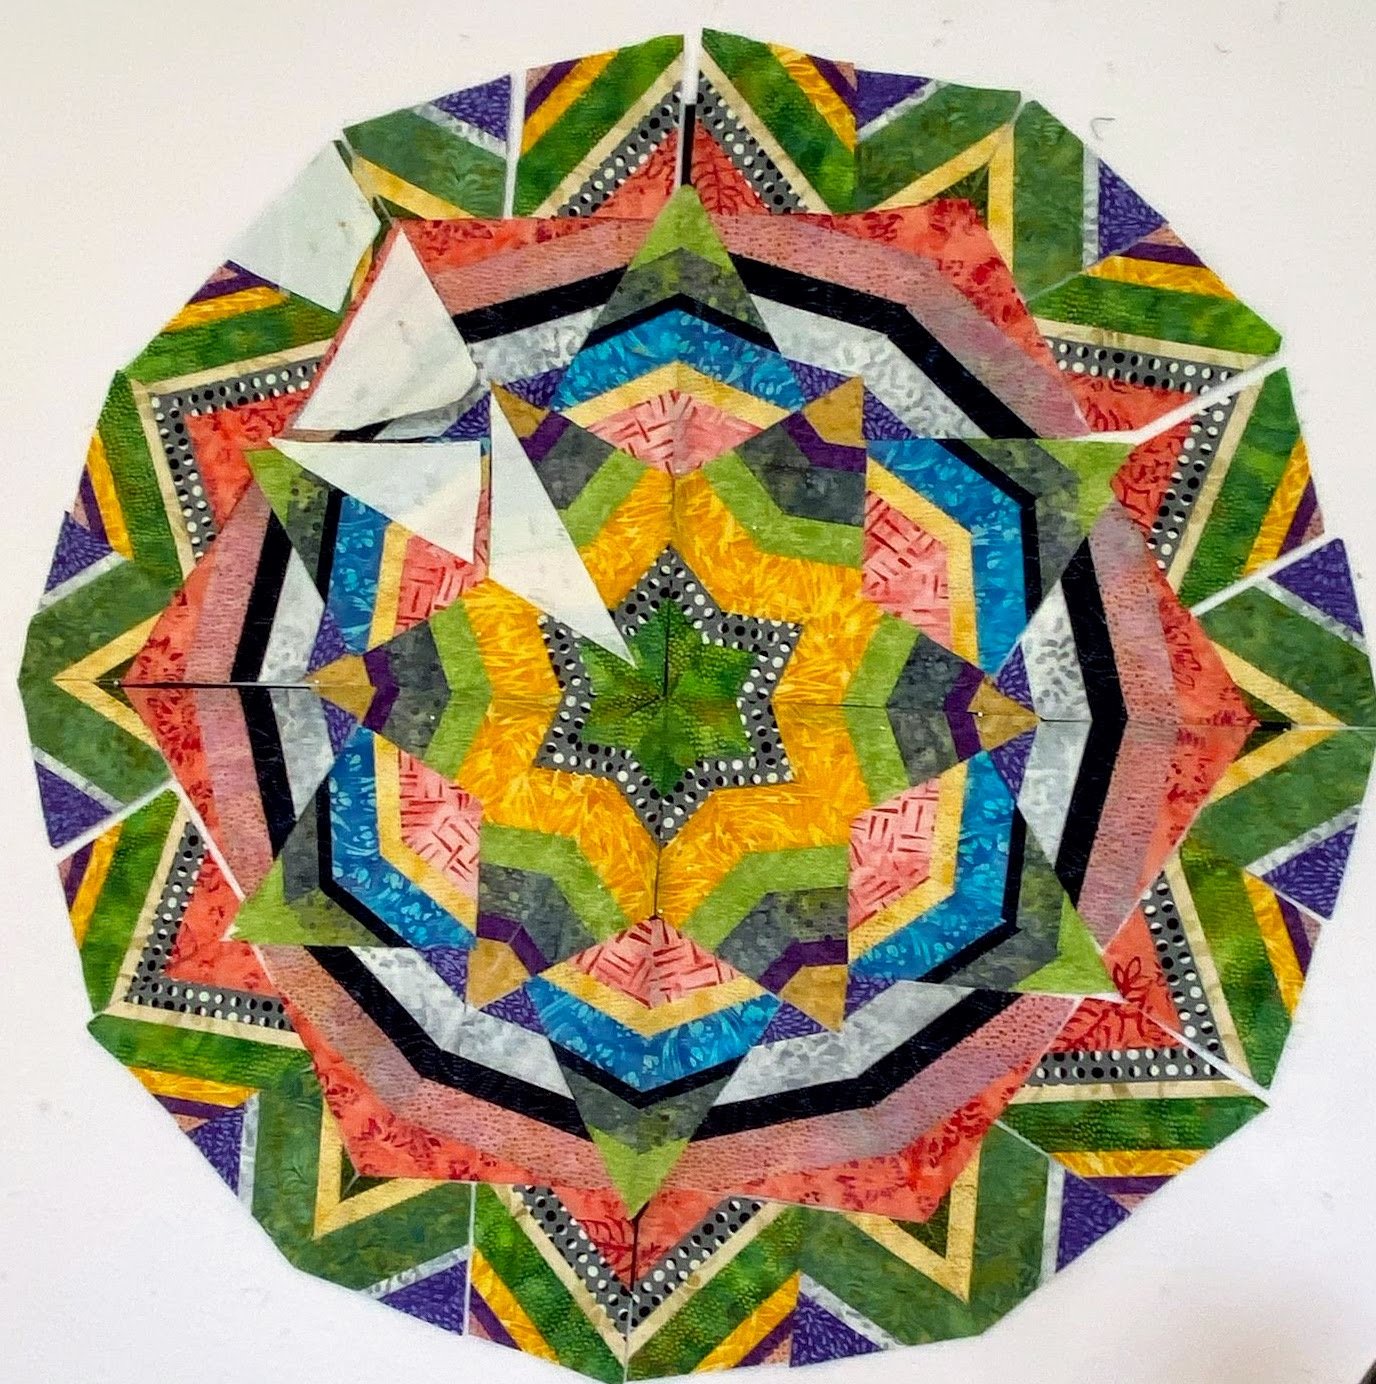
This is not a fast method and it is important to take your time to be accurate as you cut the pattern pieces. It was interesting to see how it changed with each layer added to the design. I was amazed that this design could start from the humble strip set. It looks much more complicated than it actually is to cut out. I have never done anything like this and I am crossing my fingers that it all goes together as it should in the sewing phase. So far I am loving my new quilting adventure! These Alison Glass Fabrics look fantastic together! Here is an updated picture from my sister, she is working on her own Kaleidoscope with these beautiful batik fabrics. It looks spectacular ! Notice how the black and white polka dot fabric adds interest and movement differently by changing the placement and how it interacts with the mix of colors in each quilt.