

Making a Kwanzaa Quilt
Posted by Kena Tangi Dorsey on 19th Dec 2022
African Wax print fabrics (or Ankara’s) are some of my favorite textiles to work with. The colors are so eye-catching because they are big, bold, and beautiful. So, quite naturally, we quilters are drawn to them and want to use them in our projects. However, they can seem a little daunting to work with because most often the designs feature very large scale, graphic, or one directional prints. The repeats on the patterns are whimsical and unpredictable, which are beautiful, but makes it difficult for some of us traditional quilters to know exactly where to cut them and how to piece them together in our patchwork.
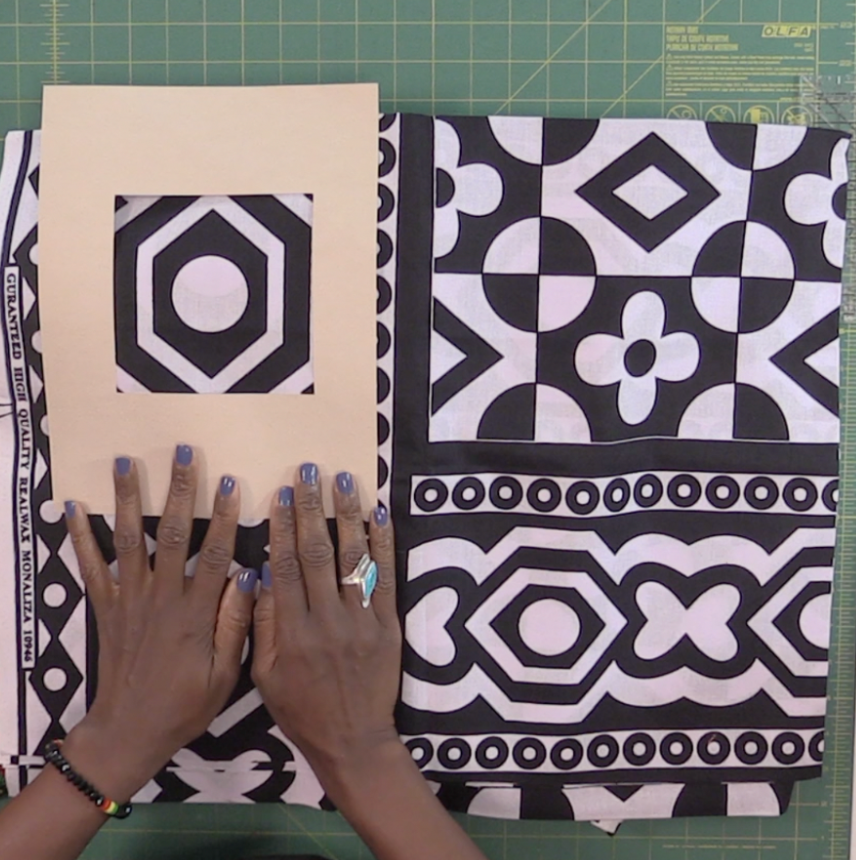
The cool thing is that you really can cut them any way that you’d like. However, when feeling stuck, one method I have found to be helpful is to cut the fabric into larger shapes and use them in oversized blocks. And, if you pair them with a solid or tone on tone background, sashing or border fabric, it becomes a match made in heaven! You can also use them in smaller patchwork projects such as EPP or even fussy cut pieces. However, as an introduction to these vibrant textiles, we will start by creating larger blocks today.
With this concept in mind, I created a Kwanzaa themed pattern that is the perfect example of how simple but effective this approach is. Especially, if you’ve been wanting to find a weekend project to work on. This pattern is quick and perfect for the season. It’s simple and easy, but don’t worry. If you don’t have any African wax print fabrics in your stash, you can always use any large scale print fabrics. The basic idea is still the same. However, for this tutorial, I will use Kwanzaa themed African wax prints to demonstrate how to make an oversized Flying Geese Wall Hanging sized pattern.
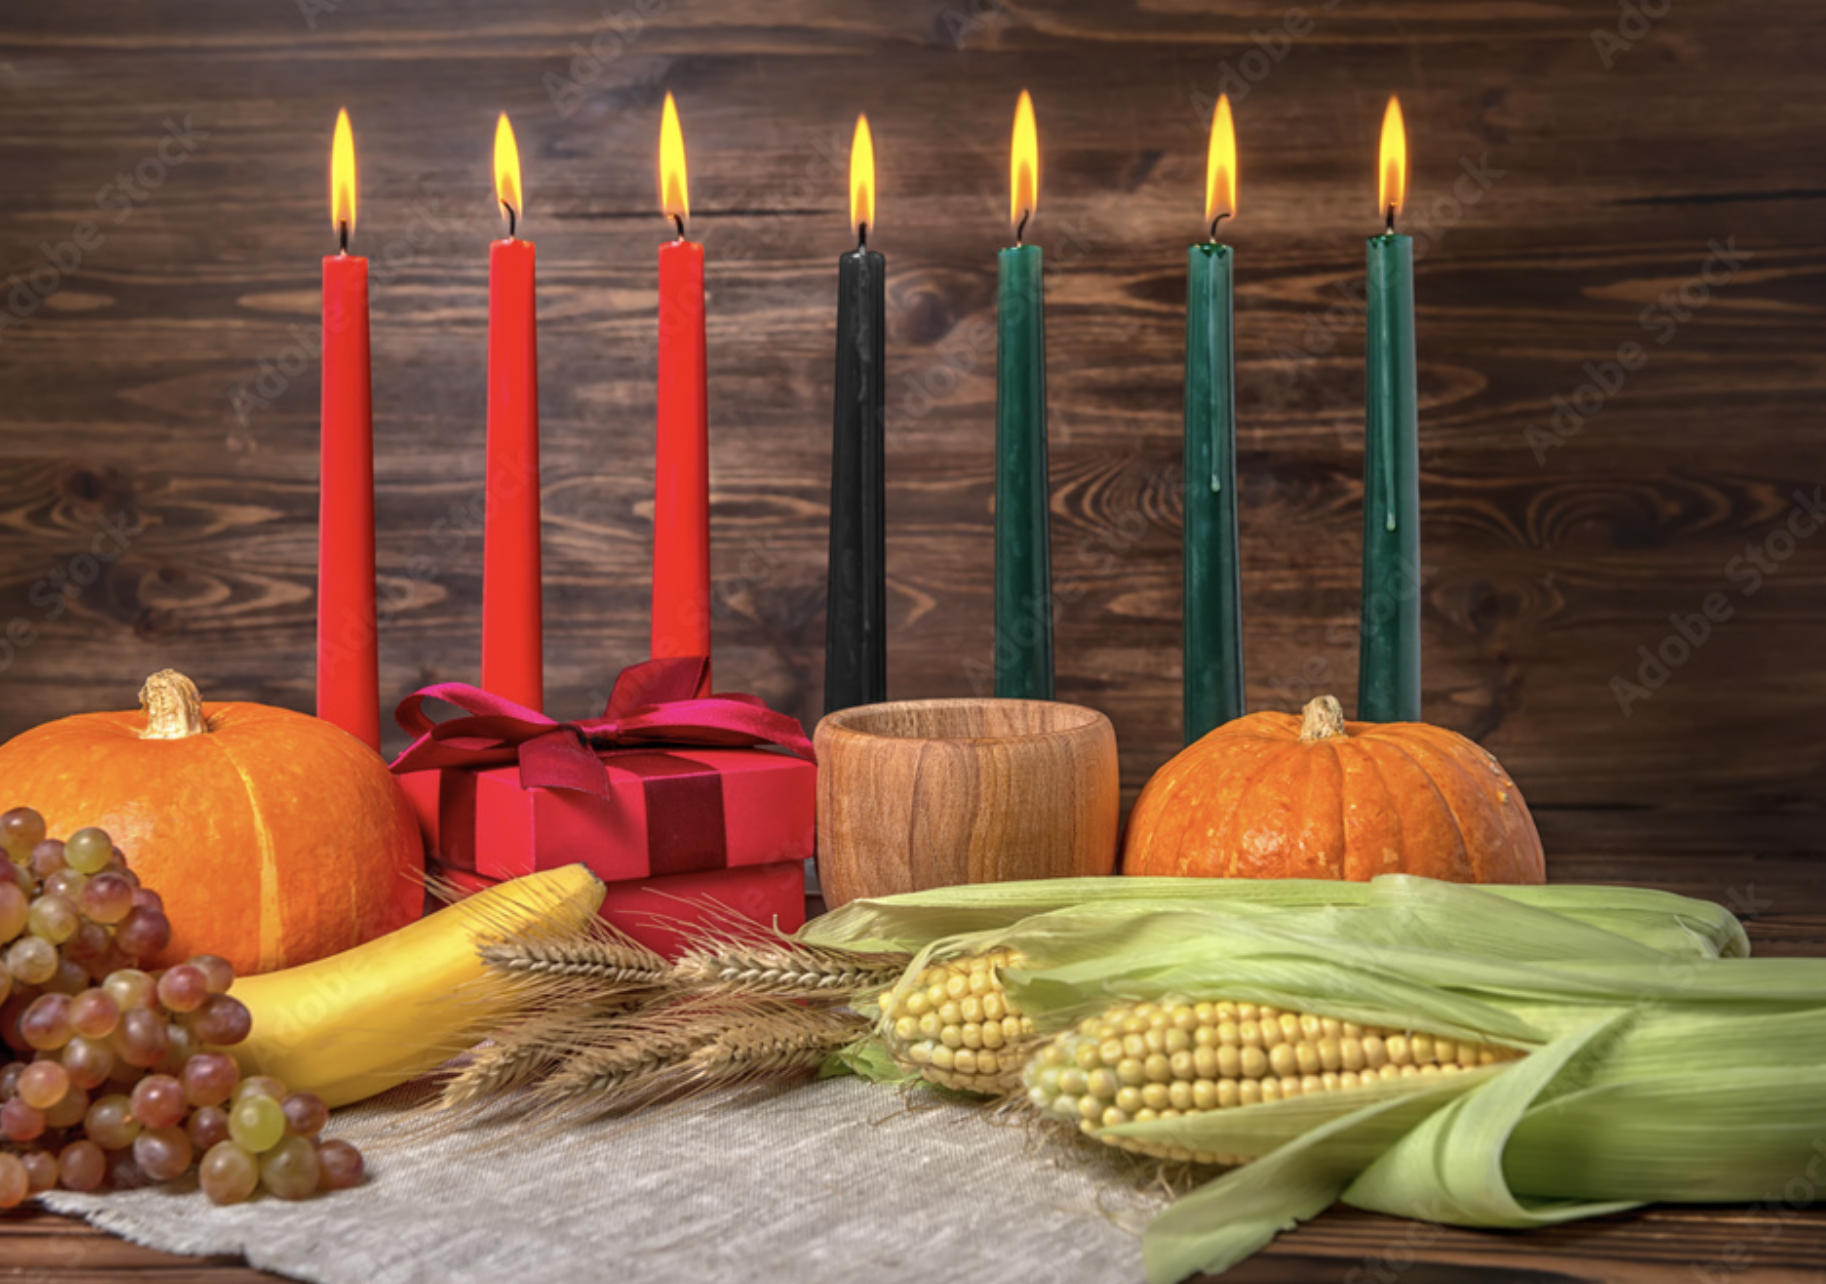
Before we get started on the instructions, I’d like to share a brief introduction. Kwanzaa is a cultural holiday that celebrates African Heritage, unity, and culture. It means “First Fruits.” Although its origins are rooted in African tradition, other races and ethnic groups are always welcome to participate in the Kwanzaa rituals.
During the 7 days of Kwanzaa, a candle is lit each day, and on the last day, gifts are exchanged. Since Kwanzaa is a cultural holiday rather than a religious one, it can be celebrated alongside Christmas, Hanukkah or on its own.
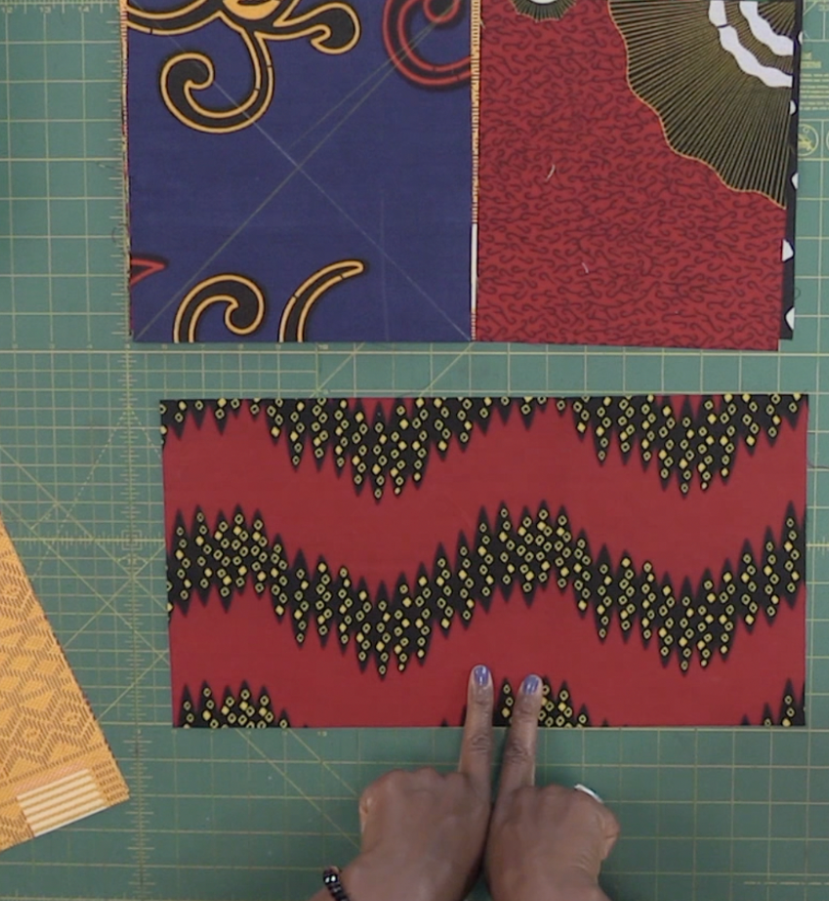
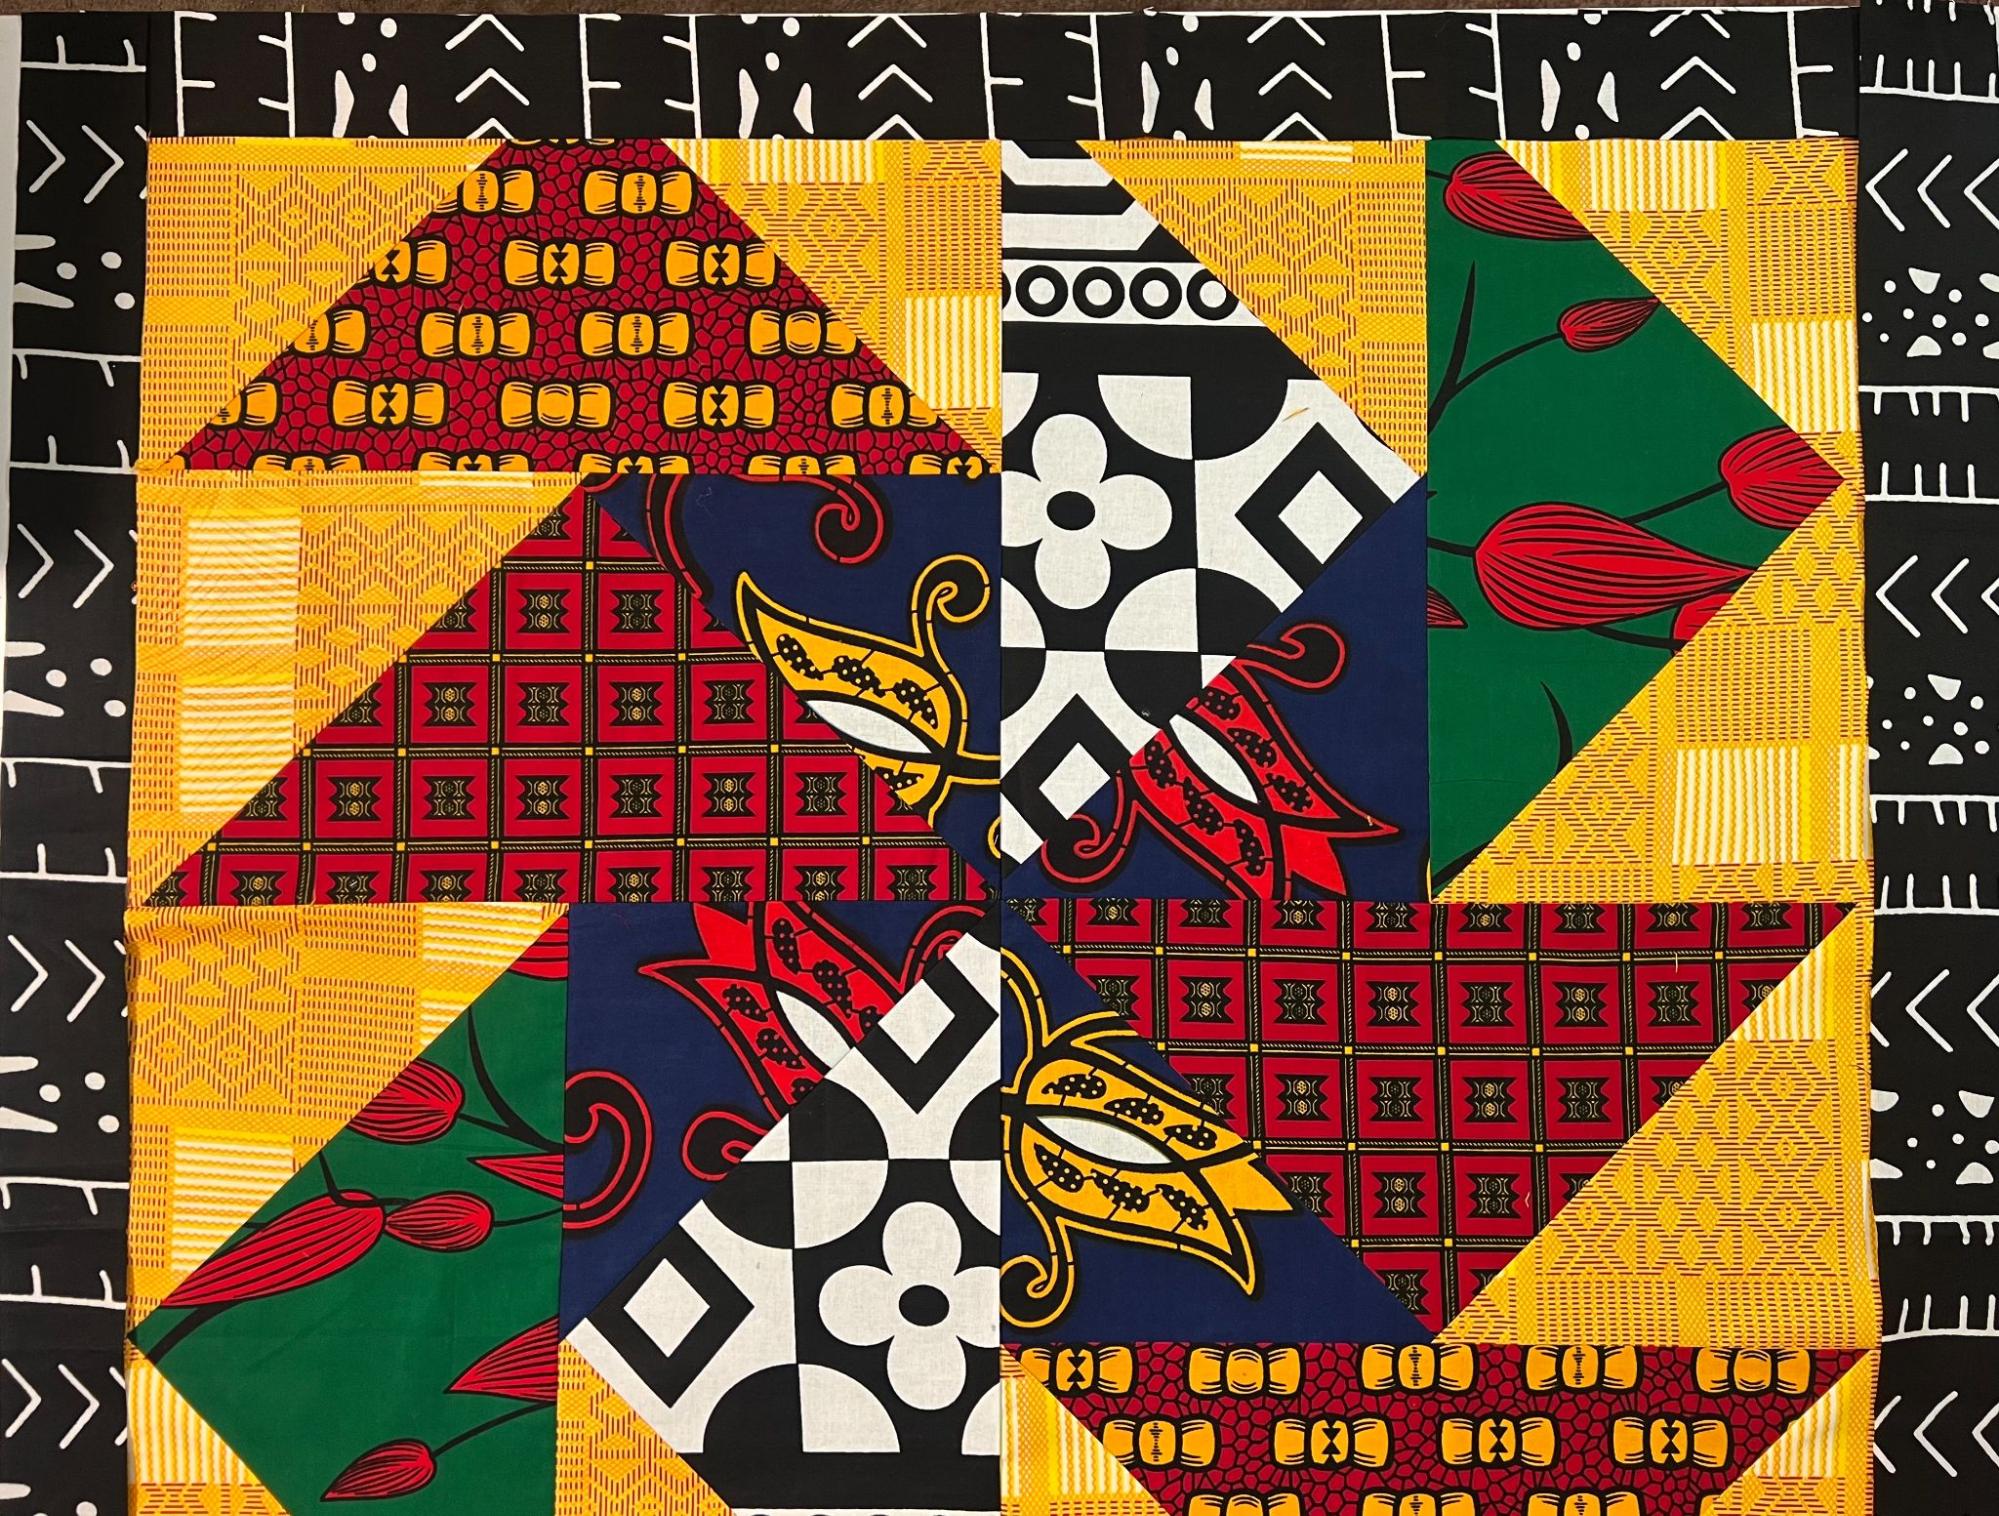
The Kwanzaa colors are Black, Red and Green, which represents the struggle of the people and hope for the future. So, let’s begin by looking at my fabric pull!
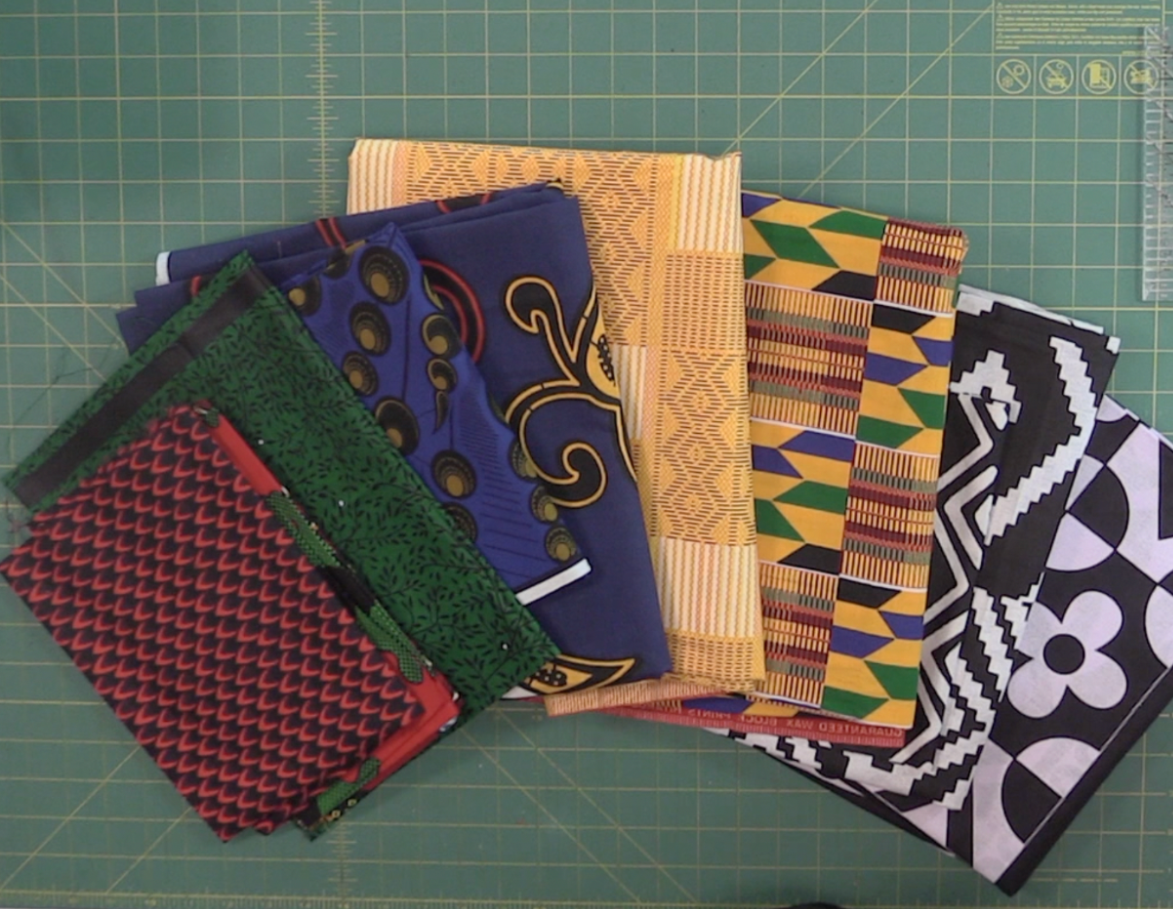
Kwanzaa colors are red, black and green. I threw in additional accent colors yellow and blue.
STEP 1: Kwanzaa FLYING GEESE PATTERN - We’re going to make (8) Oversized Flying geese blocks. Finished size: 36 ½” x 36 ½”
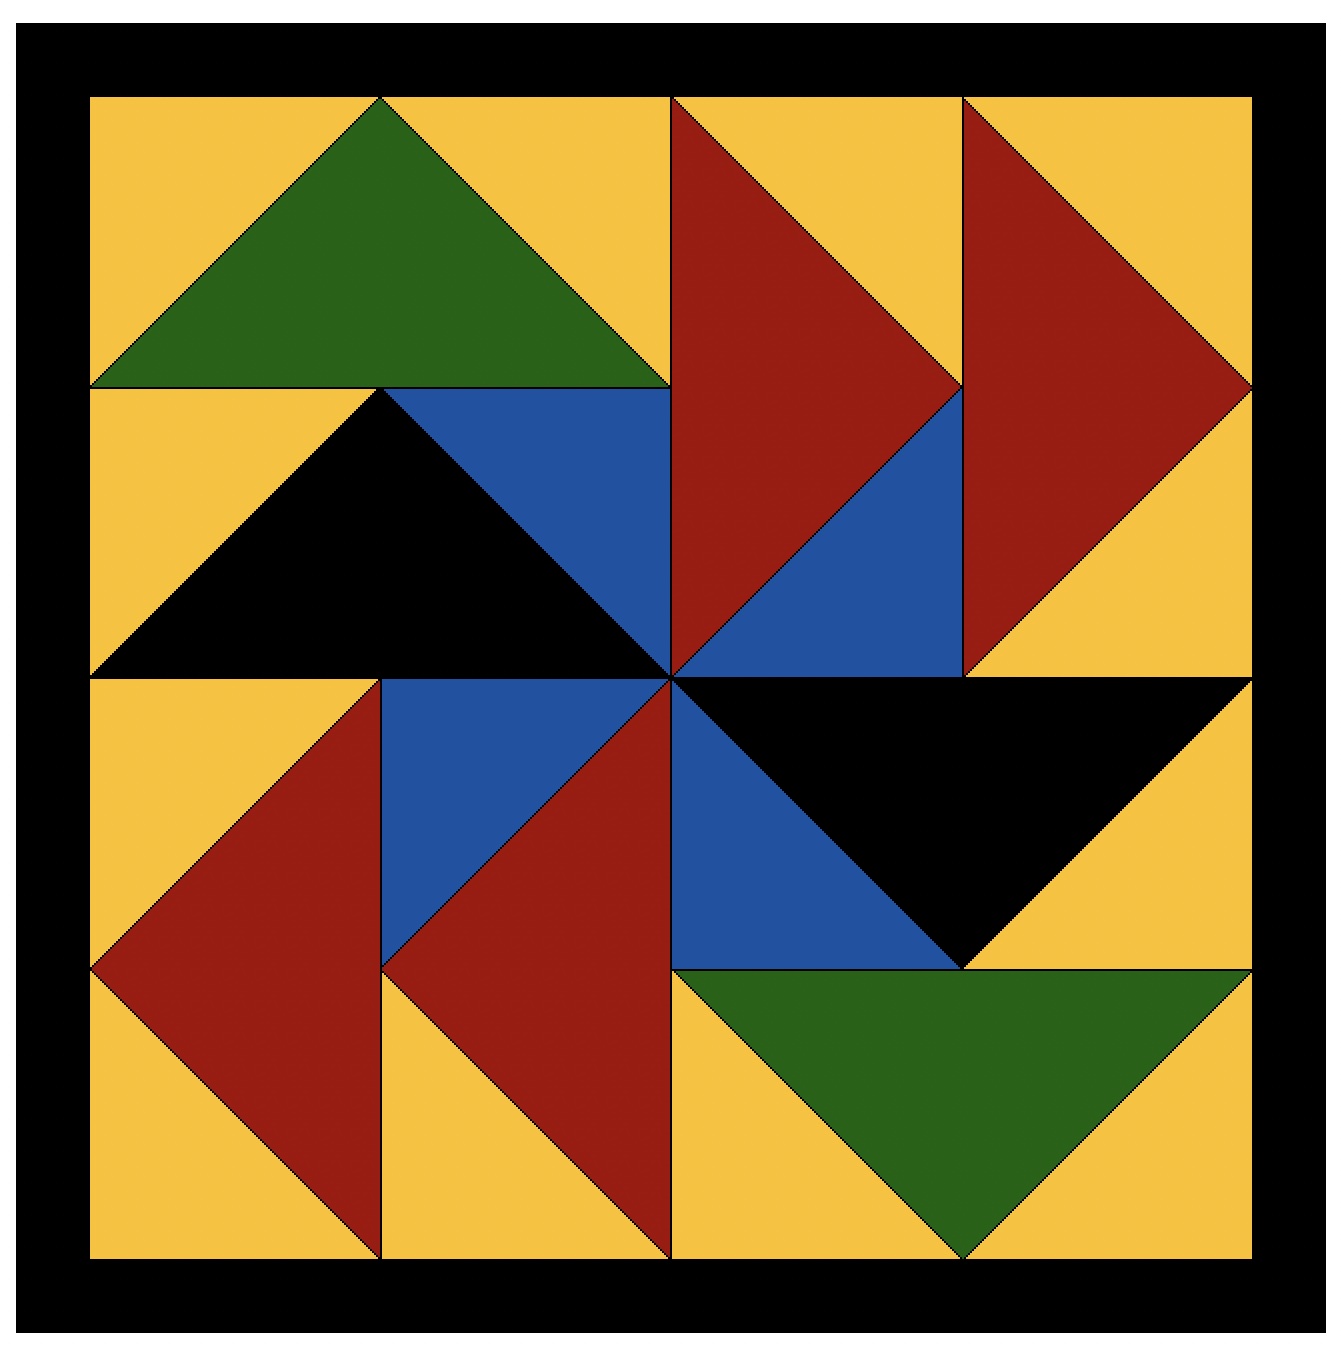
LAYOUT DIAGRAM
Fabrics Needed:
- Black African Wax Print: (1) Fat Quarter
- Yellow Solid or Print: ¾ Yard or (3) Fat Quarters
- Red African Wax Print: (2) Fat Quarters
- Green African Wax Print: (1) Fat Quarter
- Blue African Wax Print: (1) Fat Quarter
- Black Solid or Print: ⅜ Yard or (4) 2 ½” strips WOF
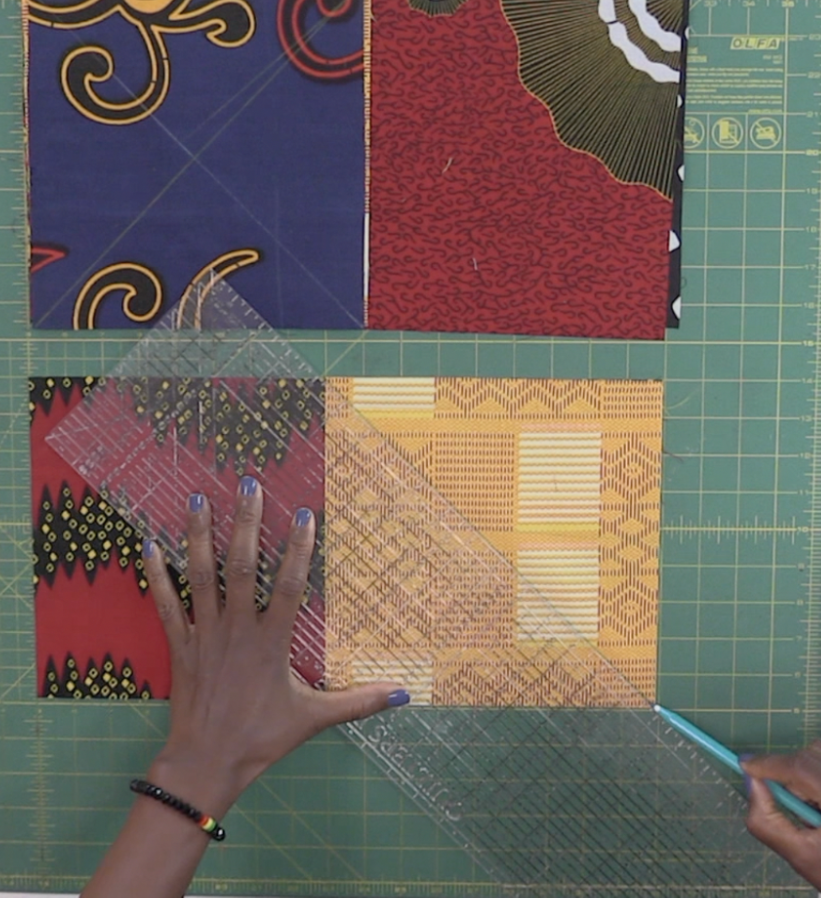
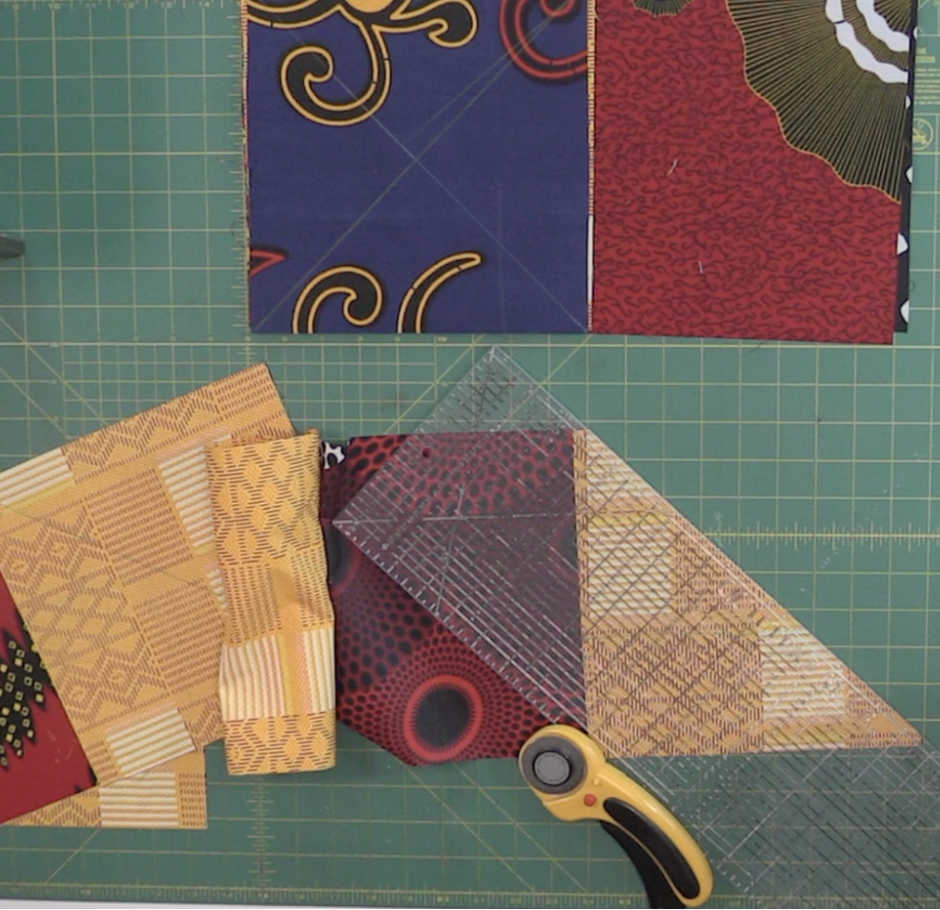
STEP 2: CUTTING INSTRUCTIONS
- Cut all rectangles 8 ⅞” x 16 ⅞” and squares 8 ⅞” x 8 ⅞”
- Cut (4) 2 ½” strips from Black and White Fabric
CUTTING INSTRUCTIONS: (finished size of Flying Geese Blocks are 8 3⁄4” x 16 3⁄4”)
● CUT 12 - YELLOW SQUARES 8 7⁄8” x 8 7⁄8”
● CUT 4 - BLUE SQUARES 8 7⁄8” x 8 7⁄8”
● CUT 4 - RED RECTANGLES 8 7⁄8” x 16 7⁄8”
● CUT 2 - GREEN RECTANGLES 8 7⁄8” x 16 7⁄8”
● CUT 2 - BLACK RECTANGLES 8 7⁄8” x 16 7⁄8”
● CUT 4 - BLACK 2 1⁄2” by WOF
*Note There is flexibility with this pattern. You can cut slightly larger “round up,” and then trim to size (So, cutting measurements would be 9” x 17 for the rectangles and 9” x 9” for the squares)
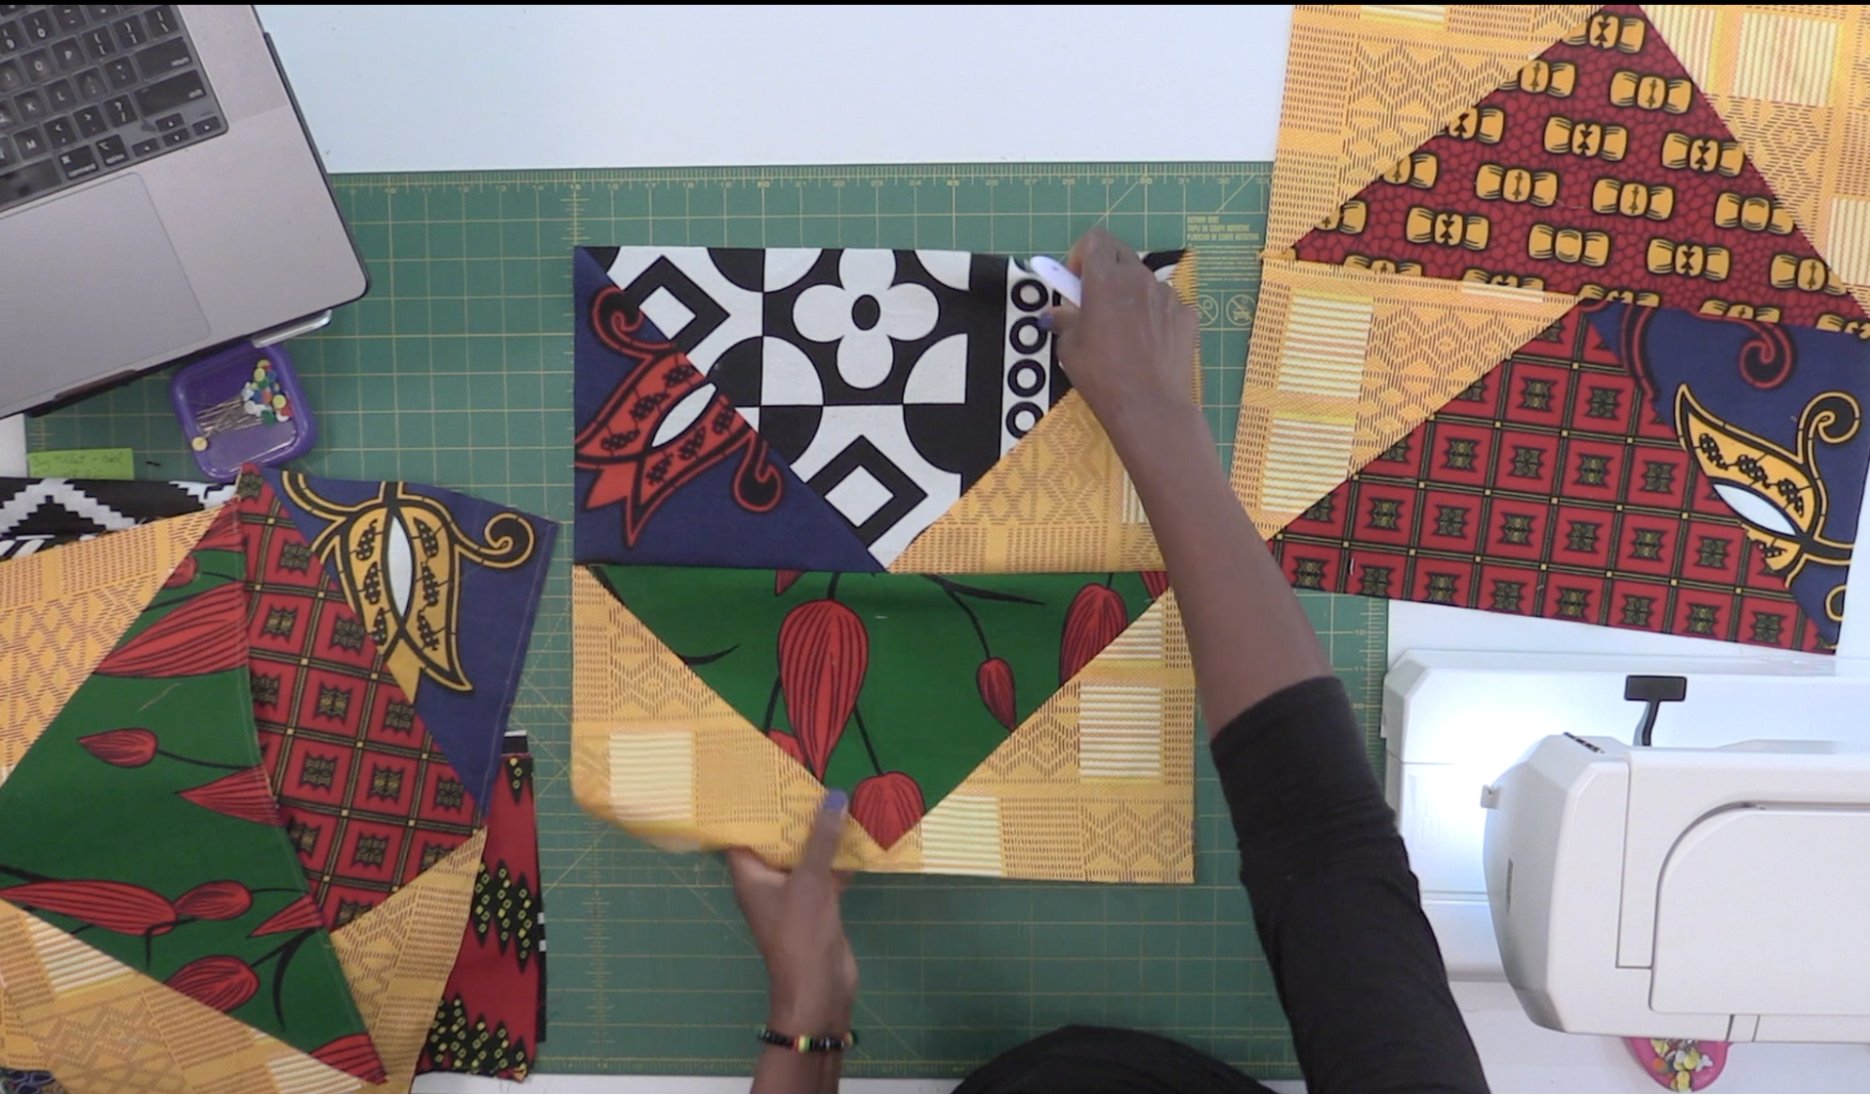
STEP 3: MARKING
Mark a diagonal stitch line on the wrong side of all (12) YELLOW and all (4) BLUE squares
STEP 4: SEW, IRON AND TRIM
General Block Construction Instructions: With fabrics right sides together sew from corner to corner directly on top of the marked stitch line. Trim away the excess by cutting ¼” from the sewn seam line. Iron seam up and towards the yellow triangle. Repeat on the other side.
Sew a YELLOW square to a left side of a GREEN rectangle, IRON and TRIM and repeat on the other side - Make 2 (tip: you can trim blocks to 8 ¾” x 16 ¾”)
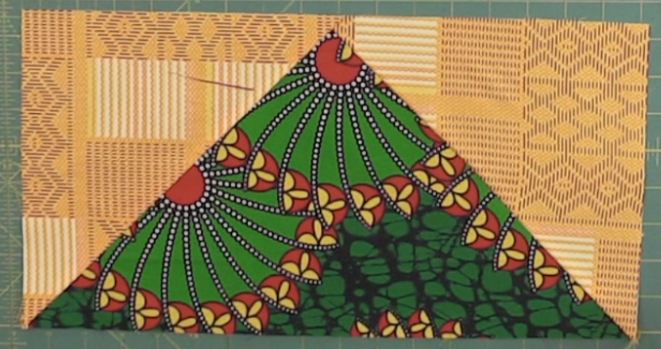
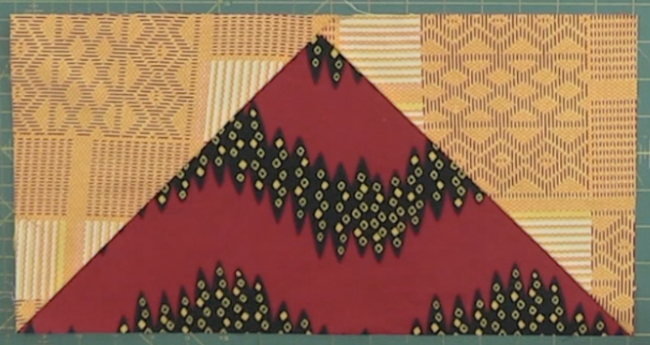
Sew a YELLOW square to the left side a RED rectangle IRON and TRIM and repeat on the other side - Make 2
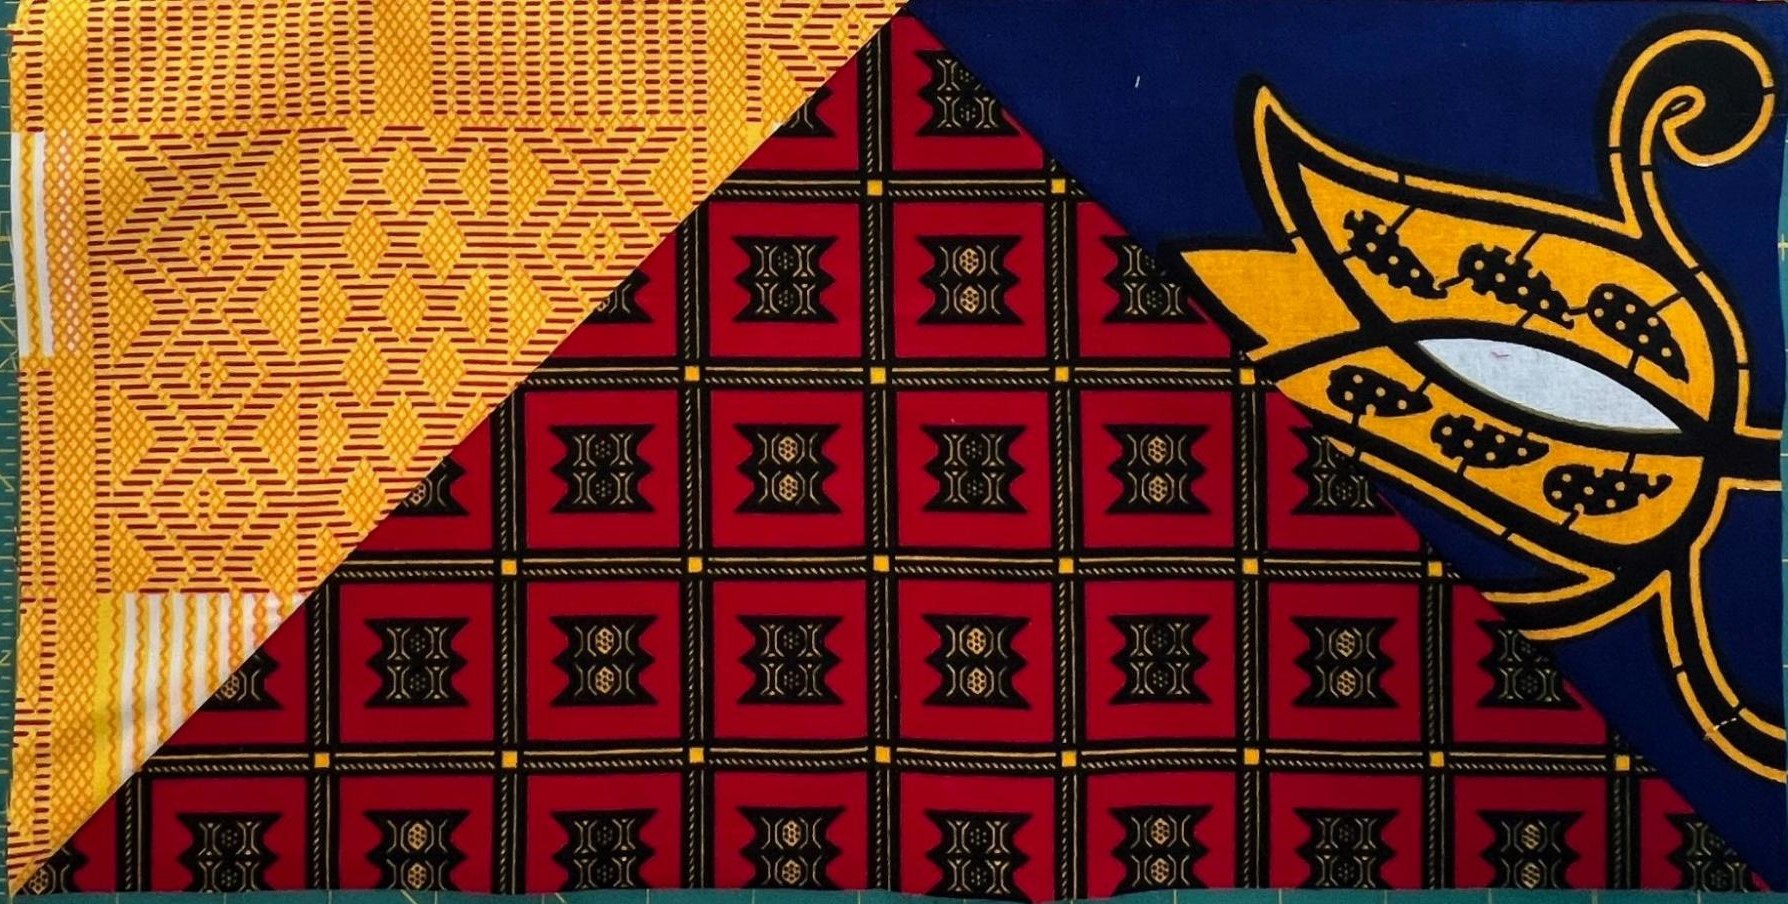
Sew a YELLOW square to the left side of a RED rectangle IRON and TRIM - repeat on the other side but with a BLUE square - Make 2
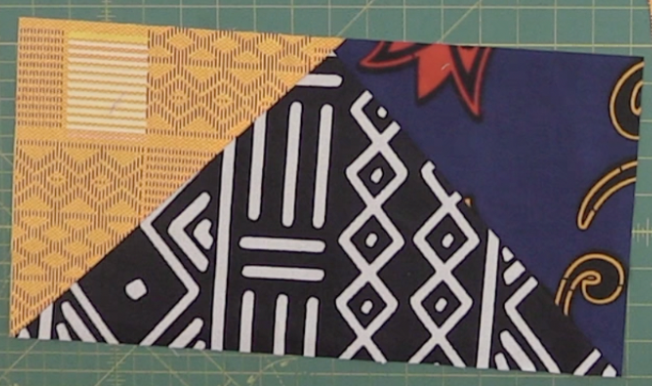
Sew a YELLOW square to the left side of a BLACK rectangle IRON and TRIM - repeat on the other side but with a BLUE square - Make 2
STEP 5: SEW QUILT-TOP Blocks TOGETHER
Following the Layout diagram above, pair and sew two flying geese blocks together to make 2 block units. There will be a total of (4) two-block units.
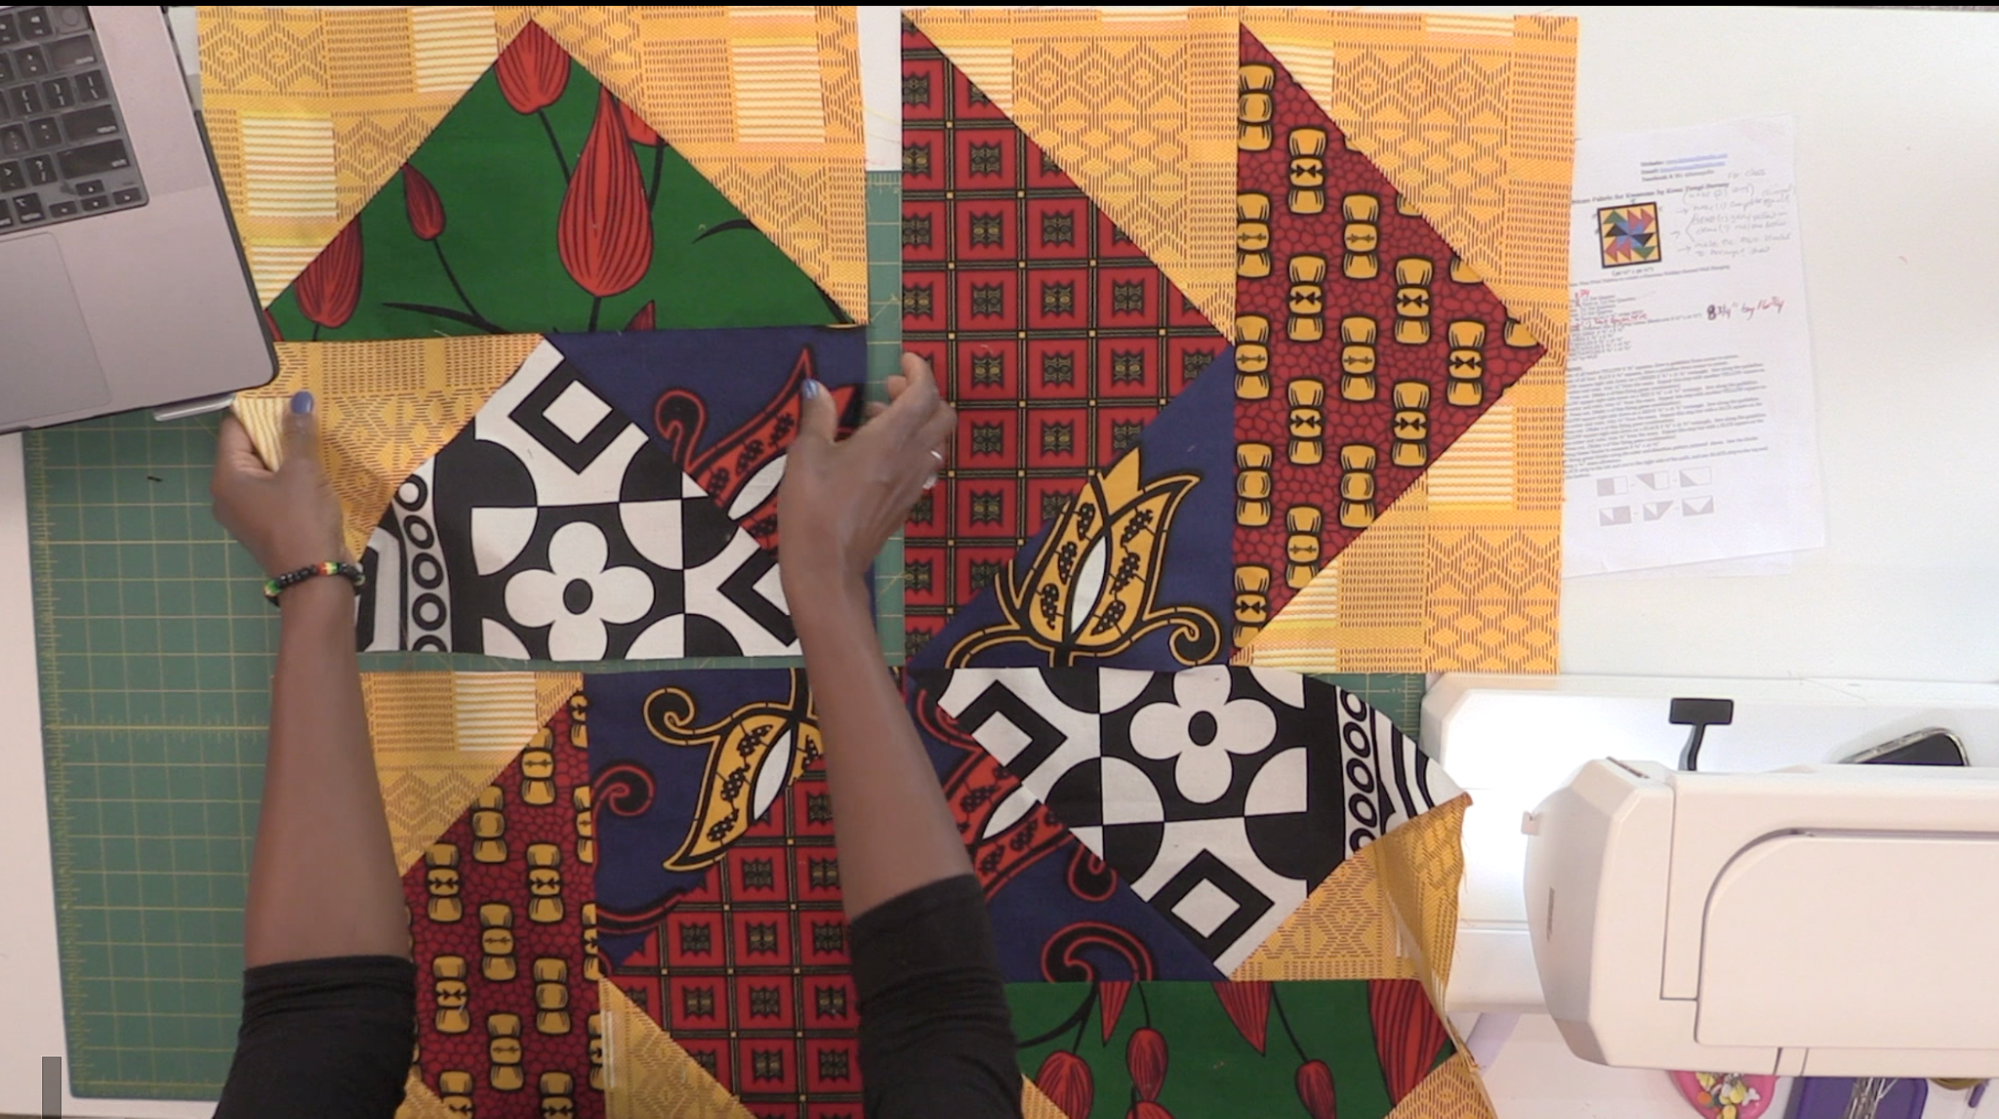
Using the diagram above, follow the arrangement layout of blocks. Sew one 2 block unit to another 2 block unit to create the top row. Next, repeat with the remaining two blocks and create the second row.
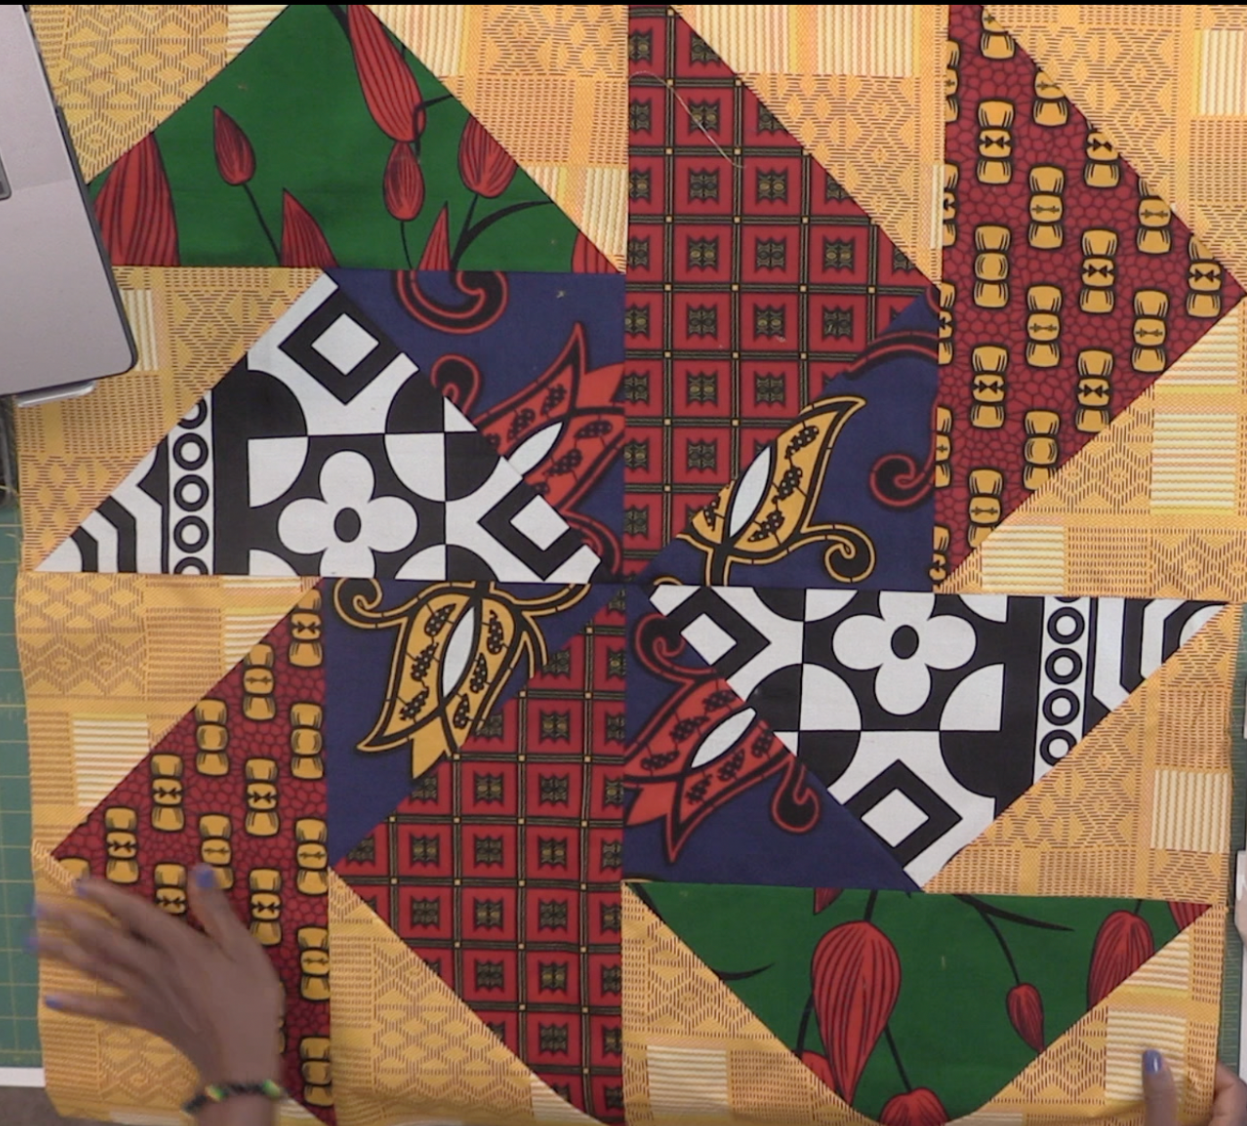
Sew the top row to the bottom row to create the quilt top and voilà your top is done!
STEP 6: ADDING “Optional” BORDERS
Sew strips to the left and right edge of quilt top and trim even with top and bottom edge.
Sew strips to the top and bottom of the quilt - trim to size on the top and left and right edges.
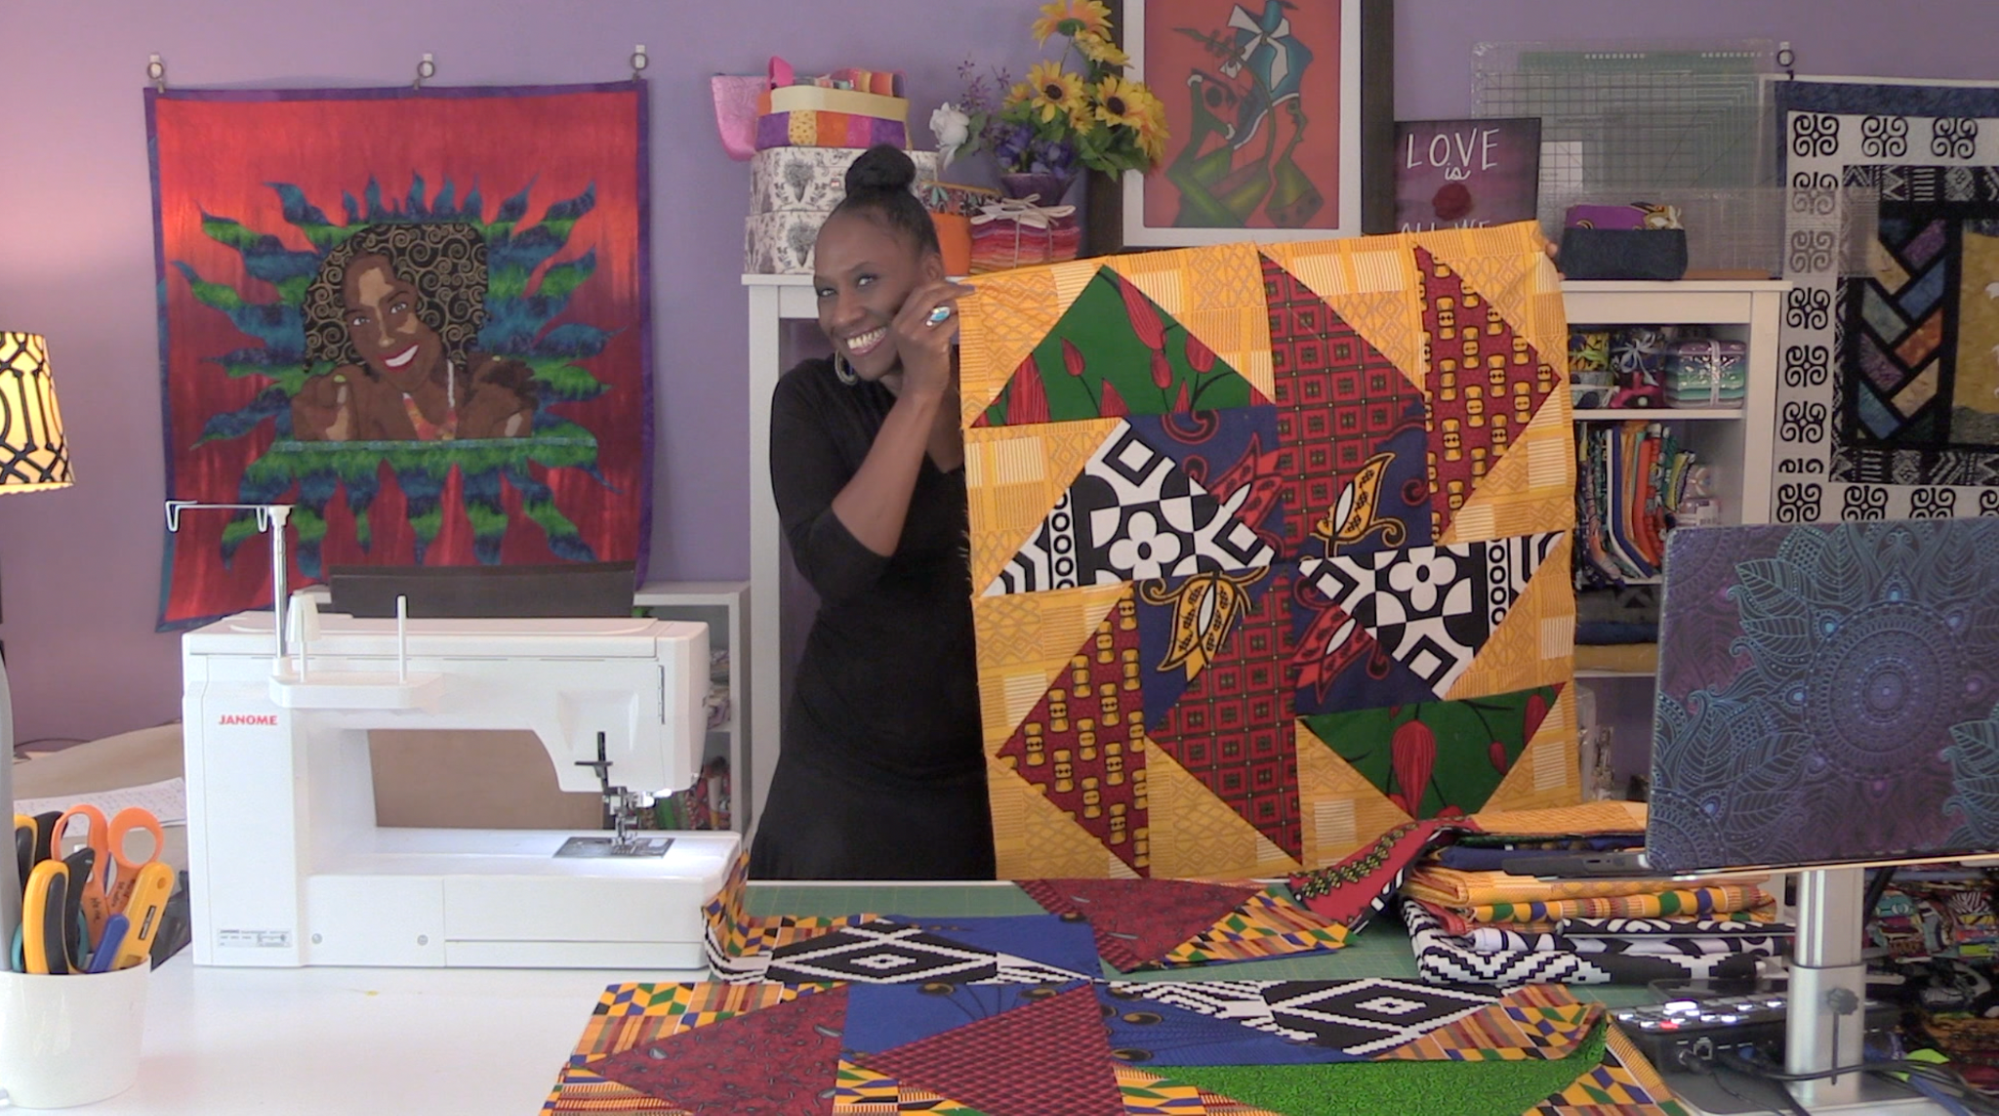
WRAP and Closing Thoughts!
You can create this pattern using any color theme you’d like, however, if you use the Kwanzaa theme colors, know that it’s universal, therefore, you can use this wall hanging year round, if you’d like! I hope that I’ve given you a little more confidence to use and incorporate some of these beautiful prints in future projects!
Habari Gani! Is the Swahili phrase for “Happy Kwanzaa!” It means warm wishes for a joyful Kwanzaa! Happy Holidays Everyone!!