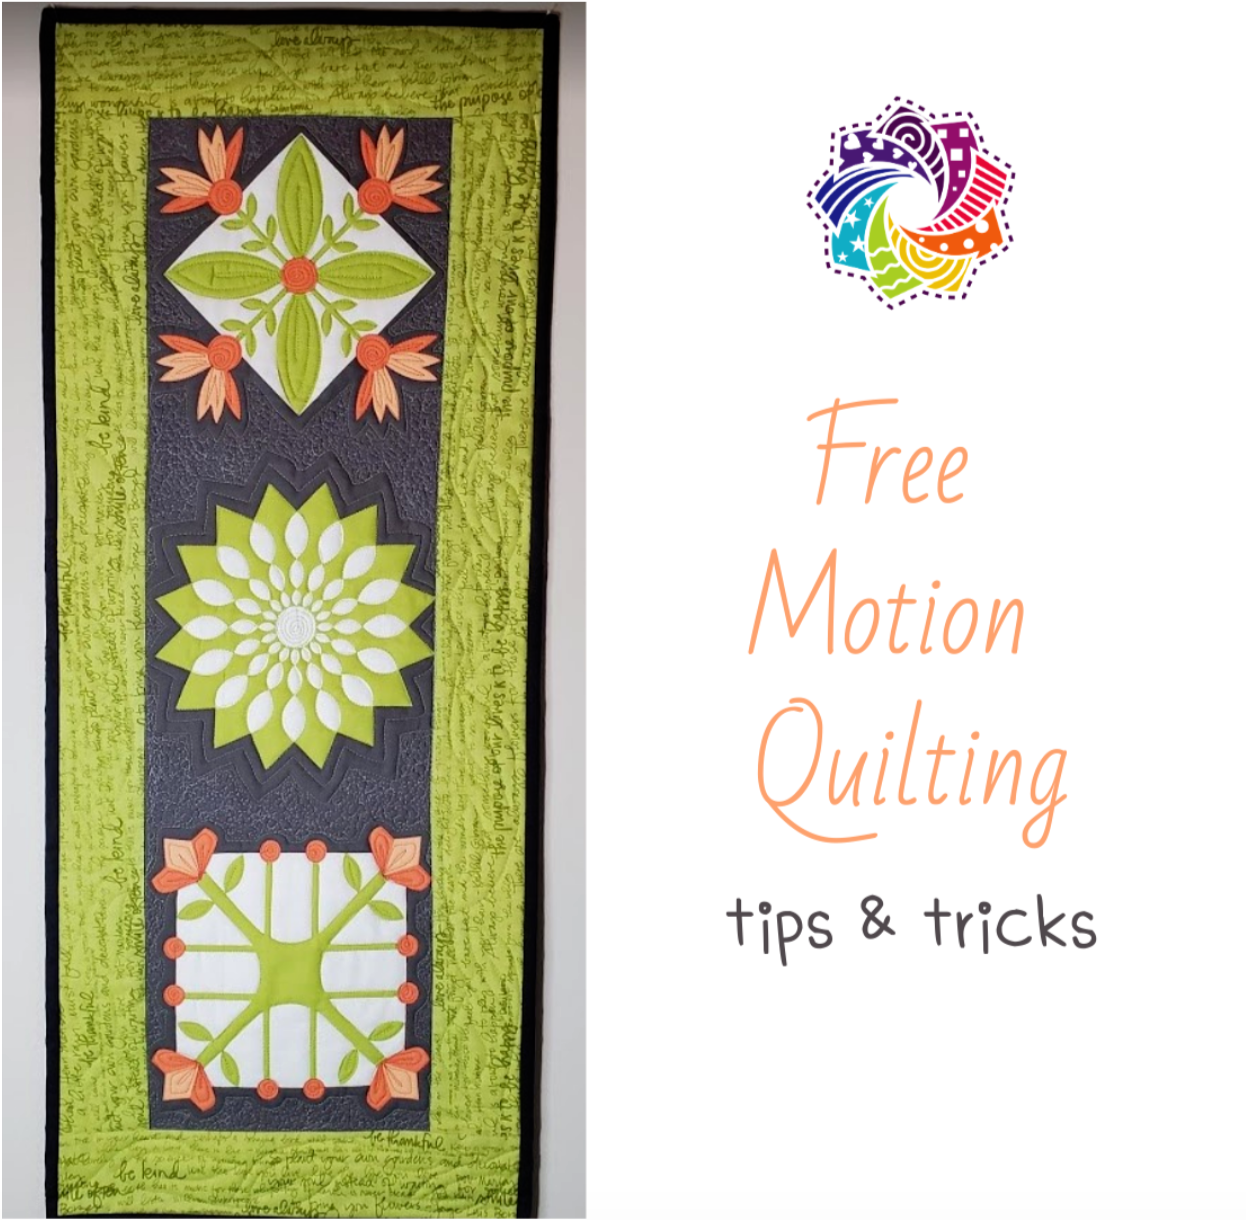
Free Motion Quilting
29th Oct 2020
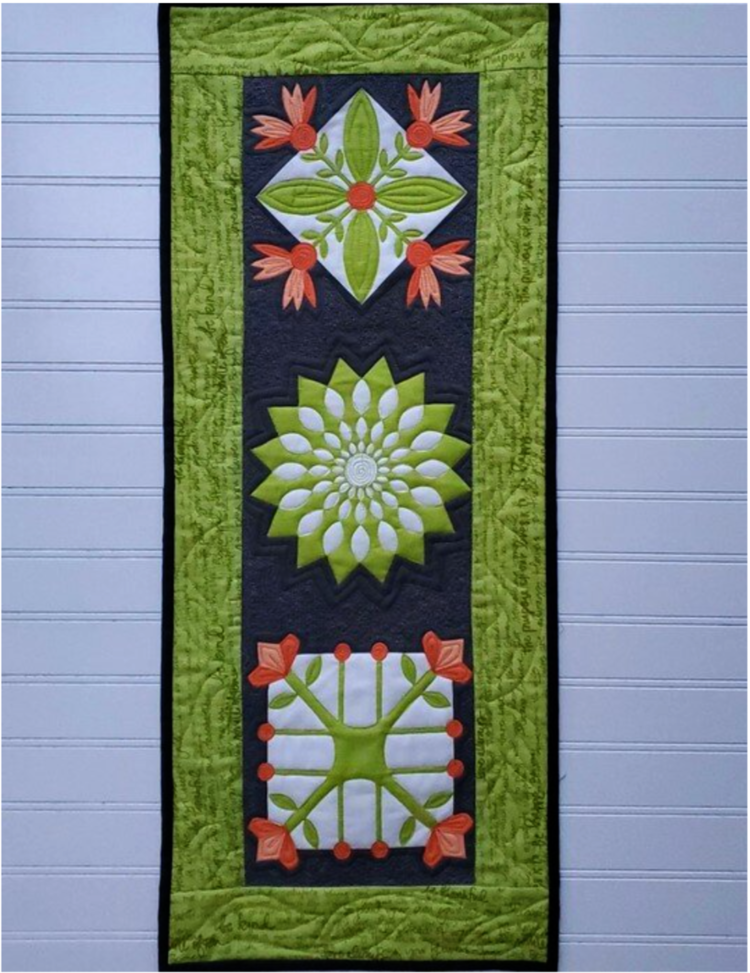
The September Classic Box Lagniappe was a sample of this Apricot and Ash panel by Corey Yoder. I loved the sample so much that I ordered the whole panel and was inspired to attempt to free motion quilt the whole thing!
The floral designs are perfect for a beginner to stitch around to learn some of the basics for free motion quilting. I decided to use the smaller sample piece to practice and make some decisions about thread color and design. This small panel piece will make a cheerful wall hanging or table runner as I practice my new skills. I will share with you the easy steps I took to take this panel to the next level by adding some quilting.
Materials needed
-
Apricot and Ash Panel
-
½ yard of backing fabric
-
Batting
-
Aurifil Thread
-
¼ yard border fabric
-
¼ yard binding fabric

To get started, take a piece of the panel with three floral graphics and square it up allowing at least a ½ “ seam allowance around the design. Next cut two 3” width of fabric pieces for the borders. Sew with a ¼” seam along the long sides. Then trim off the extra fabric and it should be enough to sew along the short ends of the panel. Press the seams toward the darker fabric. Cut a piece of backing fabric and batting the same size and spray baste to make a quilt sandwich.
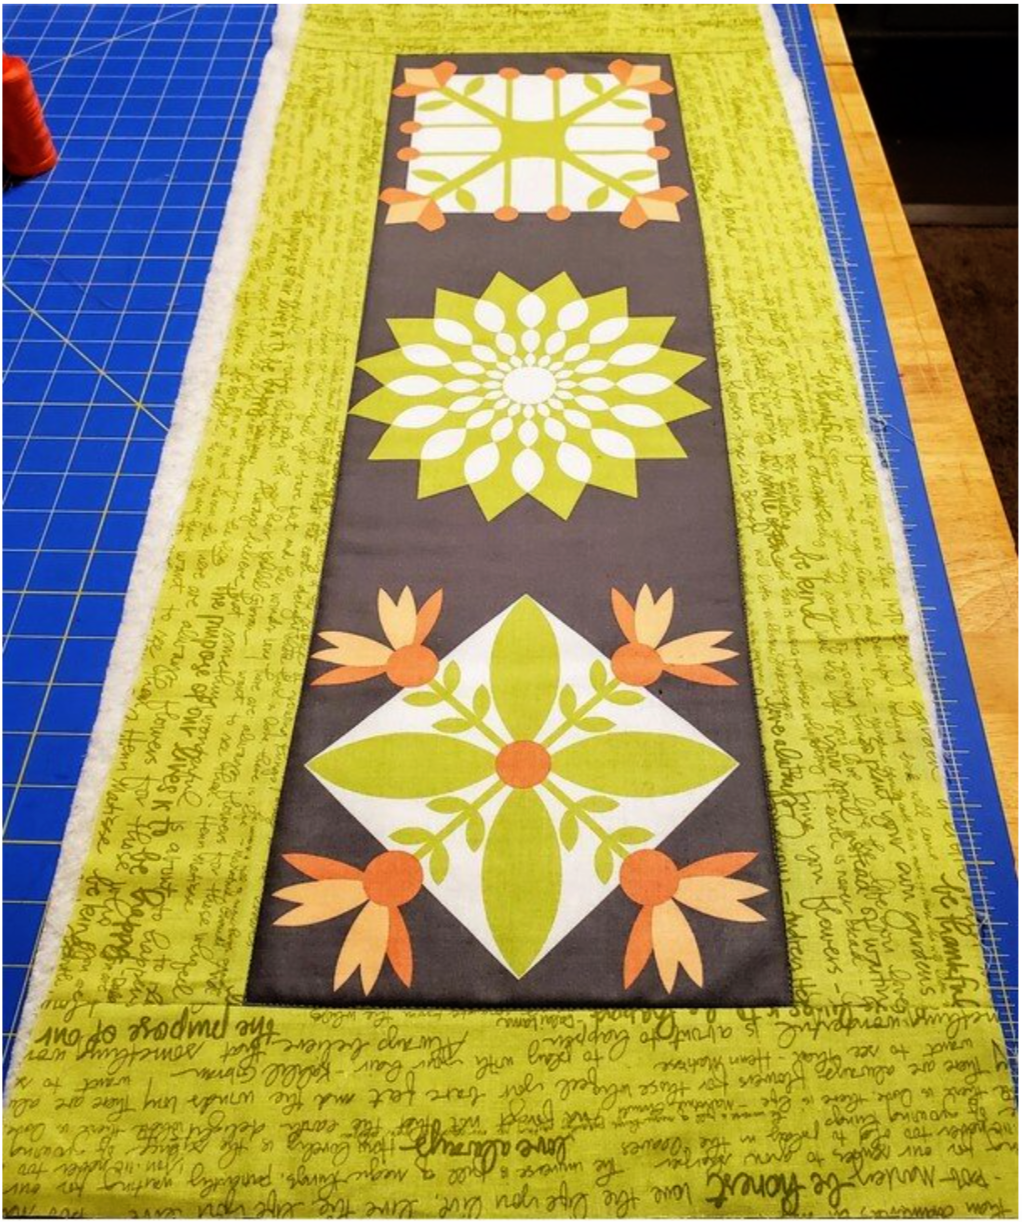
I usually give it a good press to be sure the layers are adhered and there are no wrinkles in the fabric. Set up your machine for free motion quilting according to your instruction book. Check the tension on a scrap fabric to be sure the settings are correct. It is a good idea to have a full bobbin with an extra ready to go before you start sewing. I used the grey thread in the bobbin.
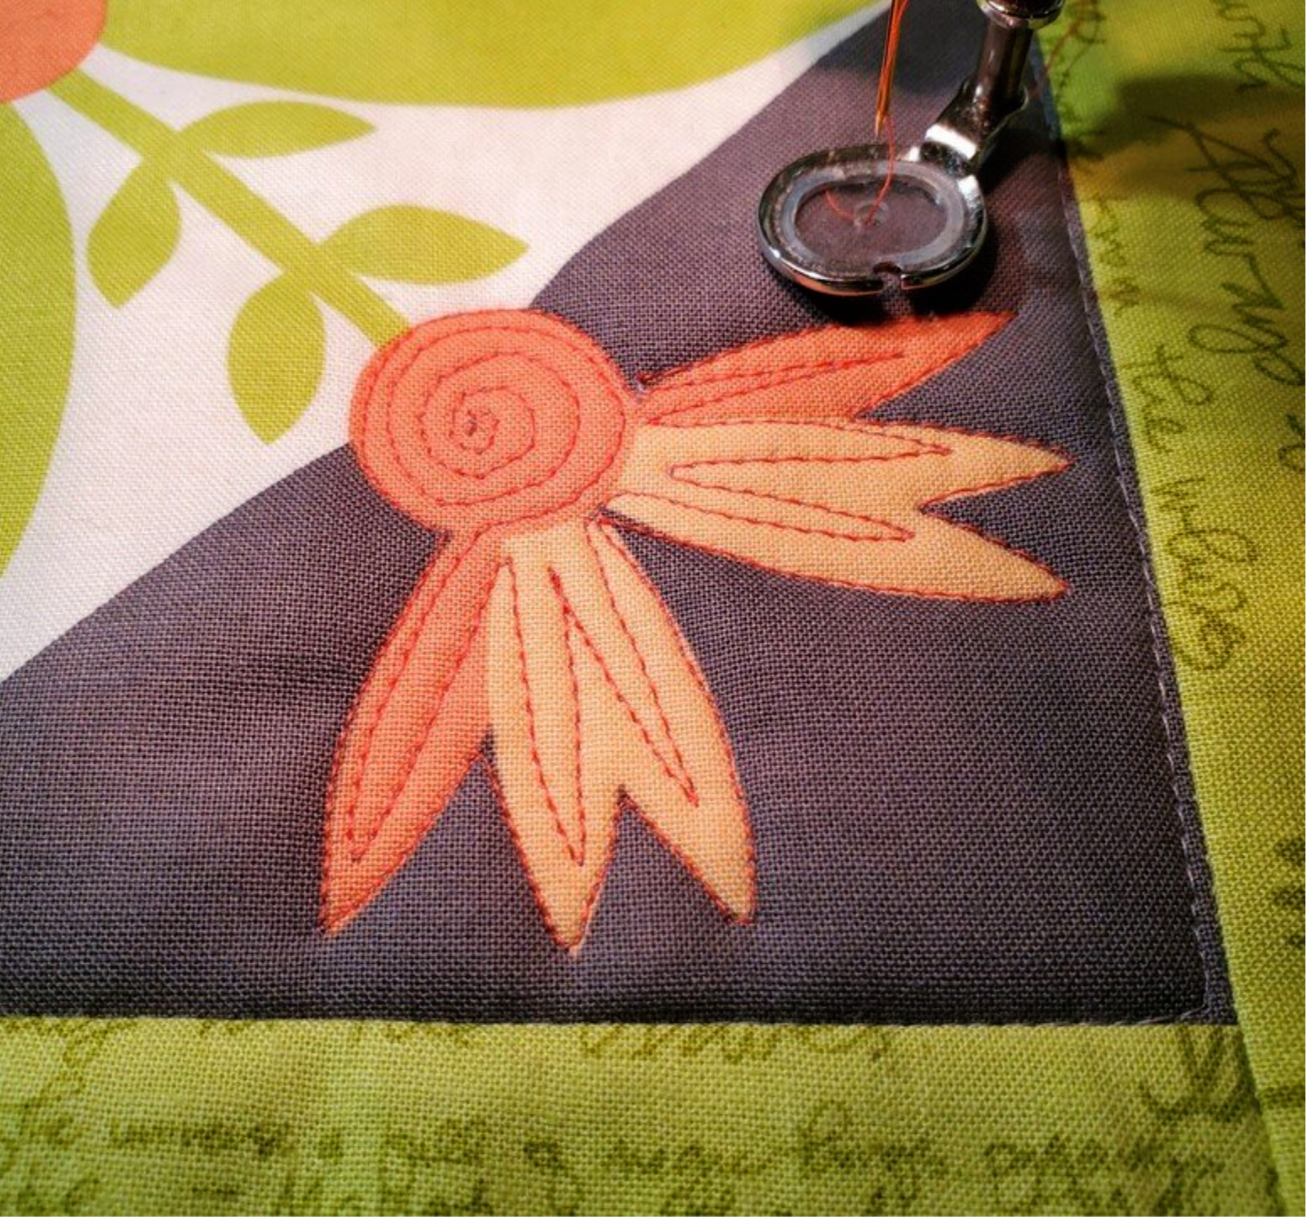
Starting with the orange thread, sew around the flower adding the lines for the petals. Ending with a spiral in the middle. To start and stop take a few stitches in place to secure the threads. Cut the thread and move to the next flower.
Move on to the next floral design and sew around the petals then echoing around the shape adding lines for the petals. On this design instead of cutting the thread travel along the square and on the circle go around creating a spiral and from the center go straight to the next circle and continue till you complete the design without cutting threads.
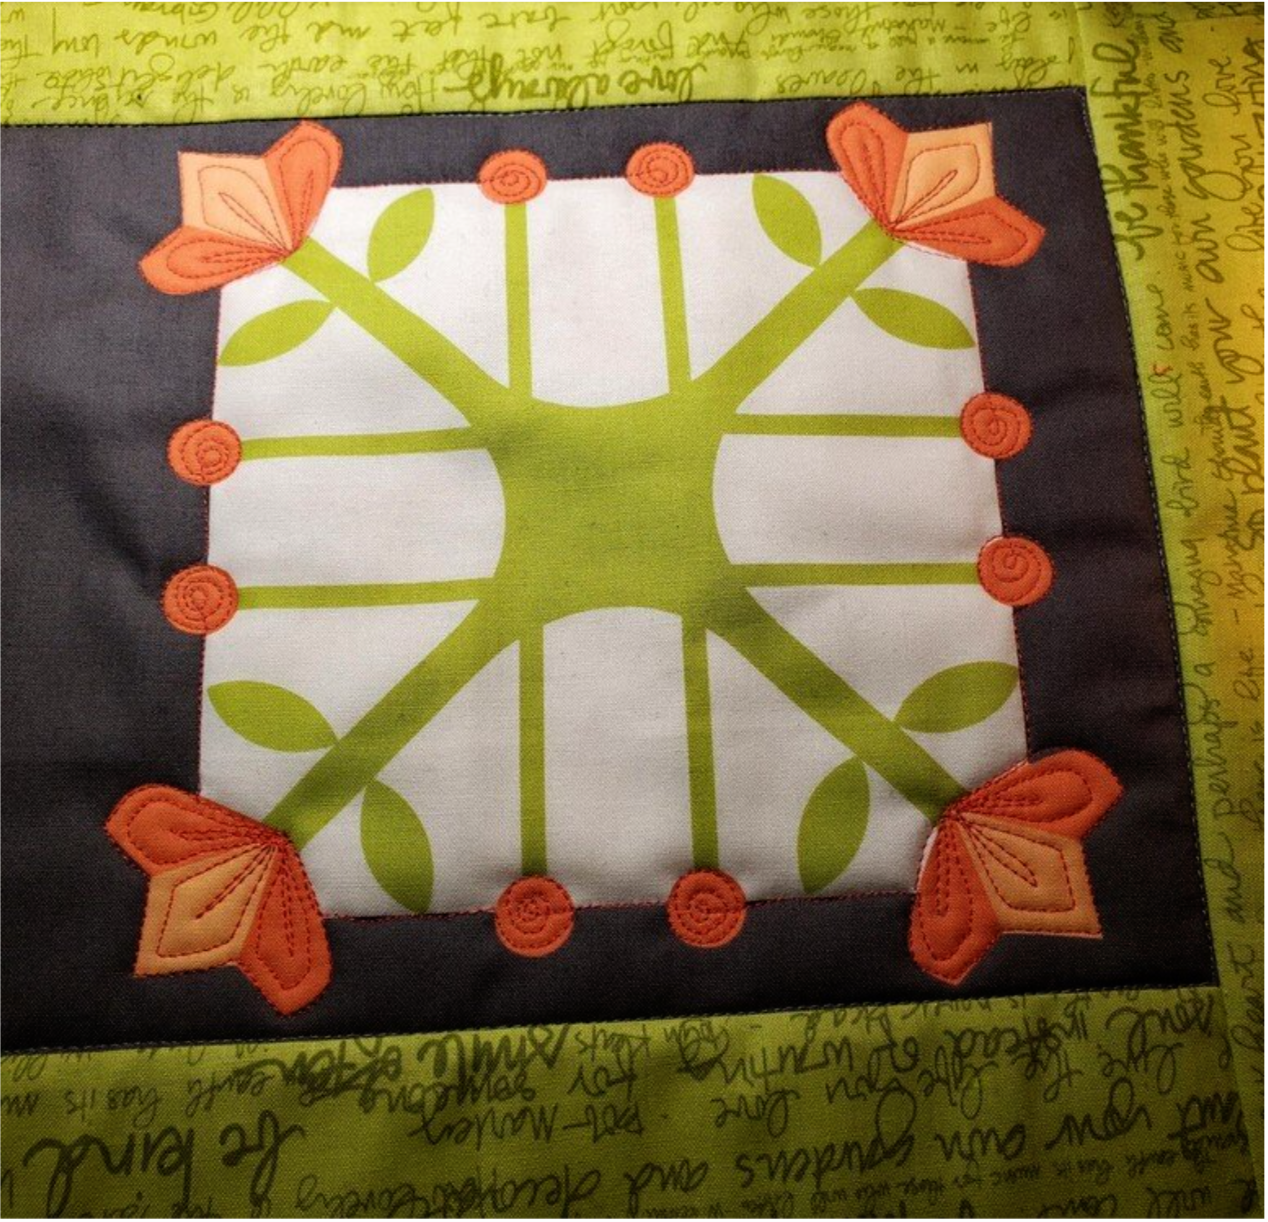
It is amazing how the stitching brings the flowers to life by adding some texture with the thread. Now it is time to change to the green thread and sew the leaves on the flowers. I used the same method adding lines and traveling without cutting threads. As you go along you will start to get a feel for how fast to move the fabric to keep it stitching smoothly. I was not going for perfection just learning how to maneuver around the shapes and creating designs as I went along.
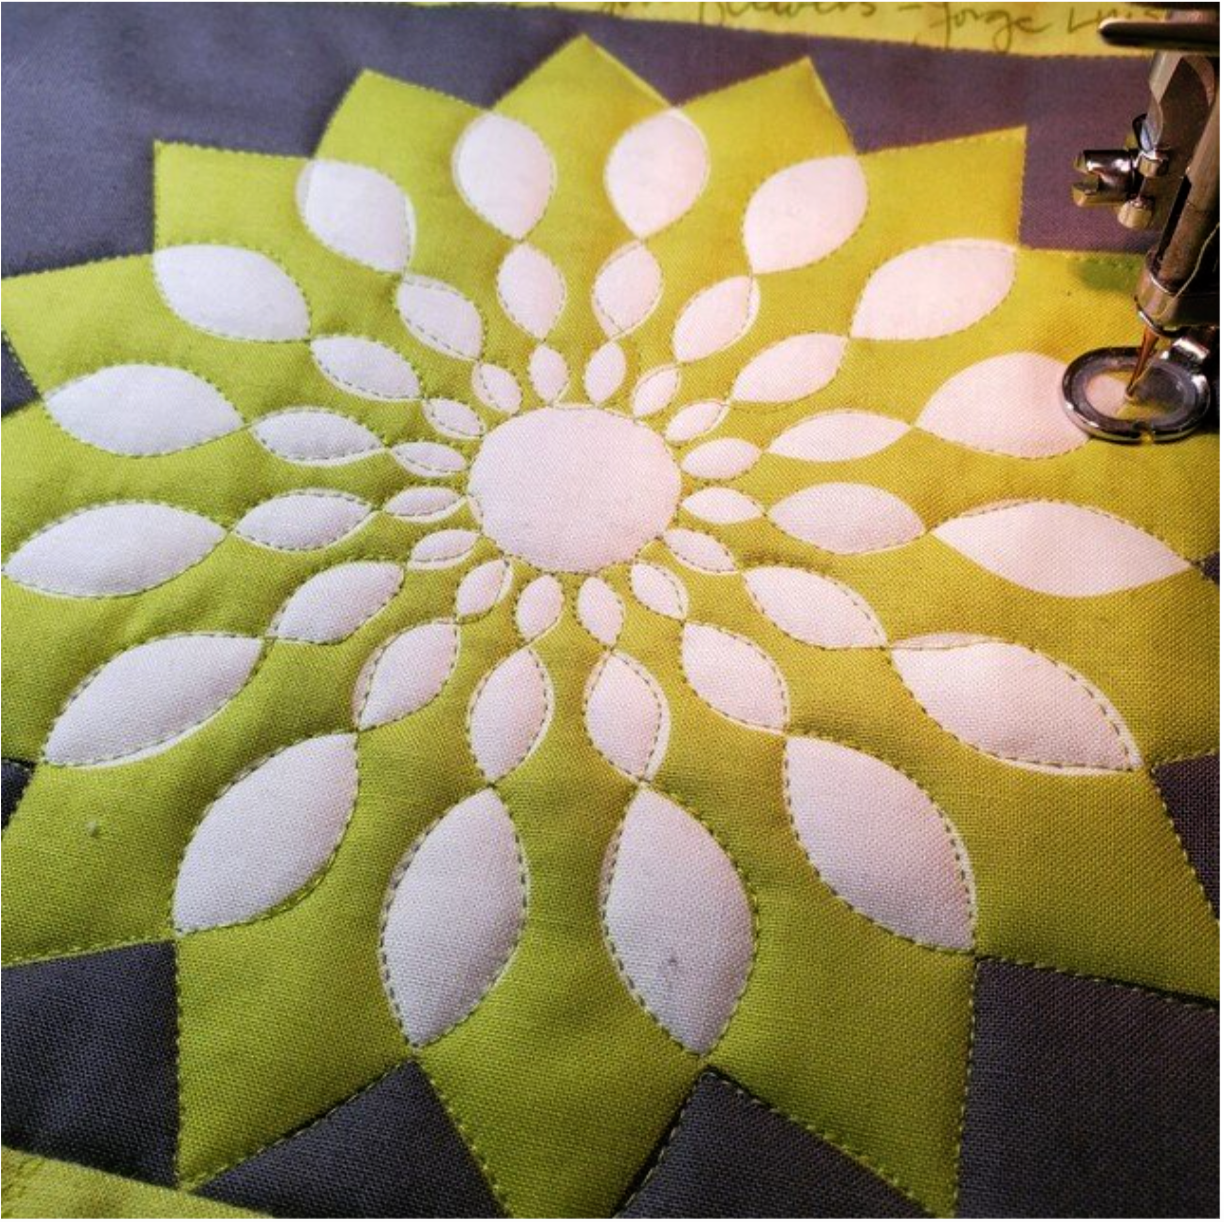
I decided to echo around all the floral designs with the green thread to start to fill in the background. I did this twice to emphasize the outline of each flower. For the final step of filling in the background I changed the thread to grey. For this step I used the scribble design and just worked at keeping the stitching even as I filled the background. In my research on how to free motion quilt I learned it looks best to have sunshine and shadows. The sunshine is the high part that picks up the light so not as much quilting and the shadows are the lower more density stitched areas. I wanted to try this idea on my practice piece to see the dimension it creates.

If you look closely, you can see my lines are not straight and maybe even a little wobbly as I practiced free motion quilting. In the end it gave a whimsical look to the flowers and an artistic feel to this piece. I encourage you to give this method a try.
To finish the border, I used a leafy vine stitched in the green thread . After you finish quilting, square up the piece and add your binding. This panel is suitable for hanging horizontal or vertical. I am pleased with the outcome of my adventure of free motion quilting on a panel. It gave me confidence to tackle the whole panel. I will keep you updated on my progress in a future blog.