Fabric Knot Bag
6th May 2021
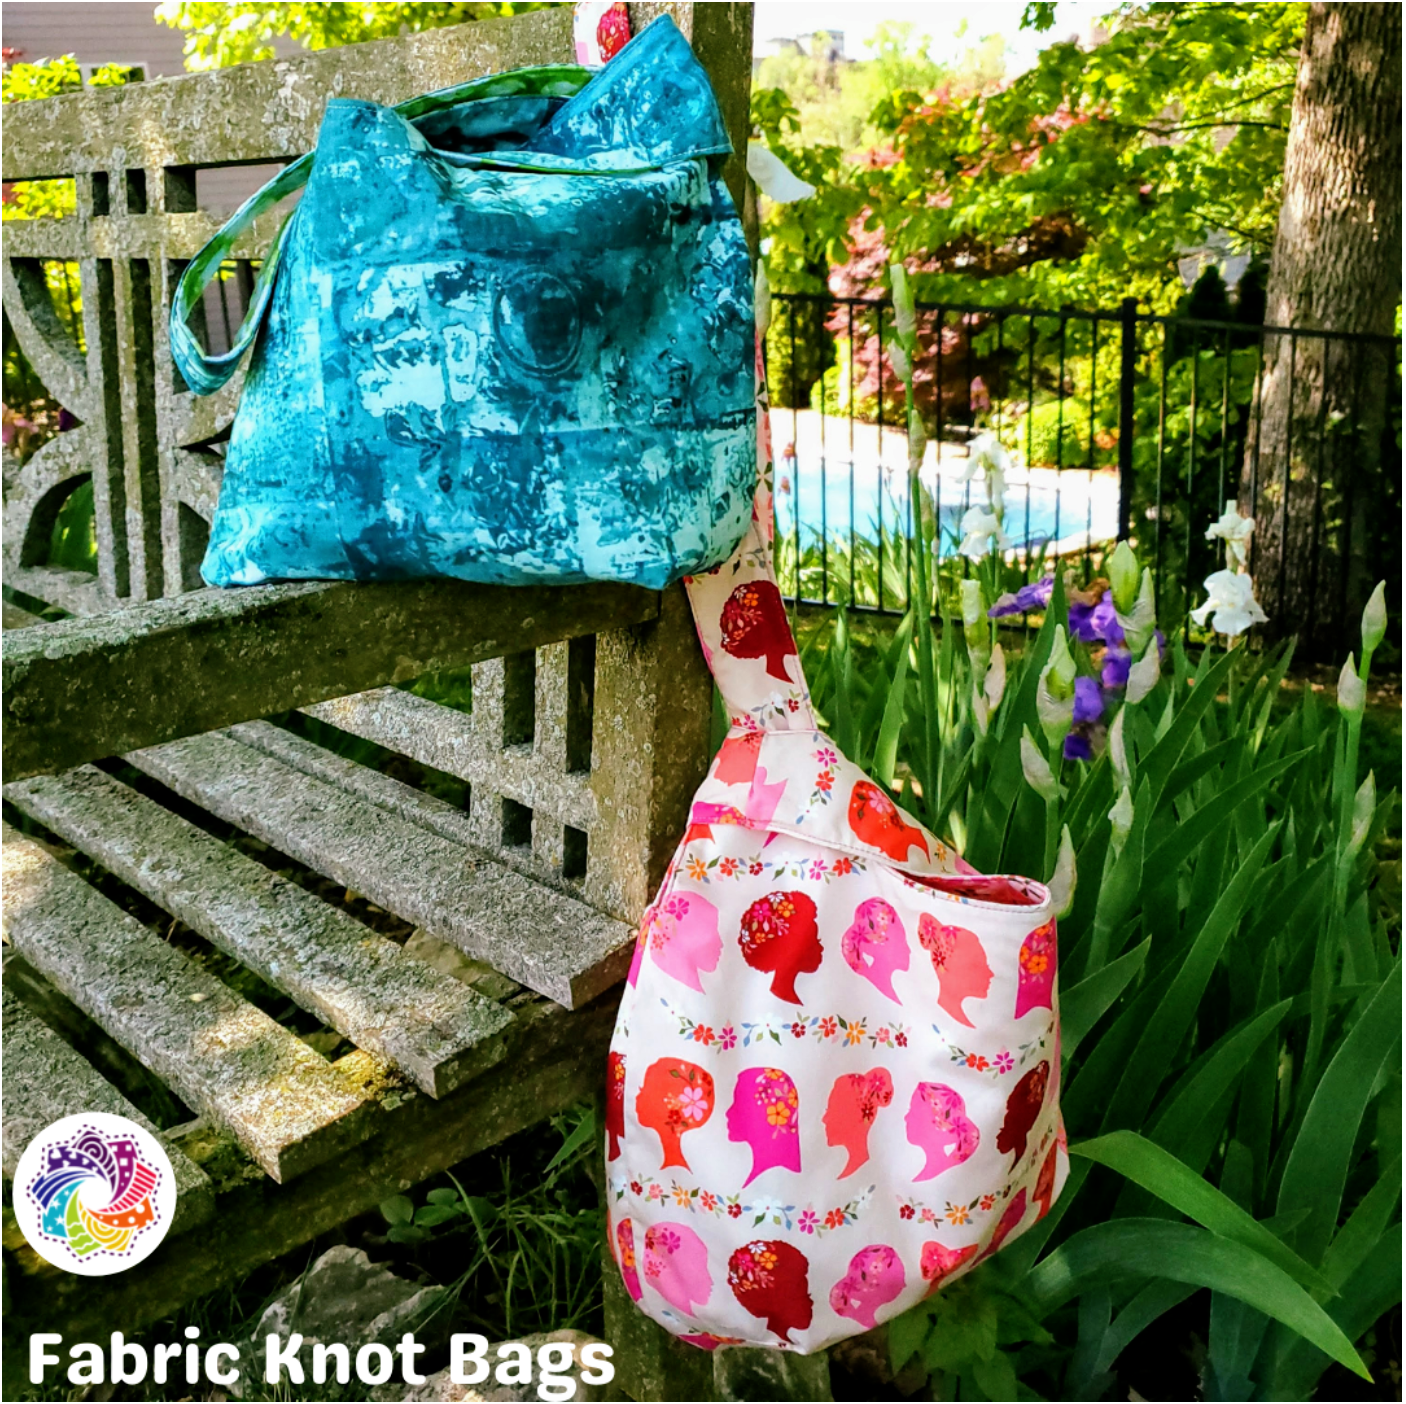
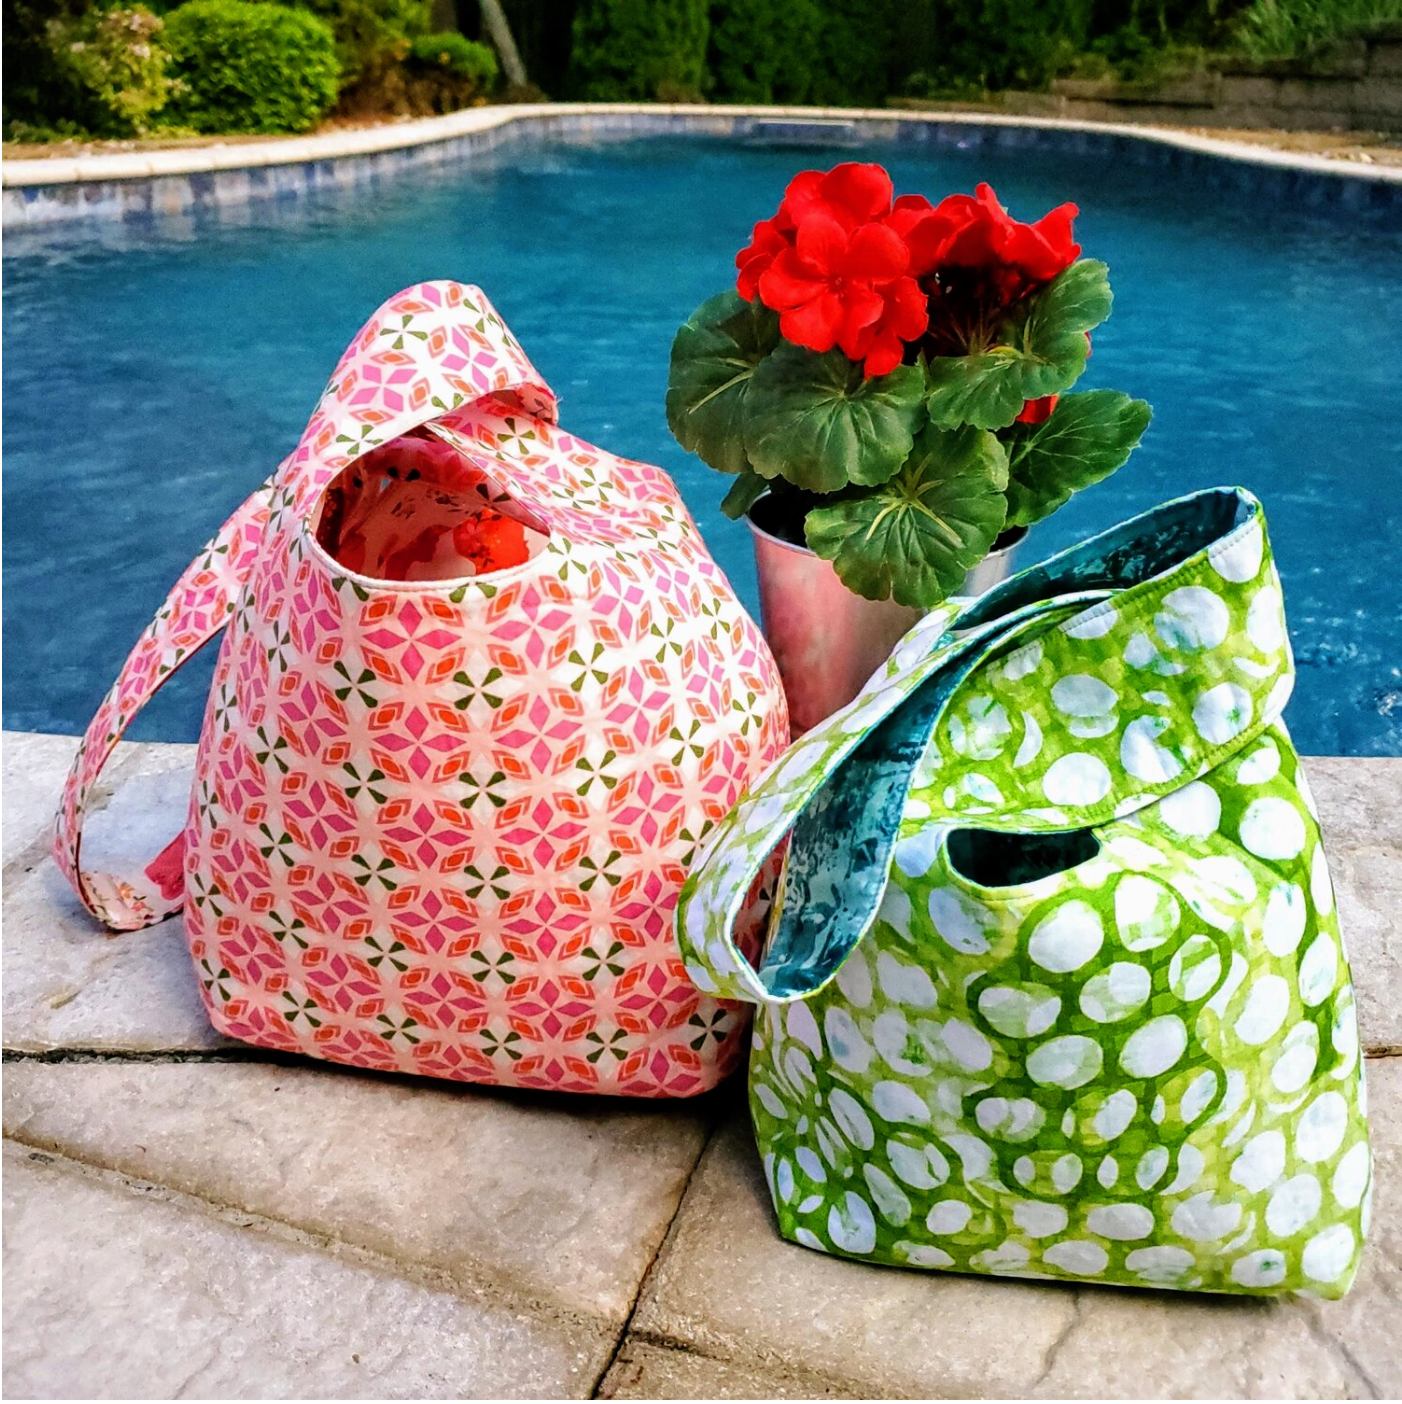
Mother’s Day is quickly approaching and this is a great beginner level project for a gift! I’ve featured the Art Gallery fabrics that will be shipping in the May Modern Maker box for the larger shoulder bag. For the smaller wrist bag, I’ve used Robert Kaufman Warehouse District by Wishwell (available in our shop here) This free Fabric Knot bag pattern from BHG.Com comes together quickly for a reversible trendy bag that will make your Mom feel appreciated on her special day!
Materials needed:
For smaller bag
½ yard of fabric for outer bag Wishwell Aquamarine
½ yard of lining fabric Wishwell Leaf
½ yard of fusible fleece
Coordinating Aurifil thread from the Chroma membership
For the larger shoulder bag
1 yard of outer fabric
1 yard of lining fabric
1 yard of fusible fleece
Coordinating Wonderfil Wild Pink for the topstitching
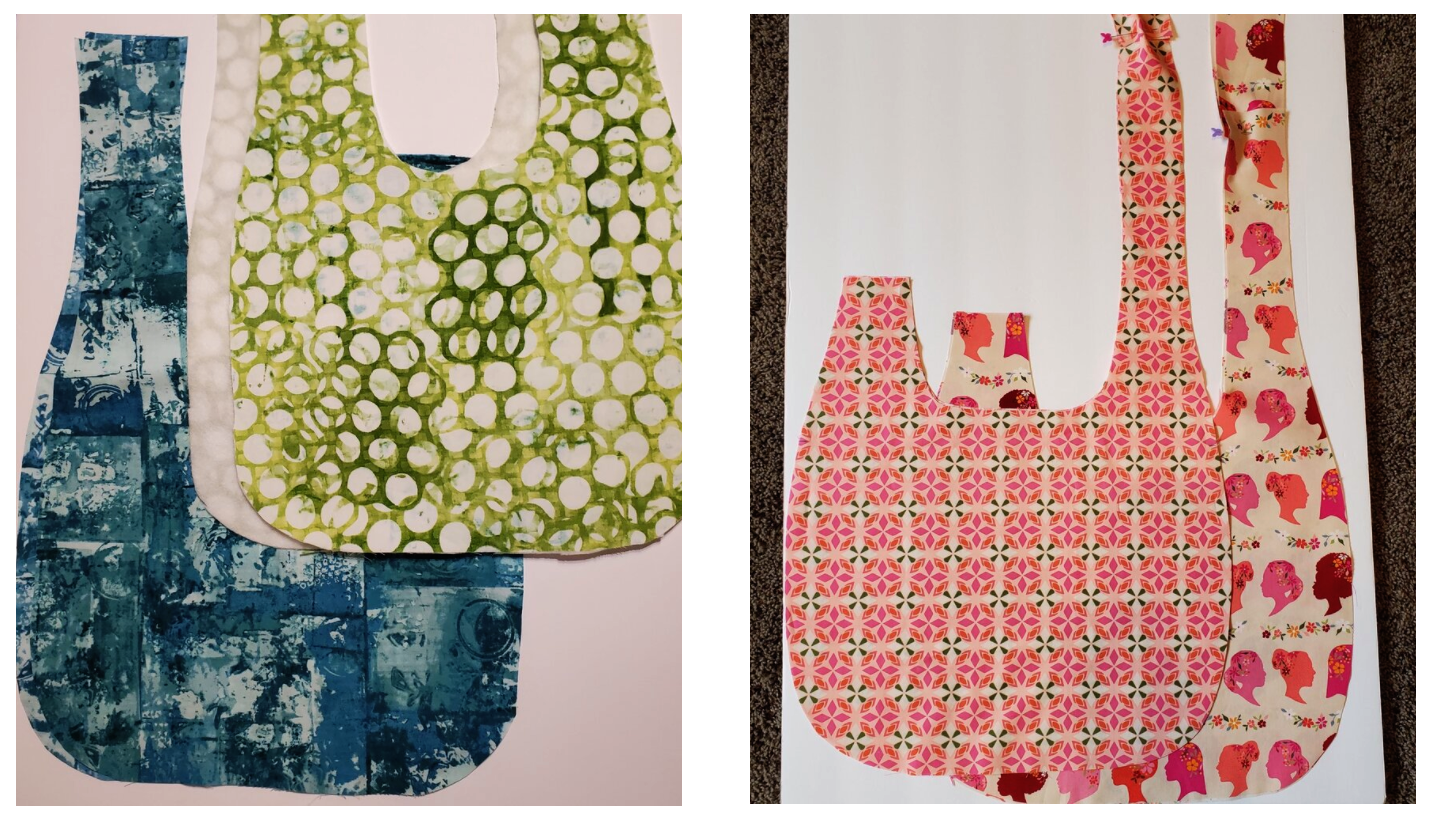
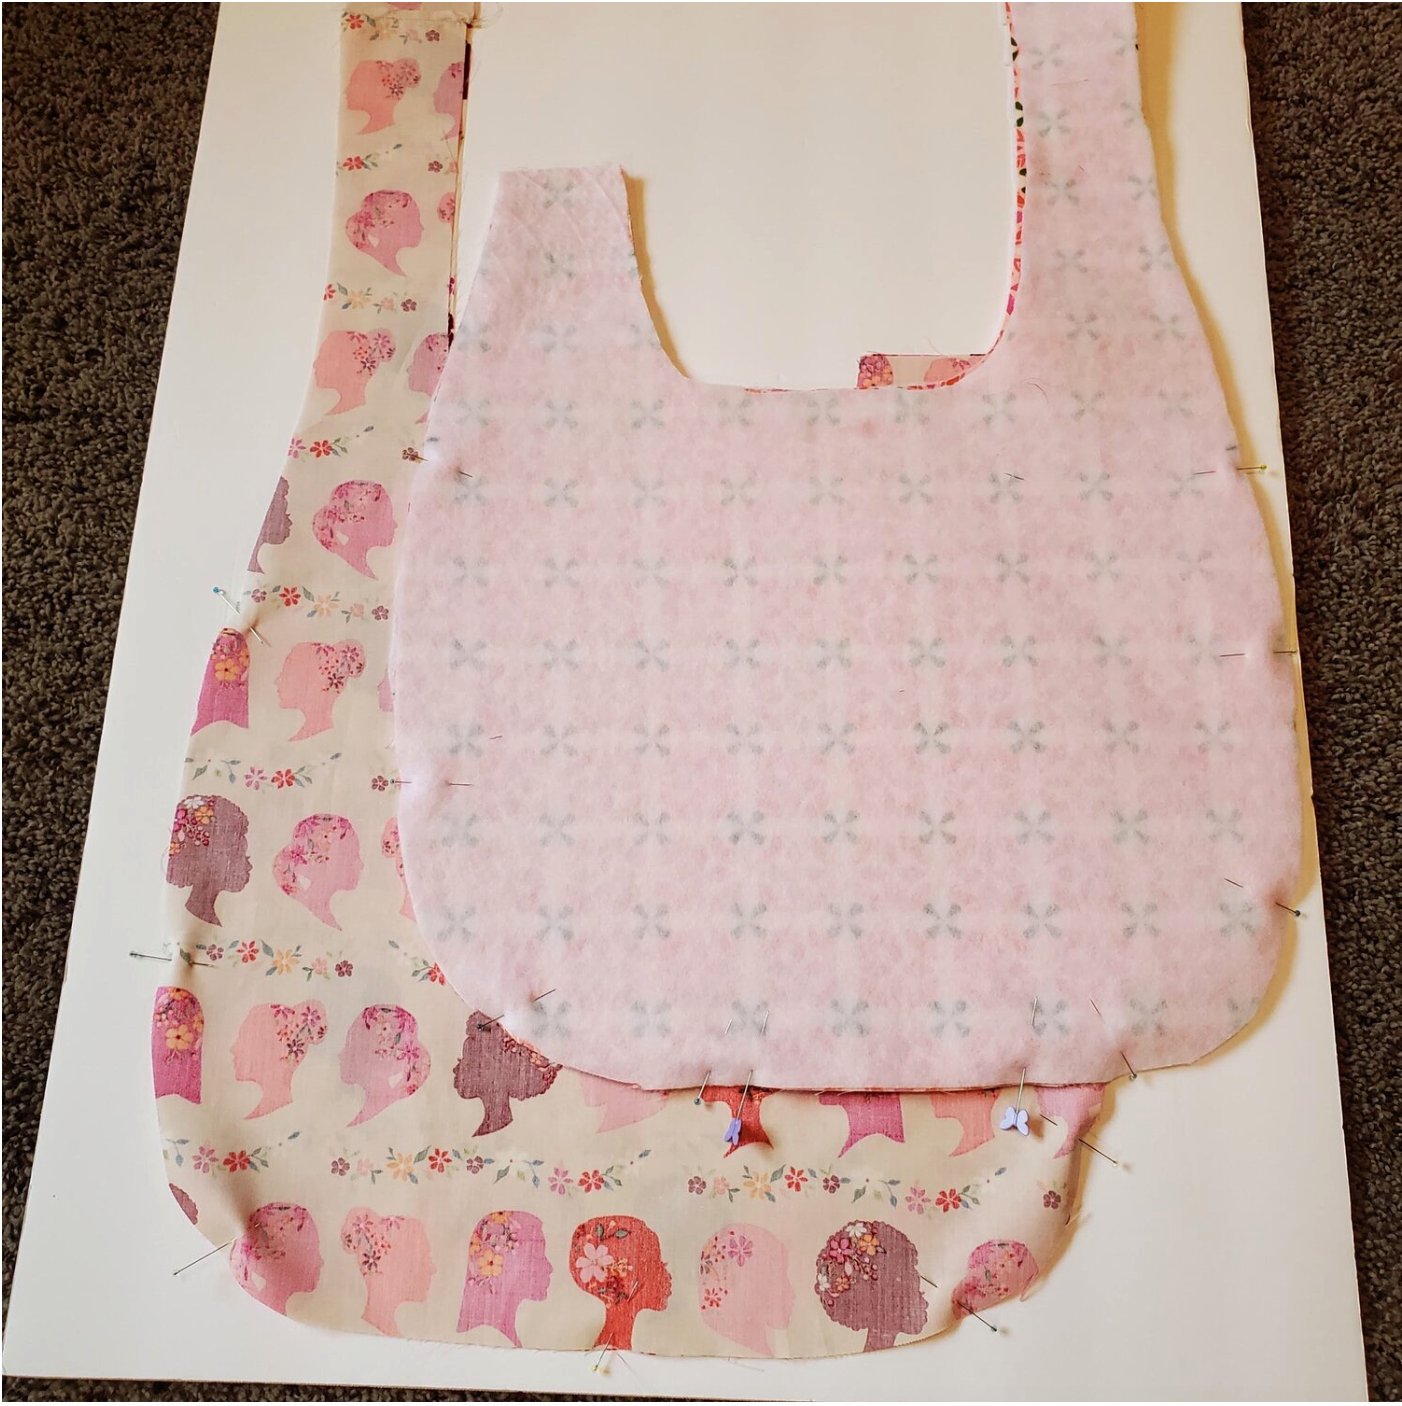
To begin, download and print the pattern. For the smaller bag, cut out as it is printed. To make the shoulder bag, I enlarged the body of the bag and added 10” to the length of the longer strap. Be sure to clip at the markings on the pattern for the outer and lining pieces. Iron on fusible fleece to the wrong side of the lining pieces
I needed to cut an additional 3” piece of fabric to add to the top of the long strap. It did not quite fit on the one yard cut of fabric. Sew this additional 3” piece to the top edge using a ¼” seam on the outer and lining pieces. You can adjust the strap length for your preference at this point. (All the seams will be ¼” for the project)
With the right sides together, pin in place then sew the outer fabric pieces together from the clip marking around the bottom to the other clip marking. Be sure to actually clip ¼” from the edge. It is an important step to prepare the edge for assembly. Do the same for the lining except for leaving a 3” opening in the middle of the bottom edge for turning later.
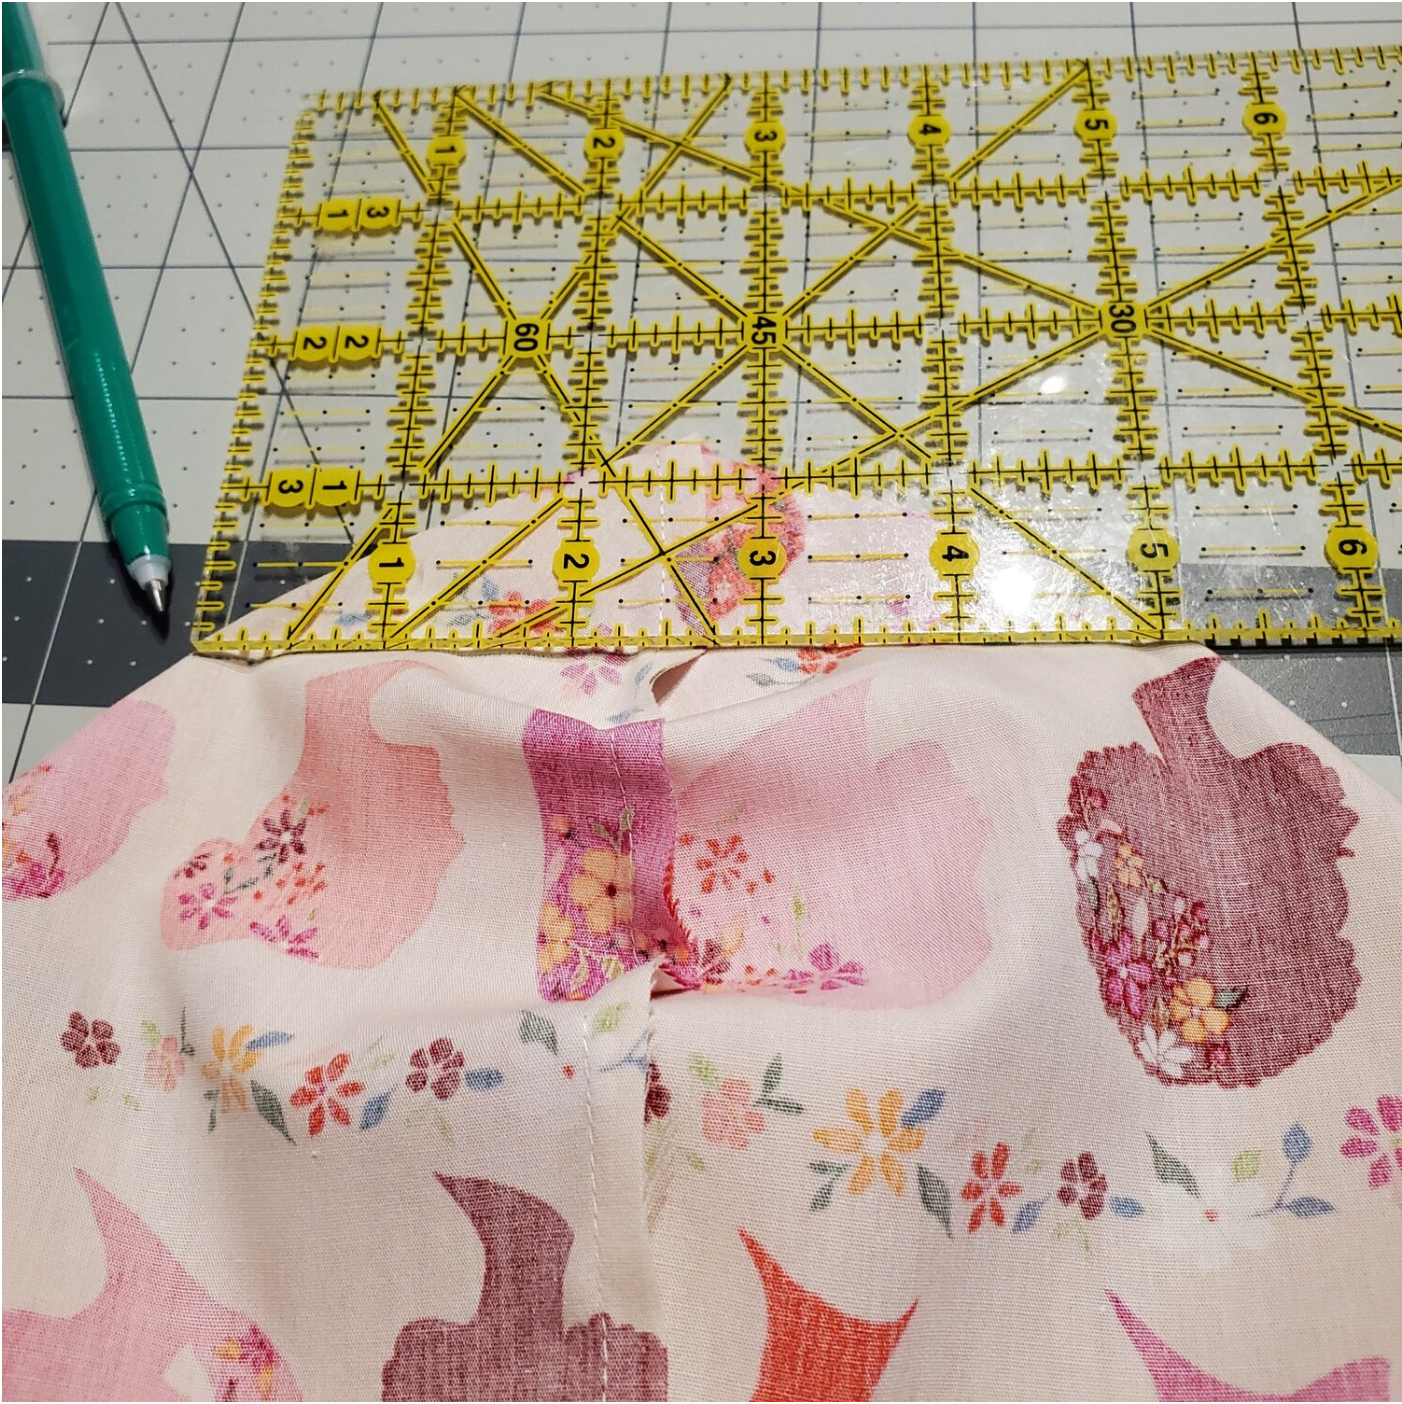
Next you will box the corners to give the bag a bottom. At the curve pinch the seams together and flatten out the fabric to mark the sewing line. Line up the 2.5” mark on the center seam and draw a line across edge to edge.
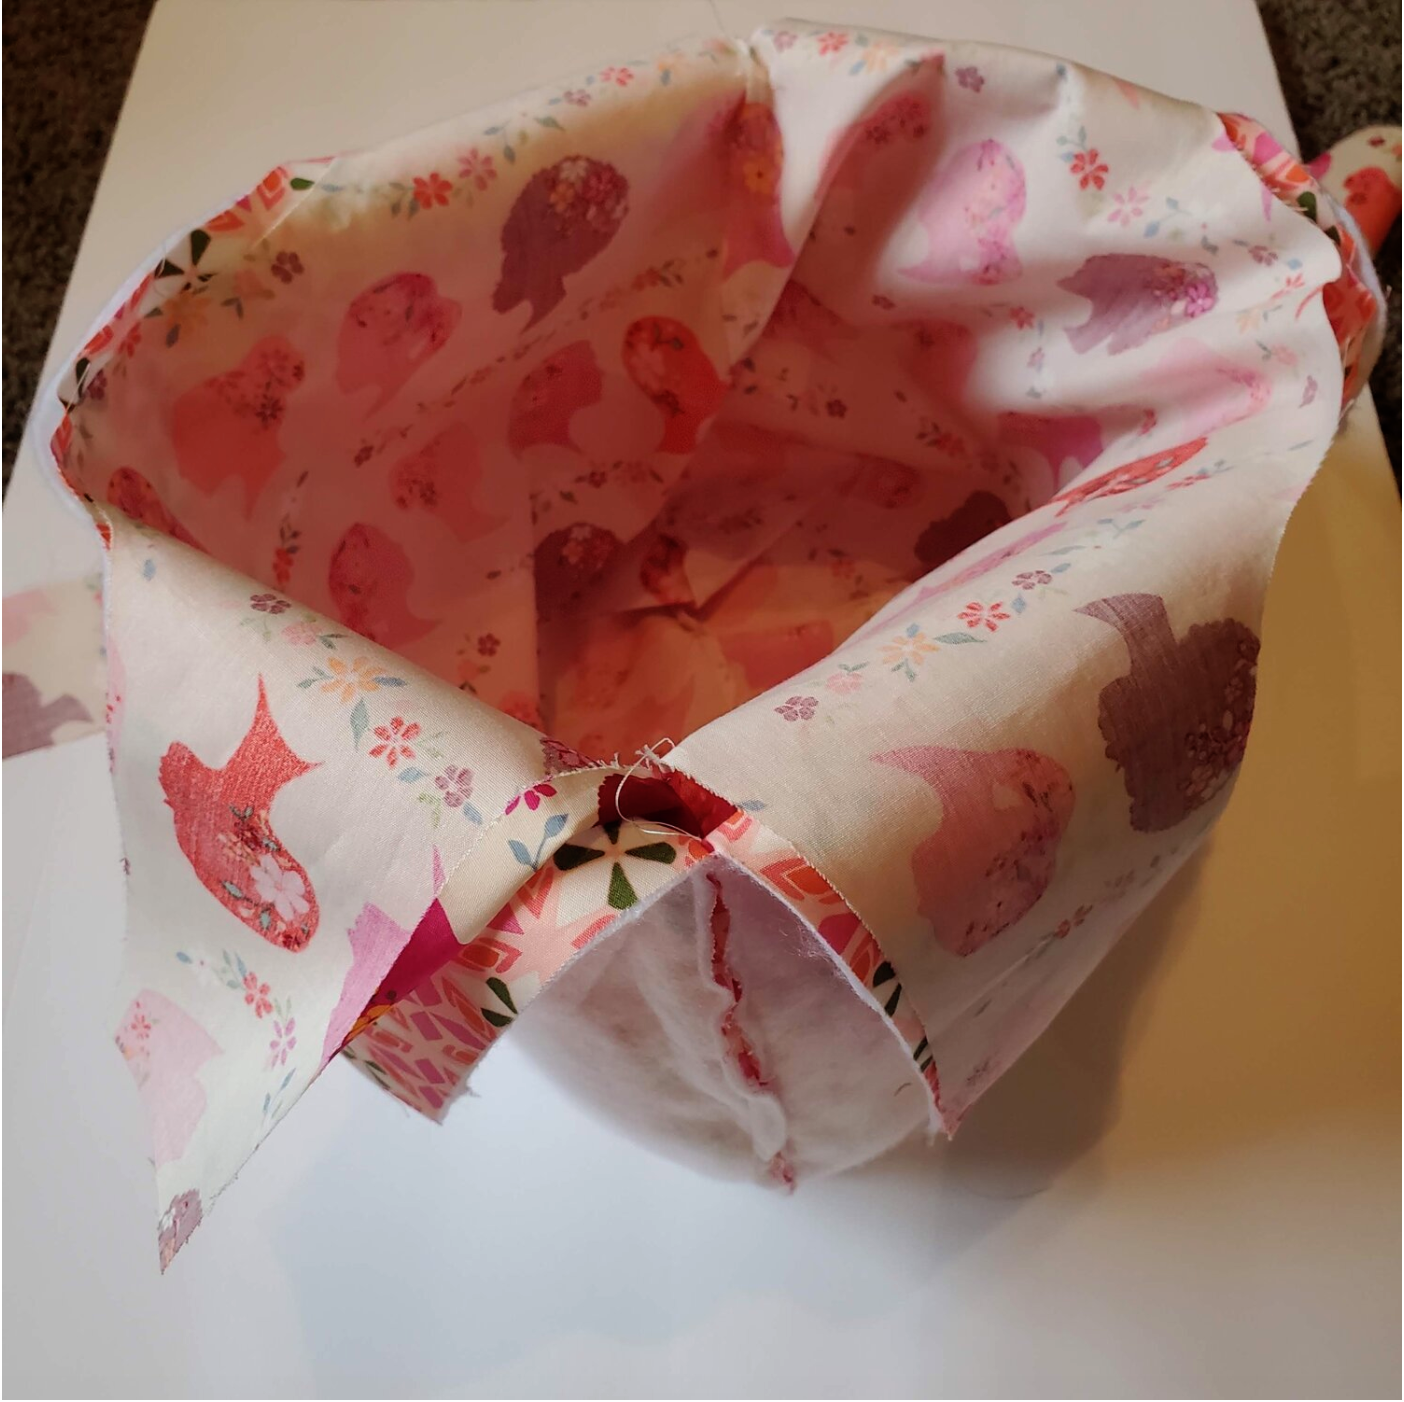
Sew on this marked line. Do the same for all four corners(2 outer, 2 lining). Trim excess fabric at least ¼” from the seam. With right sides together push the outer bag into the lining aligning the side seams.
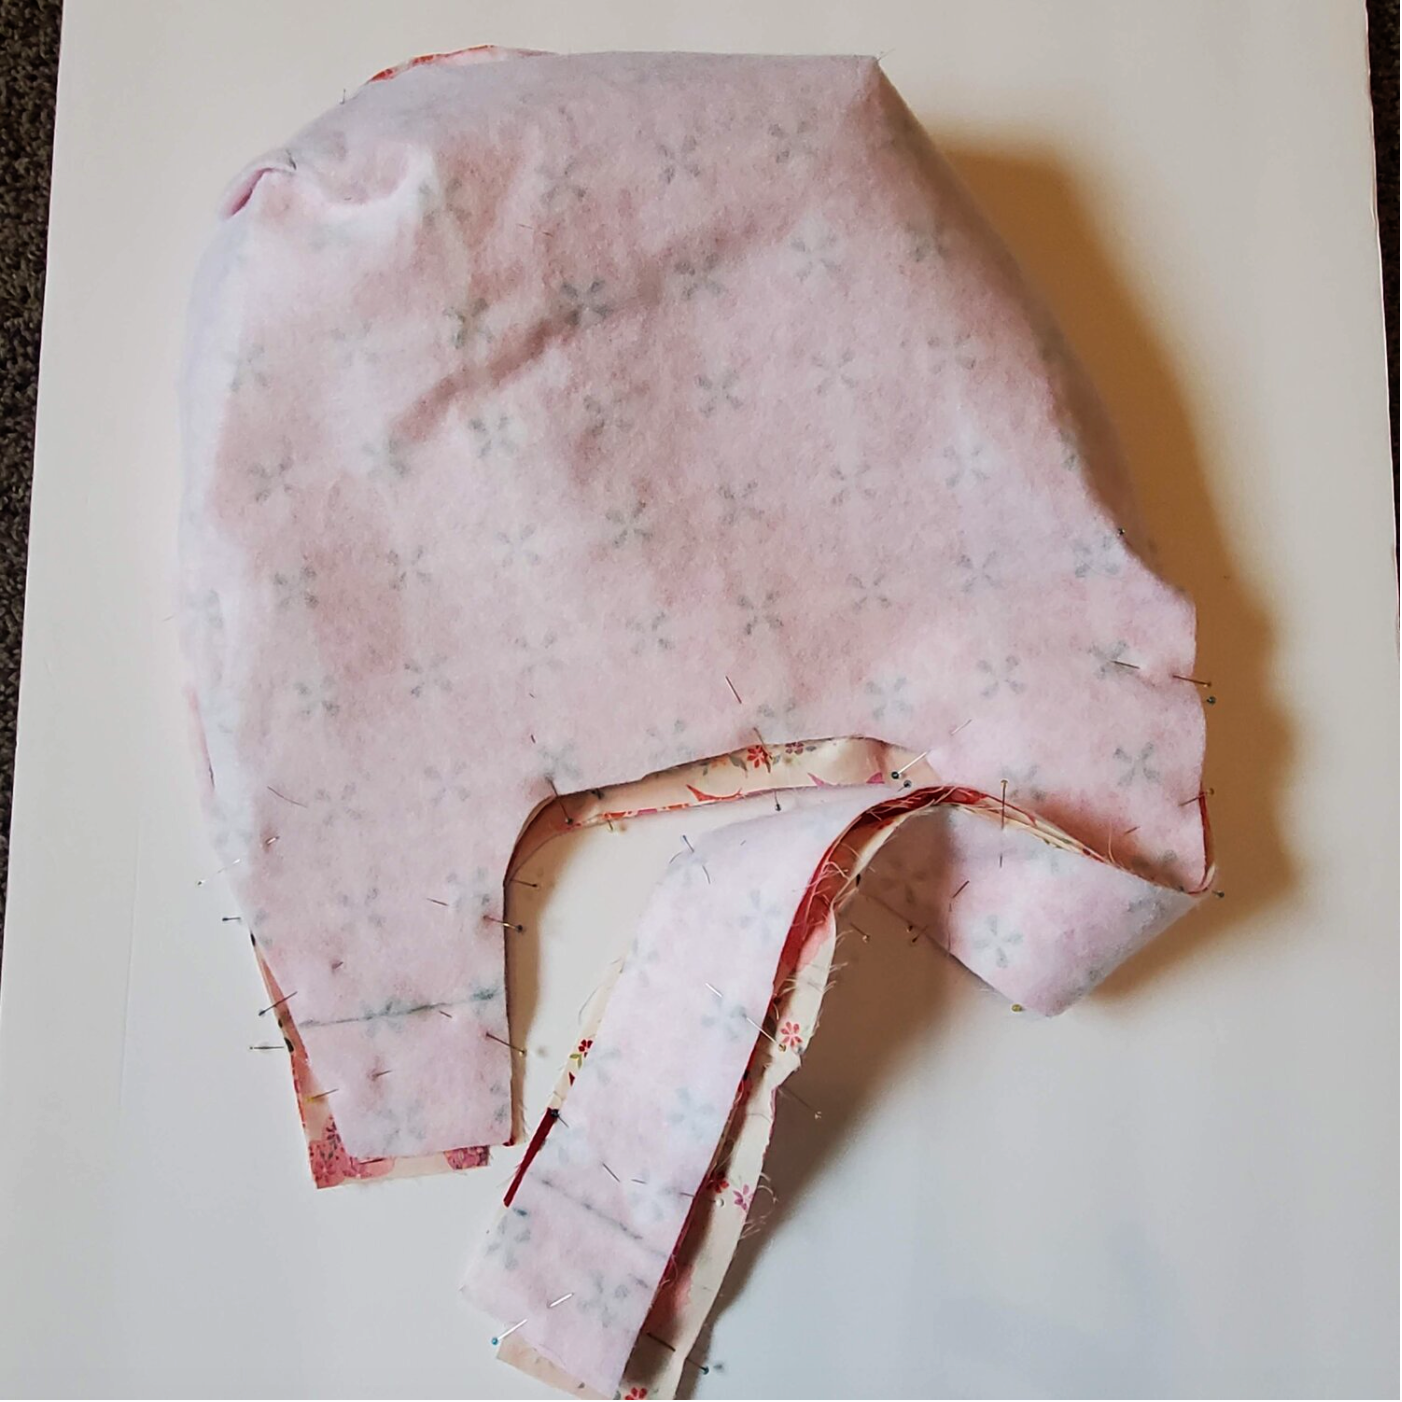
Pin the outer and lining pieces together taking care to line up the straps. Mark 2” from the top edge of the short and long straps. This is where you will stop sewing.
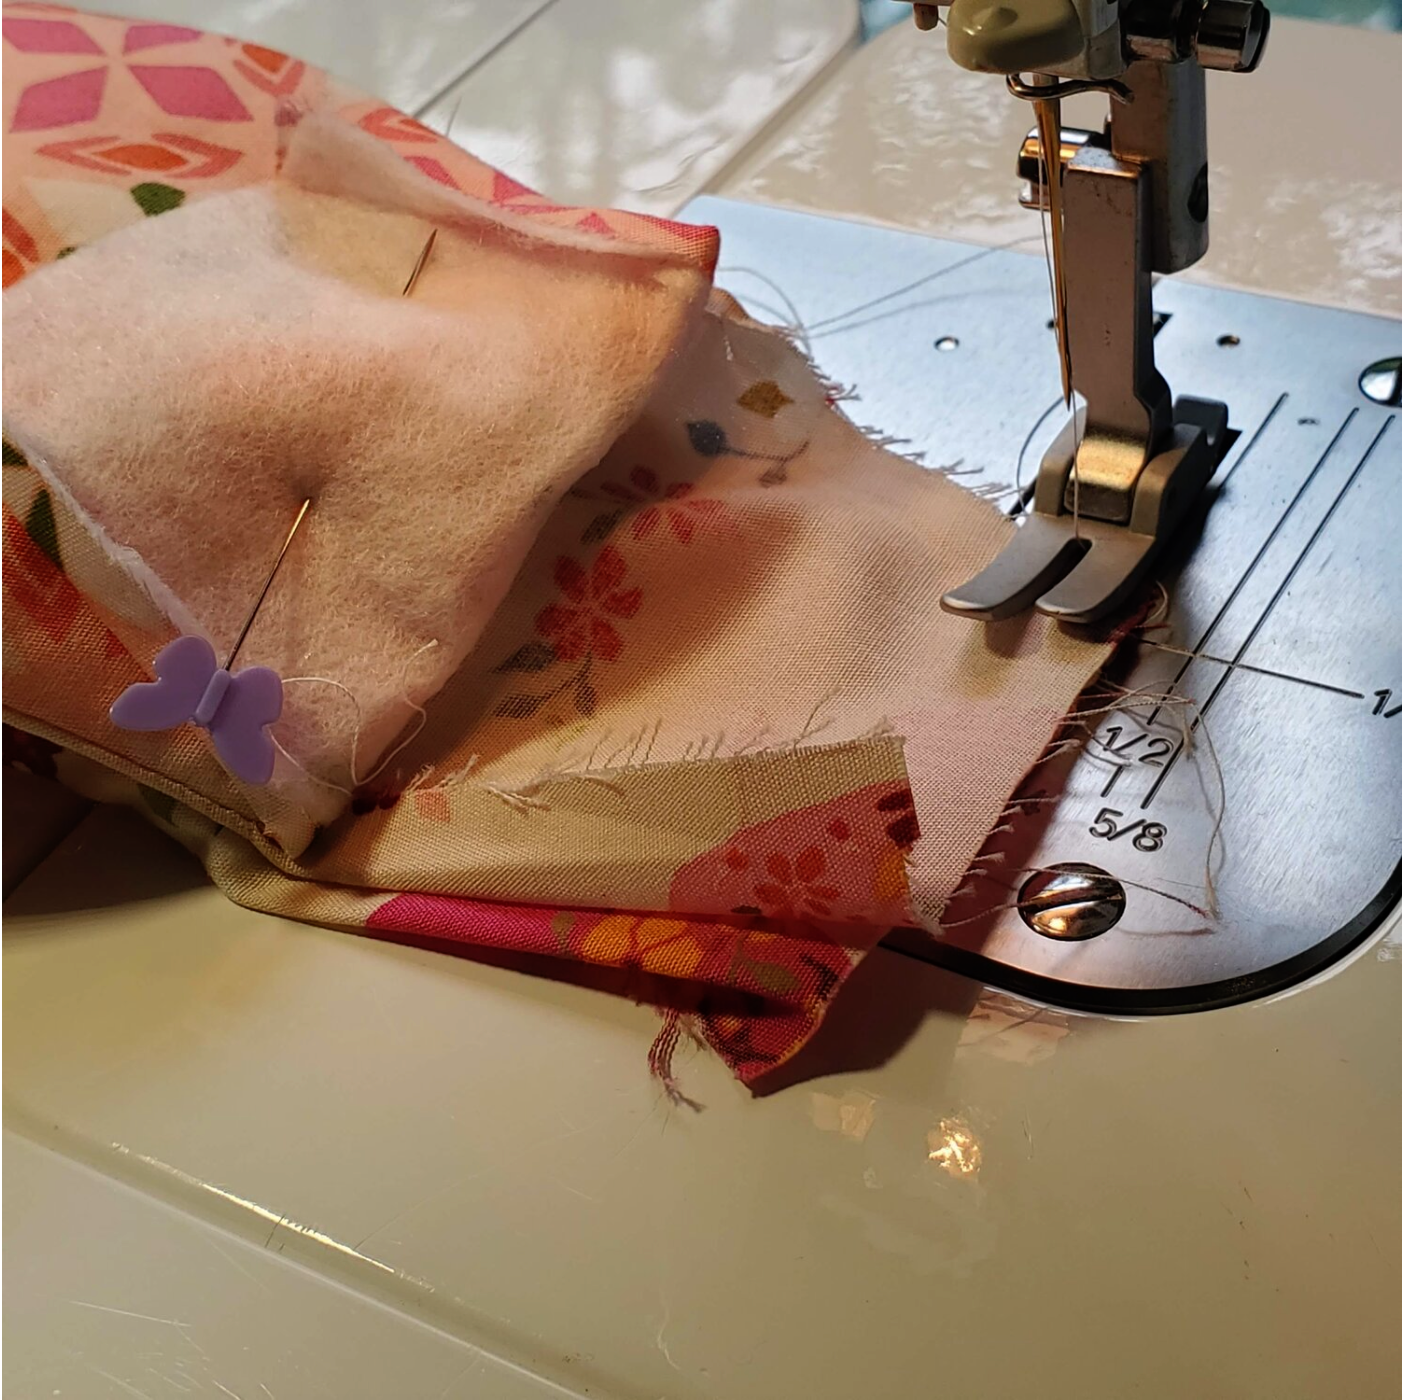
Sew along the pinned edges. Clip the corners to the seam line to help the fabric lay flat. Turn right sides out through the opening in the lining. Press the bag to prepare the edges for topstitching by aligning the edges evenly. Take the time to press the seams and press under the seam allowance on the 2” area on the top of each strap. With the right sides together align the top edges of the outer strap and sew. It is helpful to pin the lining fabric out of the way. Do the same for the lining strap.
Sew the opening in the bottom of the lining closed by hand sewing or topstitching closed.

You are ready for the final step!
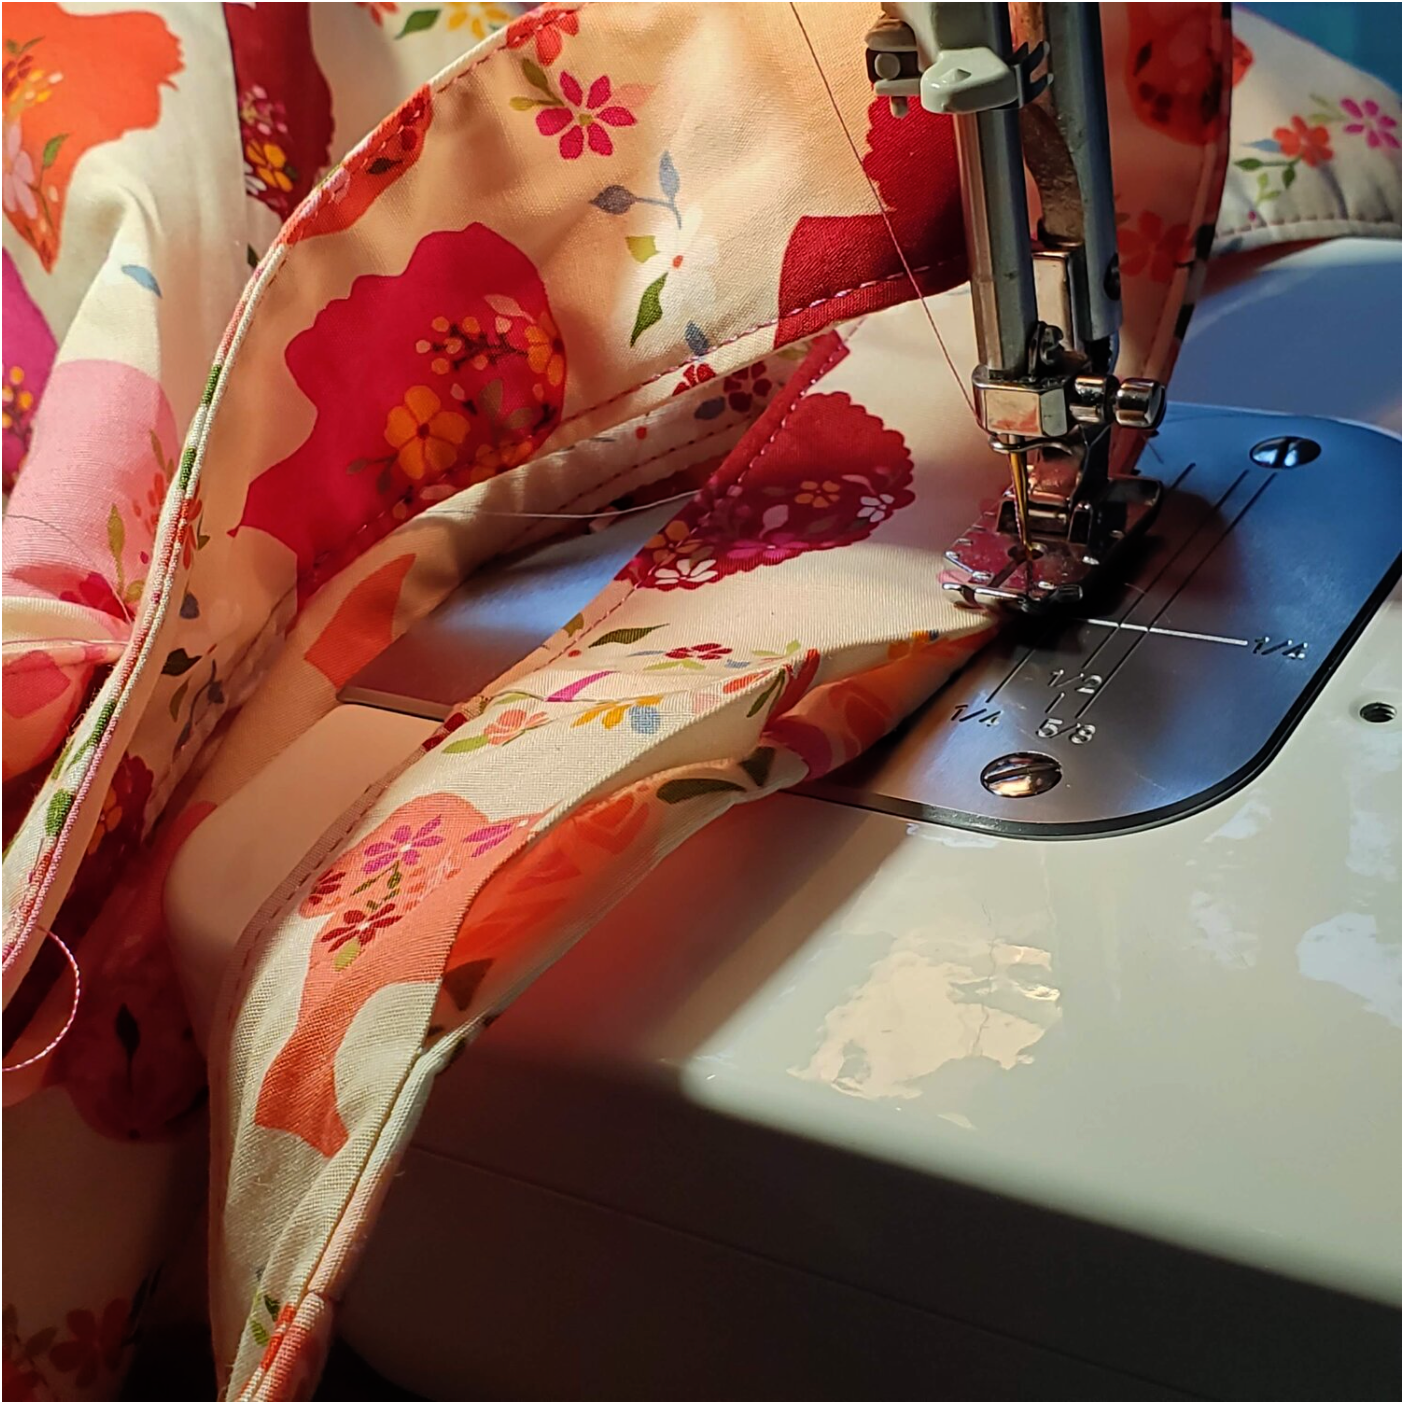
After giving the straps a final press, change out your top thread to the Wonderfil Wild Pink and lengthen your stitch to 3 for topstitching. Practice on a scrap to be sure the tension is correct with the different thread to prepare for success with your topstitching. Topstitch all around ⅛” from the edge. Pay special attention to the open seams on the straps.
Overlap a few stitches to secure the threads when you reach the starting point. Clip all thread and give it a final press. You did it! You have a fun trendy bag ready for gifting or for yourself!