DIY Eyeglass Case
6th Jan 2022
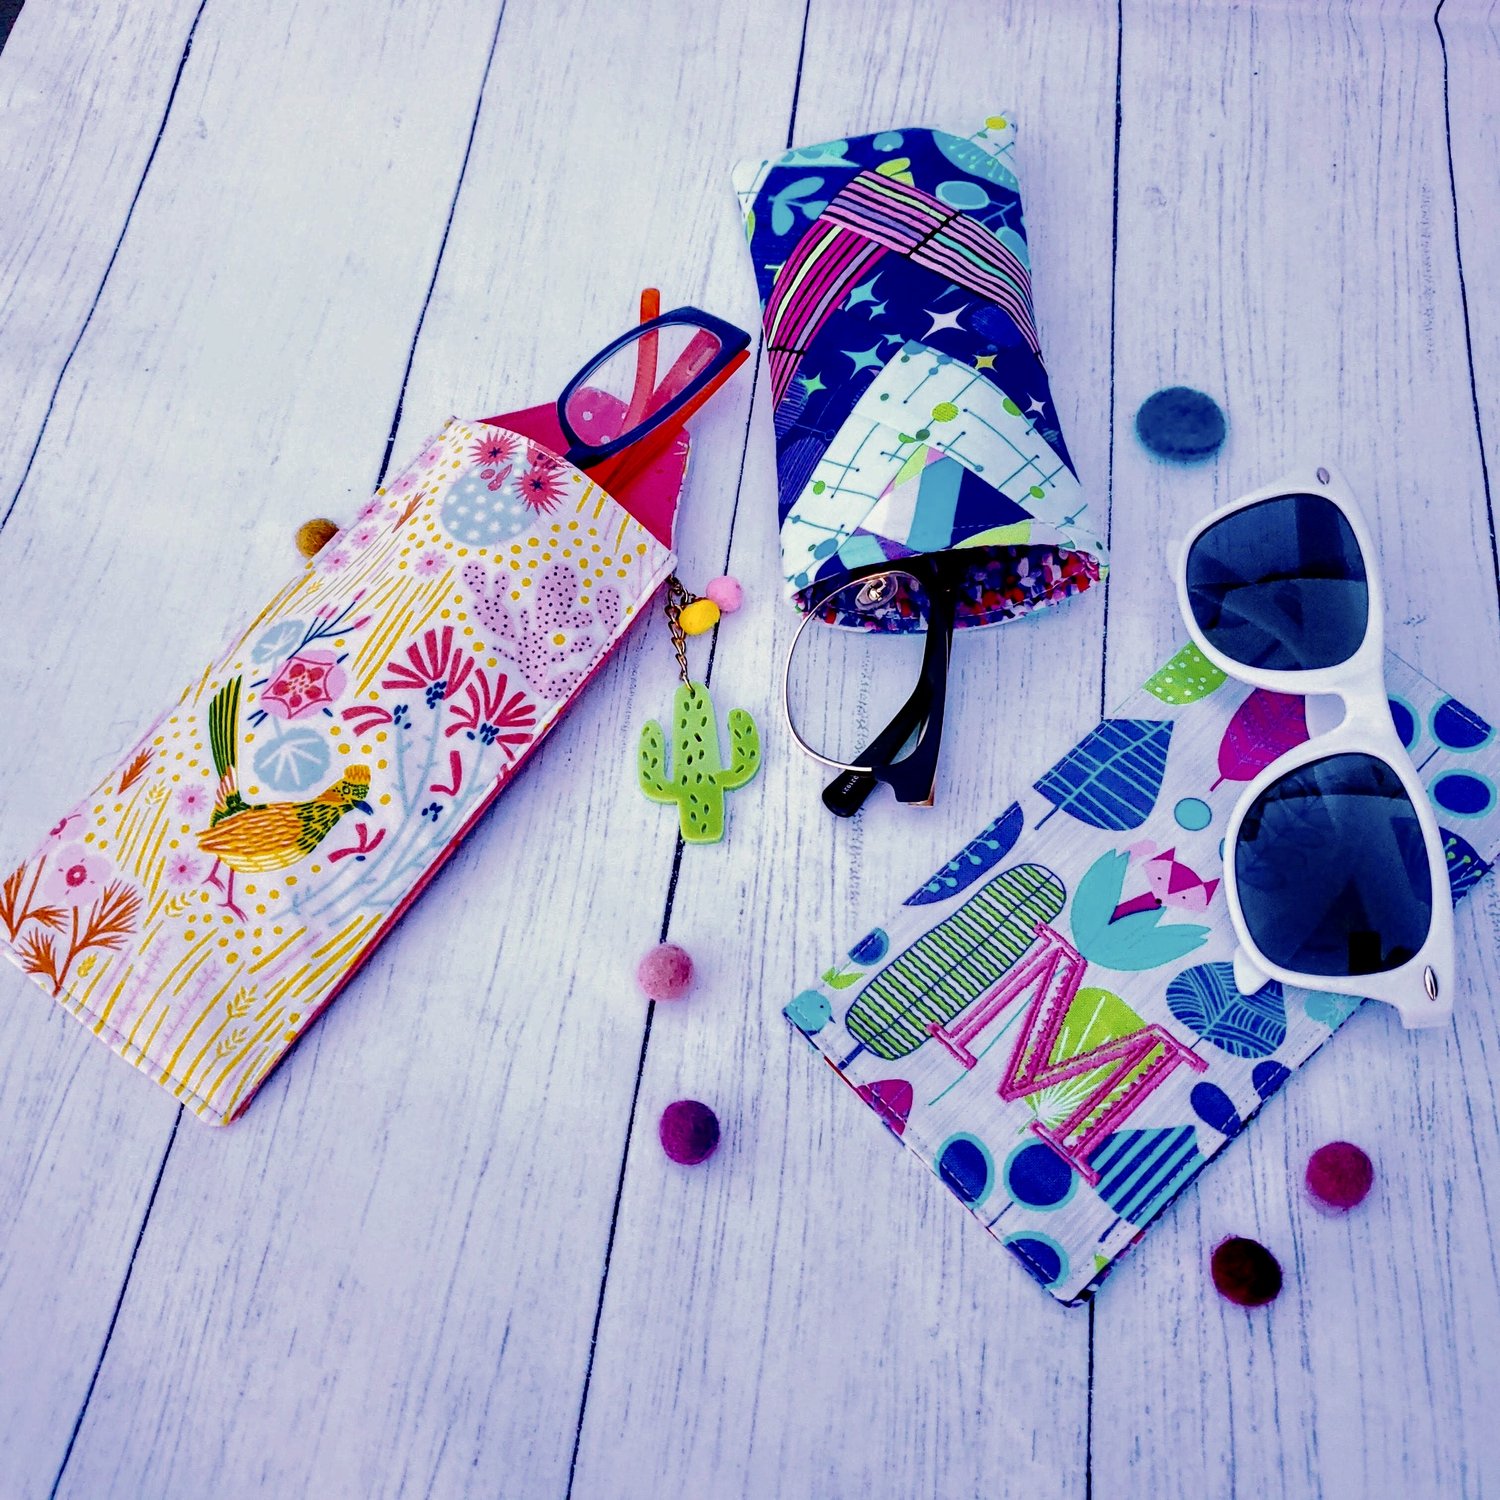
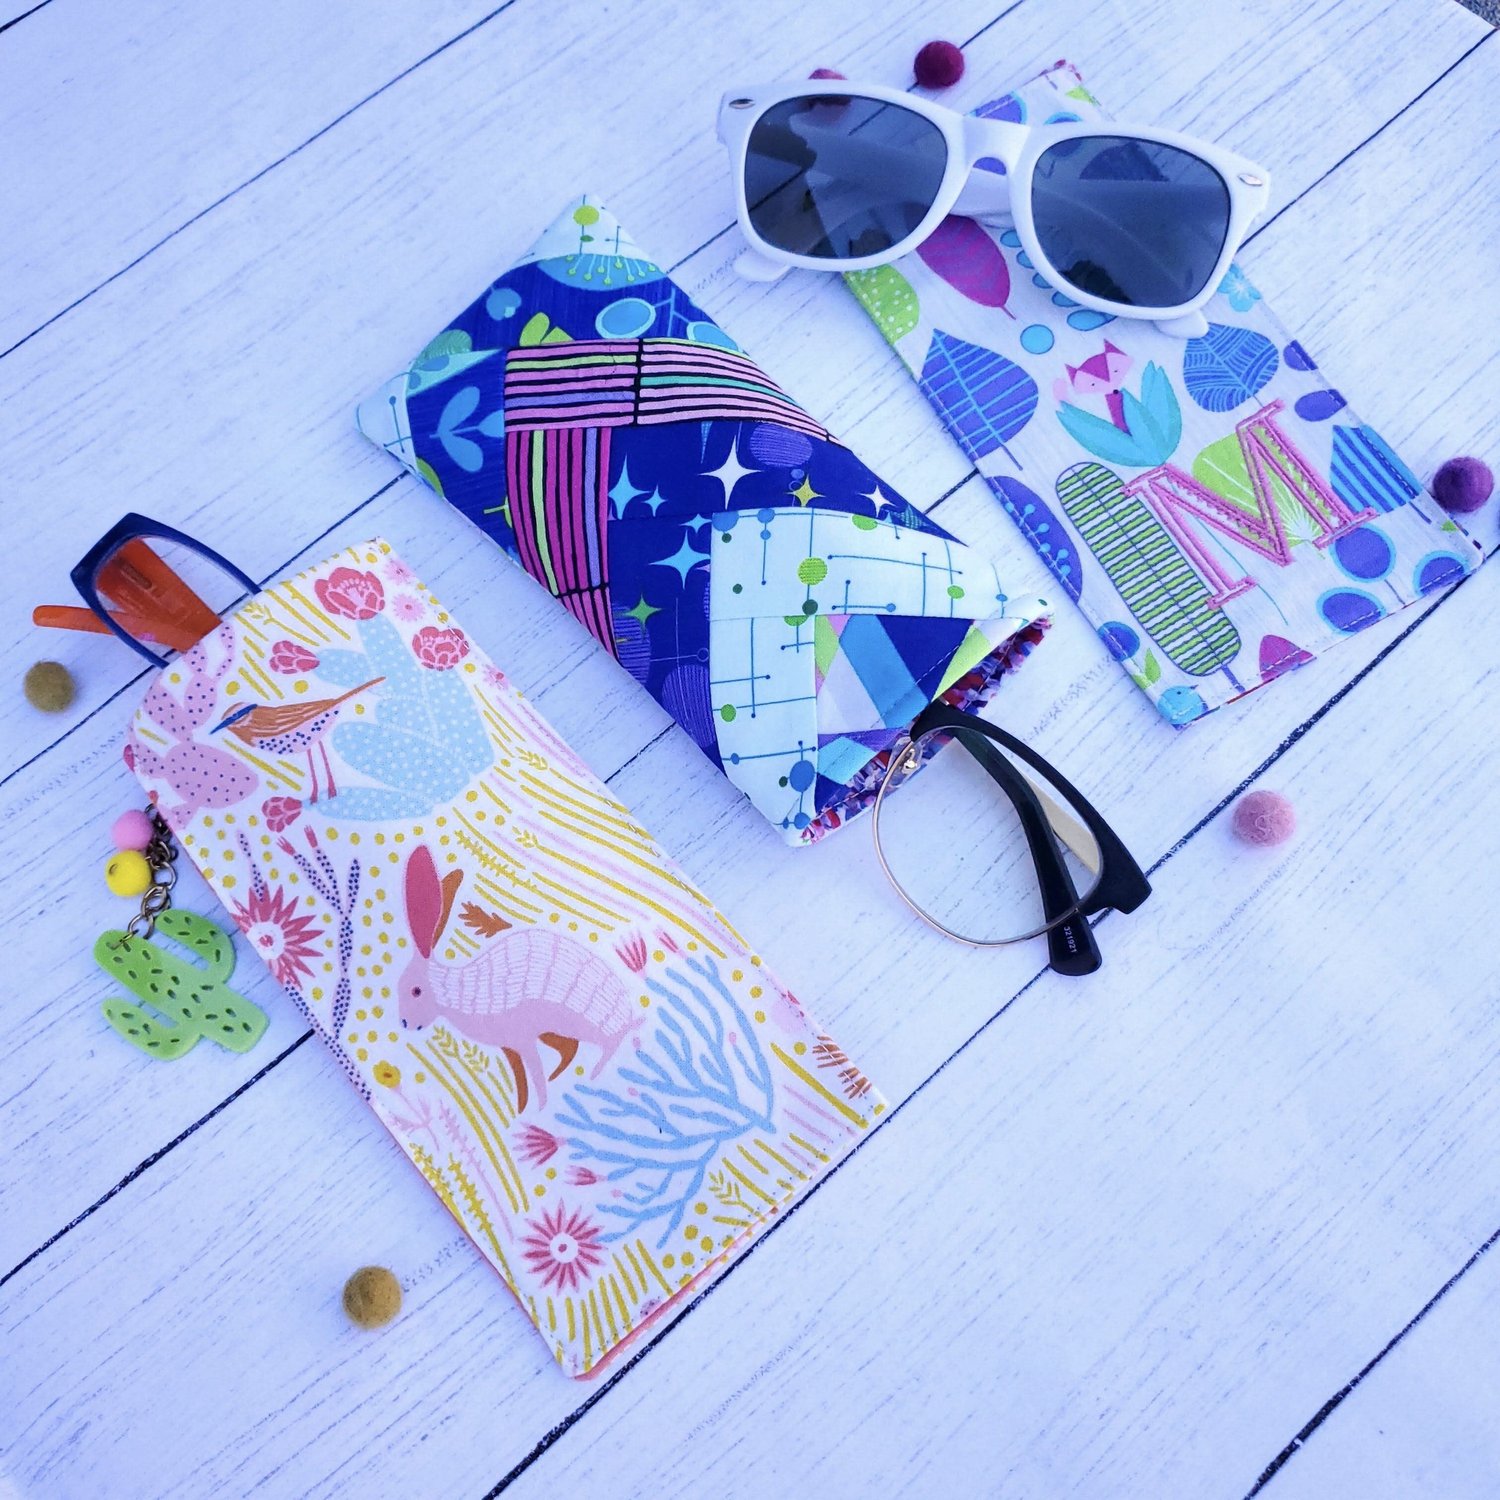
I like to wear my sunglasses whenever I am outside, and it seems I am always searching for them in the car. Since I love all things fabric, I decided to sew a glasses case that would be bright and colorful and easy to find in my purse or car. I found two interesting patterns, this pattern from Baby Lock Sewing is a fun one to use scraps and if you like to fussy cut your fabric this Tea Rose Home pattern is perfect. Both are beginner friendly and easy to make from scraps. These are quick and easy to make in time for Valentine’s Day just add some sweet treats in the pocket and they are ready to share.
Materials Needed for Tea Rose Home Pattern:
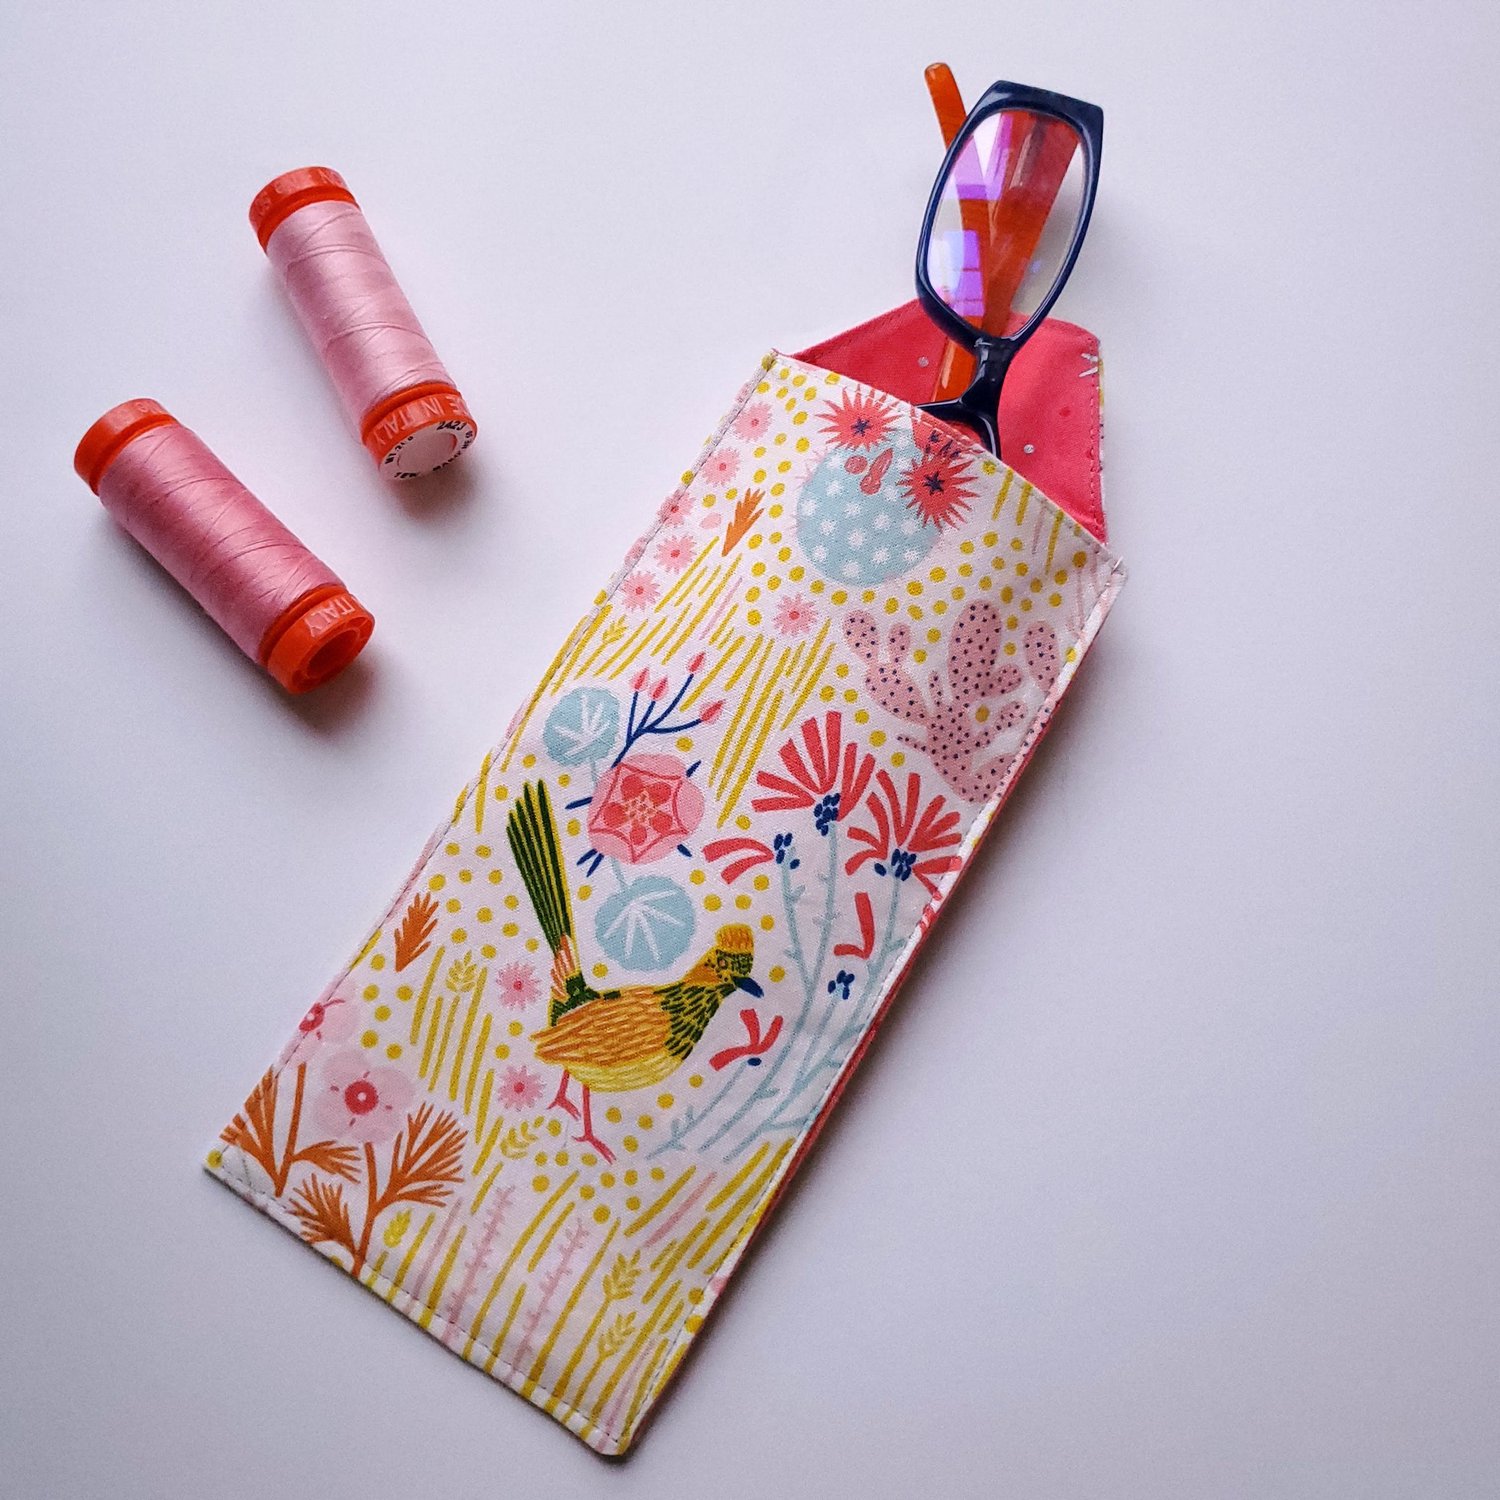
Outer fabric 8”x9” piece. Mid Forest from Henry Glass Fabrics
Lining fabric 8”x9”
Pellon 809 Fusible interfacing
Coordinating Aurifil Thread from Chroma Membership
To get started download and print the template. I printed mine on tracing paper so that I could easily see the fabric design to fussy cut.
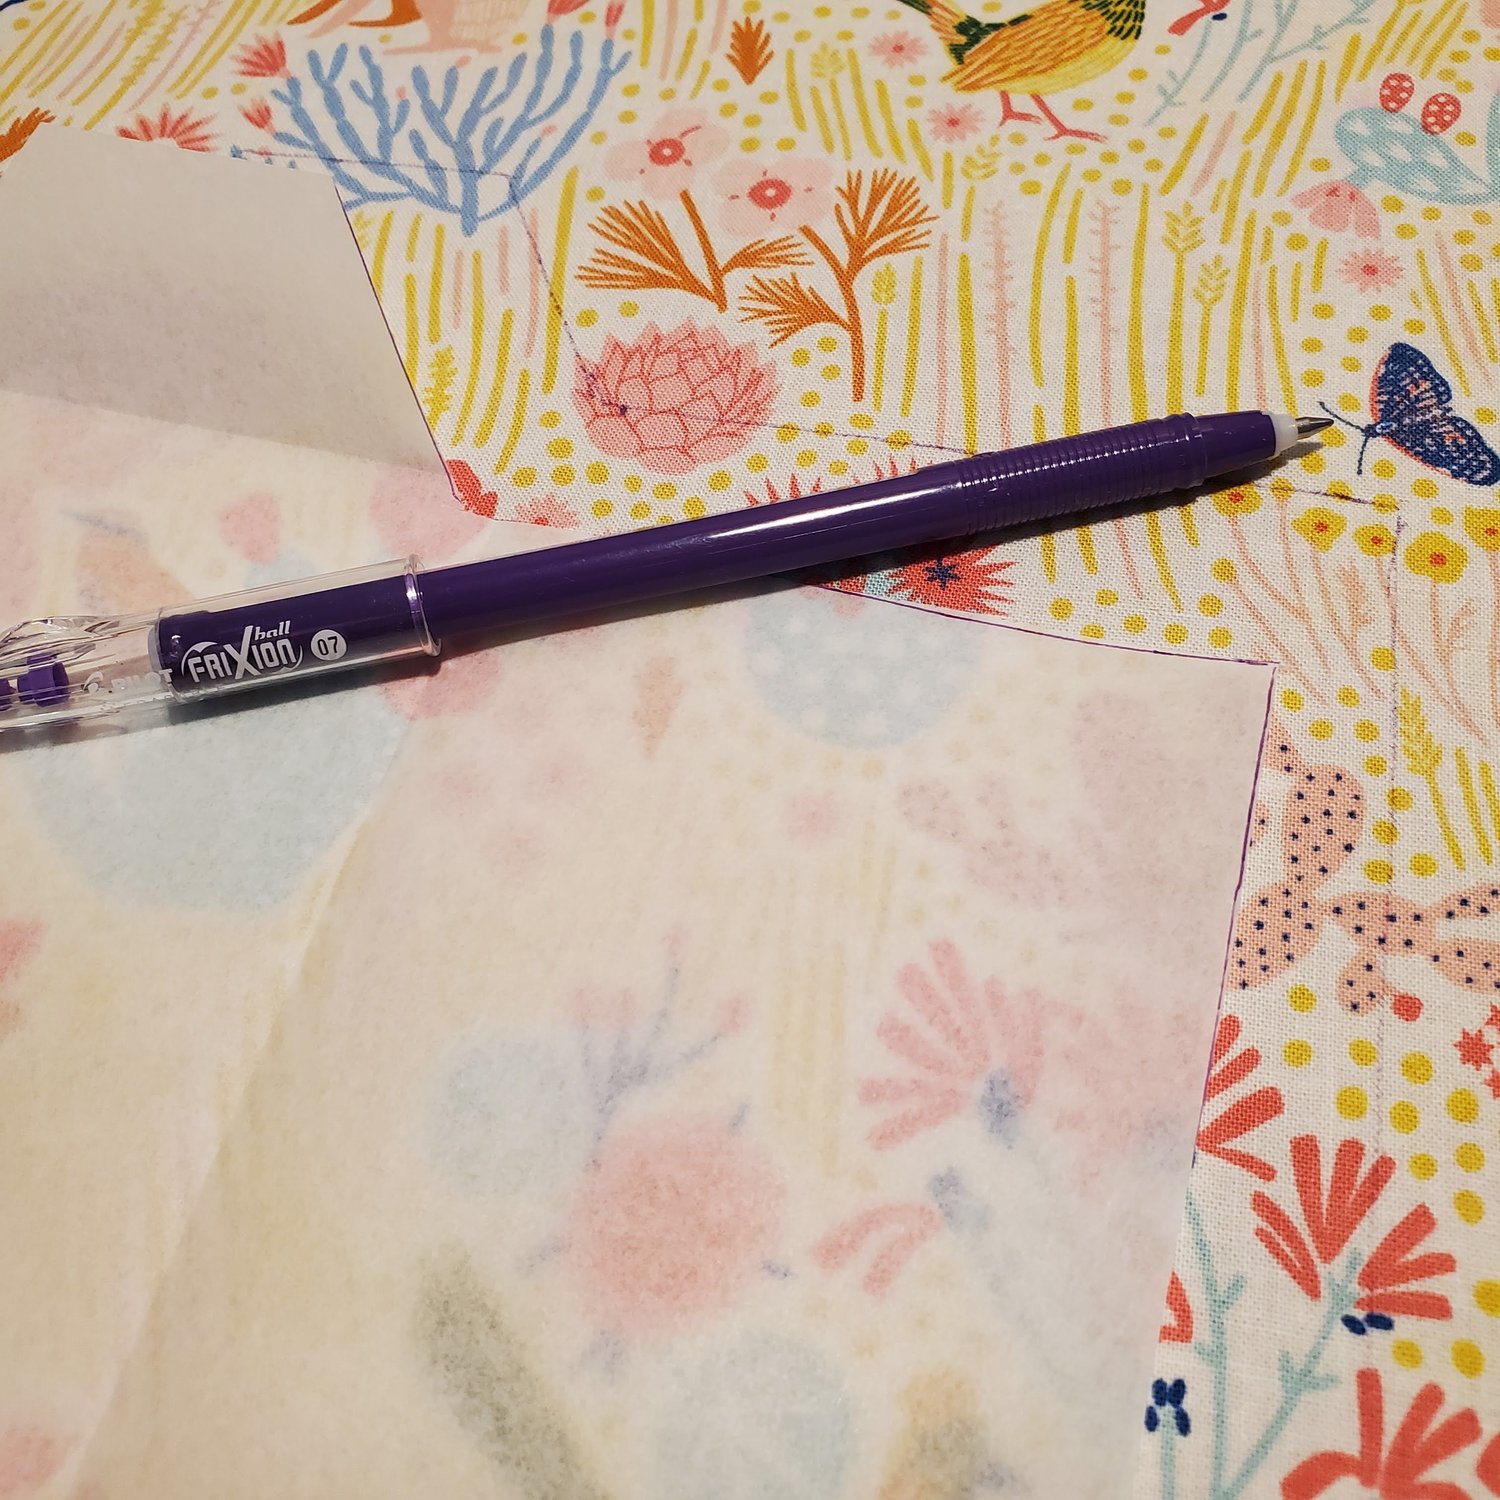
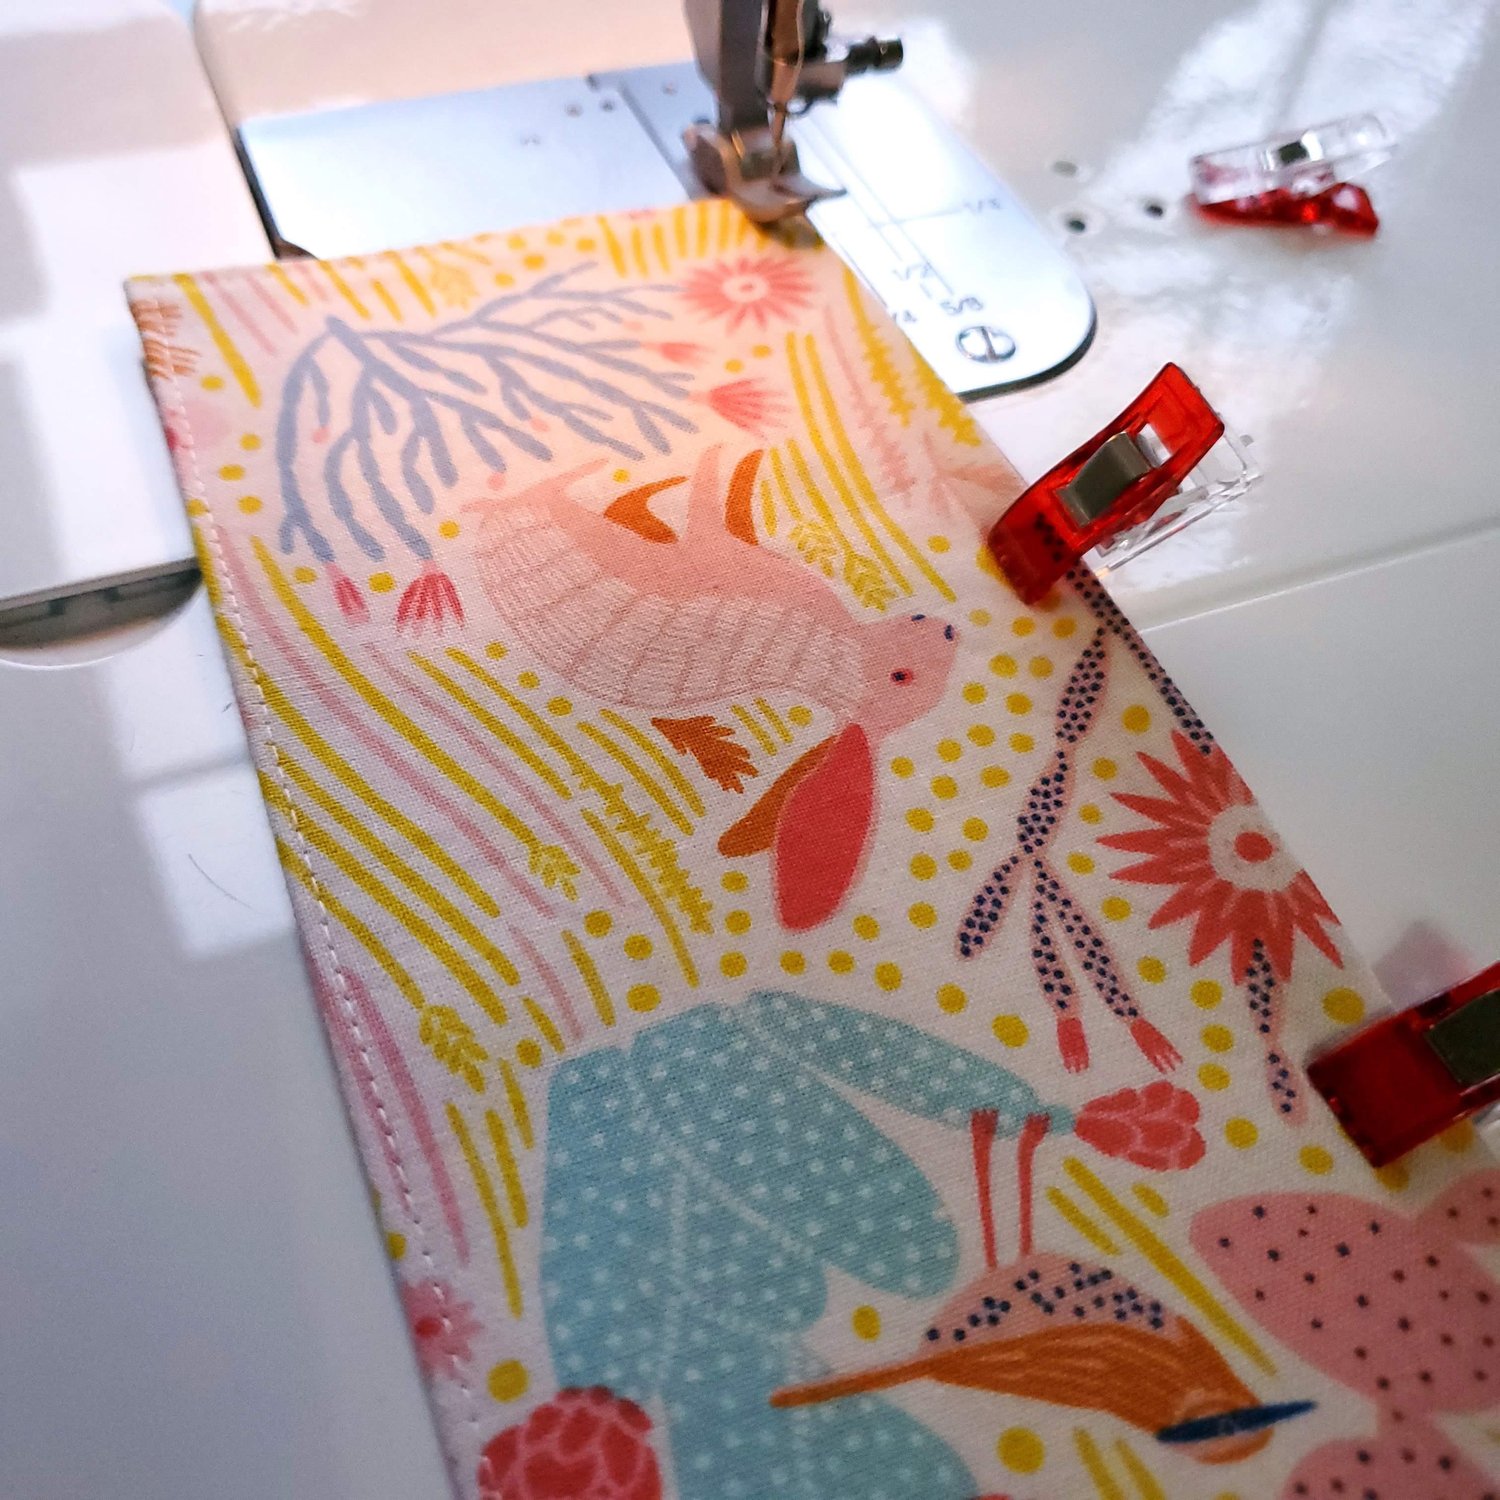
This is a good time to add some embroidery to personalize the design as shown in the first picture. Cut the fabric pieces and fuse the interfacing to the wrong side of the outer fabric. Line up the three pieces right sides together and sew a ¼” seam starting on the bottom edge sewing all the way around leaving an opening for turning.
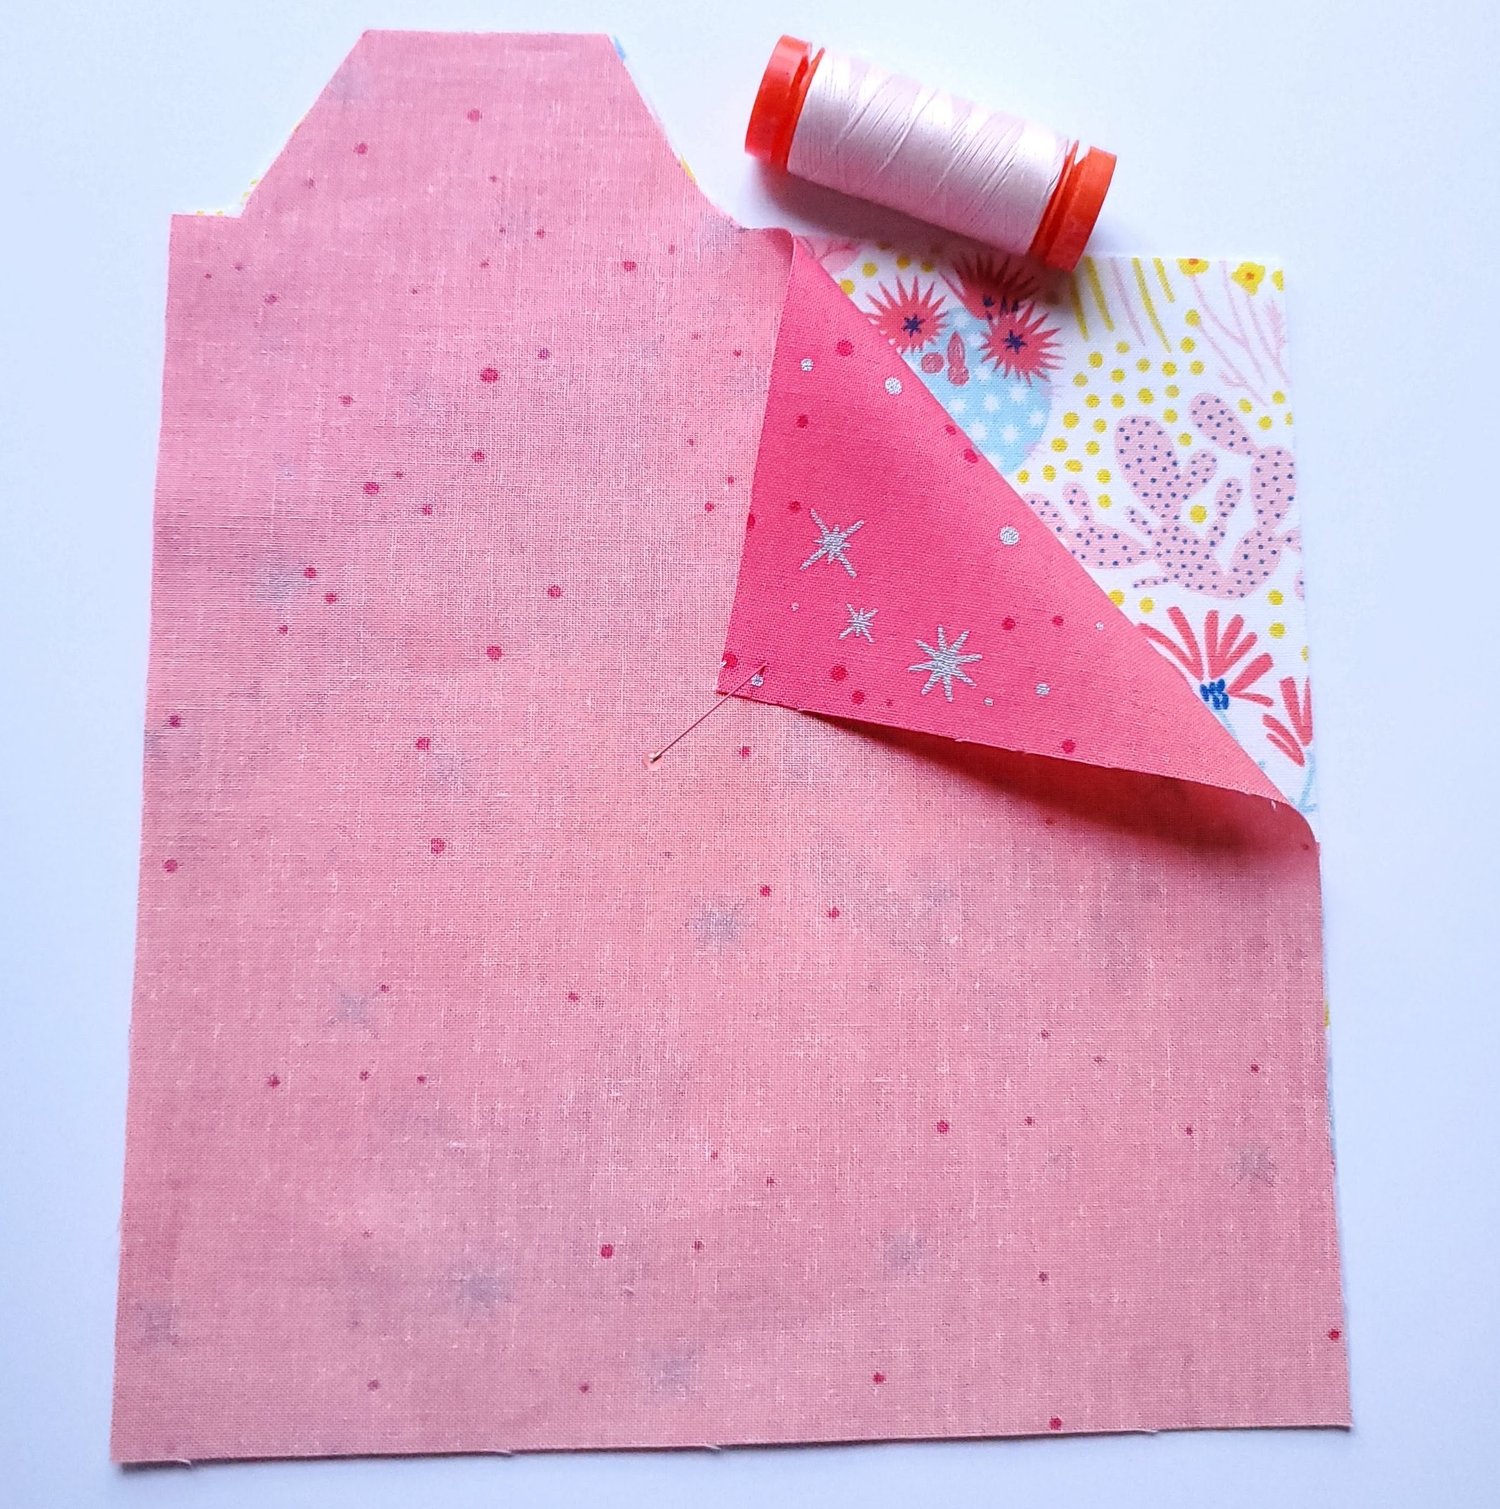
Trim the outer corners and cut a wide shallow “V” shape out of the inside corners to reduce the seam allowance to help it lay flat. Take care not to cut into your stitching.

Turn right sides out and carefully push out the corners. Press, aligning the edges equally along the seam so the lining doesn’t show on the front. Press the opening edges under ¼”. Topstitch ⅛ from the top edges with a longer stitch length. Next, fold in half lengthwise aligning the edges and carefully press. It may be helpful to pin or clip to keep it in alignment as you topstitich ⅛” from the edge around the sides and bottom edges. This will close the opening left for turning.
Give it a final press and you are finished! This was so fun and easy to make!
Quilted Case Materials Needed:
Six pieces of scraps 1 ½” x 8” subcut to 4” long from Snippetbag
One outer piece 4 x 7 ½”
Two lining fabric pieces 4” x 7½” long
Two batting scraps 4 x 7½” long
Coordinating Aurifil Thread
You can watch a You Tube tutorial from Patty Young to explain all the steps in detail.
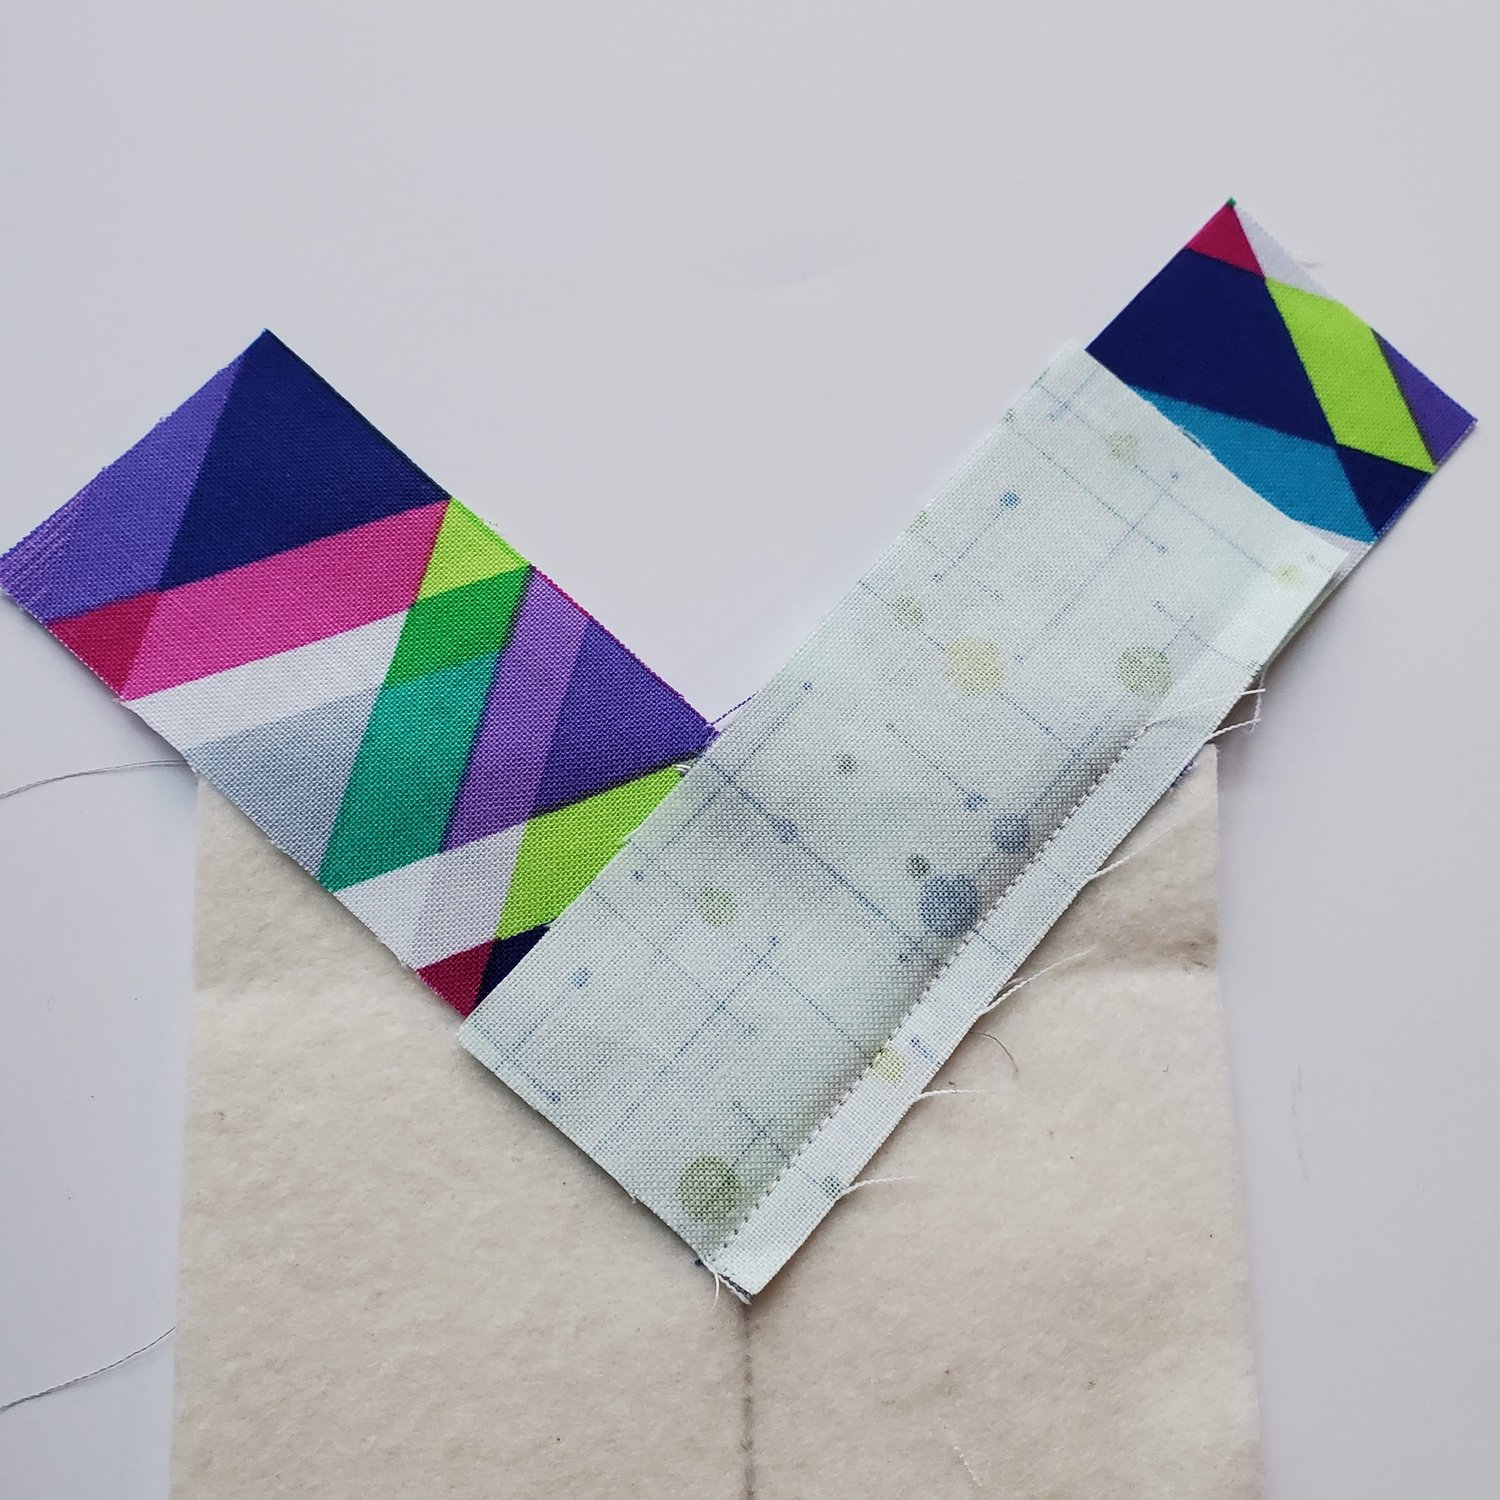
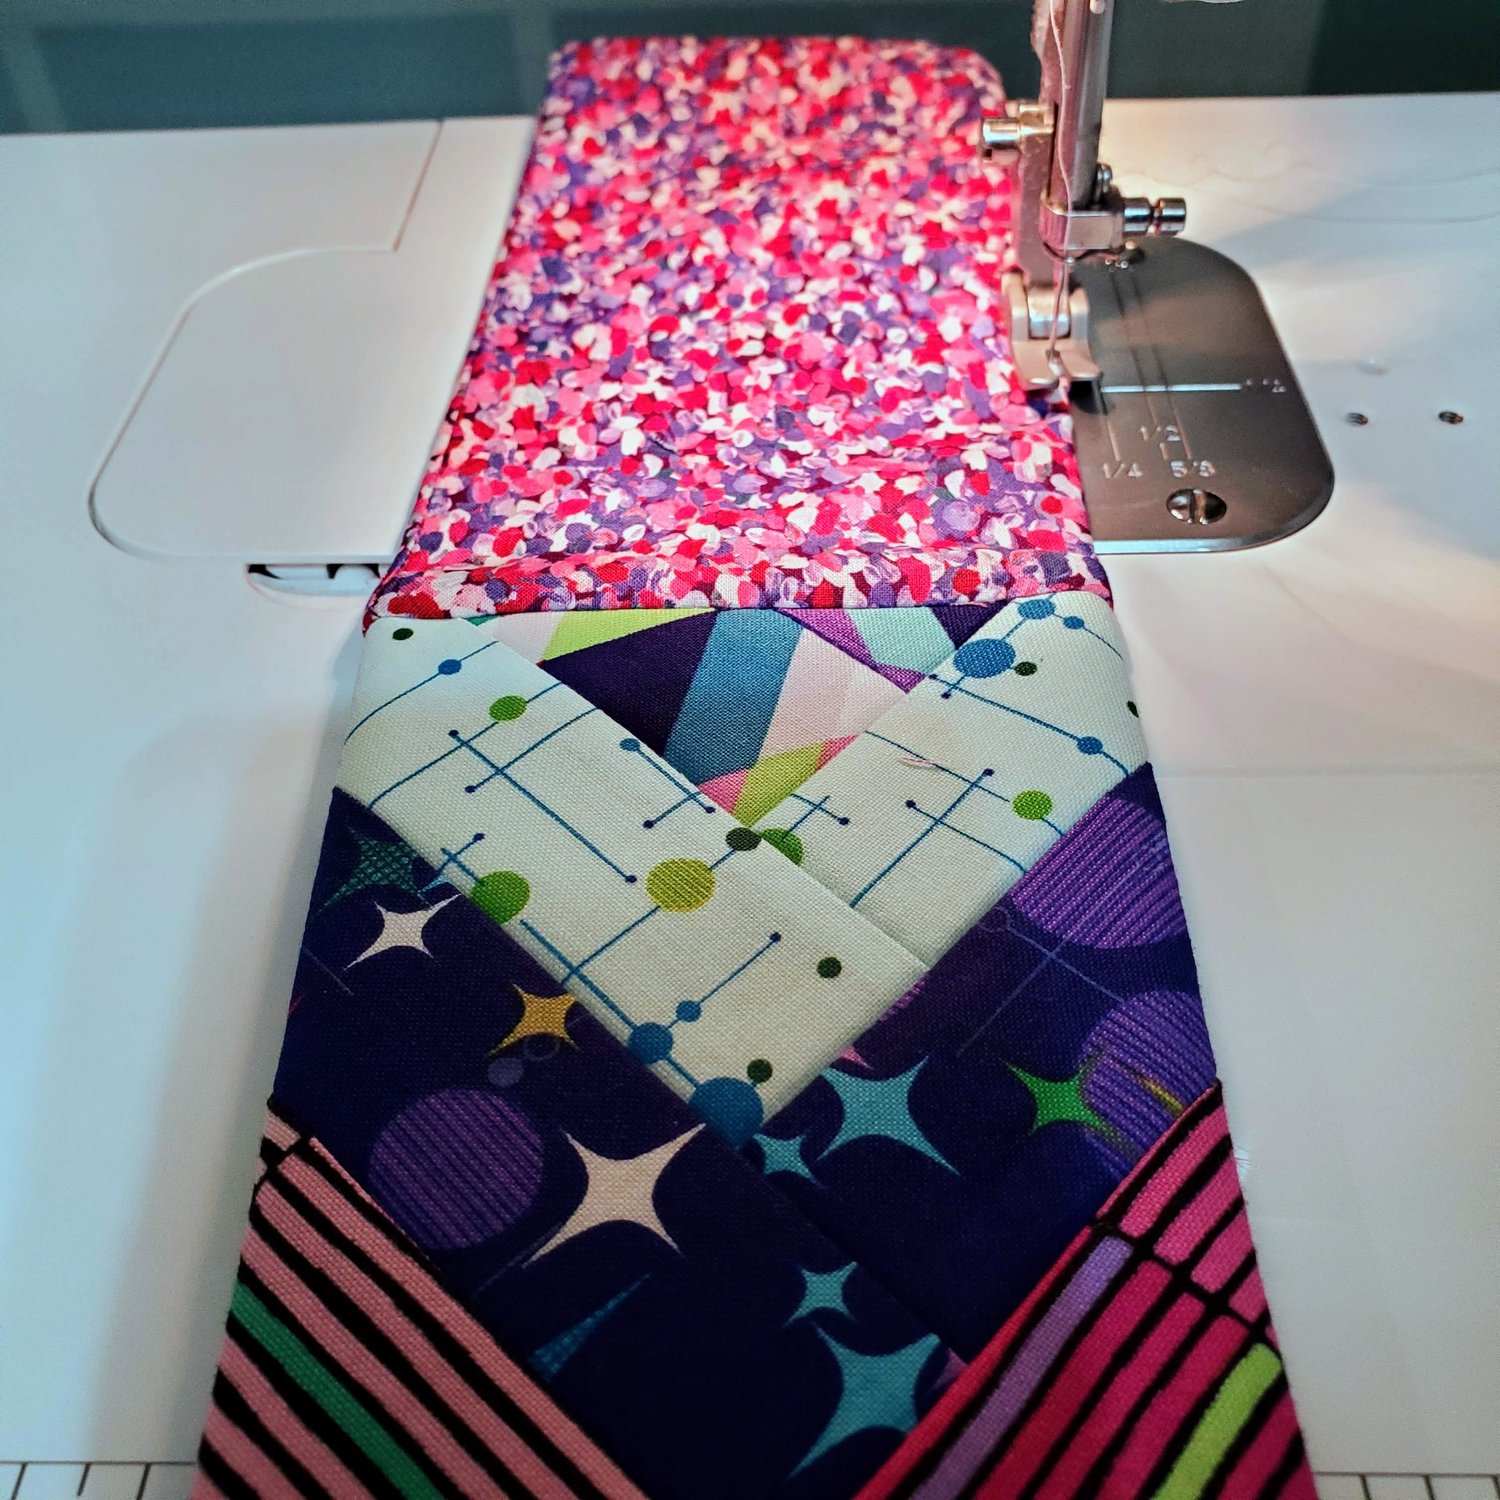
First mark a line lengthwise down the middle of the batting. Take two matching strips of fabric and sew ¼” seam with the short side of one lined up on the long side of the second piece.
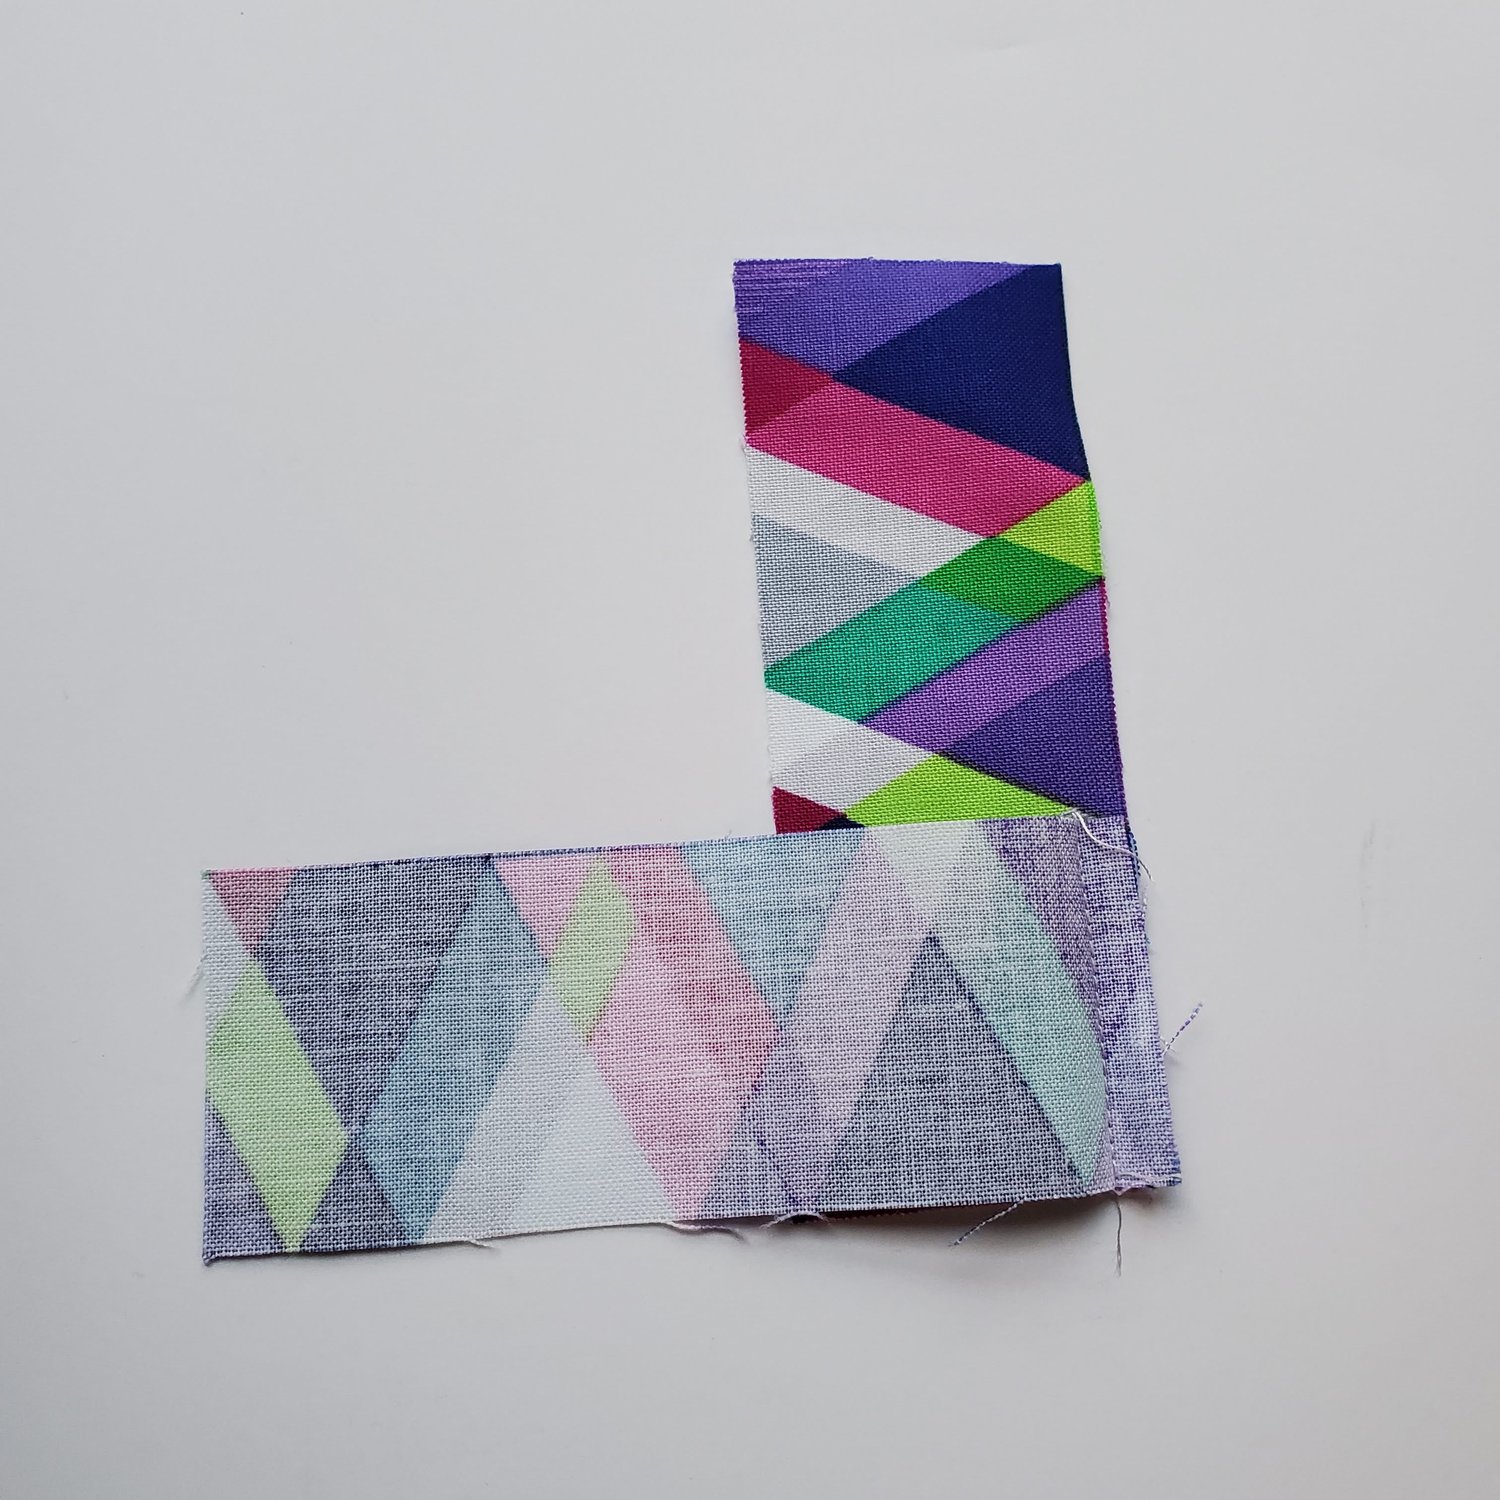
Press the seam open. You may want to set up a portable ironing station near the sewing machine because you will follow the same process each time you sew a seam. Now place this ‘V’ shape centered on the line at one end of the batting. You may want to pin in place to get started. Next add your next strip of fabric with the corner lined up on the drawn line and sew in place through the fabric and batting.
Open the piece of fabric and press. Align the matching strip on the left side and sew in place. Open and press.
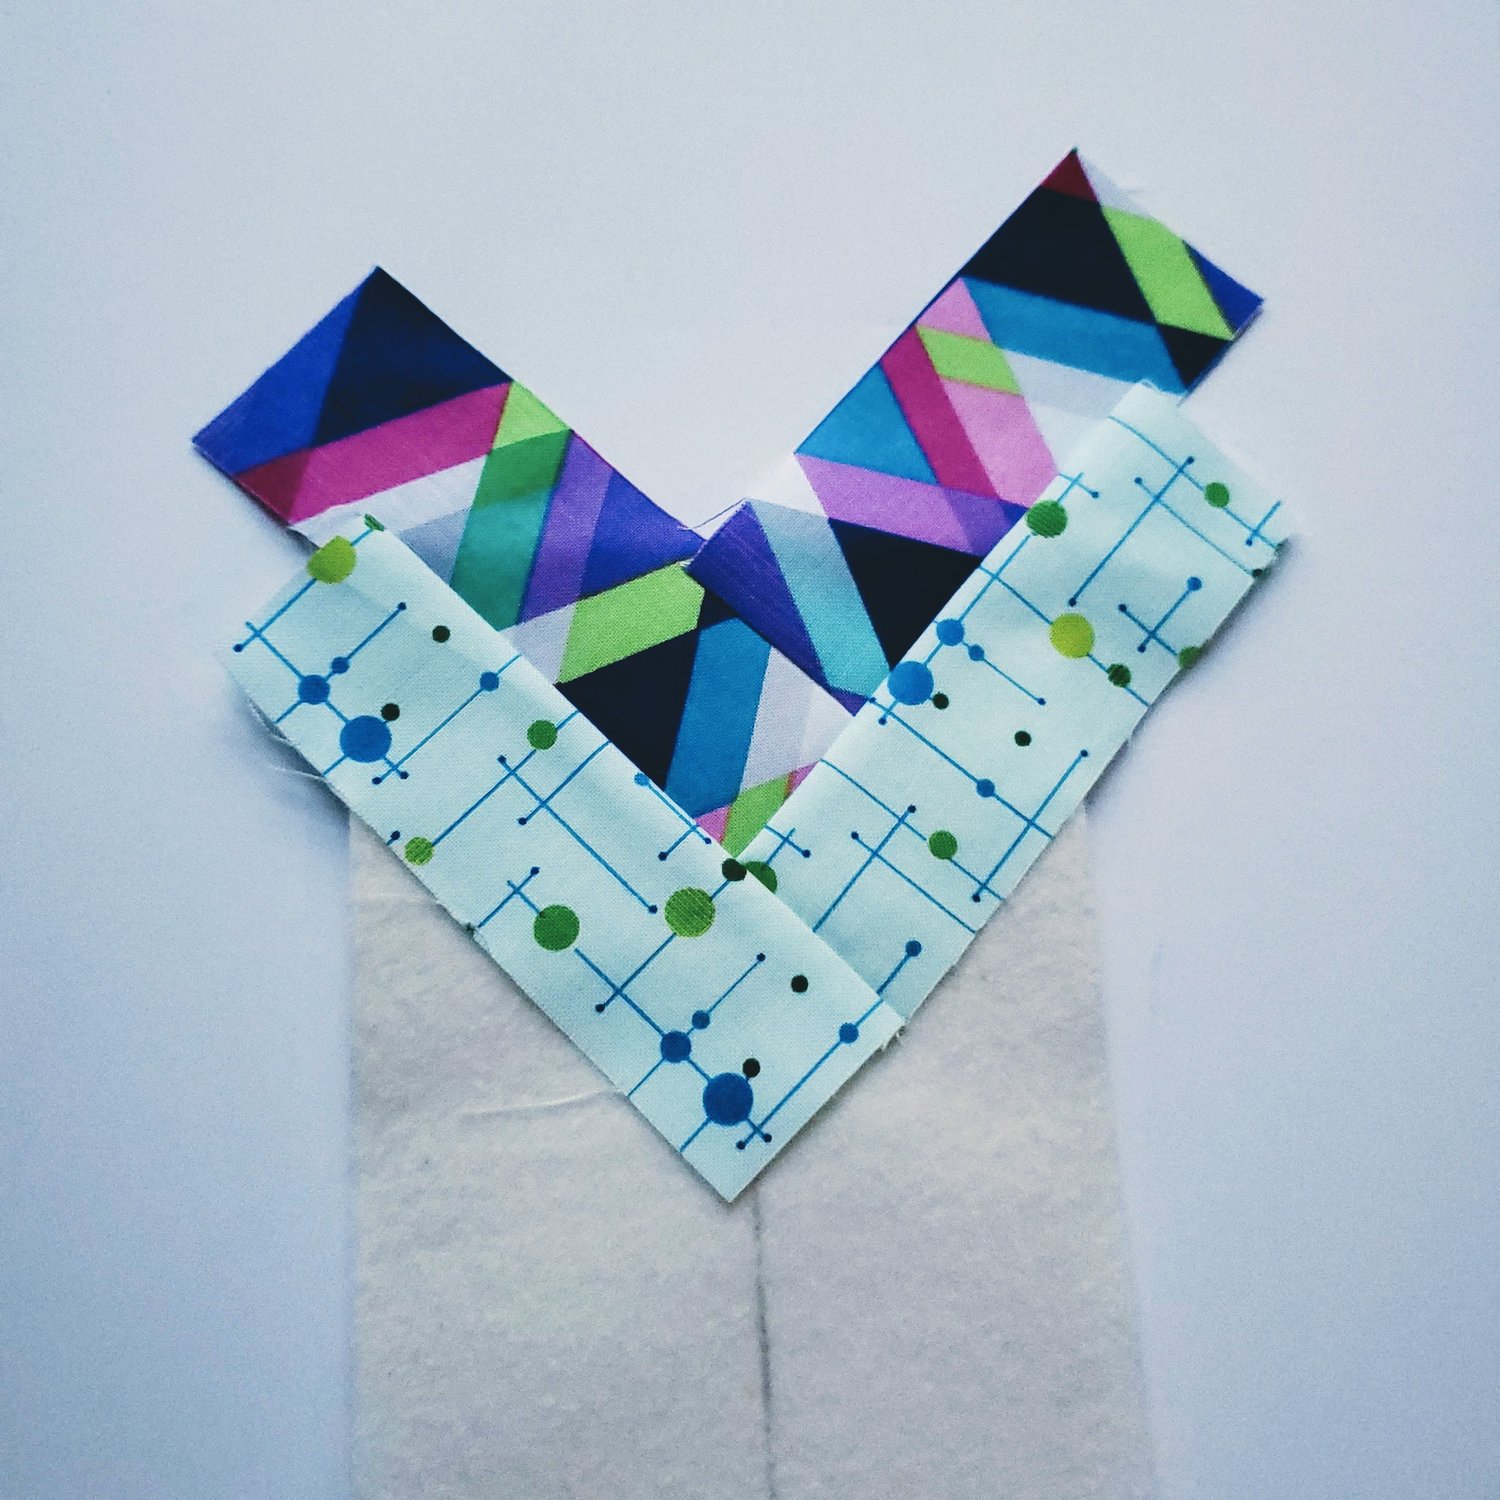
Continue the process till you get to the end of the batting. It should take six strips to fill the batting piece. Using a clear ruler, trim the excess fabric along the batting.
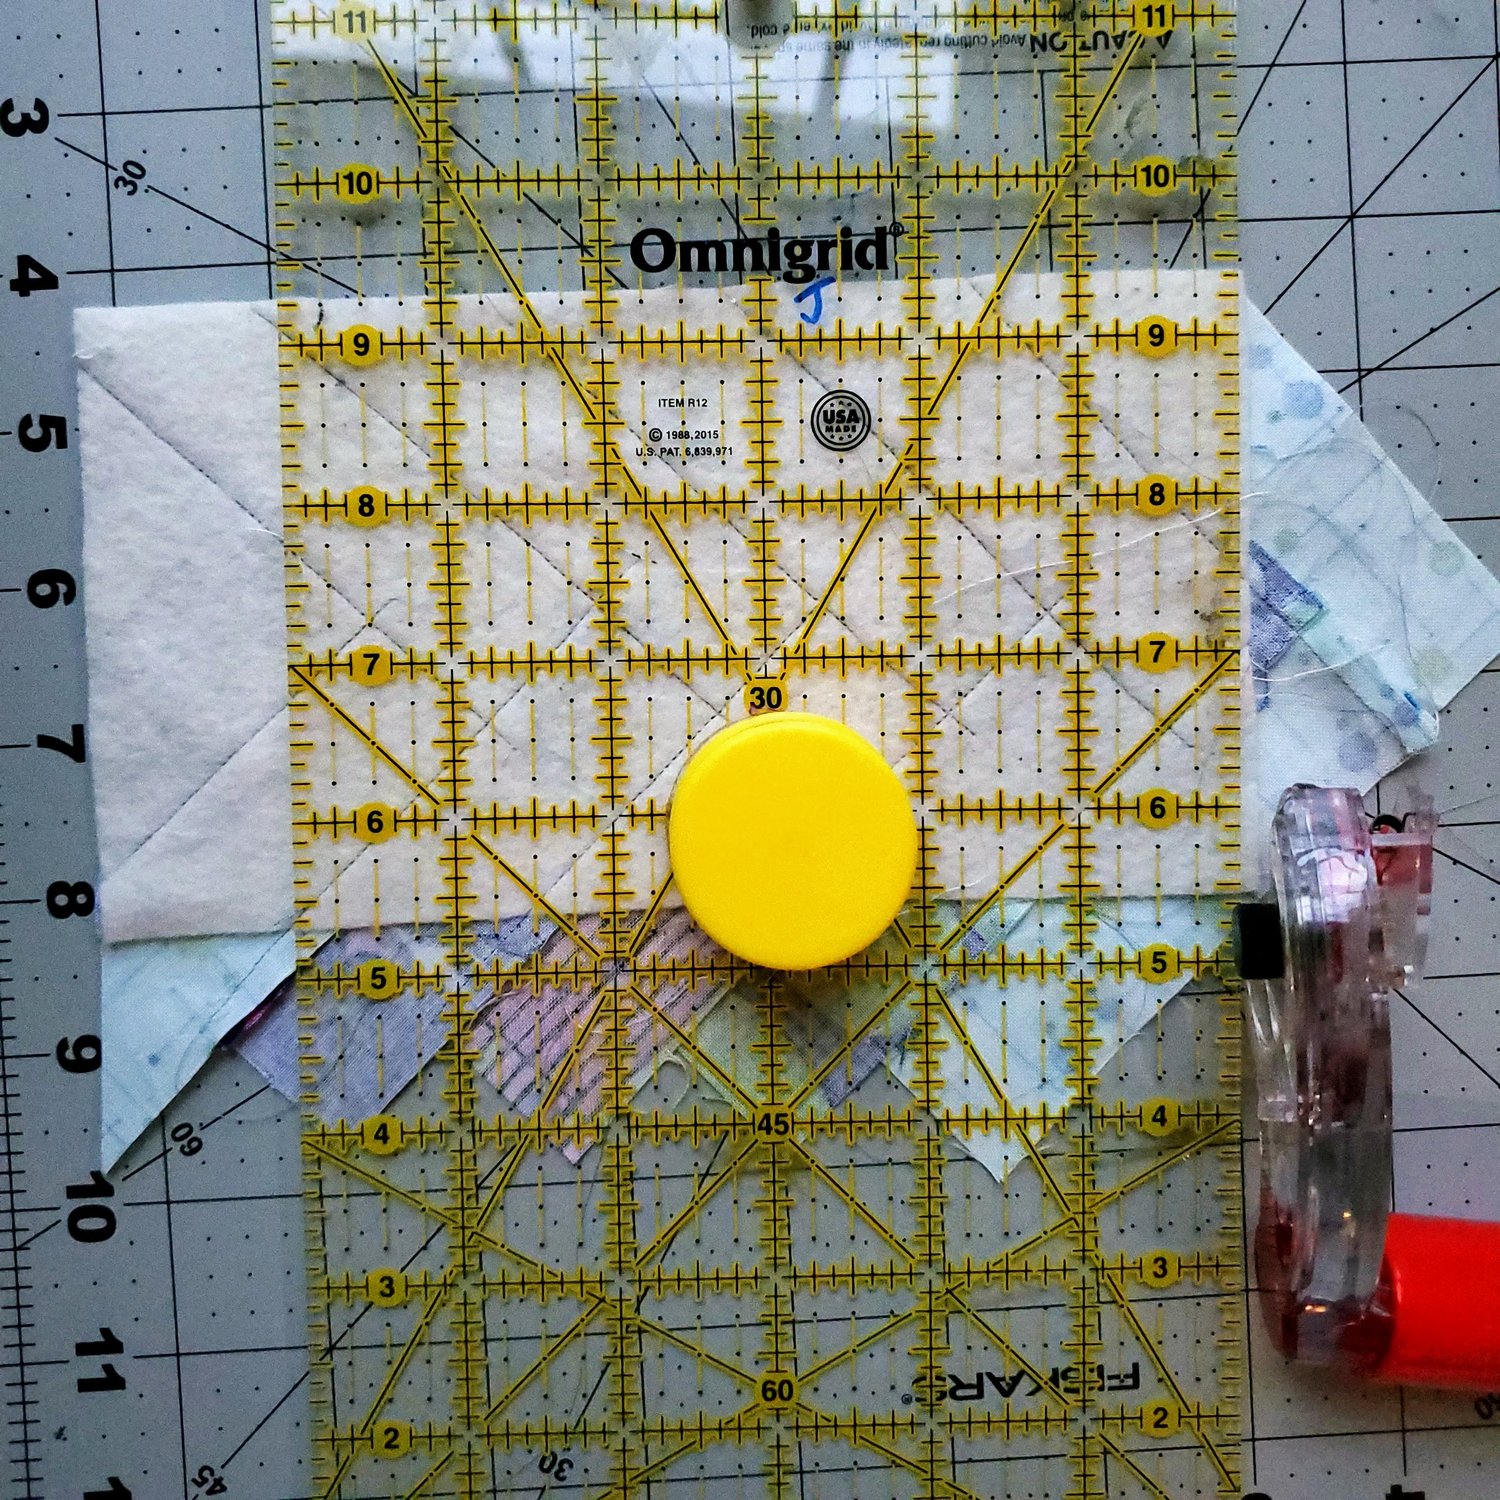
Next take the back outer piece together with the batting piece and quilt some angled lines about an inch apart. Align the front and back pieces with right sides together and sew around the sides and bottom with a ¼” seam allowance. Trim the corners and turn the right sides out. Do the same with the lining piece but leave a 2’ opening on the side seam to turn. Take the outer piece and push inside the lining piece you just sewed with the right sides together. Line up the side seams at the top and slowly sew around the top edge of the case. Here is what it looks like at this point with the wrong side of the lining on the outside ready to turn through the opening in the lining side seam.
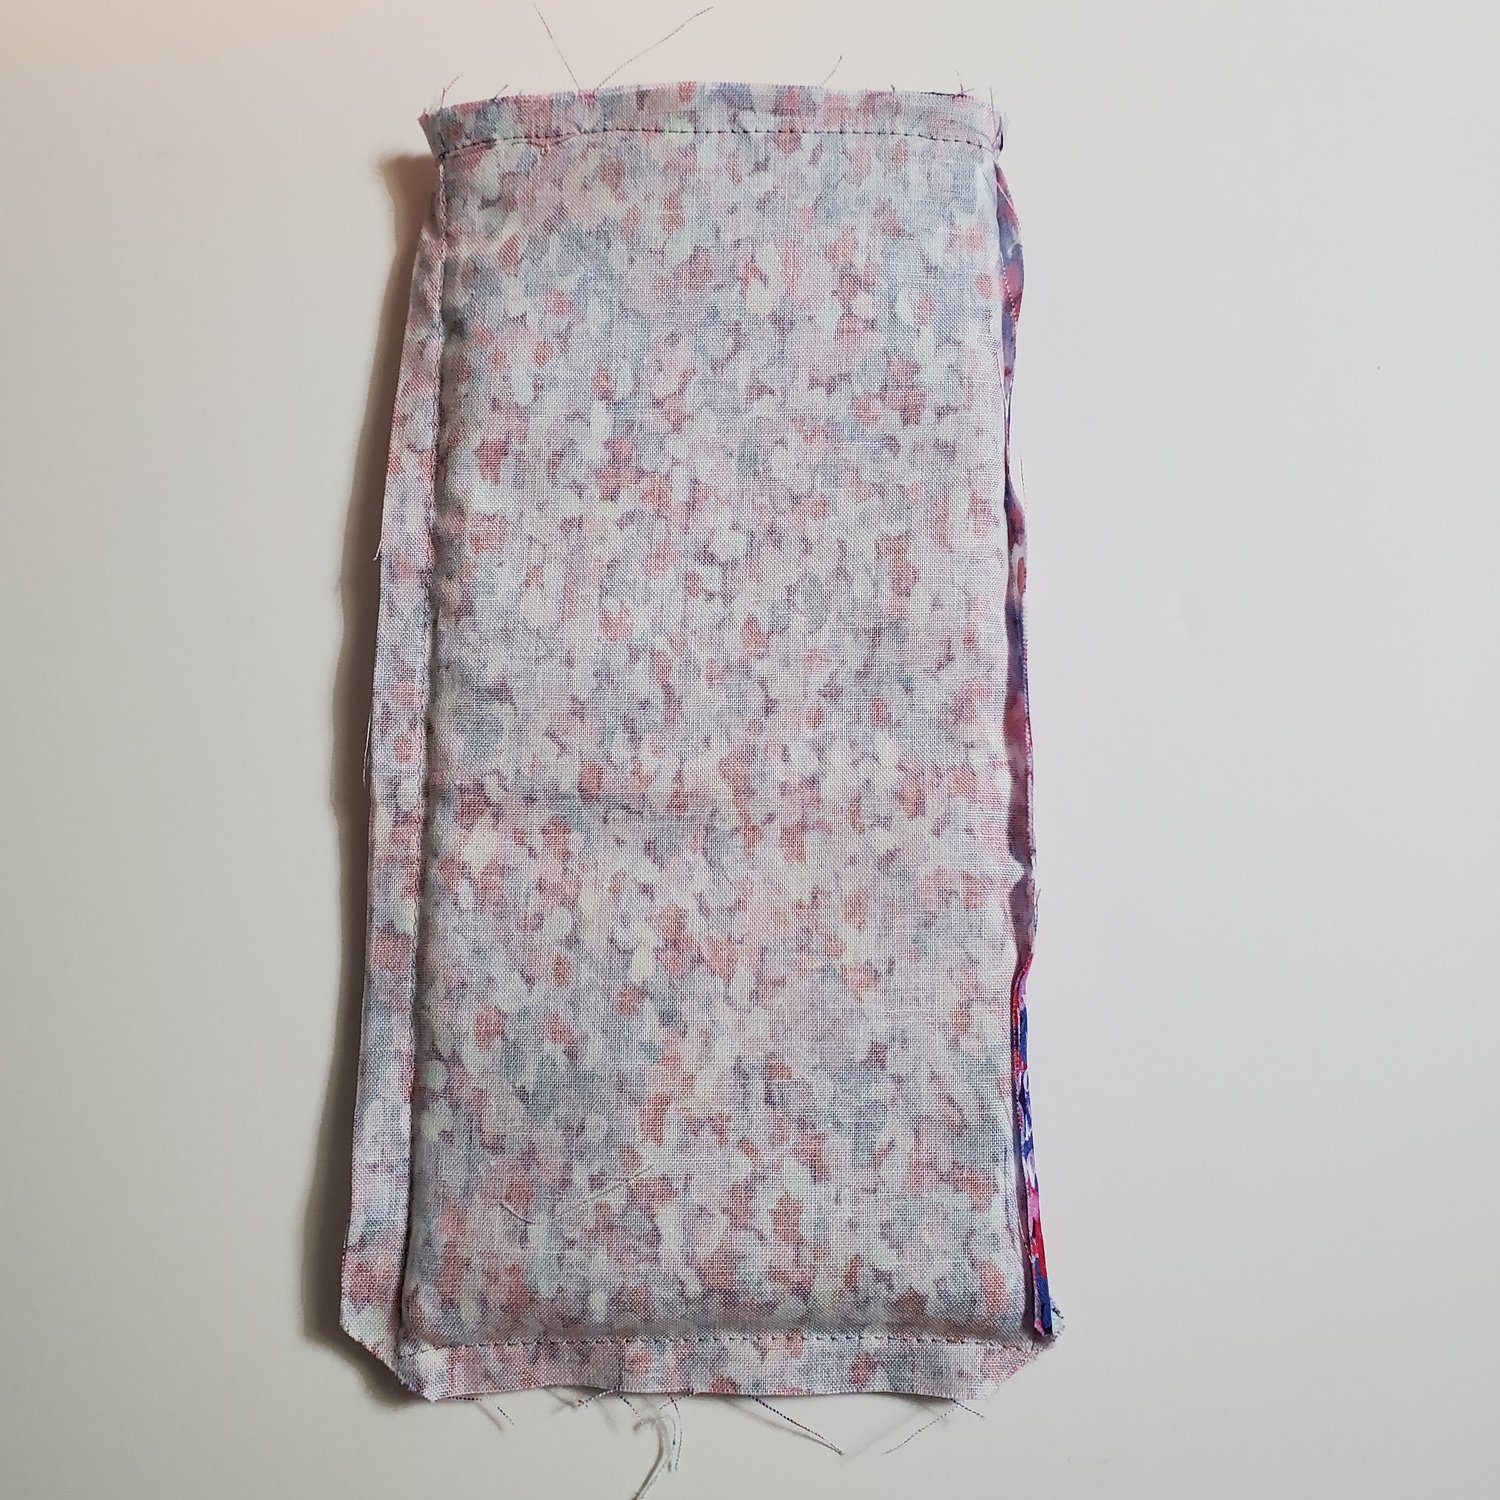
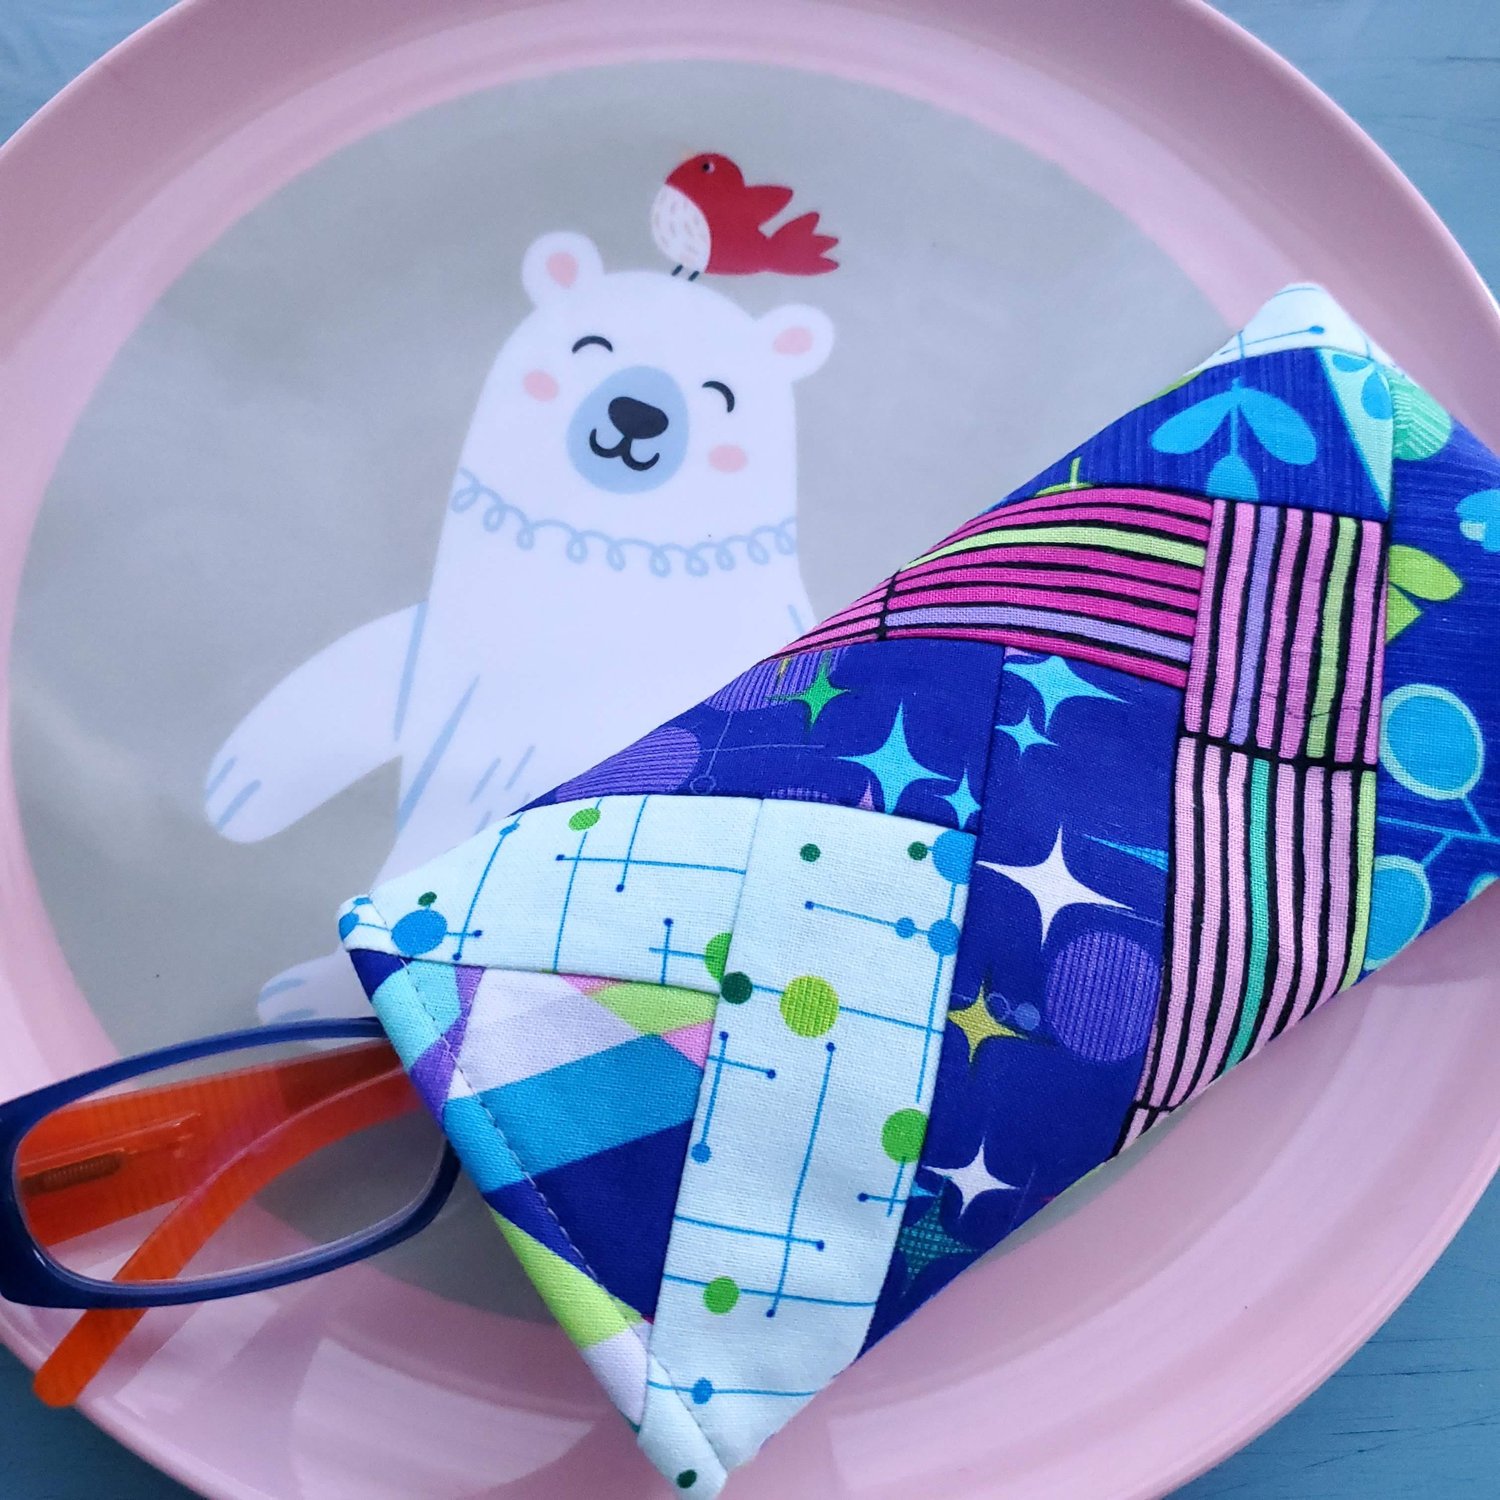
Turn right sides out and topstitch the opening in the lining closed.
Push the lining inside the case and give it a final press. I added topstitching along the top edge to give it a finished look. It may be tricky to sew through so many layers, take it slow and lengthen your stitch using a matching thread.