

Don’t Ask Dave: September 2021
11th Sep 2021
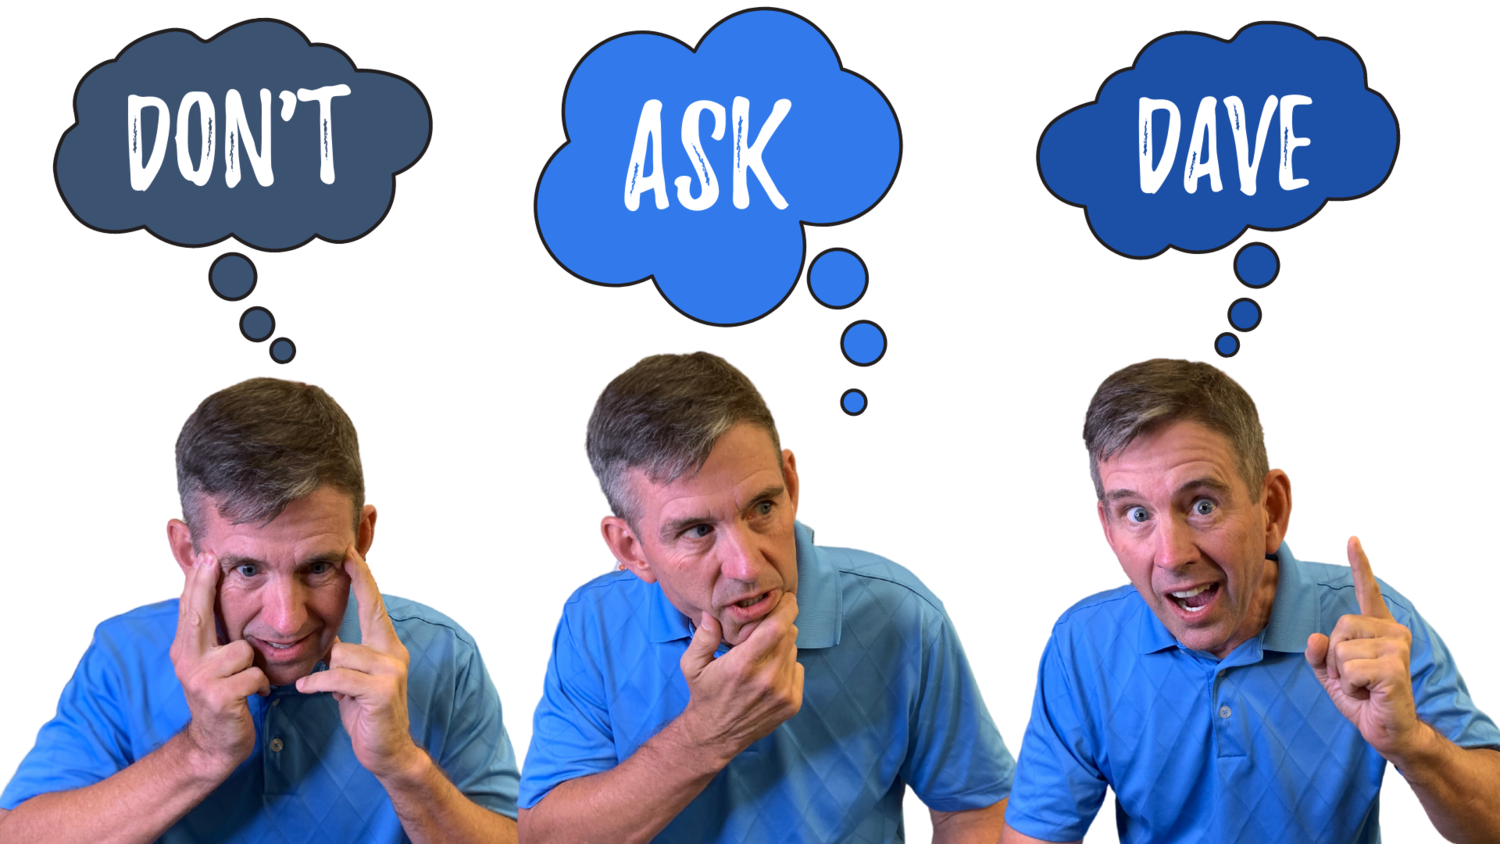
Welcome to our next edition of Don’t Ask Dave! If you don’t know, Dave is our Operations Manager who has lots of business experience but little to no sewing experience, so it’s very entertaining to see his answers to your sewing questions. (But don’t worry, we also still supply the correct answers as you read on).
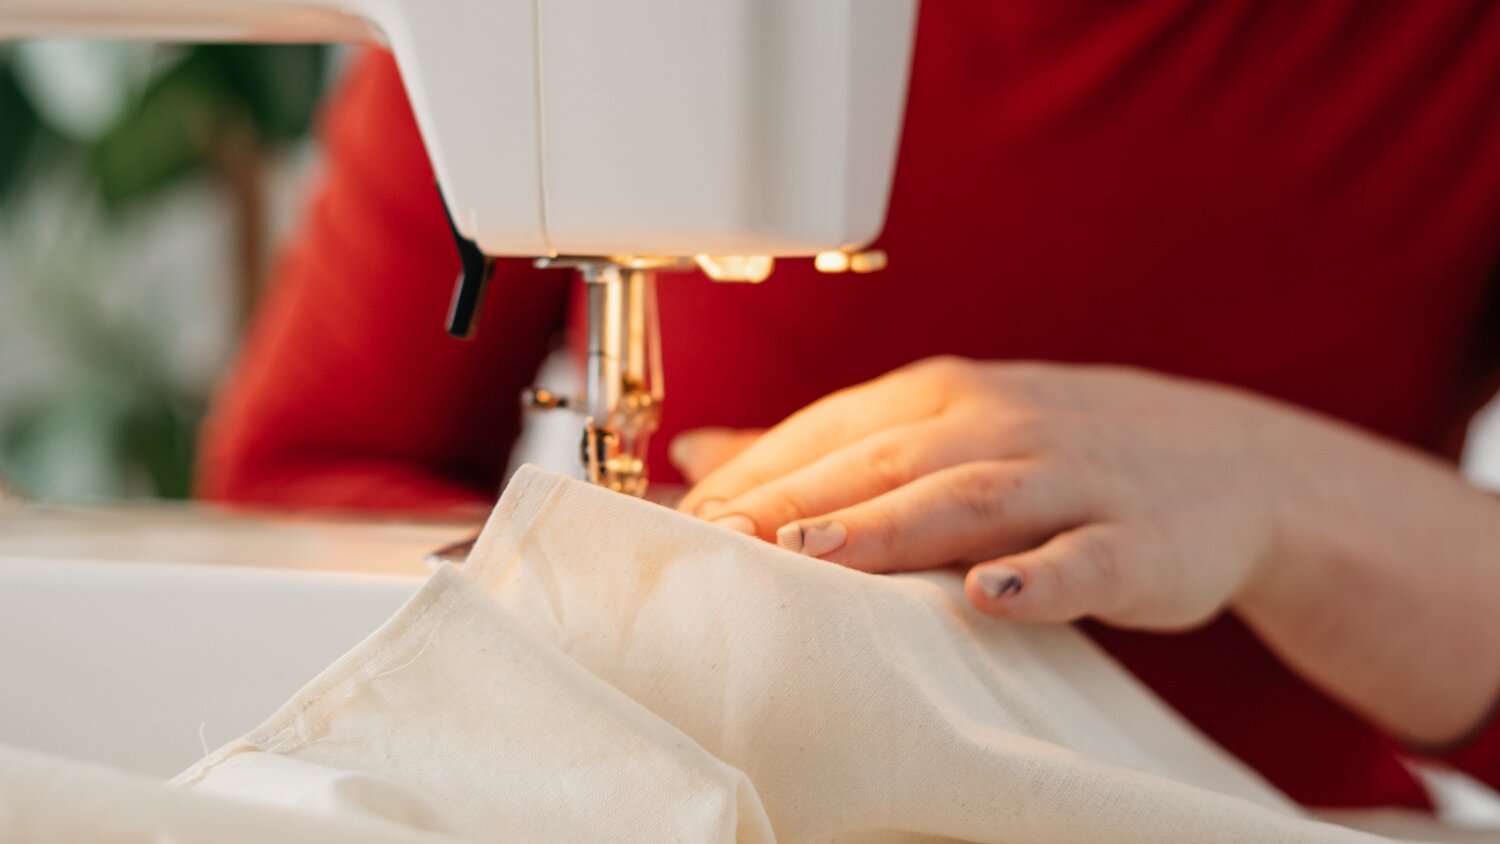
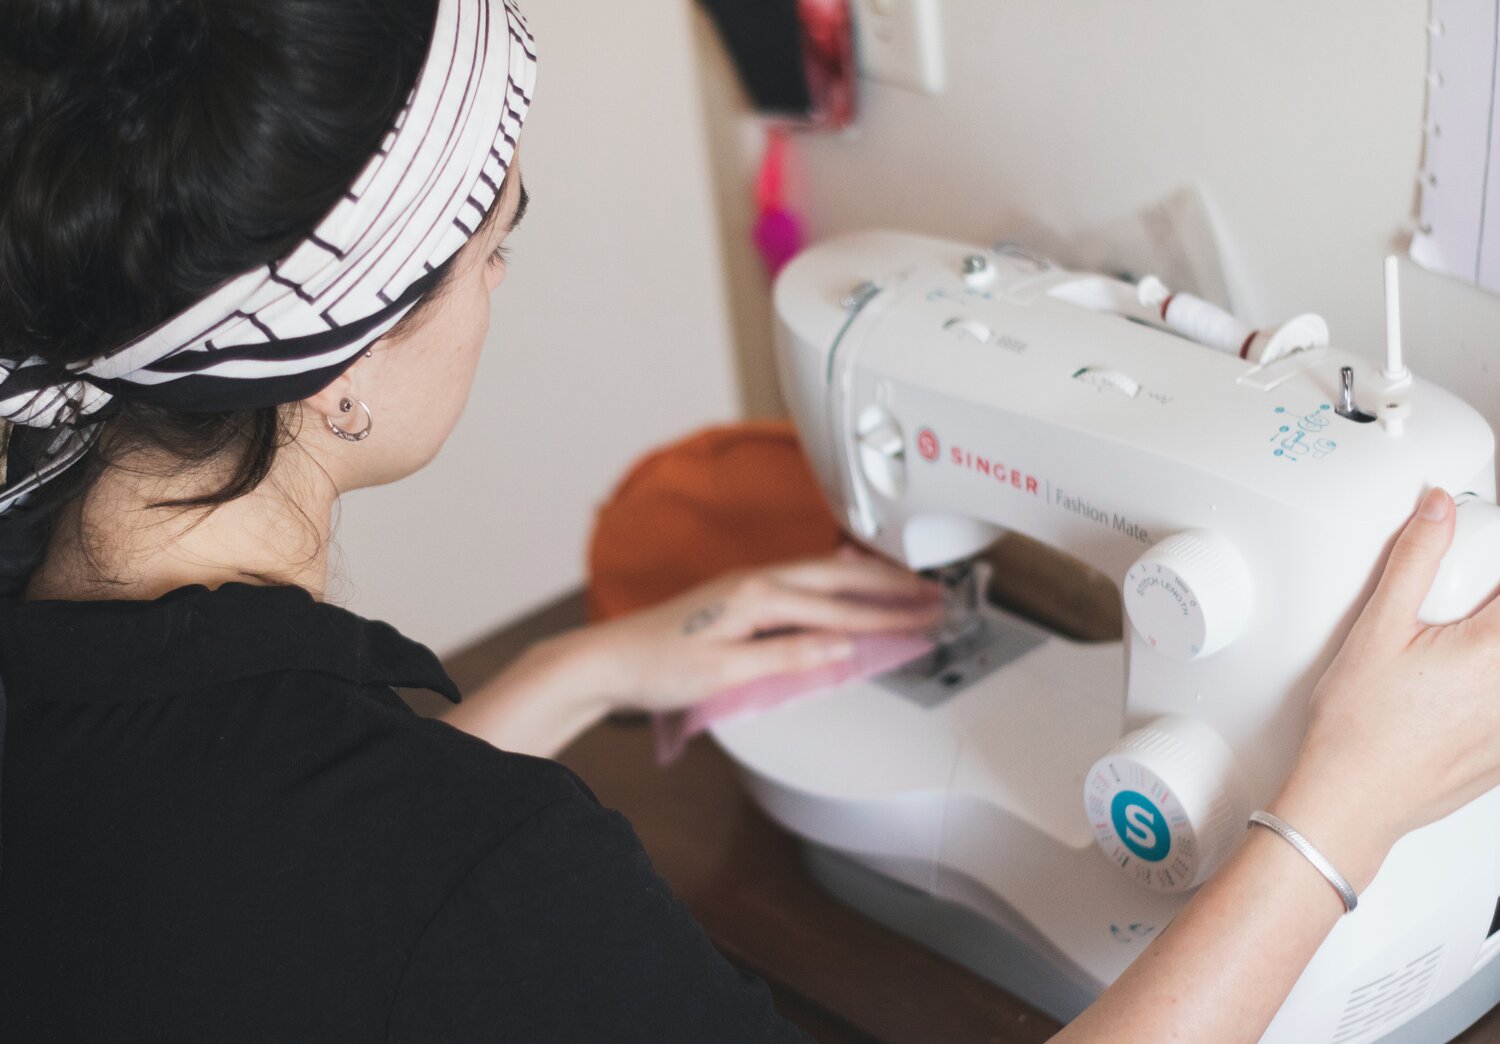
Dave, All the thread as I stitch is loopy on the bottom of my zig zag sewing. I thought it was tension, so I dialed up. Then my top thread on my zigzag was straight. It must be tension. What do you think?
Dave’s Answer: Why so tense? In my experience, tension and loopiness don’t normally go together. High tension means straight, loopiness leads to low tension, right? Take a deep breath and exhale all that tension right out.
Real Answer: Thanks so much for this question! My first disclaimer is that all sewing machines are different and so the answer to this question may vary depending on the brand and model of your sewing machine. If this is a persistent problem, I would suggest taking your machine in to be serviced and looked at by a licensed technician.
At first blush, it looks like rather than an adjustment of tension, this might have been an adjustment of stitch width? Typically, when a zigzag stitch goes “straight”, a stitch width gauge has been adjusted and made to a dimension so small that it actually becomes a straight stitch. With respect to the loopy thread, there is a “Sewing Machine Debug” informal checklist that will solve almost 95% of problems encountered with your machine:
1. Rethread your machine. Remember that thread only goes one direction – do not pull it back toward the spool. You can cause damage to the internal tension mechanisms. Cut the thread at the spool and pull it out through the needle.
2. Take your bobbin out and rethread it. You can also change the bobbin. Sometimes when bobbins are wound on the machine, threads overlap leading to an issue with the bobbin thread feeding.
3. Change you needle. It is commonly recommended to change your needle every 8 hours (or every project). Be sure that the needle matches the type of material you are sewing. Diameter and hardness can affect the sewing machine performance.
4. Clean your machine. If the problem still persists, you might have accumulated lint around your bobbin case or clogging your feed dogs. Please reference your owner’s manual for how to do this and please try not to use canned air as you may push lint into electronic mechanisms and create a future problem.
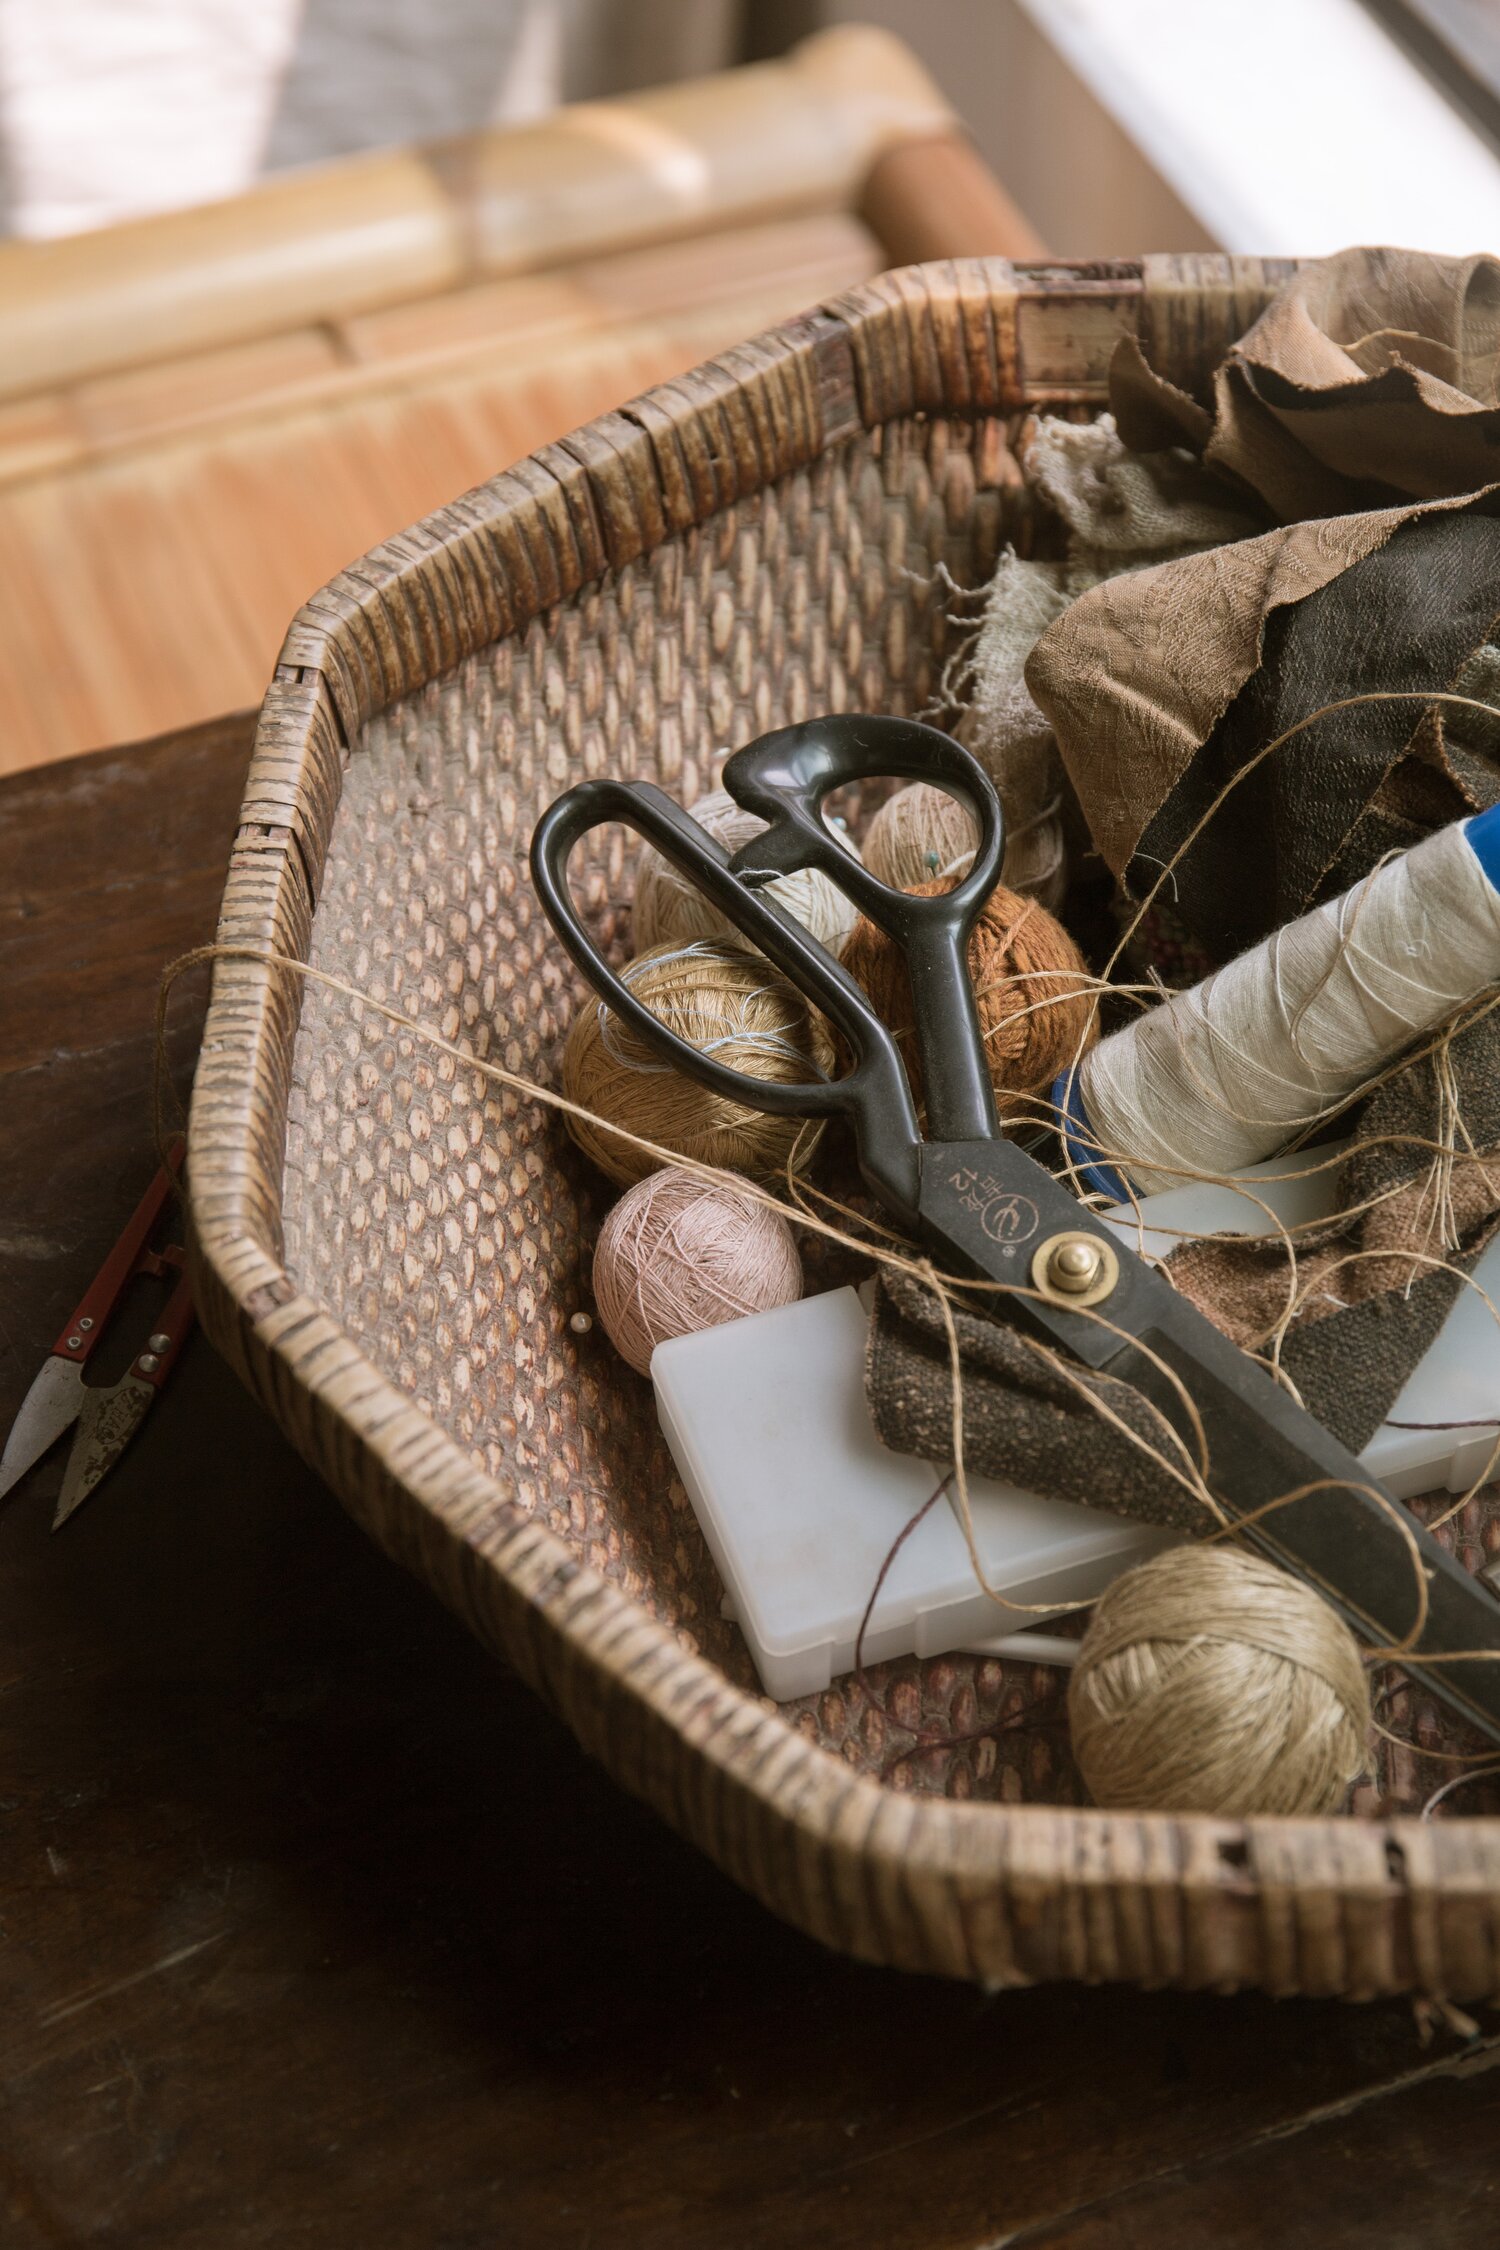
Why do people get mad when people use their fabric scissors on non-fabric?
Why people get mad? Because the people using the scissors are probably just like me and will lose them...to never be found again.
Fabric shears are more expensive then paper shears for good reasons. They will last a long time before you have to sharpen them again and they cut so precisely with no jagged edges, leaving a nice clean cut. If you are a fashion designer, quilter, or maker of any other kind who works a lot with fabric, then investing in good fabric shears will be worth it. Using fabric shears on paper will dull the blades quickly making it harder to cut precisely…that is a truth held very dear to all quilters and designers.
Scissor and metallurgical experts all agree. Overall, you can cut paper with fabric scissors, but the harsh fibers, minerals, and additives in paper will blunt the blade faster. If you want to keep your fabric scissors sharper for longer, cutting paper isn’t a good habit. But it’s not a big disaster if you do. All scissors become dull with use no matter what you cut. Cutting certain fabrics like denim, nylon and polyester can have a similar dulling effect to your fabric shears given the harsh composition of these fibers. It’s not necessarily the act of cutting non fabric materials that harms the scissor, it’s the fibers and fine minerals that are left behind that do the long-term damage. If you do want to cut non fabrics with fabric scissors, regularly wipe off the paper lint on the blades. You may also need to sharpen them more frequently. But if you don’t want to anger a quilter, pass by those shears and grab something else when cutting that PVC for a garage project.
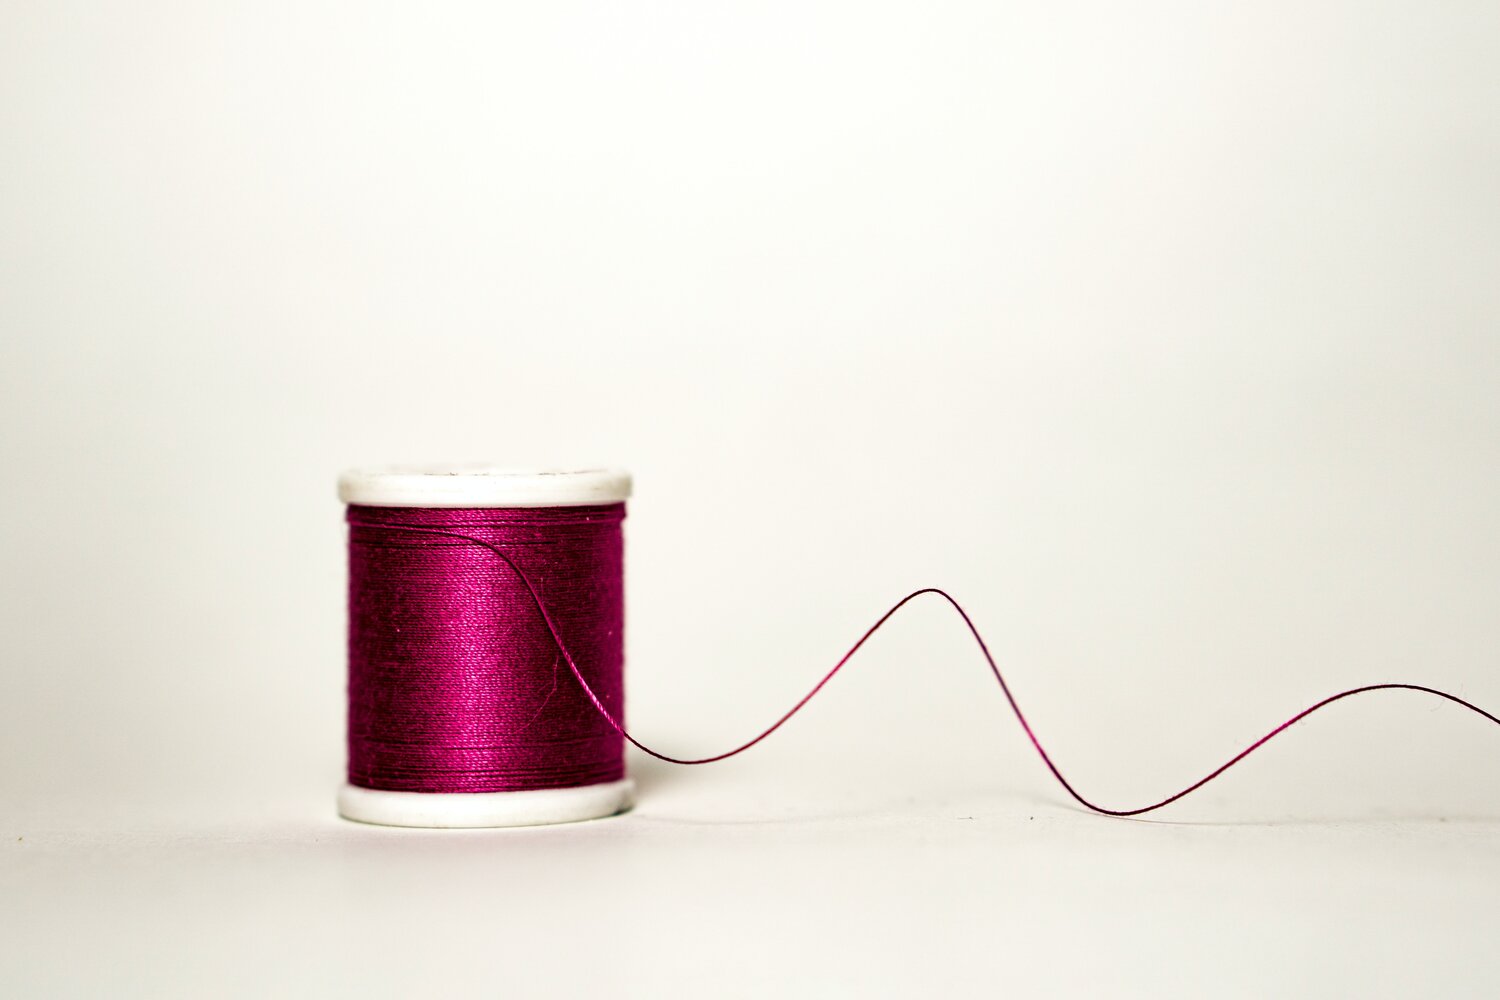
What color thread should I use for my PMQ?
Dave’s Answer: I would use N.O. thread. Just think about it. I would use N.O. thread. It links the letters together in the alphabet, (M, N, O, P, Q) and I’m sure it could link together your clue pieces as well. N.O. thread has never caused me any problems.
Real Answer: This is a fantastic question! The correct answer is, whatever you would like! Traditional thoughts were that you should always piece fabrics using white thread. It was widely available, usually less expensive and came in larger spools than colored substrates. But all of the logic has changed as dying techniques have evolved and access to threads has increased. It may be uncomfortable but using nonwhite thread to piece fabric may be liberating and a new way to express creativity. Many people recommend using a light grey or dove color that will blend with printed fabrics. If you’re using dark fabrics, feel free to try black or navy. Sewing purple fabric? Why not use purple thread? Grab a test piece, sew with a coordinating or contrasting color of thread, press it and look at it from the front. If you’re pleased with the results, then you should run with it! And, if you really want to get crazy, you can switch threads throughout a project. I know, I know, that’s crazy talk!
(If you’re in need of thread, our shop has plenty of colors for you to choose from!)
Do you nest your seams?
Dave’s Answer: I don’t have time to sit on top of my seams all day. Do you think I have time for that? I don’t have time for nest making, much less sitting on top of my seams all day. In my world, my seams have to stand alone. I can’t protect them, I have to let them find their wings. And all my seams are older now. I’m an empty seam-nester. My seams are gonna have to stand on their own.
Real Answer: Yes, as often as possible. However, do not fret if you do not do this. I just recently started doing this and it has significantly improved my points and how they match up on the front. But let’s take a step back. What does it mean to nest your seams?
The term nesting seams means aligning the seams of each stitched row so that they not only line up nicely but seem to fit together perfectly like a puzzle piece. By being strategic in your pressing, you can also reduce the amount of bulk where a seam meets, ensuring that the pieces lay flat and “nest” together through the sewing machine. One pressed seam is going one way, the other pressed seam is going the other. This is done through a combination of pressing, pinning, and stitching.
· Pressing - most patterns today will offer pressing instructions. When given, the pattern designer is giving you a roadmap so that all of your seams in the finished quilt will nest.
· Pinning - when you’re pinning a block and look at it from the side, you’ll see that pressed seams will go in opposite directions, ensuring that the corner will be perfect. I used to wing it and skip the pins – I strongly suggest if matched points are your jam, then pin more than you normally would and see if that impacts your results.
· Stitching – the way you feed your seams into the machine matters. You want the raw edge of the seam to be facing into the machine first. This is the best way to maximize the use of your feed dogs and ensure that the pieces are “press fit” together, pulling the seam together instead of pulling them apart.
With practice, you can improve the junction of your seams and be a pro at 4 patches and 9 patches in no time.
Have a question you want Dave to answer? Email your question at advice@cottoncuts.com to be featured in a future edition of Don’t Ask Dave!