

DIY Fabric Bowl
10th Dec 2020
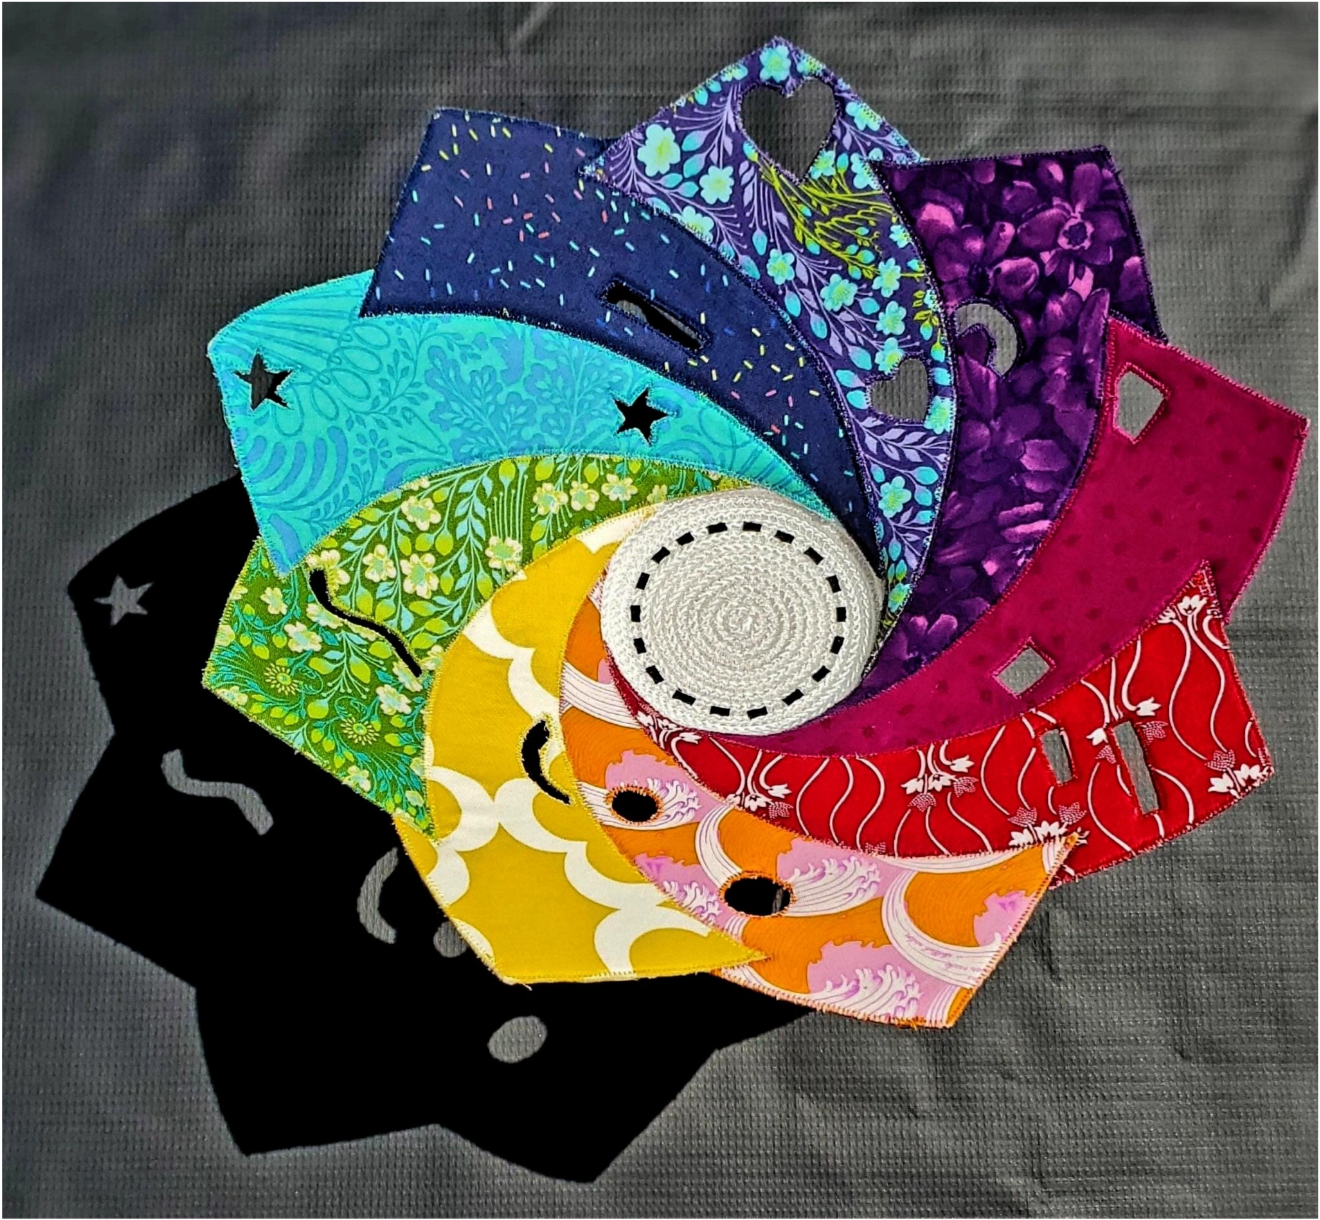
Bowls have been around for more than 4,000 years. They have been made in all kinds of shapes and sizes for a variety of uses. However, I bet you haven't seen the Rosa bowl! I will share with you how this bowl can be a wonderful way to enjoy your favorite Cotton Cuts fabrics. I was inspired by Mary Ann’s Rosa challenge submission in August this year. She sewed the petals of the Rosa pattern together to form this simple bowl with visual delight. Her artistic statement reveals the benefits of the monthly subscription box. “The Rosa bowl represents where the many ingredients provided by Cotton Cuts come together. Each of us then mix, make and share. We then empty the bowl to make room to create new things”
Rosa enables the quilting community to fill our bowl with the monthly subscription fabric and thread boxes with opportunities to create. The form of a bowl is symbolic for potential creative energy giving us a sense of purpose in these crazy times.
Materials needed
Fat quarters
Aurifil Coordinating thread
Pellon Peltex 72F double sided fusible ¾ yard
Mono poly clear polyester thread by Superior threads
Rosa Pattern
Cotton or polyester laundry rope ⅜” wide
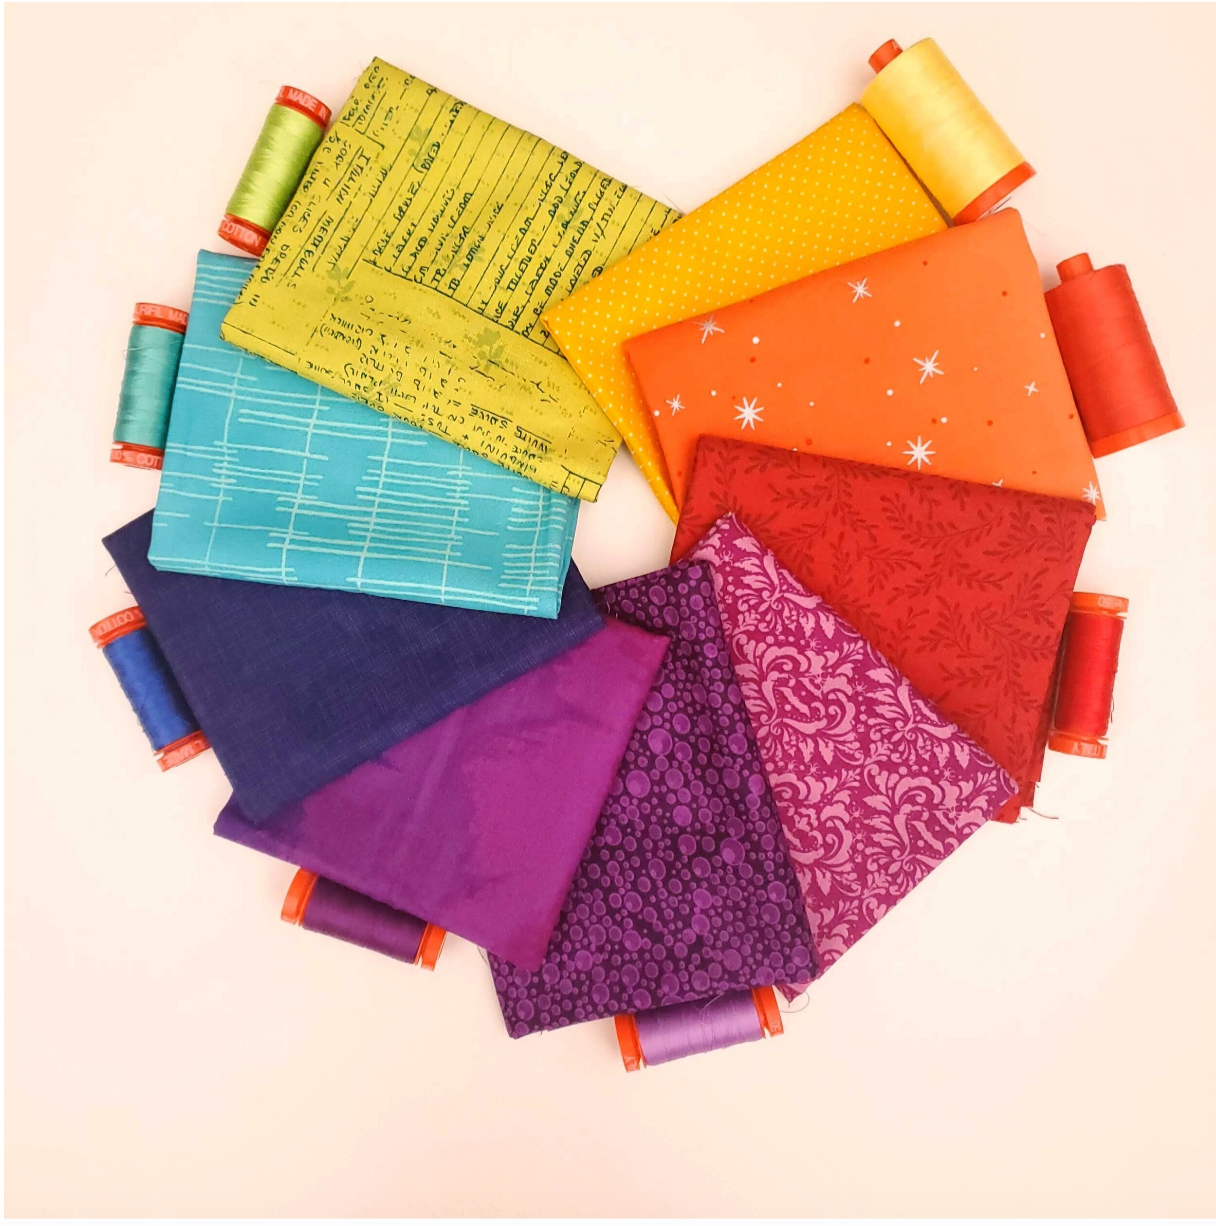
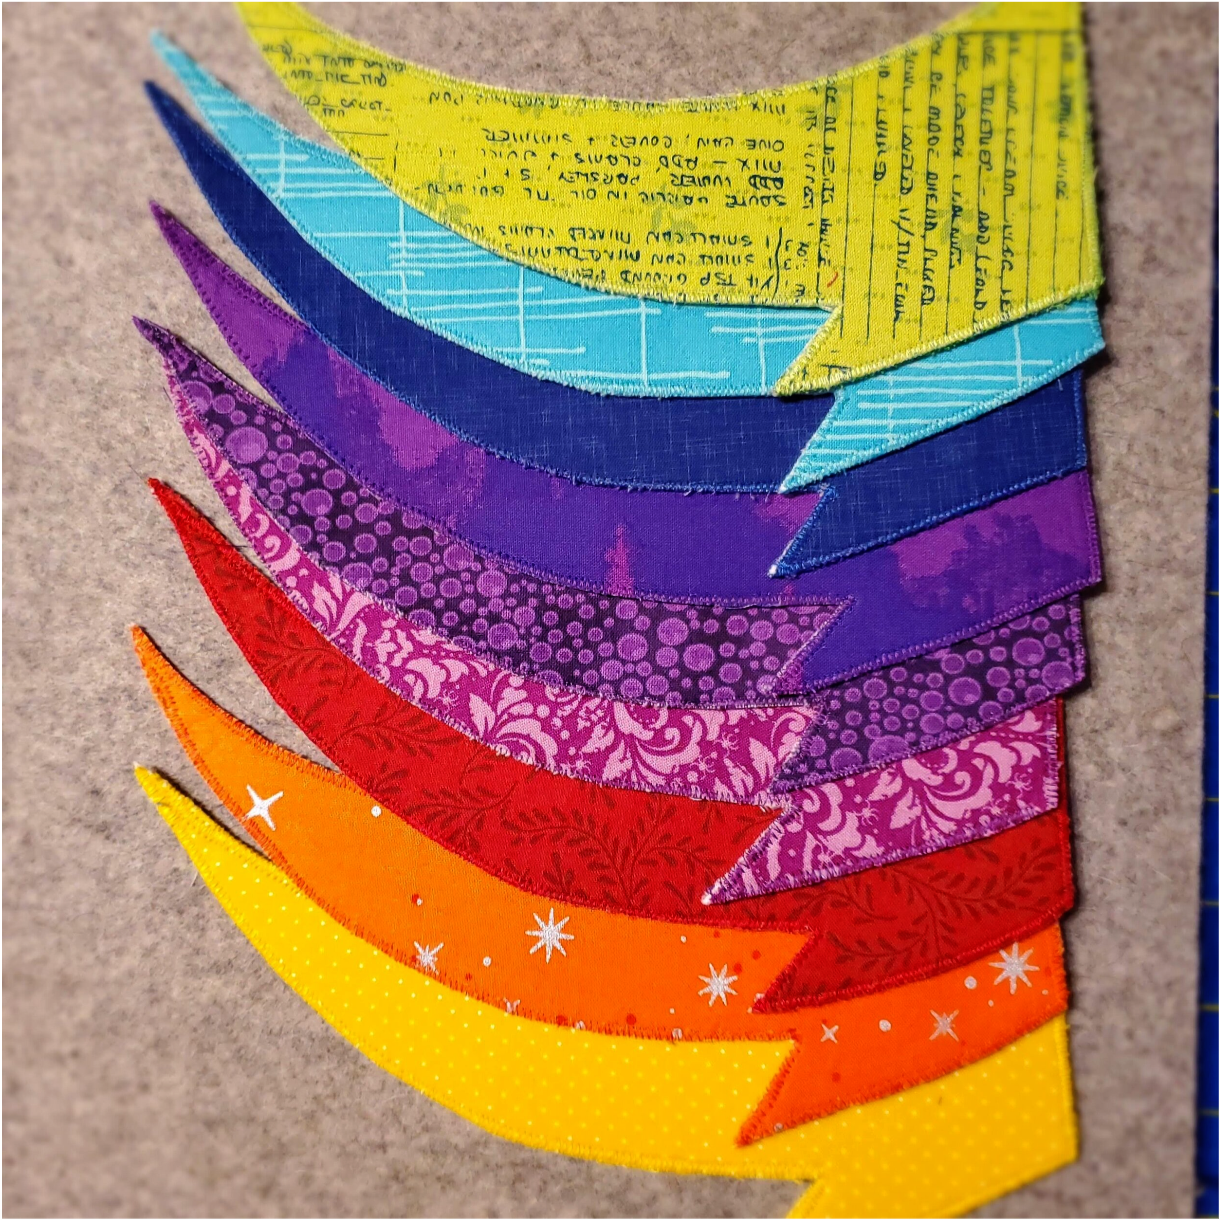
To get started select nine fabrics for the petals. I used the November Modern Maker and August Classic Subscription with a few Mystery Fat Quarters in the mix. The Chroma Subscription thread provided the perfect match for the fabric collection. Seasonal fabrics would be another great choice for this project. Print the pattern on card stock and cut out the petal shape.
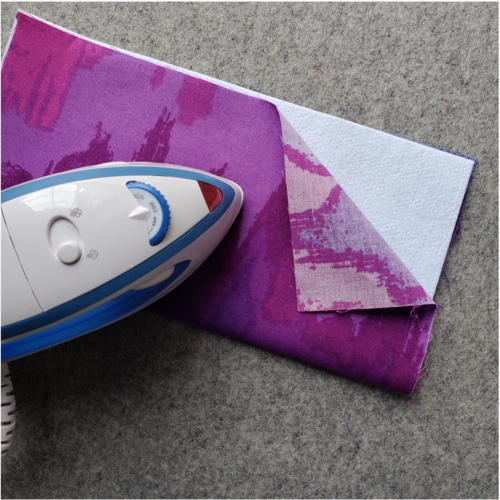
I pressed the fabric nd cut out a 10 inch square from each one. Then cut nine 5x10” rectangles from the fusible Peltex. Take the square of fabric and fold it over the Peltex. Press with a hot iron. Prepare all 9 pieces.
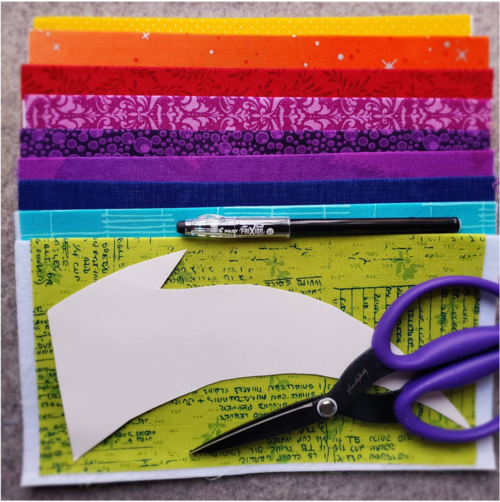
Place the pattern piece on the fused rectangle and, using a marking pen trace the pattern carefully. For the pieces to fit together perfectly you will need to be accurate in the pattern tracing and cutting. I recommend using sharp scissors that can cut to the point.
Now it is time to prepare the machine for zigzag stitching. I made a matching bobbin for each thread color since it will be visible from both sides. I challenged myself to fill the bobbin just enough to go around each petal. Practice first on the extra cut away pieces to set the zigzag stitch short and close together. All machines vary but my settings were .6 and 3. You may need to adjust the tension since it is kind of a thick material. A new needle will definitely help the stitching be smooth. Proceed to zigzag stitch along the very edge of each petal in a coordinating Aurifil thread.
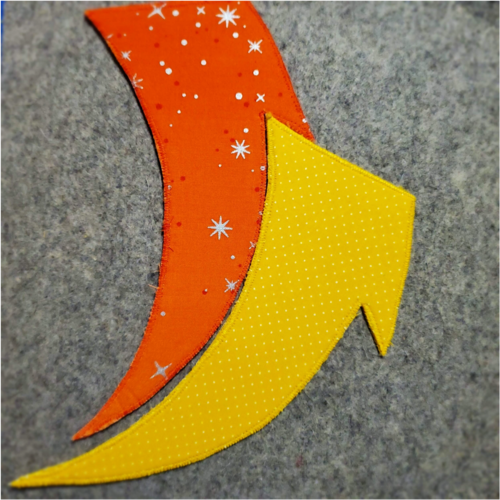
I used a sharpie in a matching color to cover any white peeking out from the stitching. Just touch the edge carefully and be sure it is dry before it touches one of the lighter fabric petals. You may want to apply some fray check at this point along the edges.This is the time to add the cut out shapes as seen in Mary Ann’s interpretation.
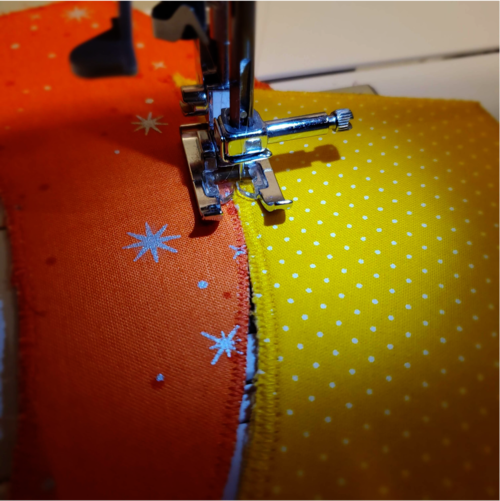
To start the bowl construction you will need to use the clear polyester thread in the top and bobbin. This may take adjustments in the needle and tension. Practice on the extra pieces to set the stitching length and width. My settings were at .8 and 4.5.
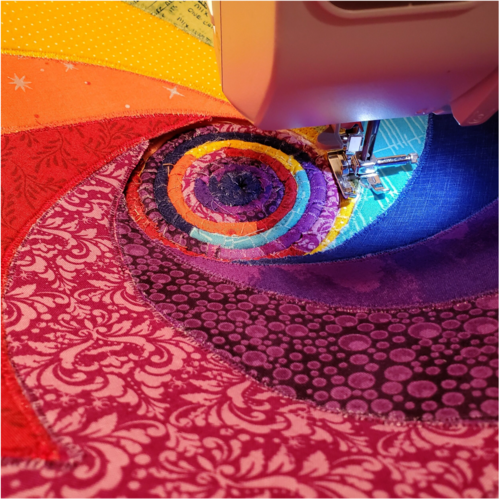
I started with the short notch on each petal to be sure it matched up snugly.
As you sew along the curve you will want to align the sections so they butt up to each other with no overlapping. Keep the needle centered so it takes a stitch on each color as you sew them together. I would recommend back tacking at the start and end of stitching to lock the threads in place.
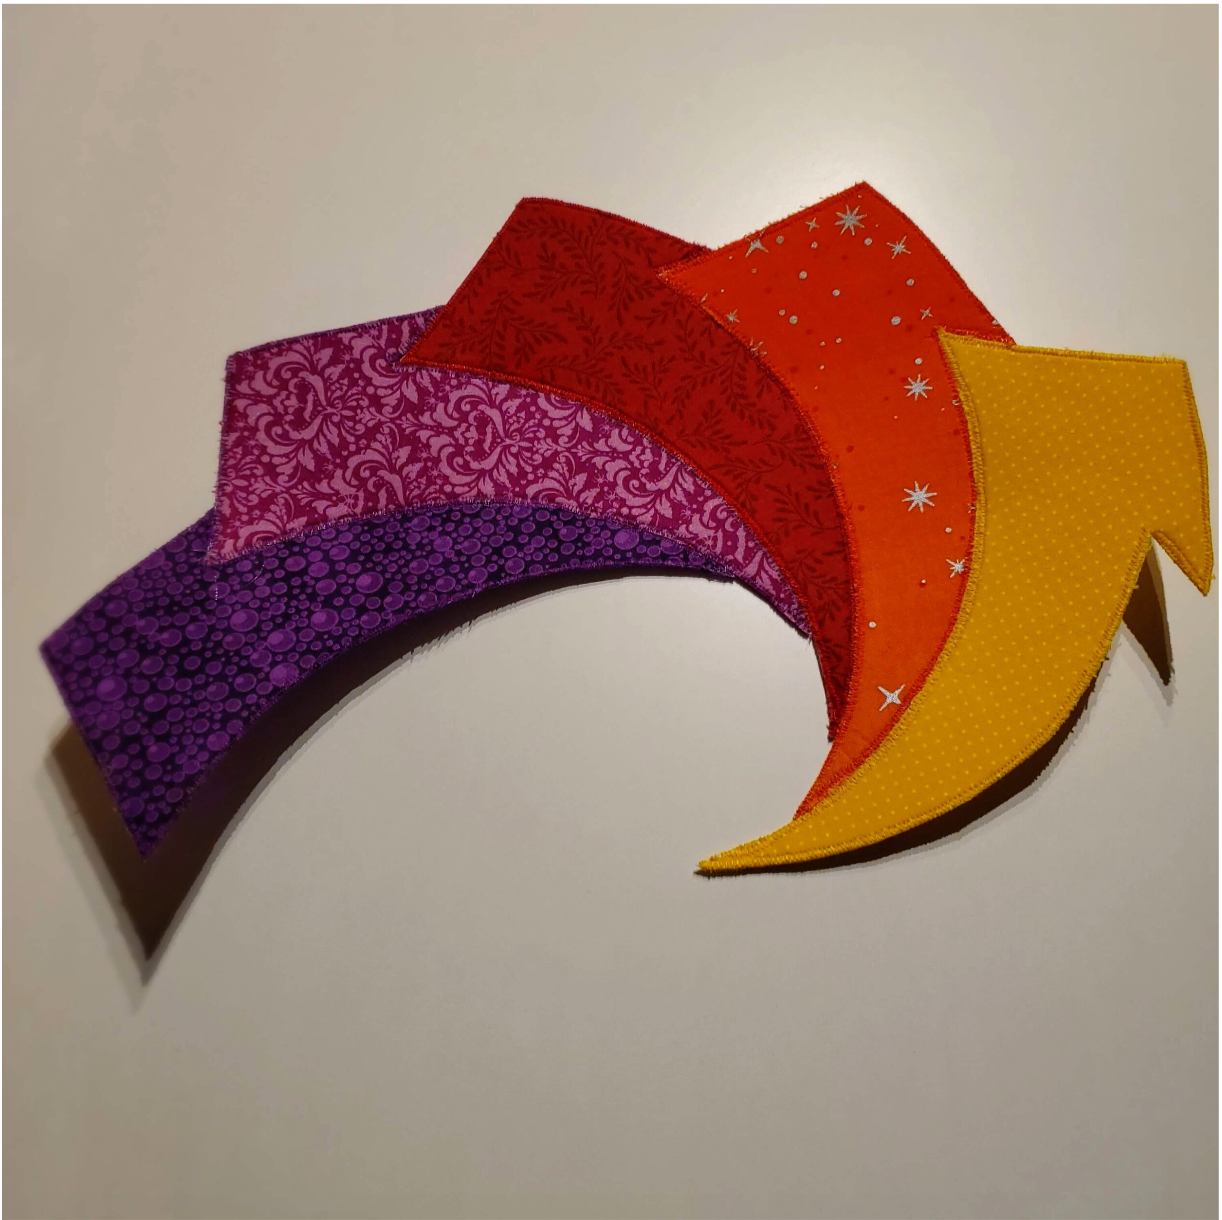
Continue in this way adding the petals to form the circle.
Once the circle is complete it is time to make the center. In an earlier Blog I detailed how to make these smaller bowls and mug rugs. Cut some 1x10” pieces from the petal fabric and wrap around the cord securing it with a pin or drop of glue.
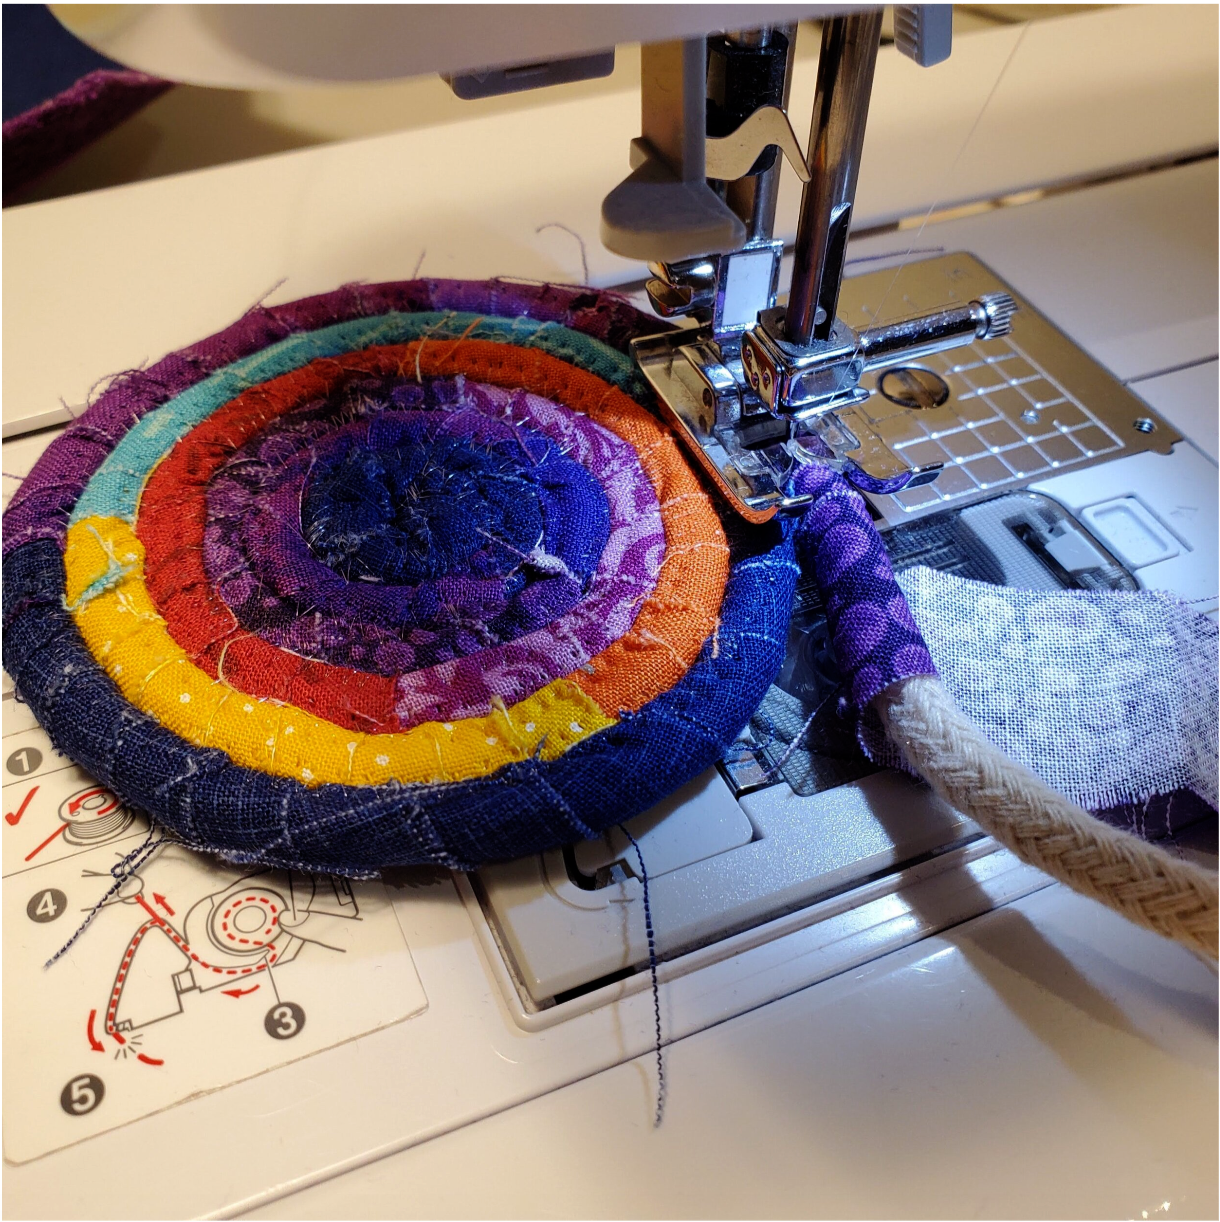
Using the same clear thread and zigzag stitch sew a flat circle the same size as the opening in the bottom of the bowl. Then turn the circle more vertical as you sew to make a few rows that turn upwards to support the bowl shape.
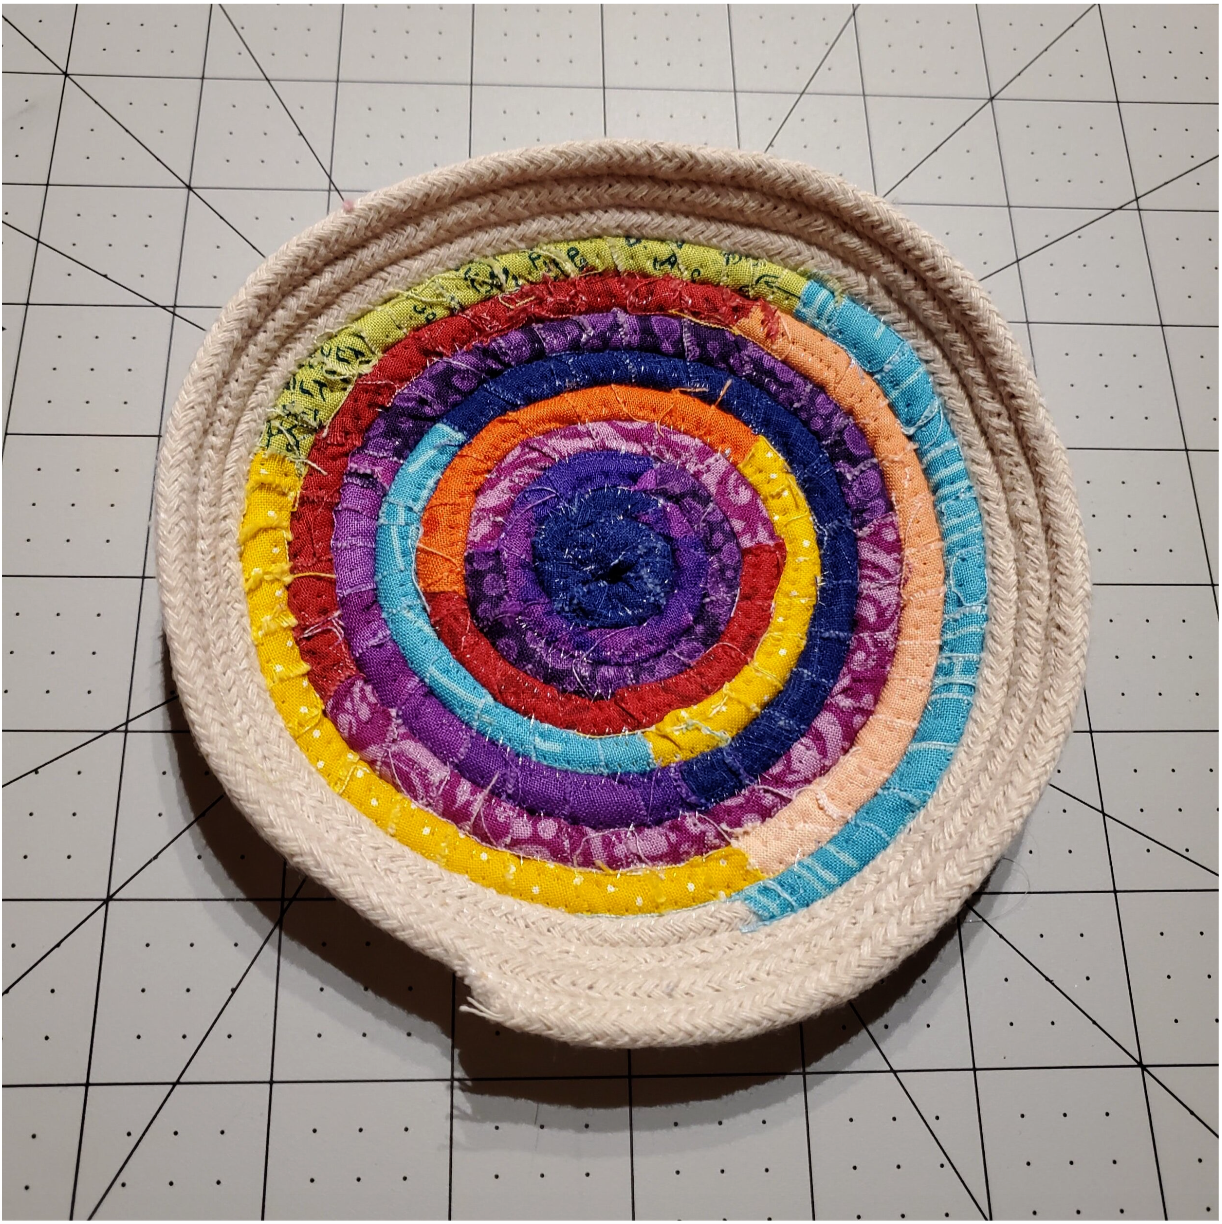
I added four additional rows past the inner circle size. Next position the circle in the bottom of the bowl and zigzag stitch in place.
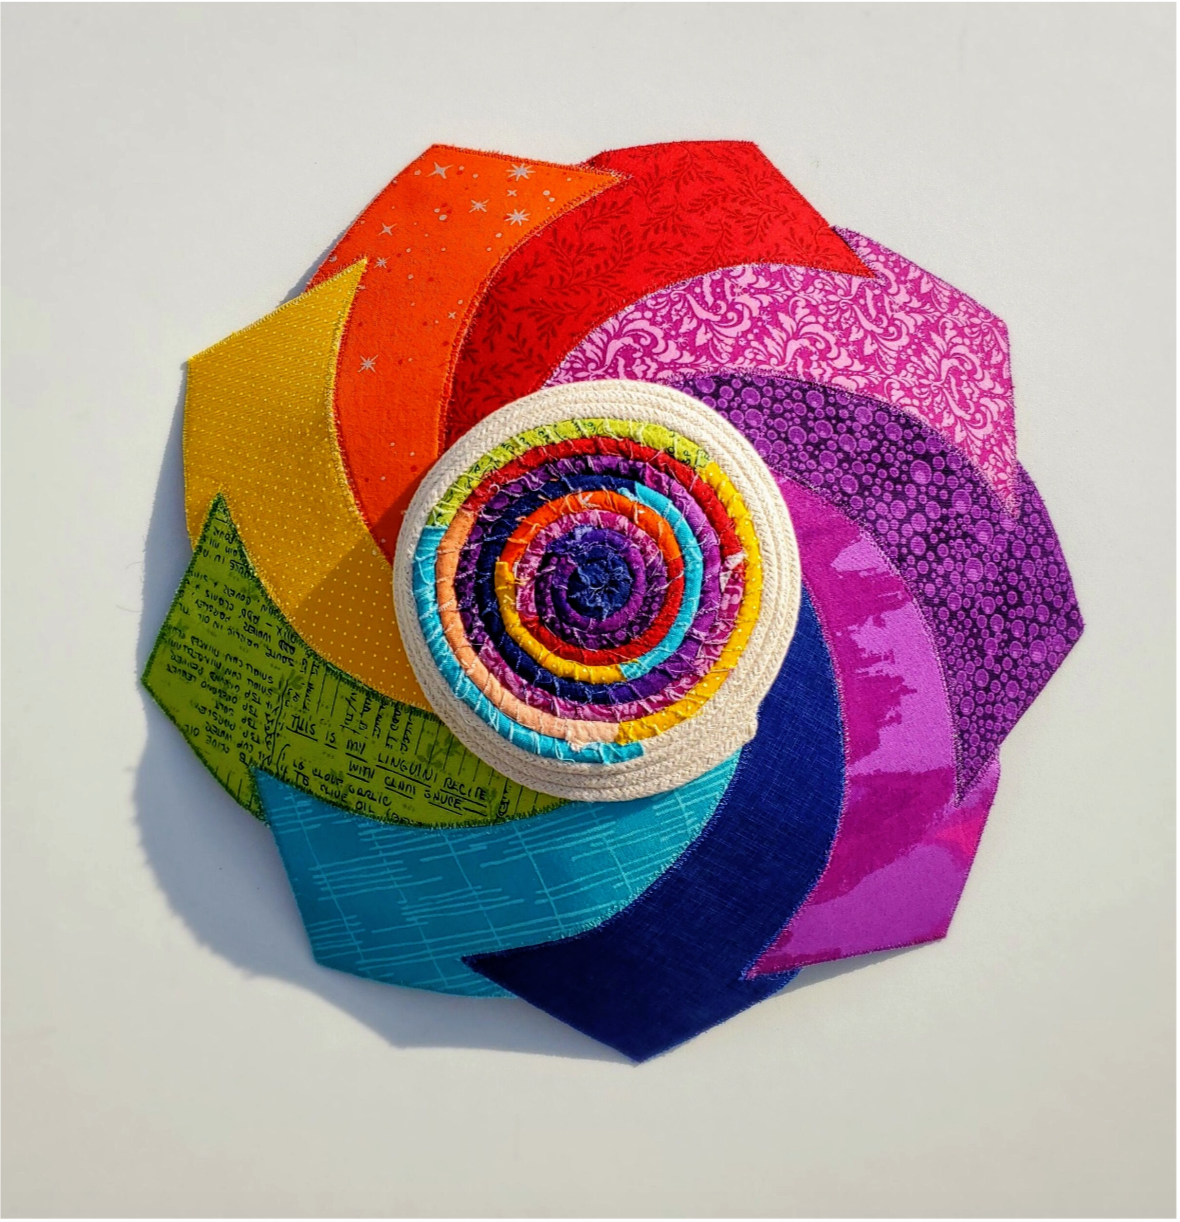
The final trick is to find and trim all the invisible threads! Every time I pick it up I discover a few I missed.
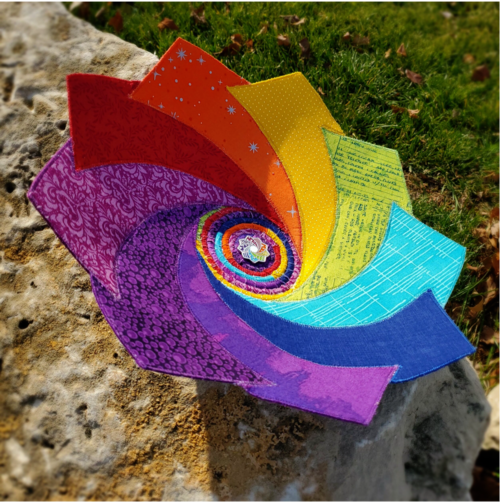

I added the Cotton Cuts Rosa pin to the center. It was a lagniappe for our Clue 5 in the current Mystery quilt. This bowl is the perfect size for table decoration, to keep thread handy and fabric scraps in your sewing room. I decided to hang mine on the wall for some interesting dimensional art.